
Todays Goals
- Discover Rock Pikmin
- Rescue Brittany
- Grab Four pieces of Fruit
Speedrunners Goals (optional)
- Beat the Armored Mawdad
- Retrieve the Mobile Phone
Now we start playing Pikmin 3 properly.
From this day onward you will be playing against a time limit. Each day lasts 13 minutes, and you must retrieve fruit with which to make juice. Without juice your captains will perish, and your game will end.
Anyway, let’s get going! Summon your Red Pikmin from the onion. Collect the nearby pellets and then get to work bringing the nearby wall down.
The next task is to collect the two piles of bridge pieces from the left and right. The pile on the left is being guarded by a small bulborb, so lob a Pikmin at its back to dispatch it quickly.
Over the bridge you’ll have to deal with your first Bulborb . These creatures look big but they aren’t too bad once you work out their primary weakness; their eyes. Throwing a Pikmin onto the Bulborb’s eyes will cause it to flinch.
To this end you need to alternate throwing ’min at its eye and onto its back to deal most damage; the eye causes a flinch, whereas the Pikmin on the Bulborbs back will grab on and deal continuous damage.
With Bulborb dispatched, move on to the wall.
Continue past the wall and you’ll see Brittany. Then, a short waddle down the path, your first Strawberry.
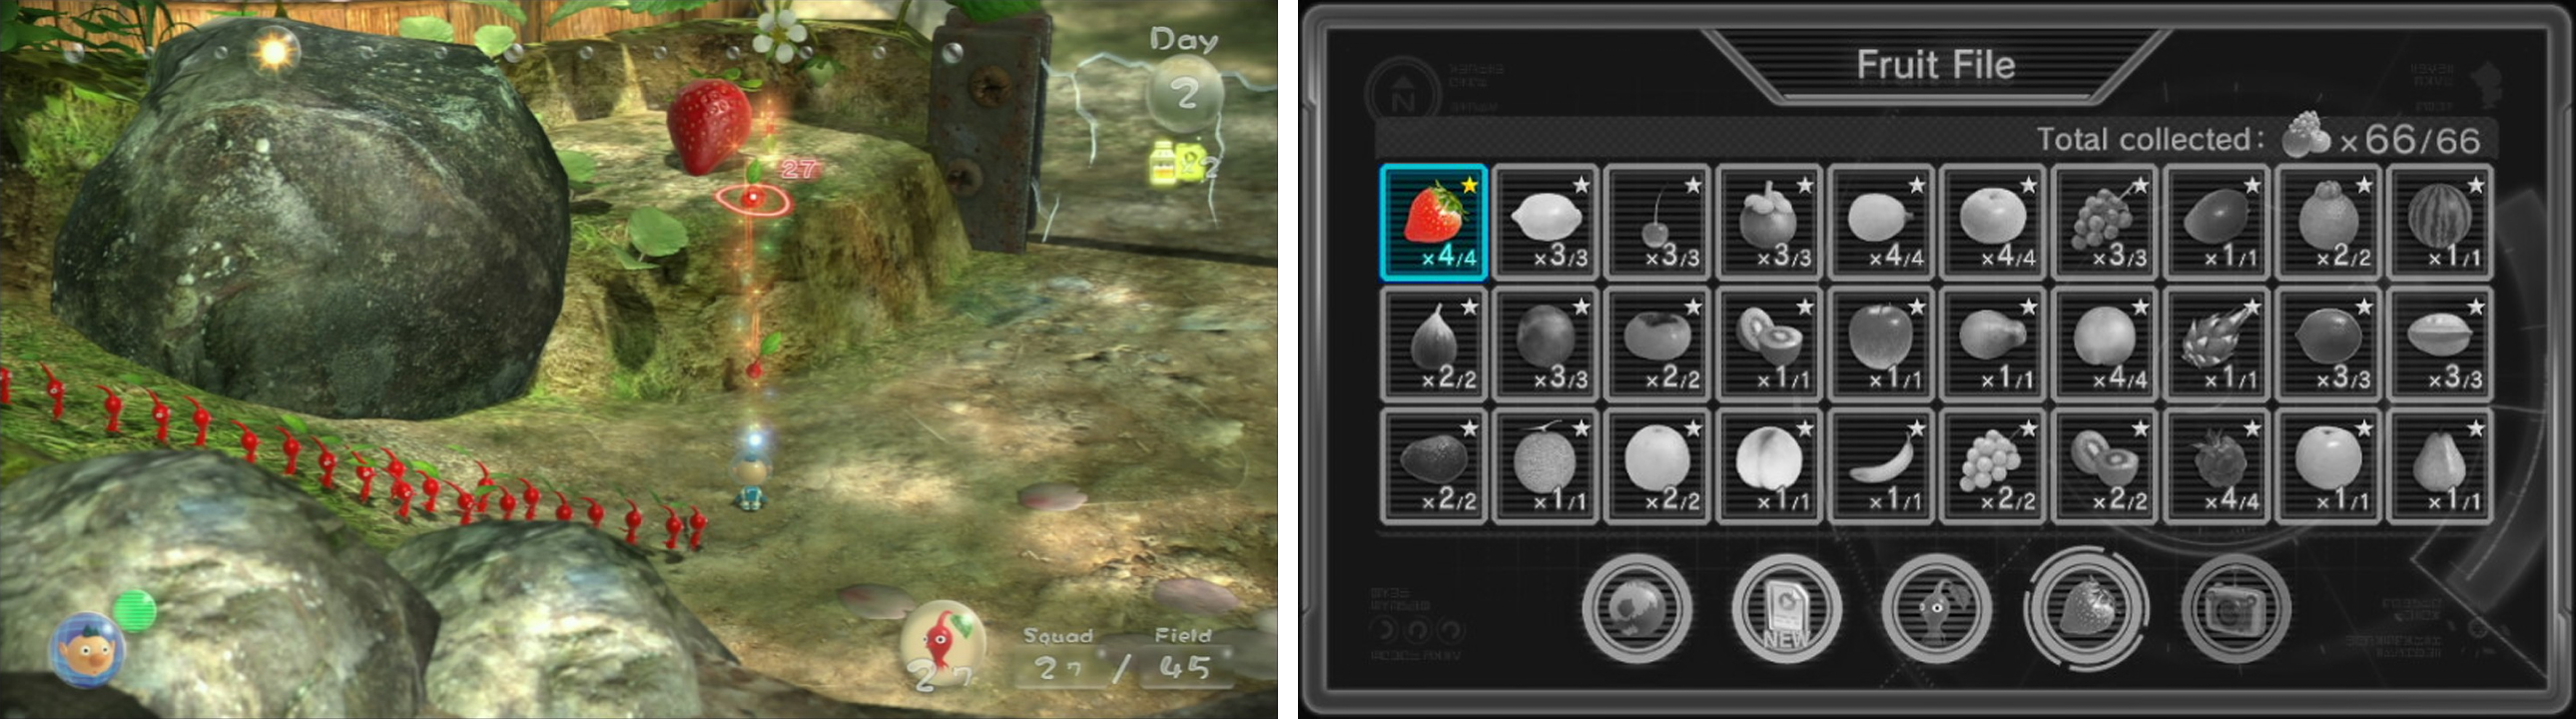
Sunseed Berry (1 of 4)
Set three Pikmin on the Strawberry and head into the nearby cave. Here you’ll meet a Medusal Slurker . This enemy can’t kill Pikmin, but it will hold them hostage should it grab them in its gloop-y tongue.
The best idea is to throw a Pikmin onto it then, after a second, whistle it off. The Slurker will go into a shake, the moment this is over start hurling your entire group onto it.
With the Slurker dead you’ll meet the Rock Pikmin. These fellows are sharp as Diamonds and will make short work of crystals, and crystal walls. Investigate this fact by wreaking the ornaments in this cave, harvesting the rock Pikmin by collecting the black pellets.
Once you have twenty Rocks in your command head back outside. You can now use the rock Pikmin to smash the glass wall next to where the Strawberry was sitting. Once you’re through hug the wall to your left and use the Rock Pikmin again to break Brittany from her prison.
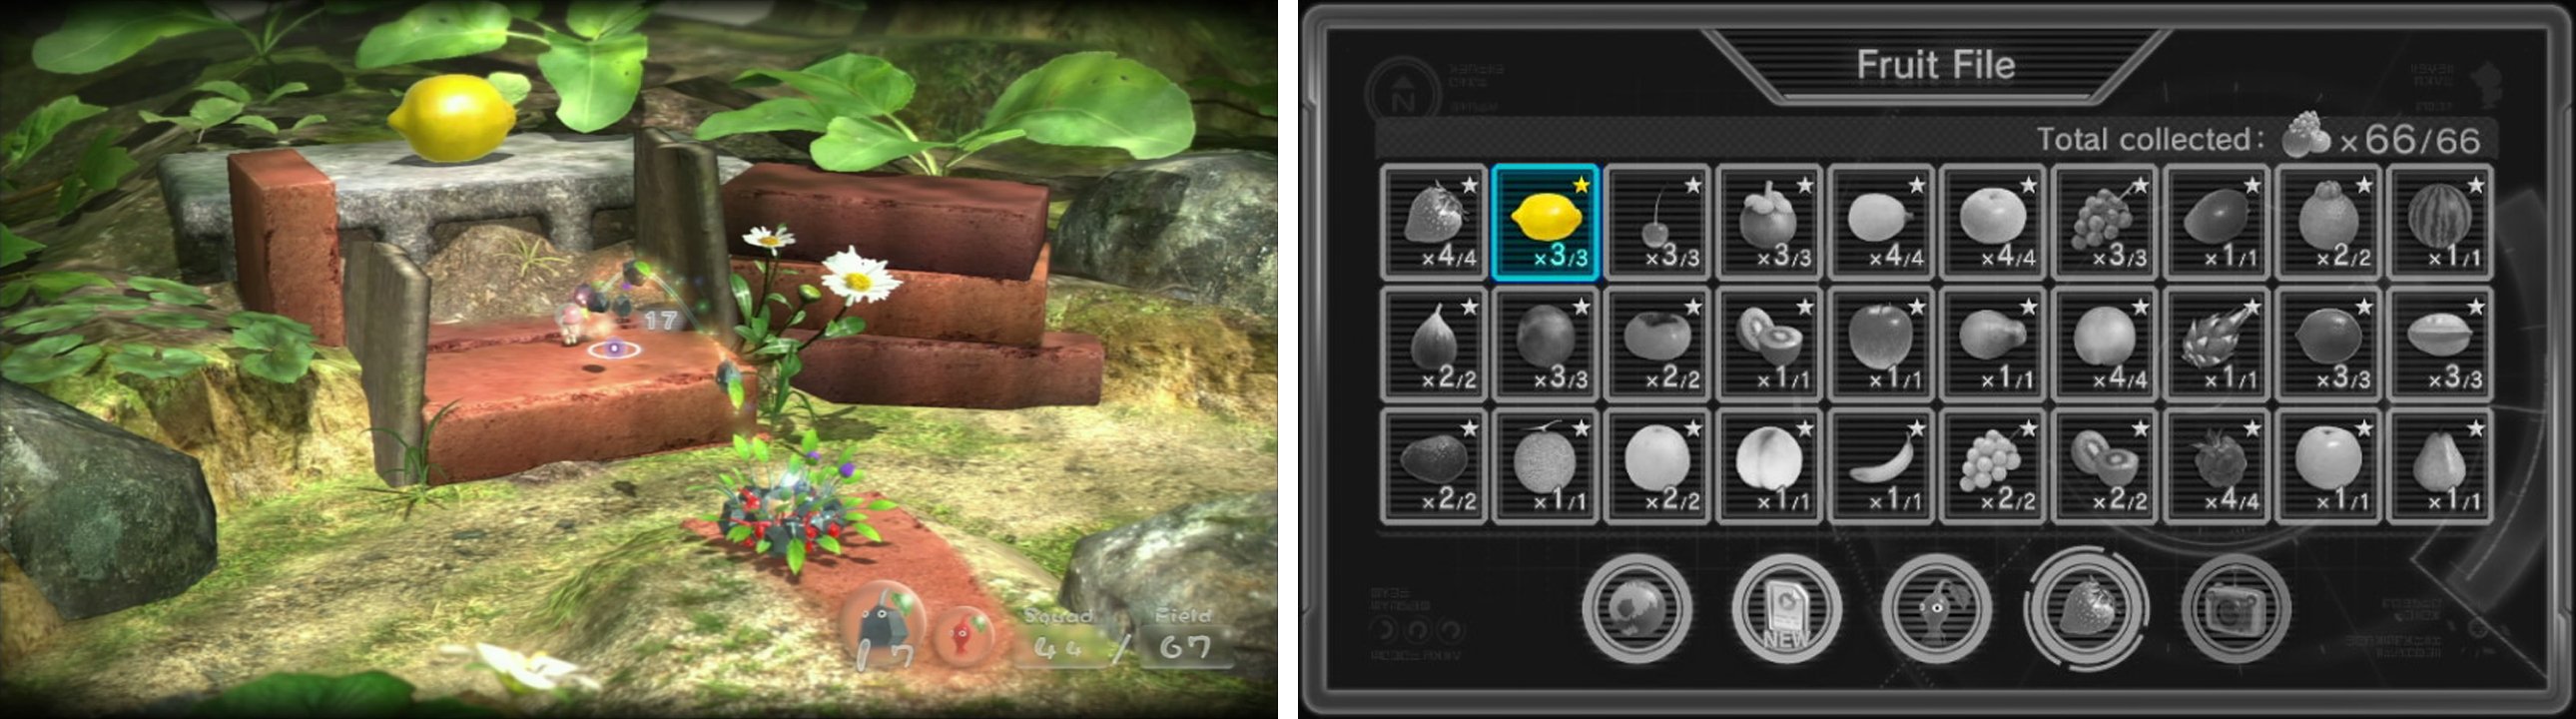
A quick tutorial will teach you about the advantages of two captains. Doing this will net you your second fruit: a Lemon.
Face Wrinkler (1 of 3)
Head deeper into this area. Your Rock Pikmin can make quick work of these bugs if you throw them on their heads. First order of business is to construct the bridge. One pile of parts sits to the right of the bridge, the other pile up the left hand ramp inside a crystal.
Build the bridge first, and then claim the Strawberry from the left hand ramp. Your pikmin will have less ground to traipse if you do it in this order.
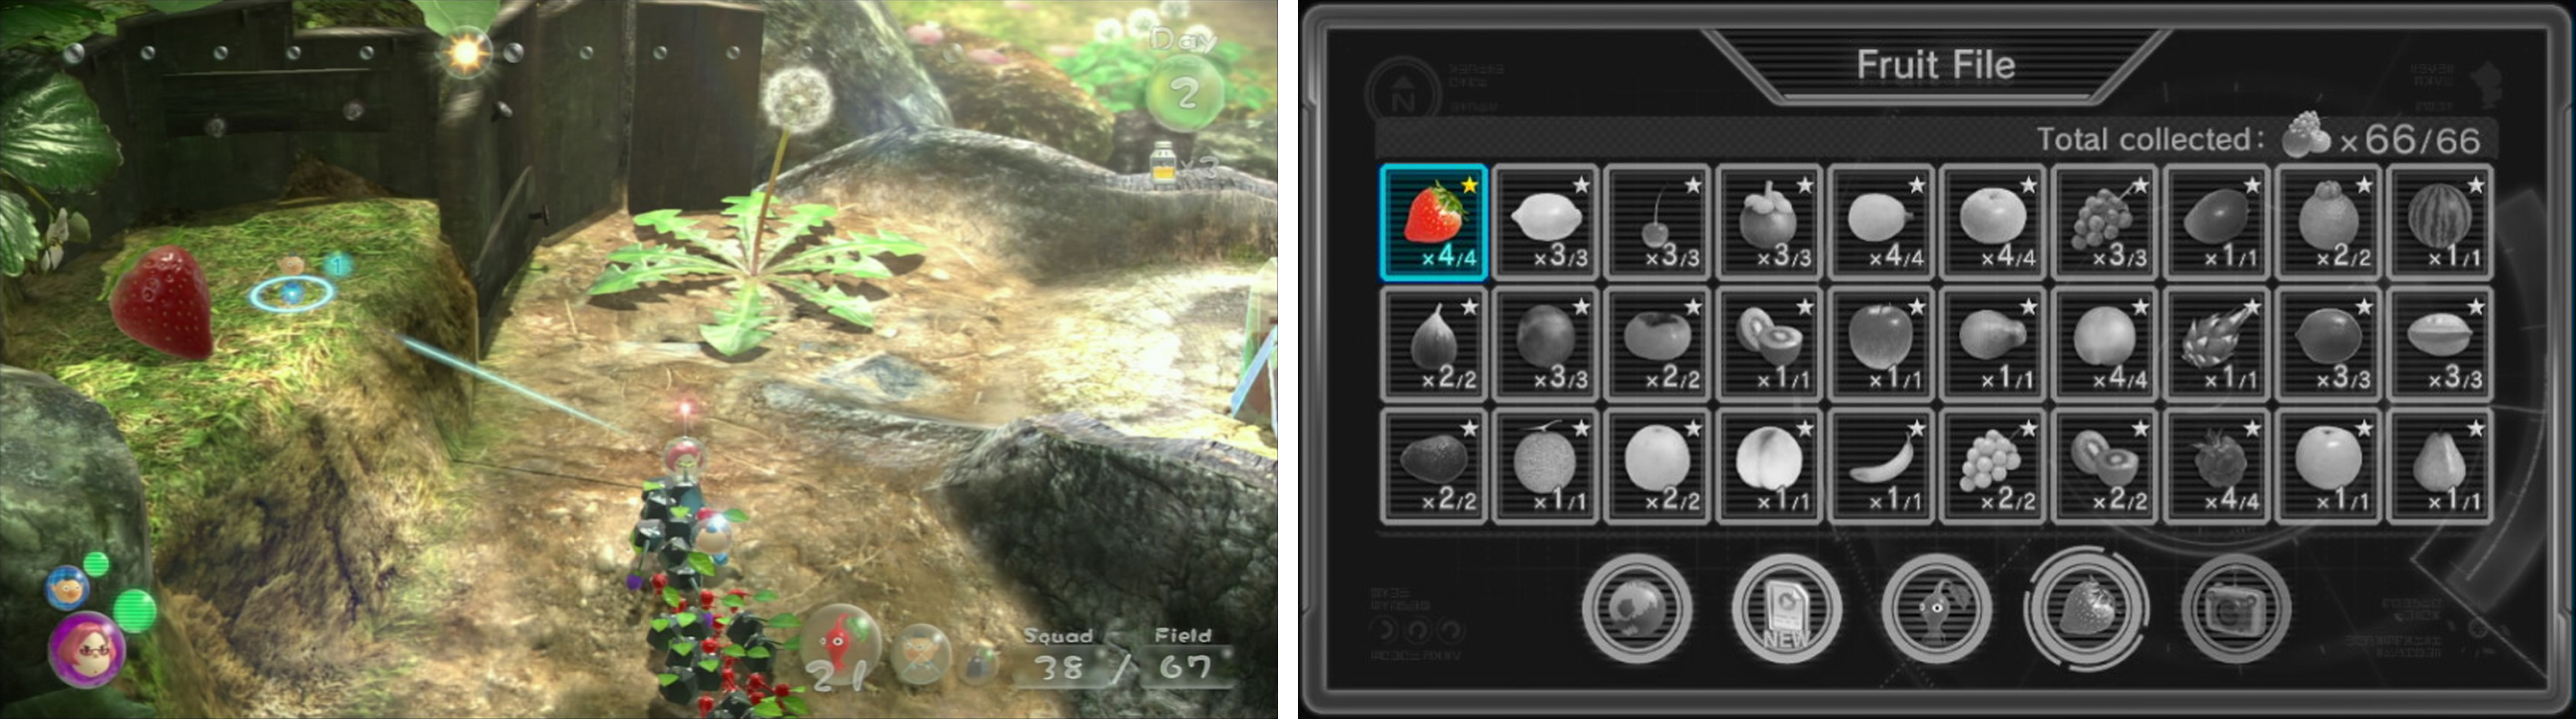
Sunseed Berry (2 of 4)
With the bridge built head on over. You’re back at the onion, and you now have the Pikmin necessary to destroy the Crystal wall behind the onion, huzzah!
Smash it and head through, and run forward. Here you’ll meet the Fiery Blowhog . Use your fire resistant Red Pikmin to make quick work of the creatures and, if you want, harvest them with your reds.
From here, look left. See the taped crosses? We want to throw a Captain over and then send them a contingent of Pikmin, both Red and Rock. Once you’ve done this swap to said captain and go about destroying the wall/building the bridge here.
While these Pikmin are busy it’s a good idea to take your first captain back to the onion to see if any Pikmin are just standing around.
With the remainder of the day you have two choices. You could take on the Armored Mawdad, if you feel confident, or you could curl left into the level and harvest some more Pikmin. For the purposes of this guide we are going to harvest.
Heading left will introduce you to the Yellow Wollyhop . Use Rock Pikmin to attack this thing as Rock Pikmin cannot be squished! Deal with the Wollyhops and then use your squad to demolish the clay wall to the right.
Inside here you can solve a simple weight puzzle to grab some fruit. Throw Pikmin onto one tin to weigh it down and then add your captain.
Then throw enough Pikmin onto the other tin to weigh that down, allowing your captain to stand on the bricks. From here you can call the Pikmin from your tin and then throw them up to the Lime.
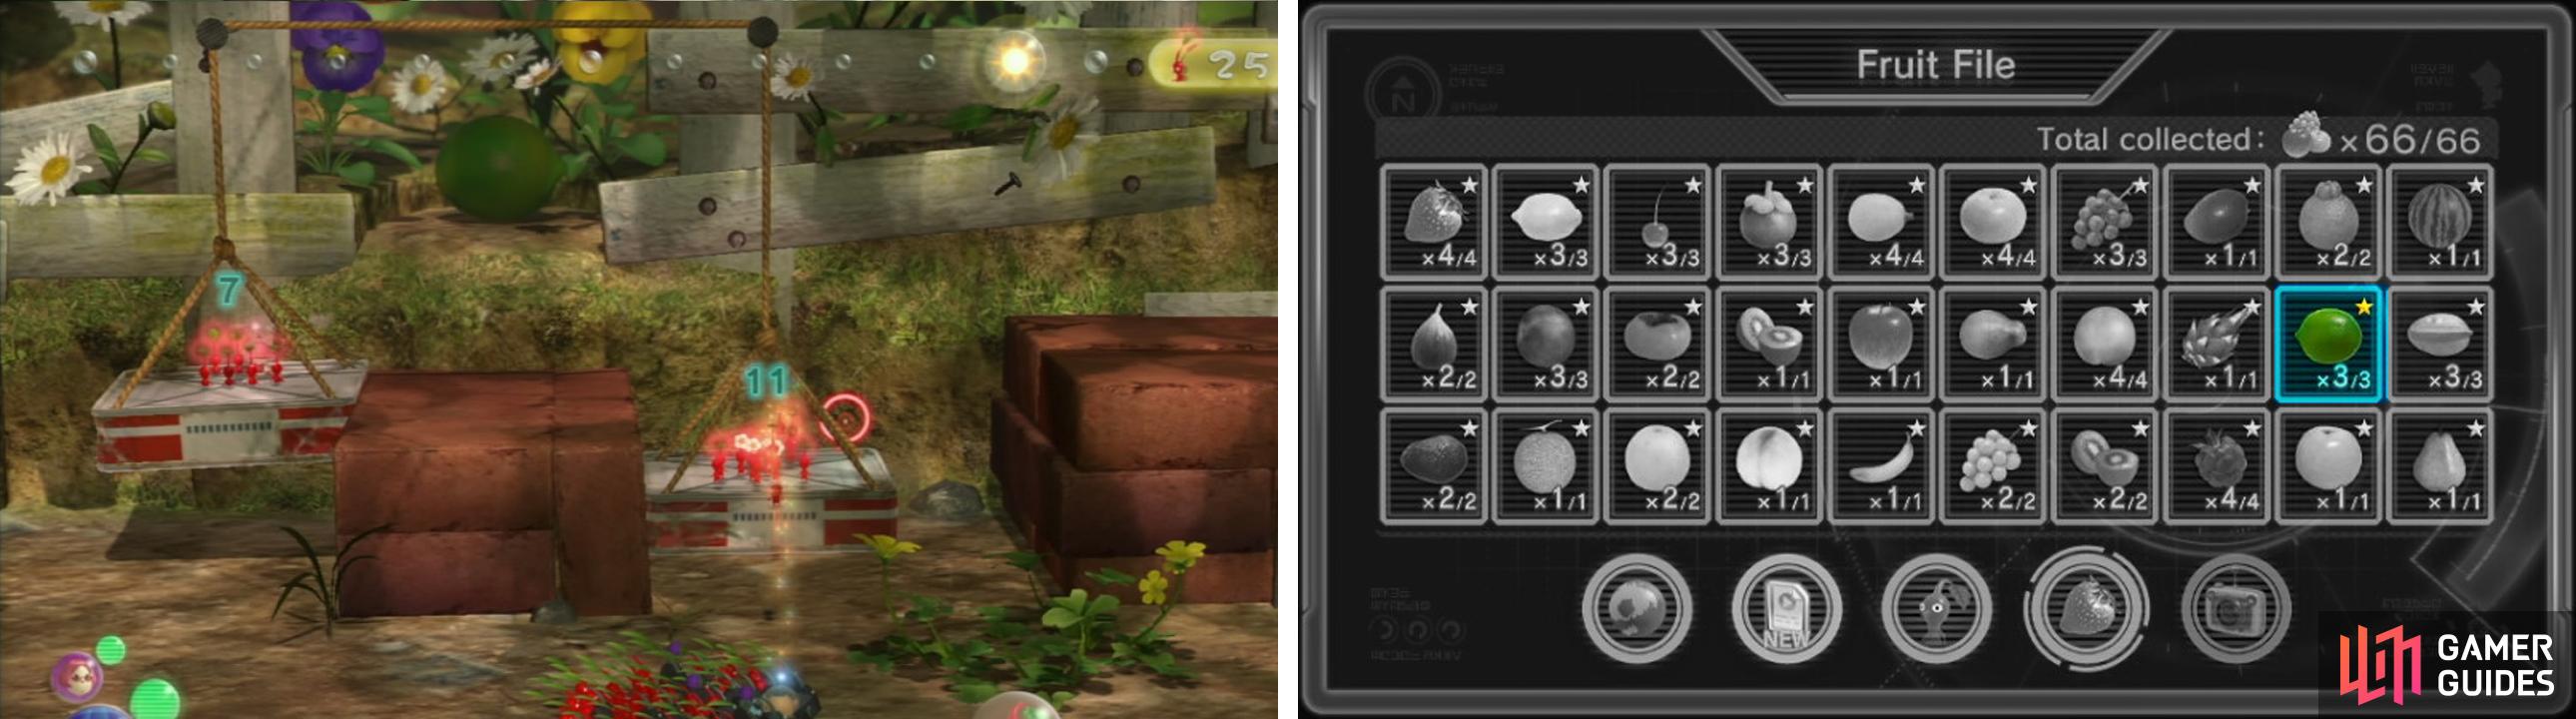
Zest Bomb (1 of 3)
The Lime will likely start heading home towards the end of the day so start wrapping things up. Pikmin need only be in your squad for them to be safe at the end of the day, so ensure you’re doing as much as possible till the last second, then whistle them to your side to ensure their safety.
 Sign up
No Comments