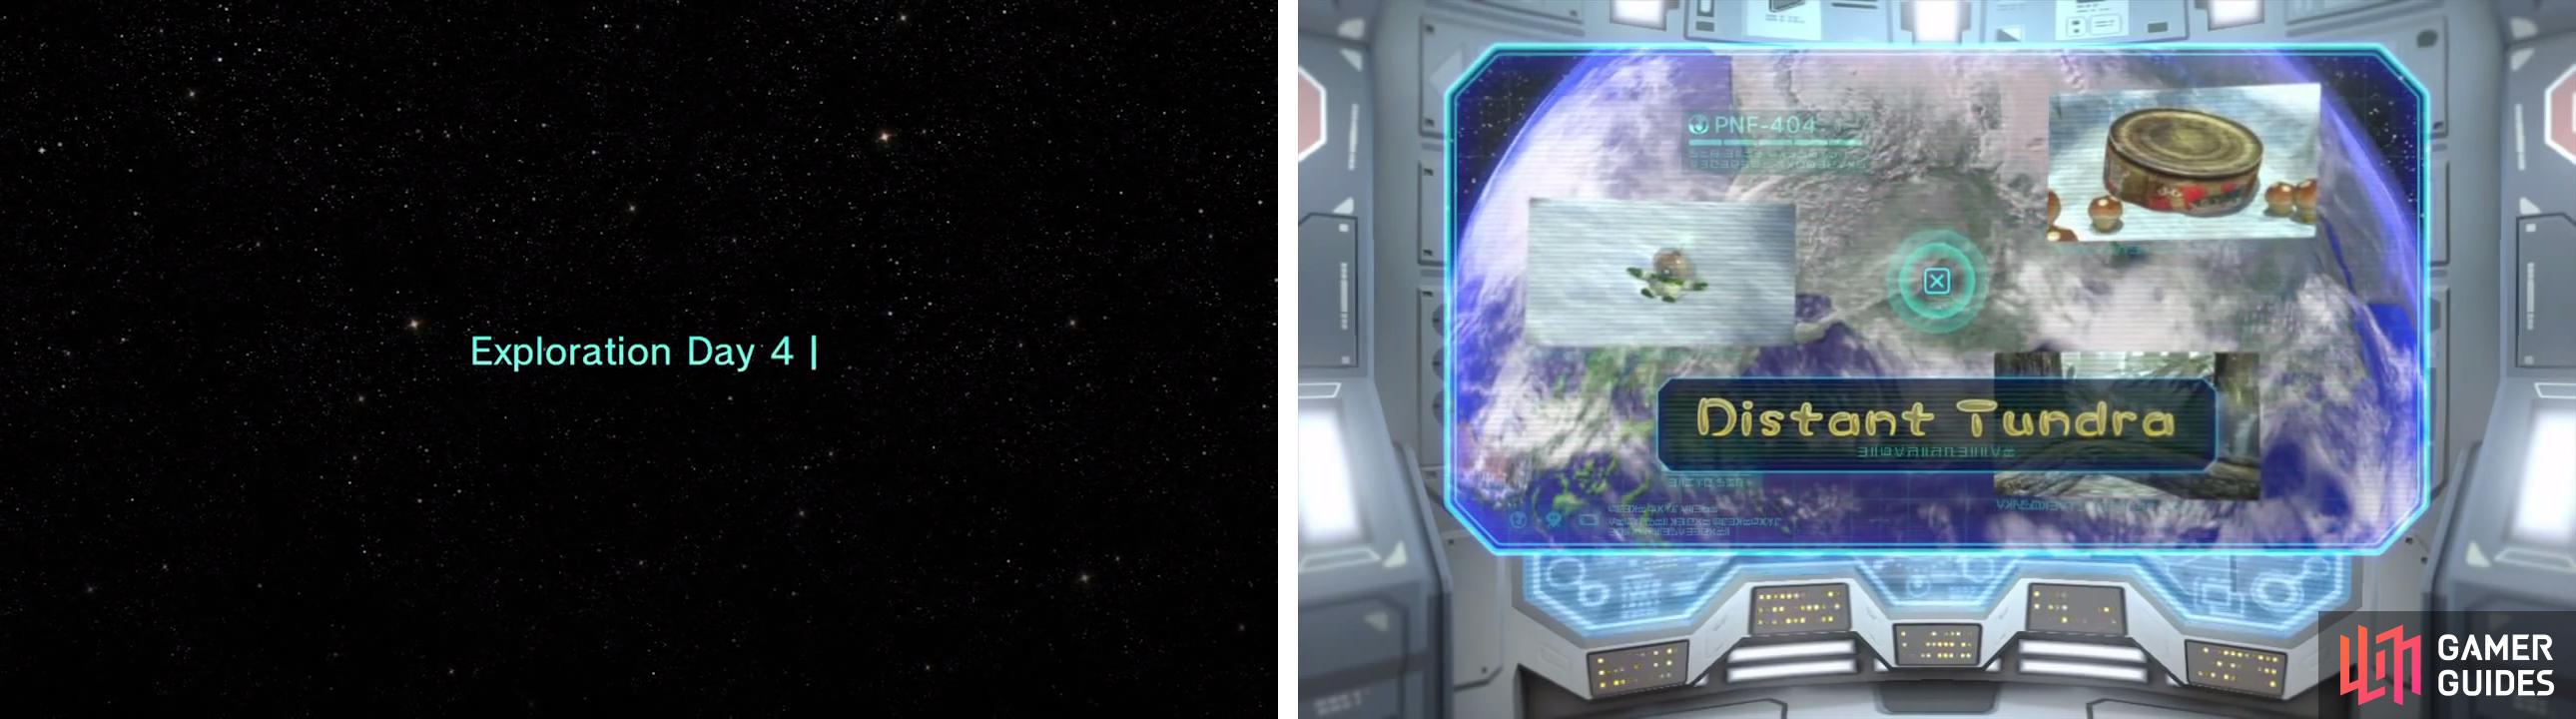
Todays Goals
- Meet the Yellow Pikmin
- Reunite Brittany and Alph
- Claim Four Fruit
Speedrunners Goals (optional)
- Beat the Vehemoth Phosbat
- Retrieve the Captain
Honestly, this ship needs seat belts. At the beginning of this stage Brittany will be rudely ejected and dumped in a cave. Follow the cave forward and you’ll meet the yellow Pikmin, who you will need to use to connect an electrical circuit and light up this room. Handy little fuses.
Simply move around this area and collect all of the pellets. You can throw Yellow Pikmin much higher than their brothers, so take some time to get used to this. Once you have 20 ’min in your command, shove the nearby ball down the ramp to create an exit.
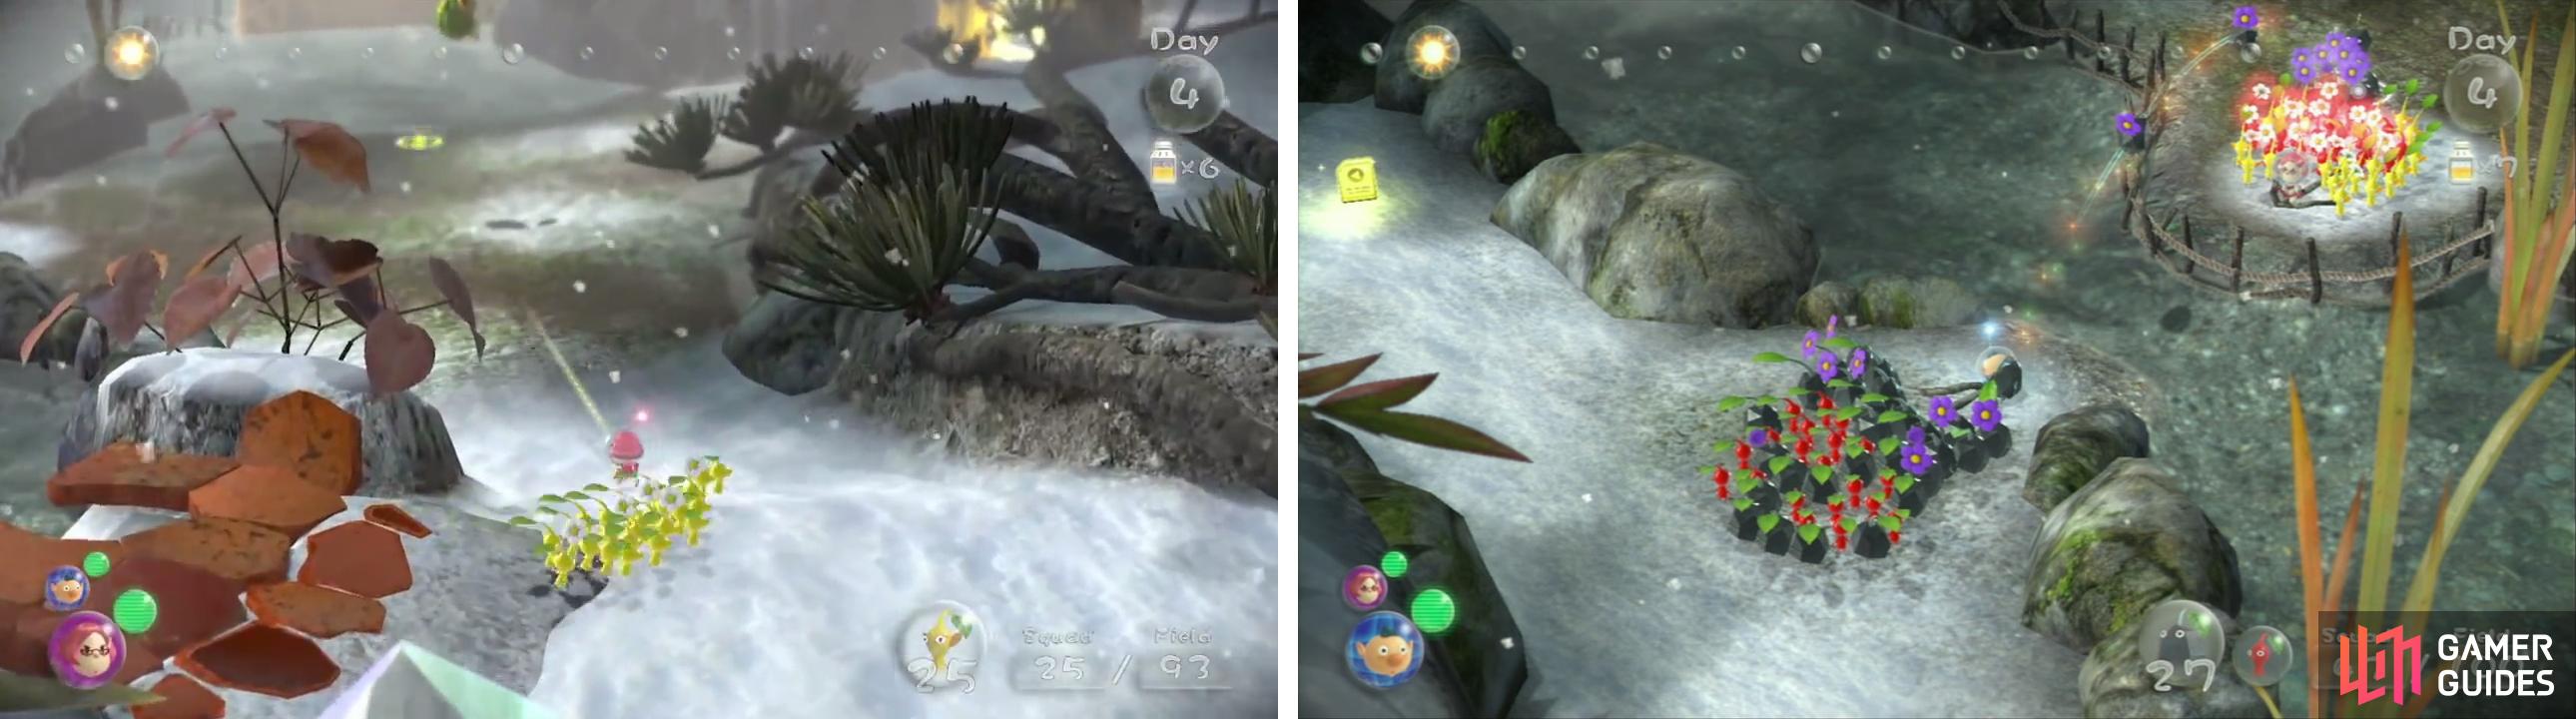
With that done, you’re back outside. Here we need to reunite the captains by building bridge. Two mounds of bricks sit on either side of the river, and we need to swap Pikmin before we can really get anywhere.
Run Brittany to the right of the bridge, down the ramp, and you’ll find a fenced area poking out into the river. This is the swap point. Swap to Alph and call an equal number of reds and Rock, then head to his side of the river. Swap half of each colour for half of Brittany’s Yellow ’min.
Next, gates. Have Alph attack the Dirt Gate to his left, and turn Brittany on her heel and have the yellow Pikmin attack the electricity gate here.
Don’t let Brittany sit around, however. If you run her back to the bridge and take the other path you’ll find a pile of bridge parts on top of a flower pot. Before collecting check around its base, you’ll see some small protrusions in the snow, there are ’ Joustmites ’.
The Joustmite’s bum is very vulnerable to a direct charge, and that is found at the larger part of its carapace. Run toward and as it appears, charge onto its back. Repeat for the second Joustmite, trying to move around to its back as quickly as possible.
With these two dead, start gathering the bridge pieces. By now Alph’s Pikmin should be done with their wall so it’s a good idea to deal with the Bearded Ampra t through here.
These creatures are vulnerable to yellow Pikmin, but after a static charge they have a long period of calm, meaning it’s effective to lure it into an attack and then charge it post static.
With the Amprat dealt with, use the red mushroom to spring your ’min up to a pile of bridge pieces. Collect them.
Back to Brittany. Gather up your Pikmin and take them back to the electric gate. The yellow Pikmin will be done. Use your Rock Pikmin to free up the hot spring; these allow you to reach higher areas quickly.
Here you’ll meet an Arctic Cannon Larva . These don’t actually kill Pikmin, they’re just a nuisance. Your best tactic is simply to charge it, then whistle Pikmin off after a second, look for its ‘shrug’ and then charge again. Take the next hot spring.
Up here there is a Whiptongue Bulborb strolling around. Deal with him in much the same way as a typical Bulborb – aim for the eyes! The Whiptongue simply adds a ranged attack, so launching your offensive as soon as possible is the advisable course of action.
With the Whiptongue firmly whipped, work on the pile of bridge pieces.
Back to Alph. You want to round up your Pikmin and head ‘behind’ the landing zone. Here there is a glass wall with some fiery slugs (called Pyroclasmic Slooch ) slinking around behind it. Smash it, then use your Red Pikmin to deal with the slugs.
The final pile of bridge pieces is sitting nearby, and there’s a tasty strawberry to grab as well.
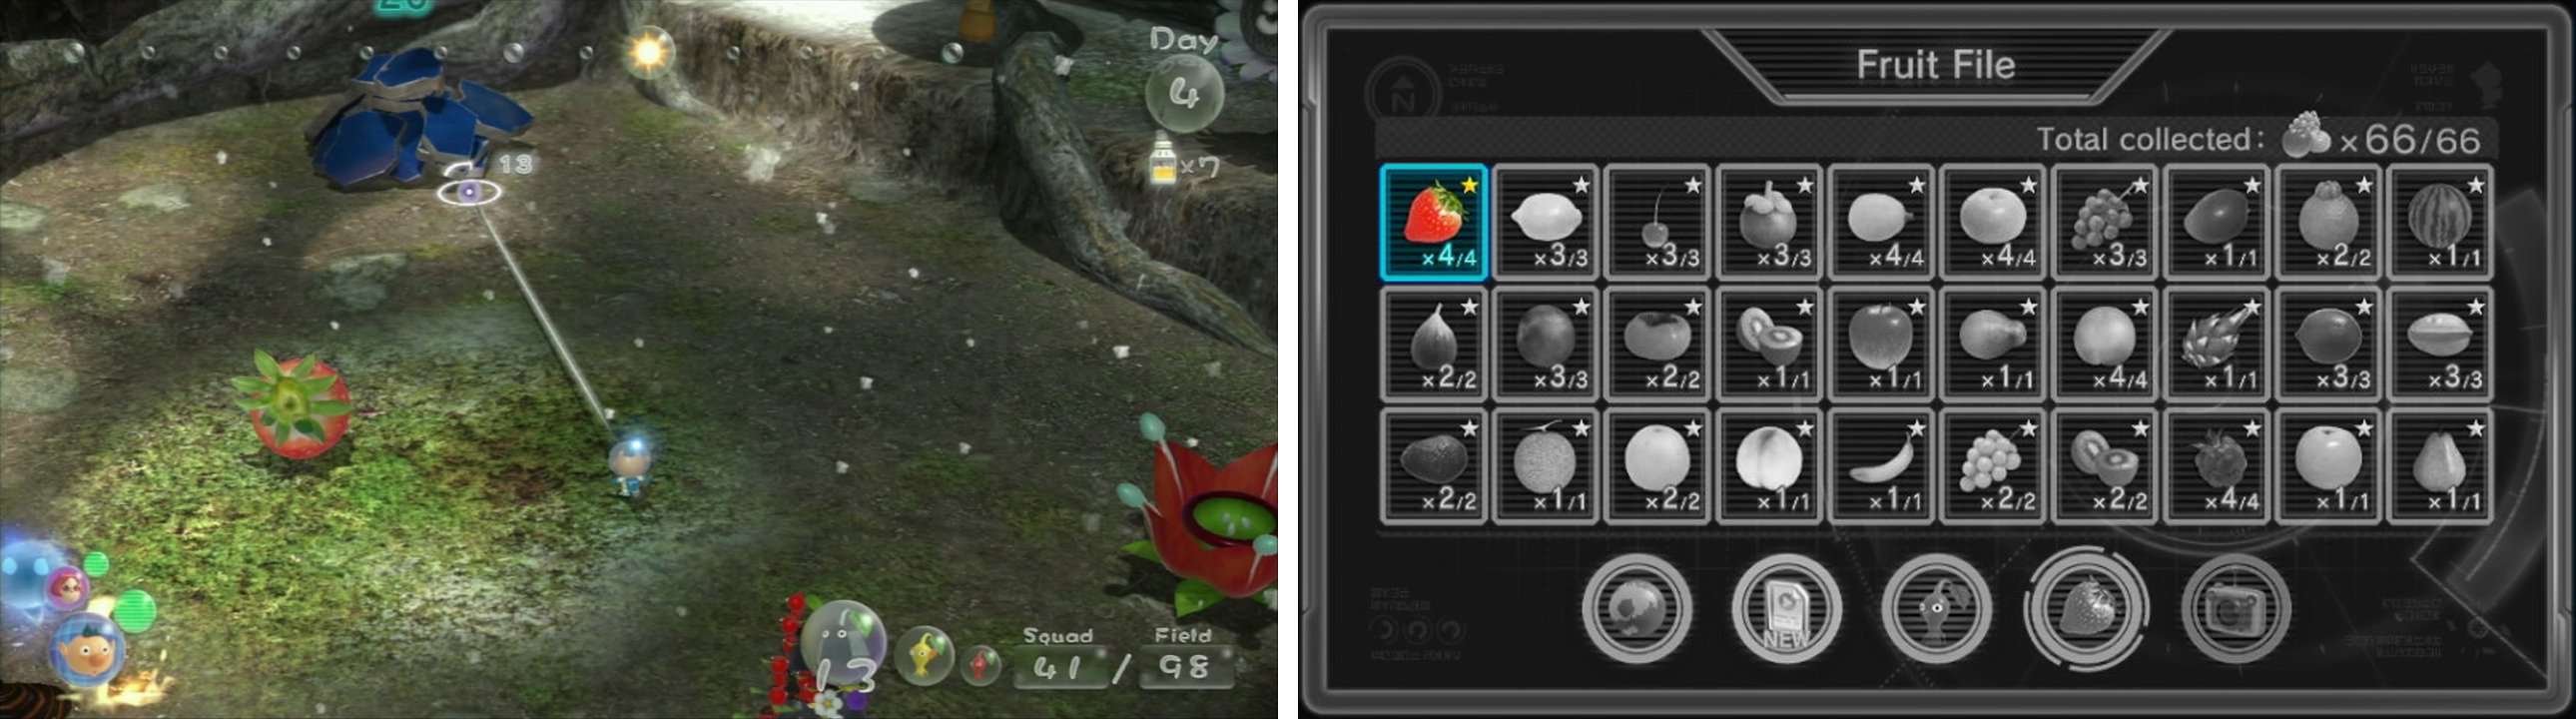
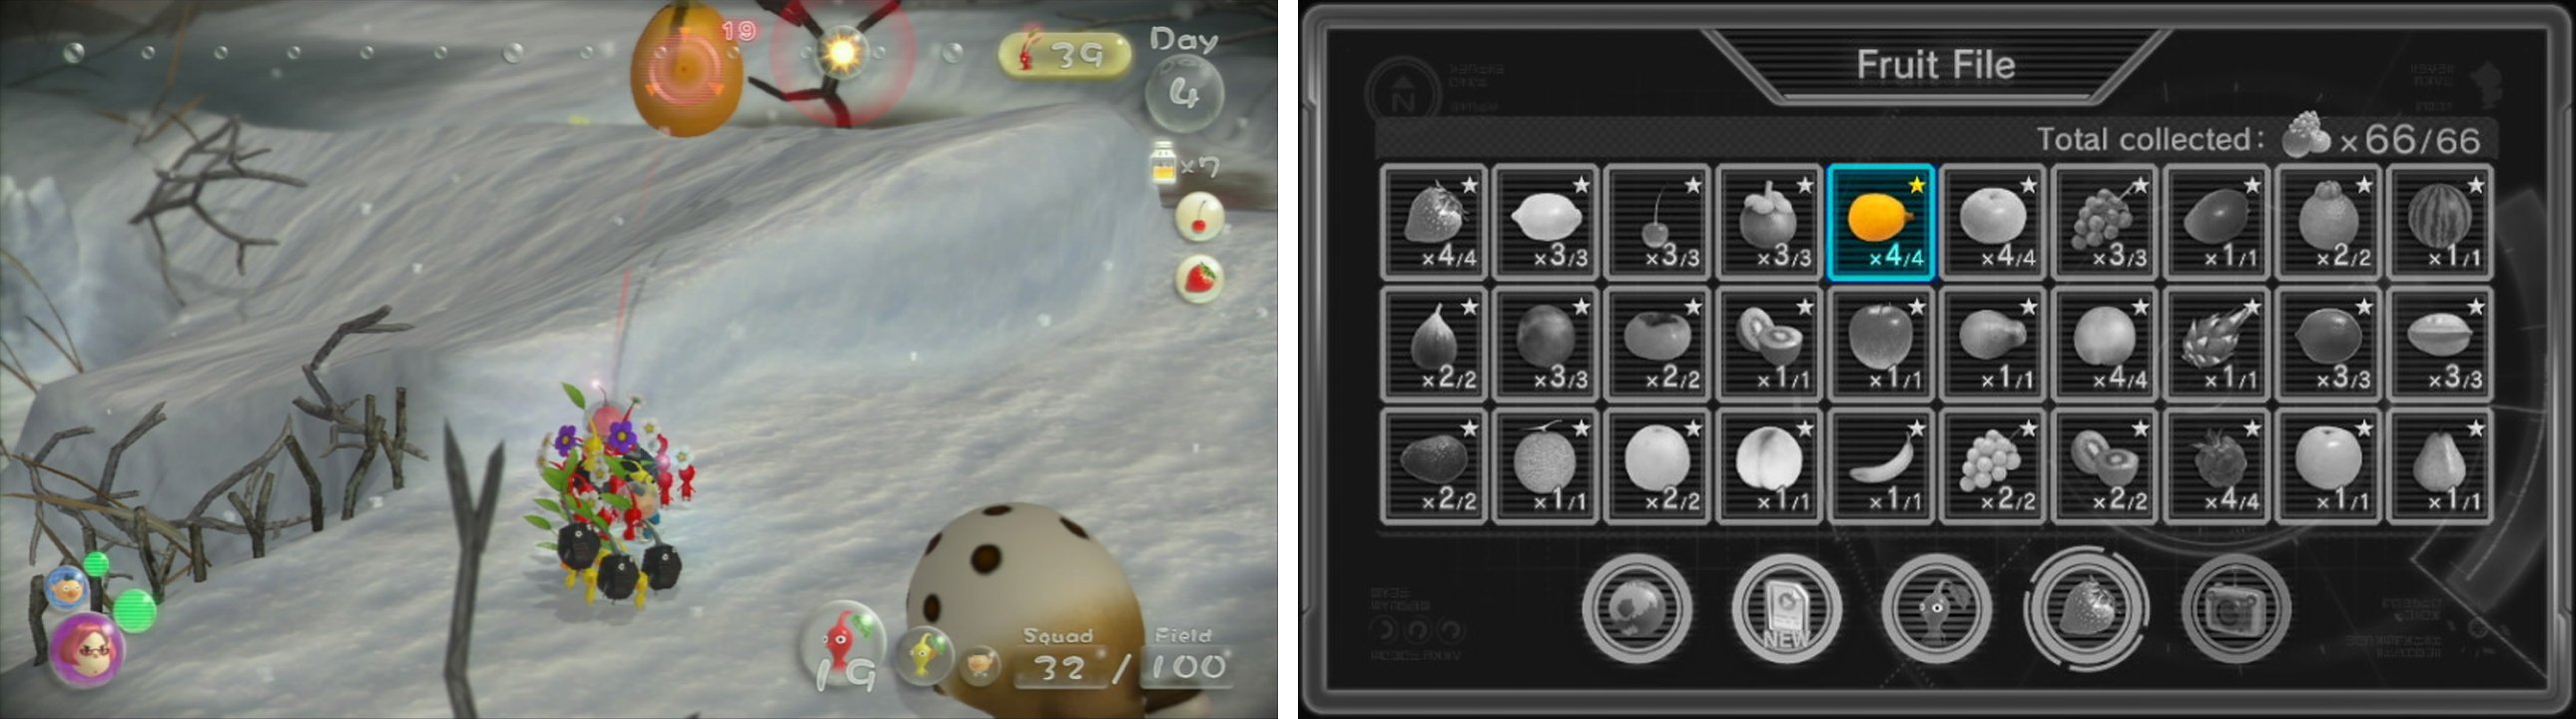
Sunseed Berry (3 of 4)
Wow. That was quite a productive morning, wouldn’t you say? Assuming it is midday, it might be possible for you to reach the Vehemoth Phosbat and save the captain.
To do so, you’d send Alph to Brittany and if you toddle down the ramp a bit you’ll see a ‘face’ in the wall. We want to send Alph and twenty Pikmin up onto the ledge to the left of this so he can dislodge the ‘nose’ and break a hole in the wall below.
Regardless of whether you do this or not today, grab the cherry by lobbing one Pikmin up onto the ledge.
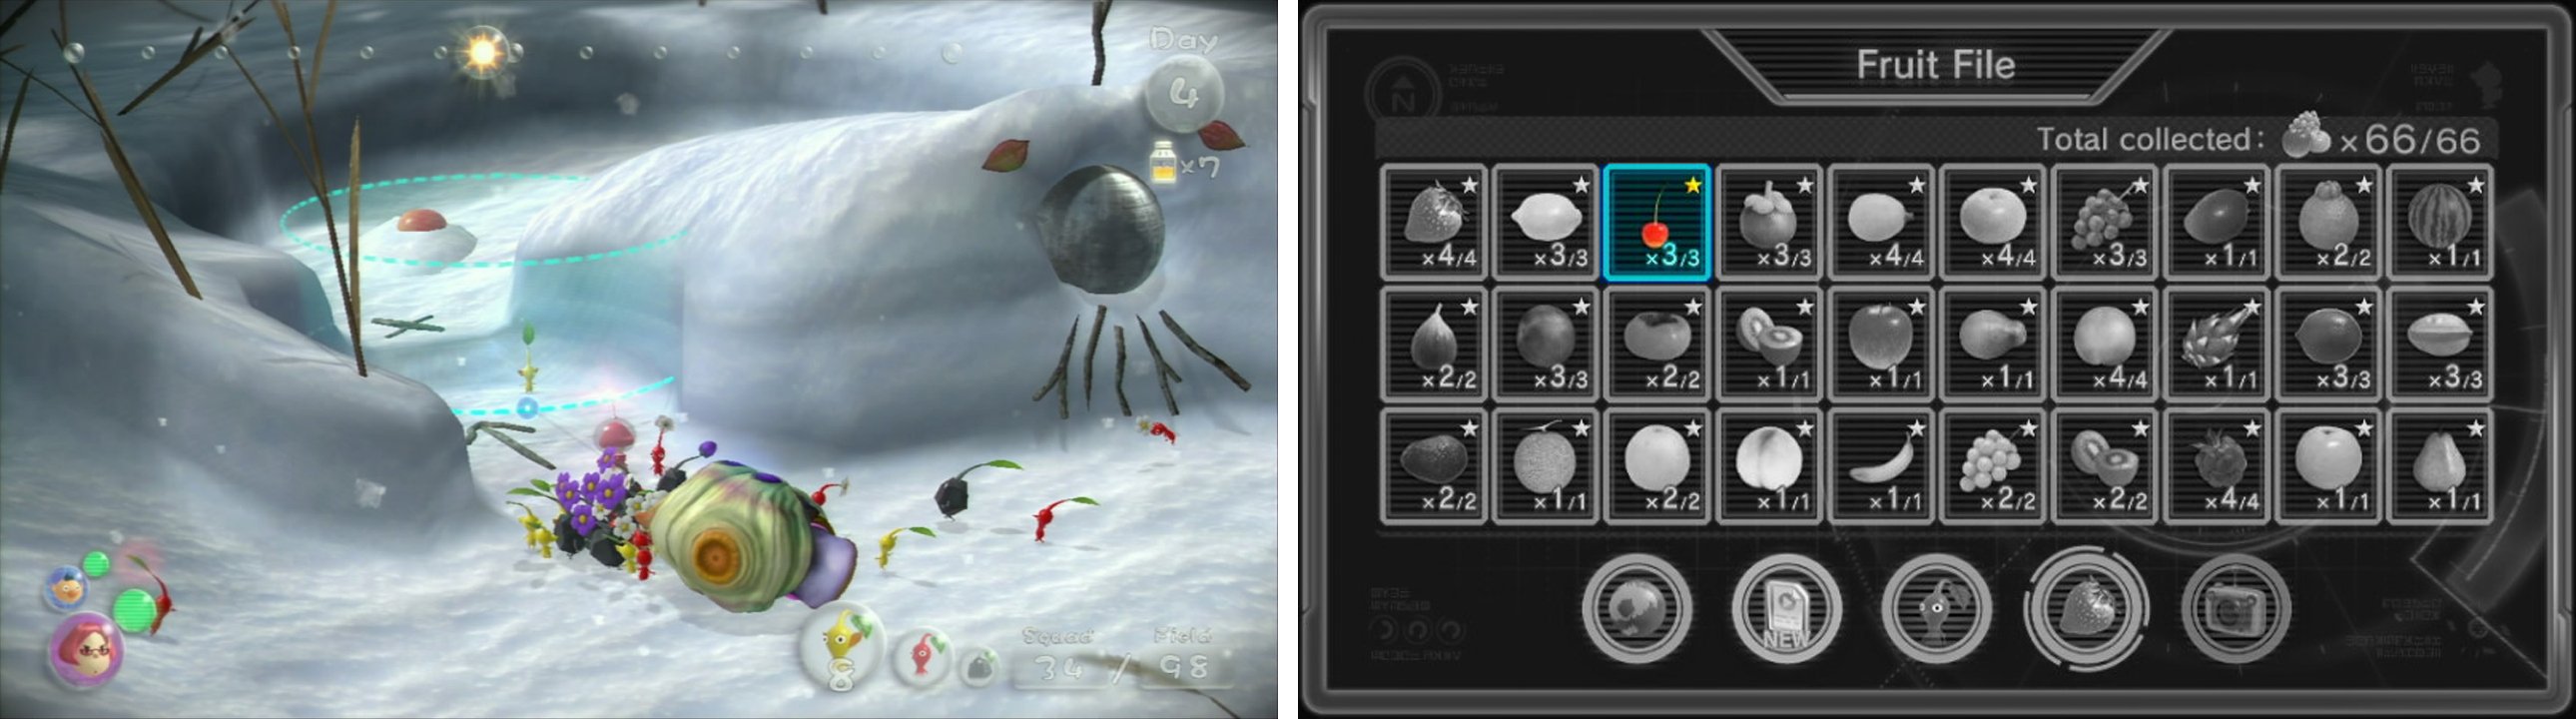
Cupid’s Grenade (1 of 3)
There’s another fruit nearby as well. Head to where you dispatched the Whiptongue Bulborb and face the camera back ‘into’ the level, you’ll spot the ‘Velvety Dreamdrop’ hanging from a branch. Chuck Pikmin at it to dislodge it and claim your prize.
Velvety Dreamdrop (1 of 4)
While we’ve got some time to ourselves now might also be a good time to point out the Cherry that’s right by the ship. Turn around and you’ll spot a snowman on the upper ledge, decorated with a lovely cherry on top. Get a Yellow Pikmin up there to dislodge its crown for yourself.
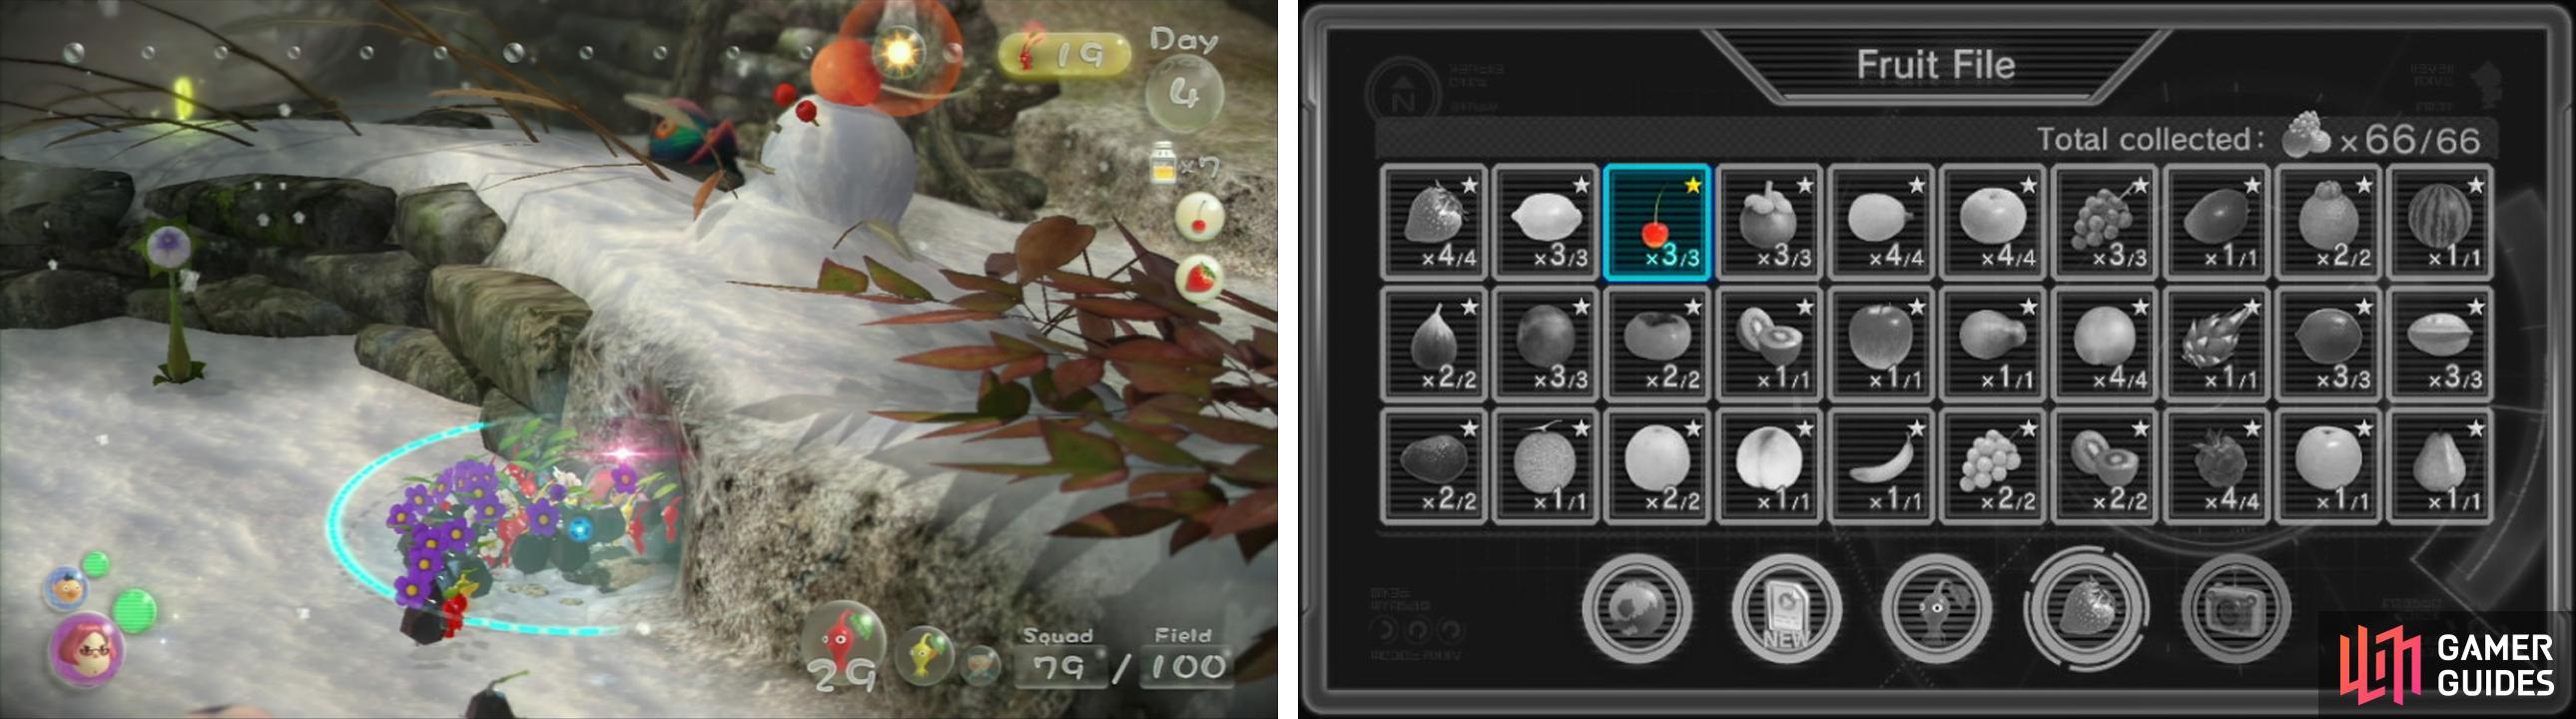
Cupid’s Grenade (2 of 3)
With the rest of your day you should focus on hoarding your spoils and dealing with any Electric gates, such as the one behind your ship. It’s important to open shortcuts. Have Rock and Red Pikmin claim nearby foes – you’ve worked hard today.
 Sign up
No Comments