Todays Goals
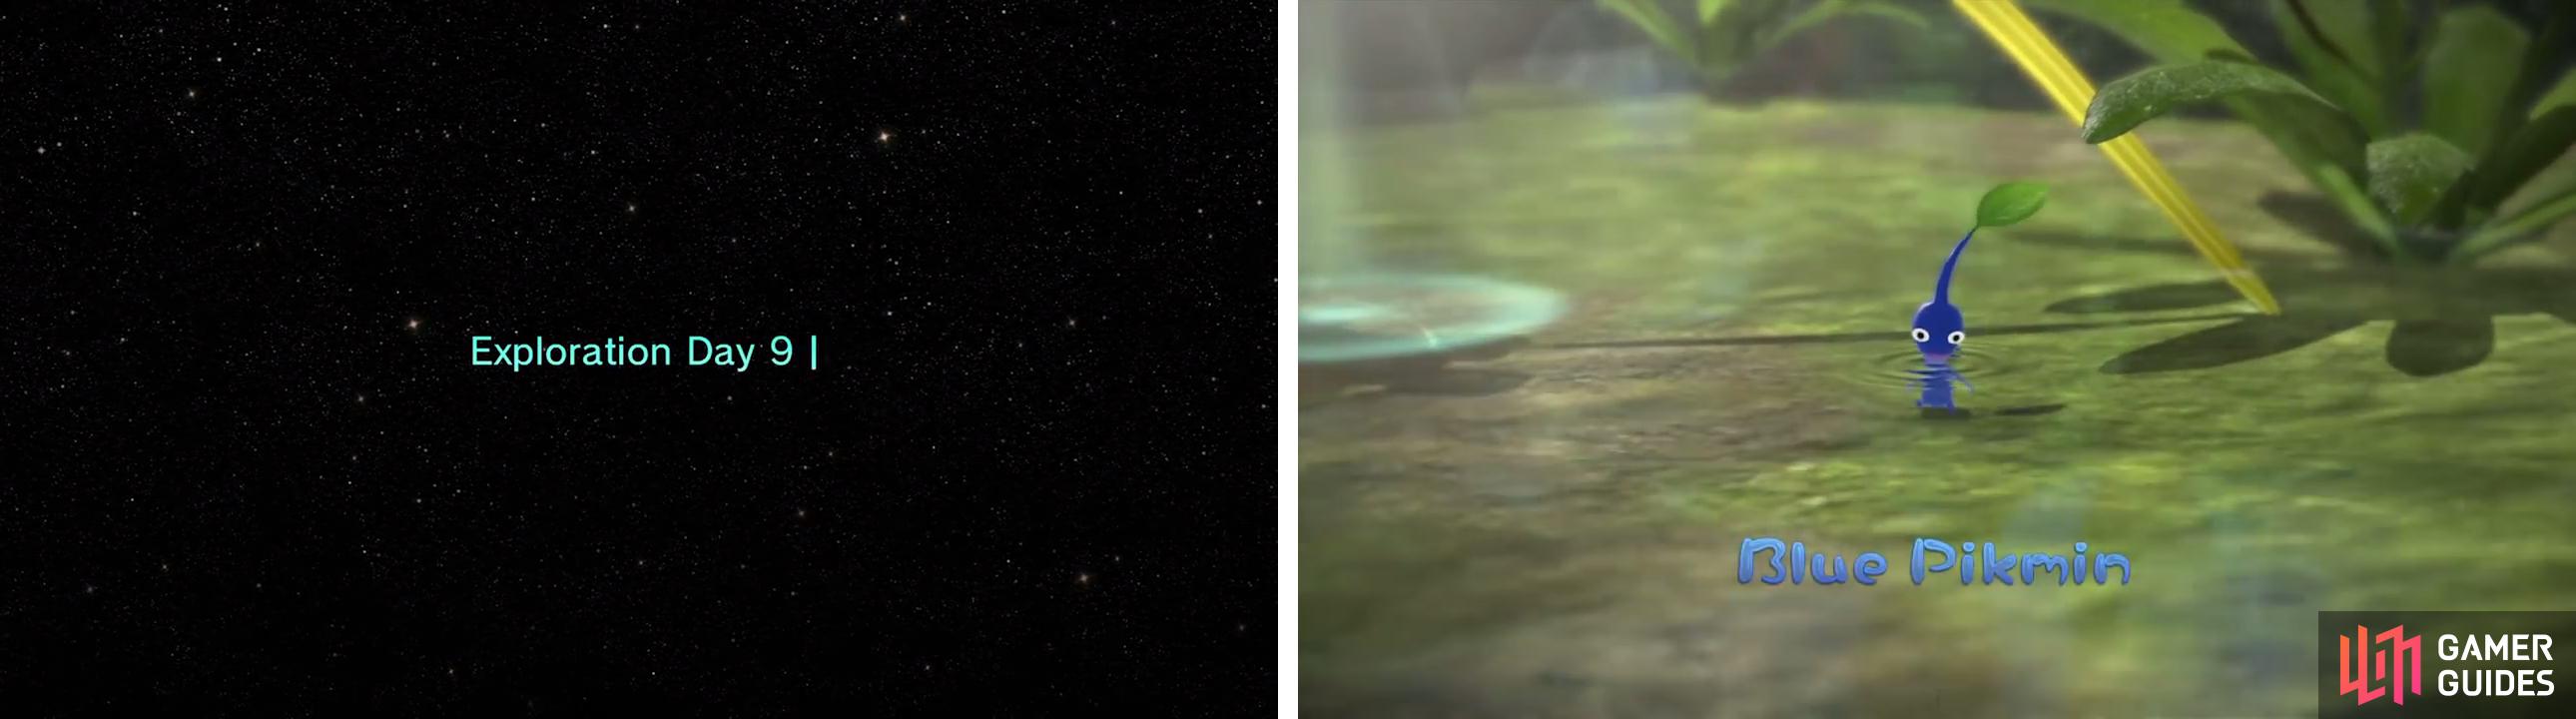
- Rescue Blue Pikmin
- Work on Bridges towards Mireclops
- Collect 6 Fruit
On this day we’re forced onto a particular planet because Louie has taken the reigns, oh no! Fortunately he appears to be made of explosives and will actually obliterate the nearby breezeblocks, giving us access to a totally new area!
Start by taking two captains and an army of 40 mixed Pikmin in this new direction. Throw one captain and a few Pink Pikmin towards the Blue Onion and then turn right, set your other ’min on this Dirt Wall.
At the same time you’ll want to send Captain 3 with a mixed army of 40 min towards the tin balance puzzle, where you grabbed a lime back on day 2.
By now the Blue Onion will be up, so use captain 2 to start plucking the azure ’min and set them on the nearby pellets. We need to bulk up our blue numbers, fast.
Captain 3 should have reached his destination around now, so set his Yellow Pikmin on the Static Gate to the right of the tin puzzle.
Captain 1’s army should be done with the Dirt Wall by now so head through, dispatch the bulborb, and start gathering the bridge parts here.
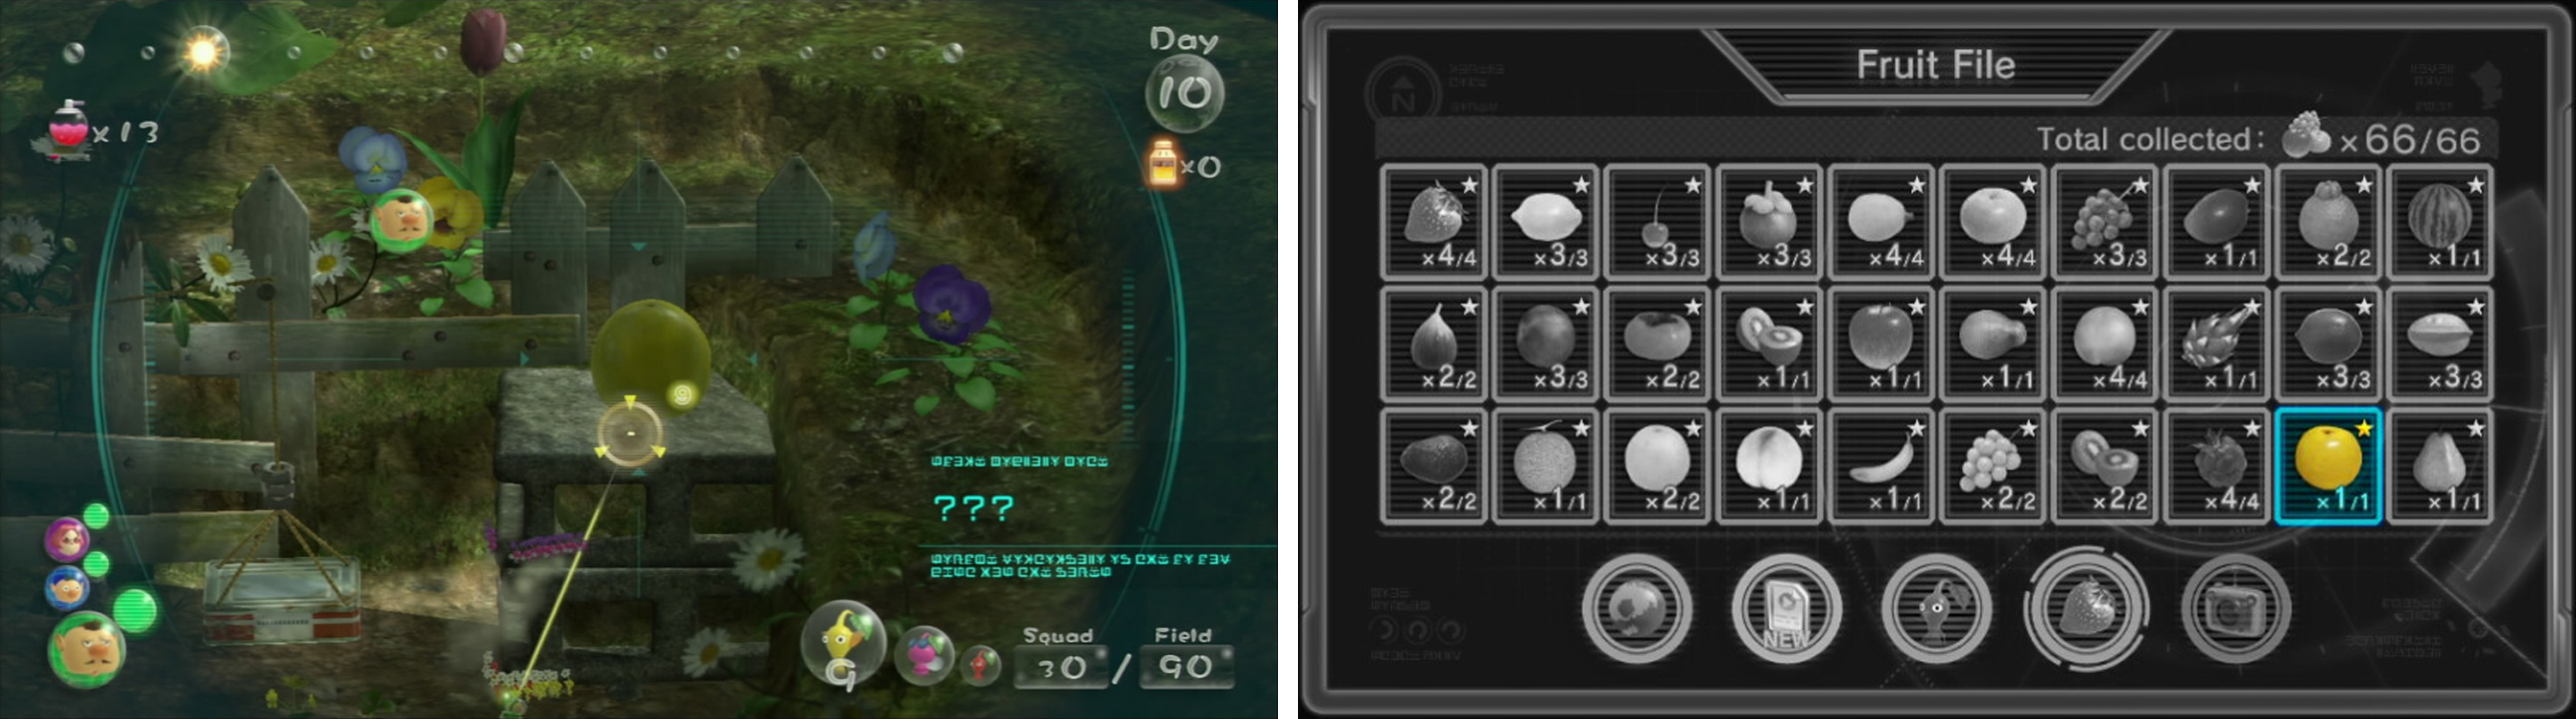
Check on Captain 3, are his Yellow Pikmin done? If so head on through, target the Grapefruit up on the breezeblocks, and then Charge your Pink Pikmin at it and then set Captain 3 to trot back to the Onion.
Crunchy Deluge
Take a bit of time to further your blue population by pulling in some corpses and more out there pellets. Then, when you’re ready, head ‘into’ the water from the Blue Onion. You’ll see some bridge parts, grab ’em.
Switch back to Captain 3. Remember where we first threw a Captain and Pikmin over to access the Armored Mawdad? Well there’s a Static Gate here. Deal with the Fiery Blowhogs and set your Yellow Pikmin on the gate.
With bridge nearing completion, take your available Blue Pikmin to the right. Under the bridge. The Puckering Binnow here are best dealt with through a lock-on and charge, one at a time.
Then, send three Pikmin to grab the Strawberry and set the excess on the Dirt Wall.
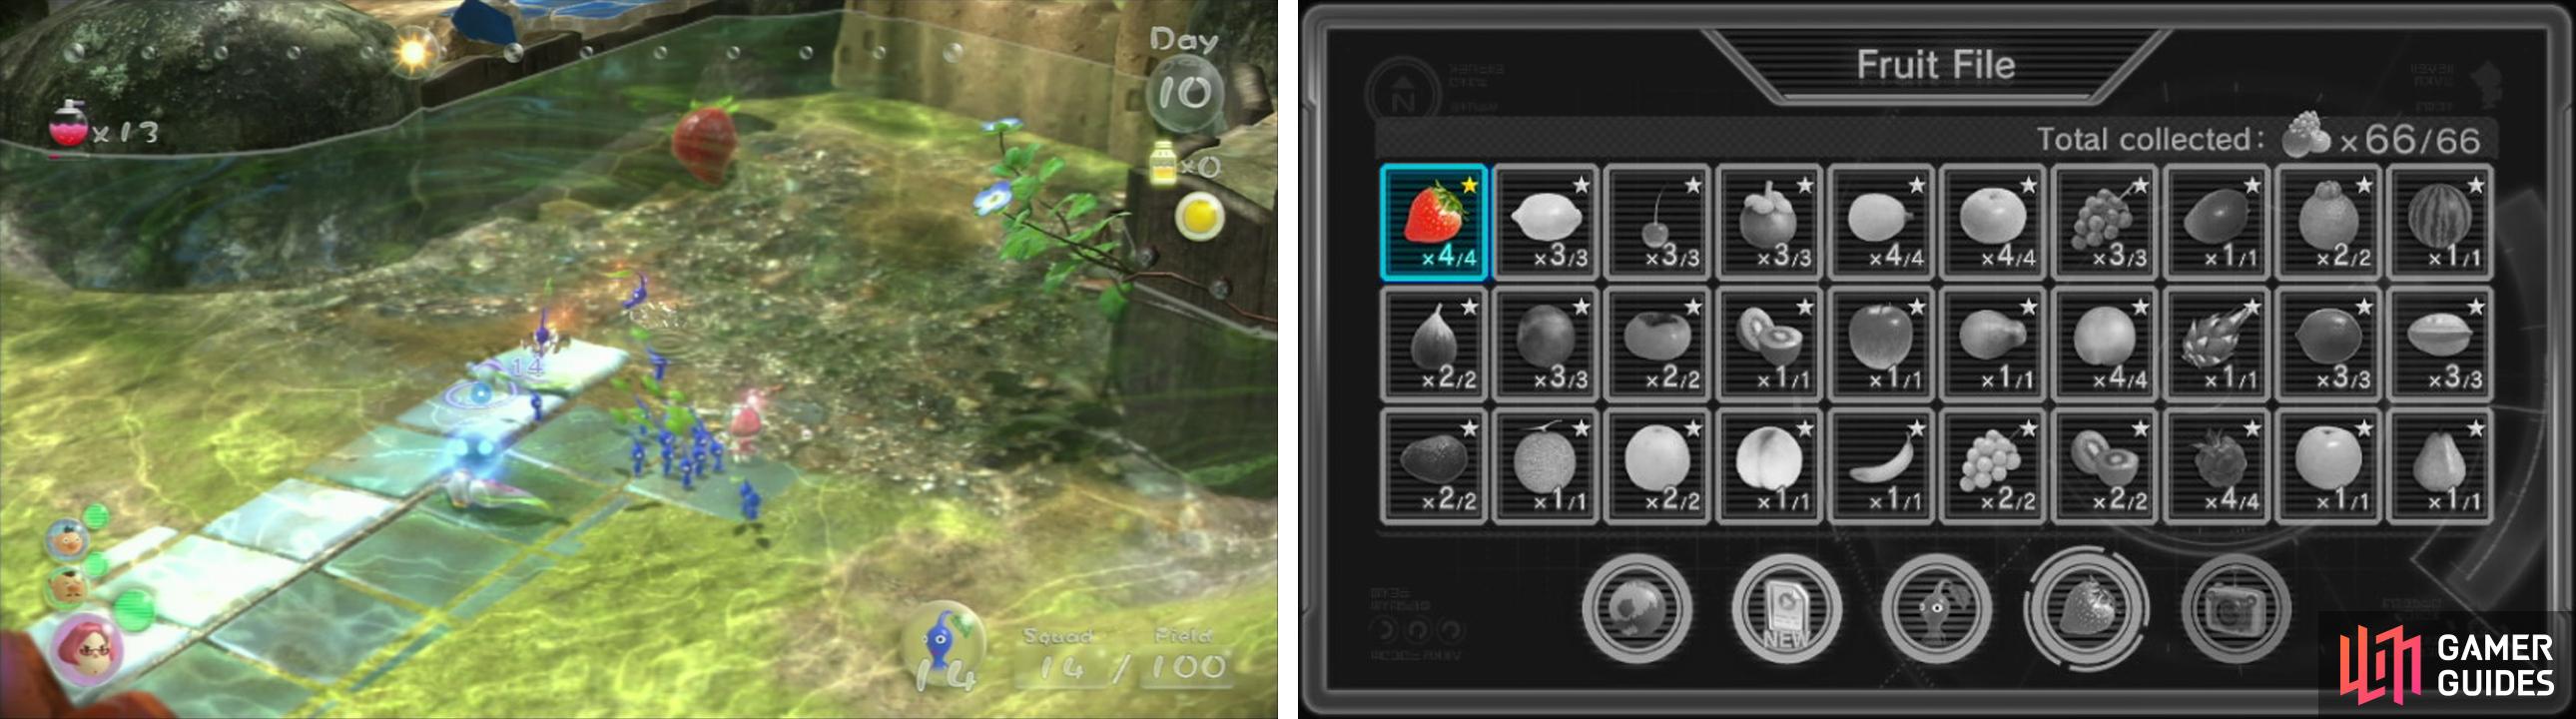
Sunseed Berry (4 of 4)
Head through the ex-gate and into the drainage duct. In here you will spot some grapes over a gap with a tin weight puzzle.
Throw a handful of Pikmin onto the left tin and then throw your extra Pikmin over the right, towards the grapes. They will collect the grapes and as long as you’ve thrown three of four ‘min onto the left tin they won’t weight it down.
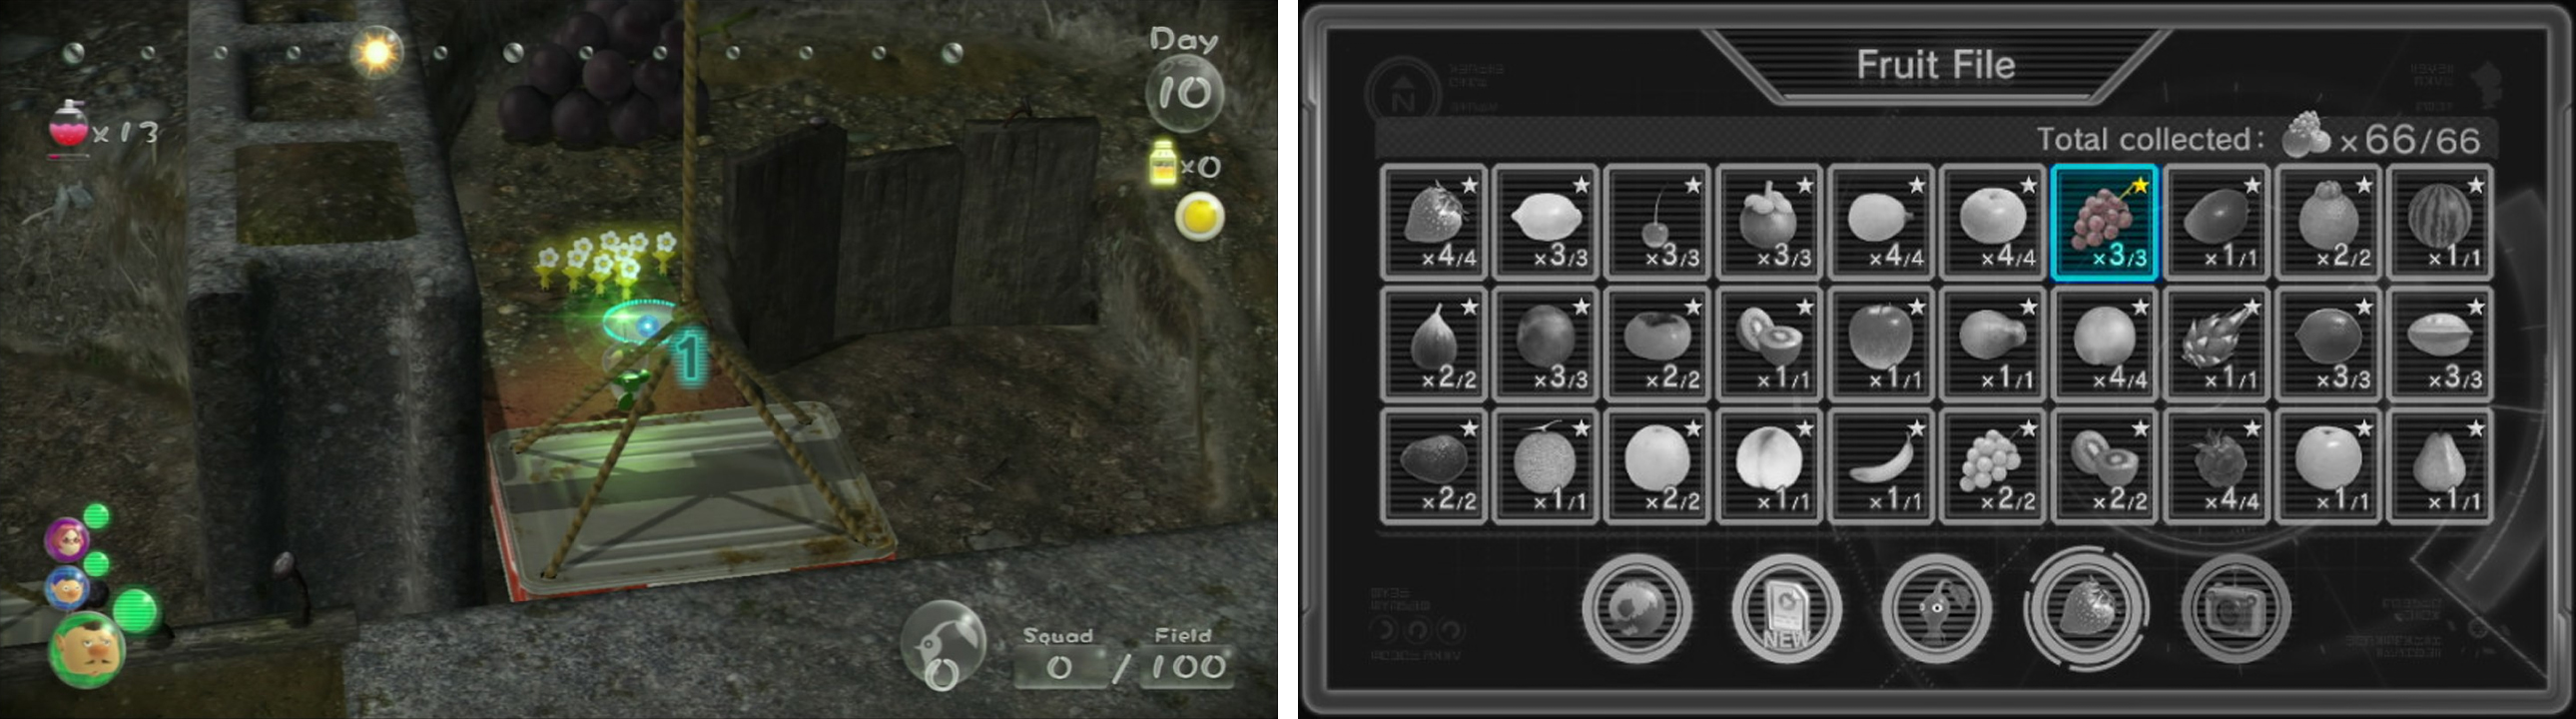
Dusk Pustules (2 of 3)
That bridge finished, didn’t it? Swap to Captain 2 and head across. You should have a nice supply of Spicy Spray so pop one on your army and then charge the Waddlepus .
These creatures aren’t outwardly aggressive, they instead spurt bubbles that trap Pikmin and carry them away, so don’t fear this head on charge.
With the Waddlepus down our next course of action is to set five Pikmin on the nearby Spicy Berry Plant, throw your Rock ‘min at the crystal on the platform’s opposite corner, and then ask 20 of your friends to push the lockbox into the water. Nice.
The Rock ’min should have finished their smashing, so make sure to grab the fruit.
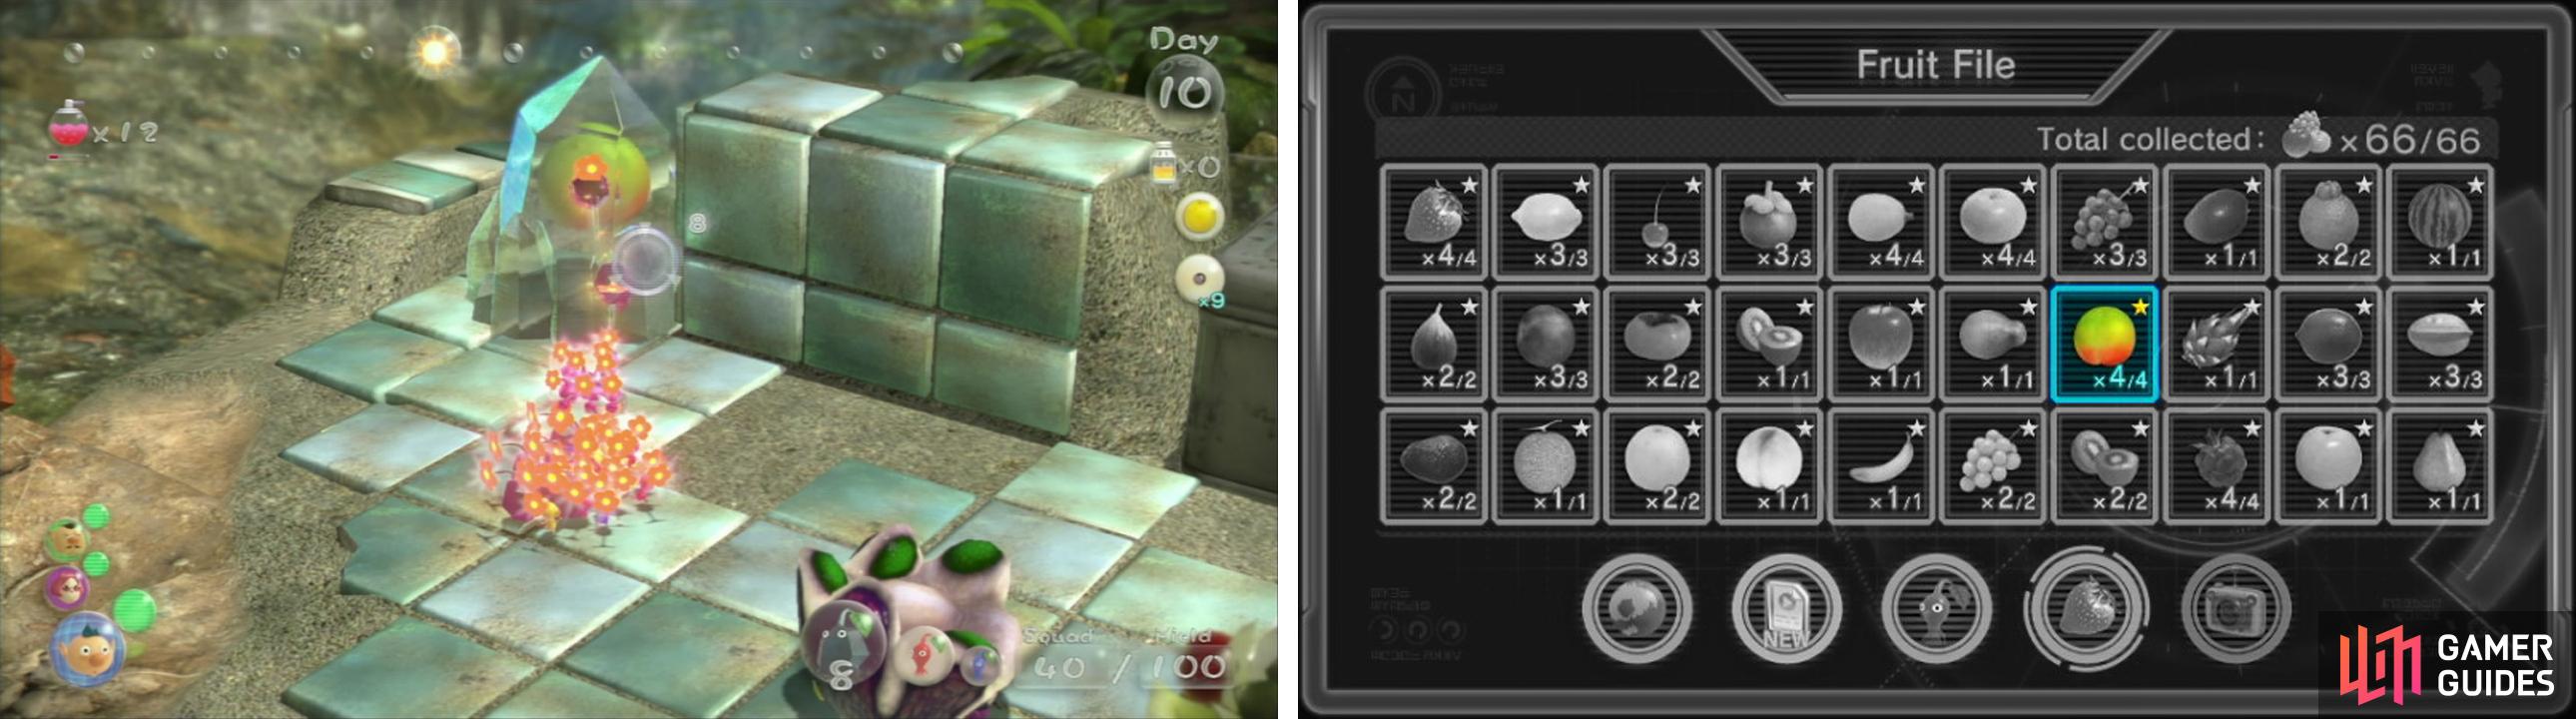
Searing Acidshock (2 of 4)
Now set your Pink Pikmin on the nearby gate. This will give Captain 1 and their army of Blue Pikmin access to the Orange – the lockbox we dropped creates a walkway to claim the orange.
Before you do this, however, it’s worth checking with Captain 3. If his Pikmin are done with their grapes then it’s a good time to round up his ’min and send him to the Onion.
There’s another Static Gate to the East of the Onion, where you first encountered a large bulborb. Send him here, using a Spicy Spray against the Bulborb if required, and then work on the gate the gate.
Otherwise take Captain 1 and the Blue Pikmin into this new area and claim the Orange for your troubles.
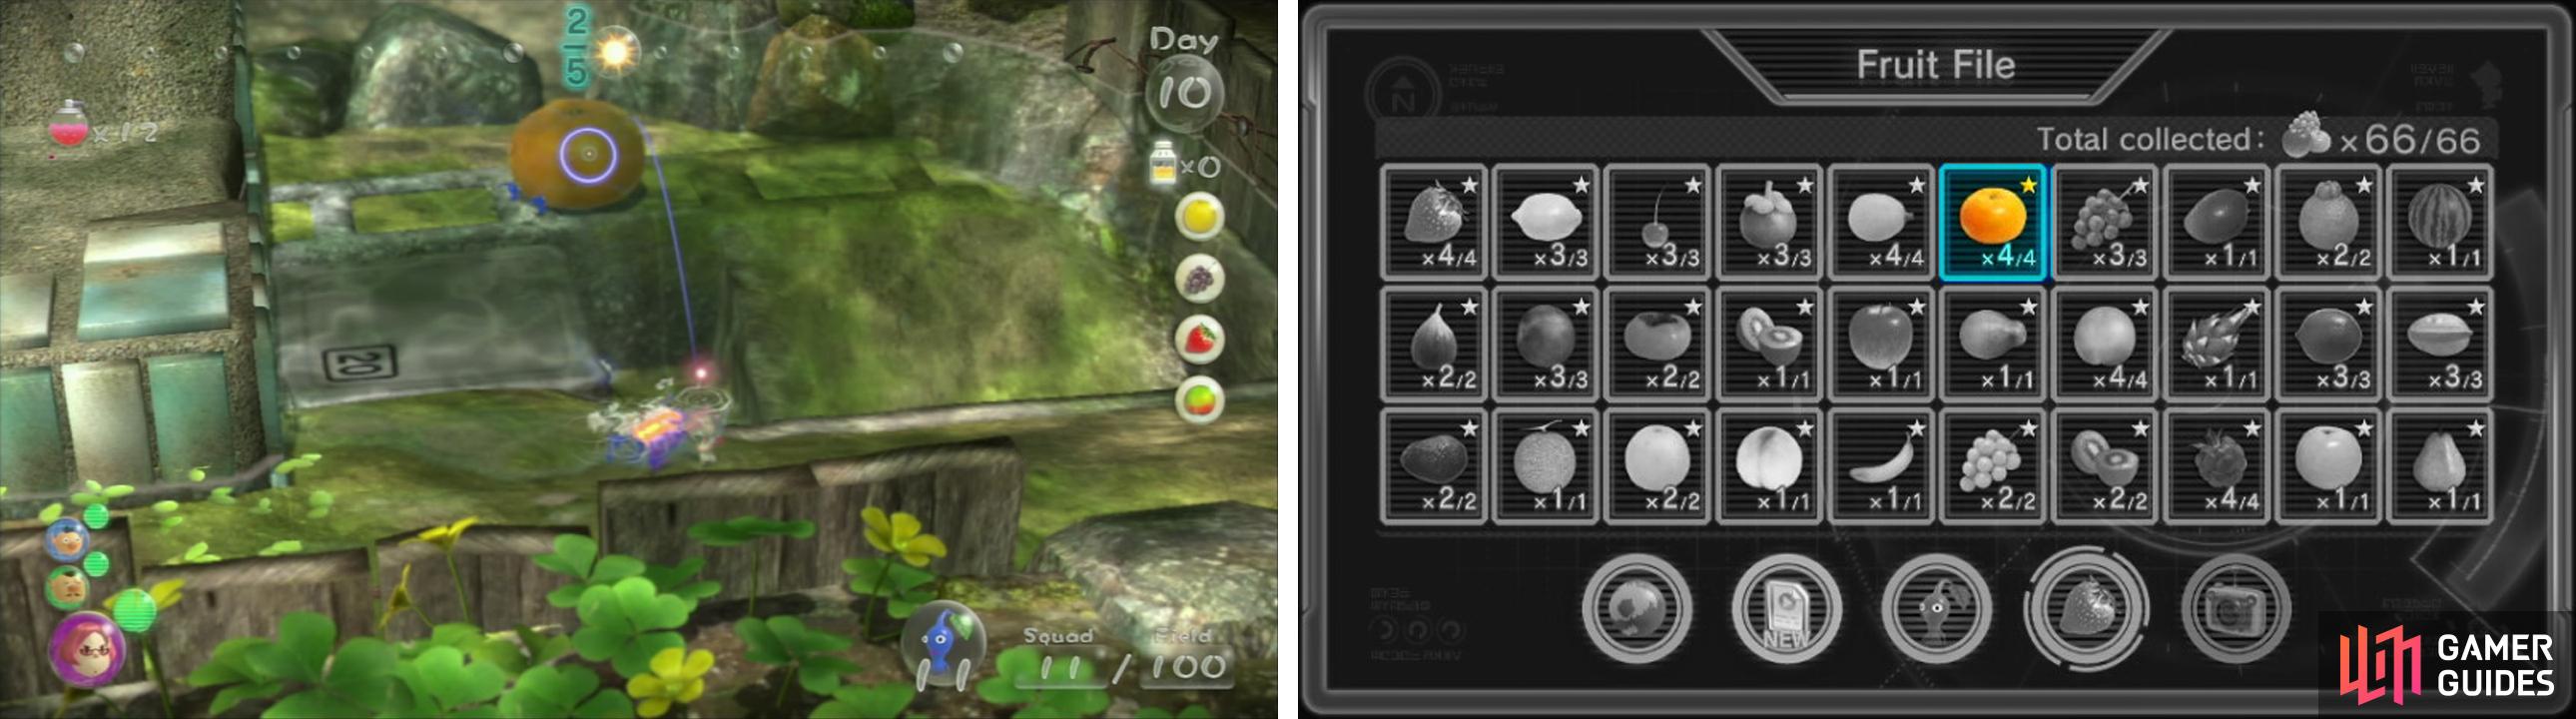
Citrus Lump (2 of 4)
Swap back to Captain 3 and the gate should be down. There’s a fiery Blowhog in here, but he doesn’t pose much of a threat.
Deal with him and then turn your attention to the buried Pocked Airhead, another piece of fruit! Get to work digging it up and you can grab it within the day.
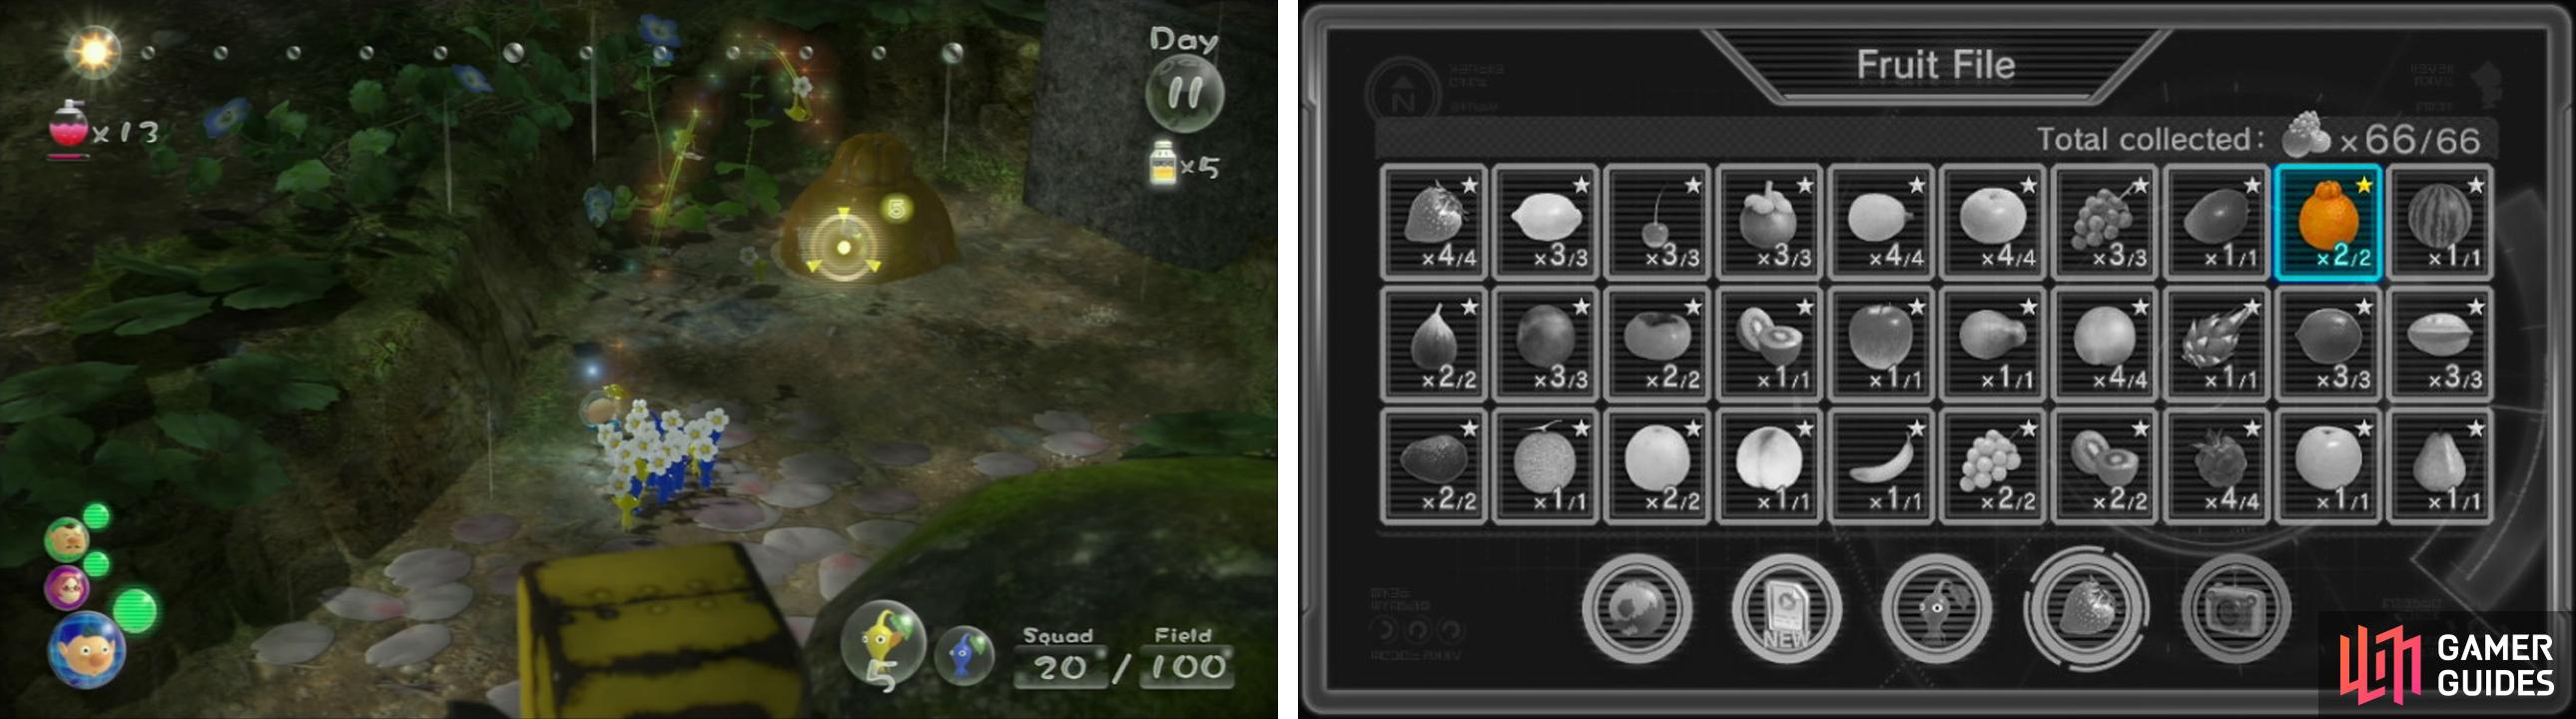
Pocked Airhead (2 of 2)
What now? Well, we’ve crammed a lot into this day, and in my opinion the best way to use your final minutes here is in pure destruction.
Take your Blue Pikmin and cut a swath through the underwater lifeforms around where you found them. We’ll need to gather quite a few resources from here tomorrow, so dealing with the dangers of the water today can save us some time in the morning.
This is a tough day, and one you could definitely consider shortening if you’re finding it hard to cram everything in.
 Sign up
No Comments