When you regain control of Lara after defeating the witch, you’ll be back in the ‘real’ world, which means collectibles will show up again and we’ll be able to explore the large room where we just fought the Witch. We’ll be back in the first room of the cave just following the ‘Witch’s cave’ Base Camp.
To begin with, return to the Base Camp and equip your new Bow – Dreamstinger and Outfit – Wraithskin to earn yourself an easy achievement/trophy.


Return into the Witch’s cave and speak with Nadia to unlock another quick and easy achievement/trophy.


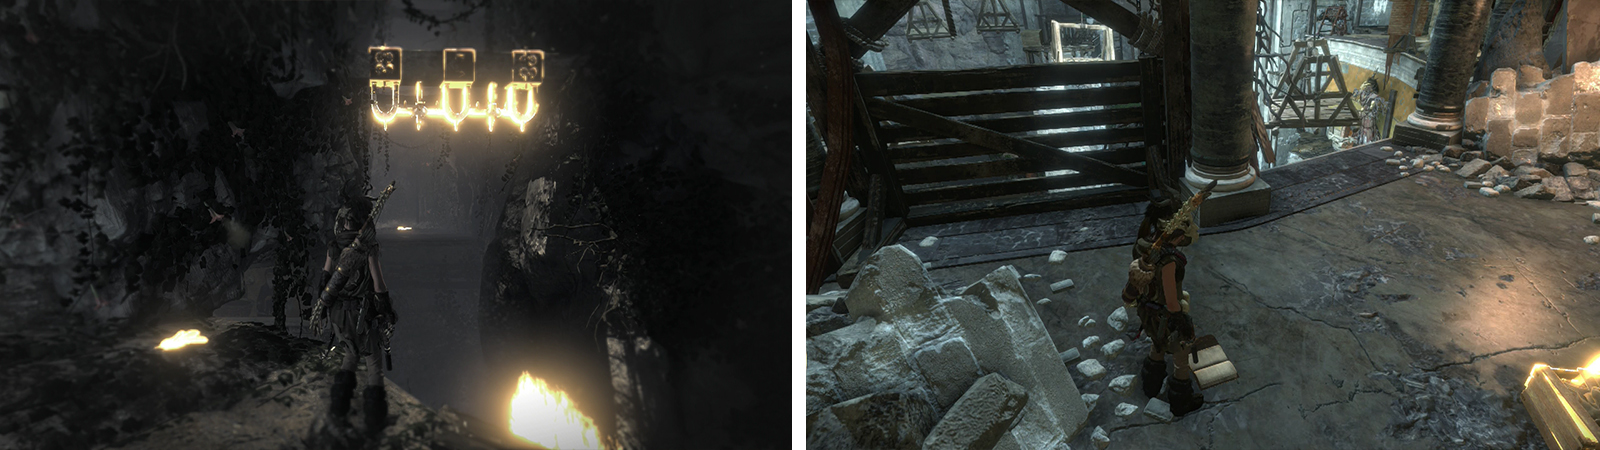
Climb down the stairs behind Nadia to enter the cave once again. Swim along the passage here and keep your eyes on the left wall to find a small side-room. Inside you’ll find a Document [16/21 - Greek] on a small altar.
Return to the room with Nadia and you should notice that there is now an accessible set of stairs leading upwards. Climb to the top of these and as you enter the room at the top, look on the floor to the right for a Document [17/21 - Russian ]. On a carpet just left of the exit on the far side of the room is a chest containing a Relic [01/01 – Baba Yaga’s Broom].

Document 15 is in a side tunnel accessible from the water (left). Document 16 (right) and Relic 01 are inside the temple in the room with the ladder.
Head out the other door and jump into the water. Swim over to the floating wooden pallet and use it to climb up to the platform above. Find the door here leading into a cave-type area. At the far left end of the room you’ll find a Survival Cache [04/06] and on the far right, an Explorer’s Satchel .
Return to the main room and follow the walkway to the right and remove the Rope covered barricade at the end. Jump across to the next platform and look beneath the hanging platforms to find a Survival Cache [05/06] .
Jump back down to the previous platform, run back past the cave we just looted and continue to the far end. Use your Rope Arrows to remove the blockage. Enter the passage on the left and use the pair of scalable walls located inside to reach the next platform above. At the top, look for the hanging beam and use Lara’s grapple axes to swing to the far side. There is a Document [18/21 - Greek] here.
Swing across the beams to Document 18 (left). In the central room, ride the hanging platforms around until you reach the small ledge with Document 19 (right).
Swing back across the gap and climb the wall to the right. At the top, there is a barred gate to the right. There is a small platform behind this holding a Document [19/21 - Russian] . Hop on one of the hanging platforms and ride it around until you can jump into the small room for the pickup.
Jump back out onto one of the hanging platforms and use it to reach the platform with the vat on it. High up on the wall behind the vat is an opening that we can climb up to. Inside there is a Document [20/21 – Russian] . Drop back down to the vat area.
Take another hanging platform and ride it to the direct, opposite side of the room and hop off. Scramble up the wall at the left hand end to reach a second vat. Behind this is a spinning rope spool. Stand next to this and look ahead to spot a second rope spool on a platform high above. Shoot this to attach a Rope Arrow and temporarily raise a hanging platform which will allow us to jump across to a platform containing the final Document [21/21 - Russian] . Unfortunately, reaching said platform can be a little tricky as the timing is very tight so you’ll need to pretty much flawlessly sprint and jump your way across two sets of hanging platforms until you reach the platform with the first vat, then climb the ramp at the back of this platform to the top before you can jump to the newly raised platform and then from there across to the platform with the collectible. It’s definitely doable, but don’t be disheartened if you can’t do it right away - it’s going to take you a couple of tries to get the route and the timing down.
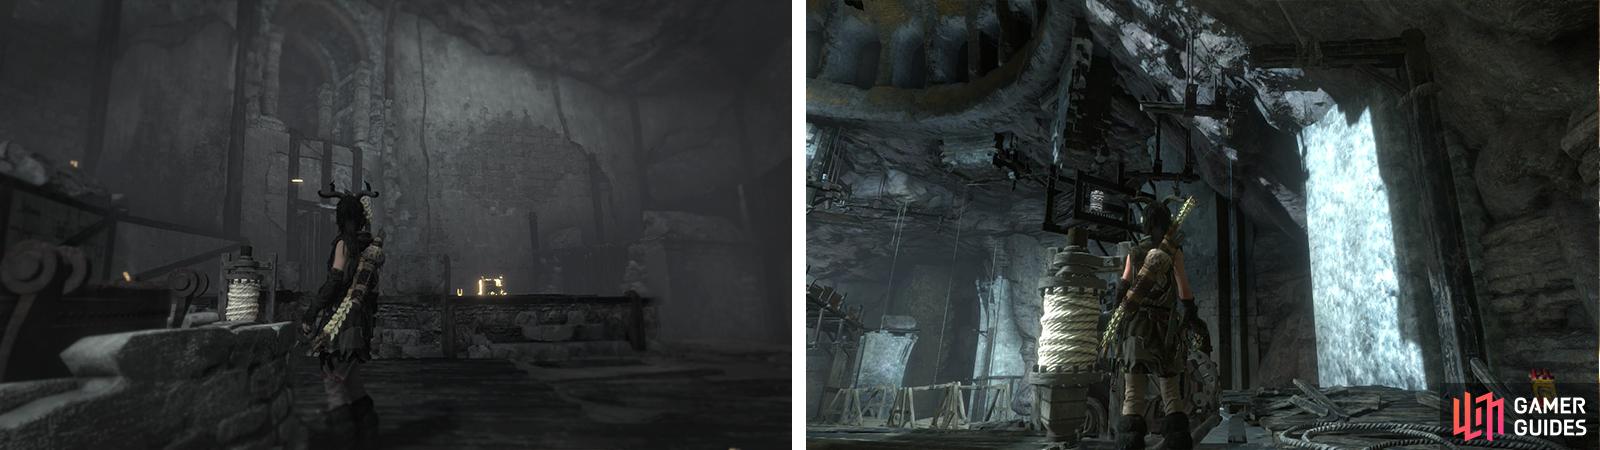
Document 20 is in a ledge above the vat (left). Document 21 requires us to use two rope attachment points to lower a platform (left). Use the platform to reach the ledge with the Document before time expires.
The final two collectibles in this area can be found on the upper level. Climb to the top of the room via the ramp by the first vat platform and use the hanging platforms to reach the opposite side. On this balcony are there is the final vat we used to defeat the Witch. On the wall behind this is an opening we can climb up to with the final Survival Cache [06/06] inside.

Drop back down to the main platform and find the doorway next to the vat. Drop down to the lower level inside to find an Archivist’s Map . Use your rope Arrows to pull down the blockage here and return to the entrance to the cave.
Before leaving the area, head back to the gondola and ride it back to the far side of the valley for an easy achievement/trophy.

At this point we are pretty much done with the DLC. So head back to your nearest Base Camp to fast travel out of there!

 Sign up
No Comments