Objective: Sneak into the old Soviet base
Once we are back in control, we’ll be at the Base Camp. Use this opportunity to apply any upgrades you require and spend any skill points you have. Exit the Base Camp menu when you are ready to continue.
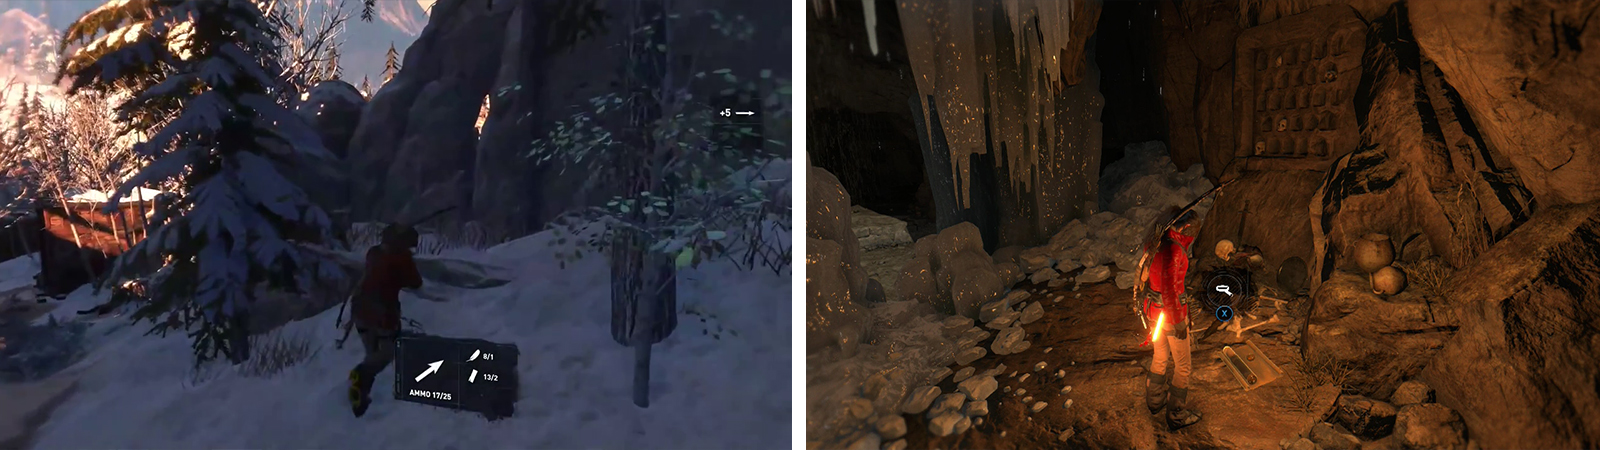
The game wants us to take the zip line here to reach the area below. Before you do this, check out the small, ruined fence area just to the right of the zip line to find a Survival Cache [01/21] in the corner. Use the zip line to reach the area below. At the bottom, you’ll find another Survival Cache [02/21] nearby.
Move a short distance down the snowy path here and look out for a small ledge on the right hand side with a crate we can loot for reagents. Next to this is a small crack in the wall that we can squeeze through to find a Crypt entrance [Into Darkness Challenge 01/05] .
Inside you’ll find two veins of Magnesite Ore, Mushrooms and a weak wall that we can bash down. As soon as you move through the wall you should see a pile of Byzantine Coins you can loot. A little further along the hallway is a Mural [01/12 – Greek] mounted on the left hand wall.
Follow the passage until you drop down to a passage below. You’ll be able to go left or right at the bottom. Head to the left first. In the first room here, jump across to the bricked wall on the opposite side of the room from the entry to find a vein of Magnesite Ore and a Document [01/26 – Greek] . Drop to the floor below and look for a hole in the ice wall, inside you’ll find a platform with a barrel containing reagents, a pile of Byzantine Coins and some Mushrooms.
After ziplining down, look for an opening on the right of the path (left) leading to the first Crypt. Inside you’ll find numerous collectibles including Document 01 (right).
Return to where we dropped down earlier and this time, we’ll want to take the right hand path. Watch out for an open doorway on the left of the main passage, the top platform in this side-passage contains another pile of Byzantine Coins and a bundle of Wood . We can also jump across to a barrel with some reagents. Return and continue along the main passage until you reach a treasure room.
Grab the pile of Byzantine Coins just to the left of the entrance and another on the floor at the back of the room before approaching the central chest. Loot this for Crypt Treasure [01/02 - Weapon Part: Ancient Bow Part 01] . Backtrack all the way out of the crypt and to the path below the Base Camp.
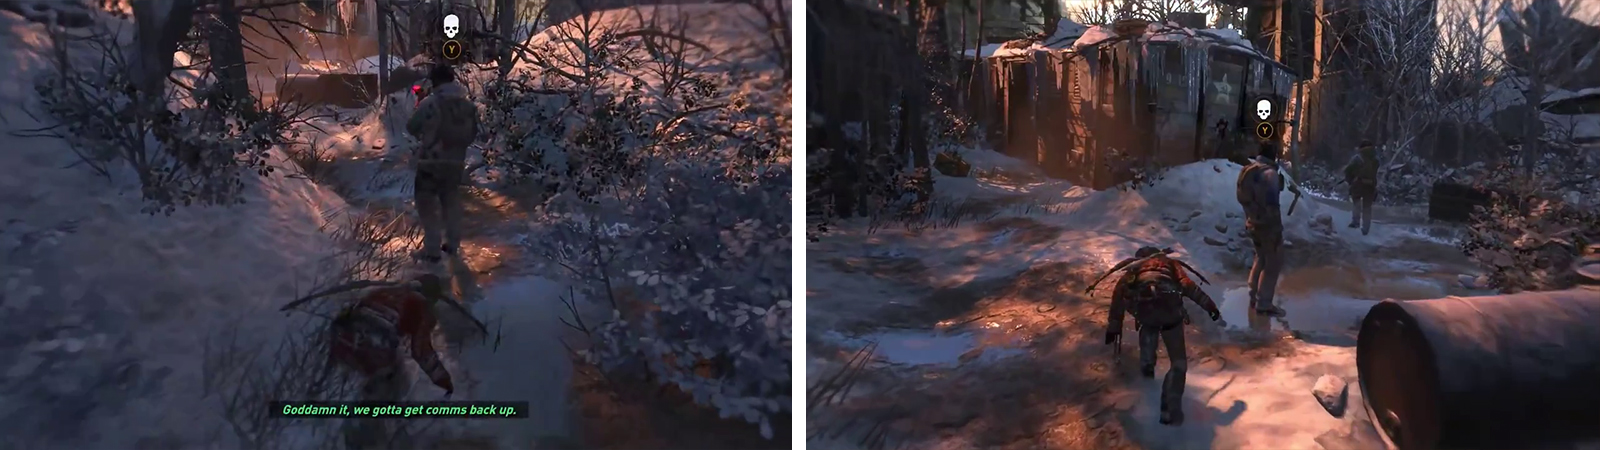
Continue to follow the path to the east and look on the crate behind the first dead body you come across to find Document [02/26] .
As you approach the bend where the path moves to the left, there is a guard here. Enter a nearby bush for a stealth takedown. Move a little further along the trail and Lara will get into cover behind some oil drums. There is a pair of enemies just on the other side and some bottles on the ground here. Pick one up and toss it to the left. This will split the enemies up – shoot the enemy that stays behind before dealing with the other who has gone to investigate the bottle.
Sneak up and take down the first enemy on the path (left). Use the bottle to distract one of the enemies and use a stealth takedown or bow to take down the other (right).
With the two enemies down, locate the ammo crates to the right of your location. Behind these you’ll find a Survival Cache [03/21]. There is also a pair of crates containing Salvage by the train car in the center of the area.
Climb up the metal wall marked by the objective marker to proceed into the base.
Objective: Investigate the helicopter landing area
Drop down into the area below and quickly move up to one of the bushes. We’ll now be able to use the B/Circle button to scramble between stealth bushes which is handy when there are enemies about. In the area ahead there are:
- Three enemies in amongst the crates at ground level,
- One on the ground floor of the building at the back of the area
- One on the second floor walkway of the same building.
We’ll need to reach a high up location on the right side of this area and as this is the case we’ll pretty much need to take them all out to proceed. Enter the bush closest to the courtyard with the crates. If you are patient enough one of the enemies will patrol close to you, allowing you to perform a silent takedown. If you then can shoot the fellow on the balcony at the back of the area, you should be able to sneak up and kill each of the three remaining enemies as they’ll be absorbed in the crates that they are examining. If things go south, kill them in any way that you see fit.
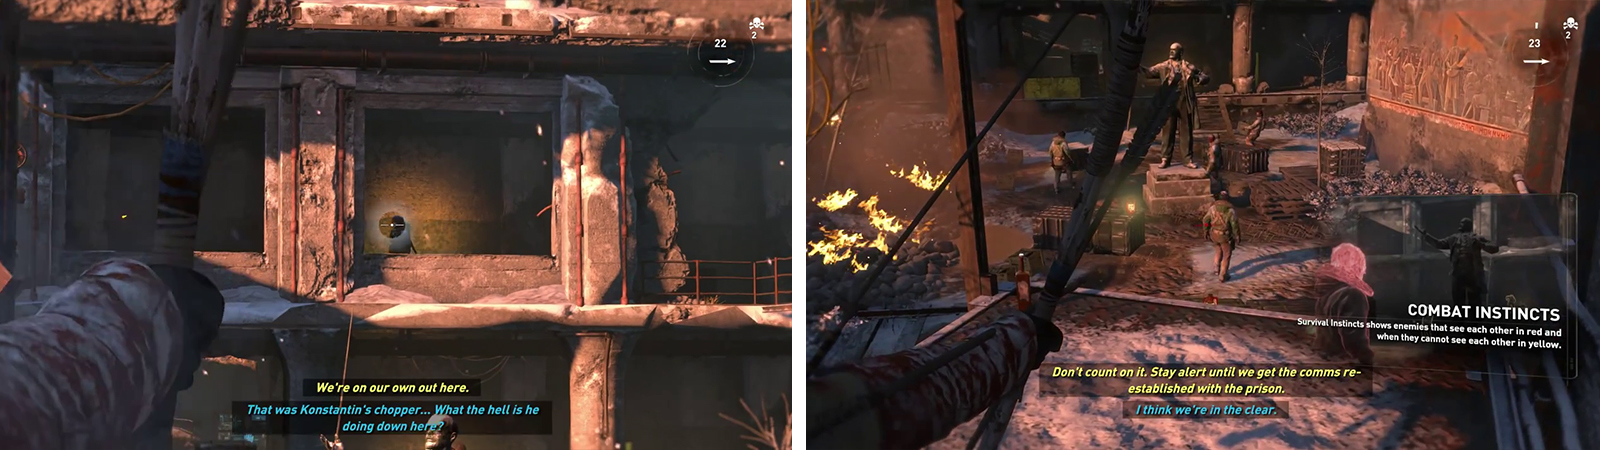
Try to pick off the enemy on the balcony first (left) before dealing with the enemies in the courtyard (right).
After clearing the area, look on the ground in the far right corner of the courtyard for a crate containing reagents before proceeding into the building at the back of the area. There is a box of Salvage just to the left of the enemy we killed.
Enter the door and take the stairs to the upper level. At the top, there is a Mural [02/11 - Russian] on the wall to the right and to the left of the doorway – a quiver of Arrows , a barrel containing reagents, a crate of Salvage and a radio for Document [03/26]. Head through the doorway and loot the Strongbox [01/14 – Weapon Part: Semi-Auto Pistol Part 02] at the far end .
Follow the path to reach the building with the objective marker. Use the ladders and handholds to climb to the top. Note that there is at least one button prompt as you go, so get ready to hit that button to prevent a checkpoint reset. At the top, take the zip line to the next area.
You’ll land in an indoor area. Grab one of the oil lamps on the ground here and toss it at the wooden and cloth barricade at the back of the room to remove it. Have a look between the boilers on the right side of the room for a crate of Salvage .
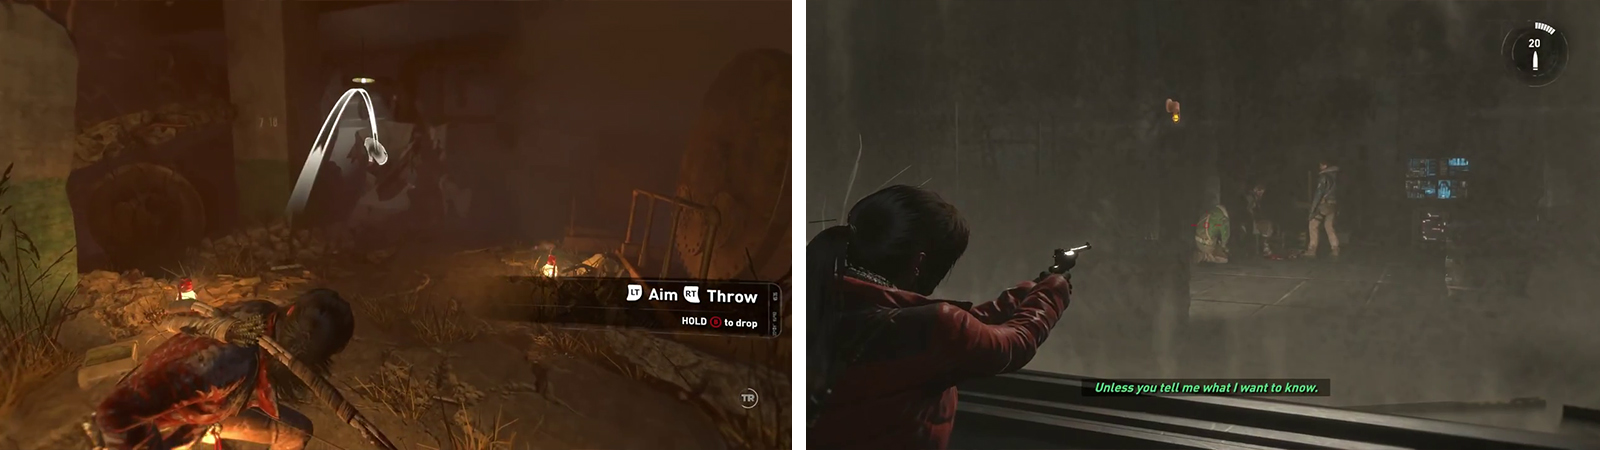
Use a lantern to destroy the canvas blockage (left). In the next room, Lara will grab a gun, use this to shoot the enemies through the glass (right).
As you proceed through the newly opened passage a scene will play and Lara will pick up a pistol. When you regain control, check out the shelf on the right side of the room opposite the window for a Document [04/26 - Russian] .
Move over and look through the window, there are a pair of guards interrogating a prisoner in here. Pull out your pistol and perform a headshot on one of them to break the glass. Kill the second from cover and then move into the room to speak with the prisoner. There is a crate of Salvage on the floor beside him and a locked door we can’t open for now (Requires Gear: Lockpick ).
Enter the door beside the prisoner. Loot the crate of reagents and the Arrows/Ammo at the back of the room. Scramble up the wall and through the open window for a scene.

 Sign up
No Comments