Objective: Get through the first gate
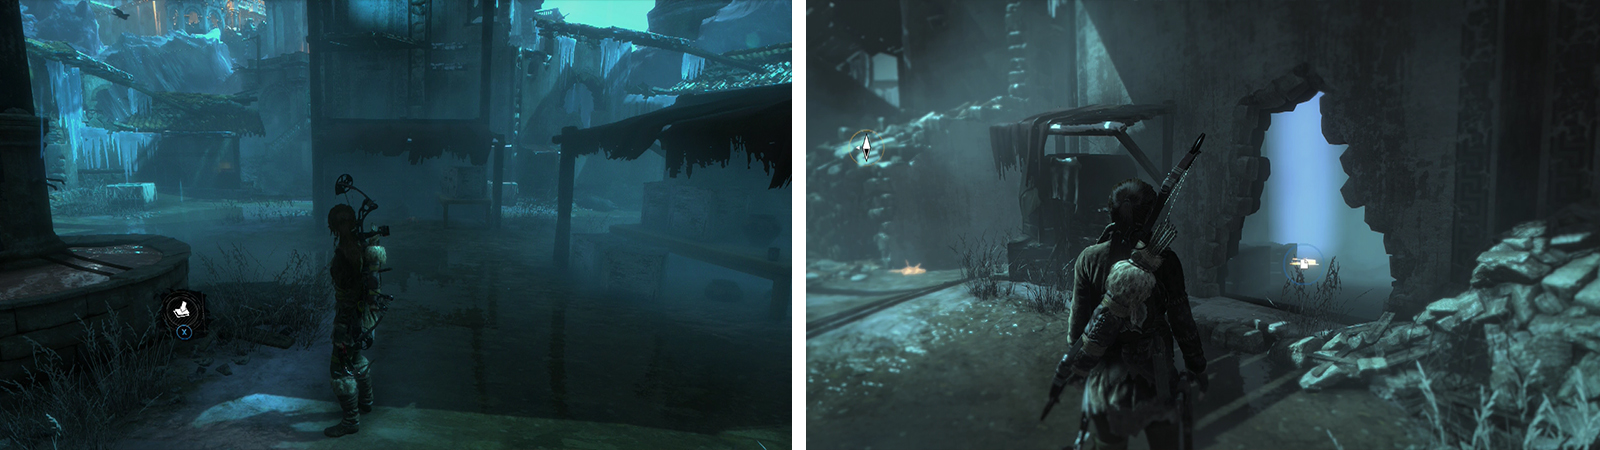
From the Challenge Tomb entrance, follow the northern wall of the map to the west until you reach the large, domed tower. In the open courtyard just south of this, there is a pair of Deathless soldiers patrolling around in circles. Wait for them to pass before sneaking up and taking them both down silently one at a time.
Enter the building just to the west of the tall, domed tower to find a Mushroom and a chest containing a Relic [04/10 – Spurs] . In the center of the courtyard, find the column-type crane structure with a large circular base holding a hanging crate. At the base of this structure, there is a Coin Cache [03/03] . On the wall of the building directly south next to a market stall there is a metal barrier – hit this with explosives to remove it. Inside there is a Document [04/08 - Mongolian], a crate of Cloth and a piece of Magnesite Ore .
Coin Cache 03 is by the circular structure in the middle of the courtyard (left). Destroy the barricaded wall to the south to find Document 04 inside (right).
From the courtyard, look at the domed tower again. Find the cloth barrier blocking the door at ground level on the southern side of the tower and use a Fire Arrow to burn it down. Inside there is a chest containing a Relic [05/10 – Kitezhian Silver] .
From the doorway leading to the Relic we just freed up, locate the hanging crate directly ahead. Use one of the market stalls in the courtyard here to jump over to the hanging crate. Climb up onto the top of this and use the beam beside it to leap across to a handhold on the tall, domed tower. From here use the available beams, handholds and scramble points in conjunction with your grapple axes to climb to the top. On the upper platform you will find a Document [05/08 - Mongolian] and a Bell [For Whom the Bell Tolls 04/05] .
Use the zip line at the top of the tower to reach the objective marker at the gate. A scene will play.
Objective: Seize the Trebuchet
When you regain control, there will be a trebuchet firing at you occasionally. For the most part it’s a pretty lousy shot, but still it’s a good idea to keep your eyes on the sky in the direction it is firing from in case you need to make a quick adjustment.
Halfway down the stairs on either side of the gate there is a pair of Statues to destroy [Vandal 02/08 and Vandal 03/08] . At the very bottom of the stairs in the center of the path, there is a Document [06/08 - Mongolian] . On the wall above and to the right of the Document, there is a Banner [Banner Wars 06/08].
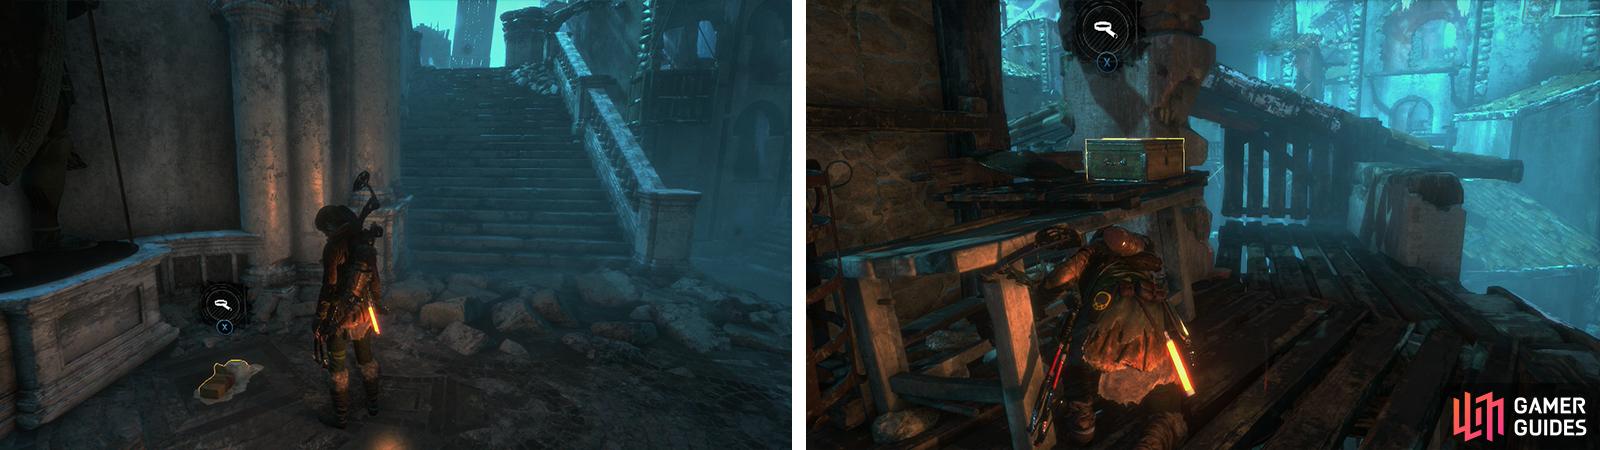
Document 06 is at the base of the stairs (left). Relic 06 can be found on the second floor of the building to the south (right).
Return to the top of the stairs and use the zip line here to reach a building to the south. Kill any Deathless soldiers that pop up onto the floor with you (usually just the one) and shoot at the Archer on a balcony in the distance to stop him shooting at you – the Greek Fire vessel next to him makes the fight a short one!
On the floor in this building, you’ll be able to find a chest containing a Relic [06/10 – Flint Striker] . From this location, look ahead and along the wall to the right to spot another a Banner [Banner Wars 07/08] on the wall of the next building to the south .
Drop to the ground via the handholds by the Relic and kill a couple of Deathless melee soldiers as you venture to the northwest corner of the building. By the base of the building here, you can find Survival Cache [06/06] . Return to where we dropped down and use the grapple axe to grab the ledge and climb back up to the Relic location.
Climb to the roof of this building and hop up to the rope suspended between here and a building above to the south. Use the Rope Ascender to quickly reach the far end. Drop into the small room near the top of this building. On the right as you enter is a wall that can be destroyed using a firearm. Inside there is a Relic [07/10 – The Pagan God] .
From this building, jump to the small, elevated platform below and to the right and then scramble up to the upper level of the next building to the south building above.
Things will start to get a little hectic here. We are getting close to the trebuchet, so fortunately it will stop firing, however the Deathless Soldiers manning it will disengage and start shooting arrows at us instead. There are three archers by the trebuchet (try to use the Greek Fire vessels close to them to eliminate as many as possible and a fourth Archer on one of the nearby rooftops to the left of the trebuchet.
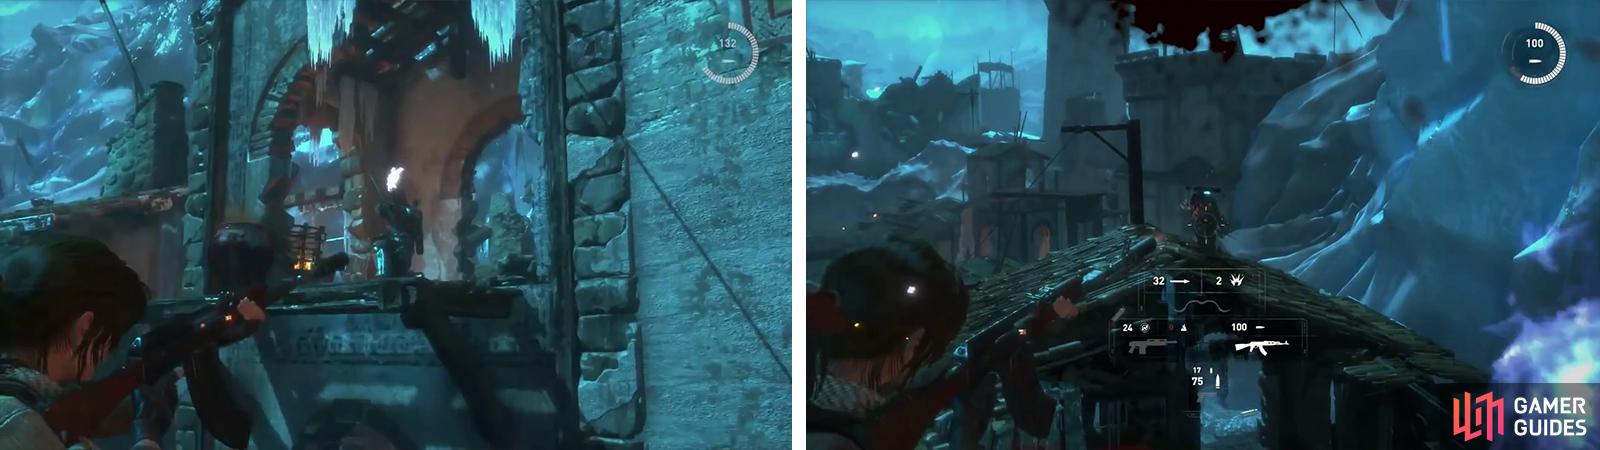
Fight your way across the rooftops until you reach the trebuchet.
Once you have cleared the ranged enemies out, drop down to the rooftops where you will have to fight a shielded Deathless Soldier. When it is safe to do so, continue towards the trebuchet and use the Broadhead Arrows on the weak wood wall just below and west of the main platform and the subsequent ice wall to climb to the top.
Upon arriving at the platform, even if you had previously cleared out all of the Archers, there will be another two waiting for you on the circular platform surrounding the trebuchet. Quickly run up and enter cover, before using the vessels of Greek Fire or just plain shooting them to kill them both. Look on the far side of the platform from where we climbed up for a cylinder of reagents. To continue, scramble up to the trebuchet above and kill one final melee soldier here.
Objective: Use the trebuchet to destroy the gate
At this point we’ll be able to control the trebuchet. Use the wheel mechanism on the platform to the left to rotate the platform and press the fire button (RT/R2) to shoot it. The longer you hold down the fire button, the further the projectile will travel and its landing position will be handily highlighted by a glowing white circle.
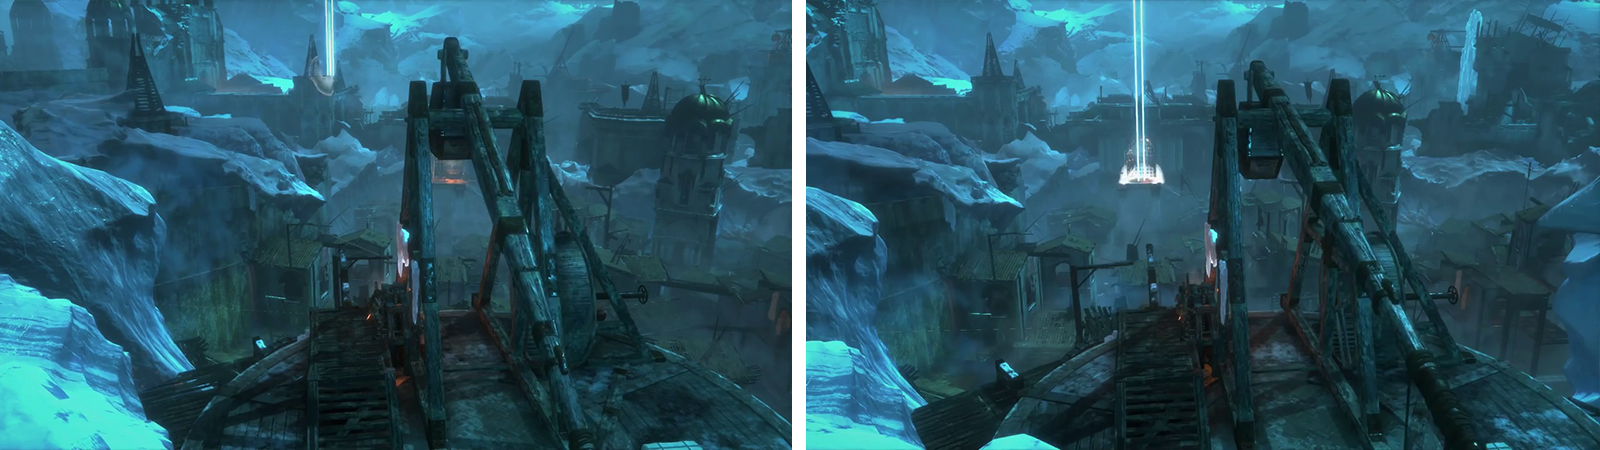
Use the trebuchet to light the signal fires (left) before targeting the gate (right).
Our main target is the gate, but before we hit that we can also use the trebuchet to complete the first 80% of the ‘Burn Baby, Burn’ area challenge. To do this we’ll need to hit five signal pyres located around the area with a shot from the trebuchet. They can be found in the following locations:
- On top of the icy ledge just to the left of the trebuchet [Burn Baby, Burn 01/05].
- On the pillar just left of the gate [Burn Baby, Burn 02/05].
- On the top of a tower just in front and to the right of the gate [Burn Baby, Burn 03/05].
- On top of the icy ledge just to the right of the trebuchet [Burn Baby, Burn 04/05].
When you are ready to continue, hit the gate to break it down.
Objective: Get through the second gate
Disengage the trebuchet and drop back down to the circular platform below. From the western end (where we climbed up earlier) you should be able to see a barricaded window on the building opposite. Use a Grenade Arrow to break this down.
Jump across and across enter the window to find a crate of Salvage and the final Bell [For Whom the Bell Tolls 05/05] . Exit via the other window here to find a Relic [08/10 – Rus Drinking Horn] near the end of the roof.
Destroy the barricade by the trebuchet (left). Head inside and hop out the other window to find Relic 06 (right).
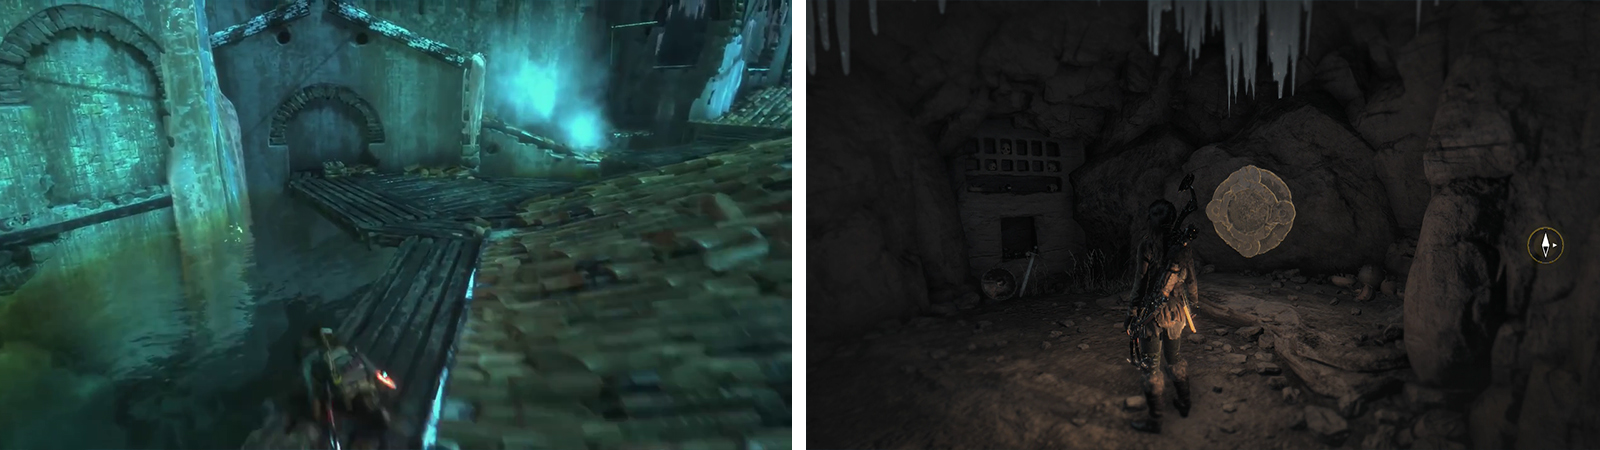
Drop down to the platform below and then to the rooftop below this. Drop to the wooden platform to the east of the rooftop and look back towards the wall behind you to find the final Banner [Banner Wars 08/08] and a crate of Salvage beneath it.
Make your way over to the building just to the east of the flooded area here and on the second floor there is a crate of Salvage , several quivers of Arrows and a Document [07/08 – Mongolian] .
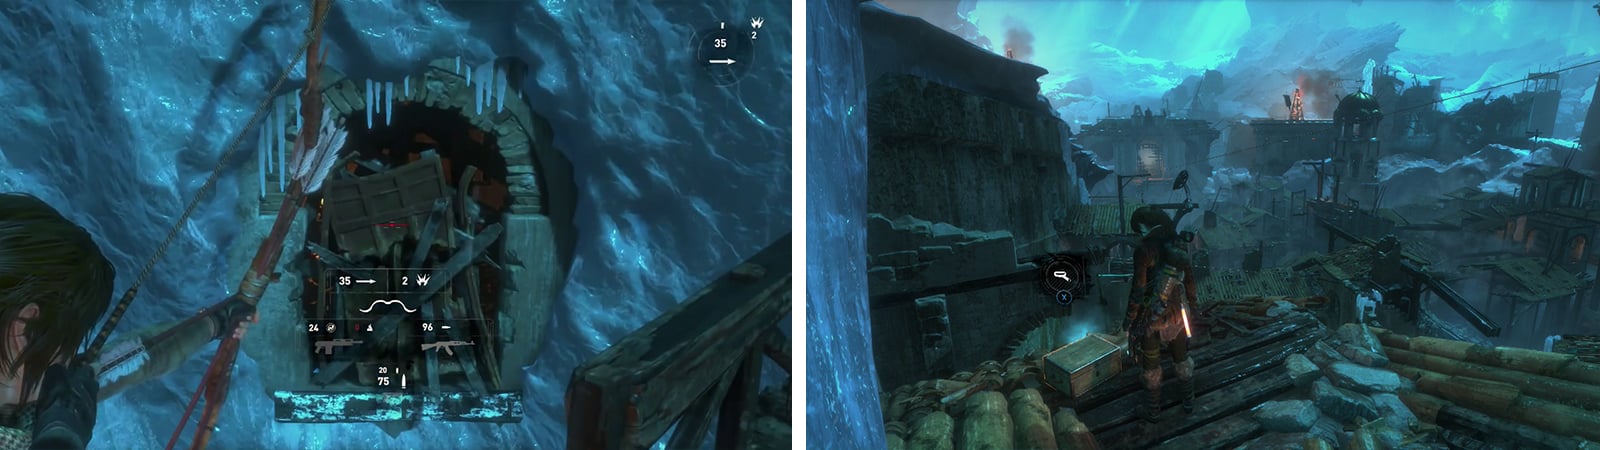
Enter the water in the flooded area and dive under. Swim to the westernmost portion of the pool, under the building on the western edge of the area map. Here you will find a tunnel leading to a Crypt.
As soon as you are able to surface at the end of the underwater tunnel, do so. Loot the Mushroom ahead and inspect the far wall for a Mural [02/03 - Greek] . Find the weak wall to the left of this and use your trusty pickaxe to tear it down.
Head through the opening and follow the passage. Keep an eye out for a Document [08/08 - Greek] , Mushrooms and a vein of Magnesite Ore , all along the left hand wall as you go. At the end of the passage, drop into the water below.
Enter the water beneath the trebuchet (left) to find an underwater entrance to a Crypt. Inside you’ll find Mural 02 (right).
From the small platform to the left. We can jump towards the higher platform opposite and use the grapple axe to attach to the ledge so that Lara can pull herself up. There is a Mushroom patch and a vein of Magnesite Ore at the top.
Drop back down to the water and swim through the doorway nearby to locate the Crypt’s treasure room. Grab the pile of Byzantine Coins behind the chest before looting the main chest itself for Crypt Treasure [01/01 – Gear: Ancient Quiver] .


With the gate now in tatters and all of the collectibles from the initial area in hand, it’s time to head through the gate to the next area. As you approach the ruined gate, look on the roof above it on the left hand side. On a plinth here there is another target Statue [Vandal 04/08] .
As soon as you walk through the destroyed gate, there is a camp fire ahead.
Approach this to unlock a new Base Camp ‘Citadel Plaza’. You can use the Base Camp here to apply any upgrades you require and spend any skill points you have. Exit the Base Camp menu when you are ready to continue.

 Sign up
No Comments