Part 1: Find Just Kim
After speaking with 4Kim at the Troop Bushido base to begin the mission, next you’ll want to make your way over to the nearby apartment complex to find her again. Speak with her once more to continue.
Follow her up the stairs and in the first courtyard you will be ambushed by a swarm of regular OD. Clear them out and keep moving, eventually your objective marker will update. Proceed to this location, killing any scabs or OD that get in your way and interact with the indicated door. At this point, 4Kim will head inside, leaving you to climb up to the roof and checking the apartment doors up top.
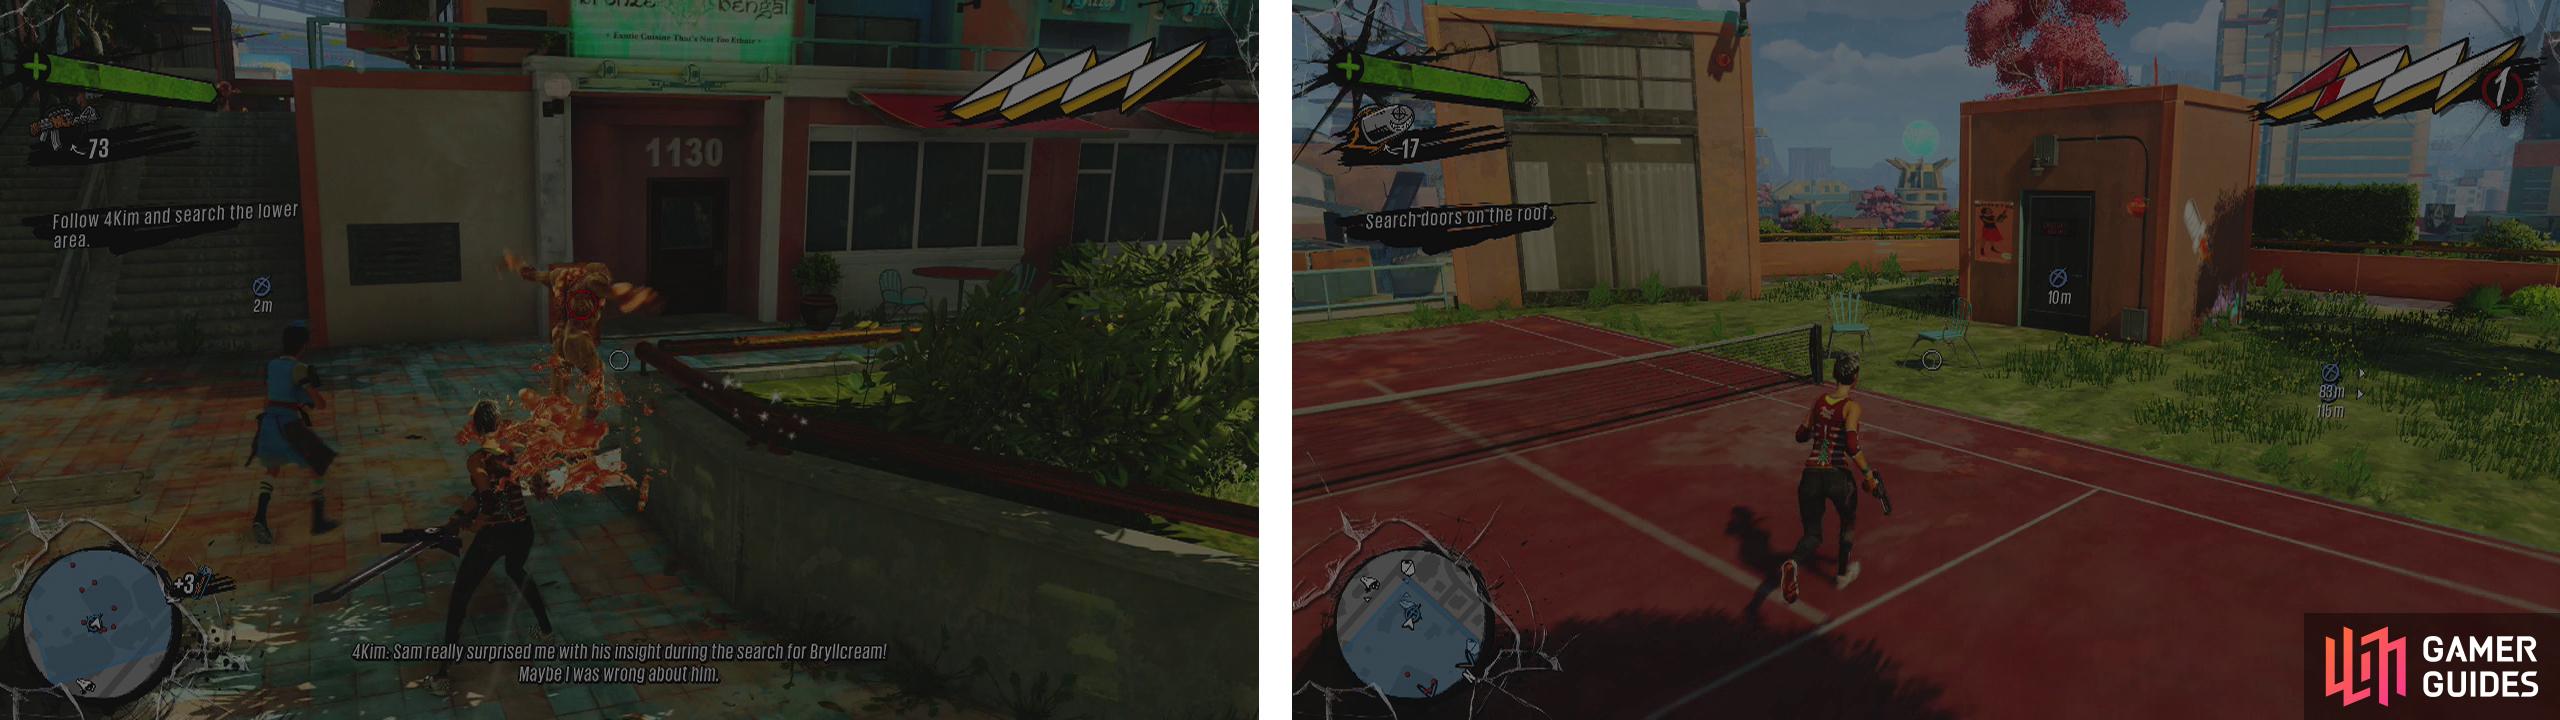
Escort 4Kim through the base of the apartment blocks (left). Climb to the roof and interact with the door by the tennis court (right).
There are six doors to examine on the rooftop and plenty of gunner and Rusher Scabs running about to make things trickier than they need to be. To avoid a lot of aggravation, the door that you need to examine to progress with the mission is located by a tennis court in the far south west corner of the search area. Interact with this to continue.
As soon as you interact with the door, you’ll be attacked by a set-up of turrets in the surrounding area. We need to destroy all 8 of these. They can be found in the following locations:
- On the wall directly north of the door we examined.
- Sitting behind the door we examined.
- Down the stairs to the east of the tennis court on the wall to the left.
- Further along the wall from location 3.
- On the ground on the right side of the area down the steps from the tennis court (in the same area as 3 and 4).
- On the building east of the area at the base of the tennis court steps.
- Next to location 6.
- On a raised roof area behind turrets 6 and 7.
Once we have destroyed all 8 turrets, return to the door and interact with it once again for a short story cut-scene.
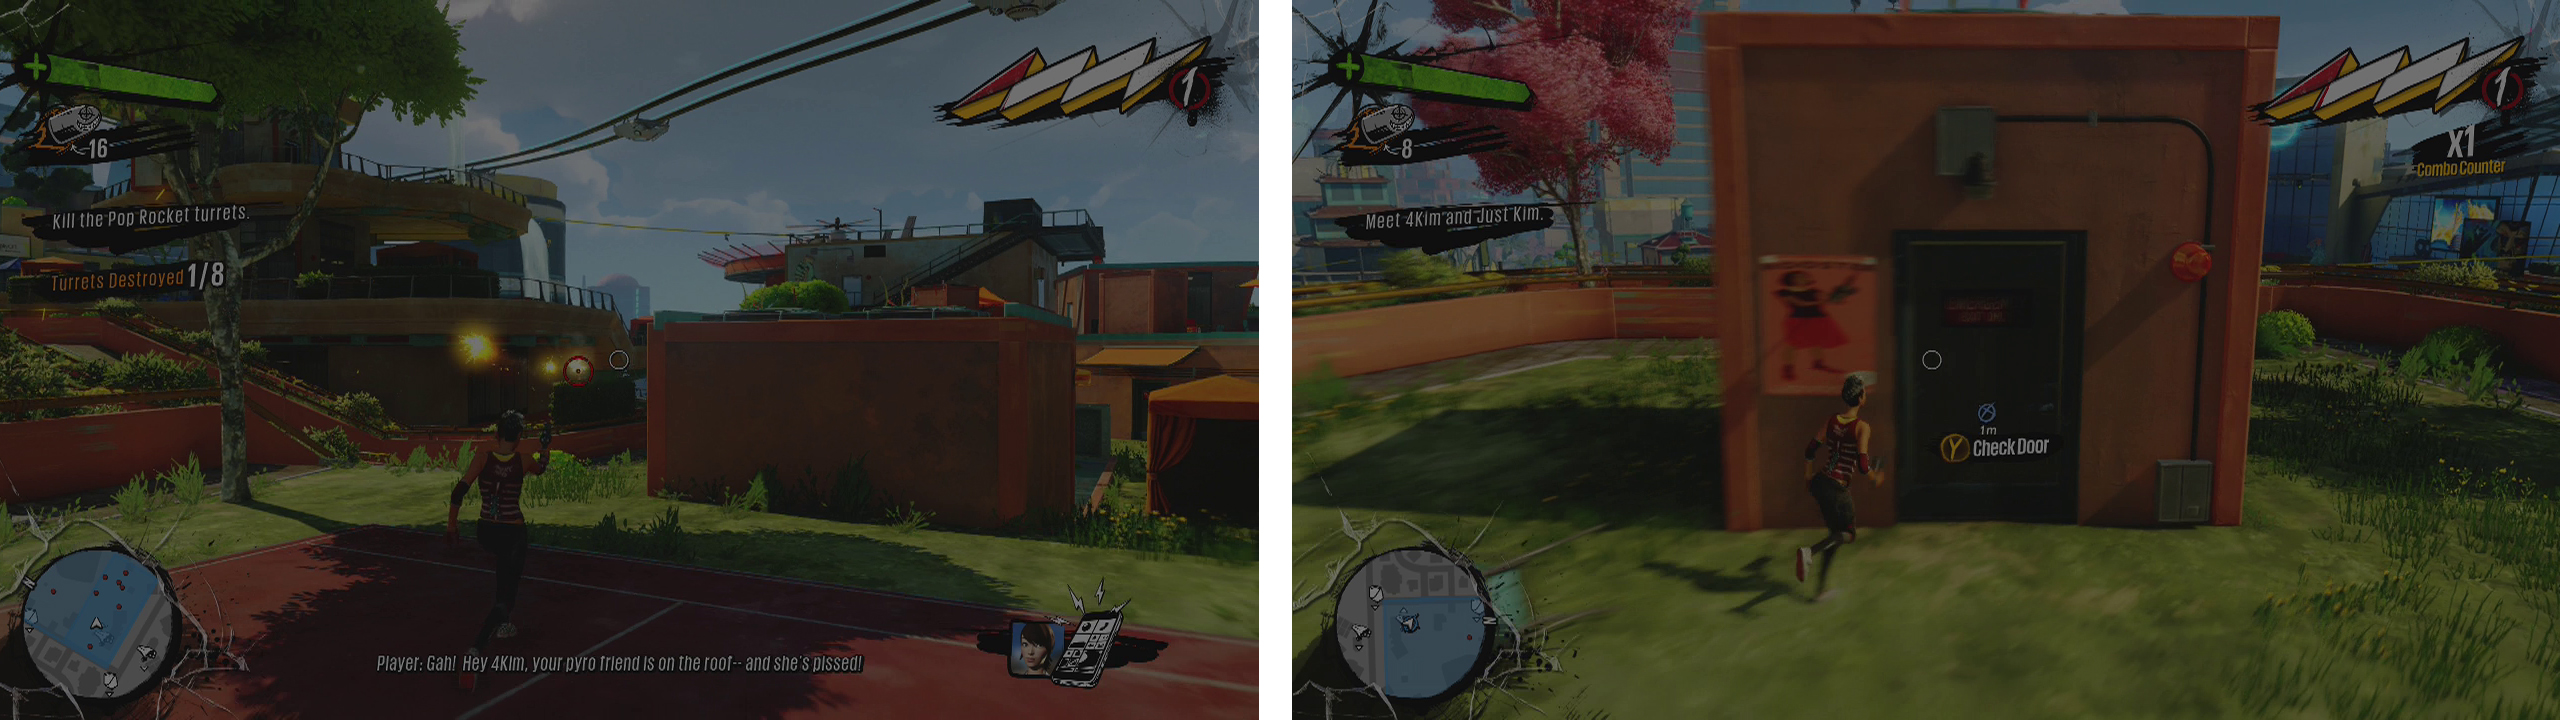
Destroy all eight Pop Rocket Turrets (left) and then return to the door (right) for a scene.
Part 2: Defence
Now we need to do a short area defence sequence in which we need to kill 125 OD in total before they can steal the Overcharge barrel that we need to protect. The OD will enter the area from three locations, from behind the tennis court, from the ramp to the north and from the building roof to the east. We need to place a number of Pop rocket traps around the area. Try to have one in each of the locations where enemies are going to come from and then place any additional traps wherever you feel necessary.
When you are ready to proceed with the defence, return to the door and pick up the indicated melee weapon. During this mission we are not allowed to use firearms, but we can use melee. As such, you want to stand by the barrel we need to guard and melee and bounce slam anything that reaches the platform whilst trusting your turrets to keep the numbers low.
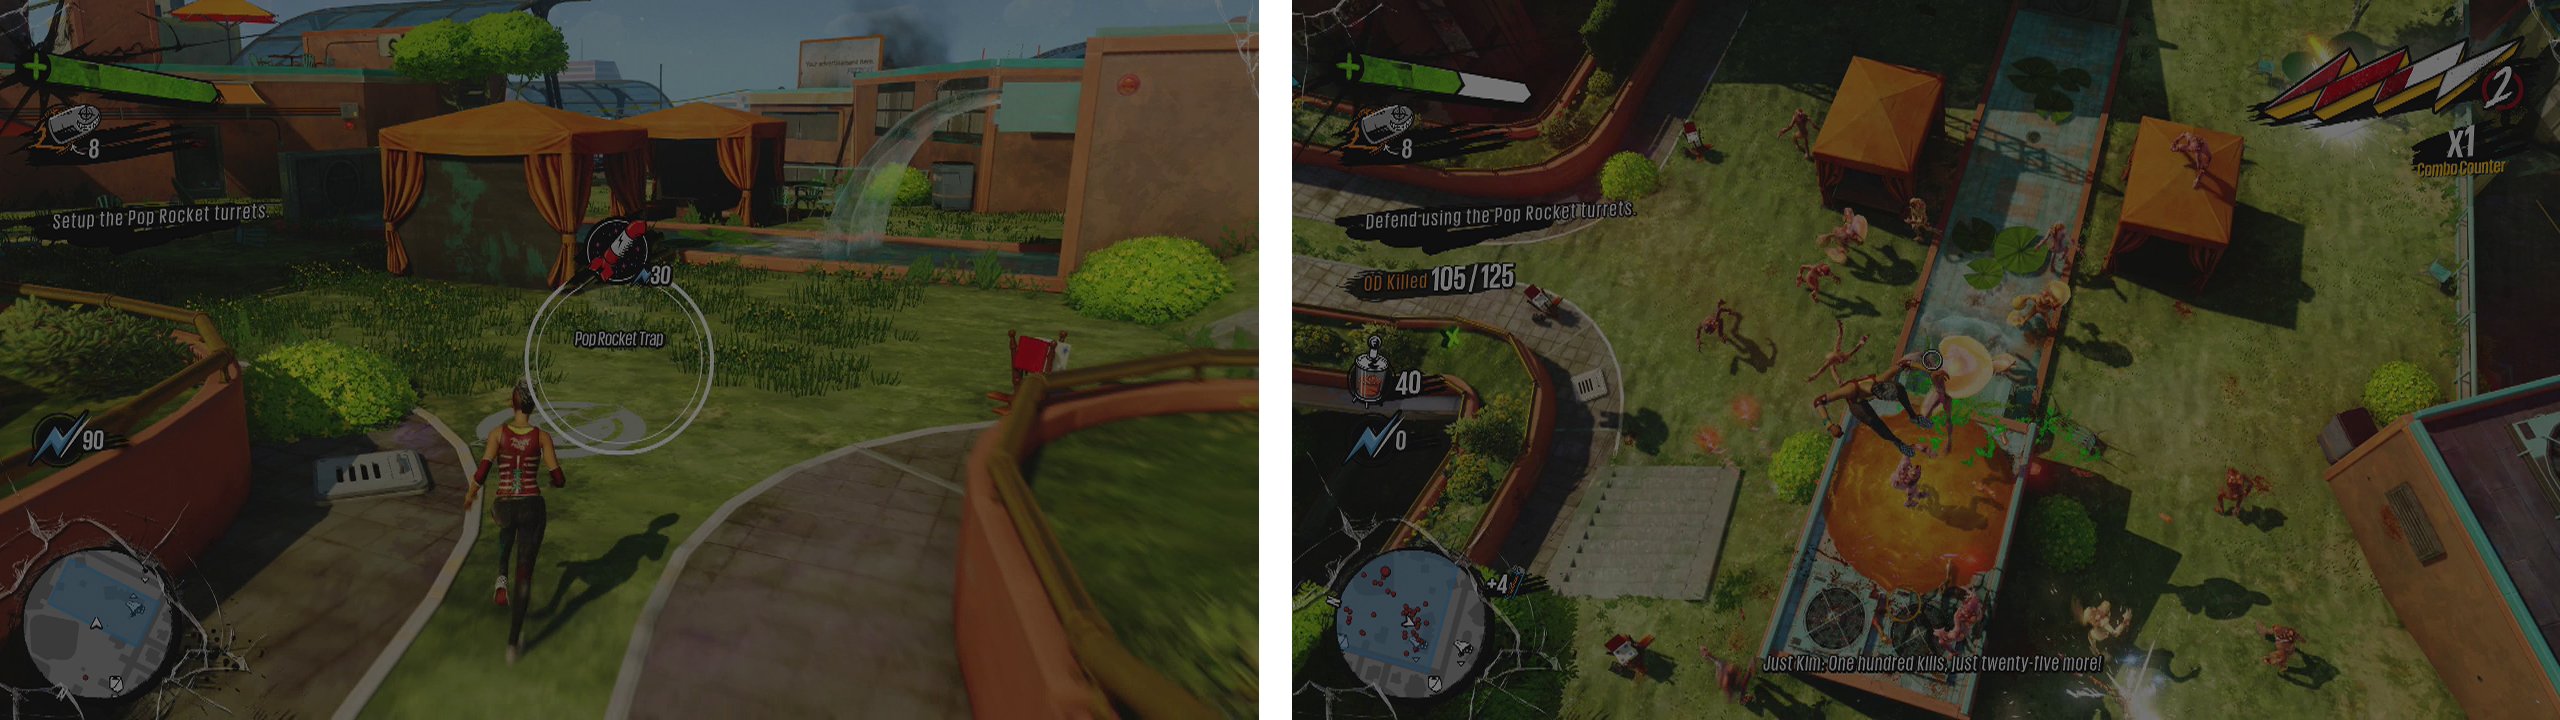
Place Pop Rocket Turrets about the area (left). Stay by the overcharge source (right) and continue to ground slam any enemies that climb up to it.
To begin with, we’ll face mainly regular OD with a Blower or two. Once you reach 30 kills, the OD will stop coming briefly and you’ll be given additional power with which to purchase new traps. Reinforce the areas that you trapped up before and then return to the puddle of overcharge and repeat the process. The second wave of enemies is much more intense than the first and includes a Herker, more Blowers, plenty of Poppers and of course, a veritable horde of regular OD. Fortunately, due to the number of traps about, it should not be too difficult to knock it over on your first or second try.
Once you have reached the OD kill quota of 125, a scene will play to end the mission.
| Reward/s: | Unlock/s: |
|---|---|
| $ 4,500 | N/A |
| 8,000 x Overcharge | |
| Trap: Pop Rocket Trap |

 Sign up
No Comments