Either path from the entrance will eventually lead to the final area of the ruins, but I’ll be covering one path on the way in and one on the way out.
Head west through the door and follow the path south to some bars that you can Wind Rush through for the Arcane Bottle x2 and then continue east until you reach the stairs. This will lead you to the same area as the eastern path from the entrance, so head west to the center of the area and Wind Rush north through the bars to continue.
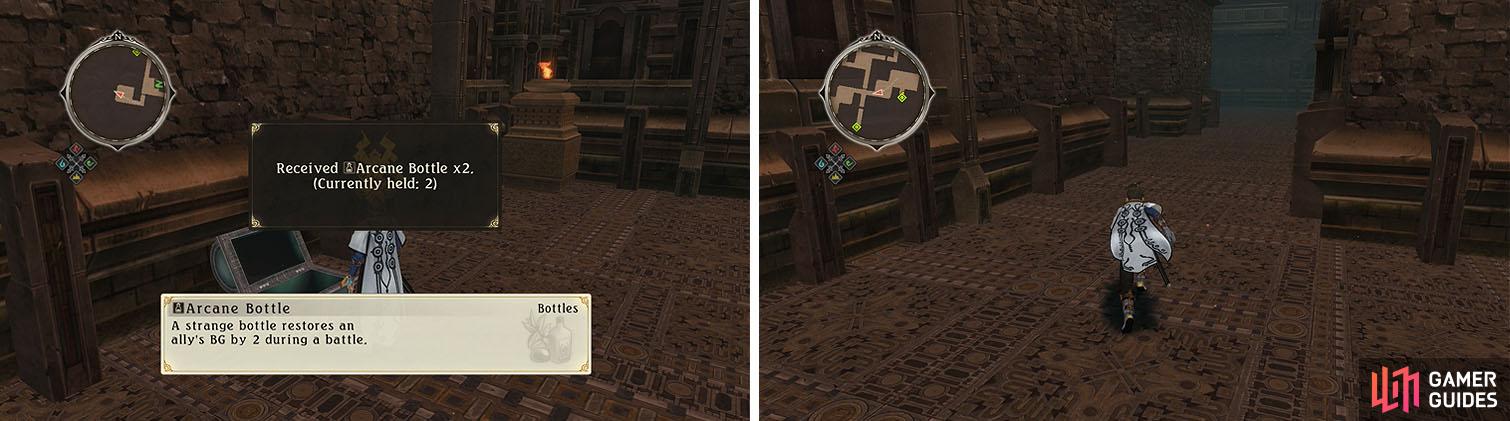
The west path leads to some Arcane Bottles (left) before linking up with the other path downstairs (right).
Remove the wall in the northeast of the next room by using Mikleo’s map action and collect the Life Bottle and Demeter Harvest from the hidden room and then backtrack and exit to the west.
Follow the path south and take the north path to a wall requiring the use of Lailah’s map action to remove it, revealing a Fatigue Ward and Void Ring . You can now head south and follow the path to a room with the Normin Poizon , a Red Sage , Panacea Bottle and Feldspar Sword before backtracking to the previous floor.
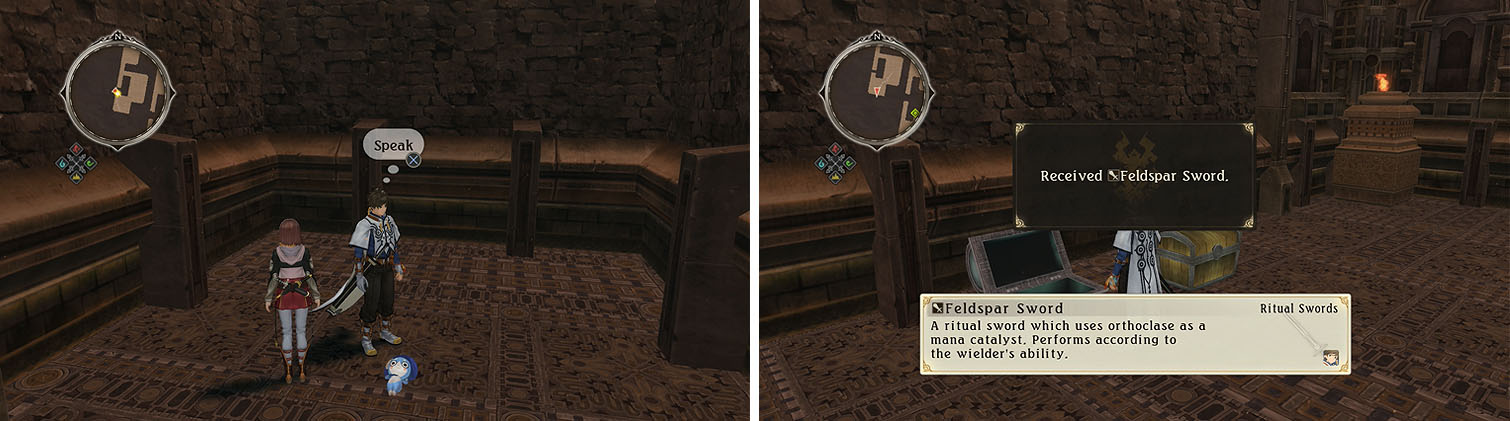
Check the dead end for a Normin and two chests, one with the Feldspar Sword.
At the four-way split head south this time to a wall that requires Edna’s map action and then continue south to the stairs. Check the dead end to the northweast of the first room for a Red Chamomile and then head north via the other path to the next area.
The dead end to the south has a Raspberry Mousse by the rubble to collect and then continue northeast into a large room with a rock, which you can examine for the Monolith within the Ruins discover and The Big Rock of Ages skit.
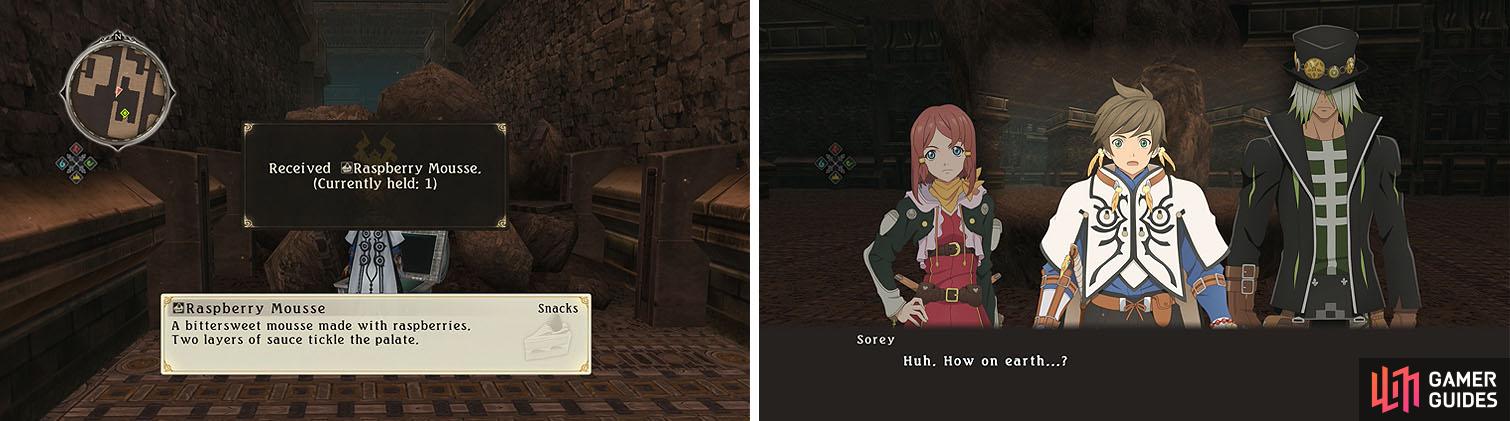
Grab the Raspberry Mousse near the rubble and then head north to a discovery.
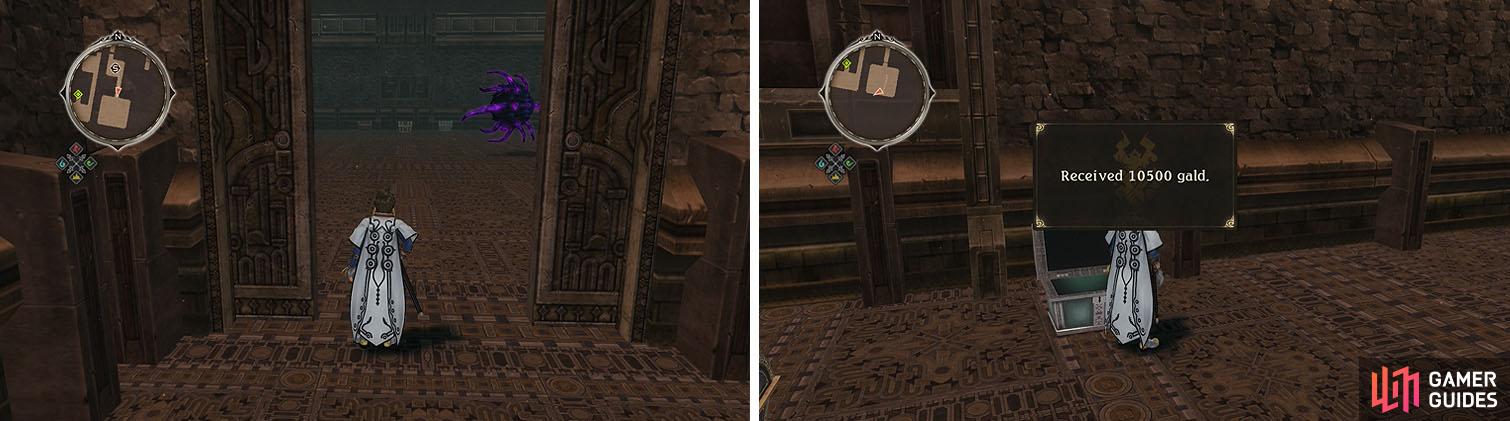
If you Wind Rush to the east you’ll find a chest with 7200 gald , but without the Gold Key you’ll be unable to access the door to the south. Backtrack to the rock and take the southeast path to a door that can be removed with Mikleo’s map action and then save before entering the room with the Duhvision boss.
Ignore the boss for now, as it is likely too difficult, and collect the 10500 gald and Gooey Stuff before you backtrack upstairs once again.
Open the door past the save to find the dungeon boss and collect the chests.
At the four-way split you’ll want to head west this time to return to the first floor and then head all the way east to a gap, which you can Wind Rush through for a Peach Gel .
You can now head south to return to the entrance of the ruins and exit to Aifread’s Hunting Ground.

 Sign up
No Comments