Head east from the entrance and Wind Rush through the bars to a room with 6800 gald and then continue to the north through another set of bars and check the northeast wall.
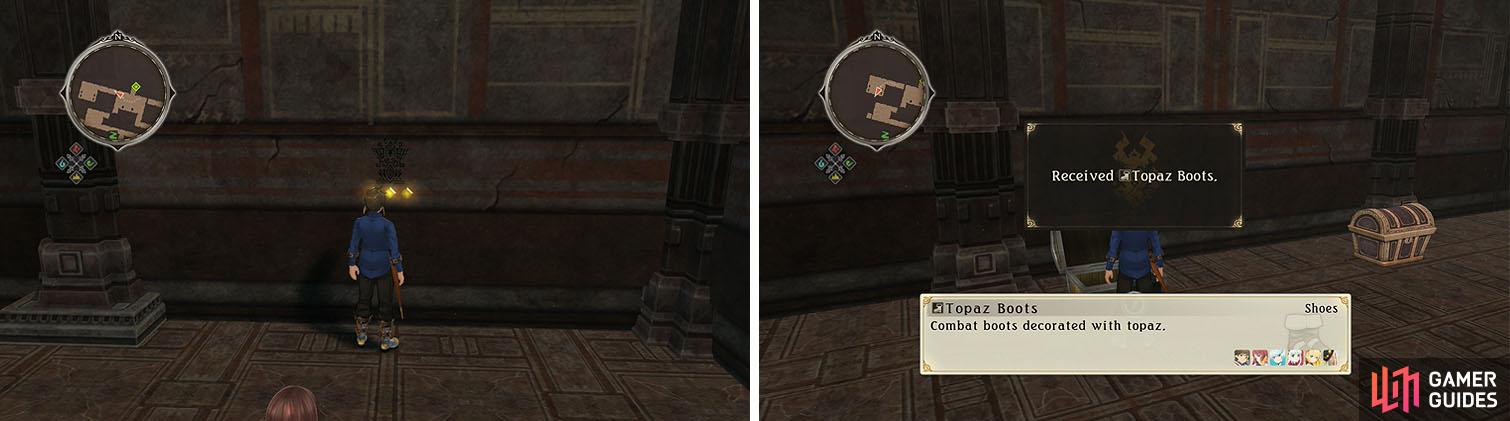
Remove the wall with Edna’s map action and collect the Hyper Velocity Boots and 7050 gald from the dead end and then head back to the previous roo and check the southwest corner for a Red Saffron . You can now check the northwest wall for another wall that can be removed with Edna’s map action to find Blob Ring and Topaz Boots and then exit to the north.
Remove the walls with Edna’s Giants Strength to collect some chests.
The wall directly ahead can be removed with Lailah’s map action to reach a staircase leading to a dead end with a Melon Gel and Drop Bottle and then return upstairs.
Follow the path west and in the large room with multiple paths you’ll want to take the east path and check the southwest corner of the next room for the Merchants’ Abandoned Wares discovery, follow by the skit In the Hellion’s Lair and then take the nearby stairs.
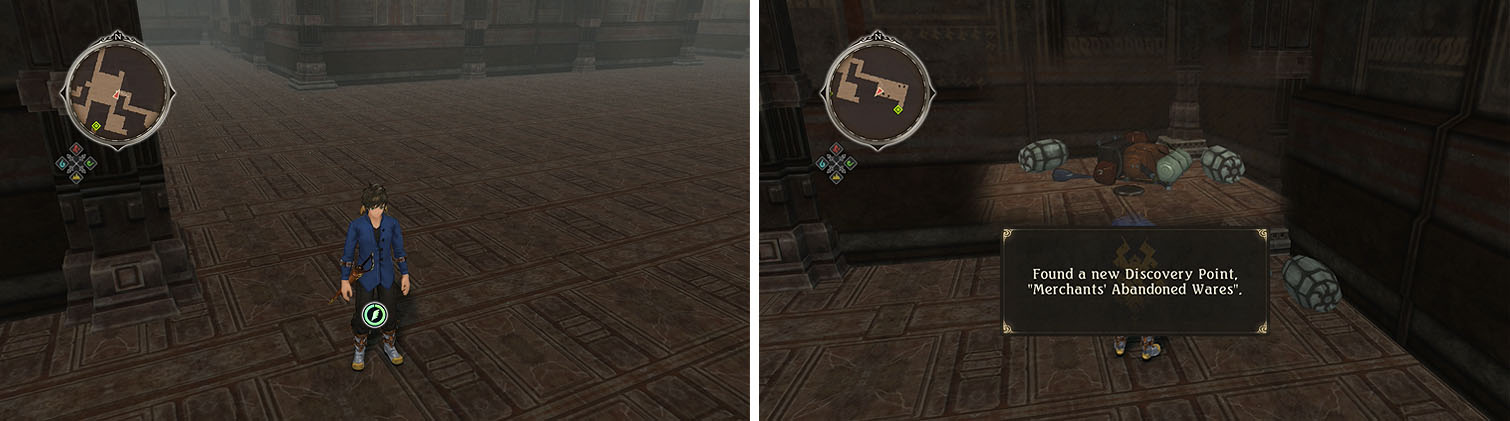
When you reach the room with multiple paths, head east to find a discovery.
This is a dead end, so head north and Wind Rush through a set of bars to grab the Grape Gel and All-Divide and then return upstairs and exit to the northwest.
Head south along the west wall to some bars that you can Wind Rush through to reach a Grape Gel and Hourglass and then return to the previous area and head south to a split. Grab the Red Chamomile to the north and then head west to a set of stairs that lead to a dead end with a Melon Gel , Photonic Ray , and the Normin Acqua .
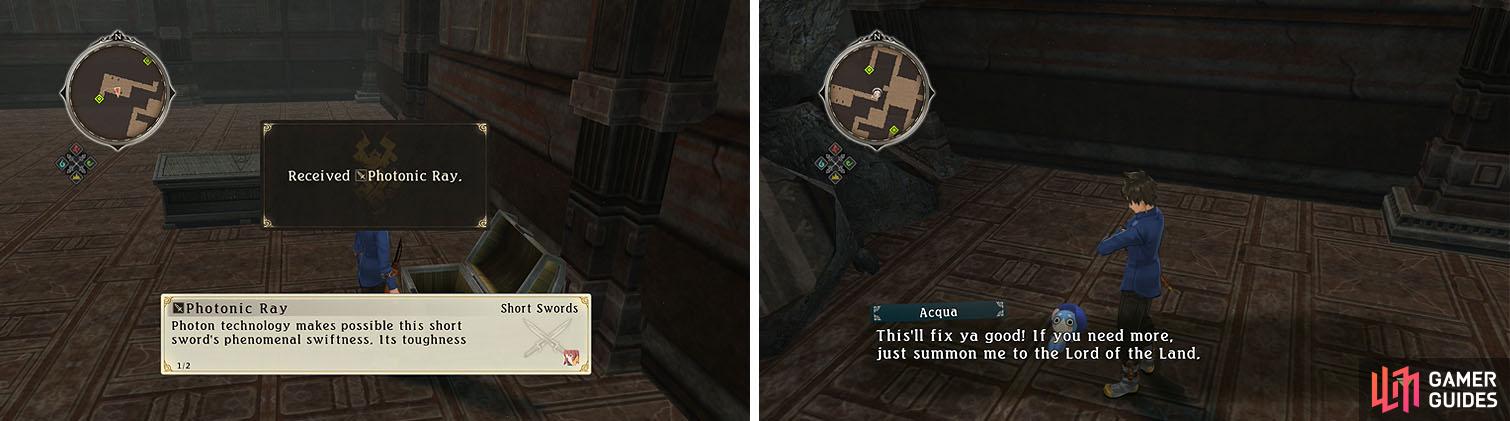
Take the stairs to the dead end with two chests and the Normin Acqua.
You can now return upstairs to the split and follow the path south to a save point and then exit north.
Boss: Maneater
| HP | Category | Weakness | Resistance |
|---|---|---|---|
| 39,053 | Amorphous | None | Neutral, Fire, Earth, Wind |
| Drops: **Anomalous Orb** |
The boss here doesn’t seem like much of a threat, but it has powerful hitting attacks and a resistance to most of the elements.
Since Mikleo’s armatization has no attacks the exploit the amorphous category it is best to stick to human form for this fight, unless you need to heal with the Blast Gauge. In addition, Sorey’s only martial arte with amorphous properties is a tier 4 attack, so it’s best to start every attack combo with his Shadow Shock hidden arte to do maximum damage with your chain.
Watch out for the slime’s spin attack and guard or backstep to avoid the damage and if you get Mauled you can armatize to escape from the boss’ mouth.
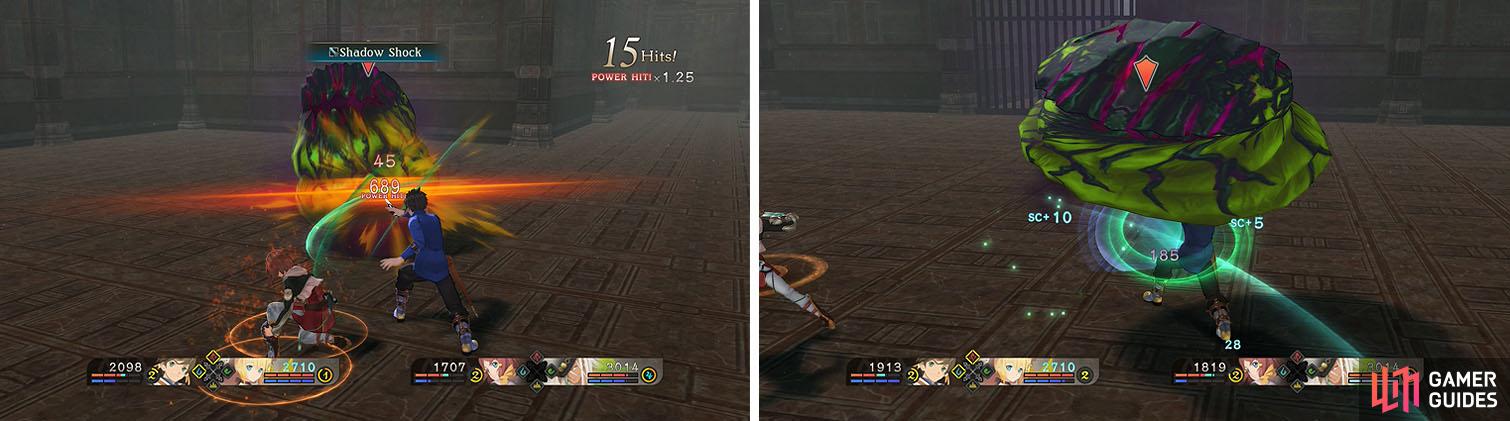
Use Shadow Shock at the start of your combos to do max damage in your combo (left) while watching out for the slime’s spin attack (right).
Wind Rush through the bars to the east to find the Monocle fashion item and then return to the boss room and remove the wall to the north with Mikleo’s map action to find 8800 gald , a Gooey Stuff , and 8500 gald .

 Sign up
No Comments