Reversing the Waterwheel
You want to open the red waterspout and close the yellow waterspout.
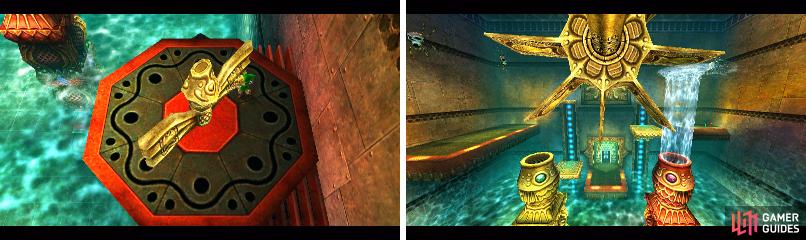
Make your way back to the Waterwheel Room . Look to your right to see the water flowing from the red pipe. Directly above it on the ceiling is a target, Hookshot there and use the waterspout to reach the platform.
Adjust the waterwheel by pushing the red switch then do the same to the yellow switch that’s on the water level. Now the waterwheel flows in the opposite direction.
First Green Switch
Return to the Central Chamber and reach the northern end. Shoot the waterfall that’s blocking the ladder with an Ice Arrow, then climb up and into this room. Defeat the Tektites then Hookshot to the barrels at the left.
Use Ice Arrows to create platforms over to the green switch and align it so that the water flows. Hookshot back to the barrels then create ice platforms to the back wall. Look up quickly and Hookshot to the target to reach the upper level of this room.
Second Green Switch
Open the chest here for Stray Fairy #9 then return to the Central Chamber. Jump into the water with the Zora Mask on and enter the middle level path. Climb onto the northwest platform and wait for the rising one to pick you up.
Leap from here across the gear to the other platform. Head to the end of this path and Hookshot over to the torch below to find Stray Fairy #10 in the chest. Swim back to the original platform and cross the puzzle again, then turn around and shoot an Ice Arrow into the waterfall.
Hookshot to the chest in the northern alcove to find Stray Fairy #11 then exit at the southwest corner. Drop into the water and sink through the hole underneath the see-saw. Break the barrel to find Stray Fairy #12 then stand on the lower part of the middle see-saw in the room.
Look up and shoot the waterfall with a Fire Arrow to raise yourself up. Leap to the next see-saw and repeat the process so you’re at the highest point. Jump to the switch and rotate it.
Final Green Switch

After collecting the last Stray Fairy, check if you have enough time to fight the boss.
Follow the green pipes before jumping down, make sure you’ve defeated the Real Bombchu first. Drop down behind the fenced off area and Hookshot to the chest to find Stray Fairy #13 .
Stand on the last see-saw and use a Fire Arrow to melt the waterfall, now exit back to the Central Chamber. Exit here via the bottom path to the final room. Break the bubble on Stray Fairy #14 at the exit, then rush through the pathway to get it.
Back in the final room, break the bubble on Stray Fairy #15 in the center of the room under the platform and use the Great Fairy’s Mask to collect it. Climb up and turn the switch then leap across the water and into the boss room.

 Sign up
No Comments