Part 1: Infiltrate
Once the memory begins, we’ll need to follow our ally. Make your way through the snow and cross the frozen pond here by way of the floating blocks of ice. Climb the wall on the far side until you reach an overlook with a ship ahead.
There is an assassin camp set up below with multiple guards wandering about. You can work your way through them if you like, but for a faster, quieter and more efficient route, take the lower path when it splits and jump across to the beam jutting out from the back of the ship. Climb the mast here and work your way over to the mast closer to the front of the ship. From here, use the beam sticking out from the mast to access a raised ice platform.
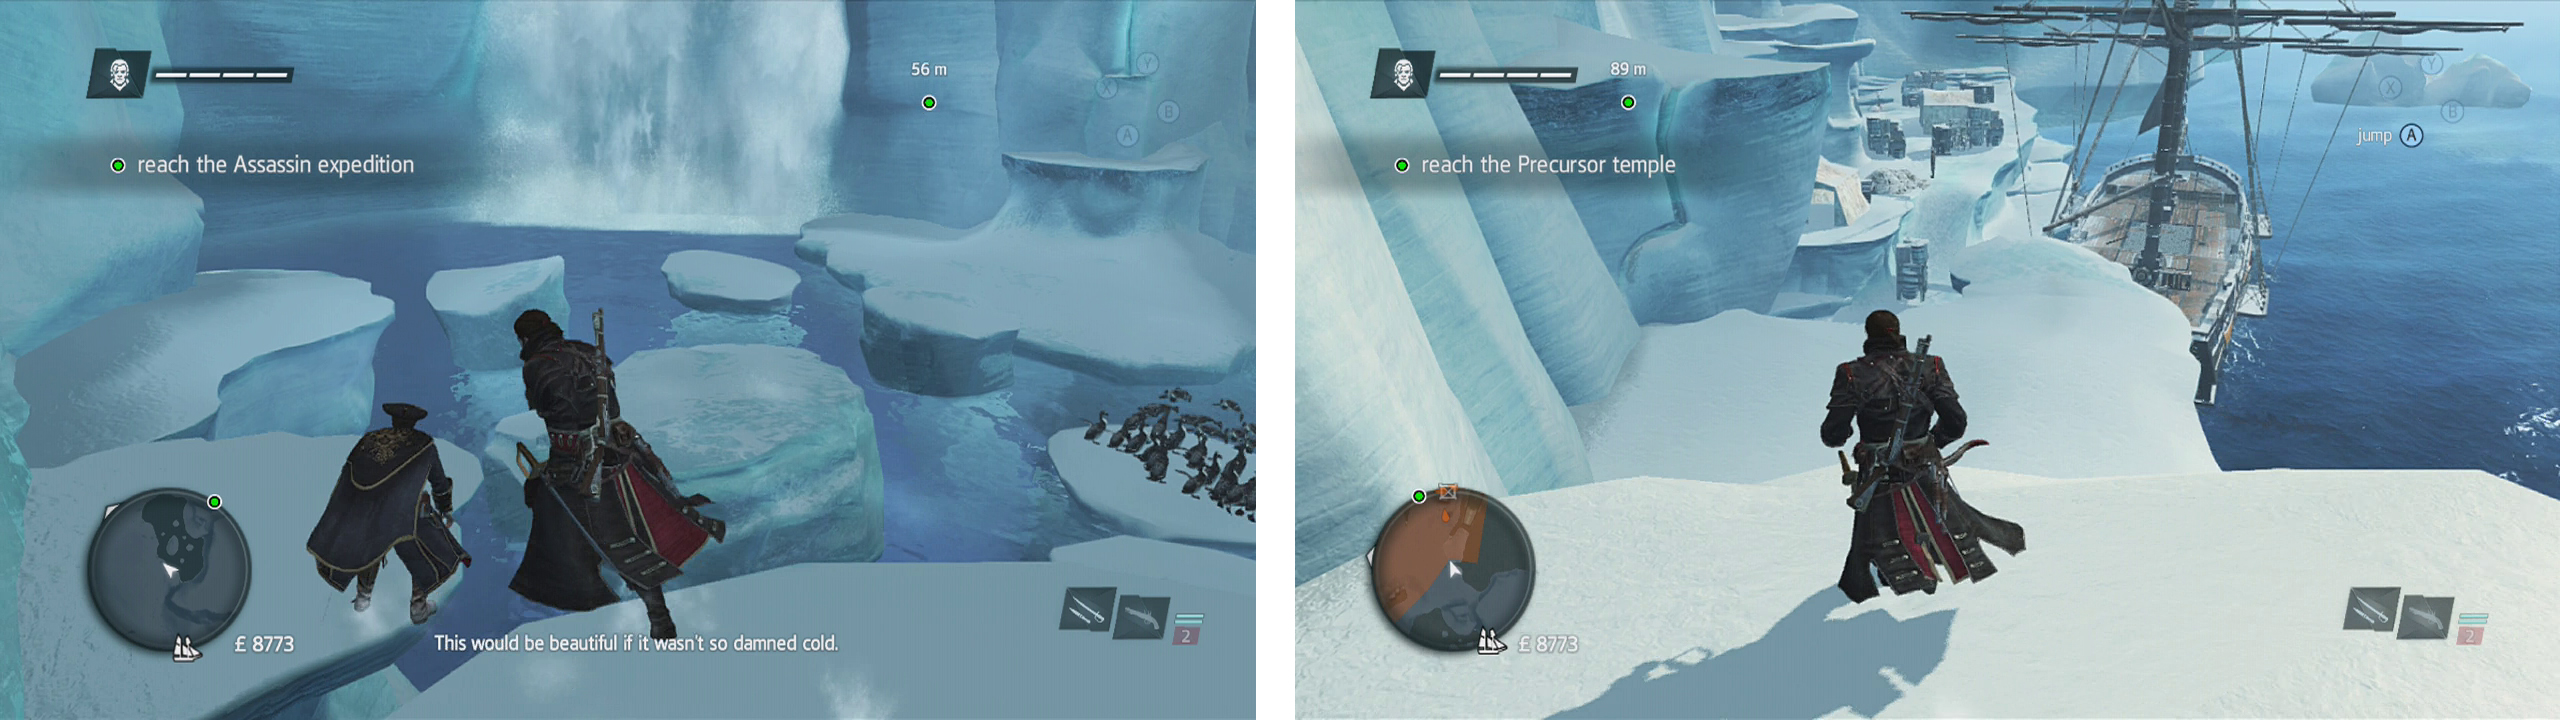
Follow Haytham (left) until you reach an overlook (right) - use the ship’s masts to go through the area quickly and quietly.
Hop across the raised columns of ice here until you reach the far ledge and knock out the sniper here. From the edge of this area, you’ll be able to see a ladder leading up to the next area below. There is a pair of guards by the fire right next to the ladder, so use a pistol to shoot the kegs behind them - they are full of sleepy gas. Drop down, don your gas mask and climb the ladder to reach the next objective marker.
Following the scene, scale the crates and the icy column in front of you and then follow the fairly obvious set platforming pathway around the top of the room. When you can go no further, drop down to the platform below and climb the ladder. Continue into the tunnel to reach the next waypoint.
In the next room, there are plenty of enemies about and you can charge on through if you choose to do so. However, if you’d prefer to get through without too much combat-related trouble and with a bit more speed you can.
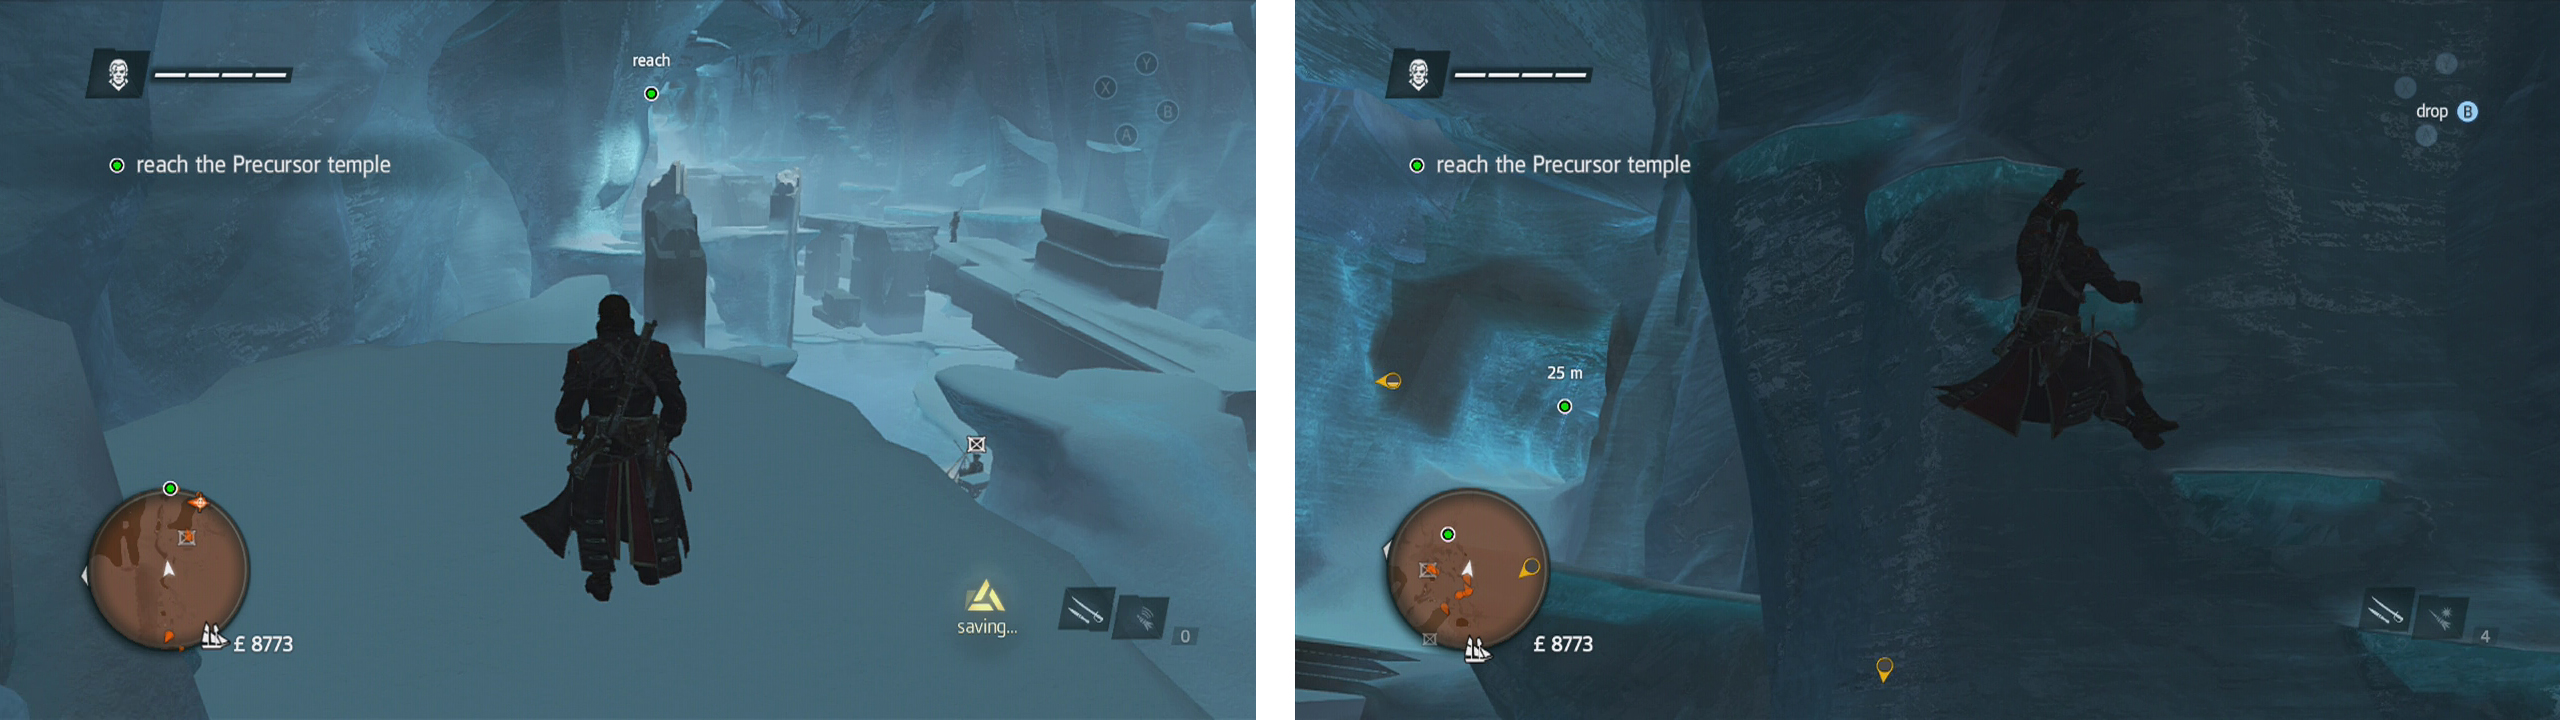
When you reach the indoor areas (left) use the ledges along the sides of the room (right) to avoid a fight.
To do so, from the entrance, you’ll want to hop over to the platform on the right and either tranquilise or assassinate the sniper here. At the end of the snipers platform, hop to the next one and look down to the right to spot a campfire with a pair of guards beside it. We want to double assassinate these guys and then climb up the ice wall behind them – just look at the mini-map and make sure no other enemies are looking at you as you do it! Follow the path of handholds and platforms built into the wall to reach the tunnel leading to the next objective marker.
Part 2: Exploration
Once you exit the tunnel, a short scene will play showing you the effect of the energy beam walls we’ll see throughout the next section. Avoid the energy wall and hop the first gap before heading down the ramp to start some solid platforming action.
We need to jump across to the series of pillars here, waiting for each sequential set of energy walls to dissipate before jumping to the next pillar. Do the same for the energy walls on the platform that you jump to next and then climb the wall at the end. Use the moving tiles to manoeuvre across the wall whilst avoiding the energy walls. Drop down to the ledge at the end.
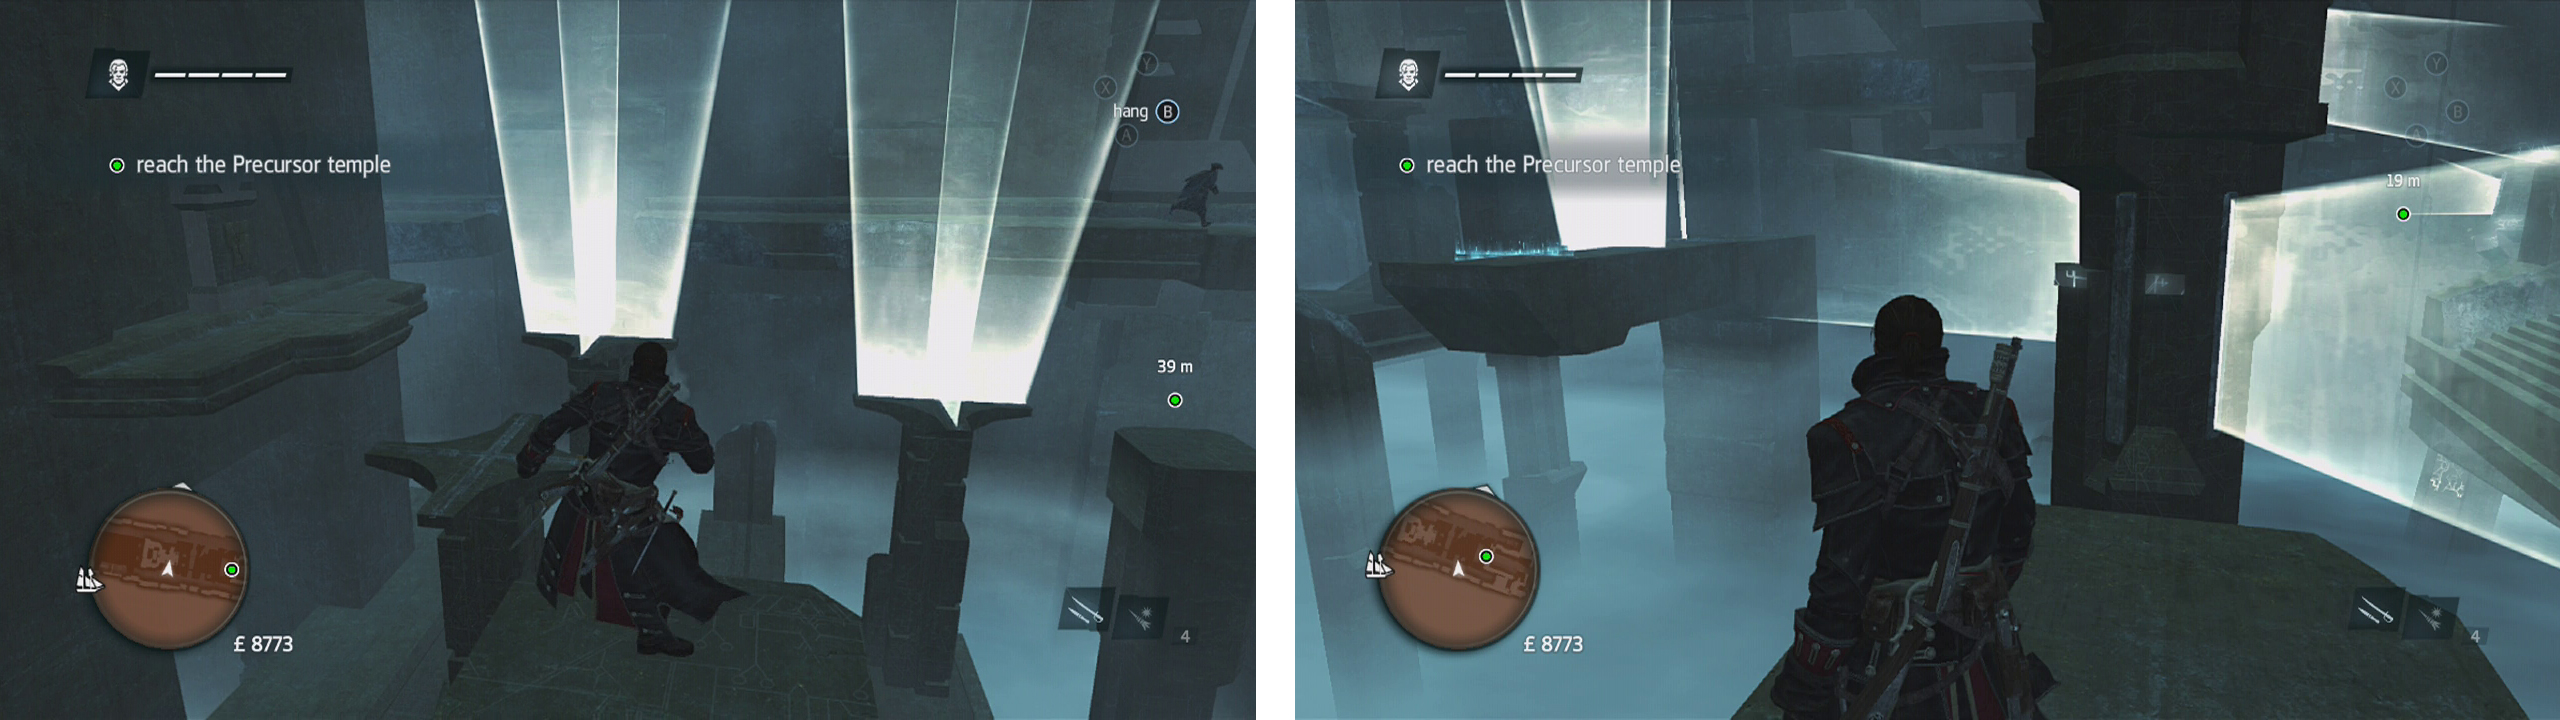
Work your way across the pillars (left) and up and around the hovering pole (right) whilst avoiding the energy walls.
Leap across to the suspended pillar here when it is at its closest point to you and use the various handholds to climb to the left and work your way around the energy walls until you find yourself with Shay’s back to a set of stairs. Use the back eject command (the button prompt will flash up on screen) to hop down to the stairs and reunite with your buddy.
Continue through the tunnel and into the next room for a cinematic.
Part 3: Pursuit
Following the scene, we’ll need to hightail it out of the area whilst also chasing a target. During this sequence we’ll be pretty much sprinting down a defined, fairly linear pathway. Note that the optional objective to not touch any energy walls applies to this particular section of the level. As such, make sure that as you move through the temple that you keep an eye out for and avoid touching the blue energy walls.
There will be a few narrow walkways with energy walls, before you exit into an ice cave, the platform will drop way beneath you, so use the floating ice nearby to cross the frozen water and continue across the collapsing platform before climbing up to the tunnel at the far end.
Run uphill through this tunnel avoiding the falling rocks as they land in your path and after a decent run through the area, the ground will collapse beneath you once again. At this point you’ll have completed the first optional objective if you managed to run through the previous section without hitting one of the energy beams.
Part 4: Assassinate
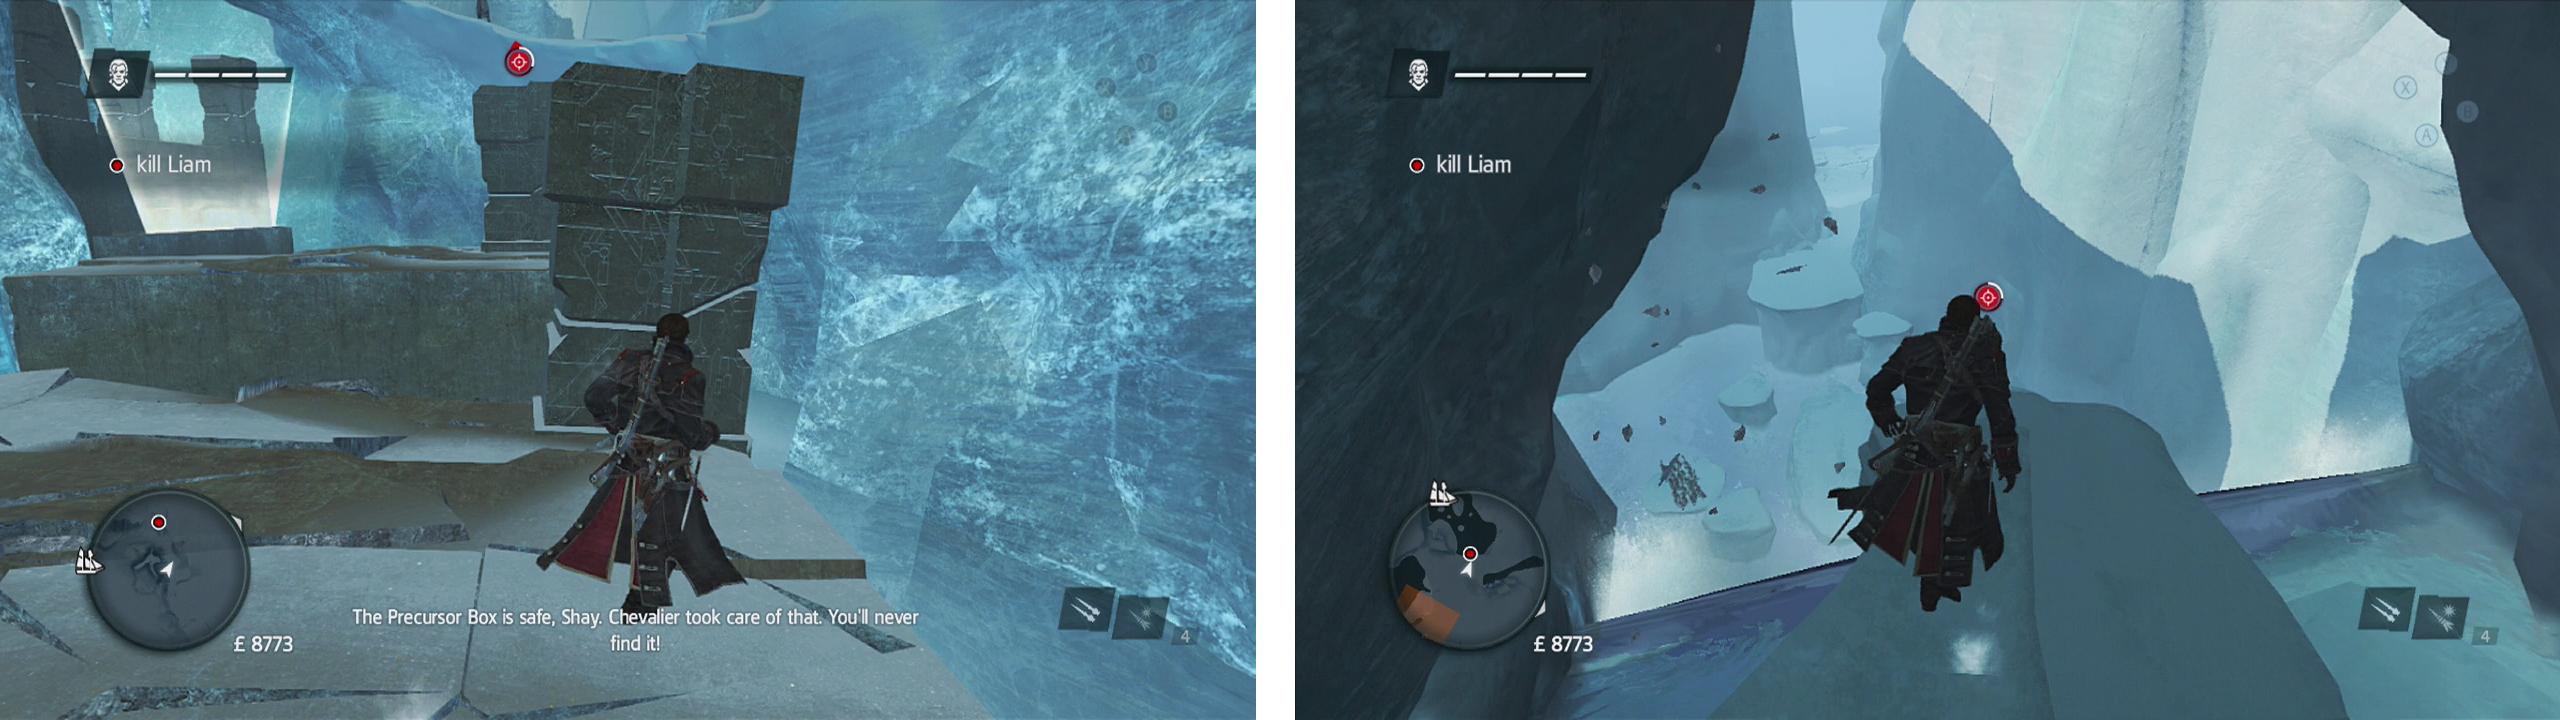
Cross the water and climb the wall at the end to spot your target in the distance. He’ll have noticed us chasing him now and as such will begin shooting. It should be noted that there is a second optional objective for the mission that requires that we not get shot by this fellow before we take him down.
To begin with, he’ll hang out on top of a platform in the distance and shoot at you, you’ll know its coming when his red objective marker turns into a bullseye and the white bar around the outside of this fills up. When you see him star to shoot, you need to move into cover. At this point, we want to move between the sections of ruined walls in the area between us and the target to use as cover. When you reach the platform beneath him, hop across the gap to the left and hang from the ledge, then when the energy beam wall goes down climb up.
Make sure you stand behind cover when you see the target icon fill up (left) and when you finally corner the target air assassinate him (right).
Repeat the process here of moving from cover to cover between the targets gunshots whilst also timing your run through the energy walls. When you reach the far end of the platform, slide down the ramp.
Follow the tunnel out and hop across to the icy platform below. Use the snowy pillar next to the ledge here to avoid the gunfire. Finally, when it is safe to do so, run to the top of the ramp, look down and air assassinate our target for a scene. Providing you did not get shot during the final phase of the memory, you will have earned the second optional objective as well.
Afterwards, simply use the platforms ahead to exit the cave and continue to the objective marker to end the mission.


 Sign up
No Comments