Part 1: Naval Combat
As long as you have the Morrigan upgraded a little, the naval part of this fort liberation is actually not too difficult. Once thing you need to keep a lookout for as you approach however are the floating mines – use your Puckle gun to destroy them as they are locked on. The good news is that once the mines are gone, there is plenty of room to manoeuvre around. The only thing that makes it a little bit difficult is the presence of a brig and a couple of gunships. If you can pull them out from the fort’s mortar range and eliminate them, the fort’s four defensive towers should not put up much of a fight in the face of your mortars and broadside attacks. Once you have cleared out the fort’s defences, dock at the area indicated.
Part 2: Infiltrate
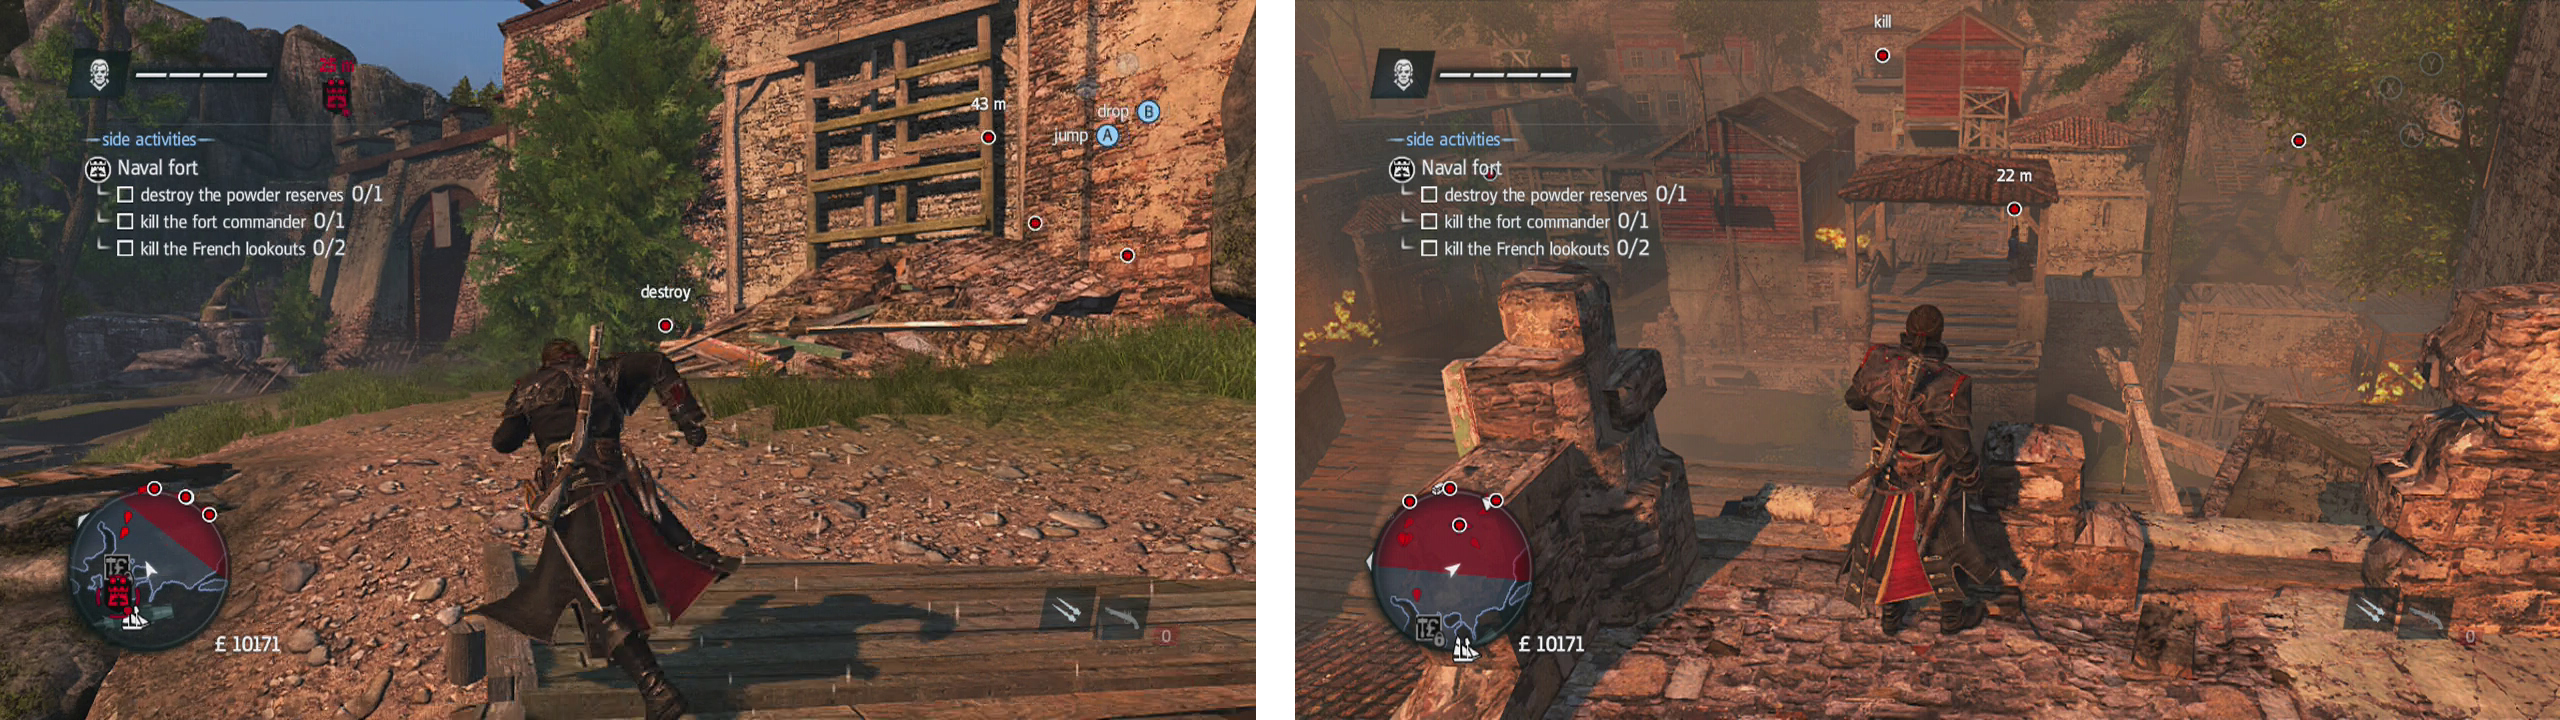
Use the scaffolding to the right of the gate to enter the fort (left). Once inside, take care of the lookouts first (right) before taking on the other objectives.
As you get off the ship, climb up the scaffolding to the right of the main gate and use the rope lift to reach the top of the wall to make a much sneakier entrance. From here, you should be able to drop down and jump across to the first guard tower to eliminate the lookout inside. If you continue east, run between a pair of buildings and climb the stack of crates to reach the top of a larger one at the end. From here you should be able to jump to the second guard tower and kill the second lookout.
From this guard tower, use the tree branches and beams to run north until you land on a wall. From here you should be able to make out the powder reserve barrels we need to destroy below. Shoot them.
Return back across the treetops to the guard tower and this time travel to the south through the treetop pathway. Climb to the top of the wall at the end. The top of the wall has a rope linking to the main building nearby and the captain of the fort will be located on the wooden walkway directly below. Simply use the rope to run over and above him in order to perform an air assassination. If you have complete the other objectives, this will end the fort liberation.

 Sign up
No Comments