Part 1: Welcome to Boston
After disembarking the boat, you’ll be met by a new friend - Charles. Follow him for a short while and when the game prompts you to; check out the world map feature. Set the marker as requested and then exit the map. Work your way over to the general store and approach it.
As you do, you’ll see a short cut-scene and be given an optional task to collect Almanac pages for Benjamin Franklin. These can be collected out of the main mission and their locations will be marked on the map. Additionally you’ll be able to find the locations in the collectibles section of the guide. Either way, you will want to enter the general store and purchase a sword and a pistol.
Return outside and you’ll find Charles nearby with a horse for you. Mount up and follow him. When you finally reach the Green Dragon Tavern, dismount from the horse to complete the mission.
Part 2: Johnsons Errand
Enter the green Dragon Tavern and once the initial scene has run its course, follow Charles up the stairs and around the corner until you meet a new character - Johnson. After a chat, you’ll have a new objective, so return downstairs and exit. Run over and speak to the man leaning against the fence to start the mission proper.
Part 1
When you regain control of Haytham, press the shoot button to take out the guard on the wall in front. Climb the wall in front and cruise over to the weapon rack indicated by the objective marker. Grab a musket. Move forward a short distance along the wooden platform and then look down to the left to see our two allies standing outside the gate with four guards blocking their entrance. Take aim and shoot one and your friends will help you eliminate the rest.
There are four enemies in front of you, another group in the courtyard below to your left and another larger group further over into the courtyard below. You can either continue along the top of the wall or slide down to re-join your companions below. Either way you go, you will get spotted and all the guards will attack. After around 6-7 of them are dead a scene will play.
Shoot the barrels near the door to blow it open and then continue through the new opening. Interact with the chest on the small wooden platform to the right for another story sequence. Kill the five enemies here for another short scene.
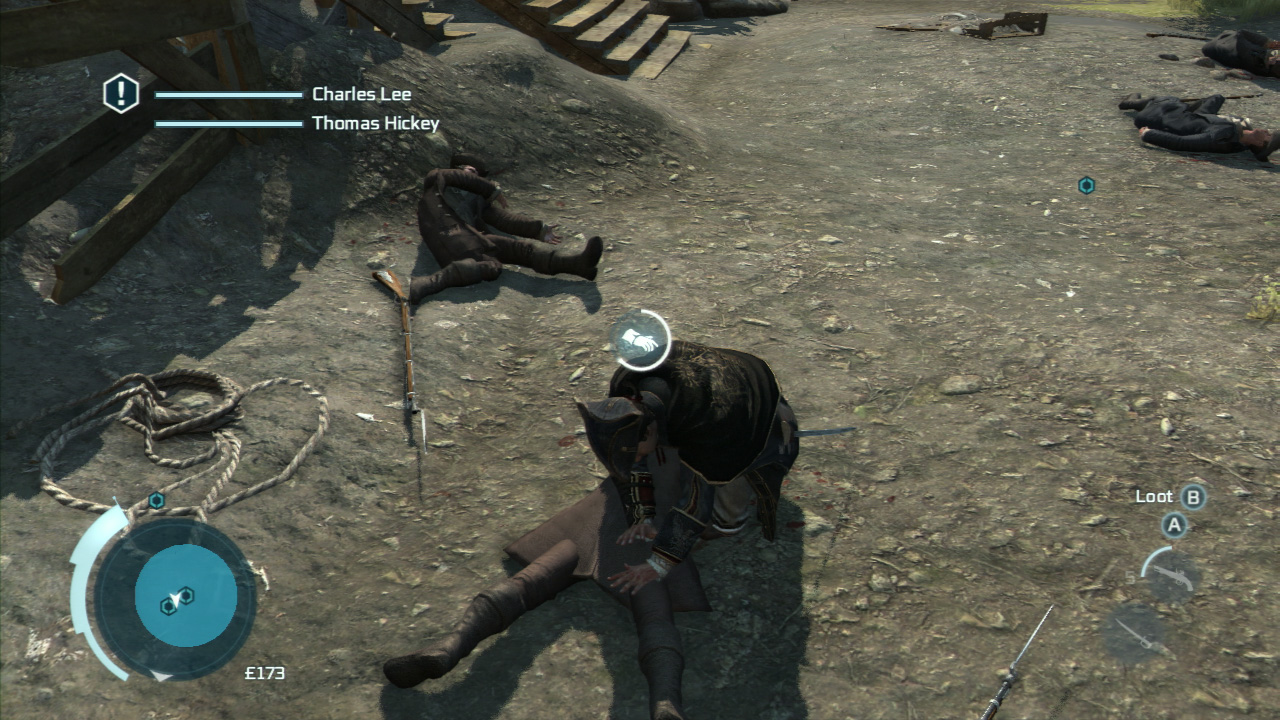
You will be prompted to loot the dead bodies here. Doing this not only earns you a little bit of money, but will also replenish your ammo if you start to get low. Return out the gate and kill the four mercenaries that run in to attack you.
Part 2
Now look at the mini-map, you’ll be escorting these two guys back to the Green Dragon Tavern. They will walk and you will need to remain close to them. Wander too far away from them and you will de-synchronised and have to re-start from the previous checkpoint.
As you walk between the corn fields, a group of enemies will attack from either side. A pair of musket men will appear on the farmhouse in front as well, so once you’ve dealt with the melee threat, take cover behind the wagon and return fire until they are dead (this and the next section are a good point to rack up those kills for the 10 firearms kills optional task). Note that looting a musket from an enemy will kill them in one shot, but your pistol will take two shots to take them down.
Continue along the path and you will be ambushed once again. This time, musket men will take up positions on two rooftops either side of the street. Take cover behind the wagon and eliminate all four of them to continue and complete the mission.
Part 3: The Surgeon
Enter the Green Dragon tavern and talk to Johnson. Afterwards return outside and talk to Charles to begin the next memory.
Part 1
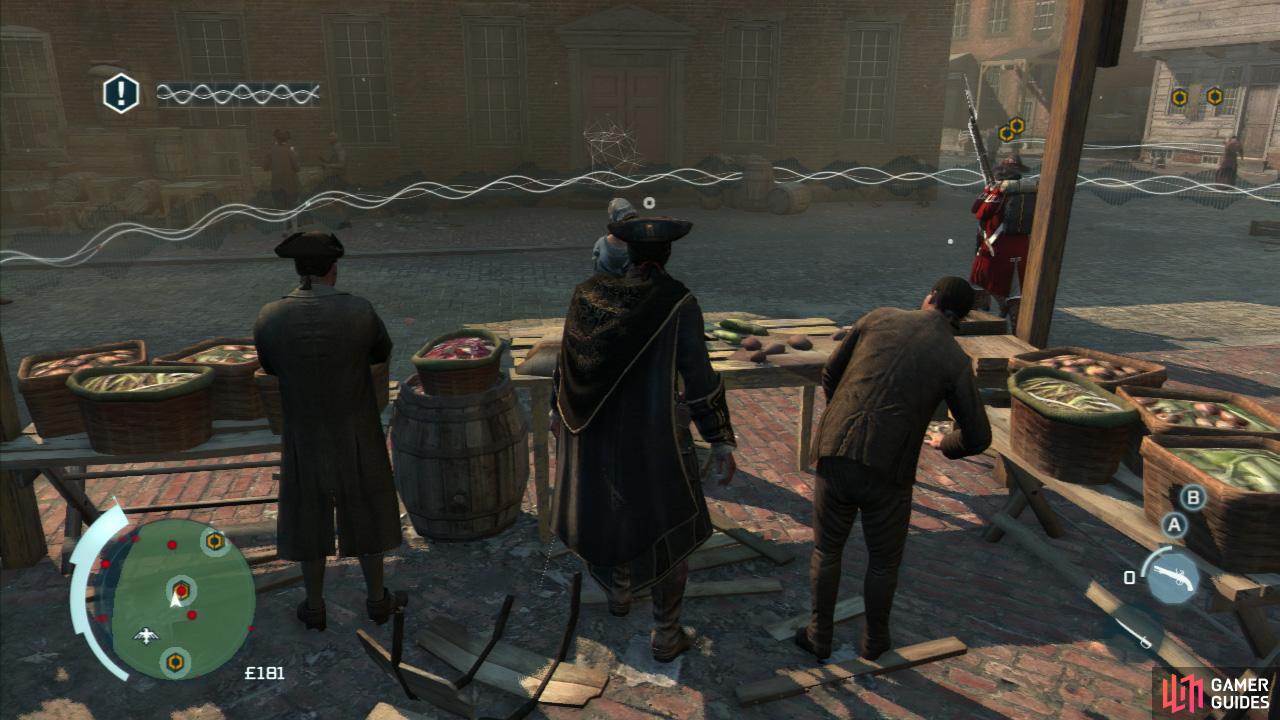
Following the scene, continue down the road and eavesdrop on the conversation between our marked friends. Here the game will instruct you in how to blend into the crowd and how to eavesdrop – see the circle surrounding the pair? You have to stay inside that for the period of the conversation.
After the first conversation, your objective marker will point you in the direction of a viewpoint, climb to the top of the building indicated and you can press the synchronise button to view additional areas on your map. Synchronising will reveal a green circle indicating the mission area and another bunch of chats highlighted with objective markers that you might want to listen in on.
Each successful eavesdrop (2 did it for me) will reduce the green circle, pointing you towards your final conversation – a conversation in a square. For the optional objective, I’d recommend eavesdropping on the pair of guards patrolling the area. For this eavesdrop, you’ll need to alternate between hiding in cover and blending in with citizens as you follow them around the area.
Don’t forget to fully utilize your surroundings when it comes to the moving targets. Hatham can take time to look like an especially dapper fruit seller in order to spy. If you have not failed an eavesdrop and eavesdropped on the moving group of guards, those two optional objectives will be complete. You should also have been able to ascertain the location of the Surgeon.
Part 2
Work your way over to the new green zone on the map. As you enter the restricted area, climb onto the rooves and work your way over to the objective marker to get there undetected for the optional objective. Drop down and then go and when it’s safe from the eyes of patrolling guards go and pickpocket the key from one of the targets. Return to the door for a scene.
Inside we’ll find three enemies with their backs to you. Sneak up and assassinate one, Charles will do the same to the other. Afterwards, assassinate the fellow interrogating our target to complete the mission.
Part 4: The Soldier
After a chat in the Green Dragon Tavern, we’ll be teleported outside close to our next recruit. Speak to Charles who is leaning against the wall here to begin the mission.
Part 1
Once the scene is over, follow Charles through the fort until another conversation plays out. You’ll find yourself back out of the fort. We need to trail the indicated redcoat patrol through the streets. Note that one of the optional objectives is to be spotted for less than 15 seconds throughout, so be sure to keep your distance (but still maintain line of sight) and stay in cover when they stop to have a look around.
After a minute or so, Charles will run out and distract them and then run off. They will give chase. Follow them until a scene plays.
Part 2
You will now have to fight off a few redcoats, however one of the optional objectives is to prevent snitches (the drummers) from calling re-enforcements. As soon as the scene finishes, one of them will high tail it down a nearby alley so either assassinate him before he can or chase him down or shoot him before engaging the rest of the enemies.
Note also that you can do the three kill combo objective here as well. By countering and performing an instant kill on an enemy, press in the direction of the next enemy and hit the attack button, you should pull off a second instant kill. Repeat once more for the objective! Once all of the guards are dead, speak to Braddock to complete the mission.
Part 5: Infiltrating Southgate
Head to the Green Dragon tavern and speak to Charles upstairs to begin the mission.
Part 1
Once the mission begins, you will find yourself on a rooftop. We are going to ambush the convoy as it passes below. Move forward and grab the musket. Once the convoy comes to a stop, open fire on the guards below, this will signal your allies to attack. You can continue to pop enemies with the musket or drop down to join in the melee. Once all the guards are dead a scene will play.
We are now on rails, with the game controlling the path of the convoy leading into the fort. As we are working our way up the road, our allies will be flanking the road ahead. We can give the signal to attack at any time and will need to do so to take out redcoat soldiers before they can detect us.Here are the encounters to look out for on your way to the fort:
- Near the start, there will be two guards near the corn field on the left.
- Next you will reach a pair of buildings across from each other, there is a group of guards on the right and a couple on the left here you will have to kill.
- Just after the two groups in number 2, a dog will alert a single guard who will come around the building from the left, so down him as well.
- Next a group will enter your line of sight from the cornfield to the right.
- Finally you will see a large group of guards spread across the entire street ahead, take them all down with a surprise attack too.
When you reach the gate a short story sequence will play. We’ll also be granted access to the fort.
Part 2
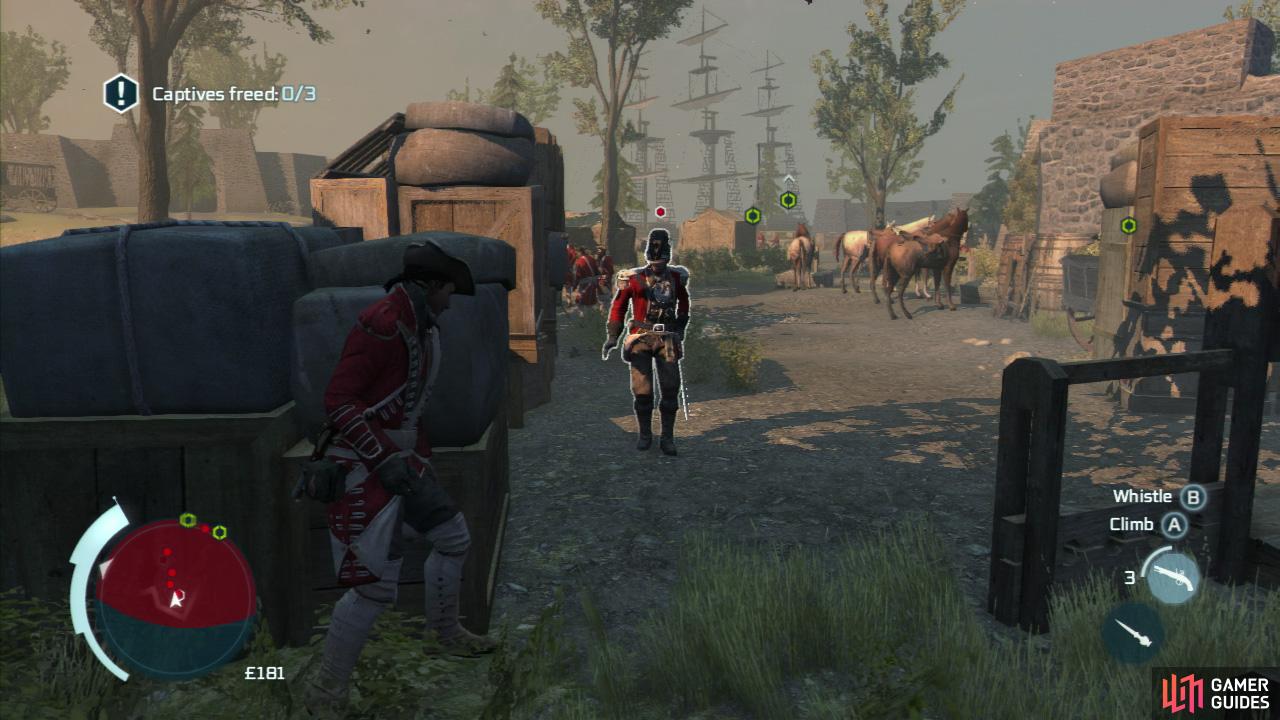
Before we get going, let’s have a quick look around. There are three objective markers on the left hand side of the area. These indicate three groups of prisoners we can release from captivity, just ahead and to the right there is a small camp with a good number of guards about. There is also a general patrolling around this area that we can kill to fulfil one of the optional objectives.
Let’s begin. Move down the hill along the road, have one of your assassins attack the enemy that threatens to detect you as he approaches. We are going to get the general first. Crawl into the bushes to the right of the haystack next to the road. Continue to the right behind the tent and into the next set of bushes. From here, you should be able to make out a pair of guards nearby and behind them the general who is marked with a red dot above his head.Note that only the general is looking in your direction.
Get out of the bushes so he sees you and comes to investigate. Climb back into the bush and assassinate him when he gets close. If you’re having trouble luring him over with this technique, use the new corner whistle on the boxes near the lone guard to the very right. Lean against them and whistle the guard over when the commander isn’t around, then use them again when he is on his patrol.
Return back to the road. Now let’s go rescue those prisoners! Hug the large stone wall at the back of the area and make your way to the left between the wall and the tents. Ahead you will see a square wooden structure with a guard leaning against it. Take cover and assassinate him from the corner (we need three corner assassinations for the optional objective this is 1/3). Stay here and you’ll see the first set of prisoners to the right. Wait for the guard patrolling in front of the prisoners to walk away from you and assassinate him. Interact with the prisoners to free them.
Work your way across the camp to the second set of captives at the edge of the water. Use the brush here to hide from the patrolling guard, you can wait for him to go by the crates to the left of the prisoners, enter cover behind the same crates and corner assassinate him when he returns (2/3 for the optional objectives). Free the captives.
Continue along the water’s edge towards the boats. When you reach the wooden boardwalk, wait for the guard that patrols along it to head back towards the boat. When he does, move up to the edge of the dock and hide behind the large wooden boxes here, wait for the patrolling guard to return and corner assassinate him (3/3 for the optional objective).
Climb up onto the boat at the end. Use the central cargo boxes to stealth assassinate the guard patrolling the centre without alerting the others and then walk over to the prisoners and assassinate the guard looking after them. Release the third set of prisoners. This will trigger a scene.
Part 3
As soon as you regain control, you’ll be in combat. The game will also give you a quick tutorial on avoiding firing squad damage (this tutorial will also complete the optional task to do the same thing!). Kill any enemies attacking you directly and then leg it over to the fort in the distance. Climb up the rampart here to find Silas with a few mates, kill him to complete the memory sequence.


 Sign up

No Comments