Part 1: A Boorish Man
We’ll regain control of Connor in the centre of the frontier. Work your way to the exclamation point on the map to enter the Davenport Homestead. Once in the new zone, head to the large mansion in the north of the area.
Knock on the door. After the scene, head over to the stables. When the next day arrives, head back to the house and knock on the door again, then head around to the back door. After another scene, climb up to the balcony on the north side of the house and interact with the door here. Return to the stable.
You will be woken in the middle of the night, after a short scene fight off the bad guys that appear (note that there is an optional objective to finish the segment with less than 50% health loss) and when they are all dead or dying a scene will play. Afterwards make your way over to the front door. After a short scene, follow Achilles down the stairs to complete the chapter.
Part 2: A Trip to Boston
Exit the house and walk over to Achilles on the horse wagon nearby to begin the mission. Once you get to Boston, follow Achilles until a scene plays. Head over to the nearby general store and give the vendor Achilles’ note. Return to Achilles. Follow him until you see a cut-scene.
Afterwards, you need to tail the target, stay in cover and keep your distance to keep him to prevent him from detecting you. Once he climbs up onto the roof, follow him to the edge of the roof and assassinate him when told to do so.
After another scene, you will now be wanted, simply escape from the area and back to anonymous. Upon doing so you will have completed the mission.
Part 3: Boston's Most Wanted
Part 1
After completing the previous mission, a messenger will approach and tell you to meet a new contact, Sam Adams. So head on over to the explanation mark and talk to Sam to start the mission. This mission is going to give you a crash course in notoriety and how to get rid of it.
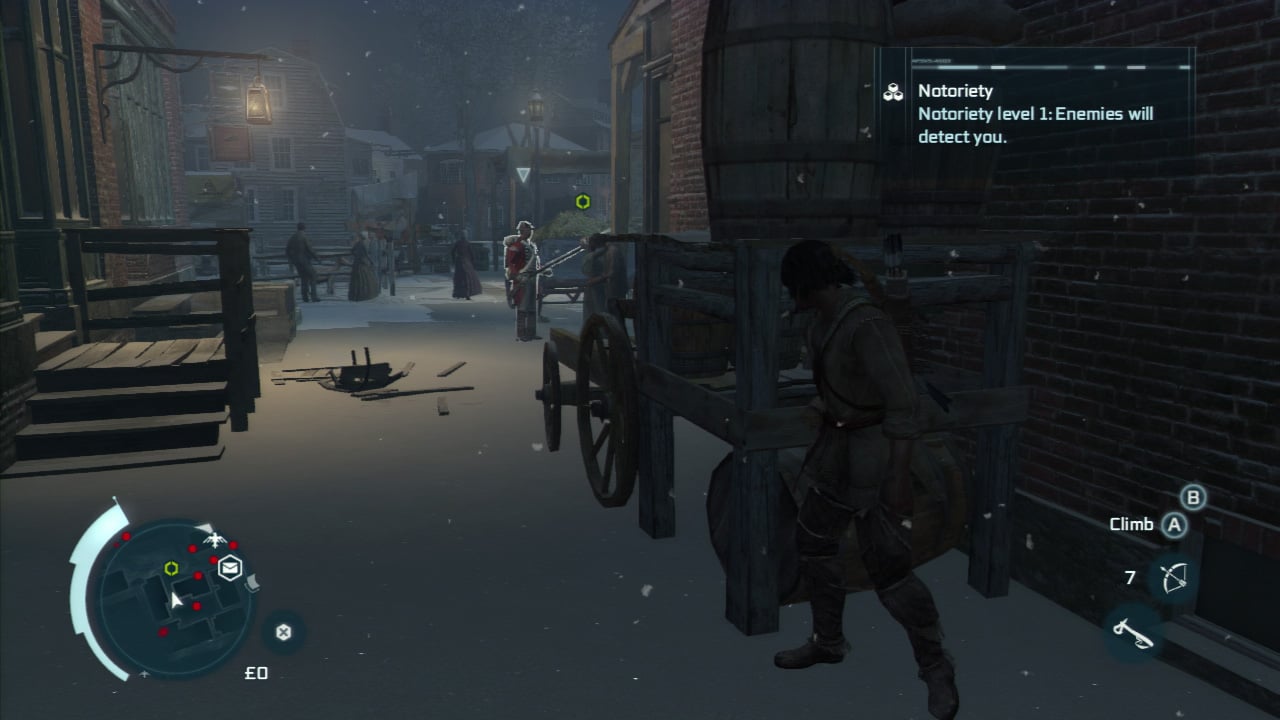
First up we need to take down two wanted posters, these are scattered all over the place so shouldn’t be too hard to find. You will be on high notoriety until you manage to pull two of them down, so when you approach them either try to avoid the guards by using cover, haystacks or rooftops, or otherwise prepare for a fight. Once the two posters have been removed, return to Sam. A scene will play showing how you can bribe town criers to also reduce your notoriety.
Part 2
Afterwards, you will now have to escort Sam to the Underground tunnels. As you make your way through the streets be sure to avoid the guard checkpoints as they always seemed to become hostile, no matter the notoriety level. Also, as per usual for escort quests ensure that you don’t venture too far from Sam.
When you reach the tavern, you will notice that all the alleyway entrances to the area are all blocked by guards, so climb over the roof and drop down into the courtyard. Quickly enter the hatch on the ground to enter the underground to complete the sequence.
Part 3 - Lying Low
Escort Sam through the underground tunnels until you reach the objective marker.
Part 4 - Stop the Presses
After leaving the underground area, head over to the golden objective marker to meet with Sam. In this scene we’ll learn how to use printers to reduce notoriety as well. When you are done, follow Sam to the docks and speak to the harbourmaster to travel to the Homestead or fast travel to the frontier.
Part 4: River Rescue
Part 1
After returning to the Homestead from Boston, a man will appear in the window and ask for help. Exit the building and chat with him to start the mission.
Follow Godfrey down the hill until you reach the river. As you arrive, you will see his friend floating down the river. You will have to run after him using the rocks and tree trunks use free run to go all the way down the river until you can rescue the man – you will have to dive in the water at the very end.
Note that saving the man without touching the water will complete an optional objective for the mission (although diving at the very end of the course does not seem to count as touching water). After a brief scene, you will be back at the homestead. You will also receive notification that you’ll now be able to recruit additional members to your homestead.
Part 2 - Training Begins
Meet Achilles in the shack down by the dock to start this mission. After a chat with the harbourmaster, return to the Homestead to talk with Achilles again. He’ll give you a spiel about the ledger in the homestead and the game will give you a short tutorial on how to use it. To complete the mission.
Part 5: The Hard Way
Part 1
After completing the previous quest, return to the harbourmaster and chat with him, he will open the navigation map for you. Choose the ‘The Hard way’ option to begin the mission.
This mission, like the others in this sequence acts as a tutorial on how to use the game’s ships. It will cover putting up sails to full/half mast, selecting weapons and instructing your crew to take cover when under attack.
Take the wheel and work your way between the rocks until you reach the objective marker. Continue to follow the marker, avoiding the rocks as you go until you reach the open water. At this point, the game will point out cottages to the left. So make your way over there and follow the instructions to dock the ship.
Part 2
After the scene on land, our ship will now have a crew and some cannons. That can mean only one thing, it’s time to test those out! Head to the stern of the boat and jump back on the wheel again to take control of the vessel once more.
As the view changes to ship mode, you will see a pair of rocks in front with an objective marker between them. Sail over to this point and then complete the tutorial on how to use the cannons during a broadside attack and the swivel guns.
Part 3
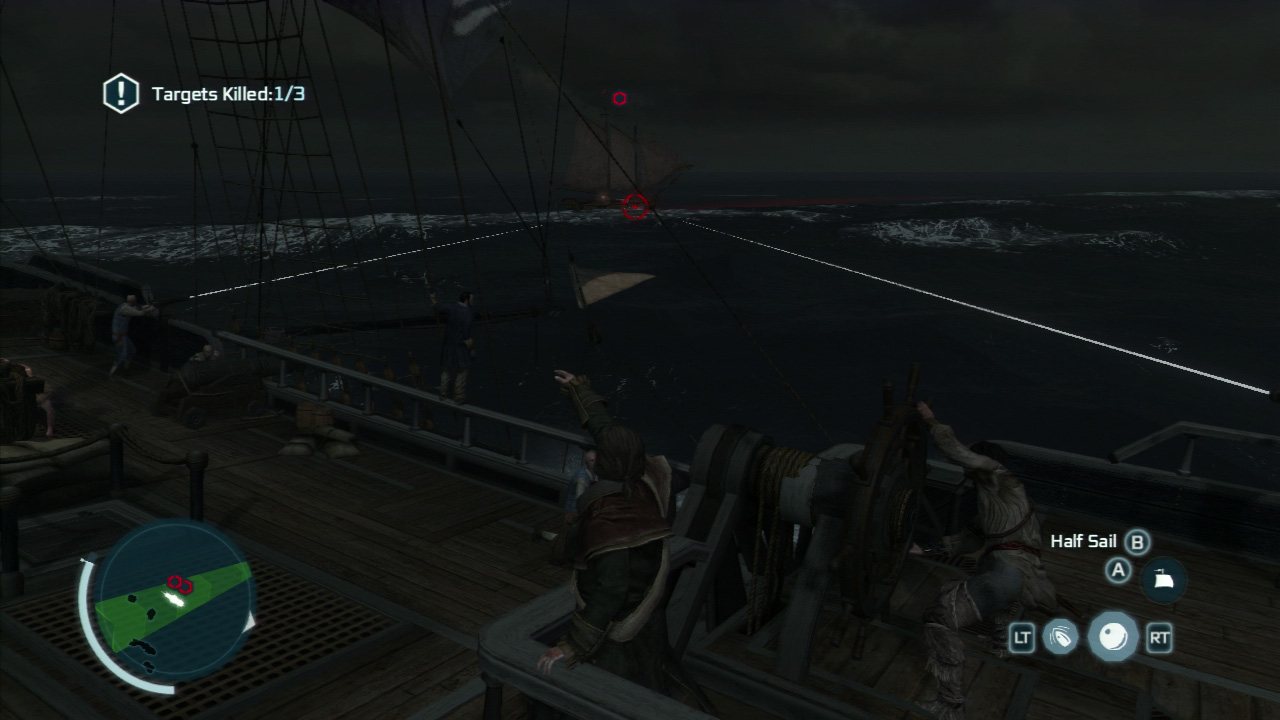
Once training is complete, set sail for the next objective marker out to sea. You will be attacked by your first group of hostile ships. At this point, we can earn two optional objectives – successfully brace three times when attacked and use the swivel guns to destroy two ships.
In general, when you are engaged in nautical combat, the aim is to manoeuvre your ship so that its side is facing your target. When you fire cannons, hold the button to charge them and when they are ready, you will see a white light appear on the water which indicates where the cannons will fire. Enemy ships likewise have a similar system, although their light on the water will be red.
If you see your ship in the range of the red water, tell your men to brace immediately to avoid taking too much damage (try to do this three times for the optional objective). Use the swivel guns to destroy exposed barrels on two of the ships to complete the objective.
These first three ships can be easily destroyed with the swivel guns, so be sure to use them to destroy at least two of the ships to knock over that optional objective first.
After taking down the first three ships, a frigate will appear to attack.These ships can take a little more damage, but still should not cause you any real issues. At this point, you should have no issue with bracing to avoid enemy attacks to complete the optional objective. Following the story scene, Sequence 5 will be complete.


 Sign up
No Comments