
Following the previous missions, check out the world map and sail over to the objective marker. When you arrive at the destination, hop off the boat and swim to shore. Speak with James Kidd on Andreas Island to start the mission.
Part 1: Tailing
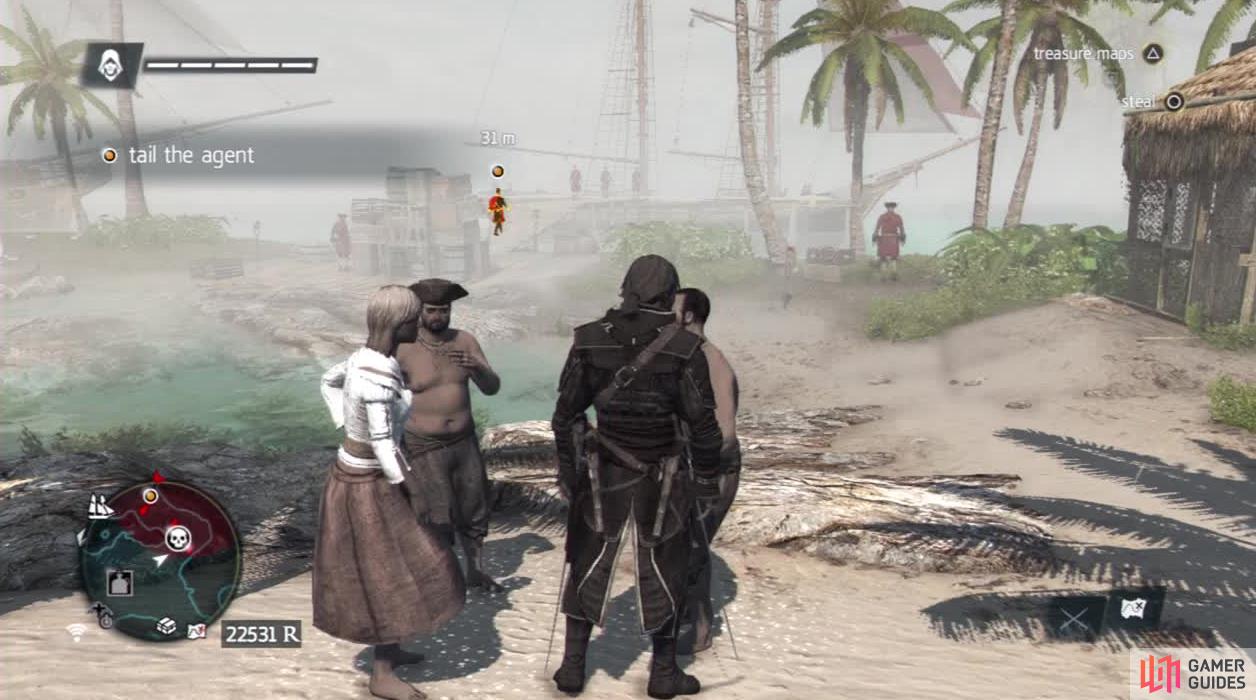
Once identified, the target will start walking off. As per usual, the person we are tailing will move along a set path and stop at regular intervals to peek behind to check to see that he isn’t being followed. As such, we need to follow him at a distance, making sure to use the stalking zones and groups of people to hide from him when he stops.
When he goes past the tavern, he will turn to the left and enter a restricted area (red zone on the map) with guards about. Wait for him to speak to the two stationary guards here and they will all walk off together. At this point, move up to the stalking zone next to the tavern. As the officer moves off towards the dock, simply move next to the trio of people in front of the bushes. You can watch him from a distance and the objective will update before he gets too far away.
You can stand here on the edge of the area and wait for the objective to update.
At this point, the objective marker will appear back on the Jackdaw. Quickly sprint back to the ship and interact with the wheel before the timer runs out.
Part 2: Tailing
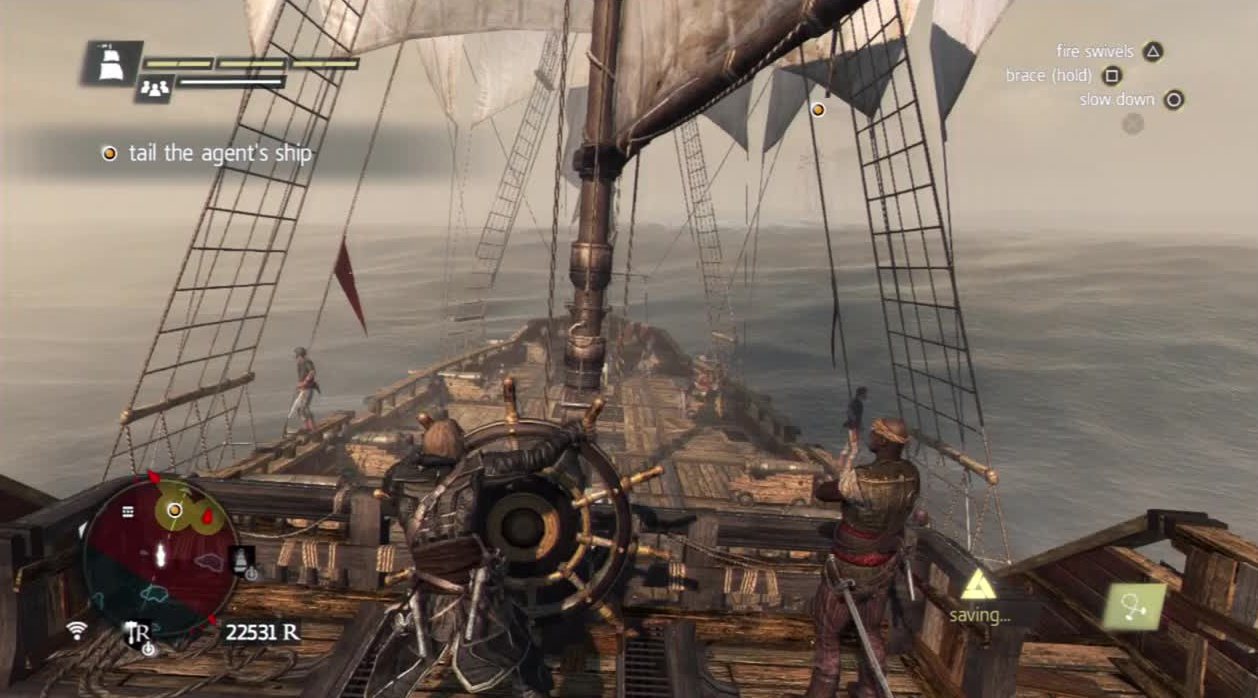
Now that we are back behind the wheel of the ship, we need to tail the target’s ship. Soon after initiating the chase, the target ship enters a restricted area on the map.
When he does this, you will notice that enemy ships in the area will have yellow line-of-sight cones added to the mini-map and will become hostile if they spot you in the area. As such, you will want to avoid sailing into these unless you want to get caught up in a naval battle. Navigate using the mini-map, following the target marker whilst weaving between islands and moving around the hostile ships.
Maintain a reasonable distance and stay out of the yellow vision cones to avoid combat.
After a minute or two, a green objective marker will appear. Approach this and as you arrive, dock the Jackdaw and run ashore. As you land, a timer will appear and you will have to reach the target individual within 50 seconds. Sprint along the beach and as you get close to him, enter the stalking zone bush marked by the green waypoint to avoid detection.
Part 3: Eavesdropping
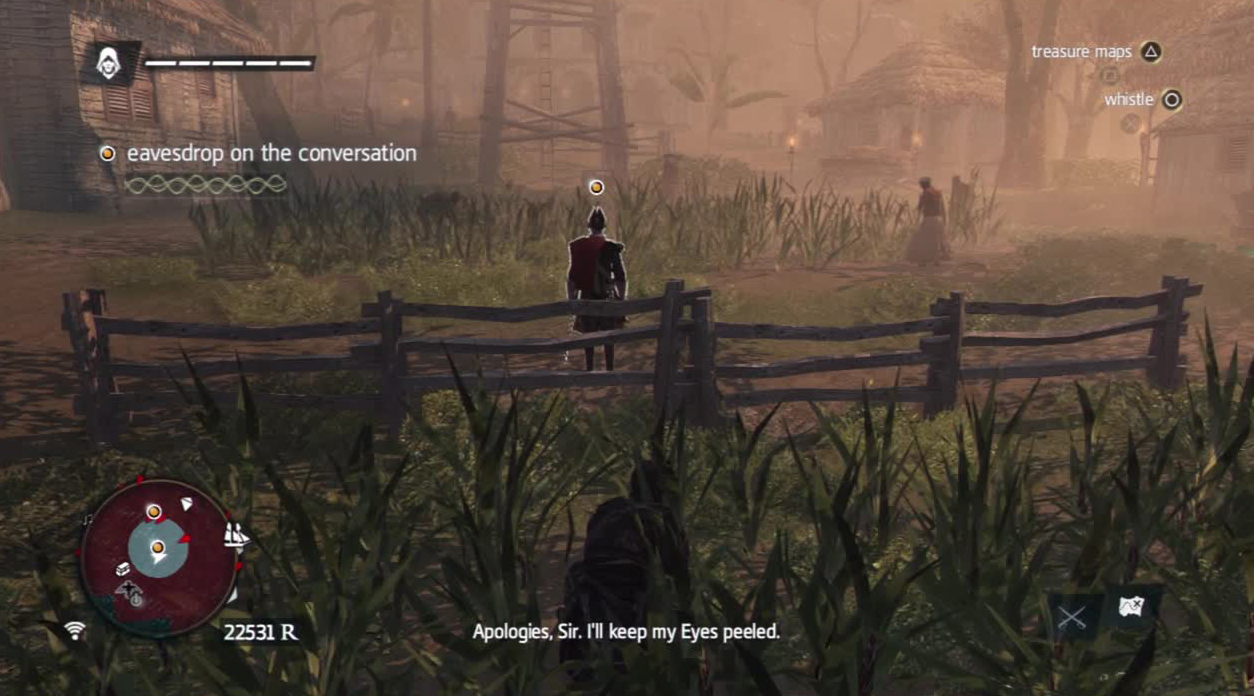
At this point, we need to eavesdrop on the agent’s conversation with the guard here. As the pair walk off, hop the fence to the right and using the sugarcane field as cover, follow them over to the building ahead. As they pass this, they will split up. Stick with the agent as he approaches the base of the guard tower.
After a short chat, he will continue along the road until he reaches a guard next to an alarm bell. Keep moving between stalking zones, and be vigilant in checking your mini-map to make sure the gunman in the tower is not looking your way when you do. Once he is done with the guard at the bell, continue along the road after him until he stops in front of a warehouse. This will end the eavesdrop sequence.
After this point you will have to keep a careful watch for the gunner when moving between stalking zones.
Part 4: Infiltrating
Now we need to locate the warehouse key. The guard holding the key can be located to the southwest of the warehouse. To get there, backtrack to the guard at the alarm bell and look around the corner to the right of the building nearby with Eagle Vision active to spot the key bearer. This should mark him on the mini-map and HUD for you.
Now that we can find him easily whenever we like, let’s do that optional objective that wants us to disable two alarm bells. Whilst we are here anyway, kill the guard and sabotage the bell whilst the shooter in the tower is not looking.
Now return to the warehouse, climb up when it is safe to do so and take down the shooter on the roof. Make your way to the edge of the roof closest to the water and if you peek over the edge you should see a second alarm bell. Perform an air assassination on the guard here and sabotage the bell to complete the optional objective.
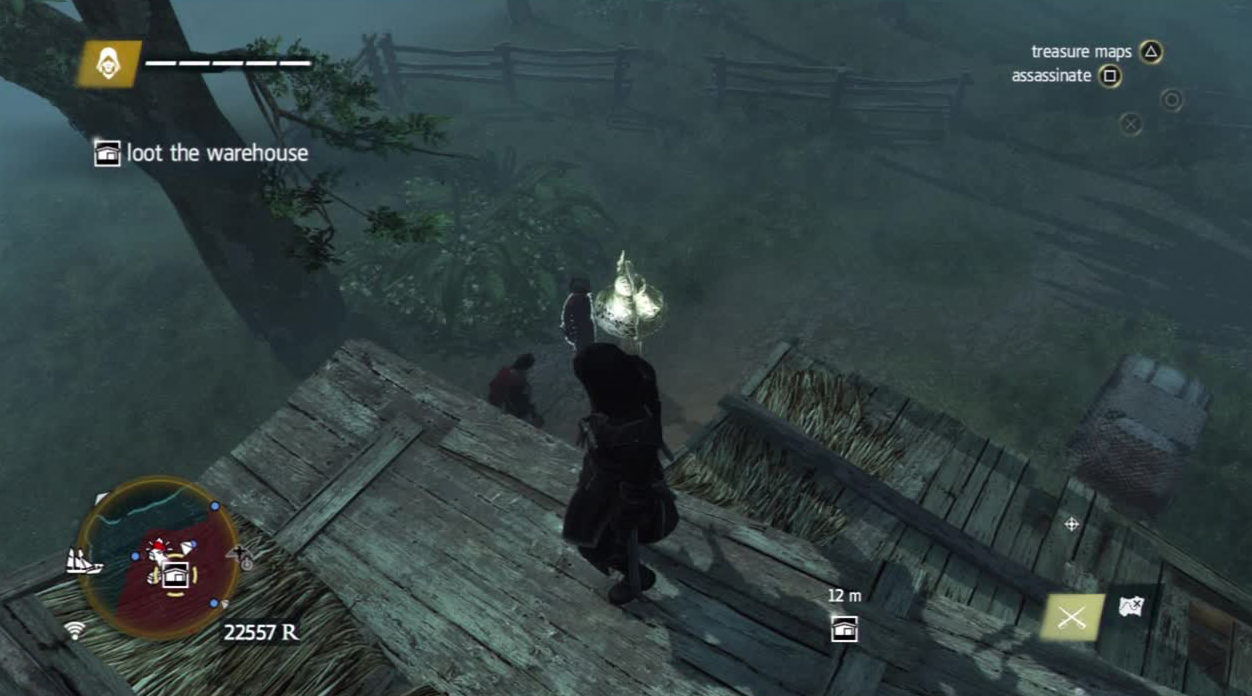
Wait for the other guard to move into view before making a double air assassination.
If you wait long enough, the guard with the warehouse key will enter the area around the warehouse. Use the stalking zone to sneak up on him and then double assassinate the key holder and his guard. Loot the key from the body, return to the warehouse and open the door to complete the mission.

 Sign up
No Comments