
Part 1: Infiltrate
Before we do anything else, set your weapon to unarmed. There is an optional objective to complete the mission whilst eliminating all our competition unarmed.
This mission is fairly simple. We’ll be working through a number of jungle zones marked by green circles on the map. In each of these zones, you will find a number of guardians (the tribal local inhabitants).
We need to find and knock out or incapacitate all of them before proceeding to the next section. Most of the time the guardians will be hidden in tees and stalking zones, so we can use Eagle vision to locate them. The second optional objective asks us to incapacitate five guardians from stalking zones, so keep that in mind as we progress.
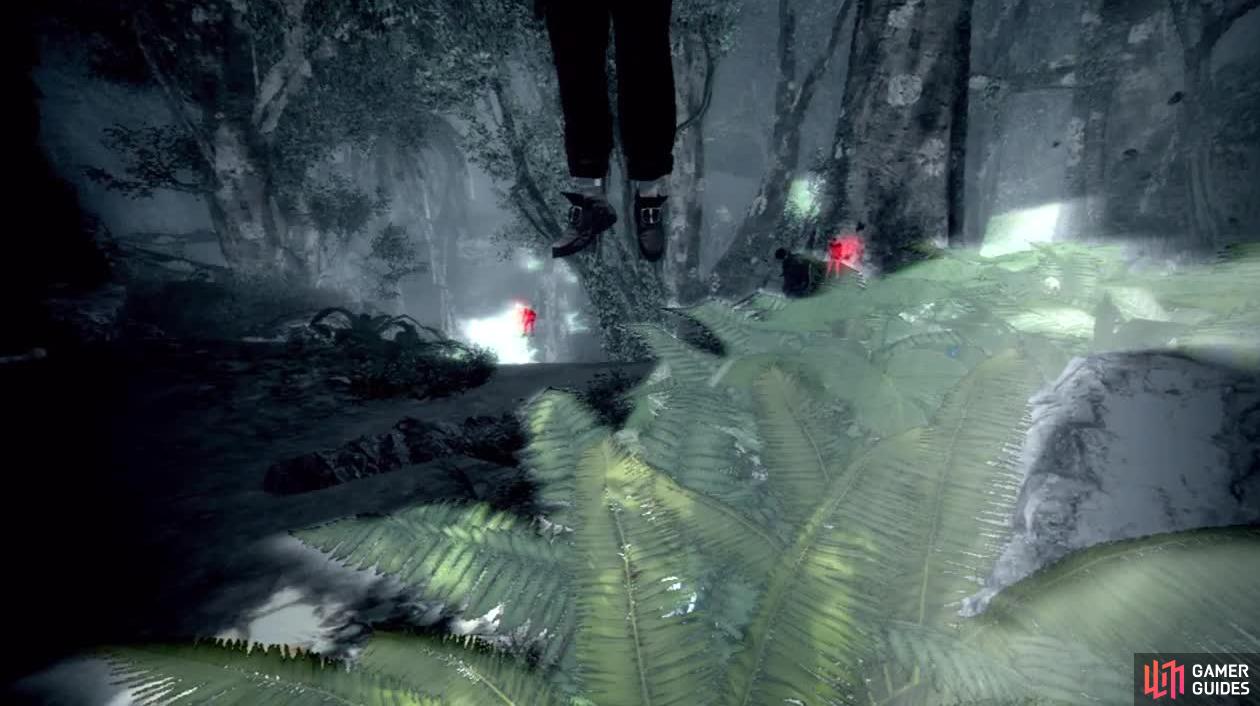
Guardians can spot you very easily and are concealed in bushes or trees so make regular use of Eagle Vision. They will crouch down between looking so that is the time to move around.
Make your way up the path to the first zone. There are three guardians here, all in stalking zones. There is one the centre of the open area below and another in a series of bushes to his left. The third (and our first target) is on the ledge to our right.
Follow the stalking zone along the wall to the right. When you reach the end of the bushes run over to the next stalking zone ahead with the first guardian in it. Sneak up on him and knock him out.
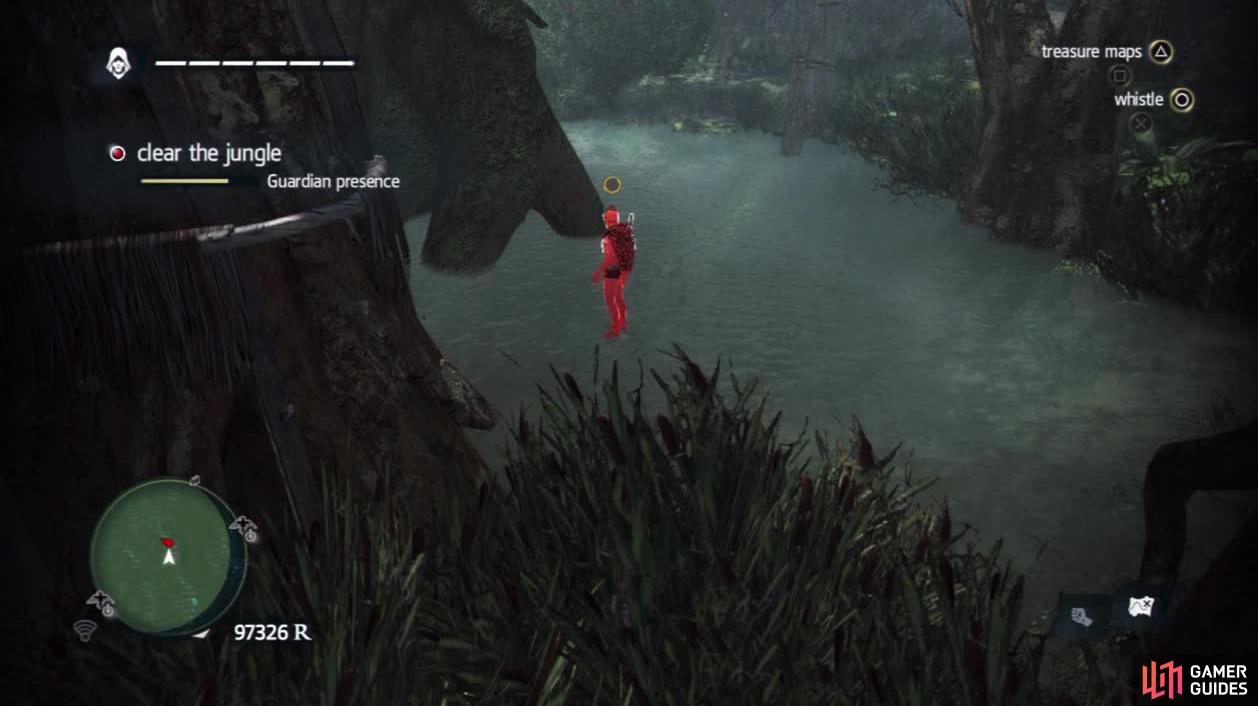
From here; look down into the clearing below with eagle vision to identify the target here. Use the rock ledge nearby to drop down behind him. Sneak up and take him down from within the stalking zone. Now sneak over and take down the final guardian near the stream.
Follow the stream uphill until you reach the waterfall. This is the beginning of the second zone. Enter the main part of the zone to the left of the waterfall and look for a large rock on top of a cliff that can be used to access a wooden watch platform.
From the platform use eagle vision to identify the three guardians in the bushes below (there is on either side of the stream and another over to the east). Once you have spotted them, jump over to the second wooden lookout platform on the left using the wooden poles and drop down behind the guardian here. Take him down.
You can whistle to the Guardians but they do not leave their position like guards do so you cannot make much use of that technique.
Backtrack up the river and climb the tree here to get back up to the top of the cliff. Hop to the second wooden lookout platform again and then use the branch nearby to get behind the second guardian Repeat the process by dropping down from a branch into the shrubs behind him. Knock him out too.
Now follow this stalking zone to the end and quickly run up and enter the stalking zone behind the final guardian to the left. Knock him out as well. Now head up the river to the third zone.
Again, you’ll want to get up into the treetop paths and the wooden lookout platforms to get a vantage point over the area. Note that your first guardian will be on one of these platforms so hop over and deal with him as soon as possible before he notices you.
After he is done, again use your Eagle Vision to identify the targets and use the various platforms/tree branches etc., to drop down behind each of them and incapacitate them.
By now you should have completed the optional objective for incapacitating five enemies from stalking zones, if so, from now on, feel free to enter into open combat wherever you like – just ensure that you have your fists equipped at all times for the other optional objective and do not shoot anyone! If you haven’t got the stalking zone task done just yet, you’ll have one more opportunity a little later.
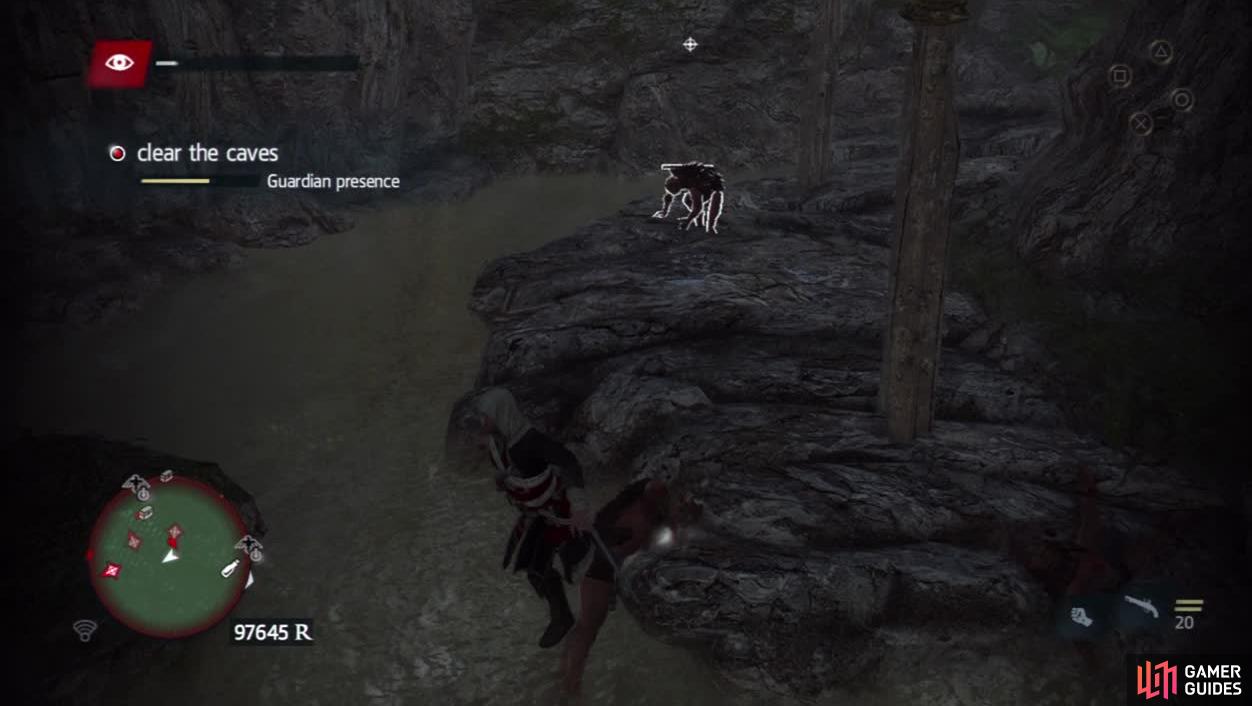
Be very careful in the caves as there are not many places to hide and the Guardians’ darts hurt a lot.
For now, we need to clear out a cave. There are 10-12 guardians in here. Unlike the jungle sections, these guys are not hiding and instead will be lurking about in the water running down the centre of the ground floor of the cave, on the ledges around the top of the room overlooking the water and in some of the side-tunnels all in plain sight.
As you eliminate the guardians, the search area will narrow, showing you where to look for any additional enemies. Once you have cleared this area, move on to the next objective marker.
We are back in a jungle setting once more. Follow the path that leads up to the right at the back of the first area. There is a guardian in the shrubs here. Cross the bridge made from the fallen tree and take out the guardian in the stalking zone on the far side. Now follow the path around until you reach a clearing in front of an odd black stone building.
There are three more guardians here to incapacitate. There is one patrolling back and forth on the block of stone directly in front of you as you enter the area. A second guardian is patrolling a higher platform of the building on the left and a final guardian in the stalking zone behind the building on the left.
Once all three of these guys have been knocked out, follow your allies over to the door to the main building.
Part 2: Explore
Pick up the chest and follow your friend through the building, walk with them until you reach a circular room with a glowing panel at the far end. Place the chest below this as instructed. After a bit of chit-chat, a cut-scene will ensue.
Part 3: Escape
Don’t forget to pick up the Animus Fragment as you go!
When we regain control, we’ll be in the water. Turn around and climb the block here. Keep climbing the blocks here until we reach the circular platform with the glowing panel we visited just before. With your back to the panel, look to the left.
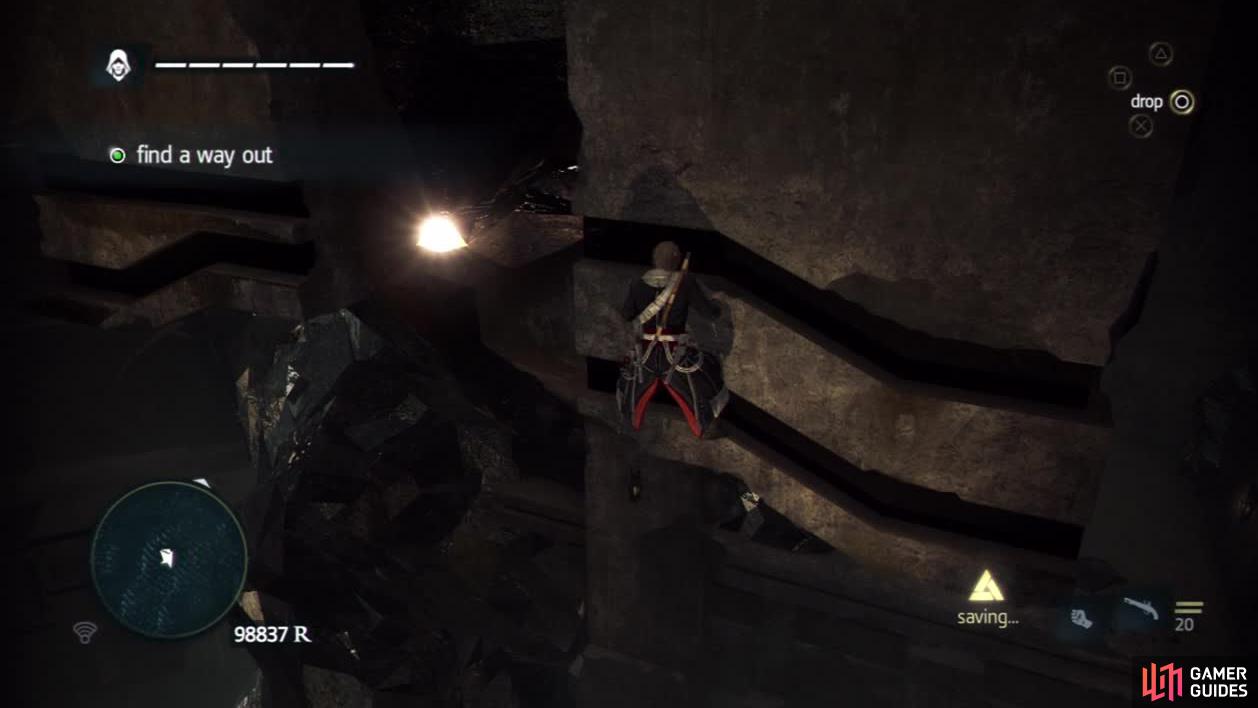
Climb the stairs there and use the pillar to access the balcony above and to the left. Climb the right hand wall here and shimmy all the way to the right. When you can go no further, climb up and jump backwards to the handholds behind you.
Shimmy across to the left until you reach a small platform. From here run and jump to the handhold ahead. Climb this to the top and follow the cave here all the way to the end. As you emerge, you’ll slide down a slope and into the water below.
Swim over to the beach populated by people nearby for a scene to end the mission and the sequence.
Note: For completing this mission, you will earn the achievement/trophy My Elusive Fortune .


 Sign up
No Comments