
Part 1: Infiltrate
As you begin, check out the crates just to the left. Run up these and hop across to the trees, follow the treetop pathway over the wall. Dive into the haystack below. Wait here for a few moments and a guard will patrol over to you, grab him and assassinate him from the hiding spot when he comes into range.
Keep an eye on your minimap and when no-one is looking, pop out and sabotage the bell (bell 1 of 3 sabotaged). Immediately sprint across the street and enter the bushes at the base of the wall to the right before you are spotted.
Work your way along the wall, making sure to keep tabs on the enemies so that they are not looking when you move between bushes. When you reach the wooden fence, follow it away from the wall and sit in the bush closest to the well. Wait here for a moment and when the patrolling guard comes in close to your position, whistle him into the bush and assassinate him.
Now look over towards the well. Wait for the patrolling enemy to turn away from you and then run over and jump into it. Pull the guard with his back to you into the well for a silent kill. Hang from the well until the patrolling guard makes his next pass.
When he returns back the other way, hop out and sabotage the bell (bell 2 of 3 sabotaged). Enter the bushes to the left. The next time the patroller walks by, whistle him over and take him down from cover.
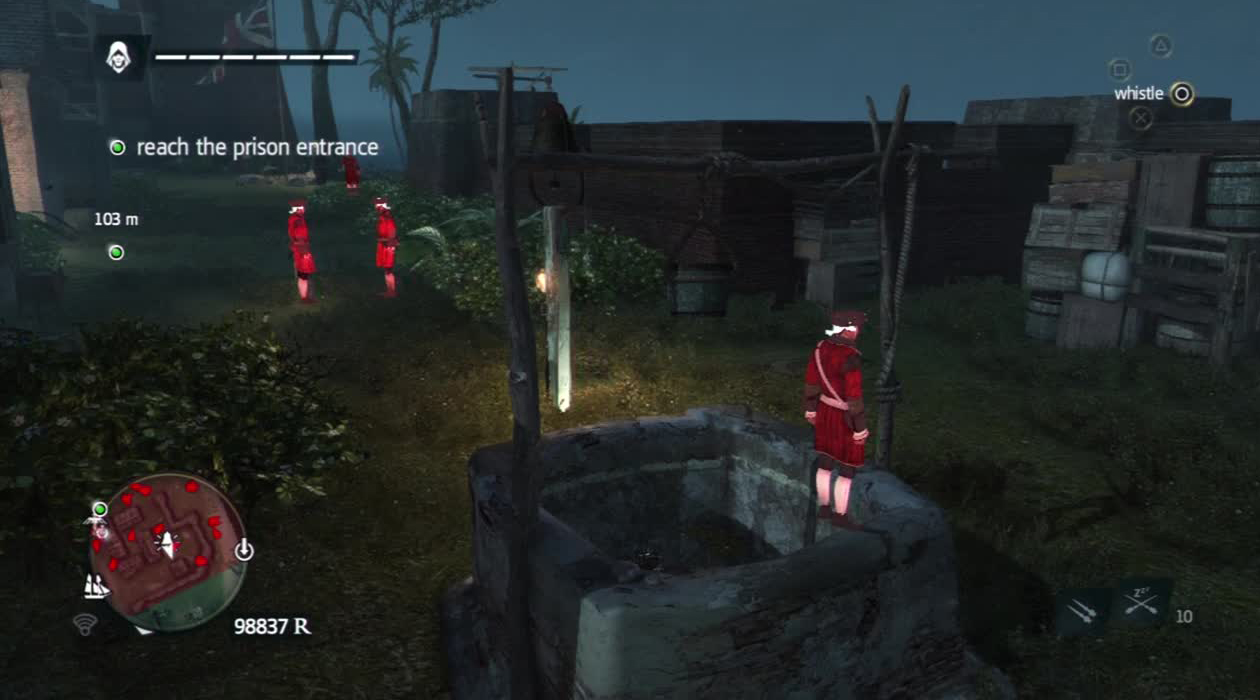
Use the well here to remove the guard and get nearer to the bell.
Watch your mini map. Across from the visible guard with his back to the bushes ahead of you is another guard patrolling back and forward between buildings. Wait until he is facing away from the other guard and then move up to the next bush against the right hand wall. Sneak up and assassinate the stationary guard. Continue along the wall until you reach the corner
Quickly duck around the corner and interact with the flashing cage here to visit with an old friend ( Friend 1 of 2 visited ). Return to the corner. Now wait for all of the guards to look away from your position. When this happens, we are going to run across the small street directly to our left and jump into the bush on the opposite side.
Assassinate the nearby guard when no-one else is looking before moving up to the next bush next to the bell when it is safe to do so. Whistle the patrolling guard over and dispatch him from cover.
If you get spotted, fear not. You still have smoke bombs to get you out of tight situations, even without your swords and pistols.
Watch the guards from the direction we came from as one will patrol a short distance with his eyes on the bell and then go back again. When he is facing away from you, ignore the bell and hop into the haystack near the half wall on the left. Assassinate the guy leaning against it.
From the cart, you can make out a Gunner above the gate ahead; additionally there is a stationary guard to the left who will constantly have his eyes on the bell. When it’s safe, quickly sprint back to the previous bush.
From here; use sleep darts on the gunner above the gate and the stationary guard to the left. Wait for the patrolling guard I previously mentioned to look away and hop out to sabotage the third bell (bell 3 of 3 sabotaged). Continue into the bushes opposite.
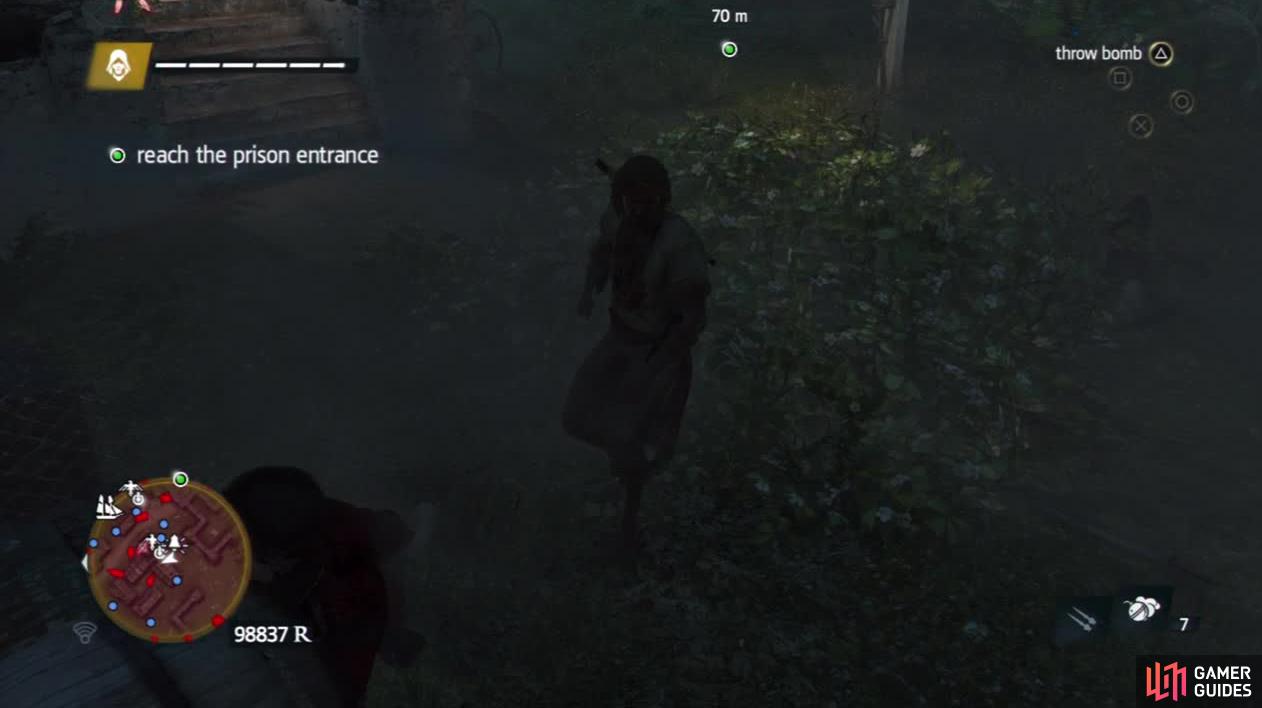
At this point, you should be able to see the gate. Use a couple of berserk darts on enemies in the nearby area to draw the guards away and quickly run up and through. Enter the stalking zone to the left as you enter the prison.
Move up until you are opposite the green objective marker indicating the door and again use your berserk darts on an enemy or two in the courtyard here to cause a distraction. Whilst the guards are all preoccupied, quickly run over and enter the prison proper.
Part 2: Rescue
Now that we are inside the prison proper, it’s time to track down and rescue our friends.
There is a handy haystack in here. Make good use of it!
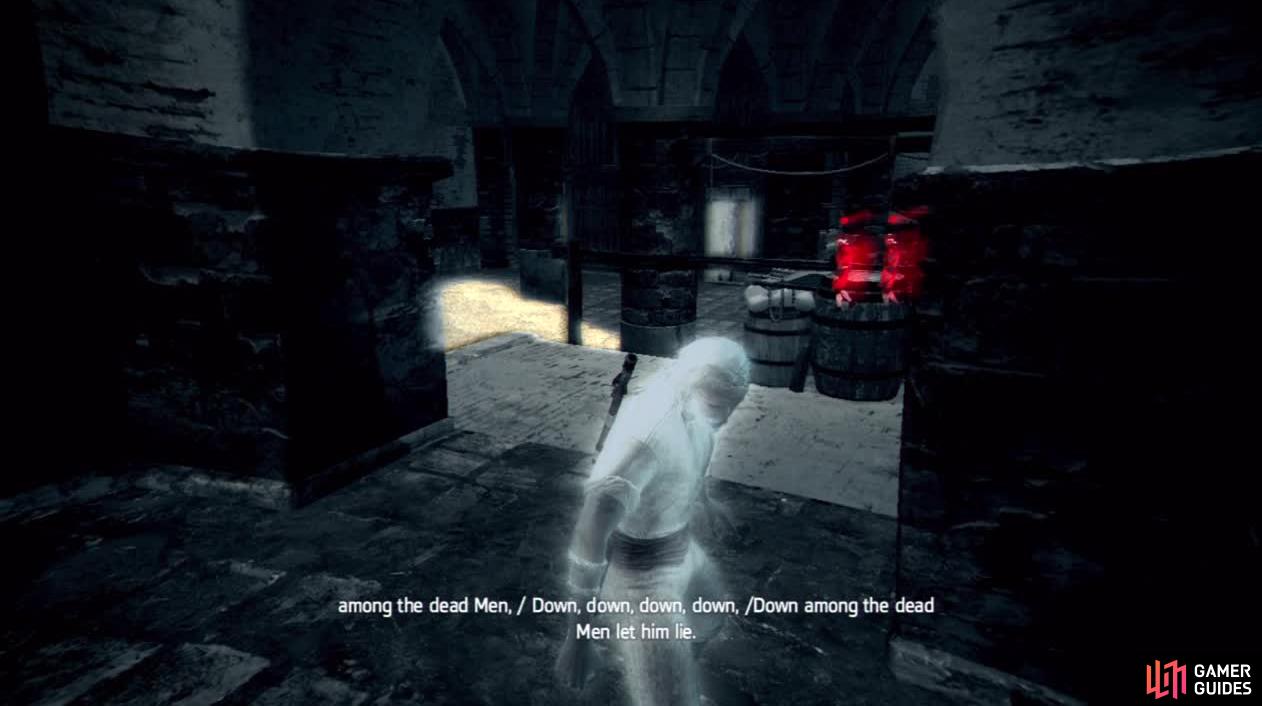
Follow the hallway to the far end and continue around the corner to the right. Assassinate the guard here with his back to you. There is a pair of guards further into this room patrolling about and another standing stationary in the centre. Watch your mini-map to see where they are looking.
When you are sure it is safe to do so, run over and hop into the haystack in the centre of the floor. Assassinate the guard within range of the haystack and then wait for the patrollers to walk away from you. When they do, run up and double assassinate them from behind.
Now activate your Eagle Vision and examine the cells. One of them has a red coloured person in it. Run over and interact with the door for a brief conversation ( Friend 2 of 2 visited ).
This is where you will find the second “friend”.
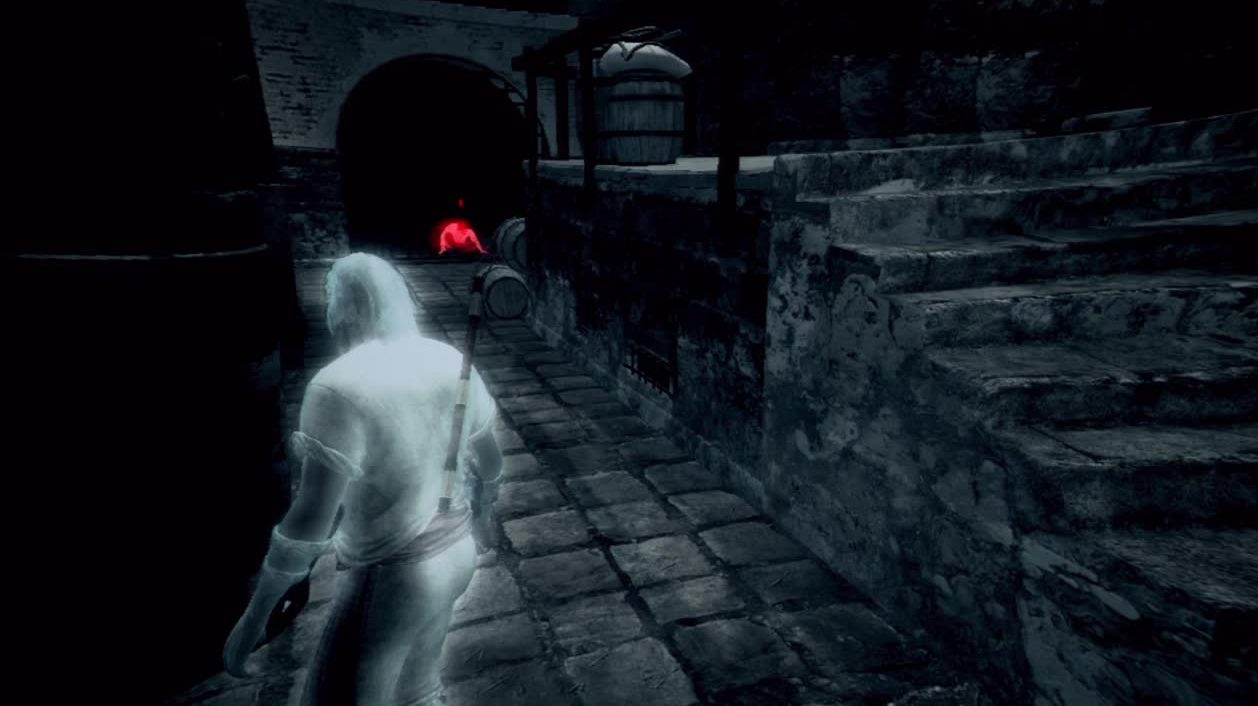
Make your way over to the hallway in the northeast corner of the room. Hang out behind the door frame for a few moments and a guard will patrol into the hallway ahead. Wait for him to walk away and quickly run up and take him down from behind. Do the same to the other guard in this corridor.
Continue round the corner and double assassinate the two guards standing with their backs to you at the entrance to the room ahead. Now sneak over to the far end of the room and you’ll spy another pair of guards with their backs to you looking into cells. Assassinate one, and your friend from the start of the mission should take care of the other. Interact with the cell door on the left for a scene.
Part 3: Escape
Following the scene, walk through the open door to the left and continue down the corridor. Keep going until you get outside. From here it should be a straight shot over to the green waypoint marker in the distance. So run over there as quickly as you can.
If you get detected by guards along the way, put the object that you are carrying down, eliminate the hostiles, then pick up the object again and continue. As you reach the marker a scene will play to complete the mission.

 Sign up
No Comments