
To begin this mission, sail over to Principe on the eastern side of the world map and approach the golden exclamation point here.
Part 1: Locate
After beginning the mission, dive off the boat and swim in a direct line from the front of the Jackdaw to shore. There is an optional objective at this point to kill eight enemies using the powder kegs lying around.
As you reach the shore you should see a large barrel on the side of the dirt road to the right just next to the house here. At this point, we’re not worried about being detected and we just want to knock over the optional objective as quickly as possible.
To do this, run past the keg and up the dirt path behind it until you find the big patrol, alerting as many guards as you can in the process. Then, lead the lot of them back to the keg. Wait until there is a good number surrounding it and then shoot it to blow them up. You should be able to easily get 8+ kills in one shot if enough enemies were close enough.
If you still require more, there are plenty of other barrels scattered throughout the settlement to the north. So just repeat the process of luring guards to them and then shooting barrels until you have met the quota for the optional task.
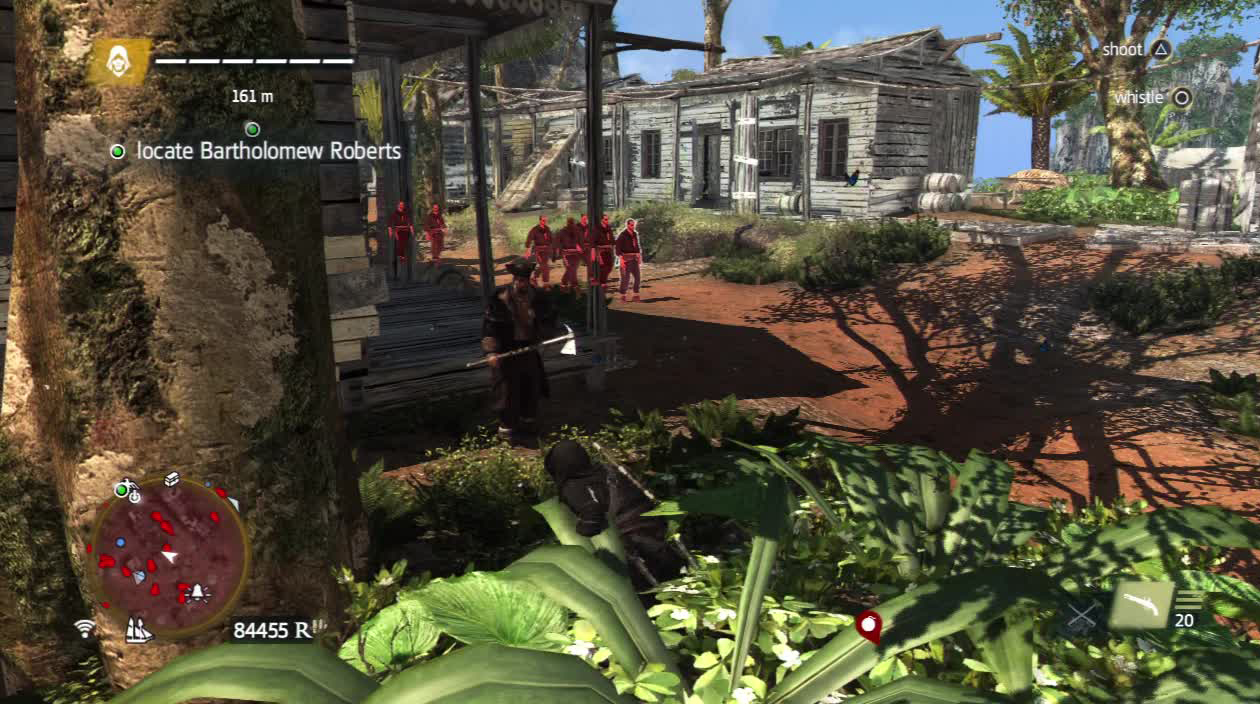
This patrol is perfect to lure to a powder keg.
Once you have completed the objective, return to the southern part of the area and either lose any hostile enemies on you, or kill them all.
When you are good to continue, go up the dirt ramp heading northwest. Now if you followed my advice earlier and drew the big patrol here down to get blown up by the barrels, it should be smooth sailing (excuse the pun) with no enemies in sight until you reach the gate in the road.
At the gate, hide behind the corner and lure the guy just inside over with a whistle. Perform a corner takedown on him and then head inside. Enter the stalking zone on the left of the street. Work your way behind the hut to the left.
Now watch your minimap and then race across the open area to the haystack below the wooden wall to the northwest when no one is looking. Again when nobody is looking, hop out of the haystack, climb the wooden supports to the top of the wall and enter the stalking zone behind the short fence.
Move to the right and whistle one of the two guards standing in front of the tents over to you. Assassinate him from the bush. Now sprint past the tents on the opposite side from where the guards are standing and enter the bush on the far side. From here sneak out and kill the other guard.
From just in front of the tents here, you should be able to make out an open gate to the north, with a ship anchored behind it. If you turn on Eagle Vision at this point whilst looking through the gate, you will identify your target.
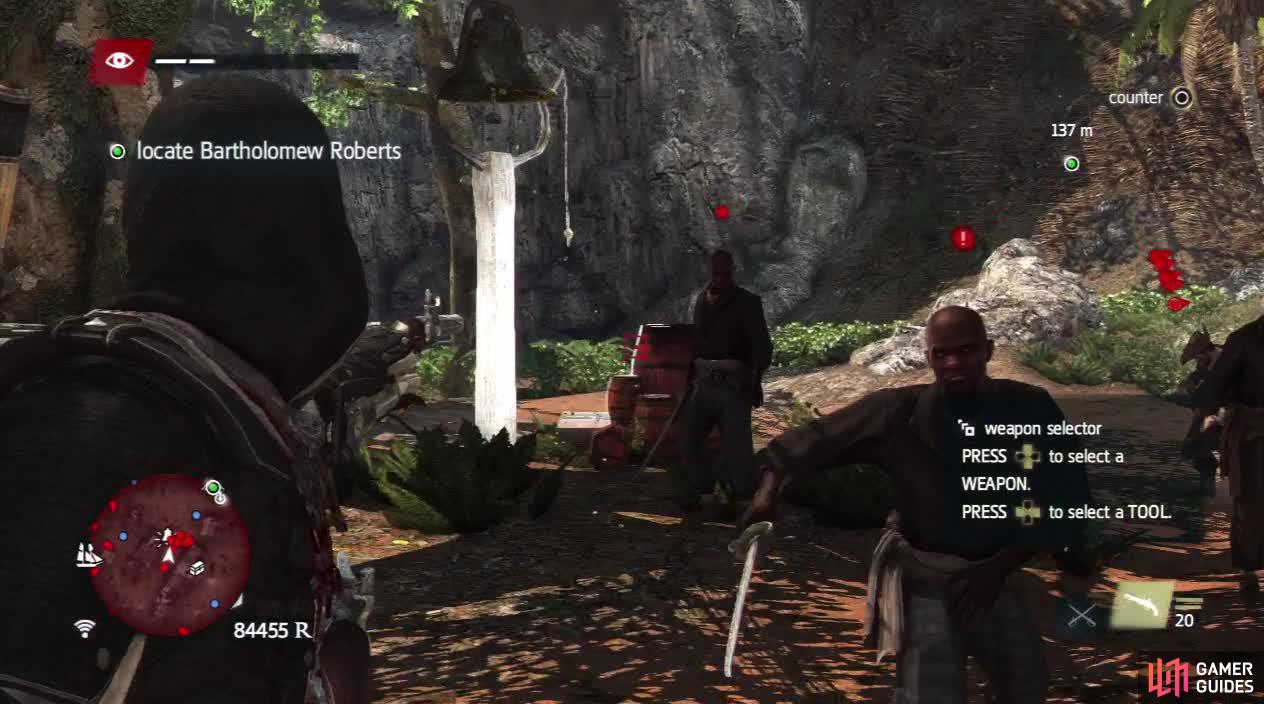
There are powder kegs near the alarm bells and lying randomly around the settlement.
However, as soon as you have spotted him he will run off and sail away whilst he sets his guards on you. Either ignore them entirely or hit them with a smoke bomb and perform a leap of faith off the same tree branches the target used to escape. We’ll land in the water below. The Jackdaw will pull up shortly after. Climb aboard and get behind the wheel.
Part 2: Pursuit
We’ll now have to chase down the target’s ship. After a short distance, it will create a blockage, forcing you out to the right around the rocky structure here. From this point on we just need to avoid the incoming fire as best we can whilst keeping the target within range.
You can attempt to hit him with your forward cannons, but it may not always be possible and they won’t do a whole lot of damage anyway.
As you follow him out into the bay, be sure to use the swivel gun to destroy the multitude of fire barrels that are left in your path and do your best to manoeuvre around his mortars. Once you reach the open water, a battle will begin.
Part 3: Naval Battle
As you reach the open water, you will be joined by four frigates which will immediately engage our target. Hold back for a short time to have them duke it out a little. Eventually you will be drawn into the fight by the target.
I’ve noticed that the Spanish and British ships will not engage you in combat during this fight unless you attack them first.This means it is essentially five on one. When attacking the target with your heavy shots/broadsides make absolutely sure that you do not hit one of the other ships or they will all turn on you and make things a lot more difficult.
When you have reduced the target ship’s health to a low enough level, move in close to it and hold down the button to initiate the boarding procedure.
Part 4: Assassinate
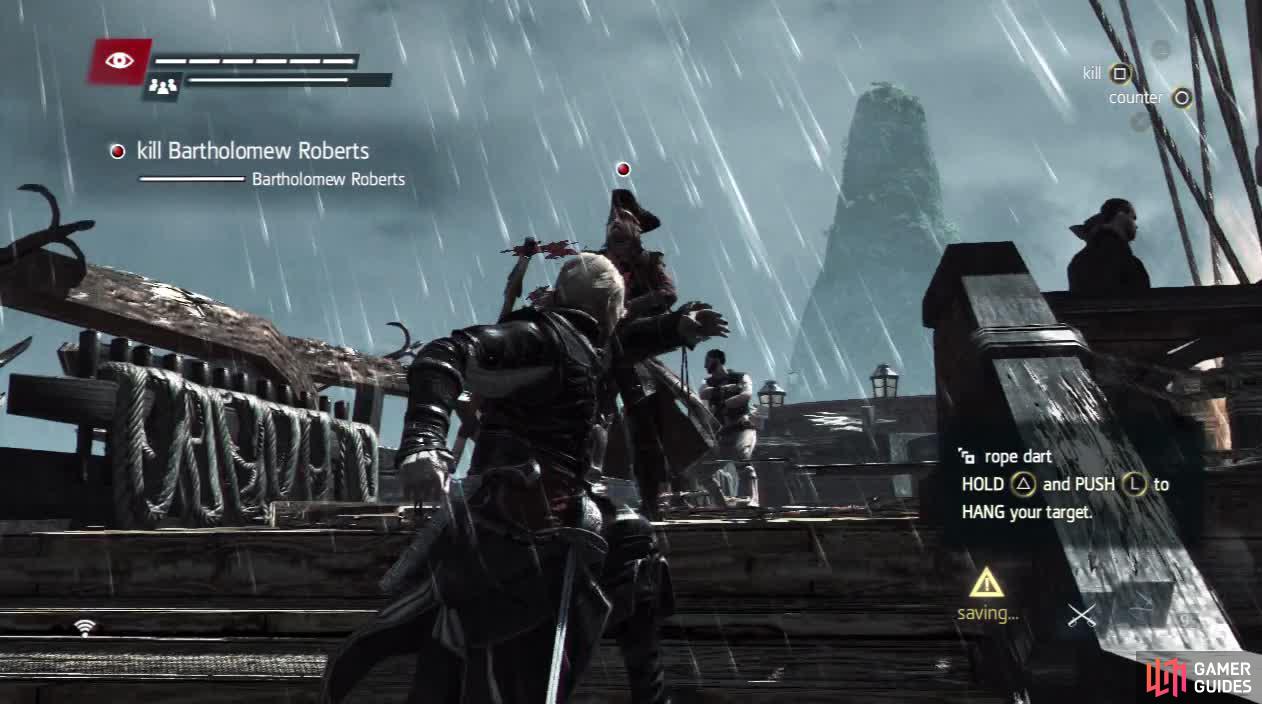
You can also keep throwing darts at Roberts to kill him.
During the boarding, use one of the lifts on the Jackdaw’s decks to reach one of the platforms up on the masts and use this to jump across to the mast of the target ship.
Whilst above the deck of the enemy ship, equip a rope dart, highlight our assassination target and hit him with the rope dart. Hold down the button and walk backwards off the boom to hang him. This will complete the optional objective and the mission.

 Sign up
No Comments