Upon accepting this contract, a red skull will appear on the map on the coast to the east of Ambergris Key. Sail over here and dock with the shipwreck to dive underwater.
Leave the diving bell and make for the cave entrance in front of us. Avoid the jellyfish as much as possible and continue through the tunnel here until we reach the air pocket. Surface here. There is a chest at the bottom of the room here so dive down and grab that, resurface to refill your air supply and then dive back under and take the next tunnel.
Follow this tunnel all the way to the end, steering clear of the jellyfish that occupy the area as you go. When you reach the end of the tunnel, surface and you will find an air pocket and a room with some ruins in it ahead. Peek into the room and look up. On the ruins to the right there are a pair of guards. Swim over to the wall beneath them and climb the pillar for an Animus fragment.
Drop back into the water and mosey on over to the stairs on the left hand side of the ruin. Climb the broken pillar all the way to the top, being sure to stay out of sight of the guards. Wait for the patroller to walk off before hopping up and assassinating the stationary guard. Hide behind the door frame and corner assassinate the patroller when he comes back. When the patrolling guard comes back, deal with him as you see fit.
If you become detected, it is much harder to fight them all off without your swords and pistols so try to keep it stealthy.
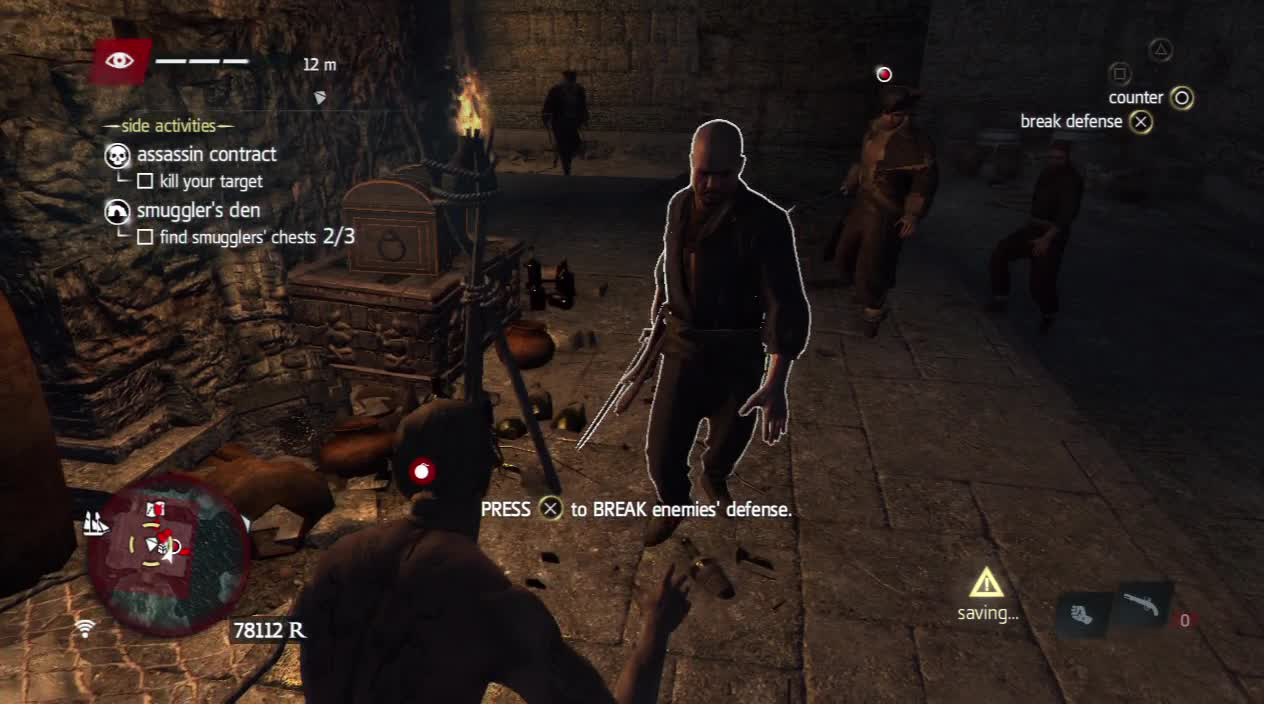
Enter the tunnel and turn right at the end, pull up behind one of the pillars near the corner and use Eagle Vision to identify the target. Hit him with a knife or a sprinting assassination to complete the contract with the bonus.
Now that we are here, we may as well grab the rest of the loot from the area. Note that we no longer have to remain hidden as we have already collected our reward from the contract upon killing our target. There are three groups of enemies in this room so do with them as you deem appropriate.
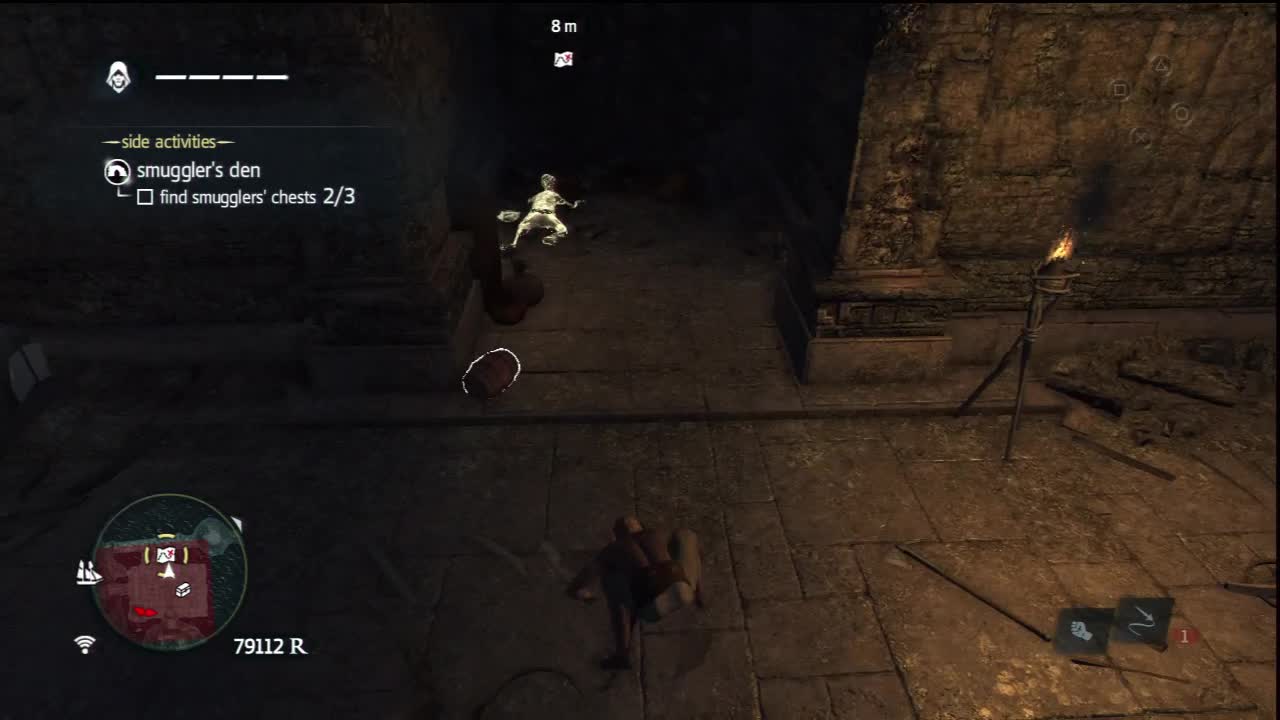
There are two chests, one on the north side and one on the south side. Around halfway down the room, you’ll find a hole in the wall high up on the central structure. Climb up into this to find an Animus shard. In a small alcove opposite the door we came in from is another pair of guards. Deal with them and loot the corpse for a treasure map (Plan- Elite heavy Shot 307,195 – Misteriosa).
You can find the cadaver in this crevice here.
With that, we’ve finished off this smuggler’s den/diving location. Find the ramp leading out of the room, and dive into the water below. Head over to the Jackdaw to continue.


 Sign up

No Comments