Objective: Return the third escaped infected to his cell
If you flick on Detective Mode, you’ll be able to see a ventilation tunnel leading right up to the gate. Use this vent beneath floor to approach the enemies and when you are beneath the hatch that is blocked by the gate use the Voice Synthesizer to get one of the Thugs to press the button on the wall.
As the gate opens, exit the vent and attack the group of Thugs here. There is a Brute and four Thugs (one with a shield) and if you have a Fear Multi-takedown available, you can take down the majority of the hostiles pretty much immediately before taking down any remaining Thugs and the Brute.
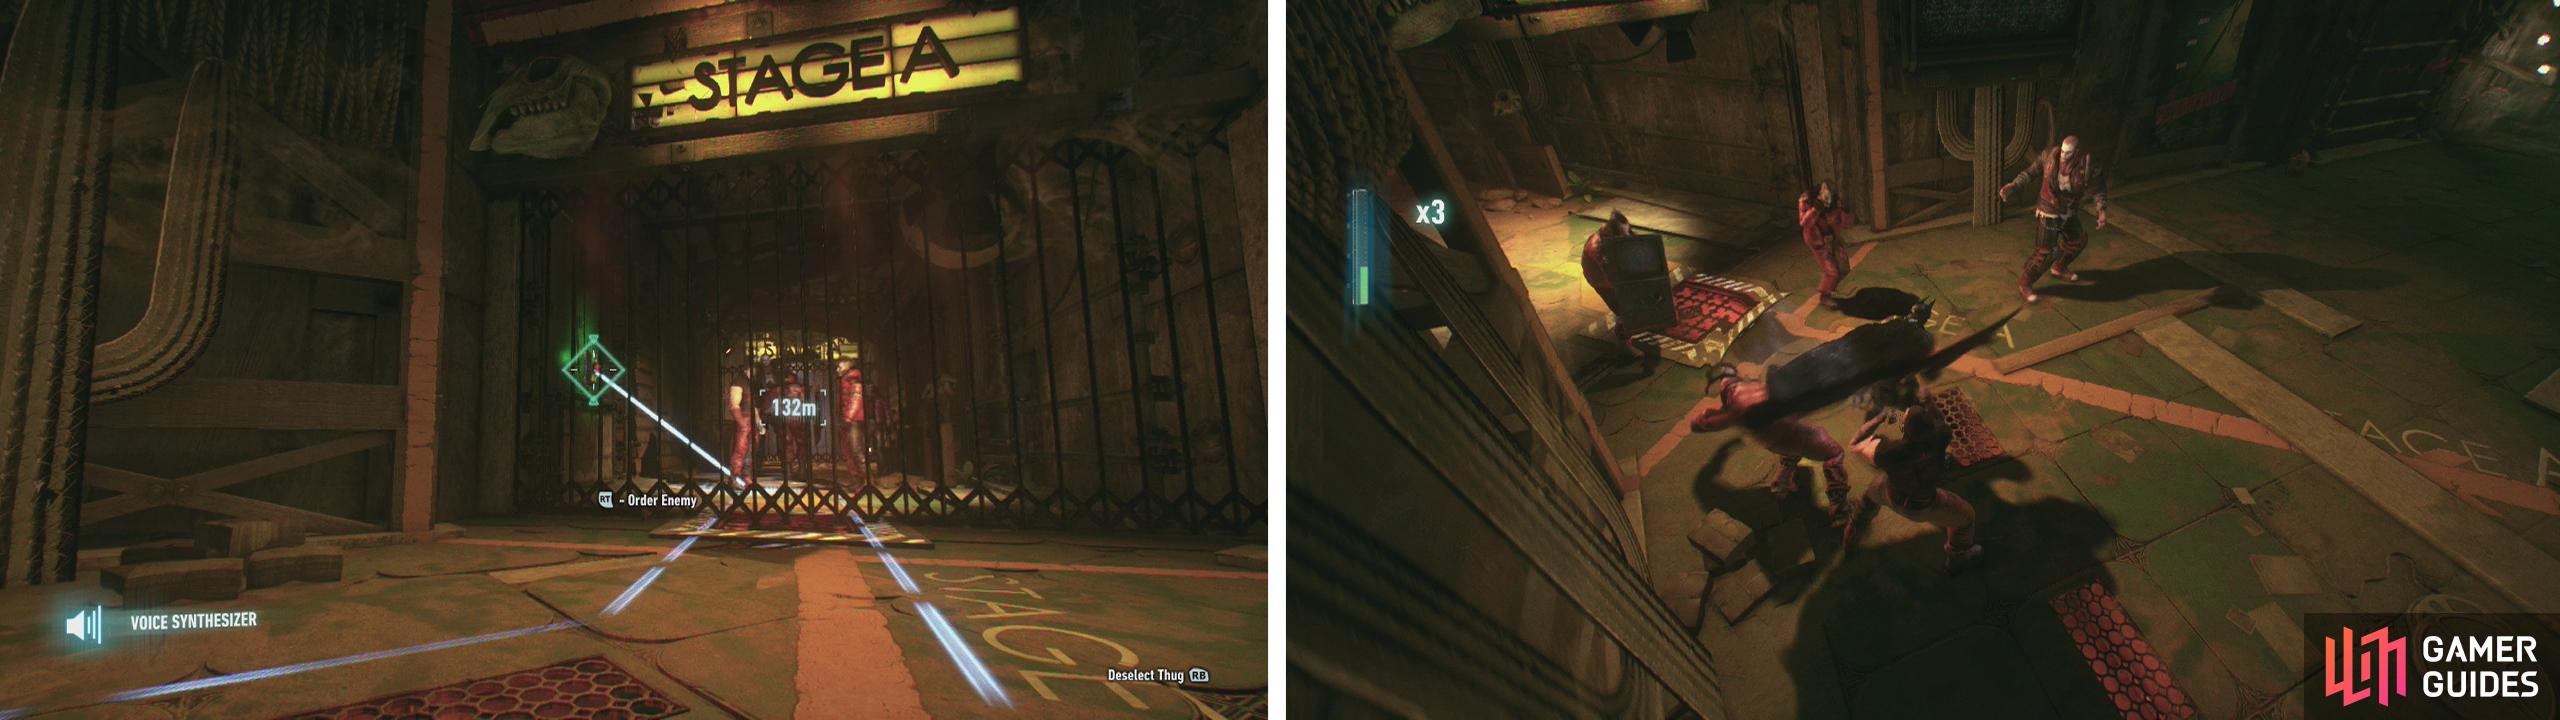
From the vent use the Voice Synthesizer to have a guard open the gate (left) and eliminate the enemies within (right).
Press the button on the wall at the end of the hallway to open the gate, continue across the room and through the next door. Approach the sheet hanging in the middle of the room here for another scene.
When Robin shows up, head through the next door for a boss fight of sorts.
Boss: Albert King
This boss fight consists of the main target Albert King and seven Thugs who accompany him and is fairly straightforward once you know what you need to do. You cannot attack the main target directly, instead you need to beat up the other Thugs to increase your combo meter so that you can unleash a dual-takedown. Once the meter is charged, use it on boss.
You’ll simply need to continue this process several times until his health meter is depleted. As you progress into the fight, the dual-takedown will involve mashing the strike button and keeping an eye out for the counter icon above the boss’s head and hitting the counter button to avoid attacks, successfully completing one of these QTEs will reduce his health.
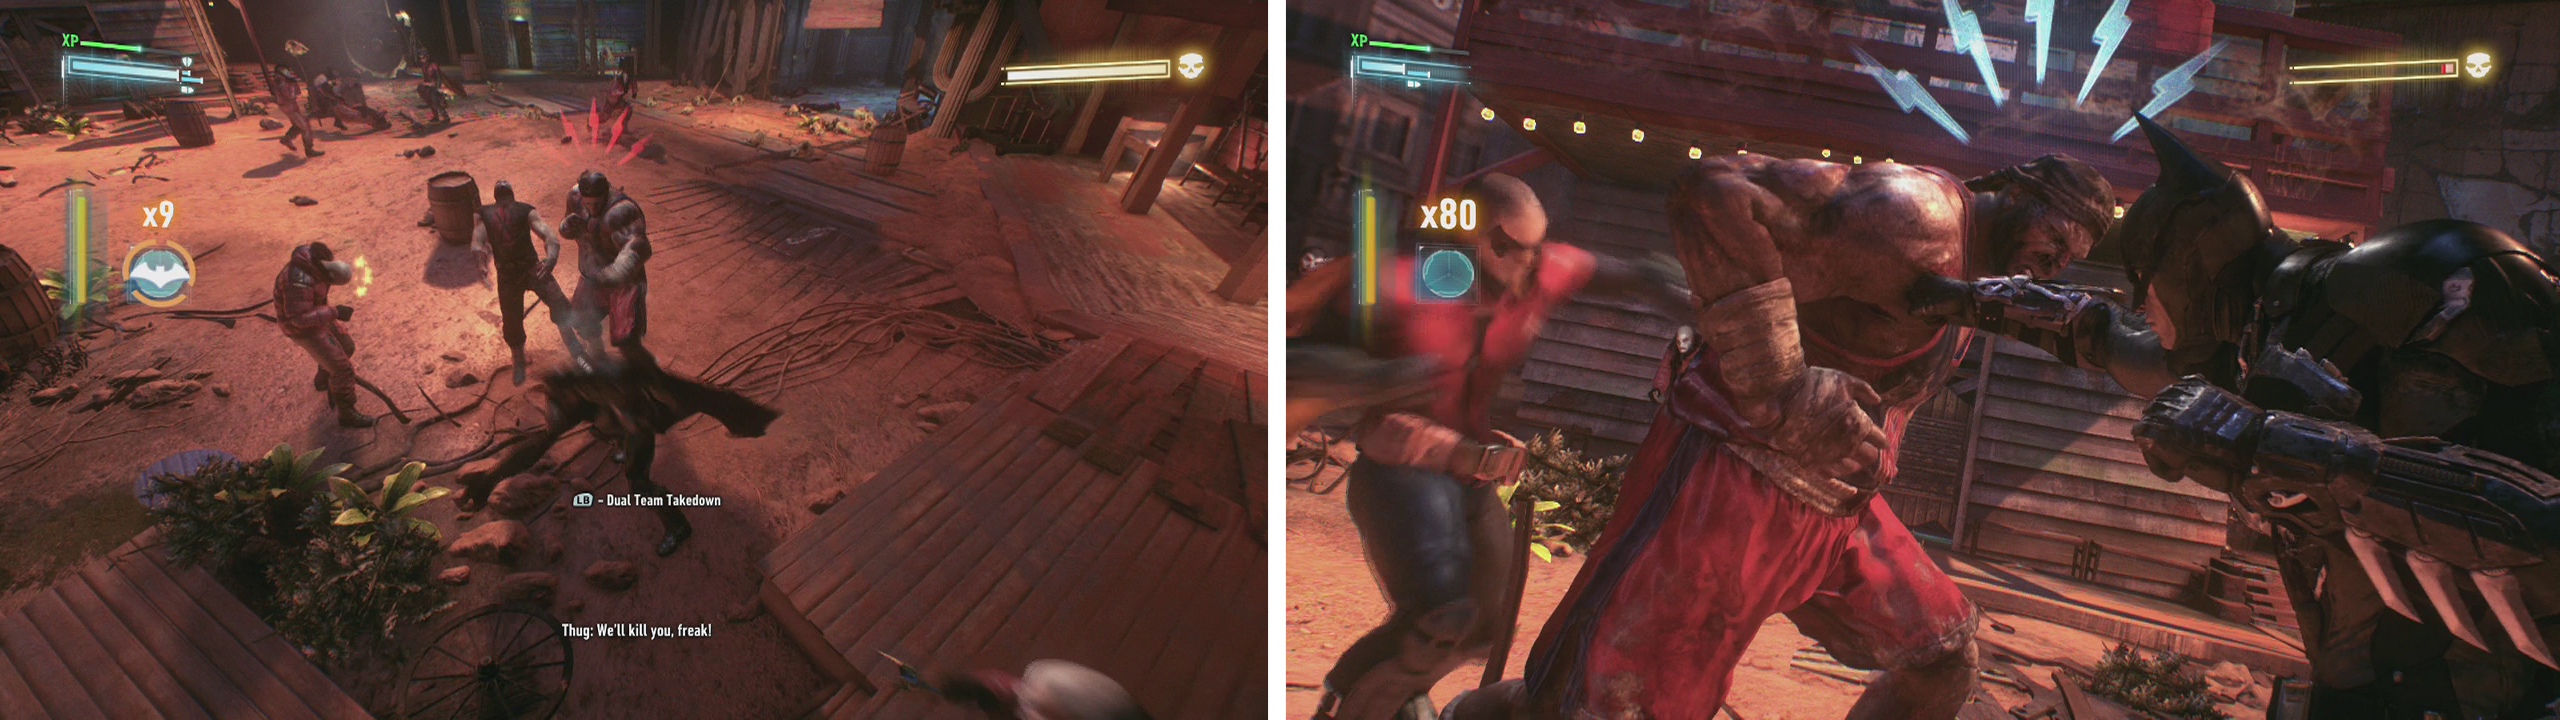
Fight the enemies (left) and then use a dual takedown to damage the boss (right).
Once you have done enough damage to take down Albert King, you’ll still need to mop up the Thugs in the area.
After clearing the room and a brief chat on your communicator, you’ll be able to leave Sound Stage A. Return to the backstage area leading back to the lab.
As you approach the lab, there is another locked gate in your way with a group of bad guys behind it. Similarly to our entrance to Sound Stage A, you can find and utilise the ventilation tunnels beneath floor to approach the enemies – hang out beneath the hatch in the floor in sight of the gate.
From beneath the floor use the Voice Synthesizer to get one of the Thugs to press the button on the wall for a cut-scene.
During the scene, wait for Harley to come into range of the hatch on the floor and use the takedown button when the prompt occurs. This will eliminate her, but trigger a fight.
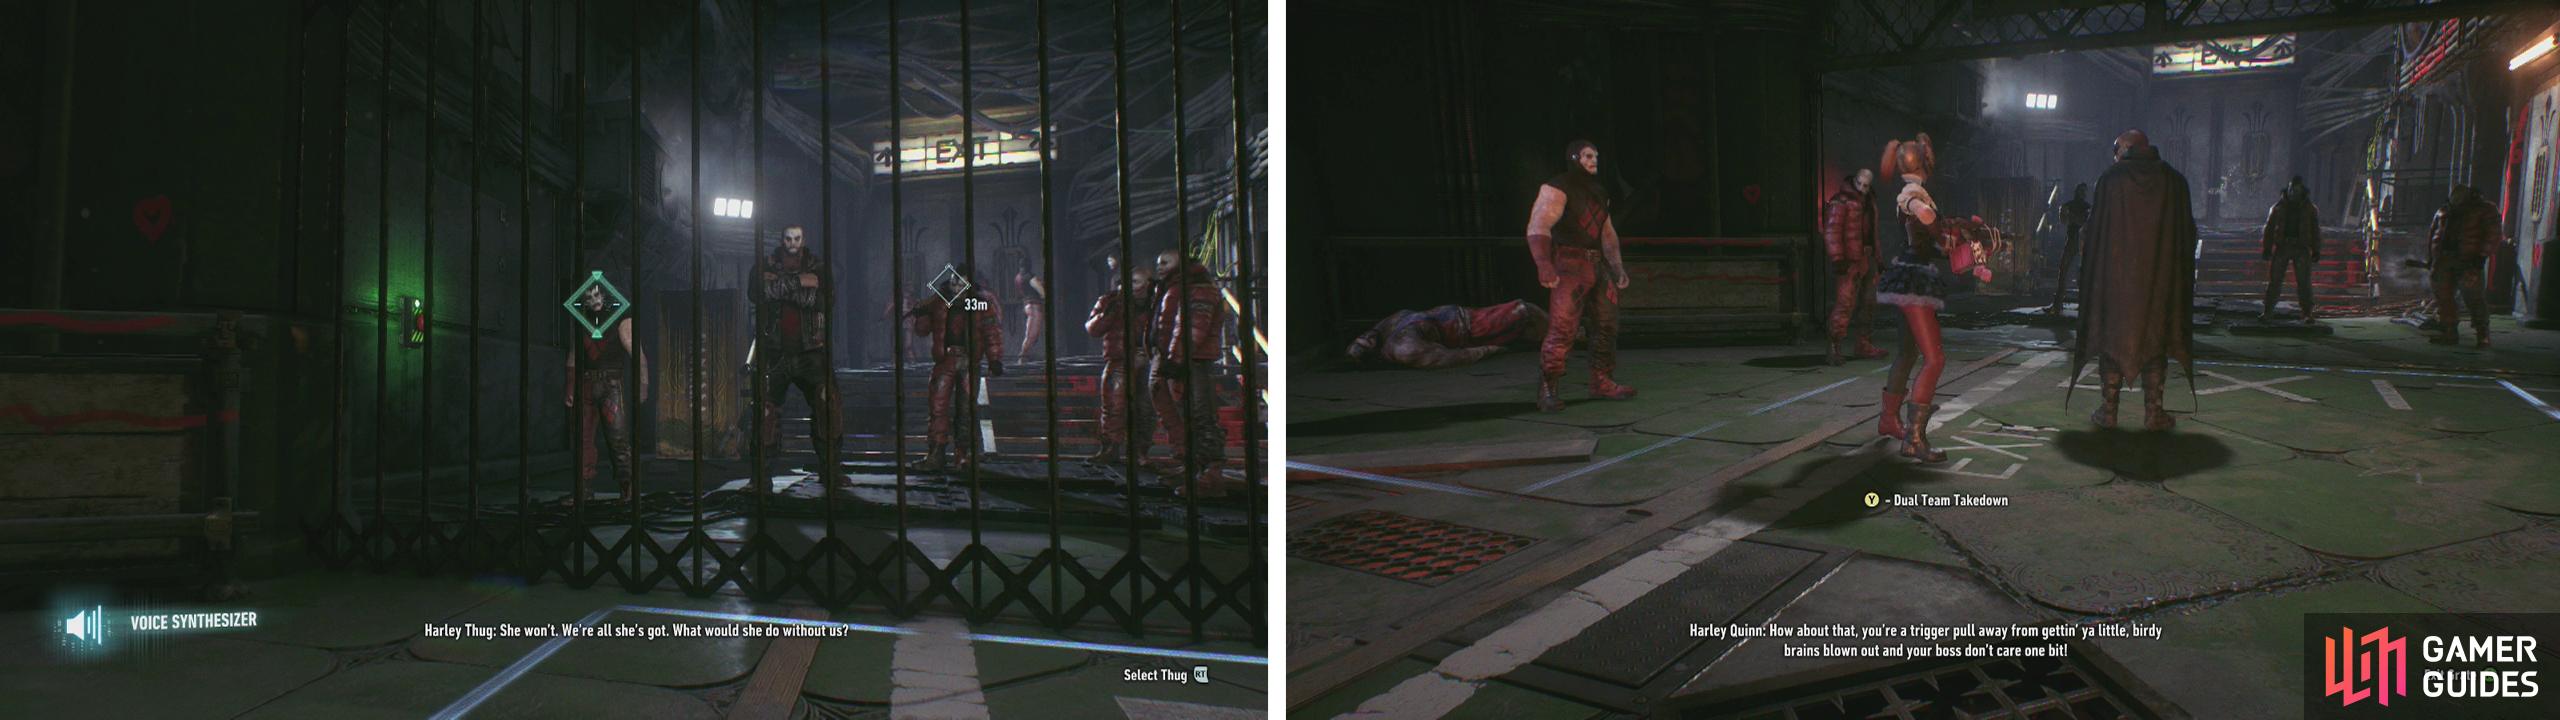
From the vent use the Voice Synthesizer to have a guard open the gate (left) and garb Harley (right) when she walks by the vent.
The group that you fight against consists of two Brutes (one with a Knife) and eight Thugs (several have melee weapons). To make things quicker, build up your combo meter and use your dual-takedown moves on the Brutes. Pummel the rest of the enemies into submission to continue.


Head over and pick up Harley before returning to the cells in the lab for a lengthy cut-scene.
After the scene, we’ll need to walk over to the cell next to Robin and enter it. Robin will head off and we’ll need to wander around a little in here until a fellow in a chair can be seen in the main lab area. Look back and forth at him until the door opens.
Exit cell for scene. Wander around a little more until you hear Robin speak to you.
Head back over to the cell next to Robin and press the counter button when it appears above his head. We can now exit the movie studios.
Objective: Equip a new Secondary Weapon for the Batmobile at the facility near Merchant Bridge
Now that we are finally free of Panessa Studios, the Batmobile upgrade that we selected earlier is now available to be installed. The upgrade will appear by Merchant Bridge. Make your way to the objective marker at ground level and either drive your Batmobile onto it or summon the Batmobile whilst on top of it and head into the doorway that opens to trigger a brief scene showing the upgrade being fitted.
The game will now prompt you to select your active mission, select the ‘City of Fear’ main quest to proceed with the campaign.

 Sign up
No Comments