Objective: Track down Scarecrow on the second airship.
As soon as you land in the second airship you’ll find yourself in the middle of another fight. This fight consists of three Combat Experts and five Soldiers. There are several items around the room that can be thrown at you by the Soldiers and with Combat Experts in the mix you’re really going to have to keep an eye out for opportunities to counter from every quarter.
Once the fight draws to a close, whack on Detective Mode and look for the weak wall just by the window we flew in from. Use the Explosive Gel to take it down. Inside you’ll find another Airship Stability Control panel. Interact with this to gain control of the second airship’s tilting abilities!
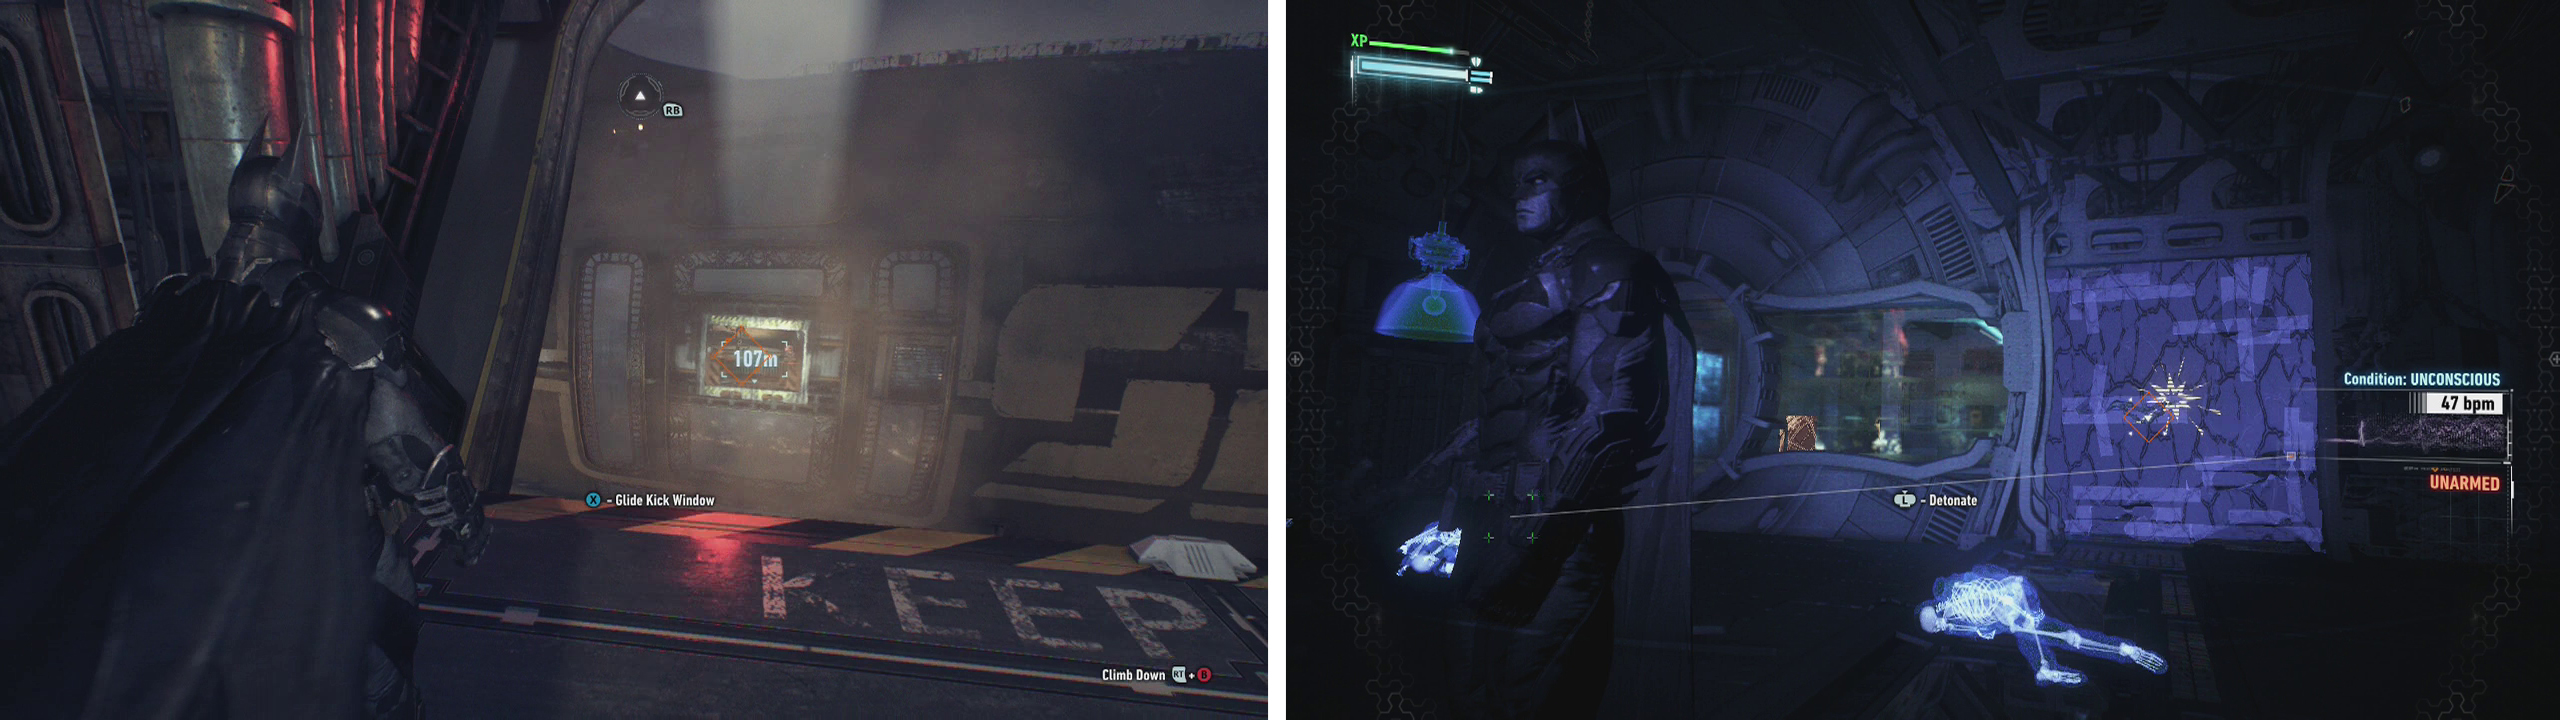
Glide kick the window on the second airship (left). After clearing the enemies, remove the weak wall with Explosive Gel (right)
Immediately turn to the left to see a crate behind a glass window. Tilt the ship back and forth until the crate breaks through the glass, allowing you entry.
Follow the hallway here and you’ll come across a series of test subjects in chambers – feel free to listen to the audio recordings outside each for a little backstory into what has been happening on the airships (interesting stuff!). At the end of the hallway, interact with the door for a scene.
Predator Section 08
As with the previous predator room, this area is quite large and includes balcony areas around the outside of the room and a large, glass chamber in the centre. The majority of the guards in this area will be constantly ferrying energy cells to the far end of the room, repeating patrol patterns until you are detected.
There are nine Soldiers and a new type of enemy – the Minigunner in this predator area. The Minigunners can kill you pretty damn quick and are essentially armed versions of the Brutes. We can attack them at any time, but once you start, you’ll be locked into attacking them for a short time. Whilst you attack, continue to mash the punch button, and look out for the counter indicator when it appears to avoid the Minigunner’s melee attacks. After 3-4 counter dodges you’ll have whacked him enough to take it down.
You can make use of several environmental factors to make things easier, including:
- There is an extensive tunnel network covering most of the ground floor and the adjoined rooms below balconies.
- You can use the Remote Hacking Device on the centrifuges, robotic arms and power cells around the room to create distractions.
- There is a pair of pipes lining the entire length of the room from above, giving a great view of the area.
- There are floor hatches on the multi-levelled areas to the right and the far end of the room from our initial entry point allowing easy transition between floors.
- The multiple vantage points around the room give a great view of the area and can also be utilised for inverted takedowns.
I found the best strategy to be going down into the floor and using the tunnels to take down enemies in and around the large glass room in the centre of the area. Once that gig is up, use a combination of vantage points, using the Remote Hacking Device to create distractions, corner takedowns or a Fear Multi-Takedown (if you get a few numbers together) to thin out the numbers. Finally, when only the Minigunner remains approach him and take him down.
Use the vantage points to view the area before making a move (left). Leave the Minigunner for last (right).
Approach the cell at the far end of the room and speak with the fellow imprisoned here. Following the short scene, enter the nearby door.
As you enter the next room, you’ll see a pair of hooded figures. Approach either one of them and perform a takedown when the button prompt appears (it doesn’t matter which one you pick, the result remains the same).
Following a short monologue session, you’ll regain control – fight off the small group of 5-6 Soldiers here before approaching our primary target and smacking him good for another story scene.
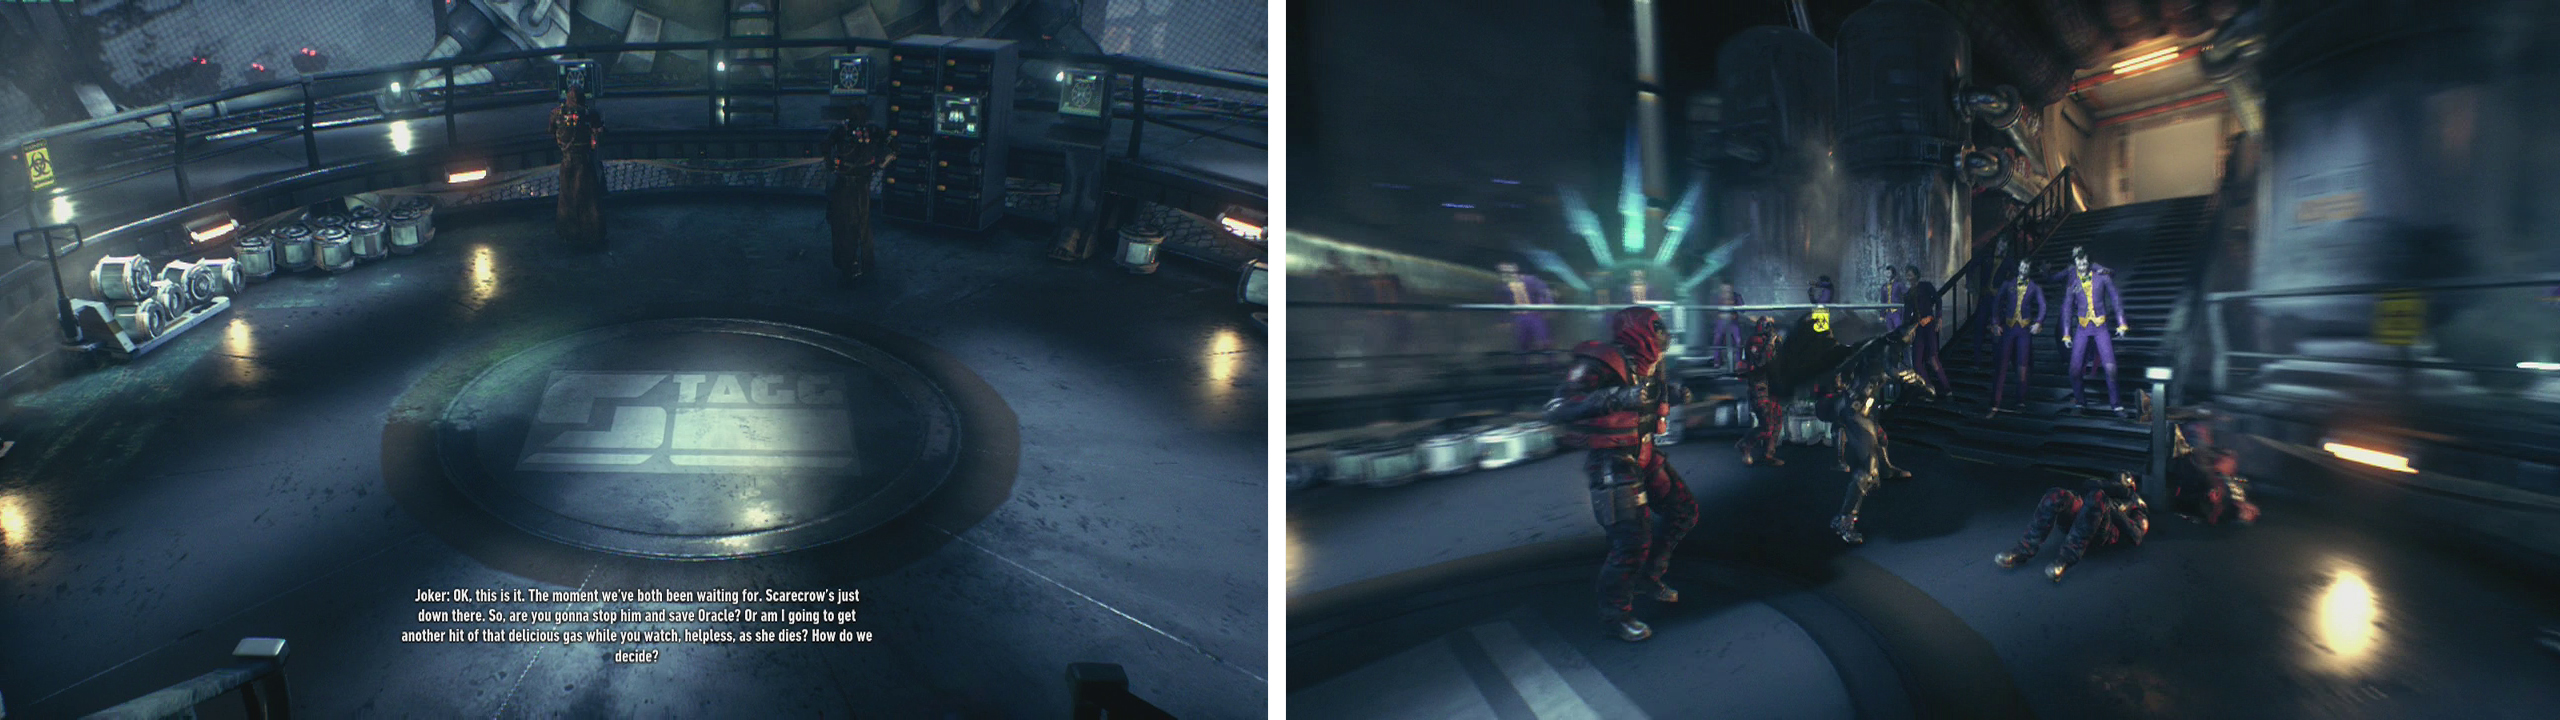
Approach either figure for a scene (left) and then fight off the enemies that appear (right).


 Sign up
No Comments