Exit out the back of the Chapel and make your way back to the gate, this time heading up the steps to grab the Thick Coldblood (5) . As you head up the steps there may be a scythe wielding Church Servant walking away or two walking toward you, so deal with them and then enter the staircase area to grab the Blood Vial x6 .
Another Church Servant will be standing on the side of the staircase, looking down the stairs, and you can slowly walk up to stagger him for a visceral attack. The Church Giant below is just a bit out of reach of a plunging attack, so drop down to the stairs and deal with him in a normal manner.
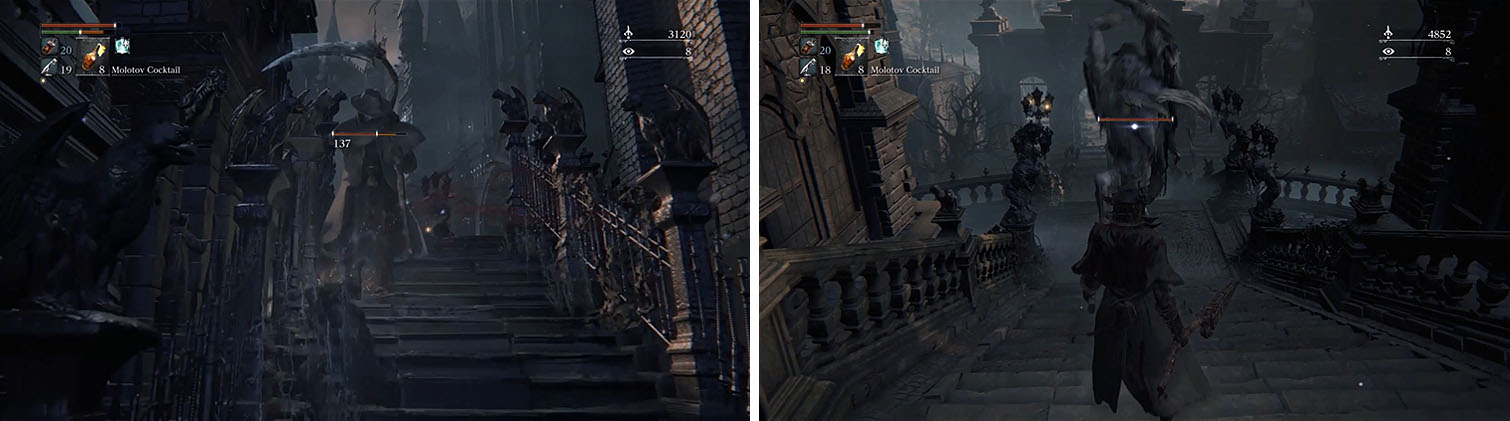
Defeat the Church Servants and the Giant on the main staircase before heading to the plaza.
You can now head down the stairs, through the gate, and into the plaza with two more Church Giants and Madman’s Knowledge x5 . Exit through the archway on the right side of the area to kill the Carrion Crow and the Brainsucker and then check the corner for a Twin Blood Stone Shards x2 .
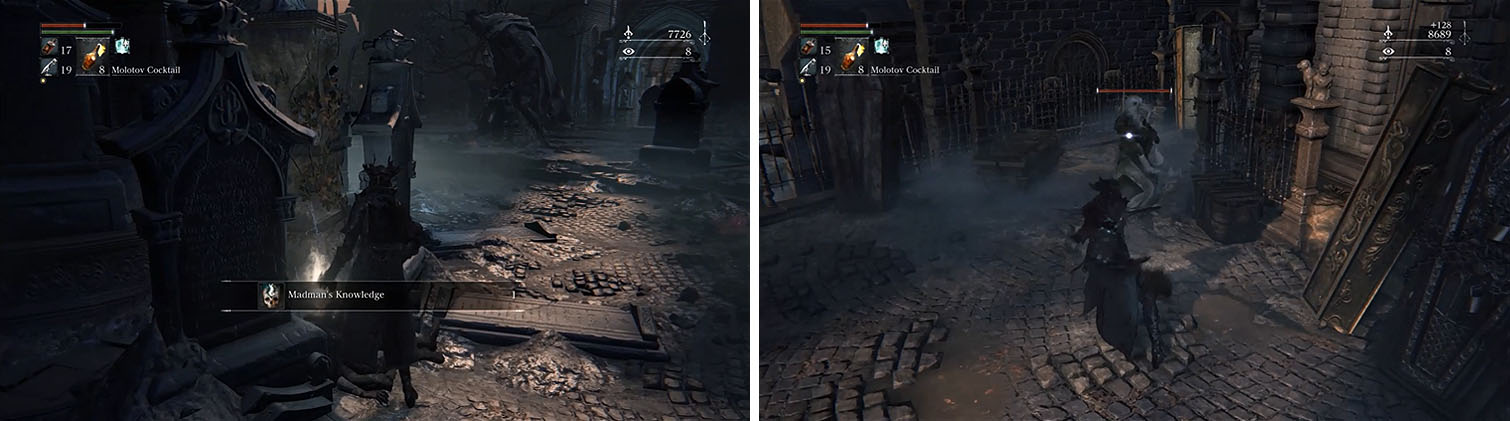
Grab the Madman’s Knowledge and enter the side room to encounter a Brainsucker.
Ignore the drop, which takes you to an area you’ve already been to, and enter the building for the Shining Coins x12 . You can now exit out the back to grab a Tempering Blood Gemstone (2) and Antidote before heading down the steps to a locked door that requires a password.
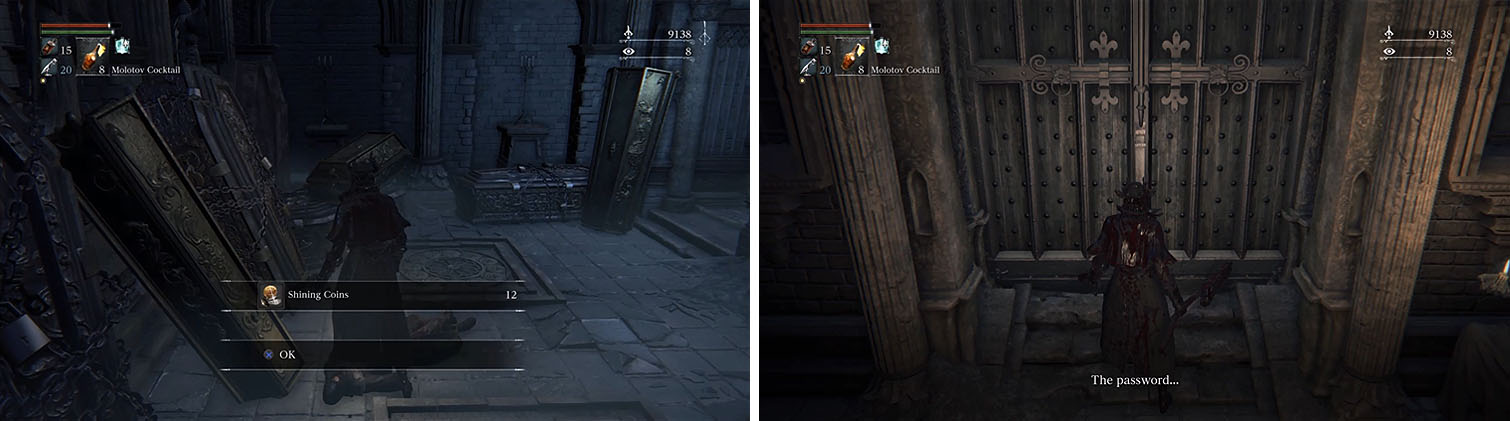
Remember this path with a Blood Gemstone and password door for later, after the boss.
Backtrack to the grand staircase and head up to encounter more Church Servants, these carrying sacrificial crosses. These versions are rather dangerous and are hard to counter with your gun, so getting behind them is your best option.
Head left of the large double doors to a corpse with a Bloodshot Eyeball and a Bold Hunter’s Mask x3 down the steps and then continue through the tunnel to a large field. There are numerous Riflemen in this area and their bullets hit hard, so you’re going to have to be careful as you walk around.
Start by hugging the left wall to the first Rifleman and take him out quickly before backing up and dealing with the Hunting Dog directly behind him. Another Rifleman will be shooting at you from a distance, so use the trees and the rocks as cover while you deal with another Hunting Dog. When it’s clear you can finally rush in to kill the Rifleman and the Hunting Dog next to him.
Take out the Riflemen first, using the environment for cover as needed.
Continue to the back of the field to a small lane to find two more Hunting Dogs and a Rifleman walking away and lure the hounds further into the field to avoid the Rifleman’s fire. Once the hounds are dead you can then rush down the path to kill the Rifleman and open the gates of Hemwick Charnel Lane, but don’t bother entering this area at the moment.
You can now head back to the field, hugging the left wall to find a Twin Blood Stone Shards , and then kill a Rifleman by some trees that you can use for cover from other Riflemen.
Your next target should be the Rifleman in the middle of the street, but there are two Riflemen facing him and you’ll need to rush over and kill him and then quickly return to the trees for cover. The two more Riflemen facing the street nearby often face your direction when sound draws their attention, so quietly move from your current tree left to another large tree where you can see them both and then rush in and kill them.

Take the Rifleman out in the road and then the two facing the road, once they reset.
The area is mostly clear now, so grab the Pebble x4 from the road and then make your way up behind the four Riflemen in the corner of the area.
You need to sneak up and get a fully charged attack on the closest Rifleman to deal with him, leaving only three left, and then move in for a few hits before you roll to avoid fire. Never stand around too long or you’ll find yourself getting hit by multiple bullets and dying, but once all the enemies are dead you can finally grab the Bone Marrow Ash x9 and Thick Coldblood (4) x2 .
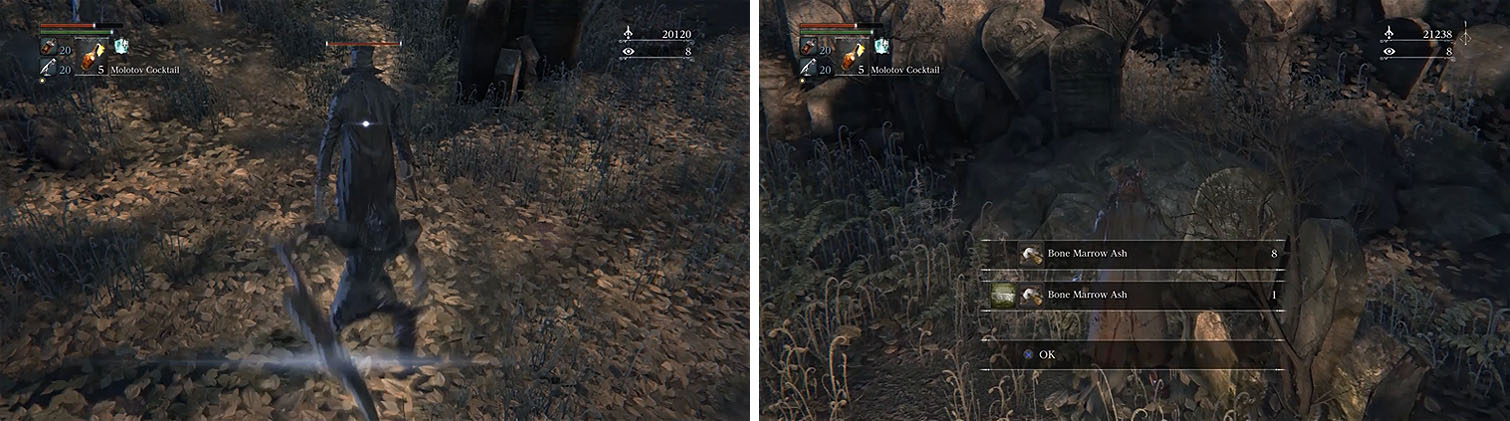
Sneak up behind the large group of Riflemen to avoid damage and then get the items.
Make your way back to the large double doors at the top of the main staircase and this time head right to a staircase leading down to a well.
Make sure you take the stairs first, as dropping off the ledge will land you in a heap of trouble, and at the bottom of the stairs you’ll find a Hunter NPC wielding a Tonitrus weapon and Wooden Shield. Luckily, this enemy is slow moving and if you stand on the steps and use a full charge attack when he starts to walk within range he will die pretty easily.
The Hunter NPC is slow and you can easily break his guard with a charge attack.
You can now return to the top of the area and look down onto the building below to spot a Frenzied Coldblood (7) that you can drop down to.
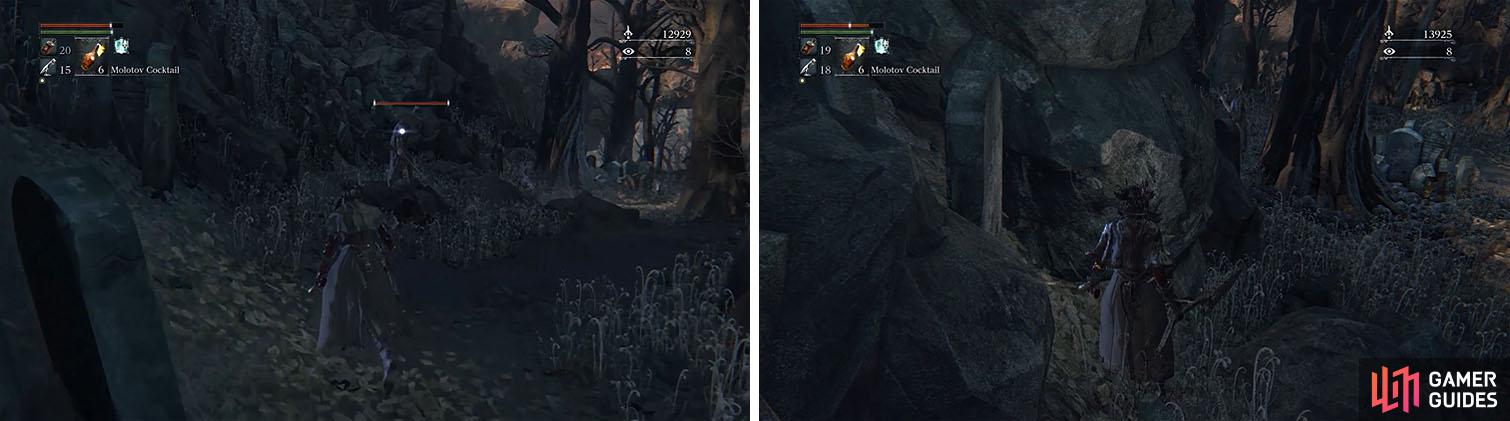
There is another Hunter NPC here, this one with a Rifle Spear and Ludwig’s Rifle, which can be approached from behind by dropping off the roof to perform a visceral attack. This is a perfect way to start the fight since this Hunter is a spammy asshole that will is difficult in a head on fight.
The trick to this guy is to use the trees as cover from his gunfire and force him in close, where you can then attack him. If you are lucky, he may even lose sight of you and reset, allowing you to get another visceral attack.

Start the fight with a visceral attack and then use the trees for cover from his gunfire.
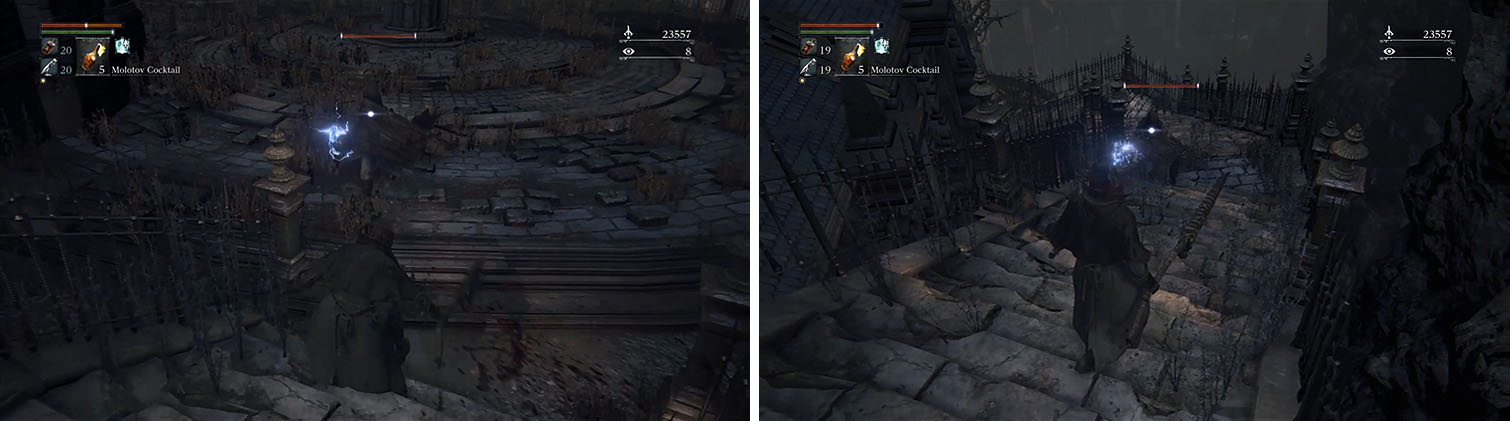
Take the stairs to a Wandering Nightmare and then backtrack to the well area and head to the cliff, where you can to drop for a Twin Blood Stone Shards , and then continue down to kill two Riflemen overlooking the area with Executioners.
Drop to the ground and deal with the first Executioner and then carefully approach the second one, pulling it with a gunshot so that the two Wandering Nightmares behind him remain unaware. With the second Executioner dead you can now rush the Wandering Nightmares and kill them both, but don’t be too concerned if you only manage to get one.
You can now enter the nearby building to grab the Lead Elixir x3 off the corpse, but don’t actually enter the main room or you will die. There is nothing left to do in Cathedral Ward, so it’s time to take on the boss. Return to the double doors at the top of the staircase and open them to reach the Grand Cathedral.

 Sign up
No Comments