
Floor 1

Inside the keep, head straight up to receive a ghastly message from a fallen Shieldbearer; terrible things must have happened for these hauntings to occur… To begin, head right from the entrance and follow the path until you find a lever–pull this to open the gates to the far left.
Return to the entrance and this time go ahead and then immediately turn left. At the junction, follow the path down for a chest containing an X-Potion and head up to advance through the keep. Past the now-open gate, take the stairs leading up just ahead.
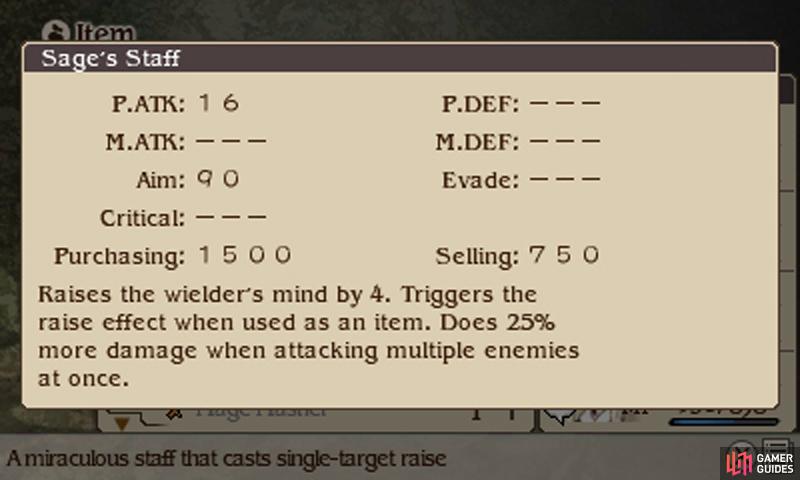
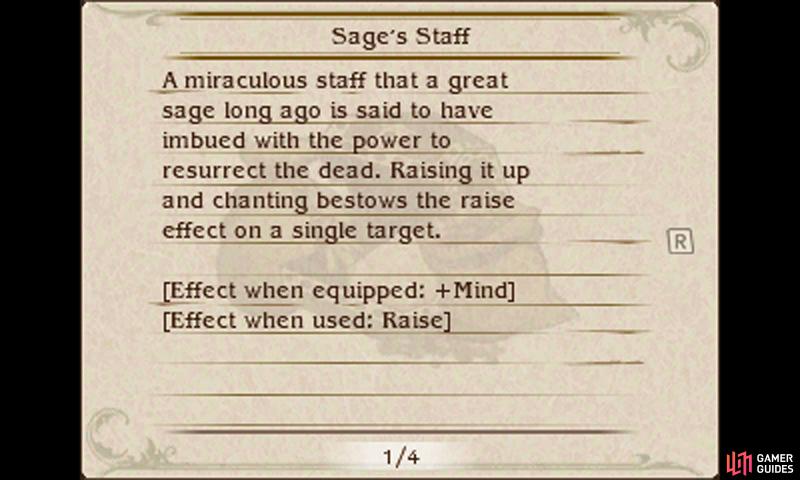
(1 of 2) The Sage’s Staff isn’t amazing by itself, but it easily slays undead legions if used properly.
The Sage’s Staff isn’t amazing by itself, but it easily slays undead legions if used properly. (left), (right)
Unlocking The Floor 2 Upper Gate

Upstairs, on the second floor, there’s a chest nearby, to the bottom-right, containing a generous 2000 pg. From the stairs, head up to find a lever, which when activated will open the gates across to the right. While you’re here, continue up to find stairs leading back down.
On the first floor again, you’ll be in an isolated area with another lever nearby–pull this to disable the gates to the bottom-right. Now go back the way you came until you’re back in the first floor and in front of the stairs on the left side. Follow the path up to find a blue locked chest and a chest with a Turbo Ether inside.
To Floor 3
To continue, make your way back to the keep’s entrance and, from there, go up and ascend the flight of stairs ahead. You will be in the second floor again, by the center, and another apparition will come to speak of its torment. When the chills down your spine have gone, continue up past the unlocked gate.
Along the north, you’ll find stairs going up to the left and stairs going down to the right. Head downstairs first, where a chest with a Glaive awaits you. Next, take the stairs leading up to reach the third floor, where a third apparition appears with a warning about the toxic mist’s creator.

After the ghostly encounter, follow the path left to find a chest with a Rebuff Locket waiting at the end. Next, return to the third floor stairs and take the path to the right; along the way, the party will eavesdrop on a (human!) conversation. When that’s over; continue down the passage to find a set of stairs leading down.
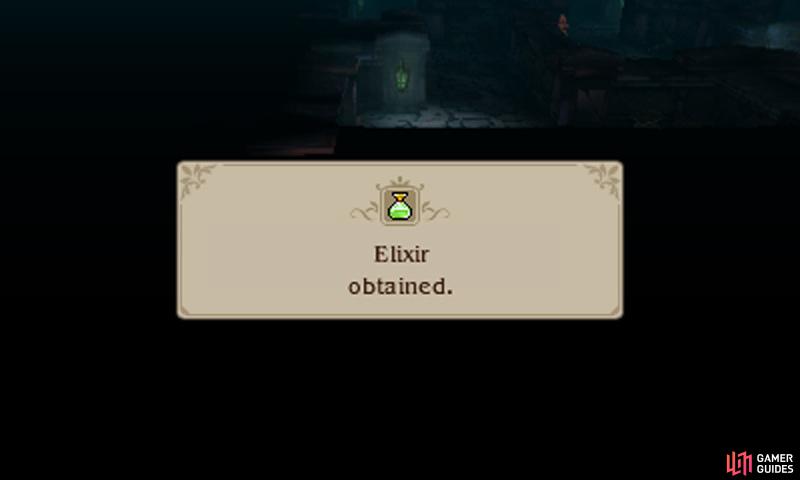
(1 of 2) Just a heads up: we recommend hanging onto a couple of Elixirs, so you can defeat a future boss with great ease.
Just a heads up: we recommend hanging onto a couple of Elixirs, so you can defeat a future boss with great ease. (left), (right)
Unlocking The Floor 2 Lower Gate
Downstairs, on the second floor again, follow the path left to find a lever–pull this to open the gate across to the right. From the stairs again, follow the path up to find chests with a Bomb Fragment (bottom-right corner) and Bacchus’s Wine (near center), as well as more stairs leading down.
You’ll be back in the first floor again, in the top-right corner. Pull down the lever nearby to open the gate below, allowing you to return to the entrance. Finally, from the entrance, take the stairs directly above again; then on the second floor, head through the new passageway below and take the new stairs leading up.
On the third floor, you’ll be before the Adventurer and the orange exclamation mark. Unless you’re feeling super confident, we recommend you return to Hartschild and rest, as well as kit up your party with the best equipment, because a tough boss battle awaits. When you’re ready, inspect the shiny object at the end of the room to begin the battle.
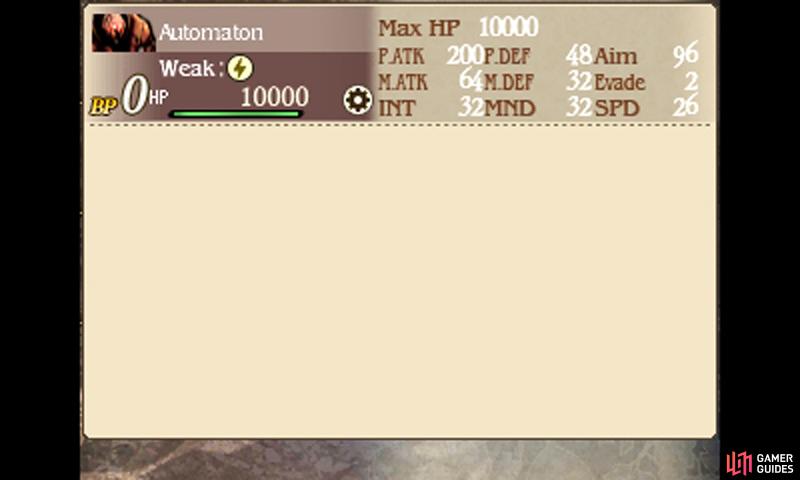
Boss: Automaton x3
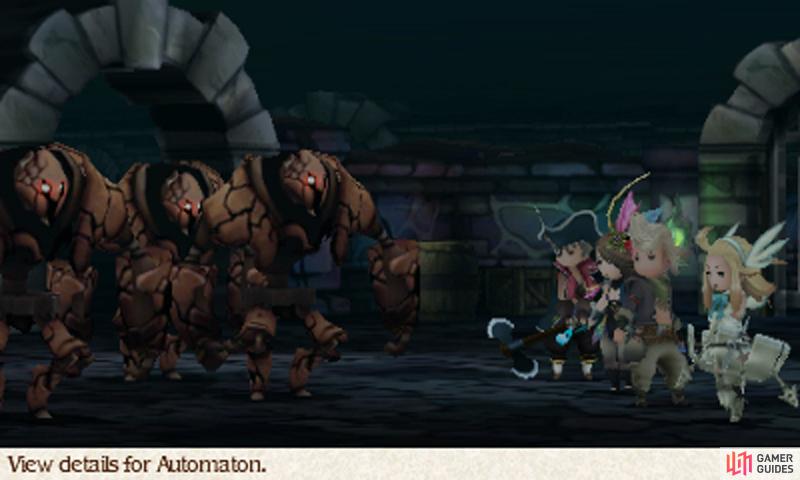
(1 of 2)
| Level | HP | Weak to |
|---|---|---|
| 32 | 10,000 | Lightning |
Alert! Intruder detected! (That’s you by the way.) These three robots pack a punch and we mean literally, as their Rocket Punch does hefty damage to your party. This battle can be quite tricky to overcome because during the fifth turn, all three Automatons will use Limiter Rescission, boosting their attack but dropping their defense.
If left to their own devices, the Automatons will cause incredible damage to your party with Rocket Punch–probably too much for you to handle eventually. Have a White Mage cast Dispel to remove their attack boost ASAP. The shifty robots can also use Self-Repair to restore their HP.
Our advice is to build up 3 BP first, then unleash a mob of attacks with the aim to take down one Automaton. The Automaton are weak to lightning and have low magic defense, so Thundara (magic or sword magic) is great.
Next, wait until the two surviving Automaton use Limiter Rescission, then immediately Brave the maximum amount of times (except for your healer) and trash another Automaton and hopefully wound the other. Finally wait until your party returns to positive BP and then mop up the last Automaton.
Weather the onslaught of rockets and you’ll recover the master sample of the toxic mist. Return all the way to Eisen Bridge and deliver the sample to Goodman. Just when things were looking good, dire news arrives, as the Swordbearers mount an relentless attack.
Next Objective
Tiz learns that the Swordbearers have recently invested in mythril ammunition from the mines, where they have forced children into hard labor. This knowledge spurs Tiz on and he decides to head to the mines to save the children and end the Swordbearer’s advantage at the same time.
Now the passageway to the mines will open up; you can reach the mines by travelling past the newly-open gate left of Eisen Bridge (or the gate above it by going around from the right side). In the far corner of the mountains you should find a cave on the side of mountains–this is the entrance to the mines.

 Sign up
No Comments