
A fair warning: this next part requires a lot of backtracking (chances are, you’ll have done a fair share during the Performer sub-scenario). To begin with, speak to Commander Goodman at Eisen Bridge and he’ll congratulate Tiz and friends on awakening the Fire Crystal.
With your report over, head back to Hartschild to rest your travel-weary bodies. Back in town, the gang suggest visiting the Goodman’s residence to discuss what to do with Egil, now that their mission is over. In the end, everyone decides to leave Egil in Eleanor’s care and go off to continue their journey.
The Inn of Origin
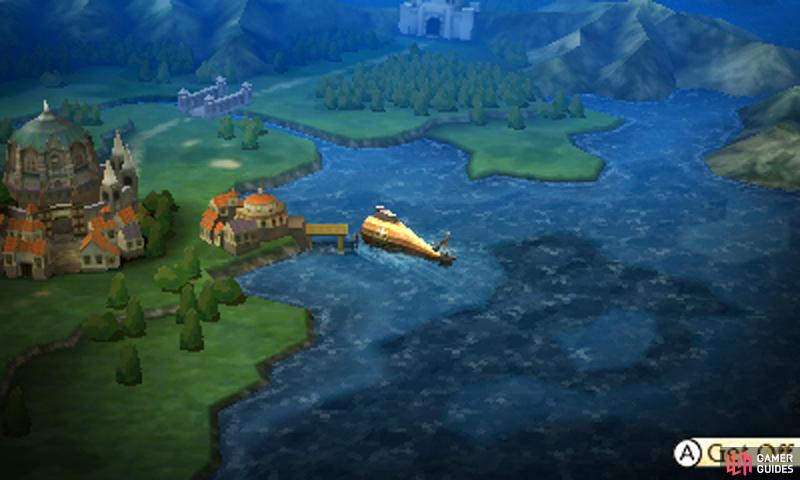
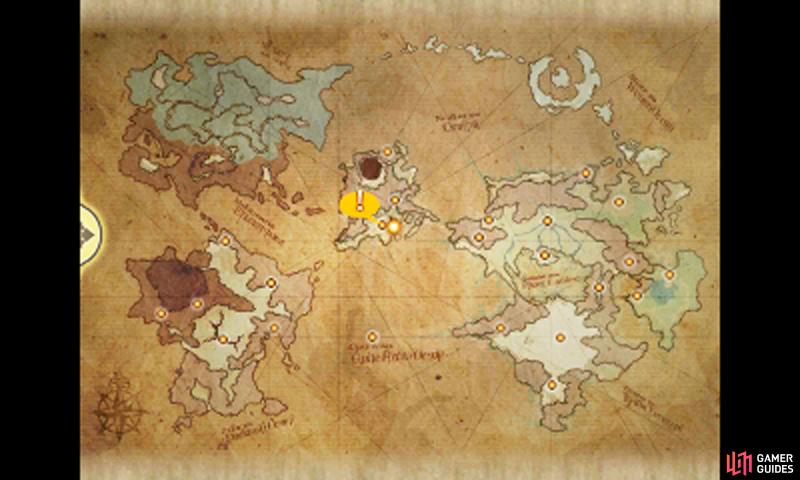
Depart from Hartschild and set a course for Grandship, where an orange exclamation mark lies. Once on board, head for the tavern and speak to the man by the central table, just below the singer. Apparently there’s word that the inn at Caldisla has closed suddenly and this nugget of information intrigues Tiz and company.
(1 of 2) Hmm, why does this all feel so familiar? Oh, right, it’s a repeat of the Performer sub-scenario, but now you’re forced to do it.
Hmm, why does this all feel so familiar? Oh, right, it’s a repeat of the Performer sub-scenario, but now you’re forced to do it. (left), (right)
Set sail for Caldisla and, once there, park the Eschalot at the pier immediately east of town. Step into Karl’s inn to discover just how bad the situation is. As our heroes struggle for ideas, they consult the journal where it’s foretold they bring Egil to Karl’s inn. In any case, you should consult with Egil first, so drive the Eschalot back to Hartschild.
At the Goodman’s residence, Tiz and company will discuss with Egil and Eleanor about their plans; everyone agrees to let Egil stay at Caldisla. With that sorted, pilot the Eschalot back to Caldisla again; once there, head for the palace to discuss the arrangements with the king. Tiz will introduce Egil to Karl and Karl instantly takes a shine to the boy.
The Sinking State
Now that Egil and Karl are both taken care off, it’s time to move on. However, with no leads before them, the group are forced to rely on Ringabel’s journal again–this time, a vague clue points to Grandship. Back at Grandship, the group bump into the Proprietress, who tells them to visit the tavern.
To reward their efforts in the Eisenberg civil war, the Proprietress treats the group to a hearty banquet. Later, once all the food has been downed, Datz and Zatz come along, but they’re not here for a friendly reunion–instead, they bring a dire warning that Grandship is sinking fast!
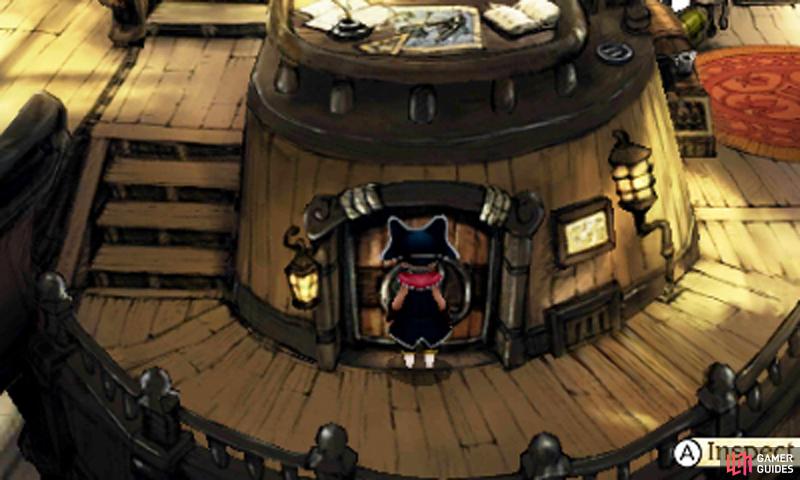
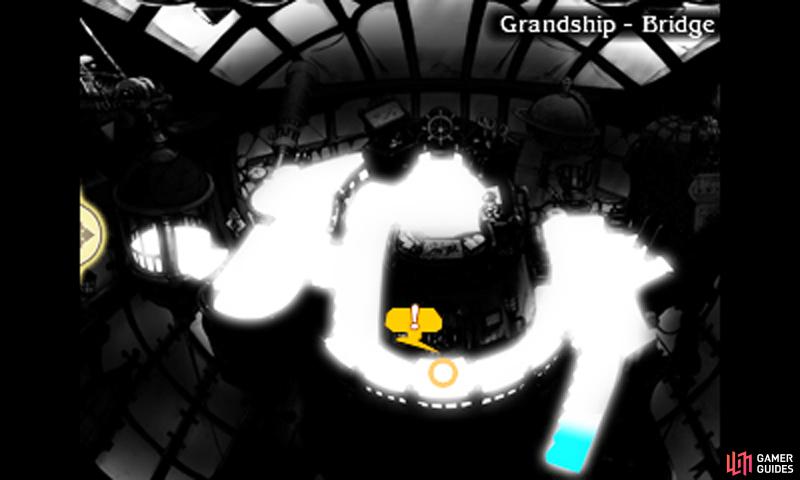
On the deck, head for the markets to the north and continue north, up the stairway, to the new orange exclamation mark. Past the mark and you’ll be at Grandship’s bridge. Here, the group decide to inspect the room for clues on how to open the locked door in the bridge.
Their search is fruitful as Edea discovers an ancient text, informing them that the key is a piece of orichalcum–if you cast your mind back, Egil found a chunk of this in the Mythril Mines. Return to Caldisla and seek out Egil at Karl’s inn; the lucky boy isn’t reluctant at all in handing over his orichalcum.
(1 of 2) Who knows what lies beyond… Oh wait, we do since we’re writing this guide! Ahem, be prepared for many battles and hardships beyond!
Who knows what lies beyond… Oh wait, we do since we’re writing this guide! Ahem, be prepared for many battles and hardships beyond! (left), (right)
With the orichalcum in hand, inspect the locked door back at Grandship’s bridge; the texts weren’t wrong as the door magically slams wide open in reaction. Beyond the door, the engine room of Grandship lies deep within.
Check your supplies and health before entering as it’s not a short trek at all! Don’t forget you can rest and buy items at Grandship’s markets, immediately outside. While in the bridge, inspect the viewing platform to the left to find a Zeus’s Wrath and the telescope in the top-left corner for a Turbo Ether.

 Sign up
No Comments