
Time to Shine
Brrr… this frigid dungeon is your only way to safely reach Central Command without alerting the imperial soldiers guarding the mountain roads. Obviously expect a plethora of unfriendly monsters inside, tougher than ones you’ve met so far.
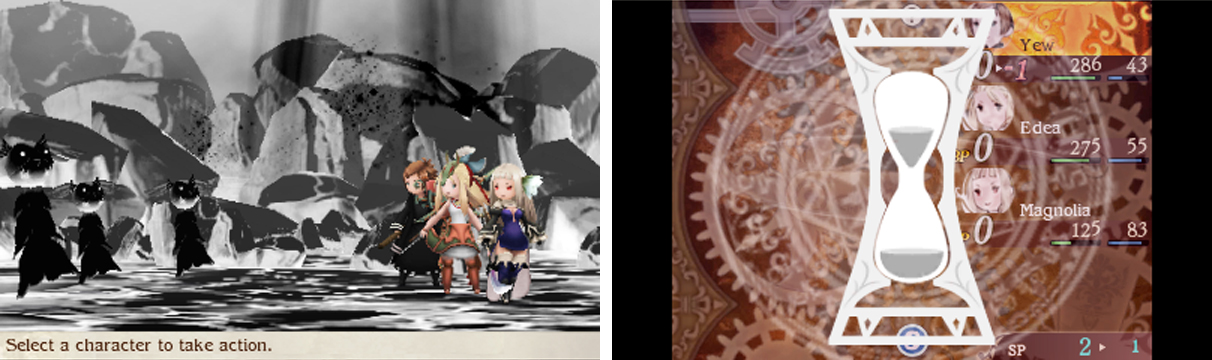
To give you an advantage during these pressing times, Magnolia offers her Strange Hourglass to the group with the most unimaginable of abilities…
To cancel Bravely Second, press START or SELECT again.
East

Begin by following the path in a north-easterly direction, ignoring the path going south at the first junction (it leads to a dead end) and continuing in the same direction at the next junction. At the end is a chest with some Eye Drops .
Turn back to the second junction and head in an easterly direction. Again, avoid the path going down–at least for the time being–and pick up the Potion lying on the floor at the end. Now go back and take the path leading south; follow it as it goes round.
Eventually you’ll encounter another fork as the path dips in a “u” shape; head north first, where a chest with a Round Shield awaits. Then backtrack and follow the main path as it goes under the overpass you just crossed and loops to the south.
At the final junction, you’ll find an Antidote on the floor by heading south-east and the exit to the next area to the south-west.
West

This is the second and last area of the Frozen Hollows and, again, nothing special like the first. However, the paths are long, so you don’t want to go the wrong way and waste too much time. Good thing we’re here to give you directions then!
First, follow the path around and south, under the two overpasses, stopping at the first junction. Head along the path leading south first, where you’ll find 300 pg glittering on the floor. Run back to the junction and continue onto the path leading east and around.
At the fork, head north-west onto the north-most overpass to collect a Remedy from the chest. Back at the fork, head south-west and cross the south-most overpass. At the next path split, ignore the path leading south-west (unless you like dead ends) and go north-west instead.
Very soon, the path will divide once more. This time, you can go south-west, where there’s a chest containing an Ether . Finally, head north and you’ll reach the end of the dungeon. The Adventurer is here, which can only mean one thing… Absolutely rest and save before attempting to leave!
If you haven’t already done so, now would be a good time to check up on your Fort-Lune progress. Assuming you rebuilt the Pharma-Lab, you’ll be able to buy Potions and the like from the Adventurer.
Boss: Bella and Cu Chulainn
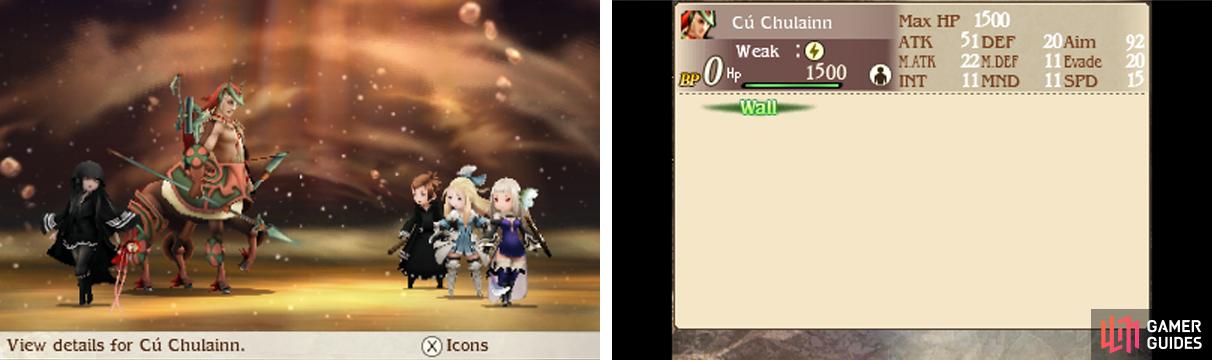
| Boss | Level | HP | Weakness |
|---|---|---|---|
| Cu Chulainn | 11 | 1500 | Lightning |
| Bella | 11 | 800 | Nothing |
Now this is starting to look like a real battle! Bella, you should know all too well; she’s fond of casting Wall, which counters physical attacks with magic. Meanwhile Cu uses Triple Wield or Trample to attack one character.
When you’re facing multiple bosses, it’s always good to have an aim. In this case, Bella is the biggest annoyance and also the weakest link with pitiful HP and physical defence. So ideally you want to cut her down first, but if she’s cast Wall on herself, focus on Cu instead.
Cu on the other hand has high HP and OK physical defence, but poor magic defence; he’s also weak to lightning. Thus Lightning or Lightning Dart would be a surefire way of dropping his HP fast.
Like before, patience is key; although your priority is to dish out punishment, you also want to keep your HP at safe levels using Potions you’ve bought or found. This is important as Bella can use Dart, which goes first and can fell a weakened ally before you heal them.
With the Charioteer job at your disposal, you should pick at least one character to take on that job. Of the trio, Edea is the most physically aligned, but as we mentioned before, any character will do fine in any job.
Before you exit the cave to the west, speak to the fox next to the Adventurer.
On the other side, you’ll emerge on the world map right next to Eternian Central Command. As it happens, the imperial guards blocking the road have left their post, so you’re free to take the short route back to Eternia City to rest up and stock up on supplies.
As the party suggests, it would be a smart idea to buy some equipment for Tiz as well…

Special Moves can hit for big damage, heal, buff or enfeeble.

 Sign up
No Comments