The Charred Council
When we regain control of War once again, you will be located at the HQ of the Charred Council. Follow their instructions and cruise up the stairs nearby and pick up the sword. Next, run over to the blue soul funnel for a bit of information on the souls in the game. Watch the quick scene that follows and you will be sent back to Earth in search of the demon Vulgrim.
Interact with the sword (left) before entering the portal (right).
Seraphim Hotel
After War lands, climb the nearby demonic growth and follow the ramp upwards. When prompted to do so, double jump across the gap in the road. At the top of the ramp, jump up and grab the scalable ledge and use them to jump across the next gap to the right.
Drop down and fight your way through the Zombies (note they are very weak and can be killed by a finisher any time). When they are all dead continue until you see a scene with a fire golem blowing up the walkway ahead. When you reach the newly formed gap, jump up and grab the pipe to climb across to the other side. Open the door at the end.
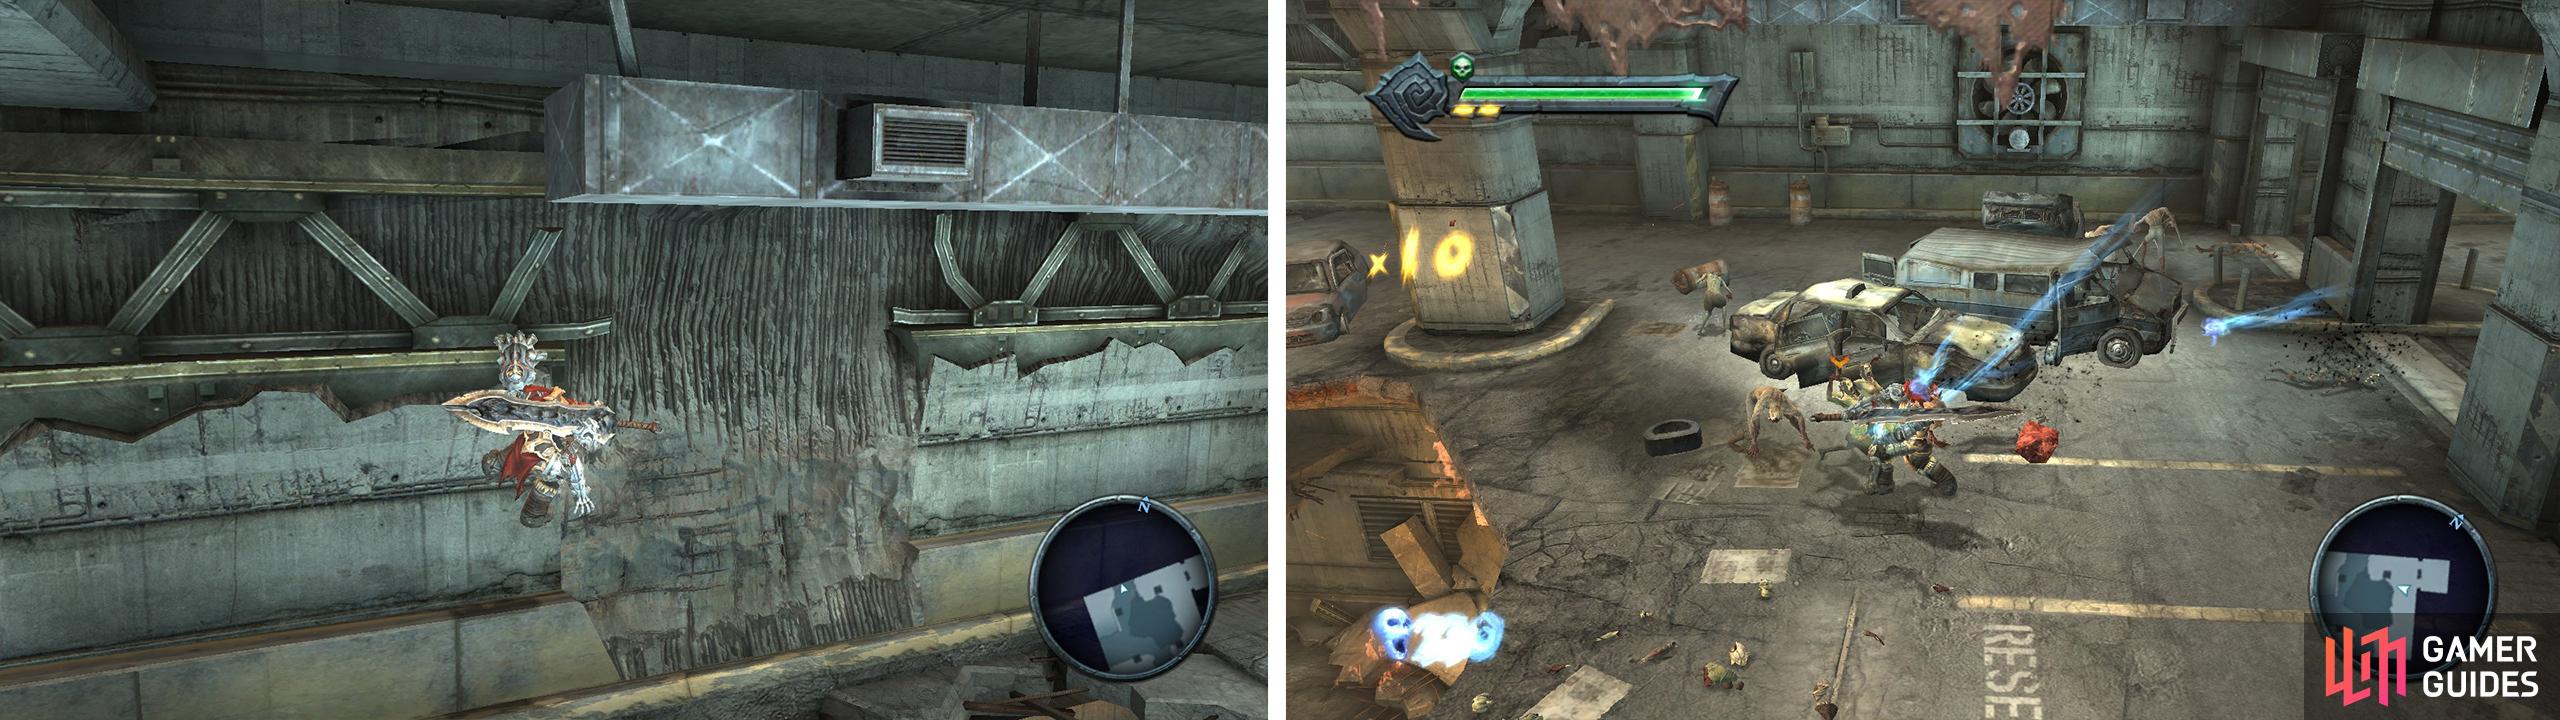
Work your way through the car park, killing Zombies as you go (right).
Use the demon growth inside the elevator to ascend to the level above then jump out into a large room populated by a new enemy – a Fire Golem and a large contingent of Zombies. The Fire Golems are fairly easy to kill, they have a charge attack which the use to rush at you, a small explosive attack if you stay close for too long and a slow shambling melee attack – these can all be avoided easily with the dash button! When Fire Golems are close to death they will self-destruct, so get as far away from them as you can before it happens.
When the room is clear of life, check out the Green Soul Chest across from the exit to regenerate any lost health. Head over to the stairs on the far side of the room and kill the Zombies here before dragging the large block over to the northern corner. Jump on the block and then up to the ledge above.
Use the pipe here to traverse the gap and land on the platform on the other side of the room. Fight off the Zombies along the balcony here and move through the door at the end. Climb up to the next floor. Enter the room here and the ground will collapse beneath you.
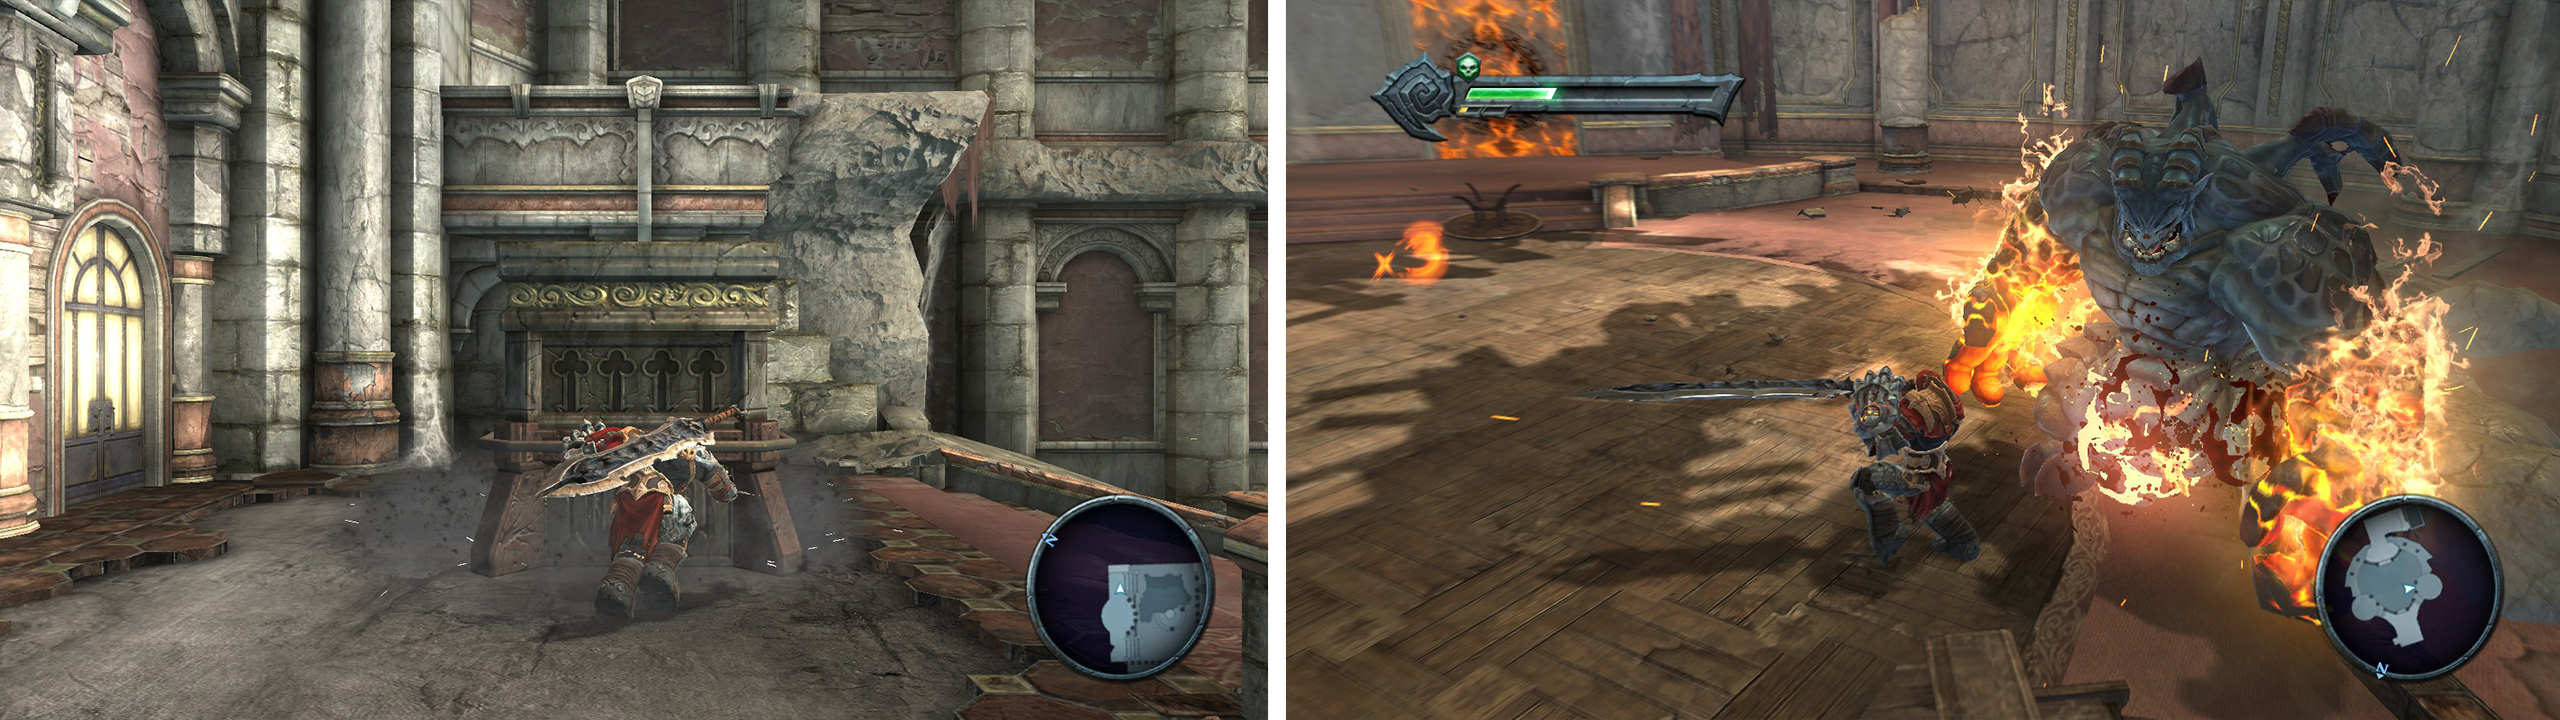
Push the block so that you can access the balcony (left). Keep moving and kill the blue dragon (right).
Continue forward into the large room in front. You will see the door at the back of the room become sealed before being attacked by a swarm of Zombies. Once you have killed enough of these a new enemy will appear – a Blue Dragon.
These guys have flaming hands and are a little on the portly side, but can do significant damage to you if you let them. Whilst fighting these guys you should watch out for a slow but damaging two hit melee combo, a ground slam which sends out a fire shockwave and a ranged attack that sends a bolt of fire across the floor at you. Fortunately these are quite obviously telegraphed and can be easily avoided by dashing at the right time. Attack him whilst staying out of his attacks and when he falters, use the action button to finish him off.
After clearing the room of baddies, exit the room through the now seal-free door and into the hallway to the right. Head up the stairs and when you reach the top you can open the Green Soul Chest if you need some health before moving to the edge to watch a scene.


The Crossroads
After meeting with Vulgrim, you will now be tasked with procuring 500 Blue Souls for him. You should have about 250 already from the enemies you killed in coming to this point, so let’s collect the rest.
Over the cliff, just south of Vulgrim’s position is a blue soul chest, drop down to grab this and climb back up to the street again. Follow the street up to the northwest side of the map to find a Blue Dragon. Kill him and grab the Green Soul Chest here if you need it.
Note the blue crystals here (we need another piece of equipment to get through here later, so remember the location). Look for the subway nearby. Inside use the demon growth to cross the pool of water and pick up the Blue Soul Chest on the other side. Jump into the water and swim around to the right of the area to find an Artefact: Soldier (these artefacts can be traded to Vulgrim for souls).
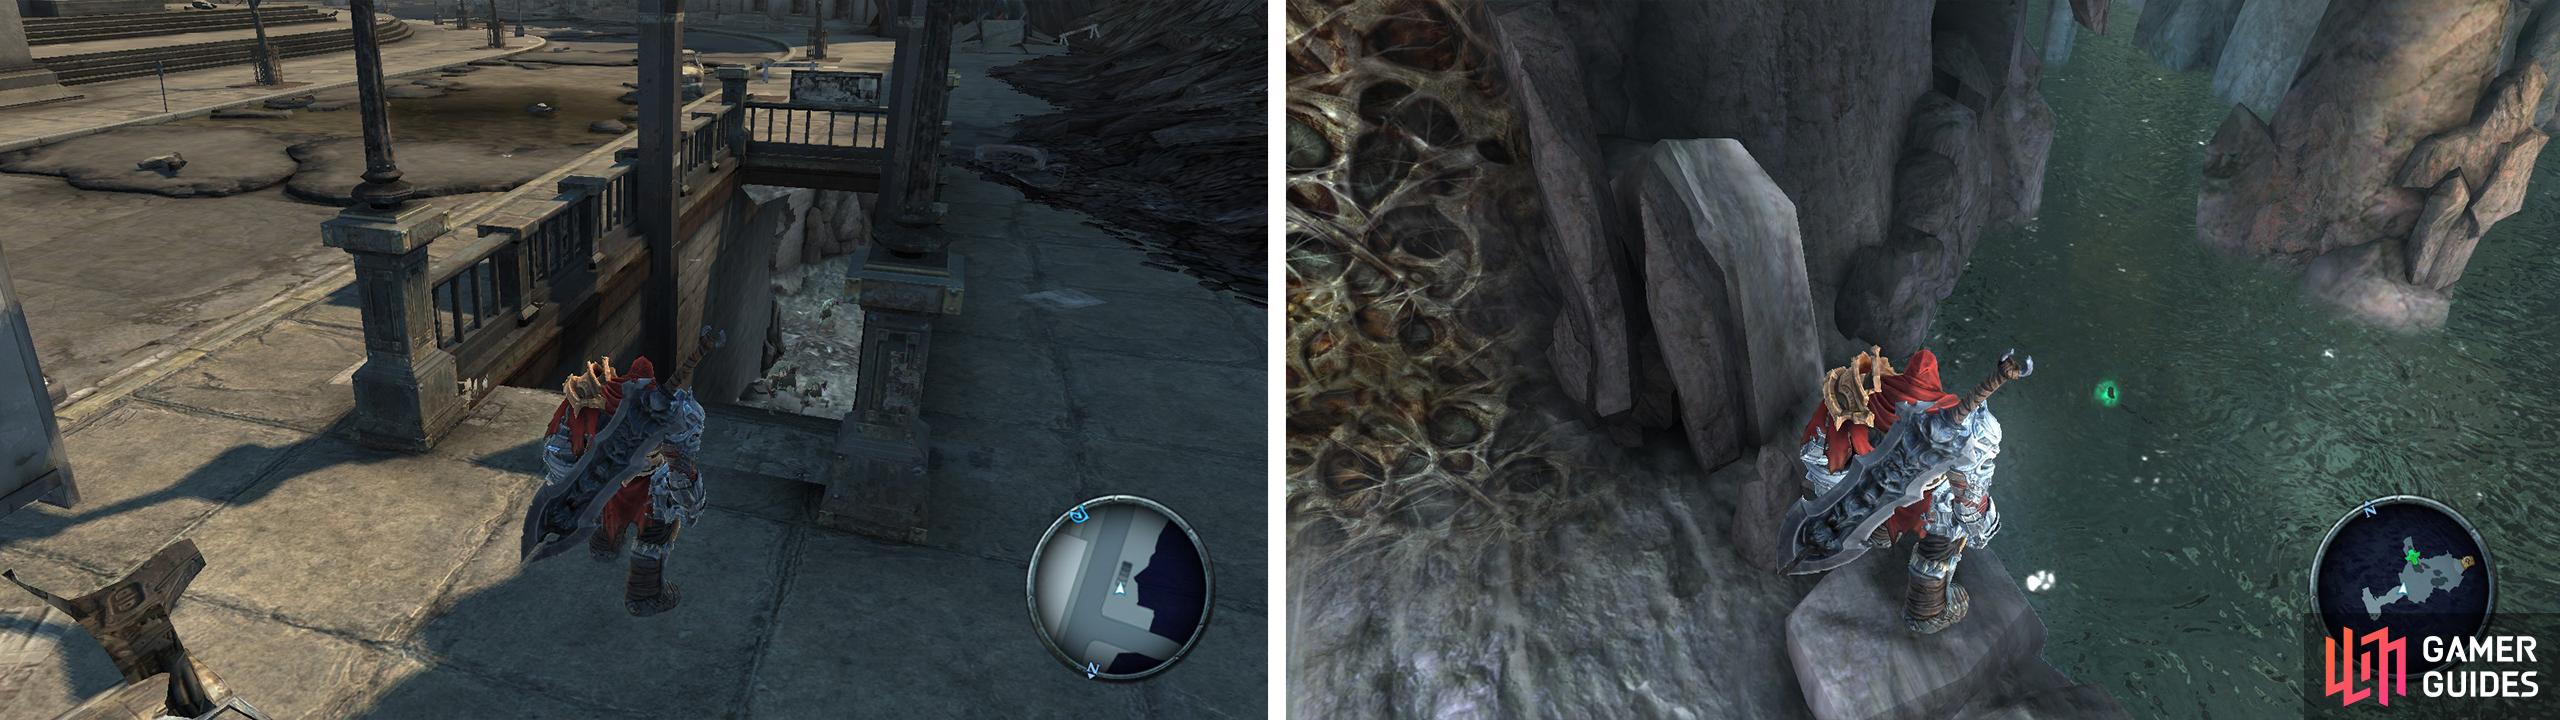
Find the subway stairs (left). Inside you’ll find a Blue Soul Chest and an Artefact (right).
Return to the street, cruise round the other side of Vulgrim’s location and enter the building to the east of the main structure through the hole in the wall. At the back of the room is another damaged wall and inside is another Blue Soul Chest . You should now have enough souls to give to Vulgrim, and subsequently some Demon Soldiers will appear in the street outside.
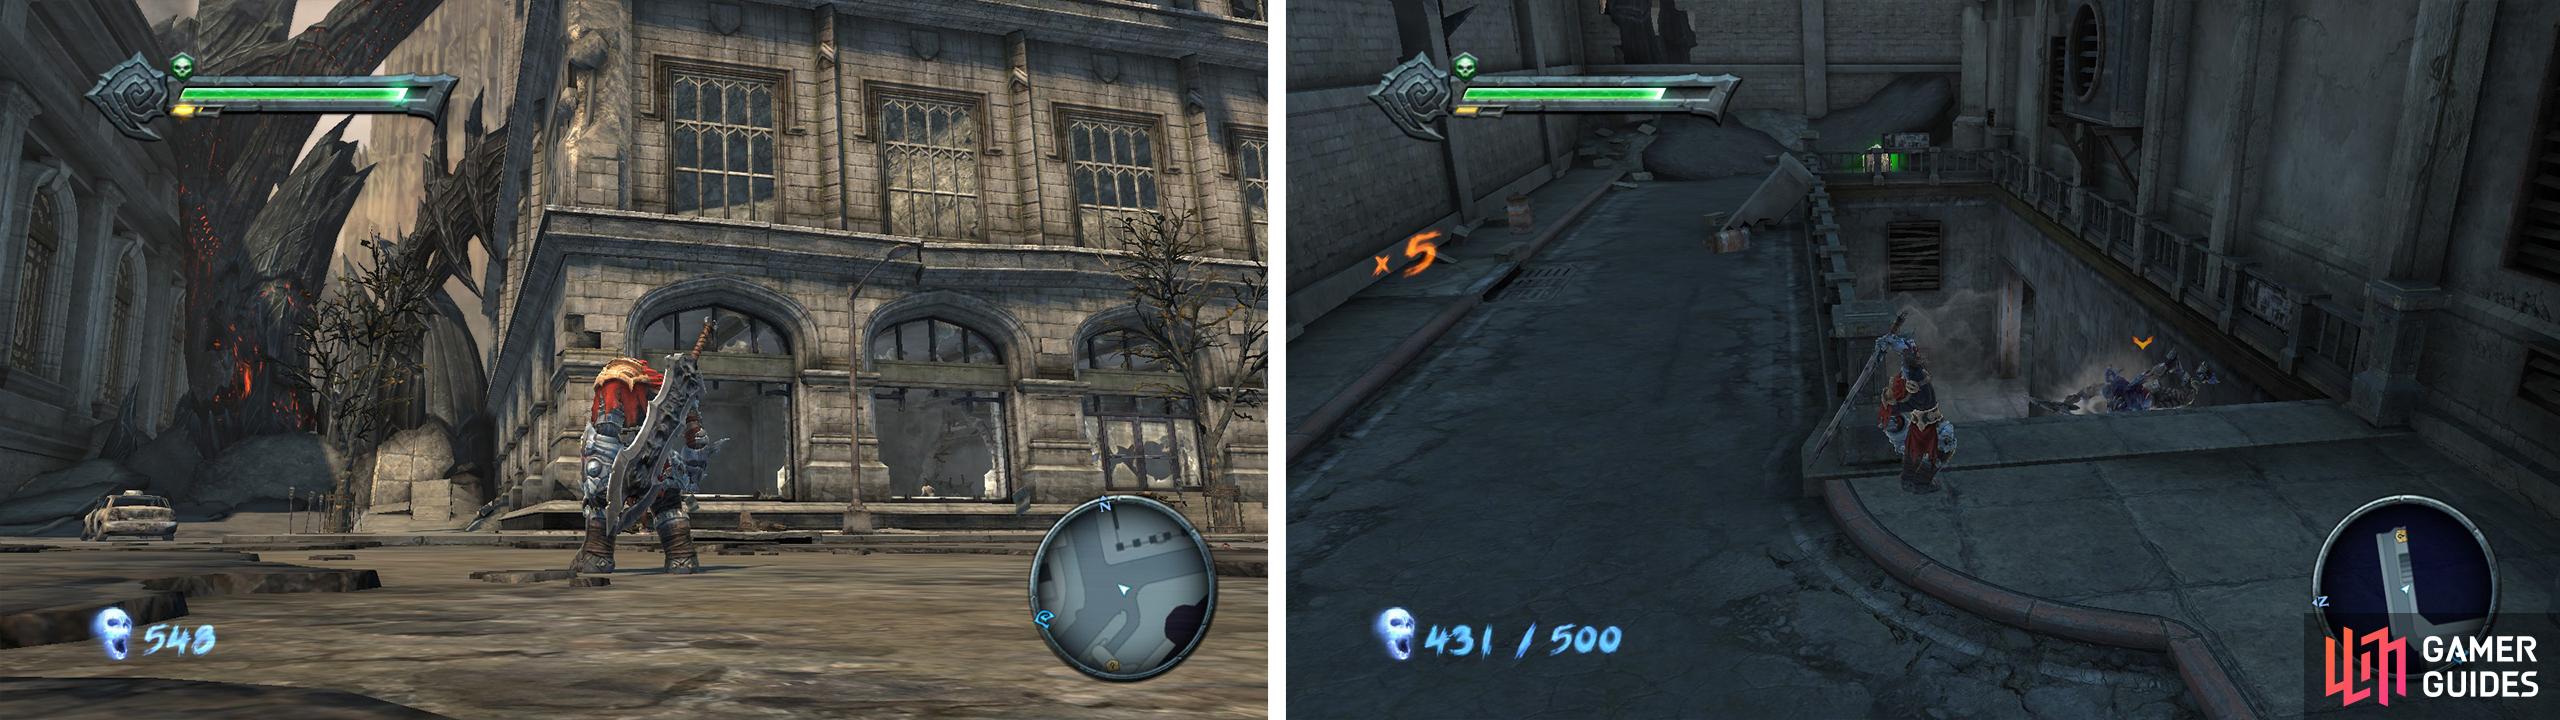
The Demon Soldiers are a step up from the Zombies. They are equipped with a large sword and can perform numerous melee attacks which can deal a decent amount of damage and are able to block your attacks. One-on-one you can pretty much keep them locked into a combo and will be able to kill them without seeing an attack. They usually attack in groups, so be sure to keep an eye on all of them when fighting.
Kill him then continue to the left. You will run into another three Demon Soldiers and a Blue Dragon. Kill them all and drop down the cliff at the end of the street for a Blue Soul Chest . Climb back up and head down the side street to the right of the last building we entered.
Additional Blue Soul Chests can be found inside the derelict building (left) and down the stairs pictured (right).
Follow this to the end to find a set of stairs. Behind these is a Green Soul Chest and if you head down the stairs you’ll find a Blue Soul Chest inside.
Before returning to Vulgrim, you should also search for and destroy the five fire hydrants in the area. Doing so will spawn an additional Blue Soul Chest .
When you are done exploring and plundering the immediate area, return to Vulgrim. He will give you an item - the Earthcaller (a magical horn that lets you talk to gate keepers) and tell you where you need to go next.


 Sign up
No Comments