
Blue Orbs are collectibles that you can both find and purchase, which will increase your overall max health. While the ones you can purchase are whole Blue Orbs, all of the others come in fragments, meaning you won’t get a new bar for your health just from finding these. Once you collect a total of four fragments, you will receive a bar of max health. In total, there are 32 Blue Orb Fragments in the game, with 12 of those coming from the Secret Missions, meaning you’ll have to find the remaining 20 during the main missions. Starting in Main Mission 02, you will be able to purchase full Blue Orbs from the shop. The first one will cost 1,500 Red Orbs, but each subsequent Blue Orb will cost more than the previous one. The following are the prices for each Blue Orb at the shop:
- 1,500 Red Orbs
- 3,500 Red Orbs
- 6,000 Red Orbs
- 9,000 Red Orbs
- 18,000 Red Orbs
- 40,000 Red Orbs
Blue Orb Fragment 1
The first fragment can be found in Mission 01, not very far into the stage. Near the beginning, you will be introduced to the Red Empusa enemy, which jumps off the broken bridge. Follow it and as soon as you land, look behind you to spot both the Red Empusa and the Blue Orb Fragment.
Blue Orb Fragment 2
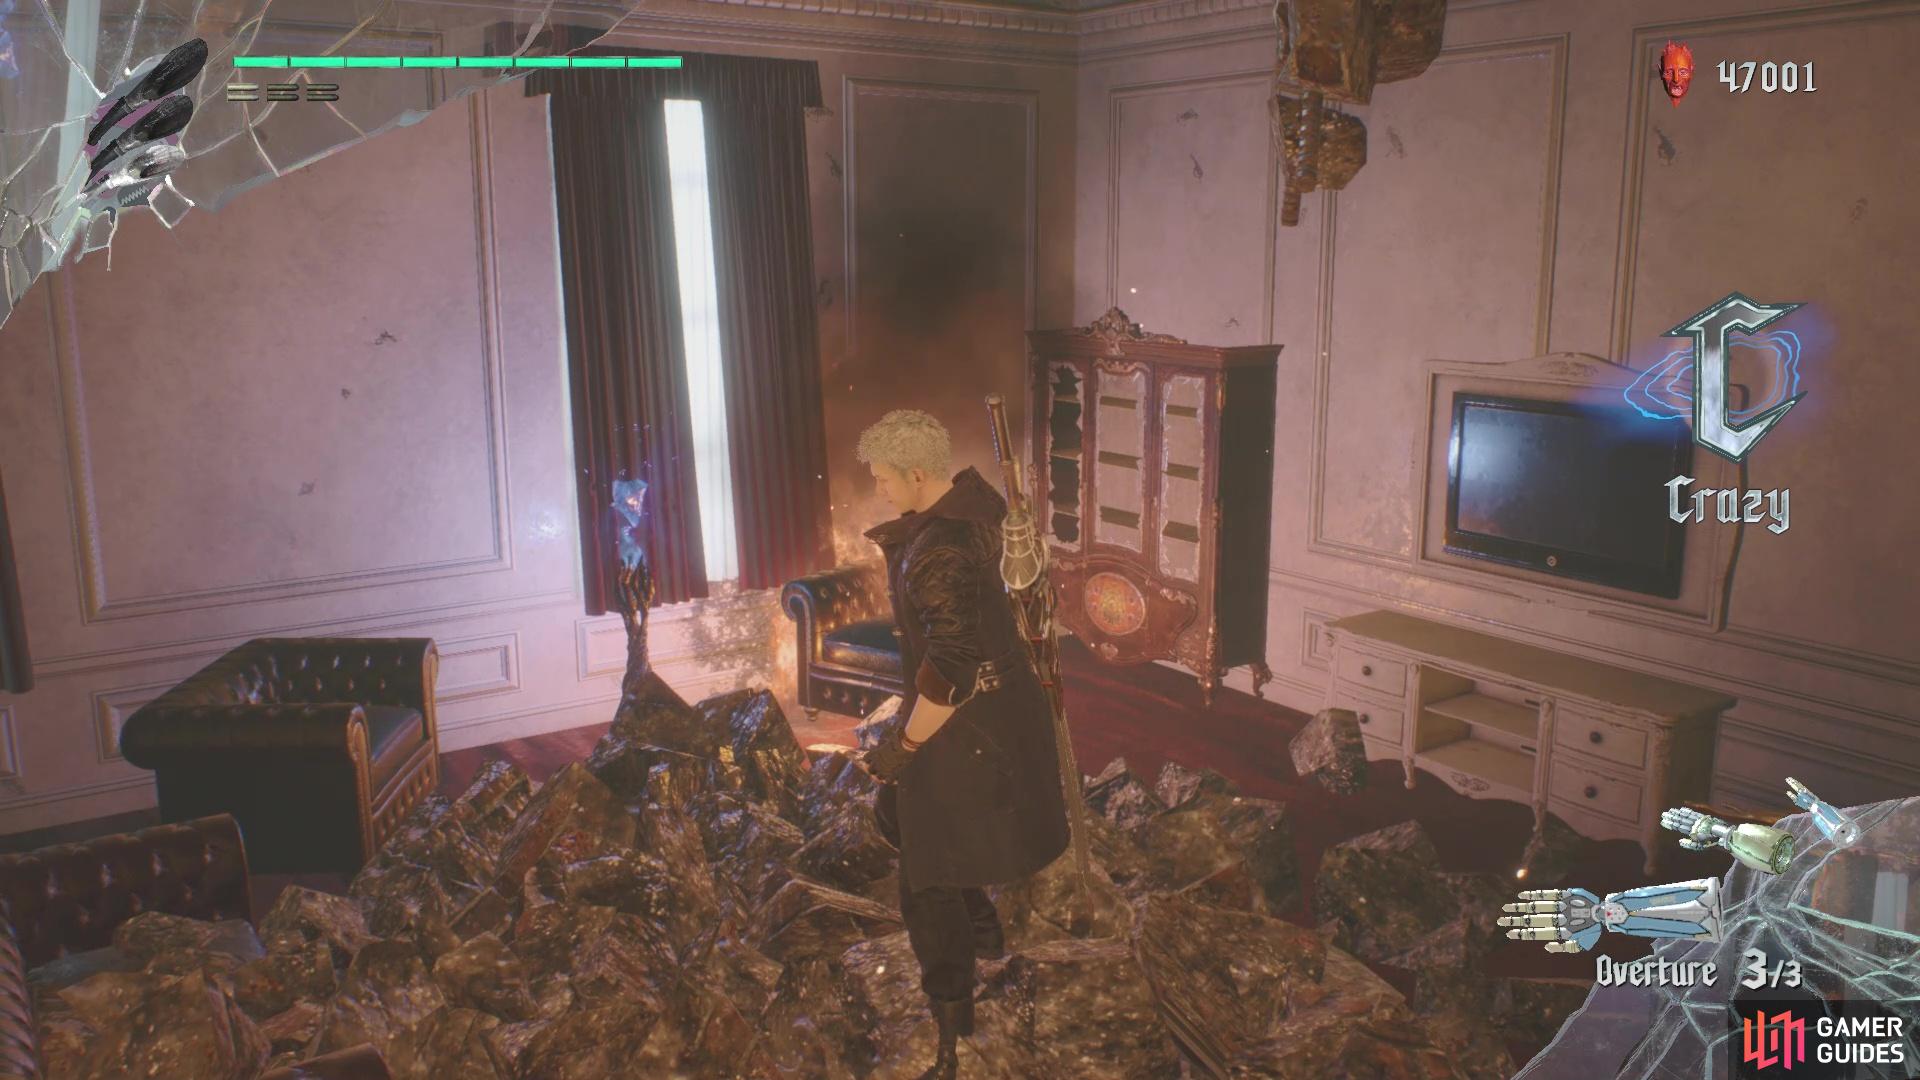
In the hotel during Mission 02, you will grab a second Nidhogg Hatchling and be trapped in a room with some Hell Caina. Bring them into the room with the discolored floor and bait them into attacking it. If done right, the floor will break and you can fall into a room below, which is where the Blue Orb Fragment will be.
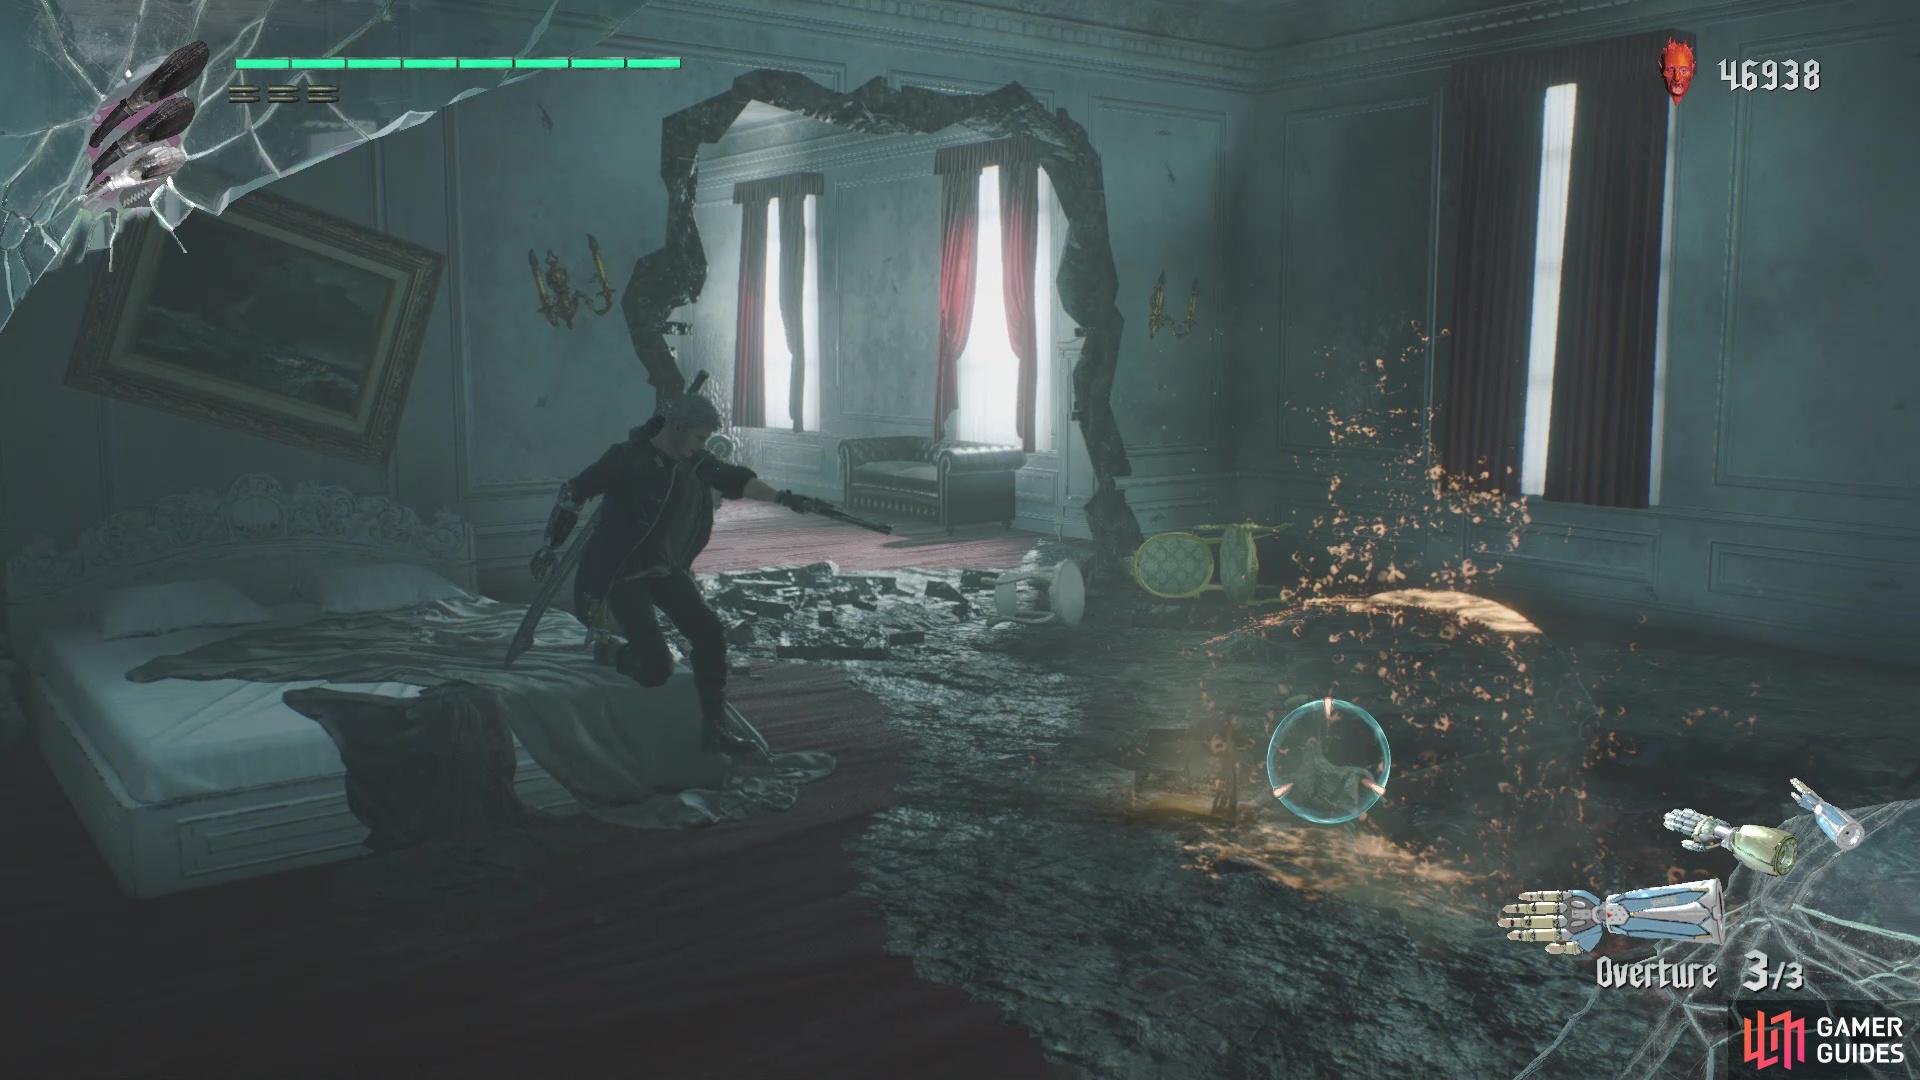
(1 of 2) Have a Caina attack the floor in this room to break it open
Have a Caina attack the floor in this room to break it open (left), where you’ll find the Blue Orb Fragment (right)
Blue Orb Fragment 3
This one is located in Mission 02, in the alley by the third Nidhogg Hatchling. There is a ledge nearby that has a Devil Breaker on the ground, so jump to it. Above this Devil Breaker will be an opening in the building, so jump through that opening and you will find this Blue Orb Fragment.
Blue Orb Fragment 4
At the beginning of Mission 03, Nero will take a gander at the large root structure off in the distance. It is on this building that you will find the fragment. Jump over to the other side of the building and look in between the air conditioning units to locate the Blue Orb Fragment.
Blue Orb Fragment 5
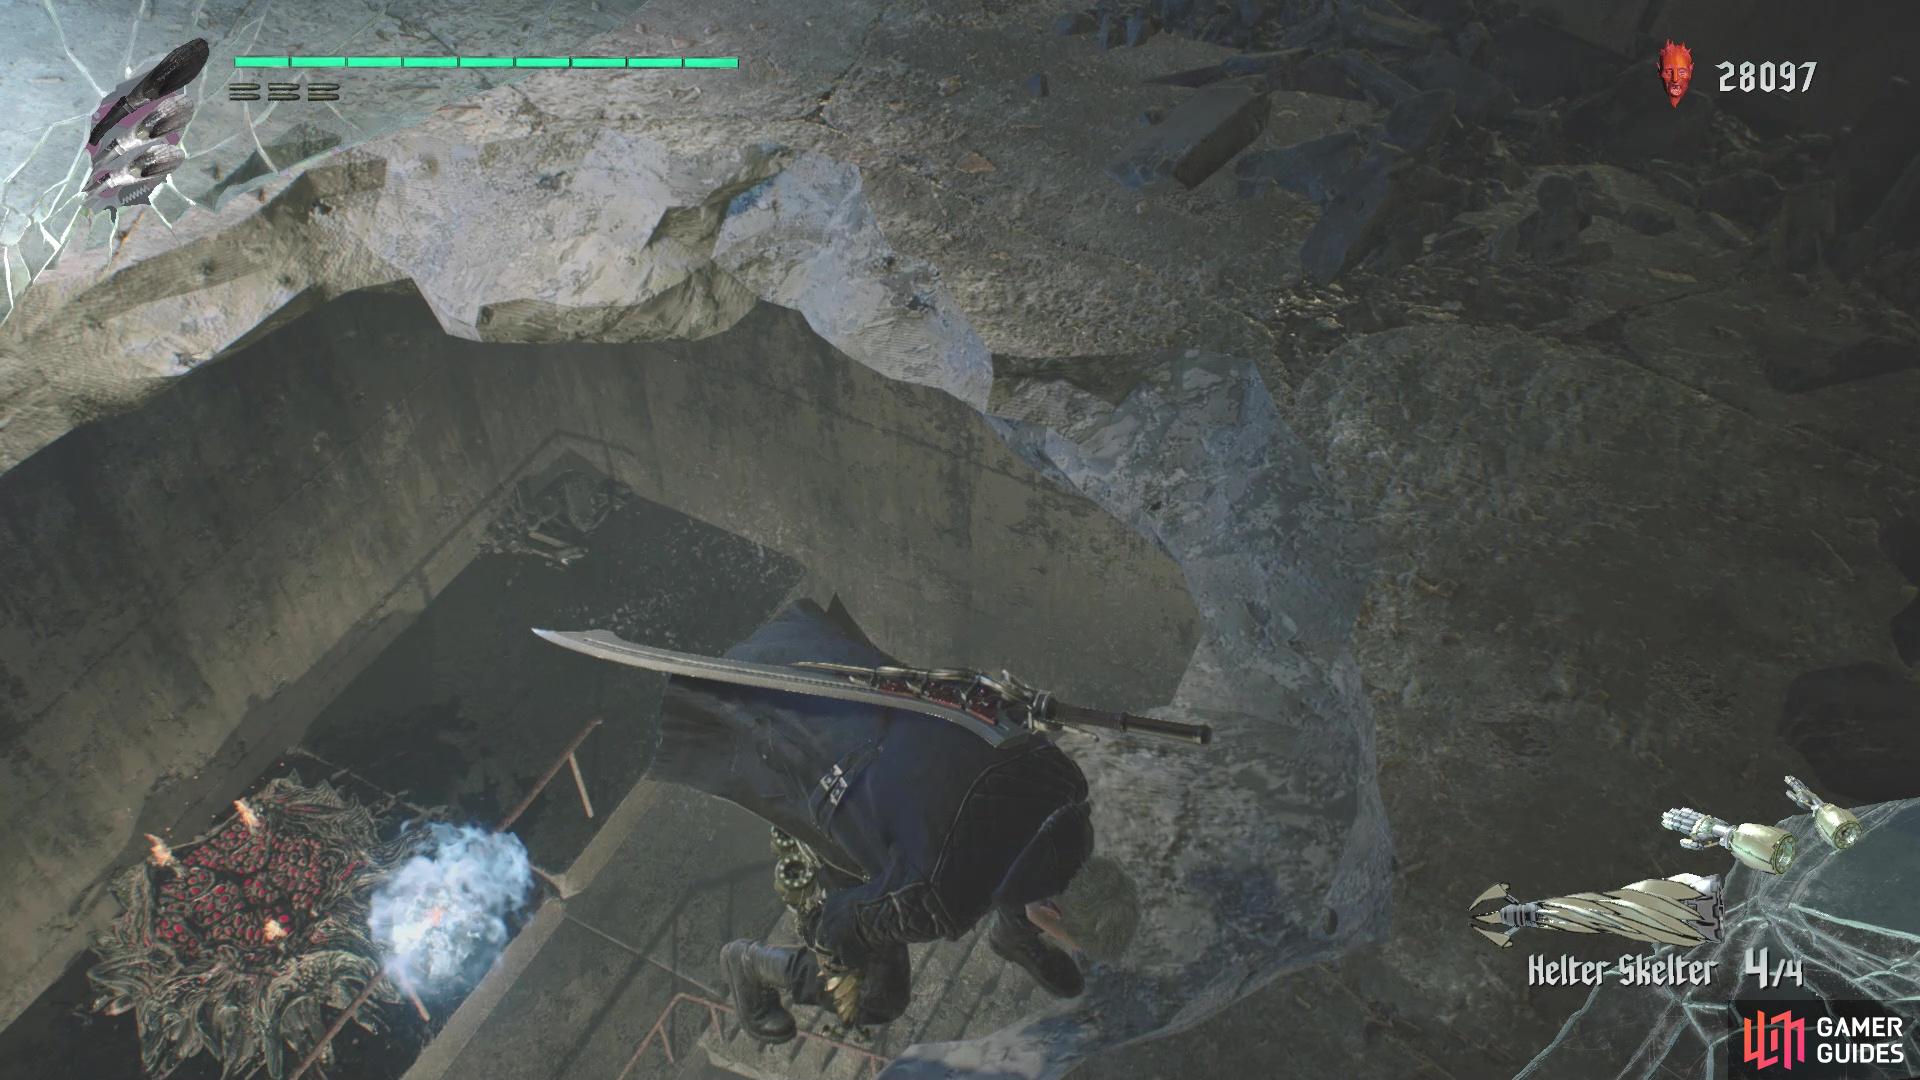
This one is located in the same area as Secret Mission 02 in Mission 03. The Secret Mission is at the bottom of some broken stairwell, so make your way to the top, where you’ll have to wall jump to reach the very top. Use the Grim Grip point at the top to launch yourself through a hole in the ceiling, where the Blue Orb Fragment awaits.
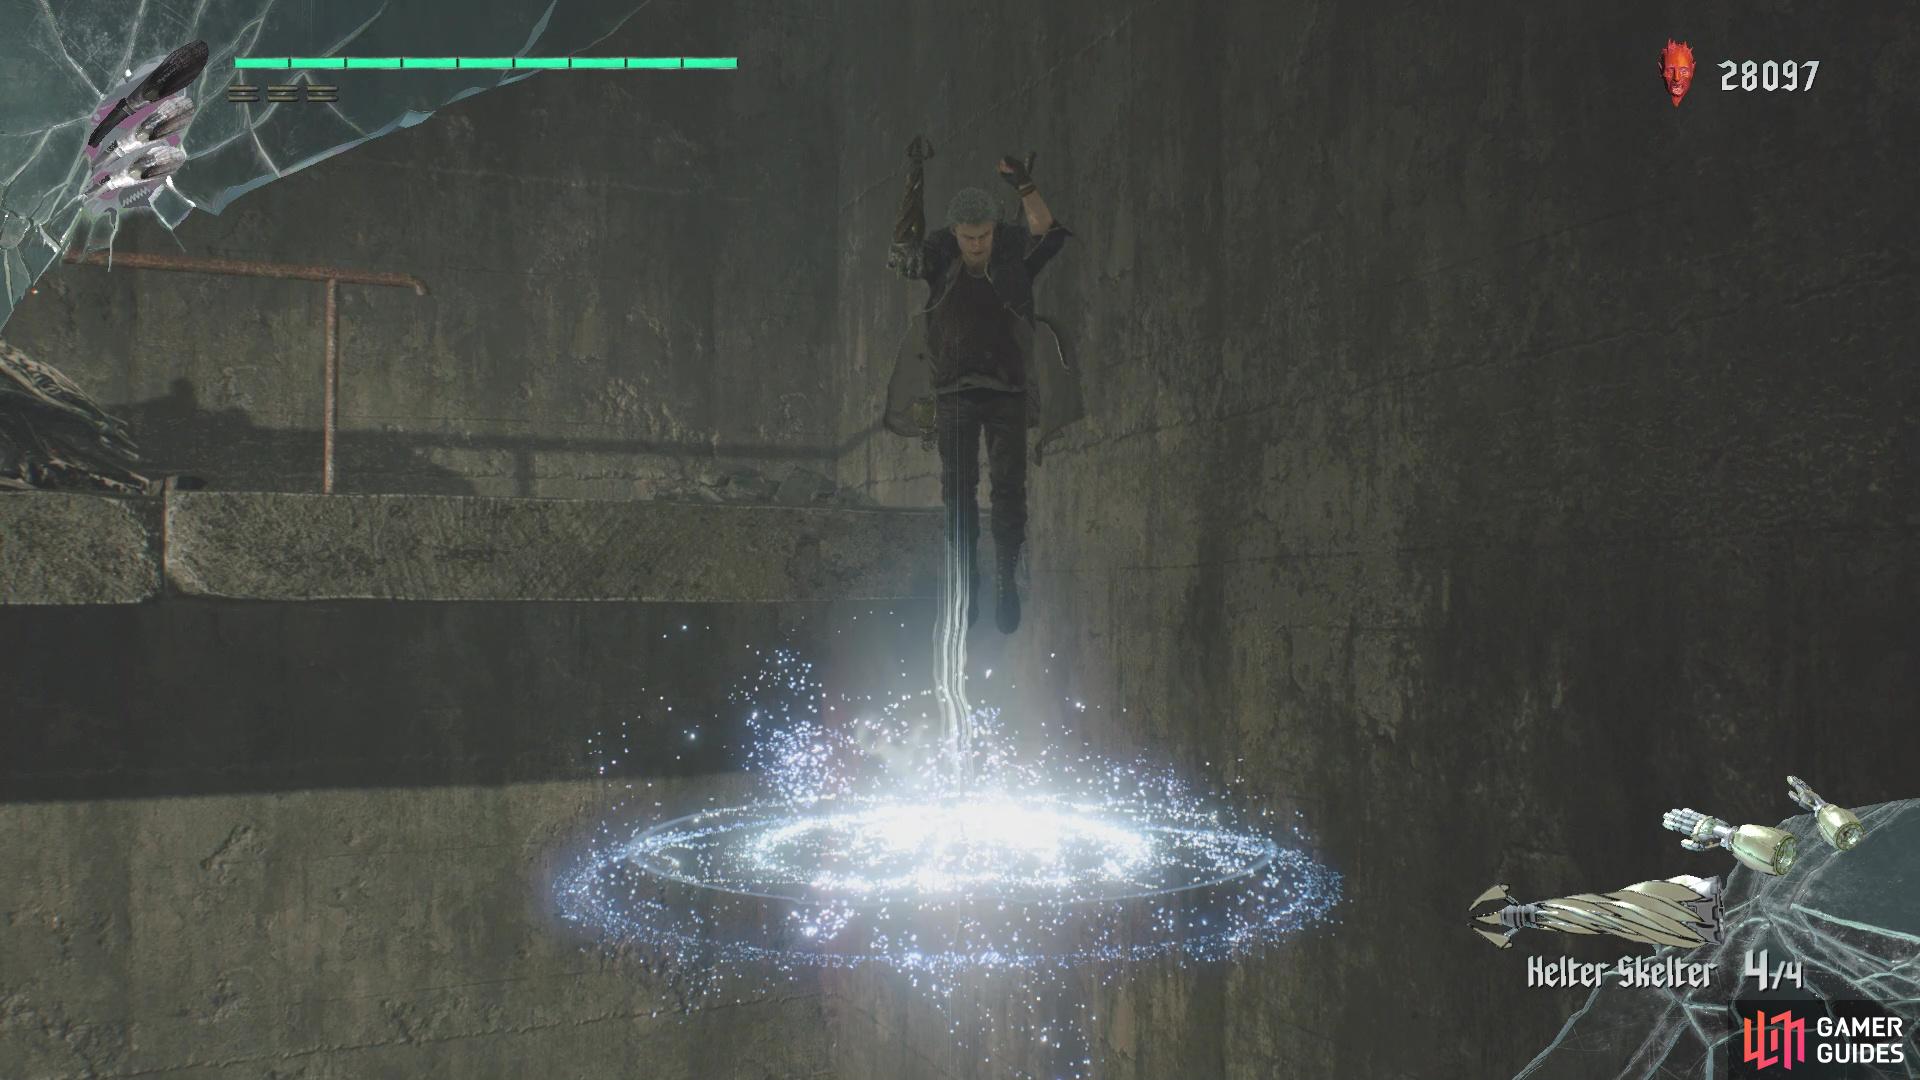
(1 of 2) Double/Wall jump at the top of the broken stairwell
Double/Wall jump at the top of the broken stairwell (left), and use the Grim Grip point to reach the Blue Orb Fragment (right)
Blue Orb Fragment 6
During Mission 04, you will come to a building outside that has a giant mural on it. Summon Nightmare here with V to cause him to bust down the wall; this is the same fight where you’re taught to enhance Shadow and Griffon with your Devil Trigger gauge. Once the enemies are cleared, jump up through the giant broken hole and you will find the Blue Orb Fragment at the top.
Blue Orb Fragment 7
This one is in the same mission as the previous fragment, but you’re going to need two Nidhogg Hatchlings (well, only one is necessary, but the second is for Secret Mission 03 found here). The first Hatchling is located near the beginning of the mission, right before you enter the building with the Purple Orb Fragment. For the second one, grab the previous fragment and drop all the way to the bottom of the building, where you’ll find a secret alleyway with the second Hatchling. Now, continue with the mission until you come to a fork in the road. To the left will be a weakened root where you can place a Hatchling. Do that and the Blue Orb Fragment will be right behind it. The second Hatchling can be placed right next to it and leads to the Secret Mission.
Blue Orb Fragment 8
Near the beginning of Mission 05, you will have to deal with some legs from the giant enemy during normal battles. When you have the second battle with the giant leg, drop off the ledge ahead and turn around to find a hidden room. The Blue Orb Fragment will be in this hidden room.
Blue Orb Fragment 9
In Mission 08, follow the main path until you come to the Divinity Statue that allows you to customize your character. Make sure you purchase/equip a Gerbera here, as well as Air Hike (the double jump skill), as it will be needed to obtain this fragment. Not long after the statue, you will find the fragment staring at you across a large pit. You will need to double jump towards the fragment, then spam the Gerbera dodge maneuver until you reach the ledge with the Blue Orb Fragment.
(1 of 2) You will see the fragment as you go through the level normally
You will see the fragment as you go through the level normally (left), Use Air Hike and Gerbera to reach it (right)
Blue Orb Fragment 10
After finishing up Secret Mission 05 in Mission 08, continue along the main path until you reach another Bloodstream thing. However, don’t enter it just yet, but go around the back of it to find a tentacle there. Destroy it and the Blue Orb Fragment will spawn in front of the Bloodstream.
Blue Orbv Fragment 11
As you make your way through Mission 09, you will come upon a fight with a Proto Angelo, Baphomet and some Pyrobats. Defeat them all and where the main path continues, there is a side path here that is blocked by some roots. Get as close to the roots as possible and summon Nightmare to have to destroy a blood clot behind the roots. The Blue Orb Fragment will be behind the roots, right out in the open.
Blue Orb Fragment 12
Close to where the Purple Orb Fragment is located in Mission 09, there is an exit to that area where you can spot some ledges. Jump on the first one ahead of you, then look around for some more leading upwards. At the top will be a small area with the Blue Orb Fragment.
(1 of 2) Head out this exit and jump on the ledges coming out of the wall
Head out this exit and jump on the ledges coming out of the wall (left), At the top, you will be able to see the fragment on a higher ledge (right)
Blue Orb Fragment 13
At the second spiked doorway in Mission 10, clear out the enemies quickly and go through it. Follow the path until you come to the opening that leads back into the room with the spiked doorway. Don’t jump down just yet, as the platform with the Blue Orb Fragment is just off to the left.
Blue Orb Fragment 14
Inside of the ruined building in Mission 11, destroy the first blood clot to gain access to two more. Destroy both of those and an area will open up nearby, where the Blue Orb Fragment will be in plain sight.
Blue Orb Fragment 15
Once you reach the bloody fountain puzzle in Mission 12, you will have to journey through some rooms to break blood clots and release a stream of blood. In the area where you have to fight a Behemoth and an enemy Spawner, make your way to the blood clot just beyond there and destroy it. This will leave a small hole in the wall, so pass through it and immediately look up and to the right to spot a ledge above you. Jump up there to find the Blue Orb Fragment.
(1 of 2) Destroy this blood clot and pass through the hole it creates
Destroy this blood clot and pass through the hole it creates (left), then look up and to the right to find a hidden spot that leads to the fragment (right)
Blue Orb Fragment 16
You will find this fragment in the alternate world in Mission 14, where you have to refight some bosses. It is on a rock formation off to the side of the room, but you can’t reach it by jumping up to it. Instead, you’ll have to come from an adjacent rock formation, where you have one of two options. There is a floating rock in the between the two formations, so it will be an annoyance. Note that you when you first come to this area, you won’t have access to your pets, as you have to defeat the bosses to regain them. Anyways, you can double jump from the formation with the Red Orbs and aim a Gambit to the one with the fragment. Alternatively, wait until you regain Griffon and use him to glide over to the Blue Orb Fragment.
Blue Orb Fragment 17
There are a lot of different paths to take in Mission 15, but the one you want for this fragment is behind the first Divinity Statue you come across. The game will give you a Punch Line Devil Breaker and introduce you to riding it. That’s the intended way to get through this section, but it’s also possible to just use Gerbera to get past all the steep inclines. At the very top, there is a spiraling ramp that goes to a ledge above where Secret Mission 11 is located. You can actually double jump and use Gerbera to boost over to the ramp, then use it to get to the top and to the Blue Orb Fragment.
Blue Orb Fragment 18
After the second split paths section in Mission 15, they will join back together and you will fight a Baphomet and two Hell Cainas. By the exit in this room will be a Grim Grip platform, which you can use to reach a path above you. Do this and follow it to another fight, this time against some Hell Cainas and Hellbats. Defeat those and follow this path to the end for the Blue Orb Fragment.
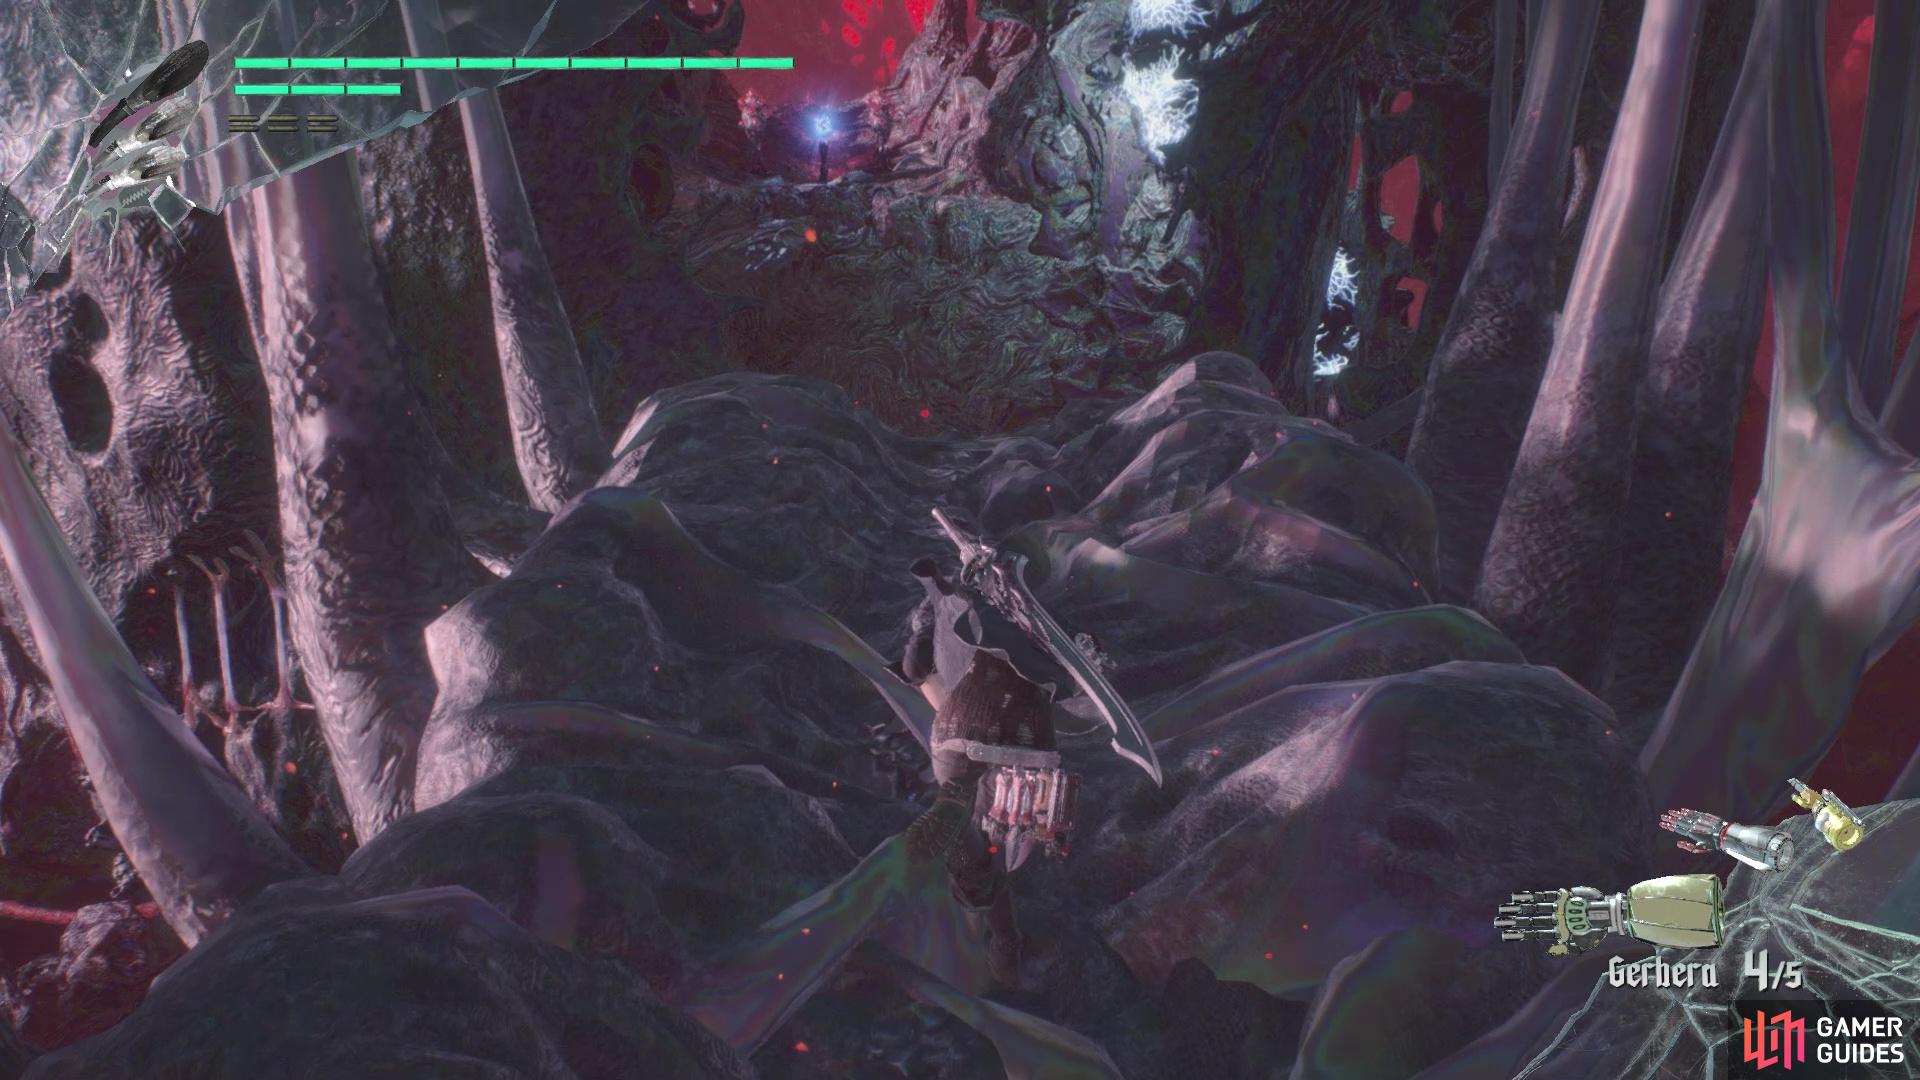
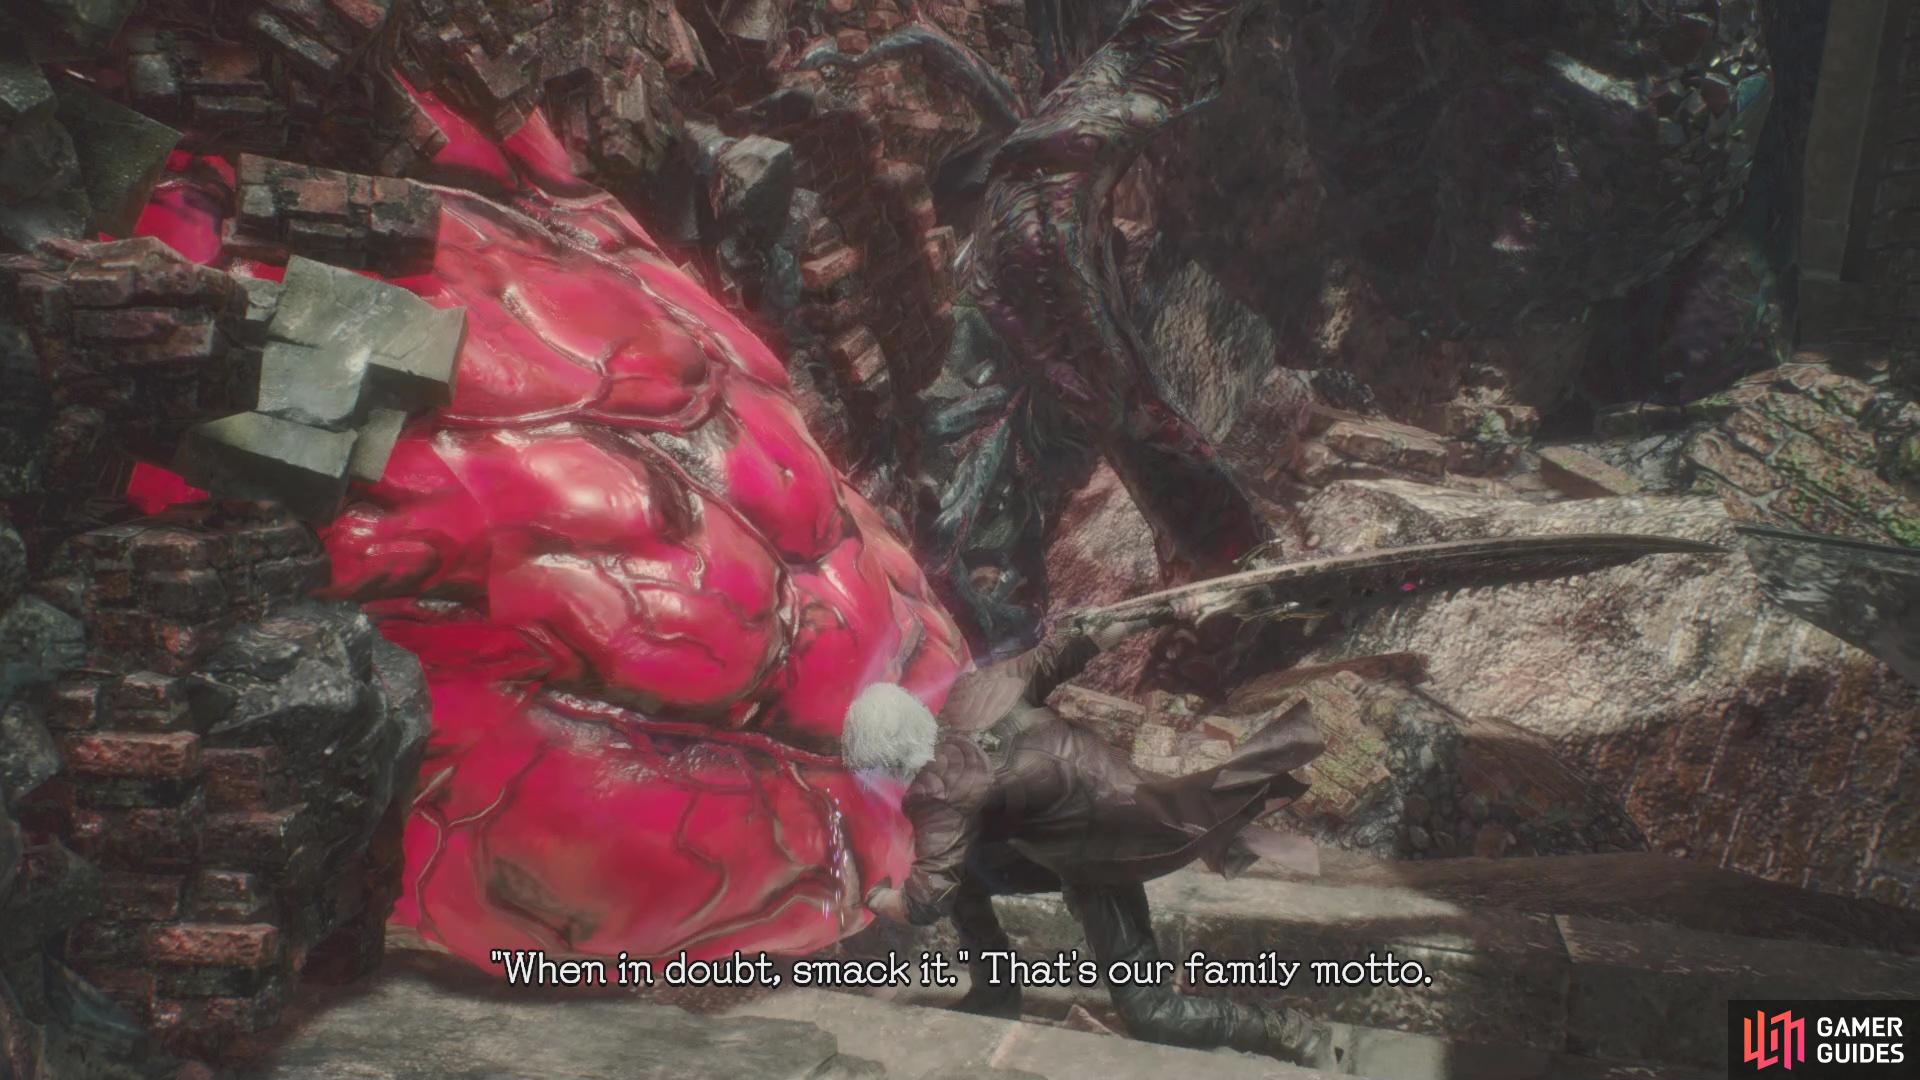
Blue Orb Fragment 19
In Mission 16, you will come to a split path, with one being an opening at the other end of a giant hole. This is where you want to go (down the hole), so head there and follow the path until you eventually see the fragment opposite of another big hole. Reaching it with a normal double jump and Trickster dash isn’t going to cut it. However, there is another method that you can use to gain some distance, which is with the sword’s Stinger move. Performing this near the edge will cause Dante to do a long jump, while still maintaining a double jump and the Trickster dash. Do this to reach the Blue Orb Fragment.
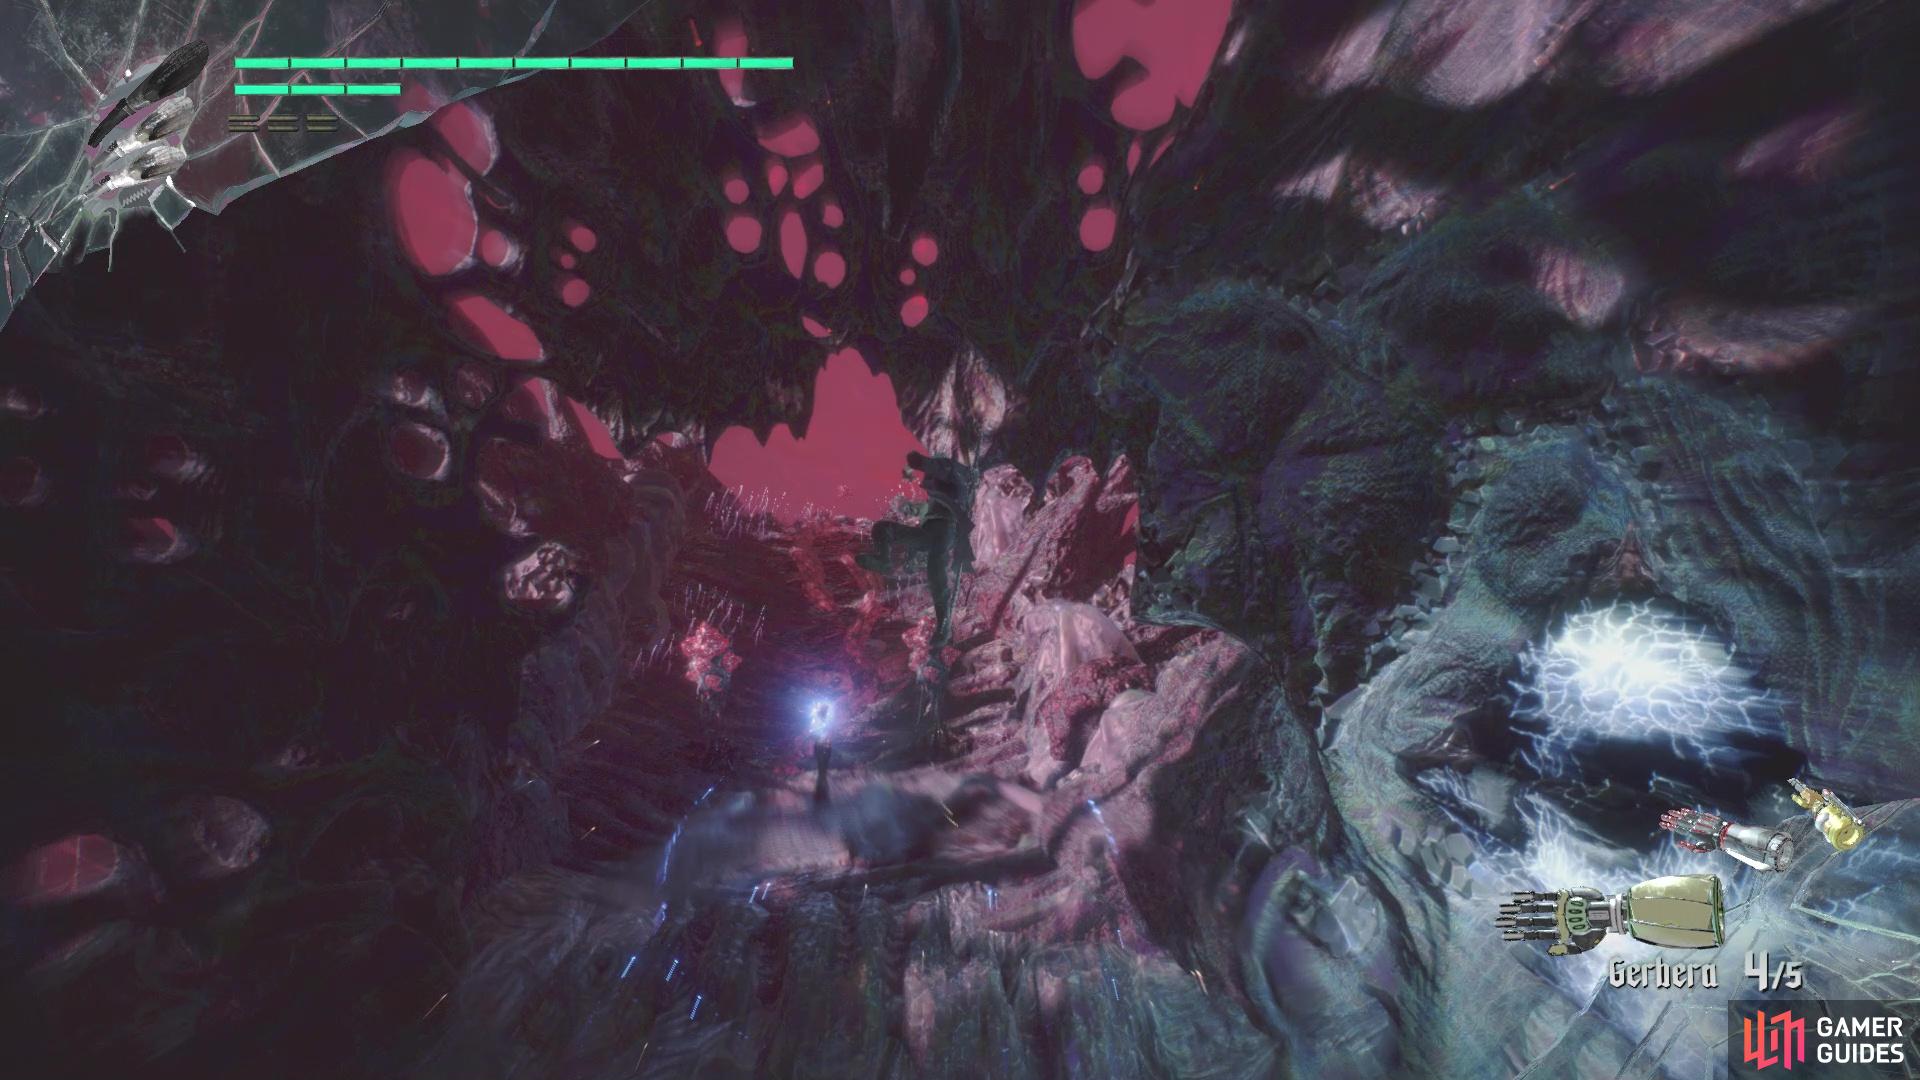
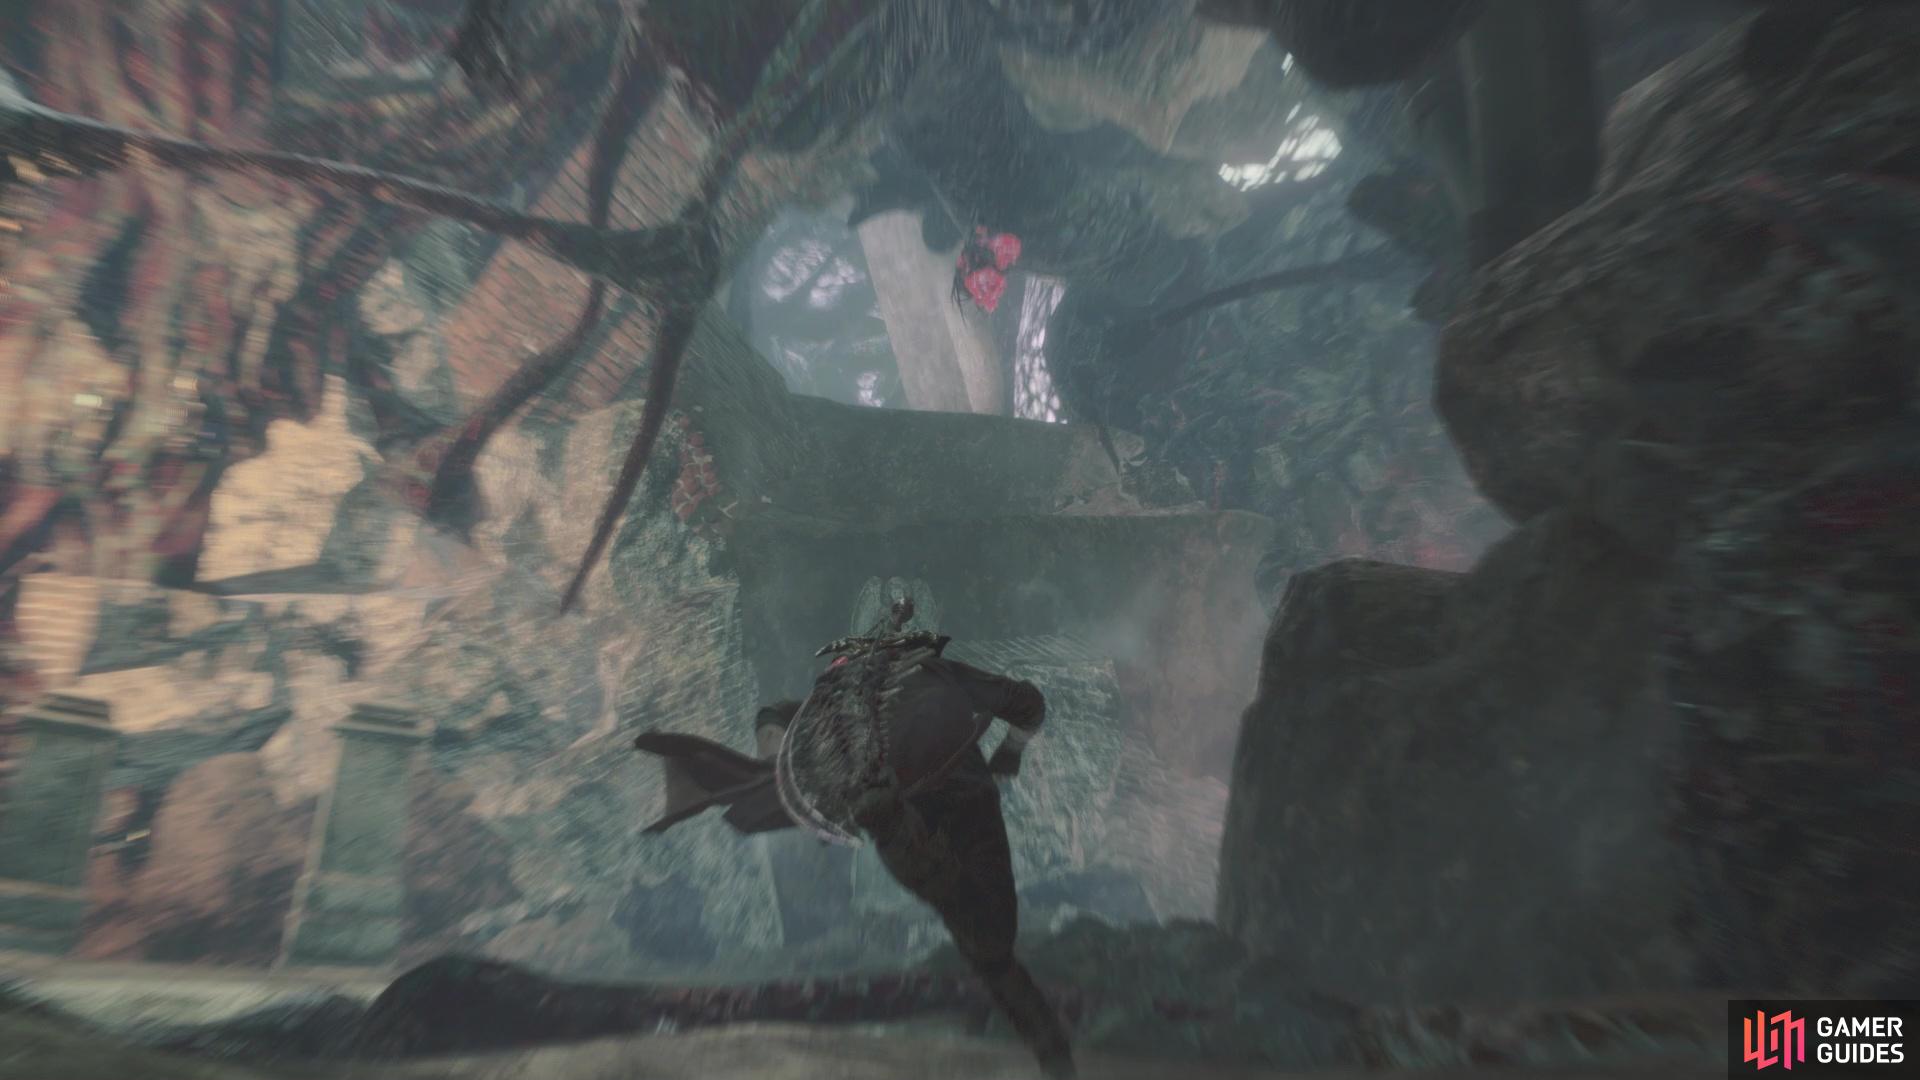
(1 of 2) The fragment will be on the far ledge shown in the image
The fragment will be on the far ledge shown in the image (left), Doing a Stinger near a ledge will get you a long jump (right)
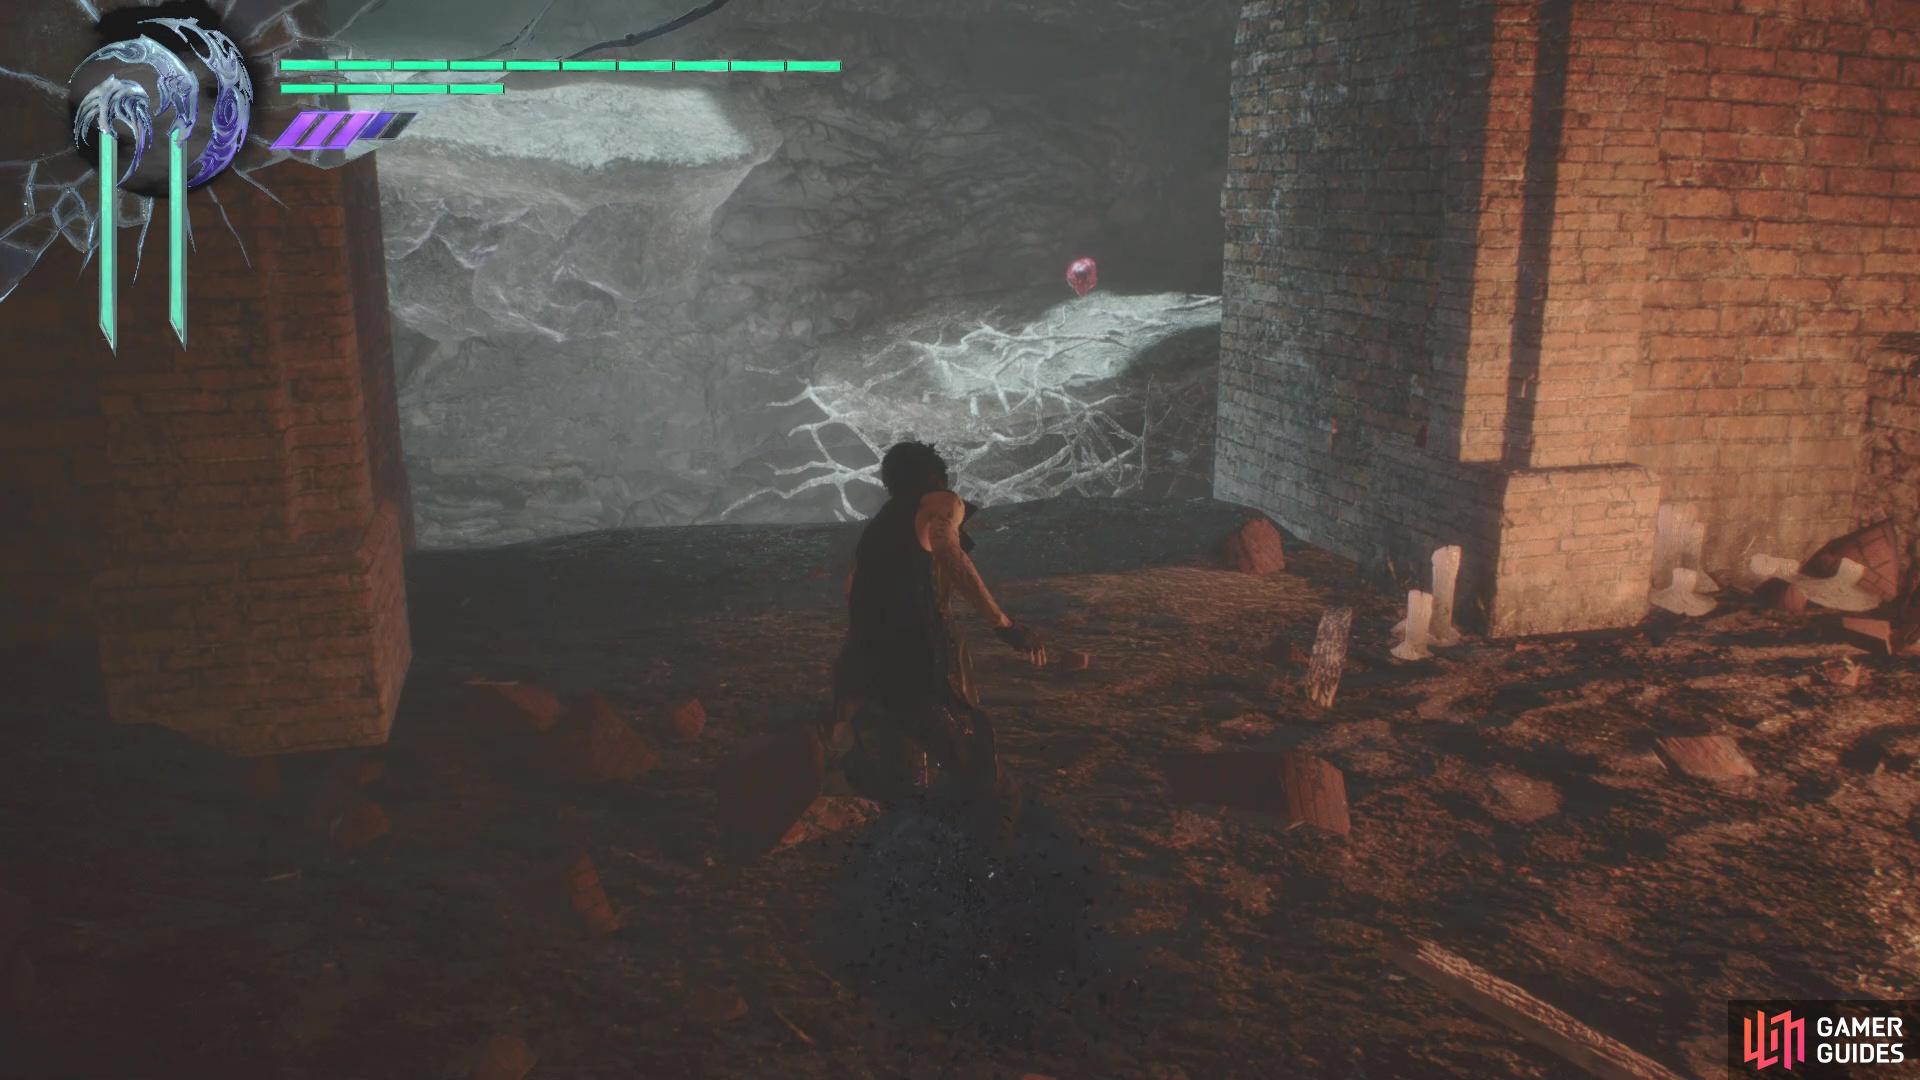
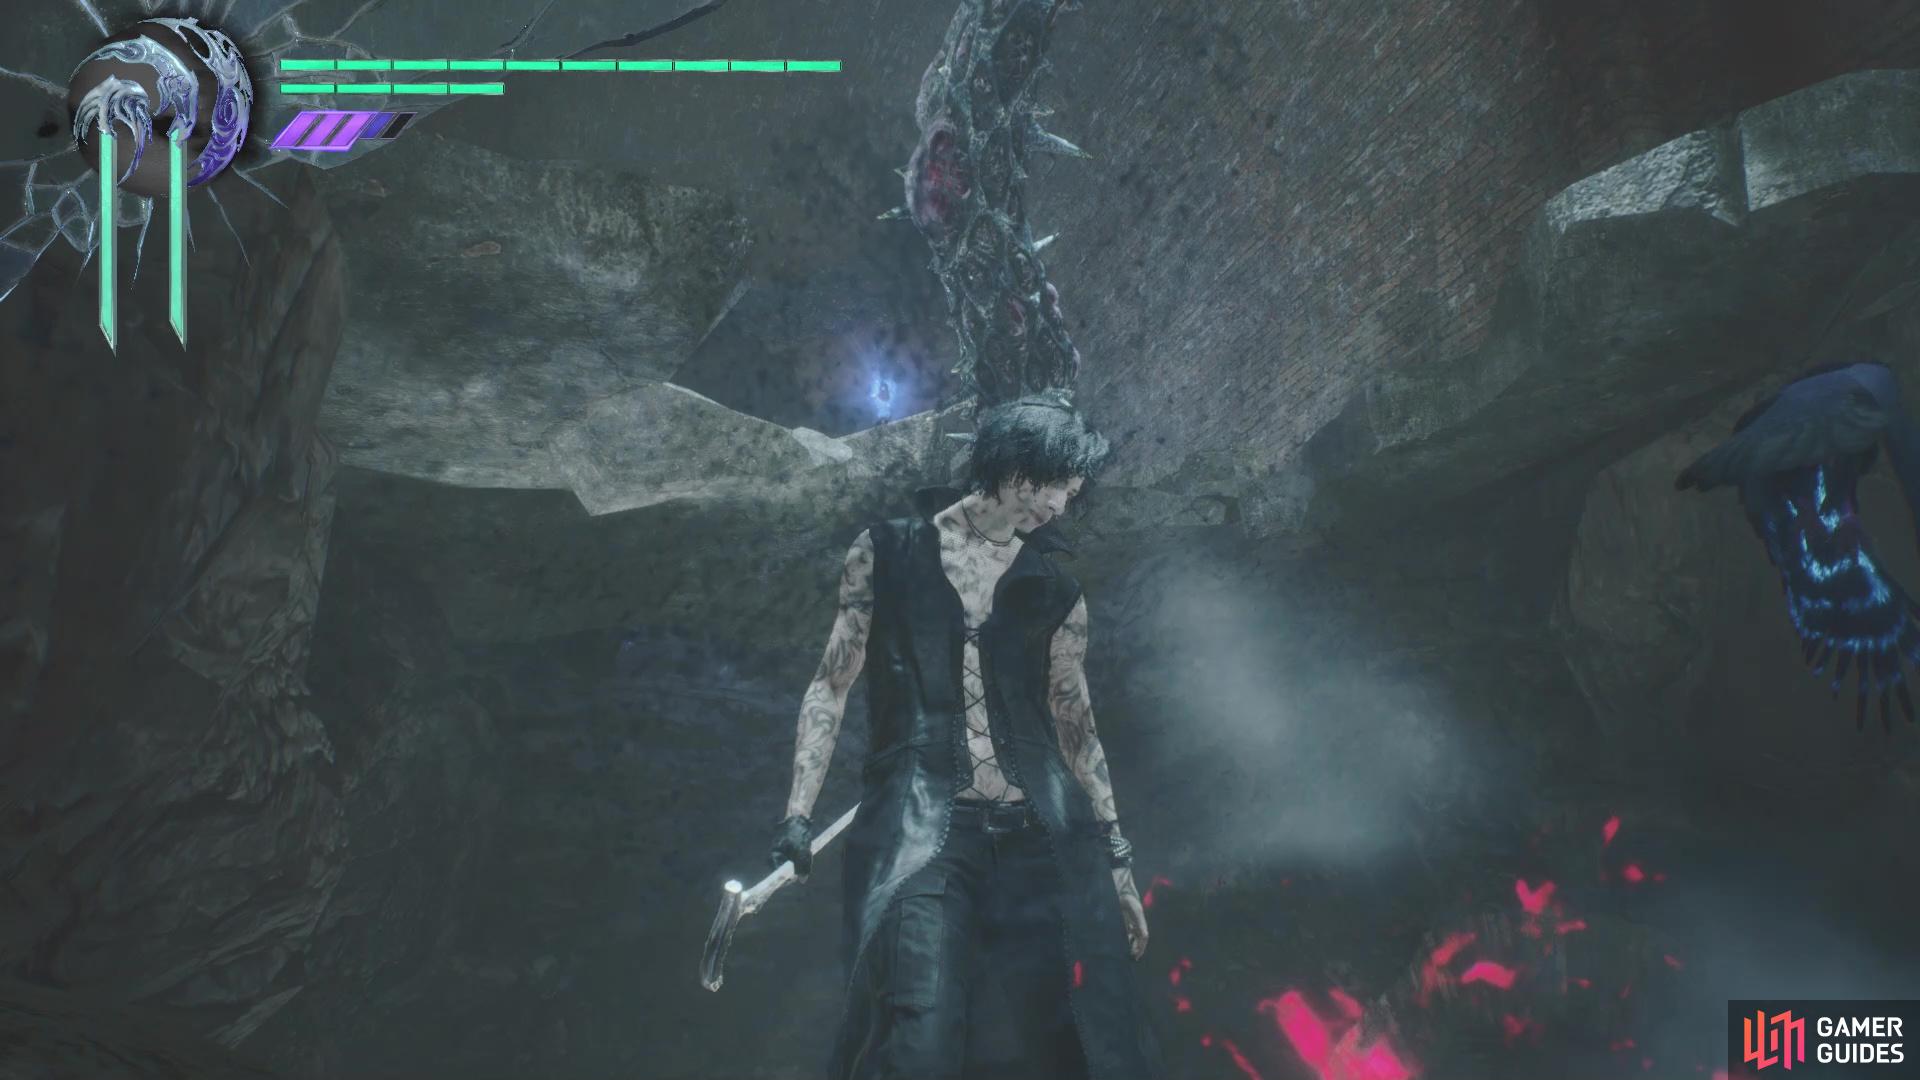
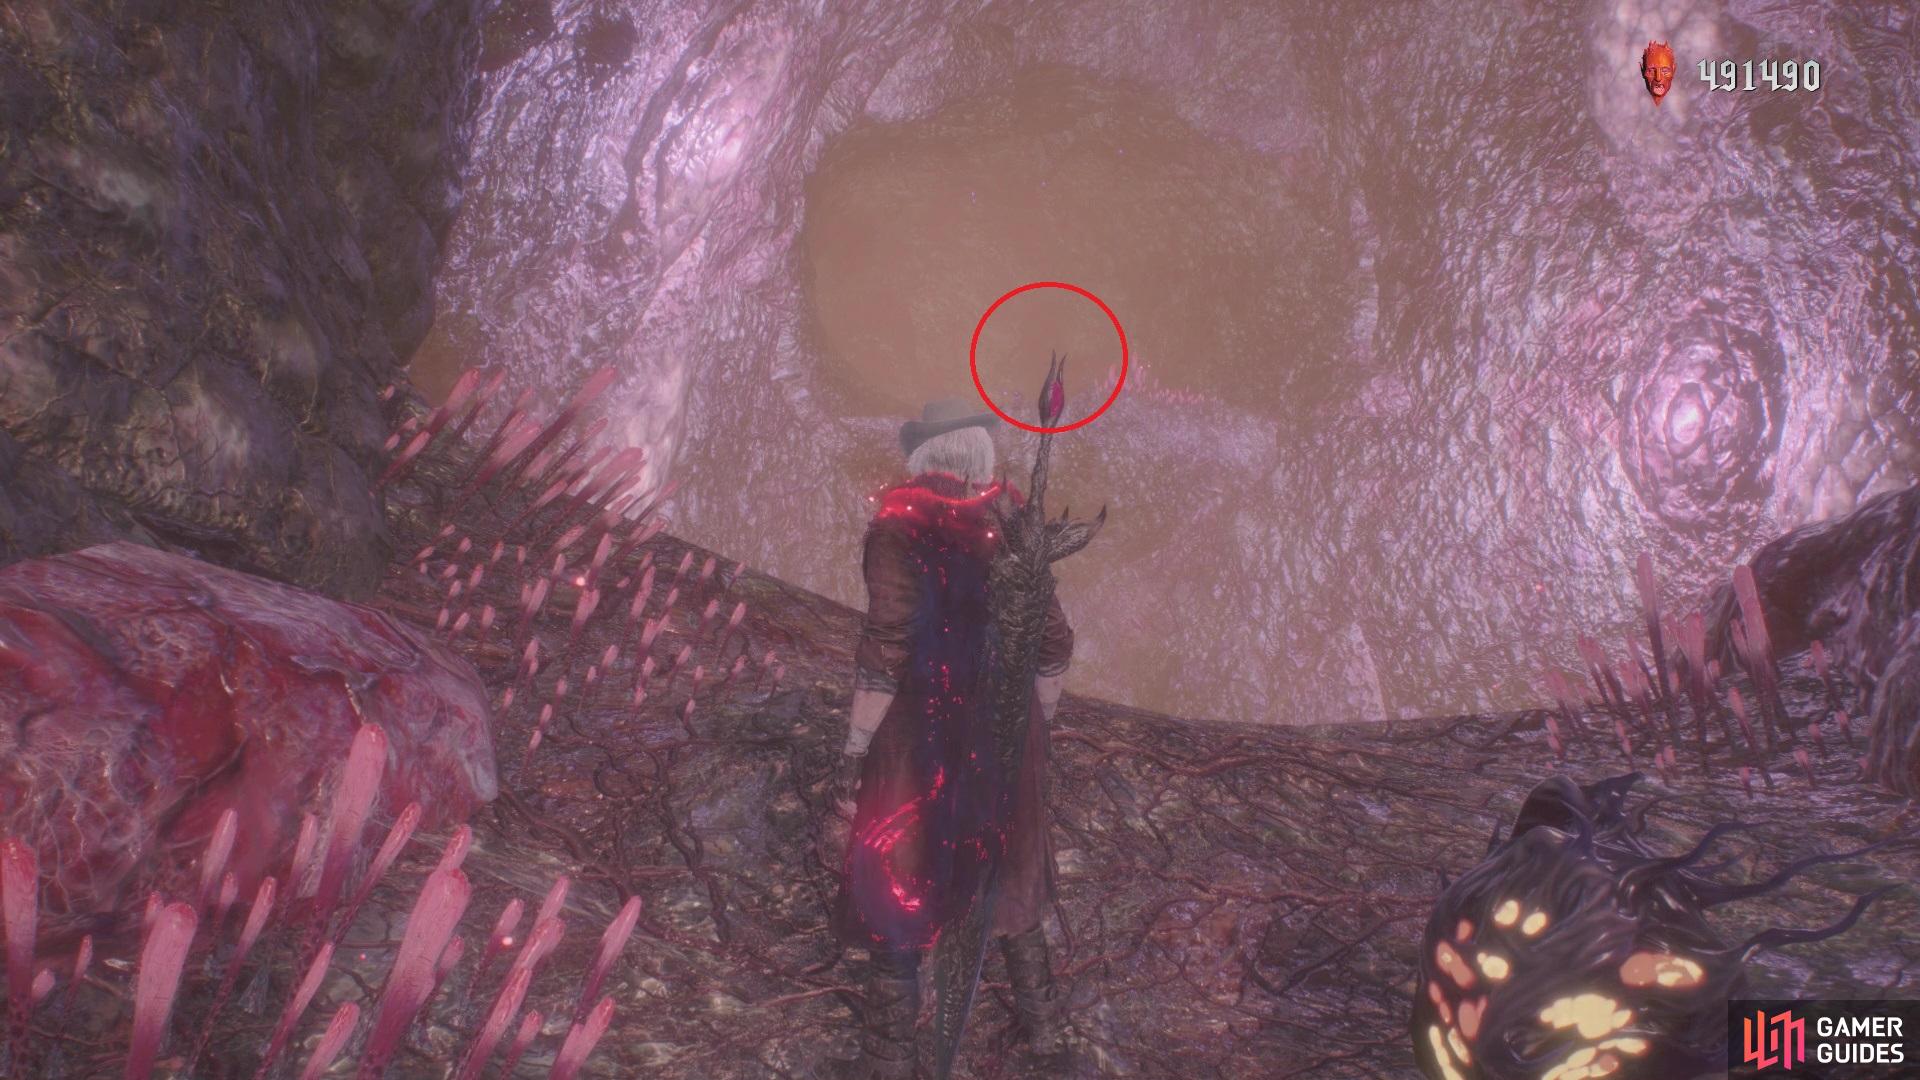
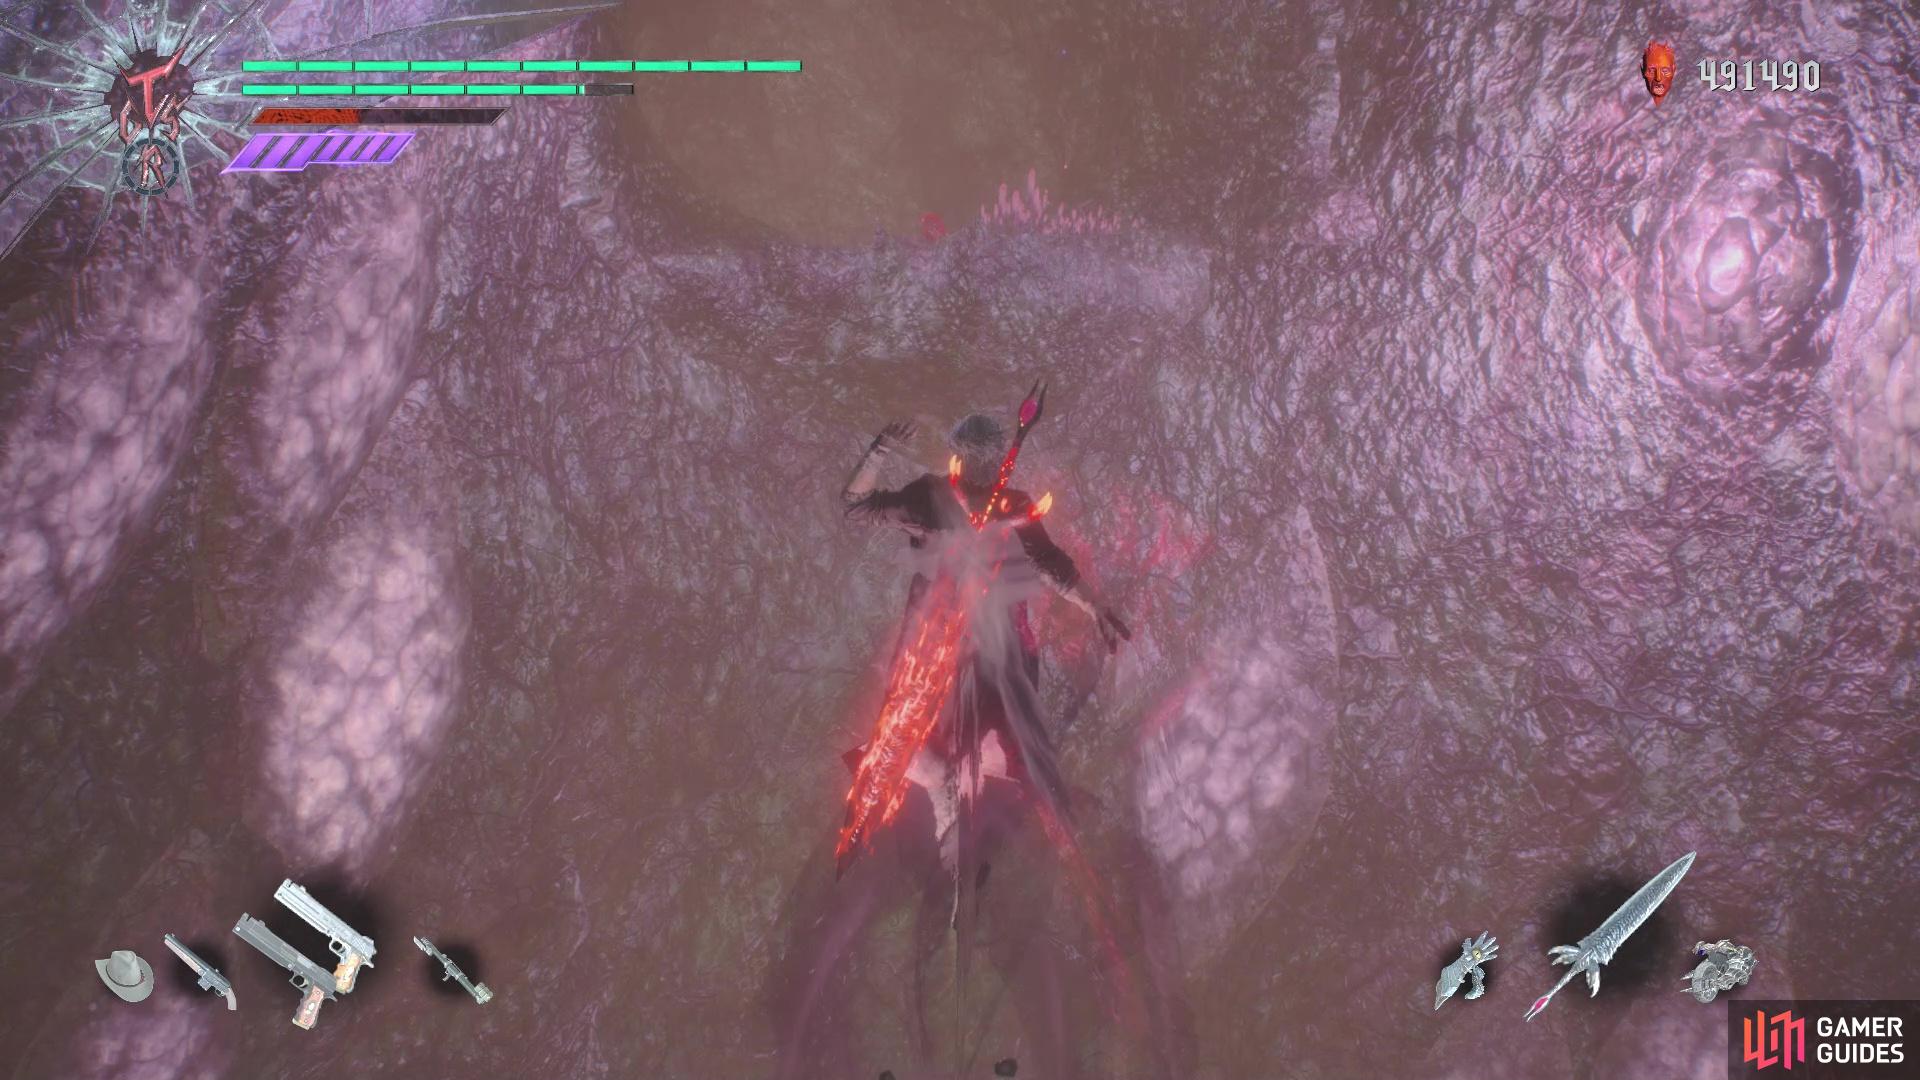
Blue Orb Fragment 20
The final fragment can be found in Mission 18. Continue through the mission normally until you find the spot where three Red Empusas spawn. You have to make sure that you defeat all three of these before they’re able to escape. If one does manage to escape, you’ll have to restart the mission from the beginning, as they don’t normally respawn from the checkpoint. Defeat all three Red Empusas and the Blue Orb Fragment will appear.

 Sign up
No Comments