
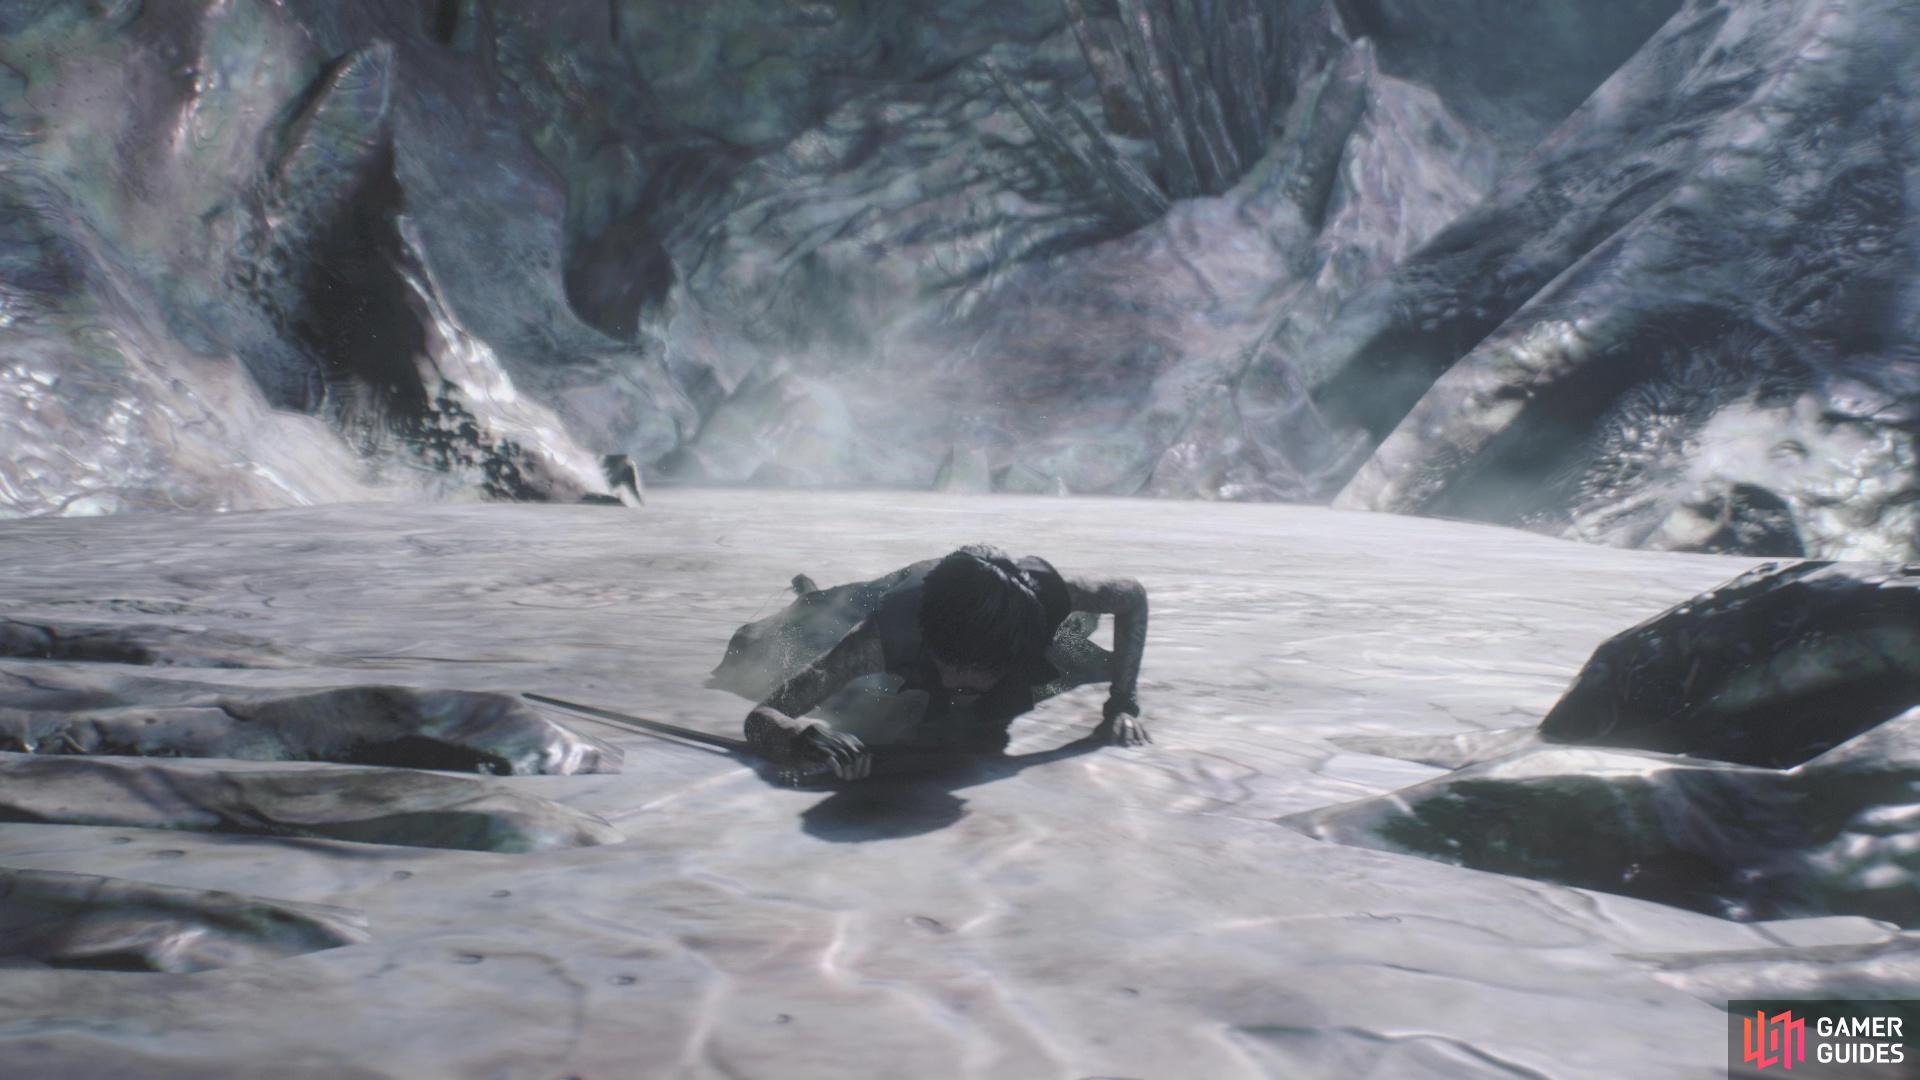
You’re back to controlling V during this mission and there is nothing in the beginning, so just follow the main path until you reach a suspicious looking area with a bunch of strange purple-colored rocks. A cutscene will occur and when you regain control of V, you will be in some kind of alternate world or something, without your familiars at your side. There is a door behind you that is locked, as well as what looks like three portals straight ahead of you. Feel free to run around and pick up the Red Orbs scattered around the place, but be mindful to avoid any green or white orbs for now.
The three portals will lead to boss rematches that you fought with other characters, although you will have the option to choose one of your familiars to get back before you actually face the boss. When looking at the portals, you have Cavaliere Angelo on the left, Artemis in the middle and Goliath on the right. Considering that Goliath is probably the easiest of the three, let’s start with him. Of the three pets you have, you should probably choose the melee one for Goliath, which is Shadow. You can walk up to each orb and look to see which one is which.
Goliath Rematch
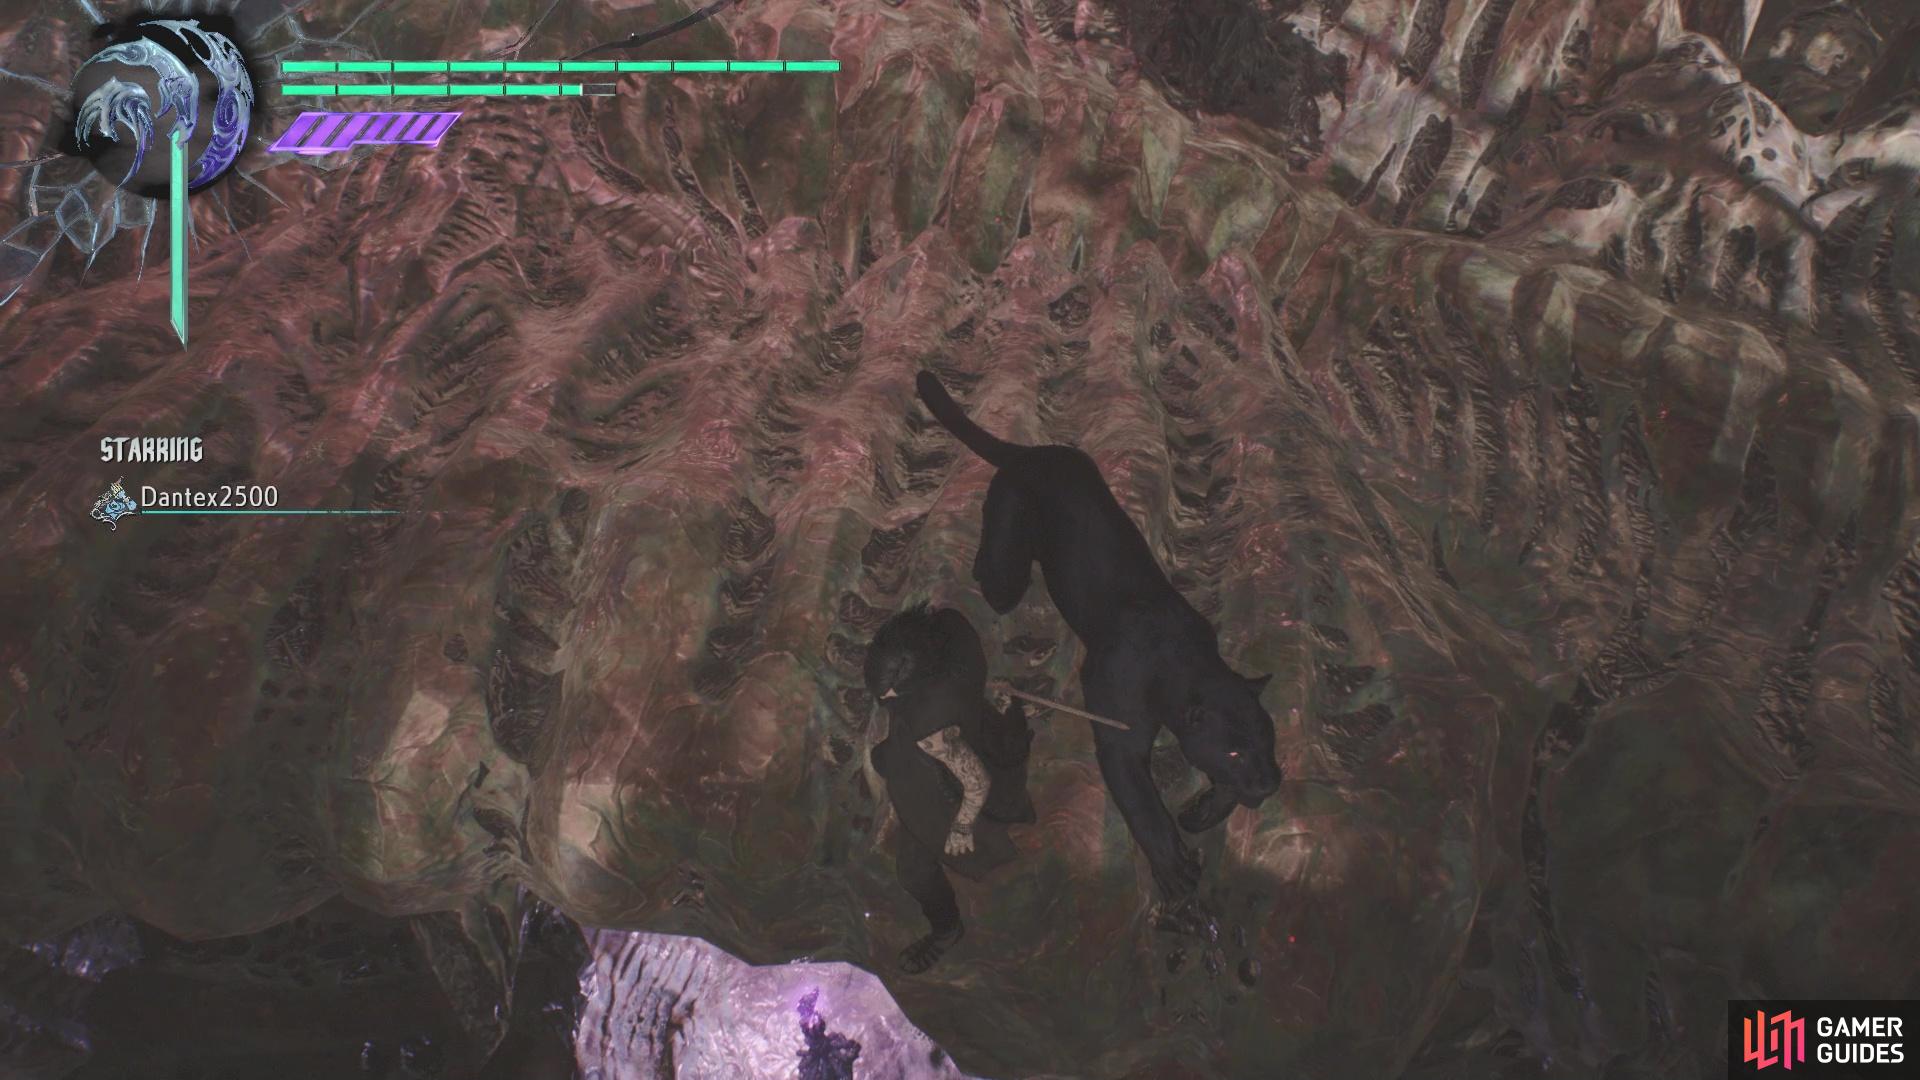
The rematch with Goliath isn’t any different than the first fight with him in Mission 02, so feel free to visit that page to see his attacks. Hopefully, Goliath will track Shadow from the onset, although you may see the big beast come after you at first. The one attack you want to watch out for is the giant fireball he shoots, which is easy to tell is coming because his stomach will glow before it happens. Note that since you lack Nightmare right now, you can use your DT gauge to make Shadow auto-attack on his own. Shadow’s air attack can dish out a lot of damage, but make sure you keep him from perishing by dodging and bring him back to you.
Upon defeating Goliath (don’t forget the cane at the end), it’s time to pick another boss rematch. Considering Cavaliere Angelo is the toughest out of the remaining bosses, let’s go with Artemis next. Since Artemis is quick on her “feet” and moves around a lot, it only makes sense to pick Griffon as your next familiar to free.
Artemis Rematch
As you remember from the battle with Artemis in Mission 03, she moves around a lot, which means that Shadow is going to be mostly useless here, although you’ll want to keep him back for dodging. Thankfully, you should have picked Griffon as your second familiar, which means you can fight range with range. Artemis will have all of her moves from the former fight, so expect to see a lot of charges in this one. Griffon’s Flank Attack can make short work of Artemis, plus it can sometimes stun her, so make that move a priority, unless Griffon’s health is low.
(1 of 2) You can see the Blue Orb Fragment off to the side, on top of one of the rock formations
You can see the Blue Orb Fragment off to the side, on top of one of the rock formations (left), Gambit is the harder of two options in reaching the fragment (right)
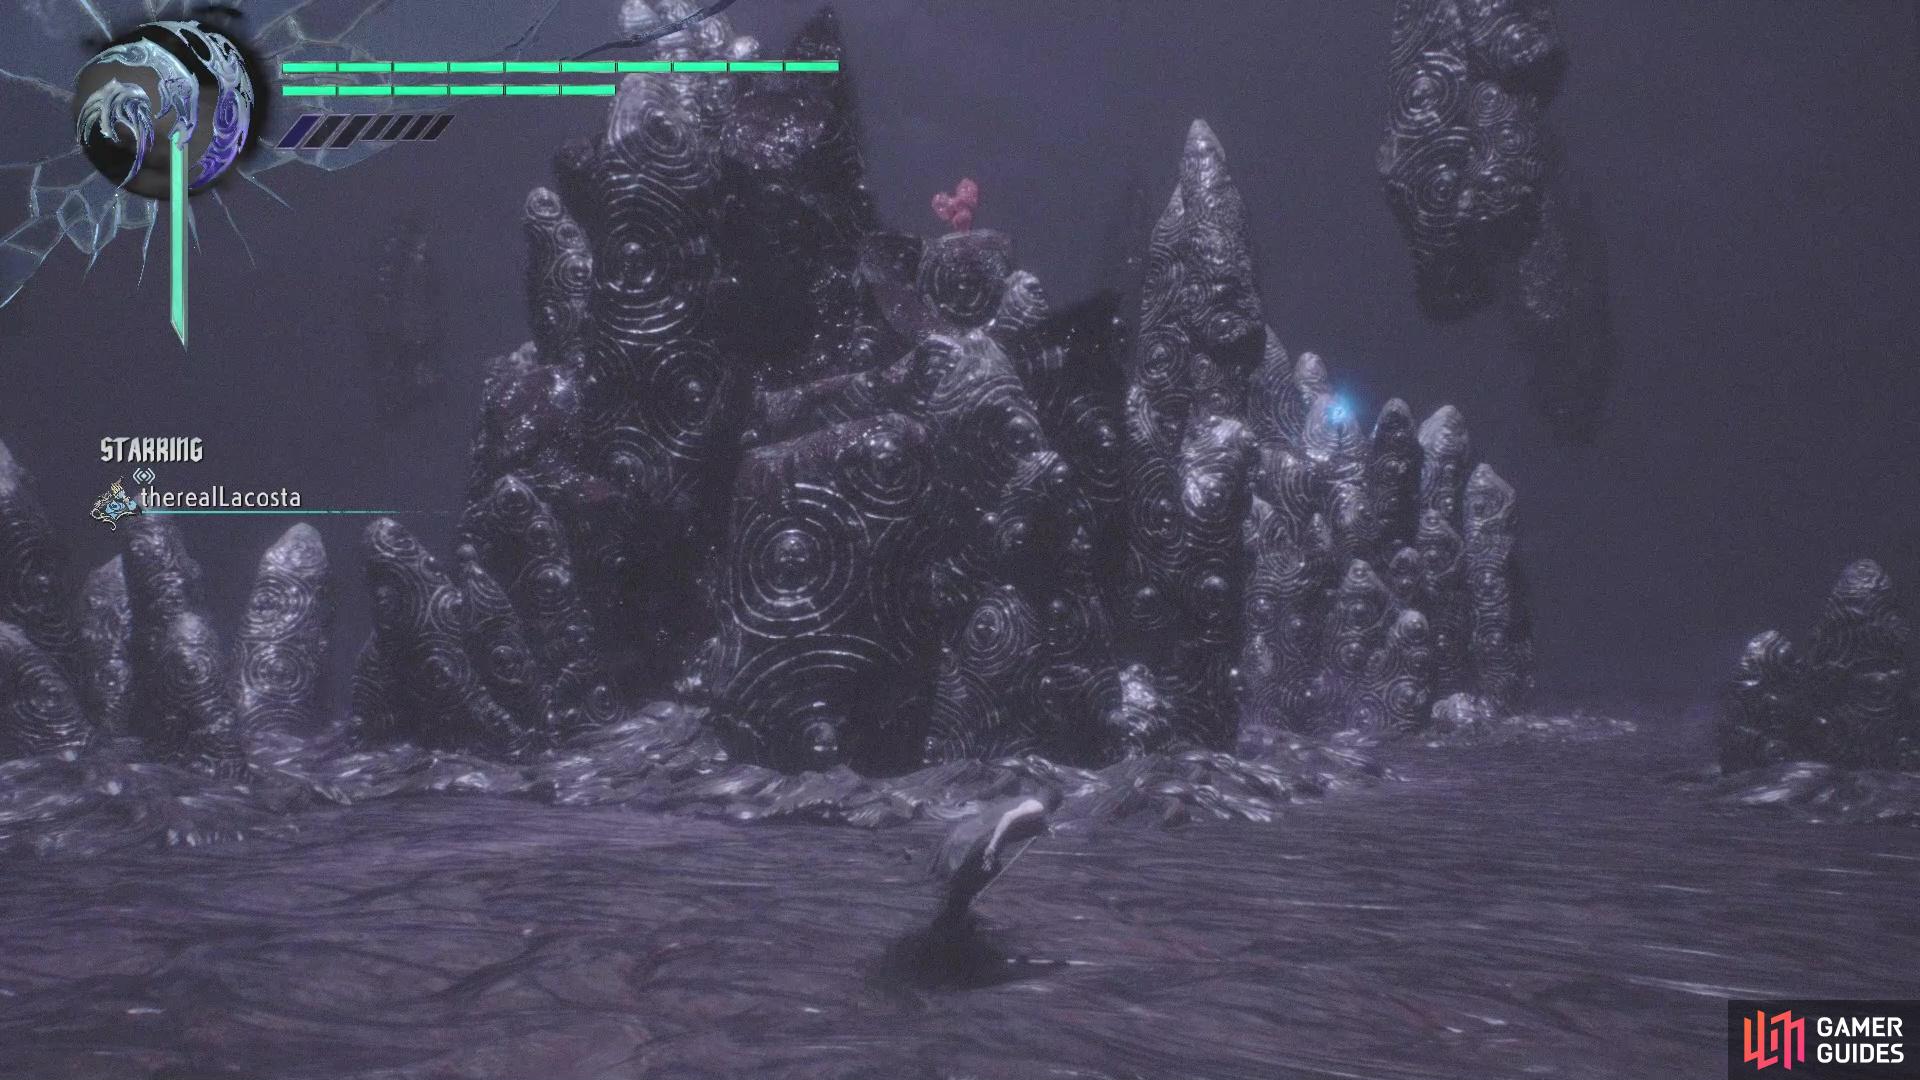
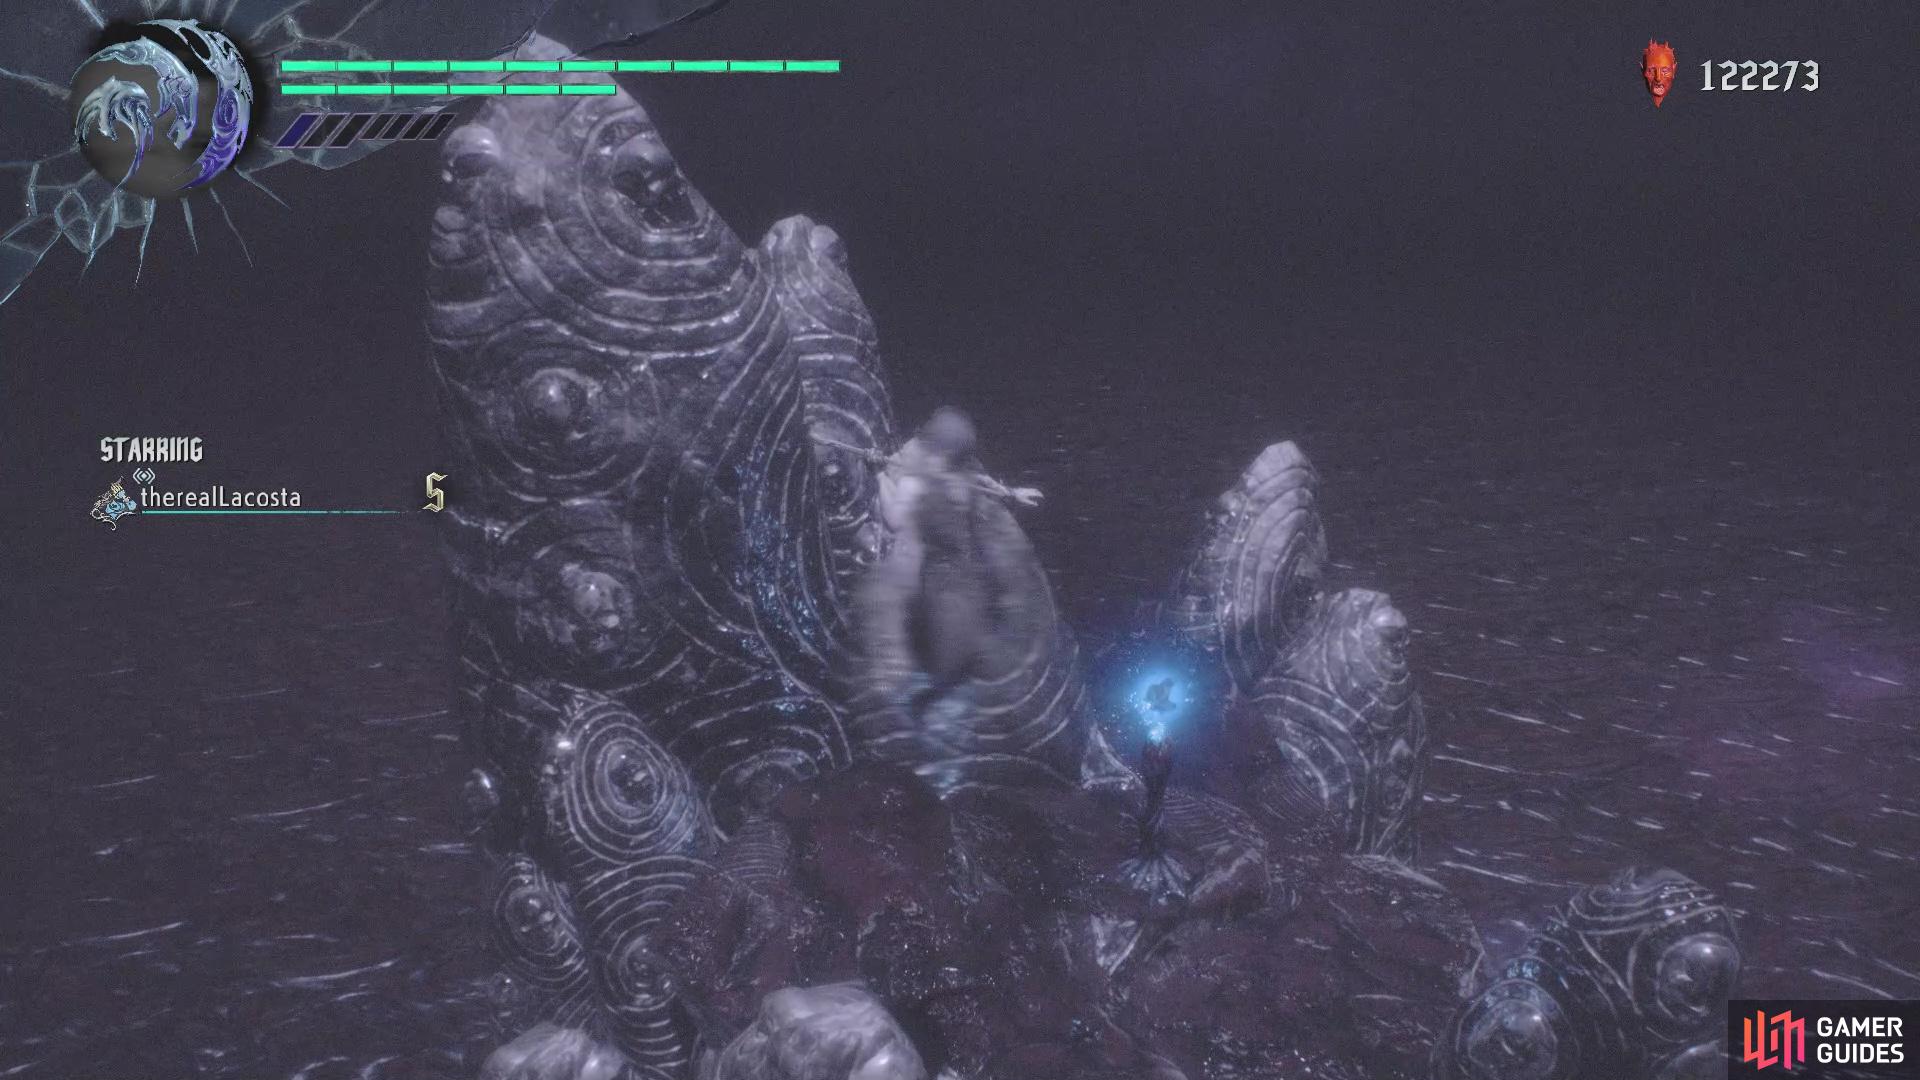
That’s two bosses down and only one more to go, but there’s something else to grab in the room before diving into Cavaliere Angelo’s portal. While facing the boss portals, look to your right and you might notice a Blue Orb Fragment on top of one of the rock formations. Look for the other formation nearby with Red Orbs on it, and wall jump to some ledges where you can stand. You will notice that there’s a floating rock in between this one and the one with the fragment on it. Get as close to the edge, double jump towards the fragment and glide with Griffon all the way until he drops you; this should get you the Blue Orb Fragment.
Cavaliere Angelo Rematch
The final boss rematch, despite looking like it might be a challenge, can be considered one of the easier ones, especially since you will have all three of your familiars with you. First and foremost, keep an eye on Angelo’s actions at the beginning and if he comes towards you, then sic Shadow on him while keeping an eye on his health and pelting him with Griffon. Should he teleport away at some point, focus on dodging any and all attacks before resuming your melee assault. At some point, while he’s distracted with Shadow, summon Nightmare and just go to town on him. Hopefully, he doesn’t teleport too far away and sticks close, as pounding on him with all three pets will knock him out in no time.
With all three boss rematches down, the door you saw earlier in the main room will now be open, so take it to return to the original area before you were teleported here. Follow the main path until you witness a cutscene, then head a little more to come to a fork in the road. The right one will bring you to a blood clot, so destroy it and take the other path. As soon as you start moving on this one, look for a hole on the right side that you can drop down into, where you’ll find a Purple Orb Fragment.
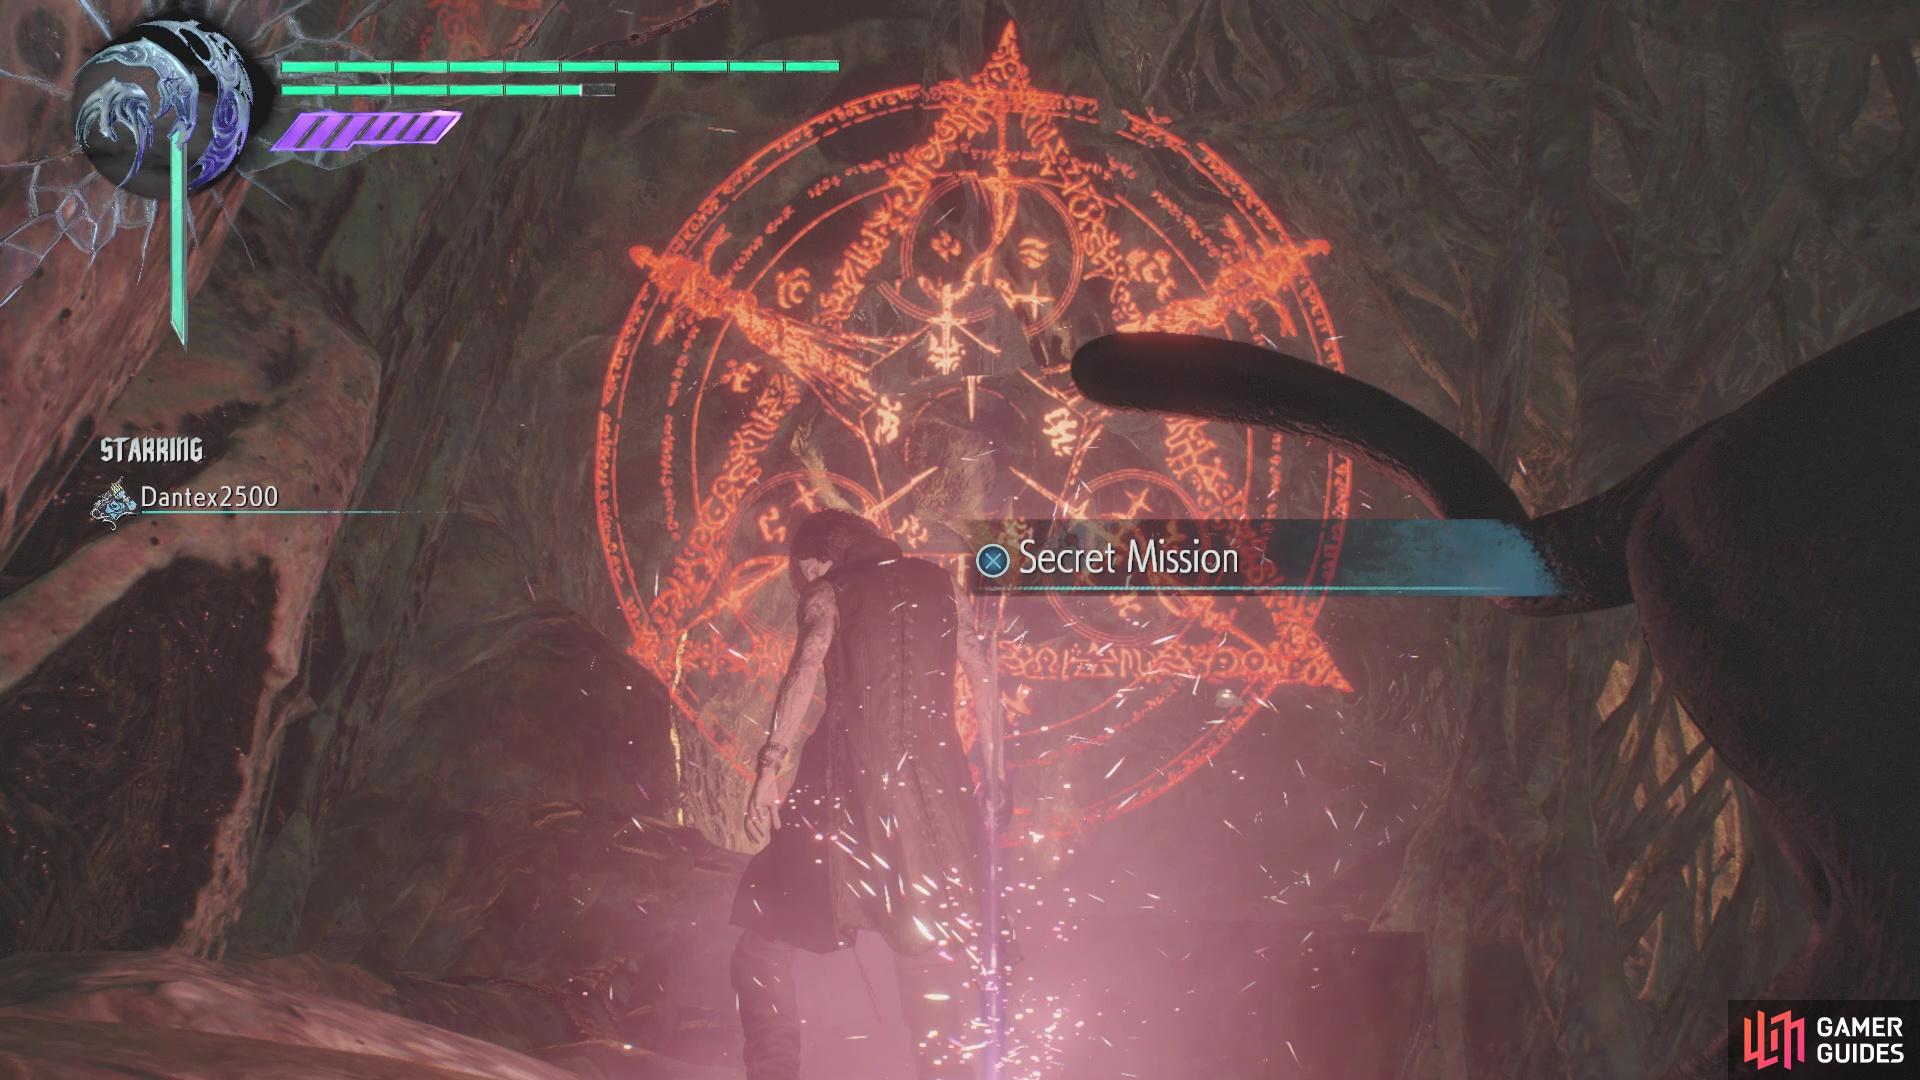
Return to the main path and keep going to find some roots blocking you, but there is a side path here that leads to another blood clot. While the game’s camera will turn back towards where the roots were, there is a hidden area behind that blood clot. It is here that you will find the familiar red glow that will begin another Secret Mission.
(1 of 2) Look over the edge at the fork to find a Purple Orb Fragment
Look over the edge at the fork to find a Purple Orb Fragment (left), The red glow for the Secret Mission is behind the last blood clot (right)
Secret Mission 10
Your goal for this Secret Mission is to get to the goal (the Blue Orb Fragment) without touching the ground. There are two methods to try and secure this fragment, one of which involves Nightmare and the Promotion skill. Jump off the ledge and summon Nightmare, then trigger the Promotion skill to ride on him. Provided you have enough DT gauge left, you should be able to walk to the goal. The other method is a bit trickier, as it utilizes the momentum from your cane swings in the air to gain some distance. Jump off the ledge, holding forward the whole time, and press Circle/B while in the air to swing your cane. Keep doing this until you start losing height (preferably once you can clear the ceiling ahead), then use Gambit (R1/RB + forward on the left stick and Circle/B) to teleport yourself forward. As soon as you do, double jump and glide with Griffon the rest of the way. It may take a few tries, but you will eventually secure yourself another Blue Orb Fragment.
Once you’re done with the Secret Mission, take to the main path again, collecting the Red Orbs along the way, until the game interjects with a cutscene that will bring an end to the mission.


 Sign up
No Comments