
The previous mission involved V, but this one will have you back in control of Nero. As usual, you have access to the store before the mission begins, so feel free to do any shopping for now before you officially start the level. Follow the trail at the beginning to a fork in the road, where you have the option of either an upper path or a lower one. The upper one is ripe with danger, while the lower is much safer. In fact, if you wish to get the trophy/achievement for this mission, then you will opt for the lower path. That’s because the upper path is filled with a bunch of spike traps, which will negate the trophy/achievement if you get hit by any of them.
The Upper Path
You should see the Grim Grip platform before you, so stand on it and launch yourself over to the ledge on the other side. There will be a Ragtime Devil Breaker on the ground right in front of you, so make some room if needed and pick it up, as you will want to use it here. The first set of spikes will be coming out of the ground, so you’ll have to give yourself some space and fire the Ragtime’s normal shot so it coincides with the spikes, which will slow them down. Alternately, you can actually double jump over the spikes and they shouldn’t hit you.
In the next section, there is an area below you, with some enemies (Antenoras) and some spikes coming out of the wall along the edge of the little arena. You could take some pot shots with Blue Rose from the upper ledge if you want, but the Antenora will likely move through the tunnel here. Ignore them and head along the upper section here, using Ragtime on the wall spikes to get by them. If you continue on this path without falling below, you will come to a room filled with spikes and there will be a large Red Orb Cluster ahead of you. Time your jumps to get, reap the rewards, then hop down to where the green orbs are below you.
(1 of 2) Some of the spikes come out really fast on the upper path
Some of the spikes come out really fast on the upper path (left), but you can use Ragtime to slow them down (right)
You’ll see a large room below you, so drop down to begin a battle against some Chaos and Death Scissors. Considering you can down the Death Scissors in one blow, ignore them and concentrate on the form enemies. The arena is pretty large, so you have plenty of room to maneuver and there’s even a Gerbera Devil Breaker on the ground near where you dropped for more movement. When the enemies have been eradicated, find the opening and drop down to come to a Divinity Statue, which is where The Upper and Lower Paths converge for now.
The Lower Path
There is a path next to the Grim Grip at the beginning that will start your journey on this section. When you get to the end, pick up the Gerbera, as it will be extremely useful here. Dropping down into the pit here will have you fighting with two Hell Cainas. Defeat those to reactivate the Grim Grip, which will launch you back up to the top. Continue along to another pit and if you want to gather a lot of Red Orbs, double jump and use the Gerbera’s dodge mechanic to stay on the higher end. Should you happen to fall, you will have to face a few enemies and there will be a Grim Grip point at the end to launch back up to the top.
This will also hold true for the third, and final, area, although there will be a few Pyrobats buzzing about along the top. There will be smaller platforms along the way, as well as a Gold Orb on a ledge towards the end. When you do get to the end, use the Grim Grip point to go through a hole, where you’ll be put into a battle. There will be a few Hell Caina here, as well as a Hell Antenora and two Baphomets, once everything is said and done. To avoid cheap shots, go after the Baphomets, then clean up the rest of the riffraff. There’s another flames platform with a Grim Grip to bring yourself to the Divinity Statue, which is where both paths will converge.
Off the Beaten Path
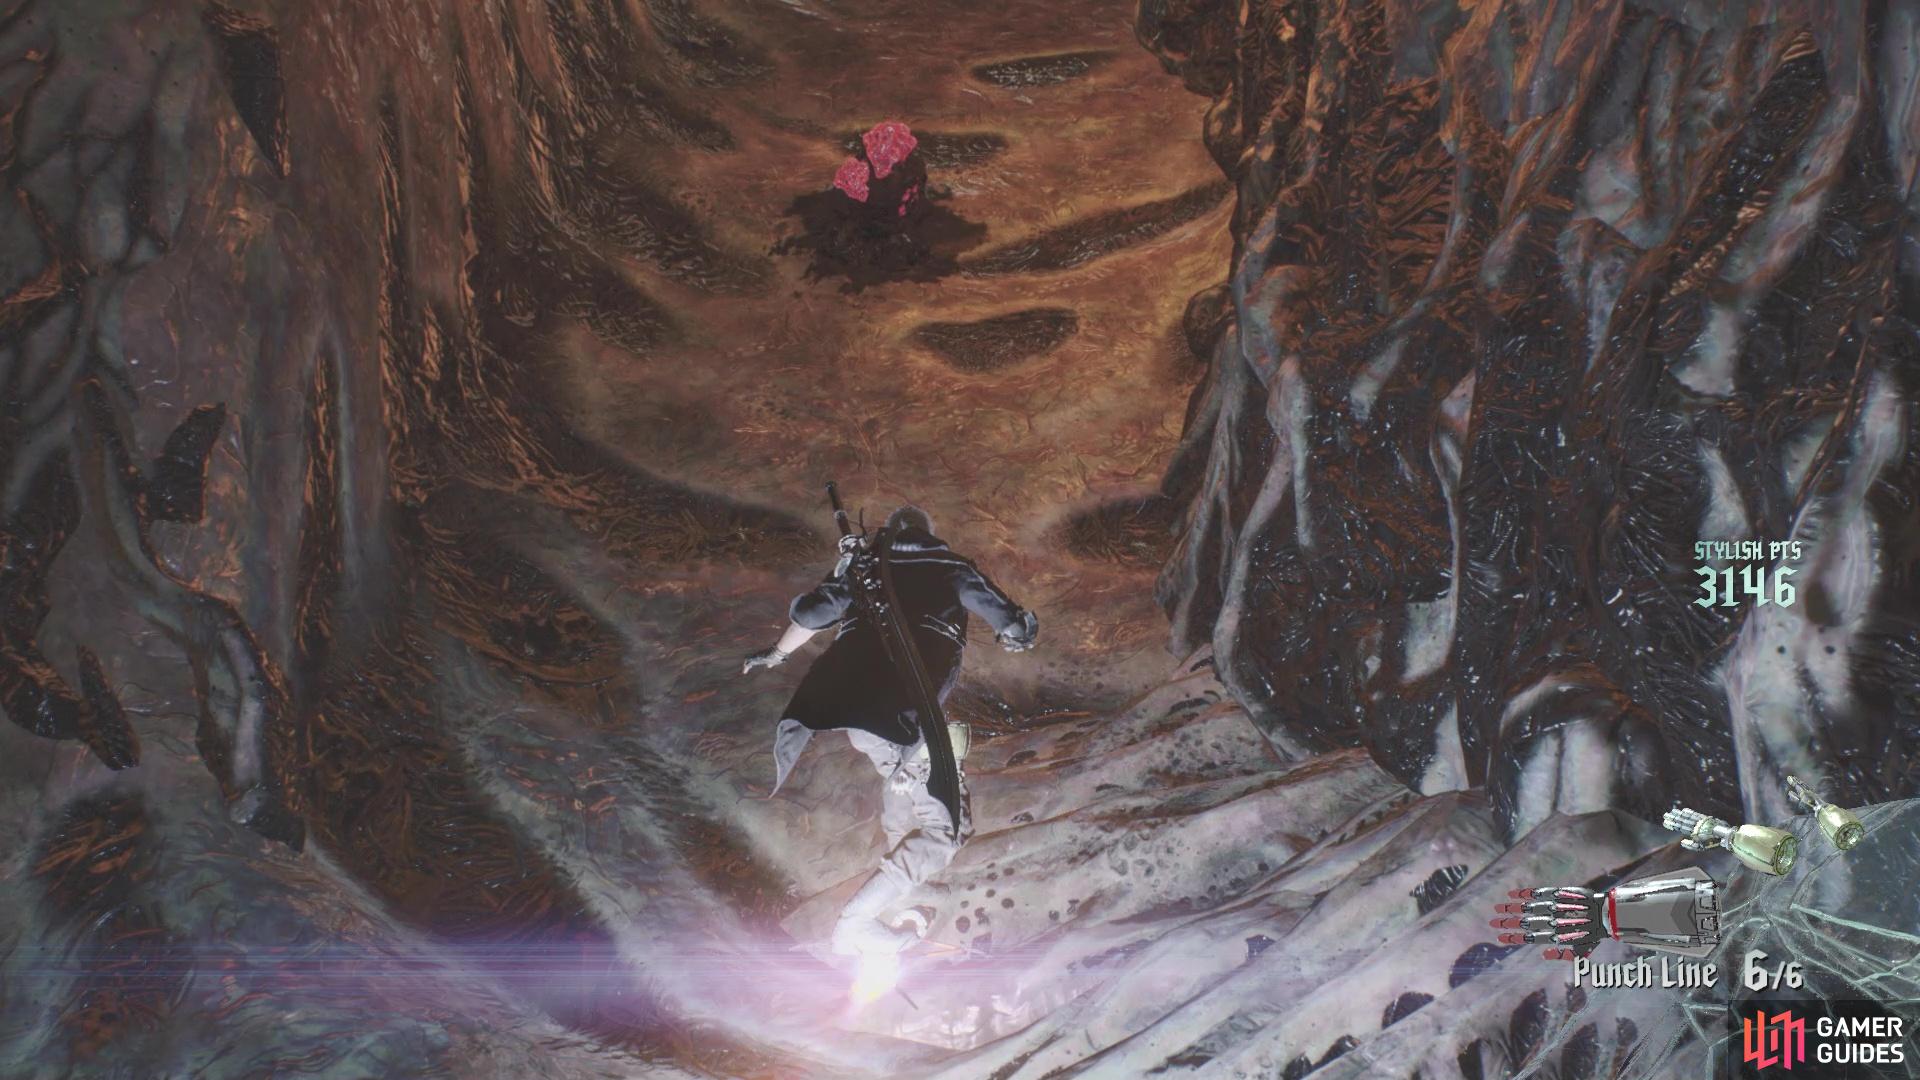
You should now be at a Divinity Statue, so make any upgrades you want and let’s carry on with the mission. It looks like there are a few ways to go here, but the path you want is actually behind the Divinity Statue. The game will give you a Punch Line Devil Breaker here, as well as introduce you to the Jet Gadget mechanic. Basically, after launching Jet Punch with the normal attack, you can hold Circle/B to call it back and have Nero ride on it. Ride too long, though, and the breaker will explode, but you can ride for longer the higher your Stylish Rank.
The game will think you need to ride the Punch Line breaker to get yourself over the ramps, but it can be a little difficult to control, plus it’s not needed. If you opted for the less spiky of the two previous paths, then you should have a surplus of Gerberas, which is all you need. Fall into the first pit and do battle against the plethora of Empusas, then boost yourself over the big slope. Now, the ramps in the second pit area will have a bunch of Red Orbs, but you should have a good idea how to farm Mission 13 for them, so they’re not really needed. If you wish to utilize Punch Line, then you probably need to know that a double jump should give you enough space to actually still obtain the riding mechanic without falling into the pit.
(1 of 2) There is a secret path behind the first Divinity Statue
There is a secret path behind the first Divinity Statue (left), The Punch Line can actually be ridden by holding the Circle/B button after firing (right)
Speaking of the second pit, there will be some Green Empusa there to annoy you, and the third pit will have a few Pyrobats. Use the Gerbera to reach the top of the large wall, which is the one with some rocks jutting out of it. Once at the top, turn around and you should notice a ramp that goes upward to a higher platform. You can double jump from your current spot and use Gerbera to boost over to the ramp, then mash it in the direction of the ramp to reach the top, where some Red Orbs and a Blue Orb Fragment is waiting for you. Drop back down and look for the little lip that will have a red glow, which signifies a Secret Mission.
Secret Mission 11
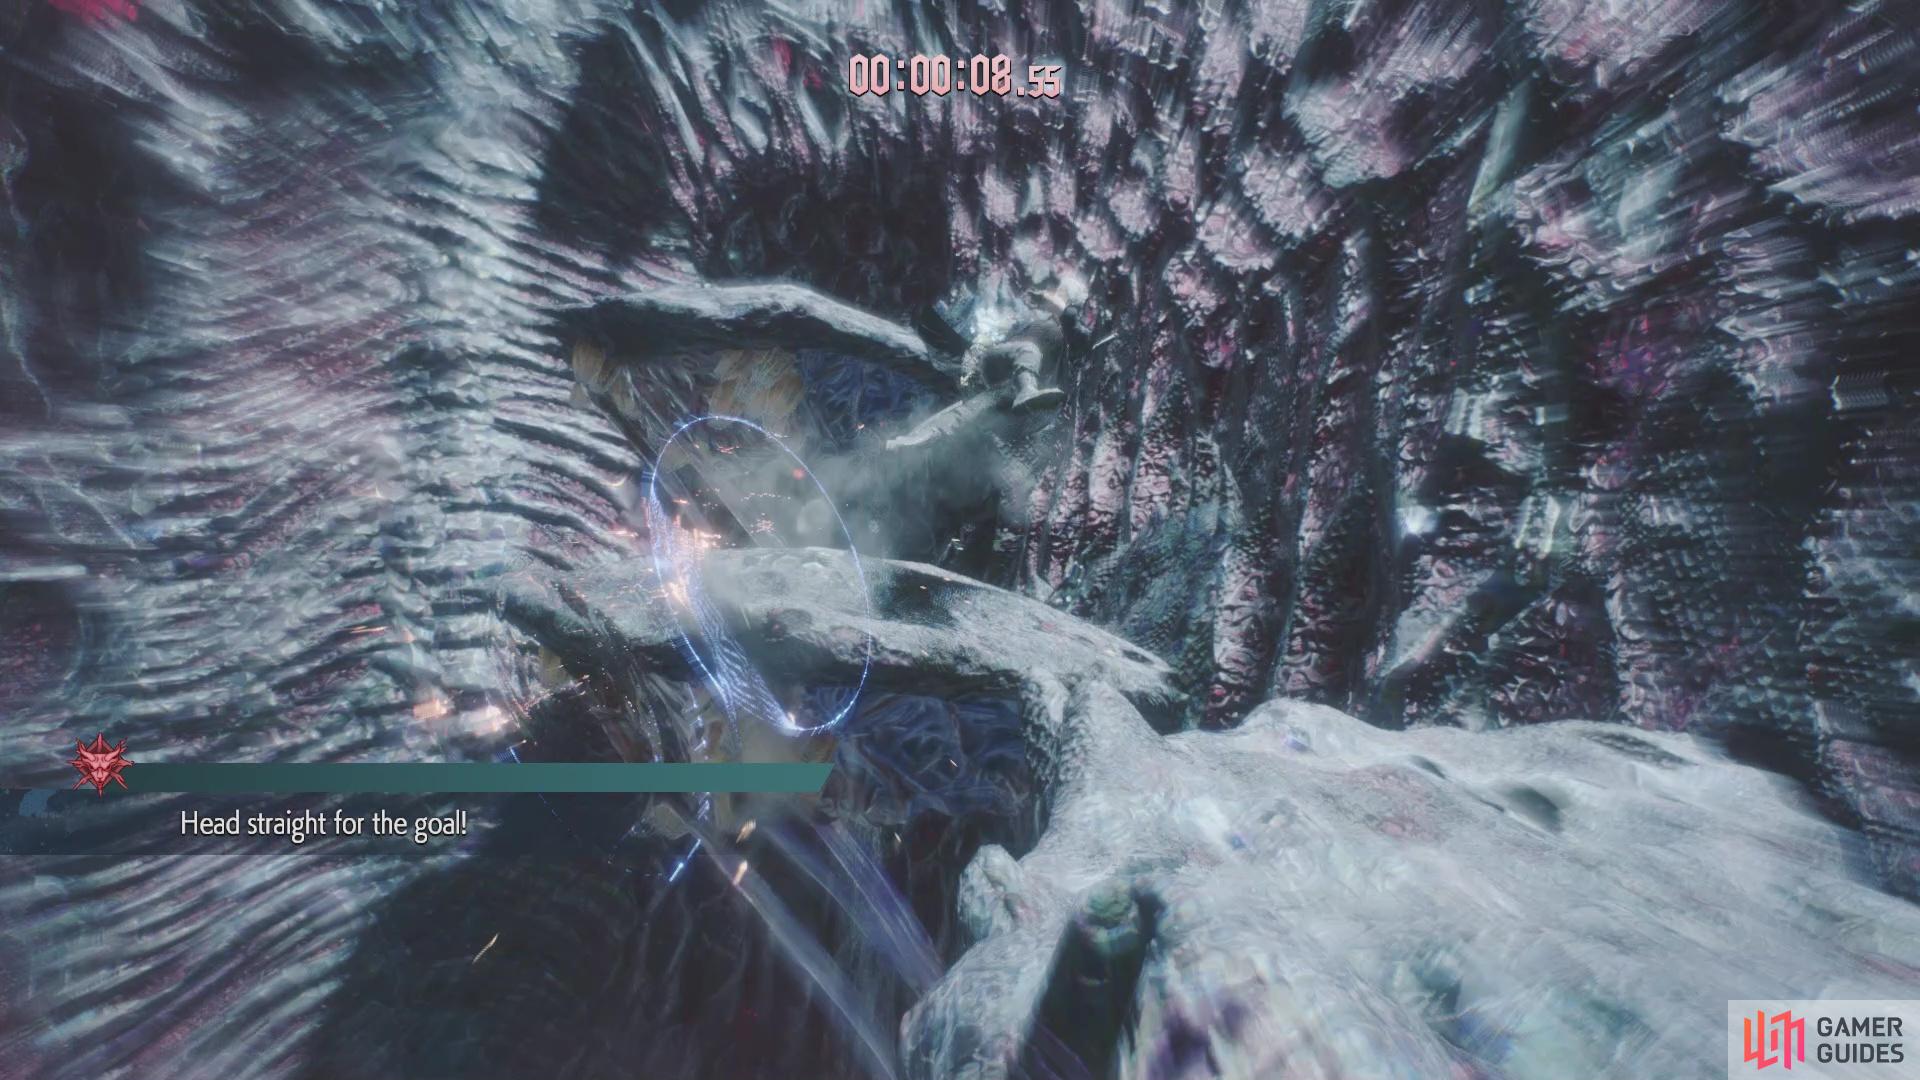
The goal here looks simple, as you just need to get to the goal, but the timer can be a little strict. The Gerbera can be pretty useful here and if you don’t have Air Hike yet (double jump), you are sorely missing out and it’s pretty much necessary. Start out by running forward and jumping on the lowest platform, then perform a wall jump to get on the lowest spot of the platform just above you. While you can go up the ramp here that looks like the way to go, ignore it and turn around to spy another ledge that’s easily accessible with a double jump. From here, it’s a simple jump to reach the path above you, where you will want to run through the tunnel to the next section.
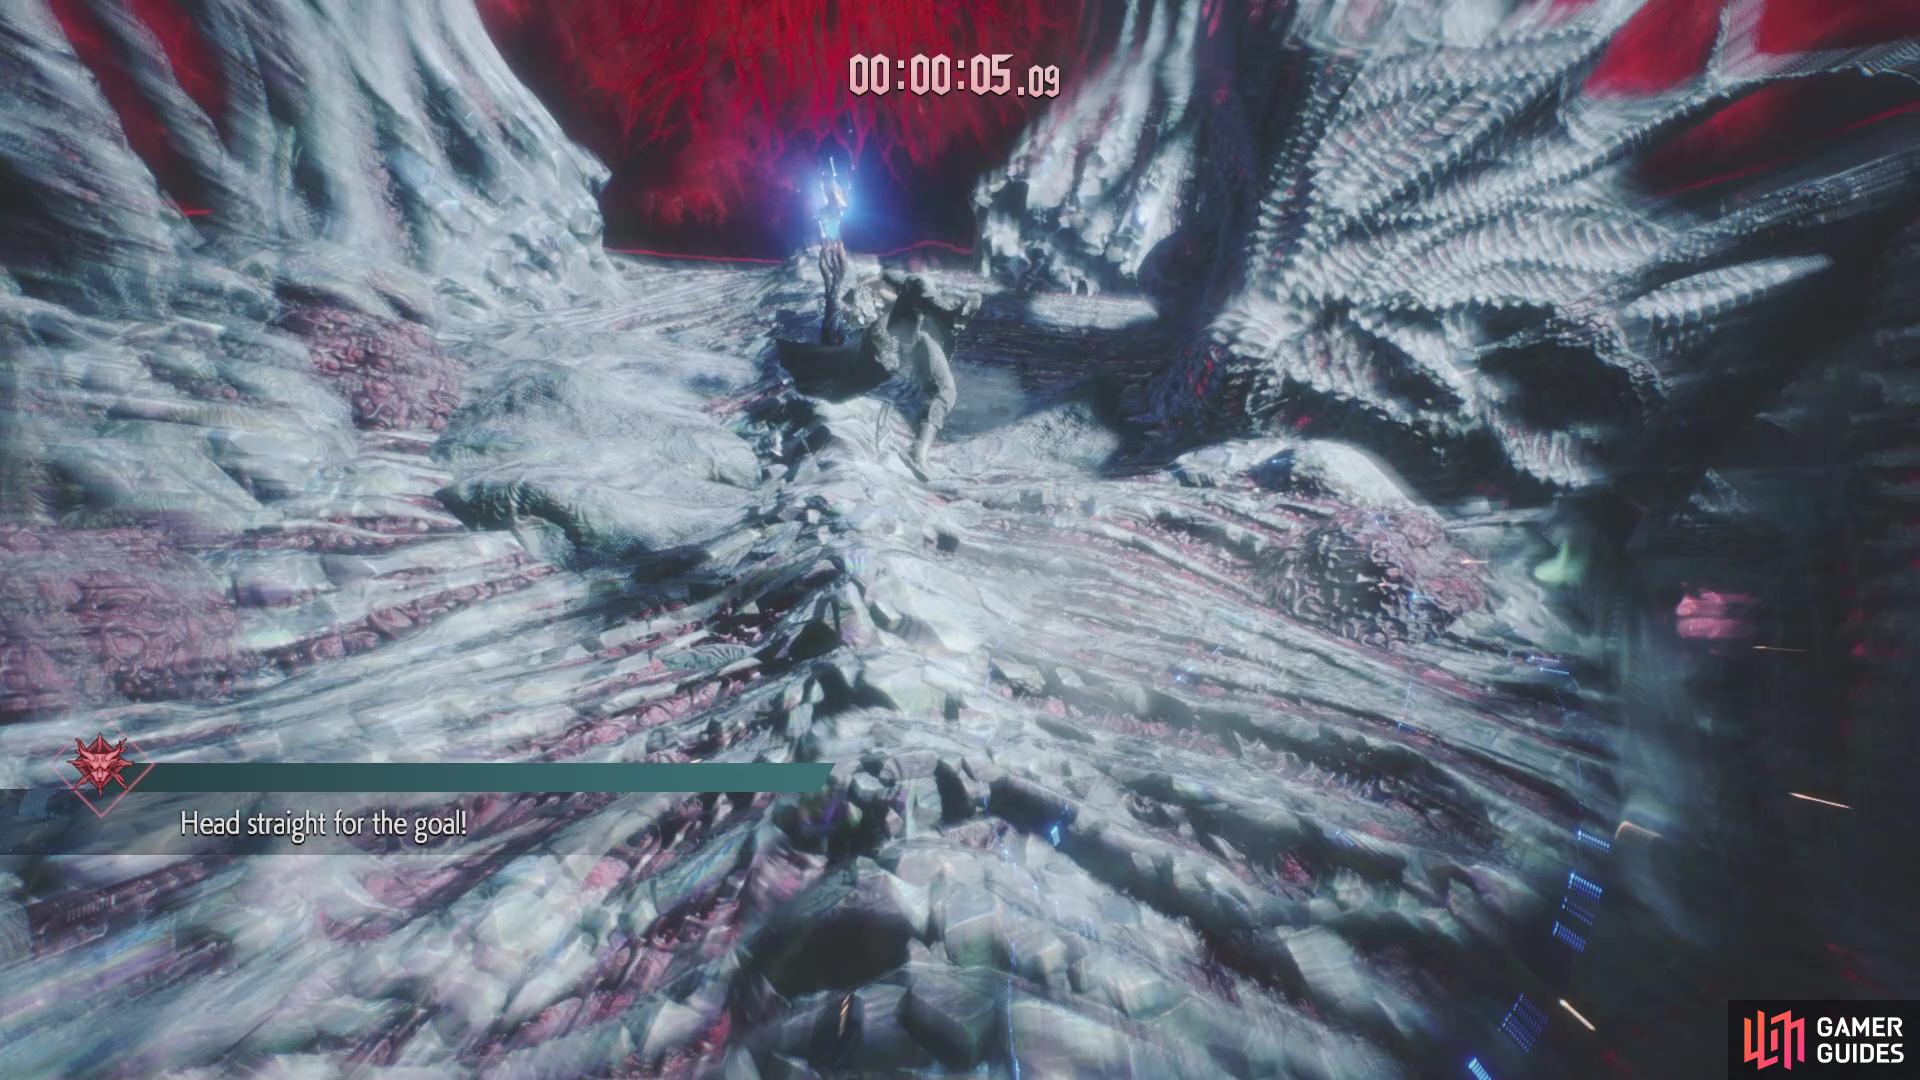
By far, the next section is definitely the most annoying part of the Secret Mission, as you’re dealing with the collapsible platforms from an earlier mission. To begin, jump on the stable platform just ahead of you and while you think you’ll be getting on the first platform, you’re going to skip it. The reason for this is that the collapsing platforms are not in your favor, as they drop in an order that doesn’t benefit you. Instead, you’re aiming for the second platform on the right side. Double jump and use Gerbera to boost onto it, then quickly use the third platform before it collapses. From there, it should be one more double jump and Gerbera boost to the Blue Orb Fragment at the end.
(1 of 2) The Gerbera helps immensely in the Secret Mission
The Gerbera helps immensely in the Secret Mission (left), even at the end of it, too (right)
After finishing the Secret Mission, walk to the nearby edge and jump down to return to the Divinity Statue from before. You have two options on where to go now, so they will be listed separately.
The Upper Path 2
As you start out on the upper path here, you come across a Rawhide Devil Breaker, so pick it up if you want, but it won’t really have a use here. A little past that will be an area with those tower cages from the one Dante mission, with two Baphomets spawning in front of them. The room is rather small, so getting rid of them won’t be too much trouble. There are some Red Orbs behind the set of cages on the one side, while the other cage will let you delve deeper into the level. Carry on until you come to another room with more Baphomets, with these ones being in the cages themselves.
Get rid of them and look around the room to see there’s no exit. Actually, the cages in the corners are hiding holes in the ground, all of which will bring you to the same area below this room. Depending on where you drop down, you may see a surprise Lusachia, so try and get rid of it before it has a chance to unleash a powerful spell on you. With that out of the way, look for the cages that are blocking your way to the path you need to use, which will bring you to a big room with some platforms in the middle. As soon as you approach the center, the room will close off and a bunch of Empusa will spawn.
There’s quite a bit of them here, with more spawning in a second wave, which will also include a few Green Empusa. Note that some of the Empusa can drink some blood around the arena and become Red Empusa, so keep that in mind for some extra Red Orbs. The biggest problem is to come, as the last wave will begin with an Empusa Queen, then a second will drop in to say hello shortly after that. For now, concentrate on a single one and try to eliminate them as quickly as possible, as one-on-one, the Empusa Queen is a fairly simple fight. Once you’re done with both, find the passage and drop down the hole to come to a second Divinity Statue, which is where the two paths from the first statue will meet.
The Lower Path 2
The lower path will begin with a narrow tunnel, being blocked by a Scudo Angelo at the end of it. You can try fighting him in the narrow corridor, but your best bet is to jump over and quickly try to grapple the demon into the air, where you can easily keep the pressure up to defeat the thing. After this one, the next tunnel will be blocked by two Scudo Angelos, so isolate one and then go after the second. A little after the green orbs, you should notice what looks like a dog-like figure that’s just part of the level. To the right of this thing is a wall you can bust down by attacking it.
Do that, snag the Red Orbs and at the end will be two more Scudo Angelos with their backs turn. Snag one from far away, then proceed to kick his butt, then do the same with the second. Bust through this second wall here to find yet three more Scudo Angelos. Do what you need to do, then follow the trail until you fall into a large room, with a giant purple pillar in the middle of it. You’ll be dealing with four more Scudo Angelos in this room, as well as a Behemoth. Deal with the former first, then work down the Behemoth’s health until you vanquish it from this dimension. From here, find the exit and use the Grim Grip point to launch yourself to a second Divinity Statue.
Back to Business
(1 of 2) Use the Grim Grip to launch up to this path
Use the Grim Grip to launch up to this path (left), where you’ll find a Blue Orb Fragment at the very end (right)
Now that the two separate paths have been merged into a single one now, feel free to check out any upgrades at the statue, then let’s continue with the mission. In the next room, you will find a single Baphomet and two Hell Cainas. Destroy them, but don’t take the normal exit. Instead, use the Grim Grip platform to shoot up to an upper ledge in the same room as the enemies. As you circle around, some enemies will spawn ahead of you, consisting of Hell Cainas and two Hellbats. The latter can be annoying, as they will constantly try and peg you with their ranged attacks, so try and take them out first. Once taken out, follow the trail to the end and jump up the ledges to find a Blue Orb Fragment.
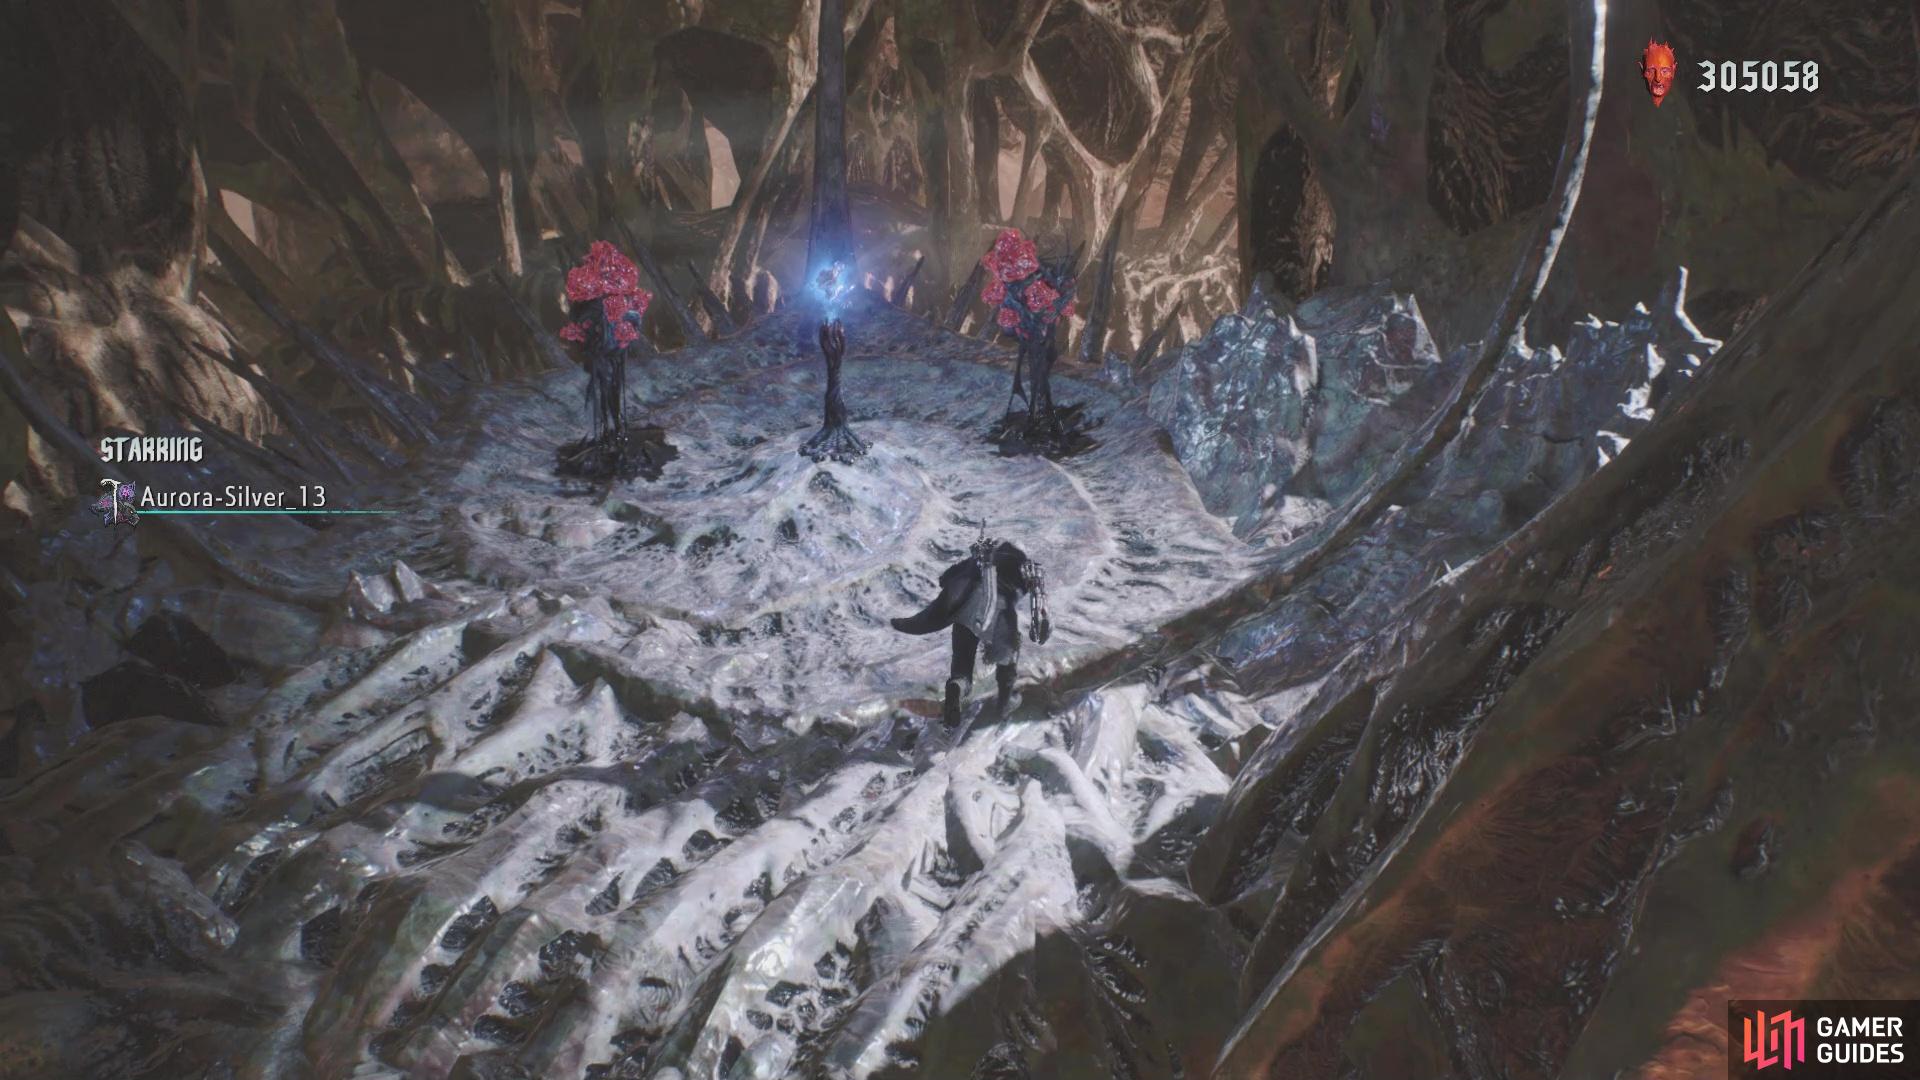
Hop down nearby and enter the room ahead, with all of the roots. A few enemies will appear here, consisting of a Hell Judecca, two Hell Antenoras and two Hell Cainas. Note that defeating all of the lesser enemies will have the Judecca spawn some more, so it’s probably a good idea to chase after it and get rid of it before it can cause problems for you. Clean the remaining enemies up, look around the room for some loose Red Orbs, then there will be one final trail (with a Divinity Statue along the way) before reaching the boss.
BOSS - Malphas
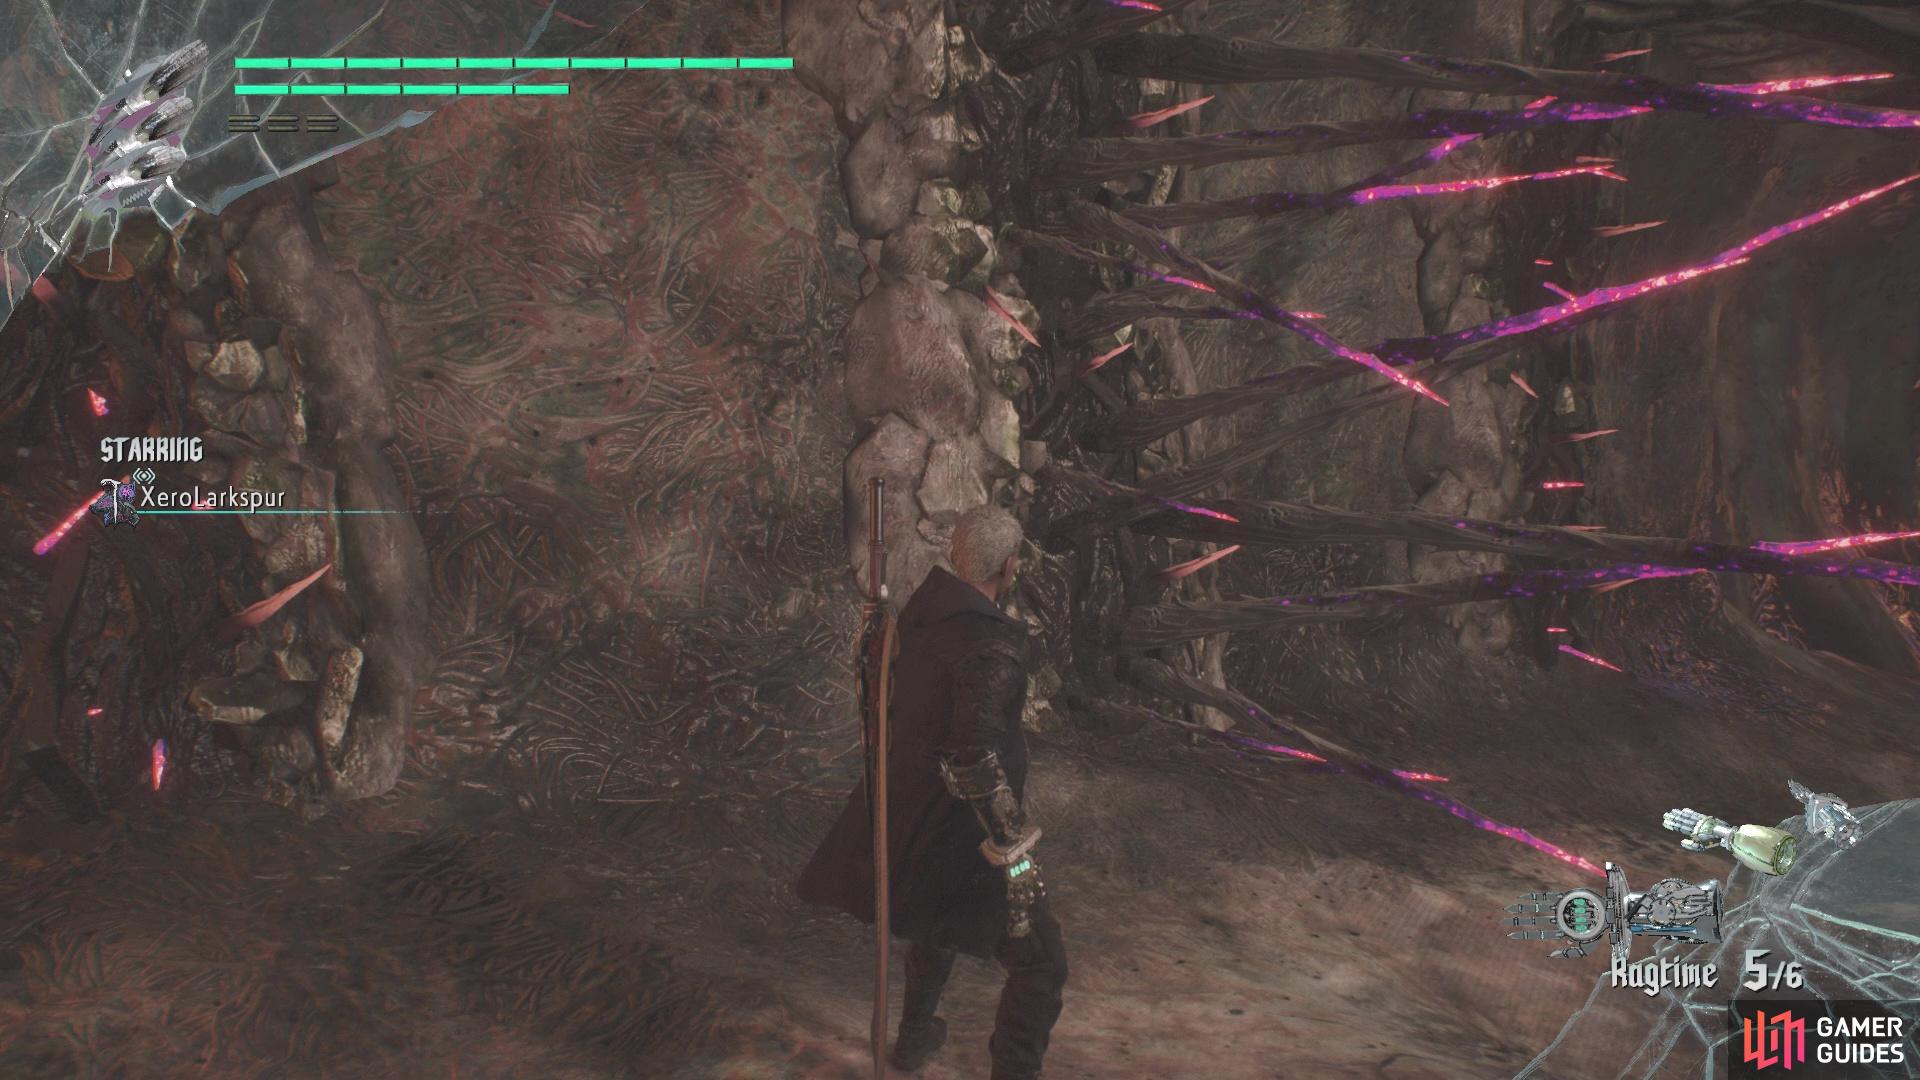
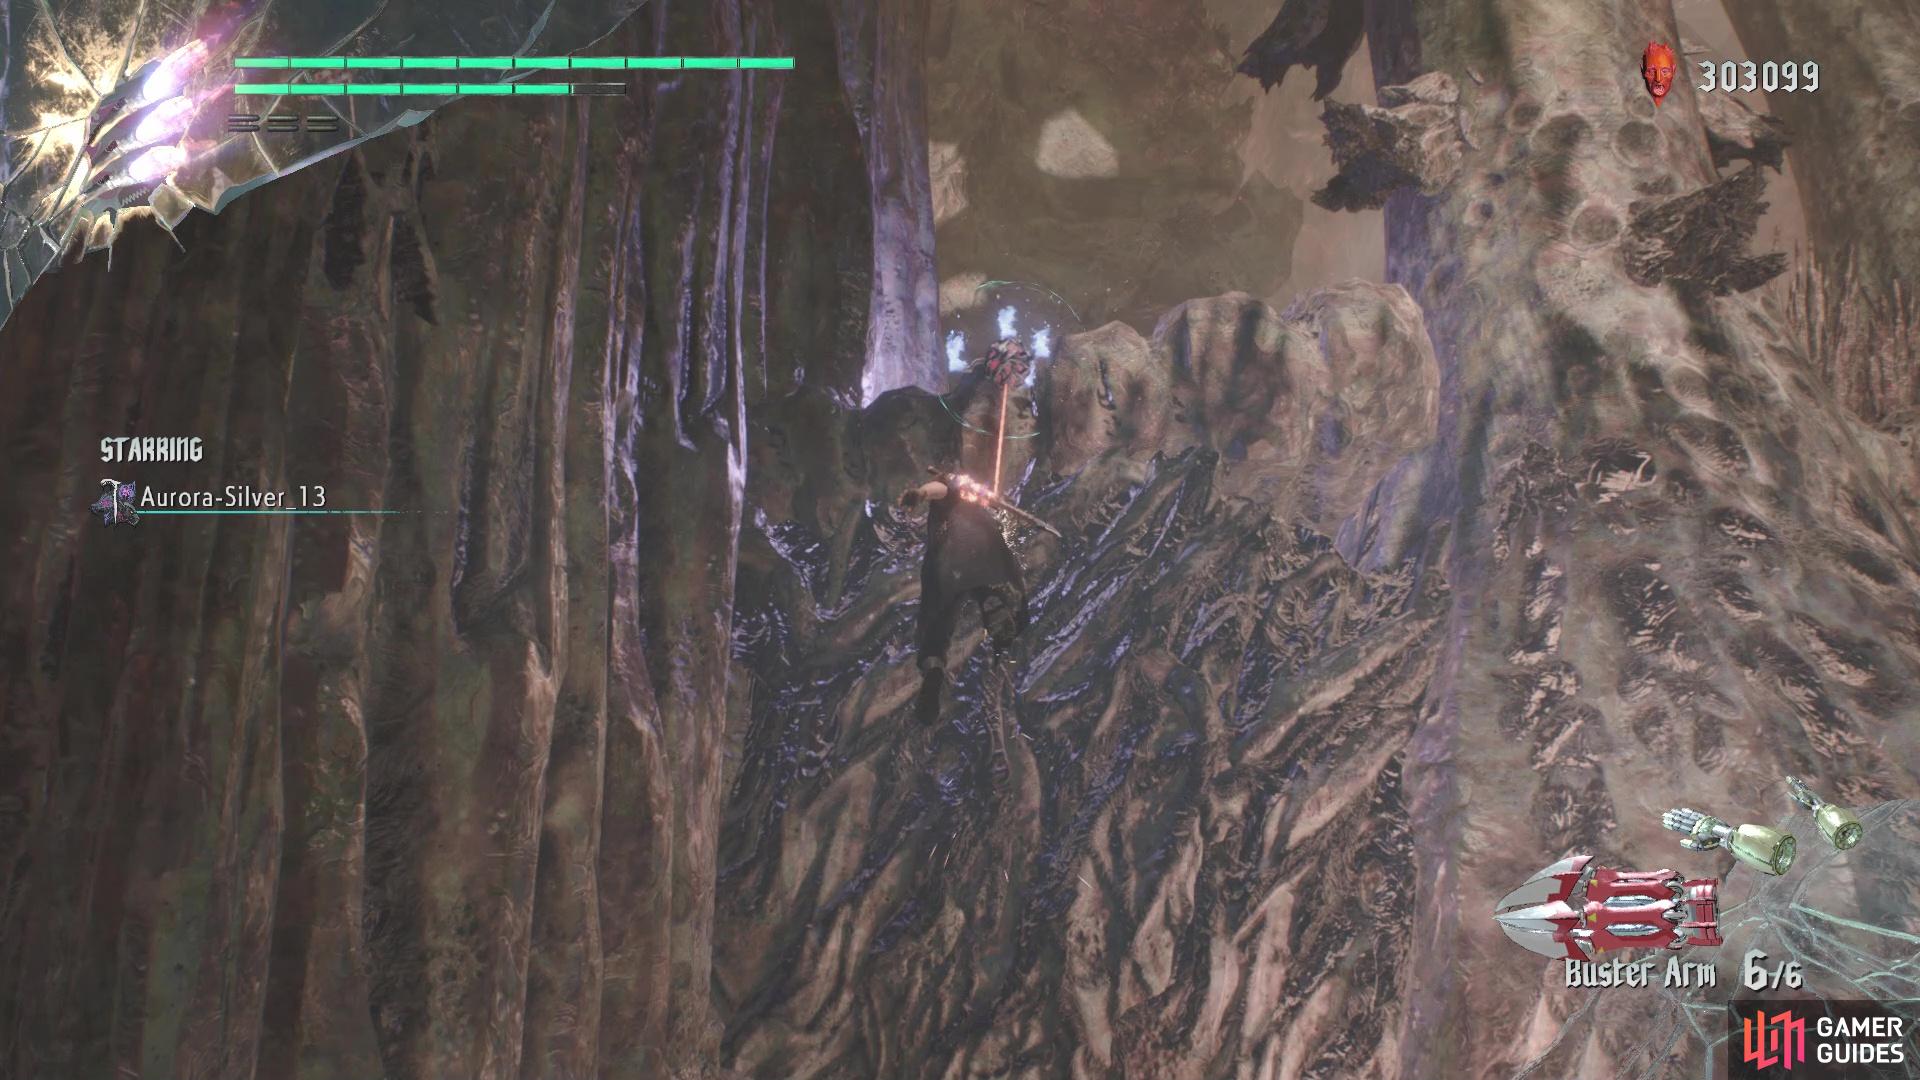
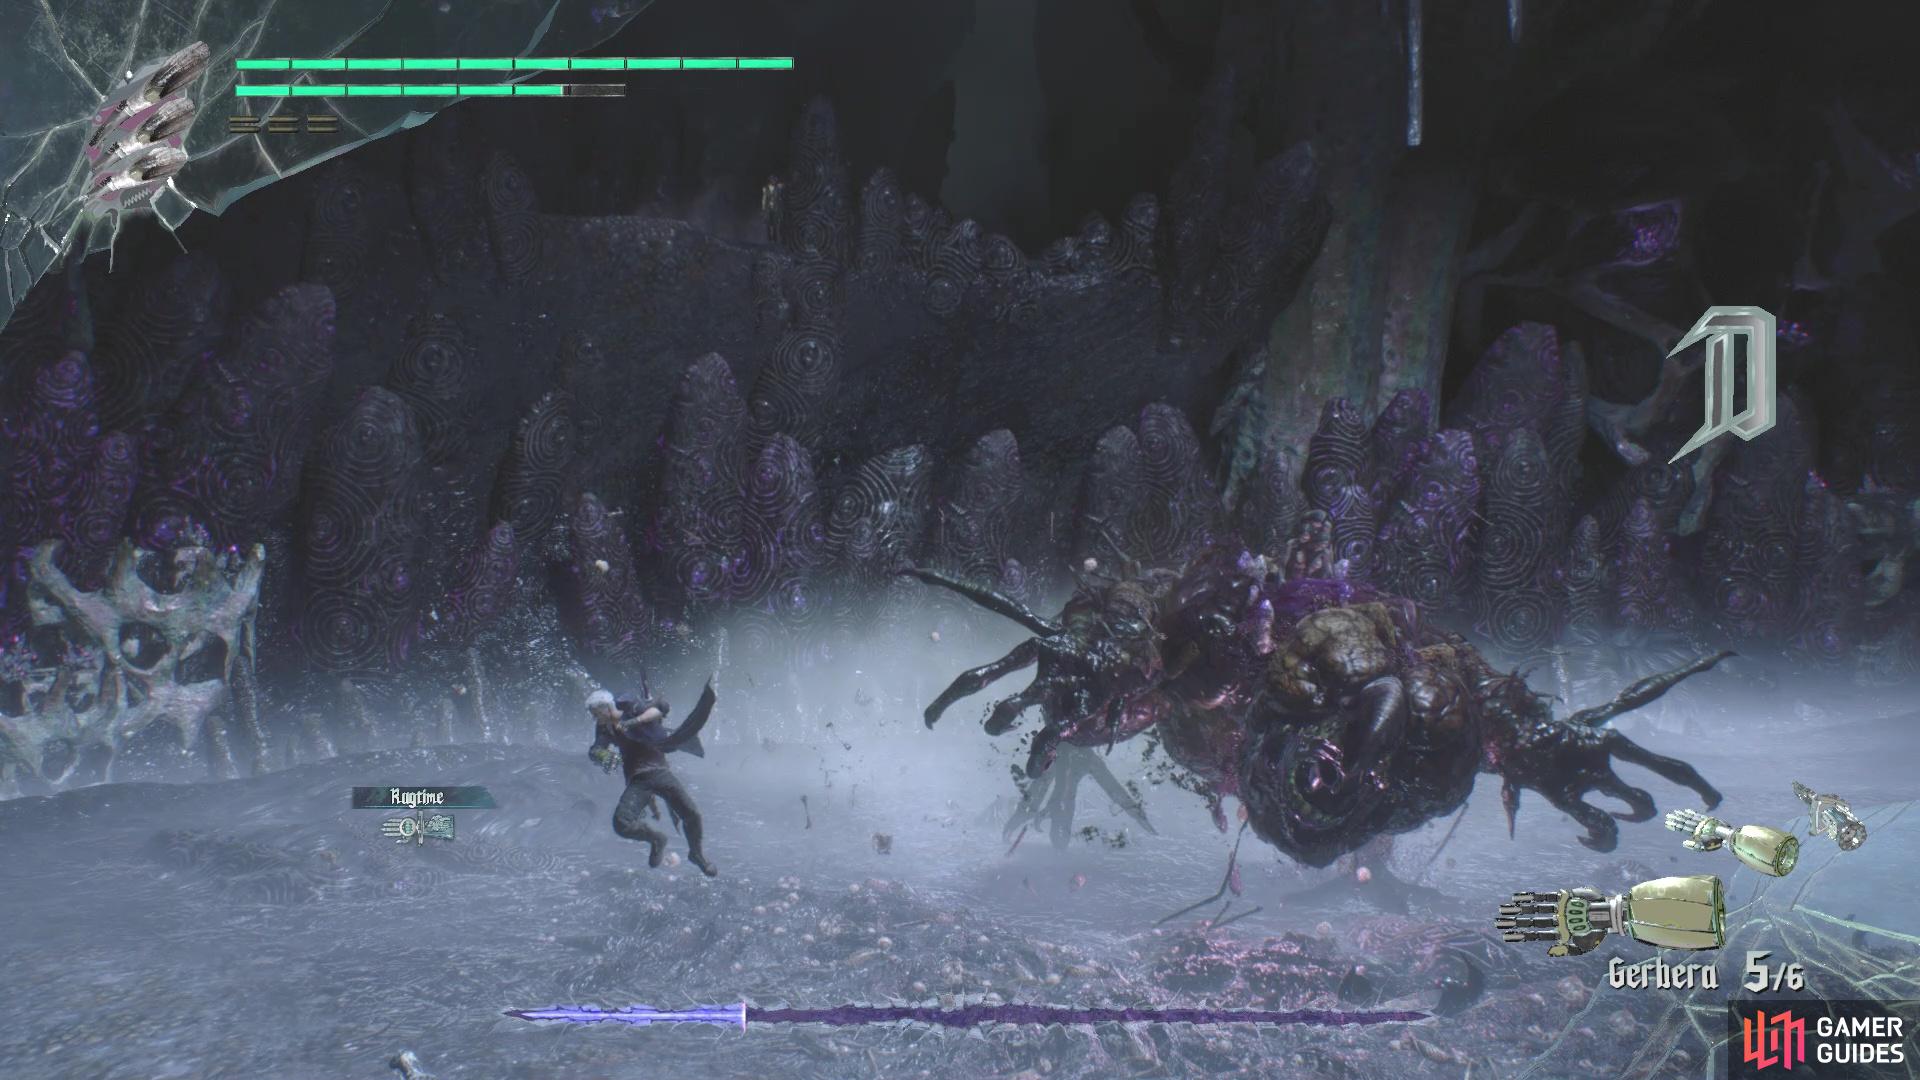
Malphas and her giant, demonic bird will make use of portals to do a lot of the attacking during the first phase of the battle. One of the first moves you will probably see is the bird’s head going through a portal to try and peck you, but it’s easy enough to avoid if you keep moving. It can do the same thing with one of its legs, but keep moving to avoid it. Sometimes, Malphas and her bird’s entire body will go through the portal, coming out in another location, but this seems more as an escape from you than an attack.
Other attacks include Malphas sending out spikes on the ground that will move towards you, as well as producing three spheres in the air. These spheres will become spikes and be shot at you, so don’t dawdle and continue to move throughout the fight. At some point in the fight, Malphas’ bird will roar, pushing you back, and it will gain an “aura” around it. This berserk status only lasts so long on its own, but you can actually stun Malphas, bringing her and her pet out of it. She can do a lot of portal attacks in a row, to the point that it seems a bit endless, but continue running to avoid these.
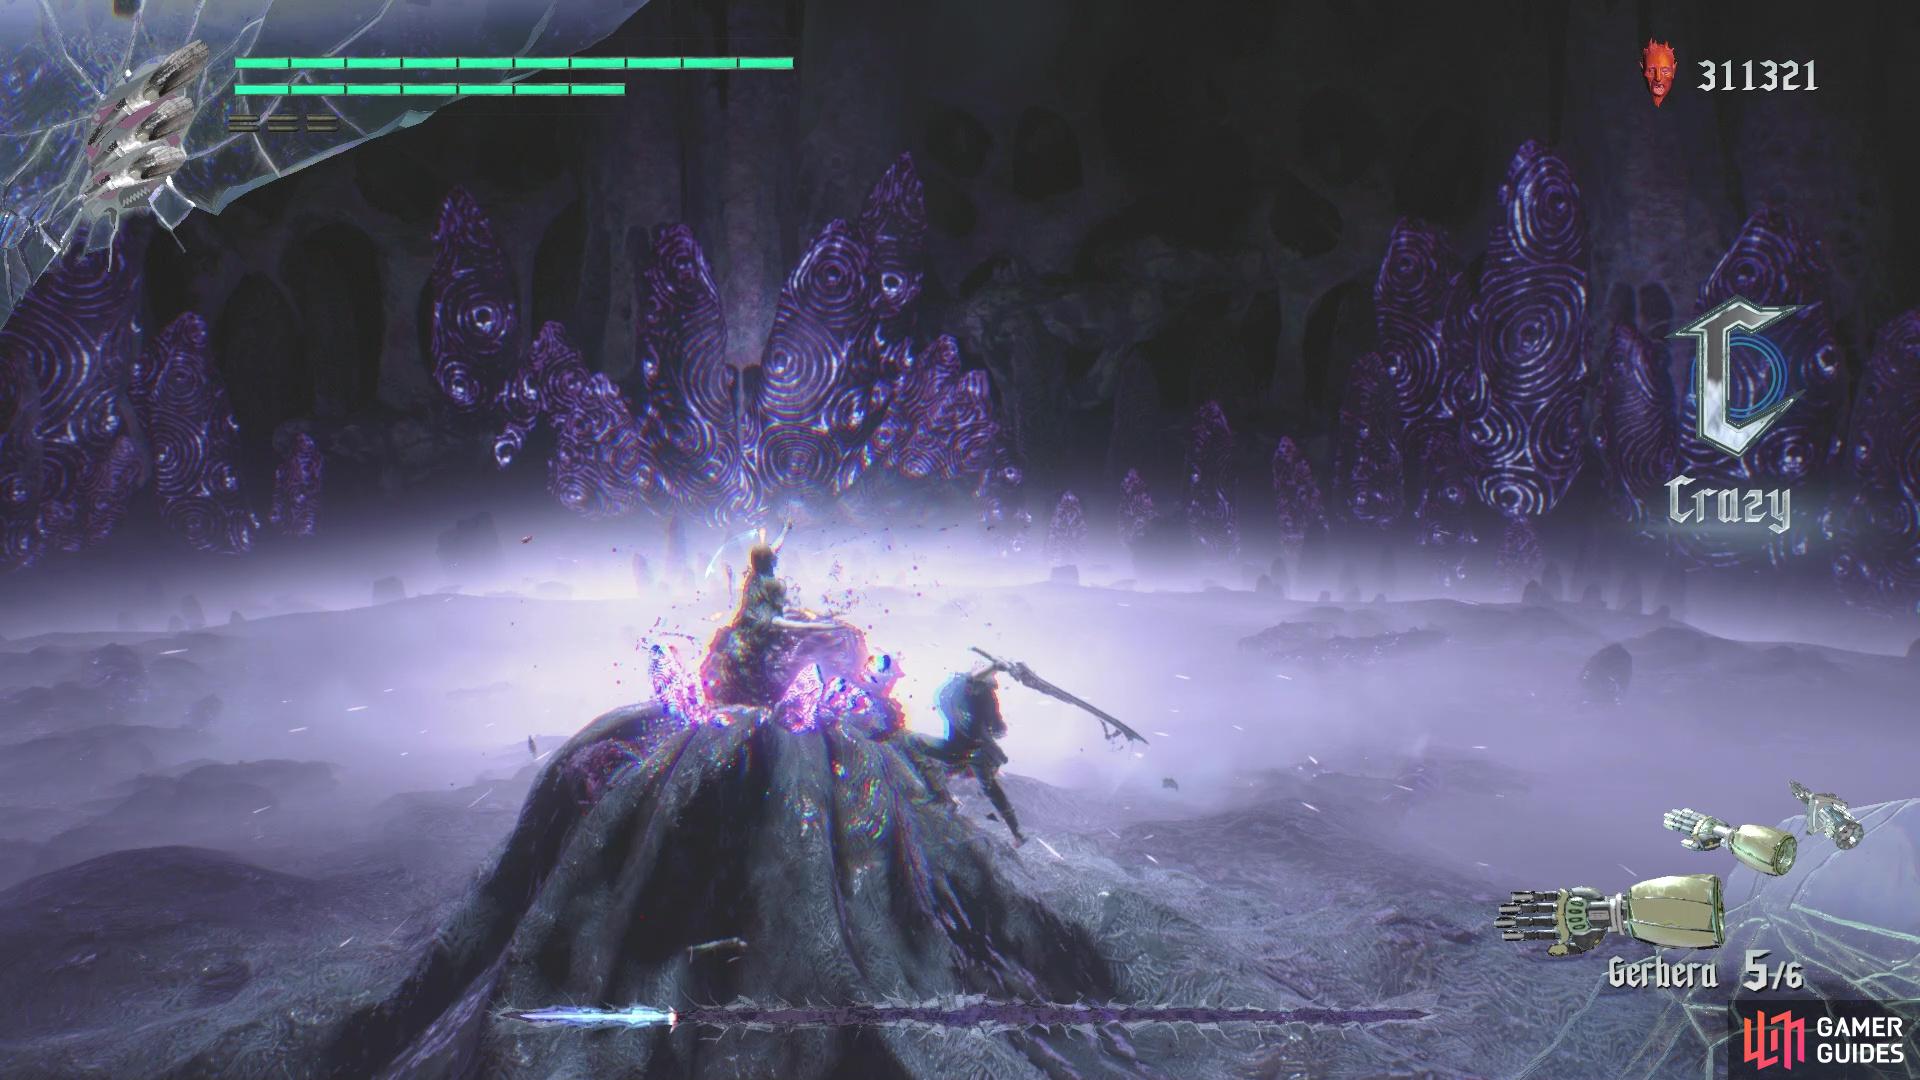
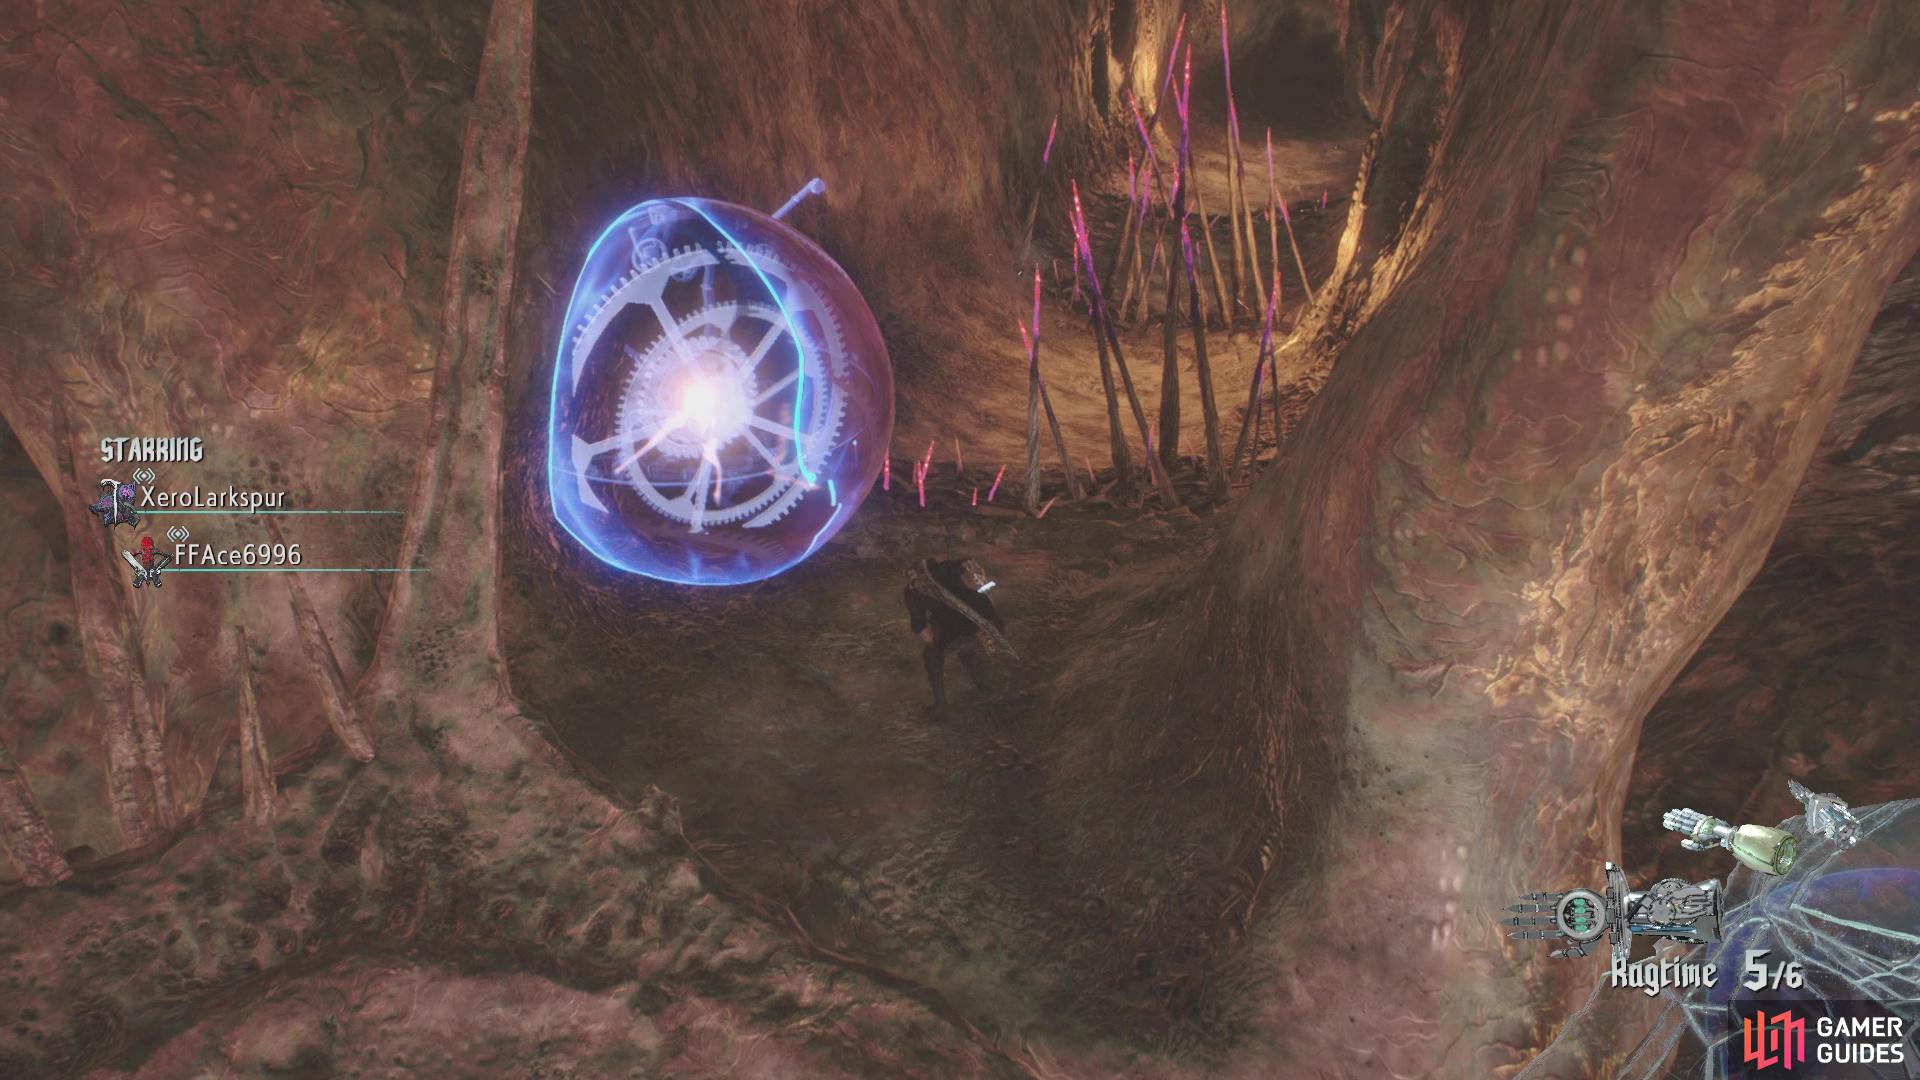
(1 of 2) When the bird changes color, Malphas will charge at you multiple times
When the bird changes color, Malphas will charge at you multiple times (left), When Malphas appears in the middle, it’s best to just stay away until she’s done (right)
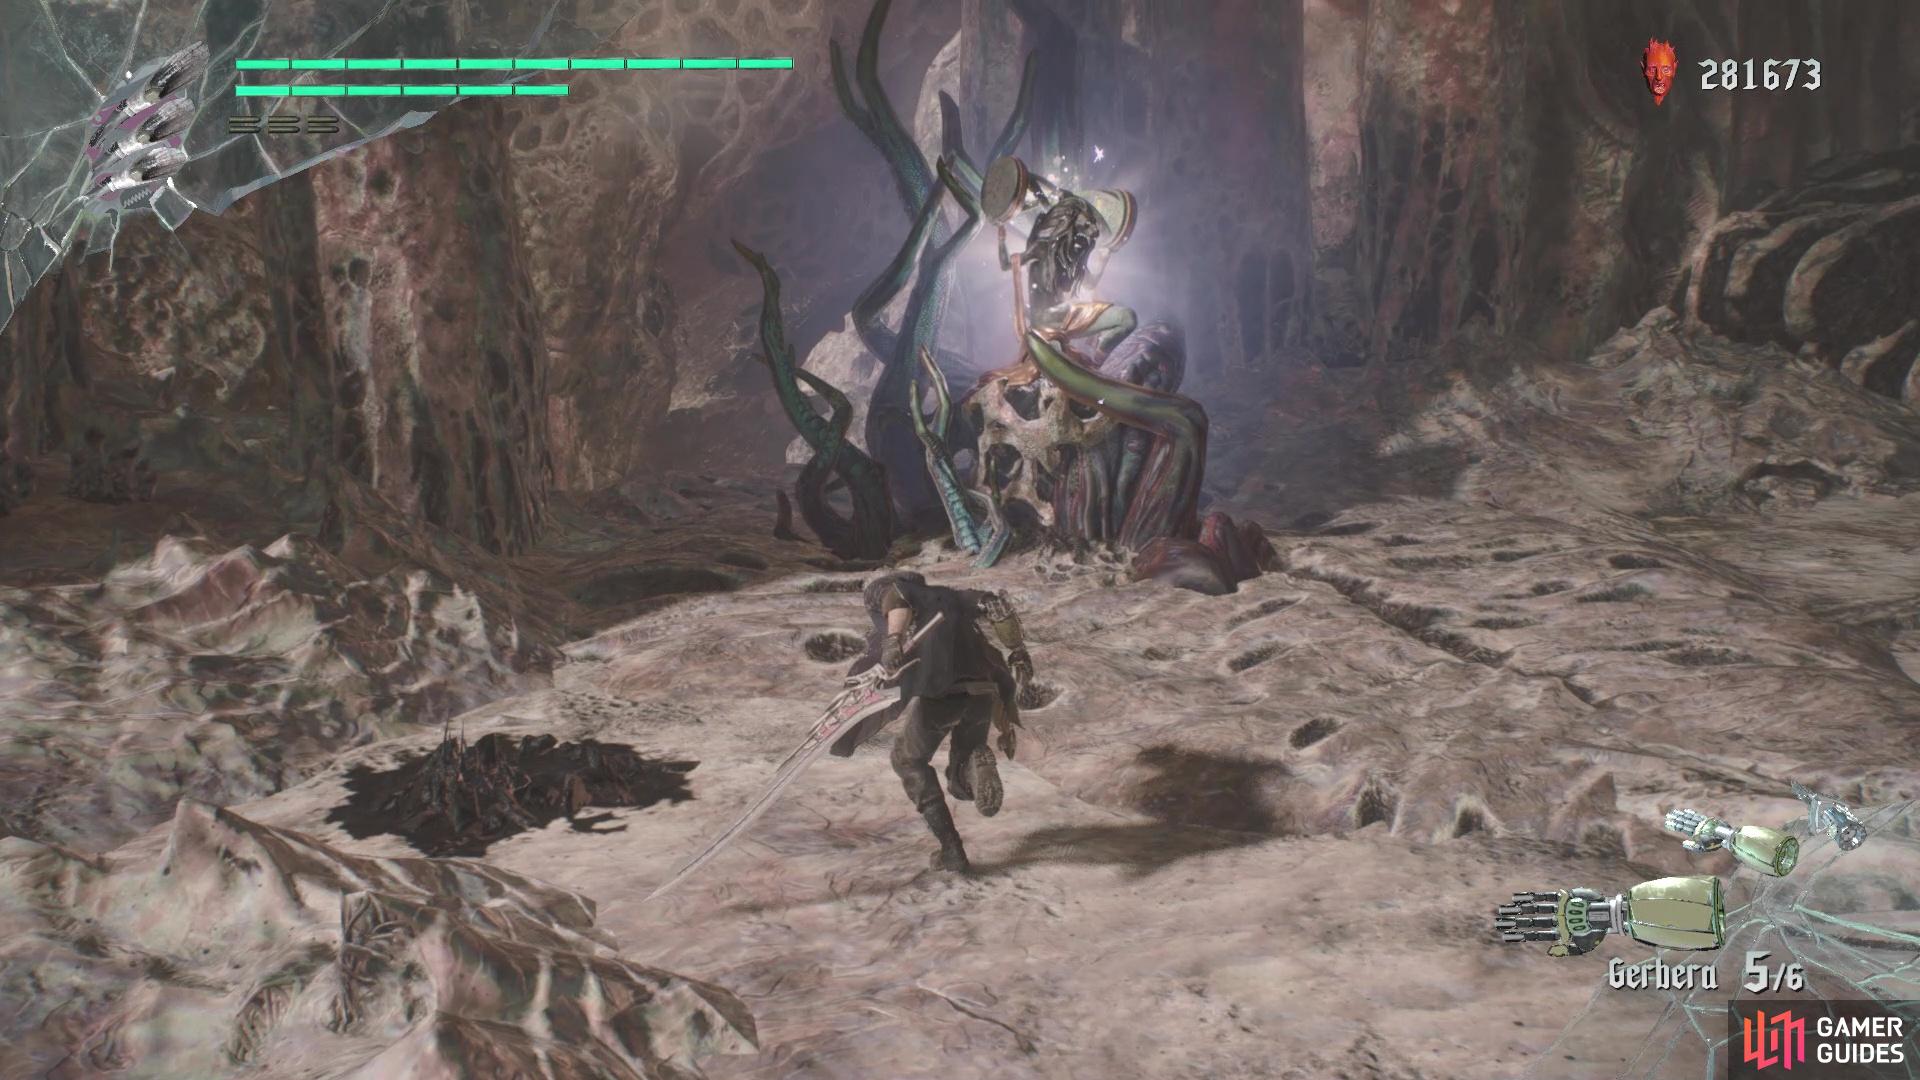
In addition to this, Malphas will charge straight at you, sometimes multiple times in a row. This is a little more difficult to dodge than the other attacks, as you might need some extra dodging ability to get through it unscathed, like Gerbera. Lastly, whenever Malphas gets really low on health, she and her bird will go to the center of the arena and begin some big attack. Keep your distance and this attack won’t even hit you, as it can deal some big damage if you happen to be too close to it. Keeping on the move is the biggest key to winning this fight without any major problems, although the charging attack is really the only move that might be challenging to avoid. Having a Gerbera or two handy is the ideal thing for this boss, so keep at it and she’ll go down in no time.


 Sign up
No Comments