

It’s time to finally have the first true mission of the game, or at least one with a little bit of length to it. During the beginning cutscene, you will receive Morrison’s Letter from Nico, which talks about a few things, so feel free to read it if you want. You will also gain access to Nico’s Workshop at this point, which is used to customize your characters. You can spend your Red Orbs here to purchase new skills, restock on Devil Breakers and even buy other items. Nico can equip his Devil Breakers here, too, so make sure you always have a loadout before going out on a mission.
Nico will give you access to two Devil Breakers at this point in her shop, Overture and Gerbera. The former is what you already used on the previous mission, while Gerbera is a brand new one. The biggest thing with Gerbera is that it allows you to boost by pressing the Circle/B, in conjunction with the left stick, to perform a dodge-like maneuver, which is even usable in the air. Depending on whether you have the demo bonus of 30,000 orbs, it’s time to do a little bit of shopping.
First and foremost, you should purchase Streak under Red Queen, as that move will allow you to close the distance on enemies, plus it can also knocked some down to the ground. Split (Red Queen) is another move that has great utility, as it gives you a closer upon launching enemies into the air. If you can afford it, Red Queen Combo B is a good mix-up to your current combos. Speed and Table Hopper (Abilities) are also great skills to get, although they might be a bit expensive right now. Color Up 2 allows your bullets to deal more damage with a charged Blue Rose. You might also want to save a little bit of orbs for a Blue Orb, which will increase your vitality by one notch.
Once you’re finished doing the skill buying and everything, back out and actually begin the mission.
Qliphoth
As you begin the mission, you should notice a Red Orb Cluster just ahead, so break it to get some orbs. These are found quite often during your adventures, but not all of them will be pointed out in this guide, especially the ones on the main path. It’s also important to keep an eye out for them all over, as they can appear hanging upside down from structures and everything. Continue forward, ignoring the Red Empusa that scurries off and go straight down a small set stairs to find another Red Orb Cluster. Carry on the main path, into an open area, where you’ll find your first fight of the mission.
You’ll be taught about the Stylish Rank here, where it’s mentioned that the length and variety of your combos determine how many Stylist Points you get, as well as the Stylist Rank that is displayed on the right hand side of the screen. It starts out at D, then increases upwards as you perform combos and skills, with the highest rank being SSS. Of course, if you don’t happen to be attacking enemies, it will slowly deteriorate (higher ranks go down faster), so you want to always be attacking, even if it’s with ranged attacks. Note that getting hit will also lower your Stylish Rank, usually by a whole letter or more, so try not to get hit all too much. Stylish Ranks affect your score on the result screen after a mission.
(1 of 2) You can wall jump to the top of this ledge to find some goodies
You can wall jump to the top of this ledge to find some goodies (left), You can find a Gold Orb at the end of the street (right)
You’re up against some Empusa here, with a wave of three at first, then a second wave of five appearing after the first is dead. Feel free to experiment with your moves here, to see how the Stylish Rank works. The barrier will dissipate after the battle is over, you can see the path destined for you, but let’s take a side path that isn’t so obvious. There is a wall on the right side (when looking at the main path) that has a car on the edge of it. You can wall jump to the top of it, scoring some Red Orbs. Drop down to find more Red Orbs, then jump on the bus for even more. At the end of this alley, you will find some demons, specifically a Red Empusa, some normal Empusa and even a Green Empusa. Concentrate on the first one, then clean up the rest. Once it’s all over, look for the Gold Orb at the end of the alley.
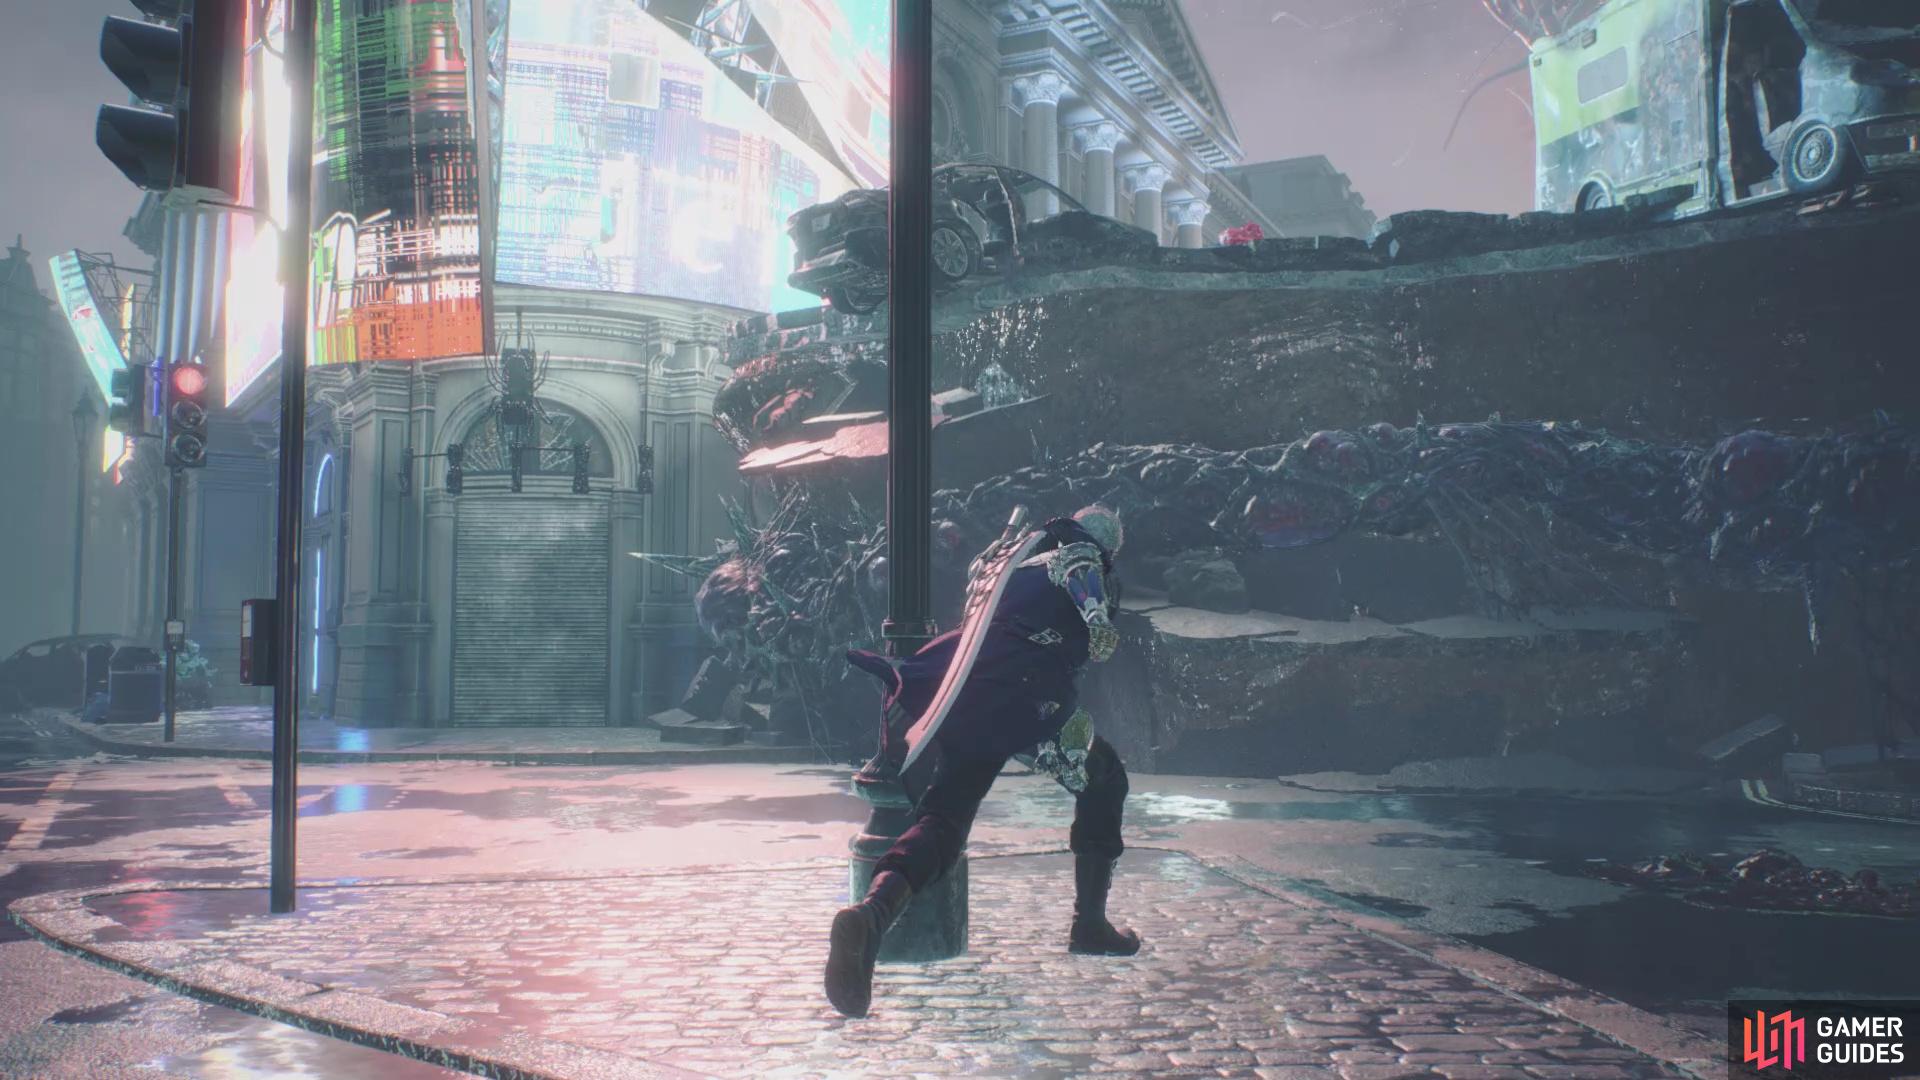
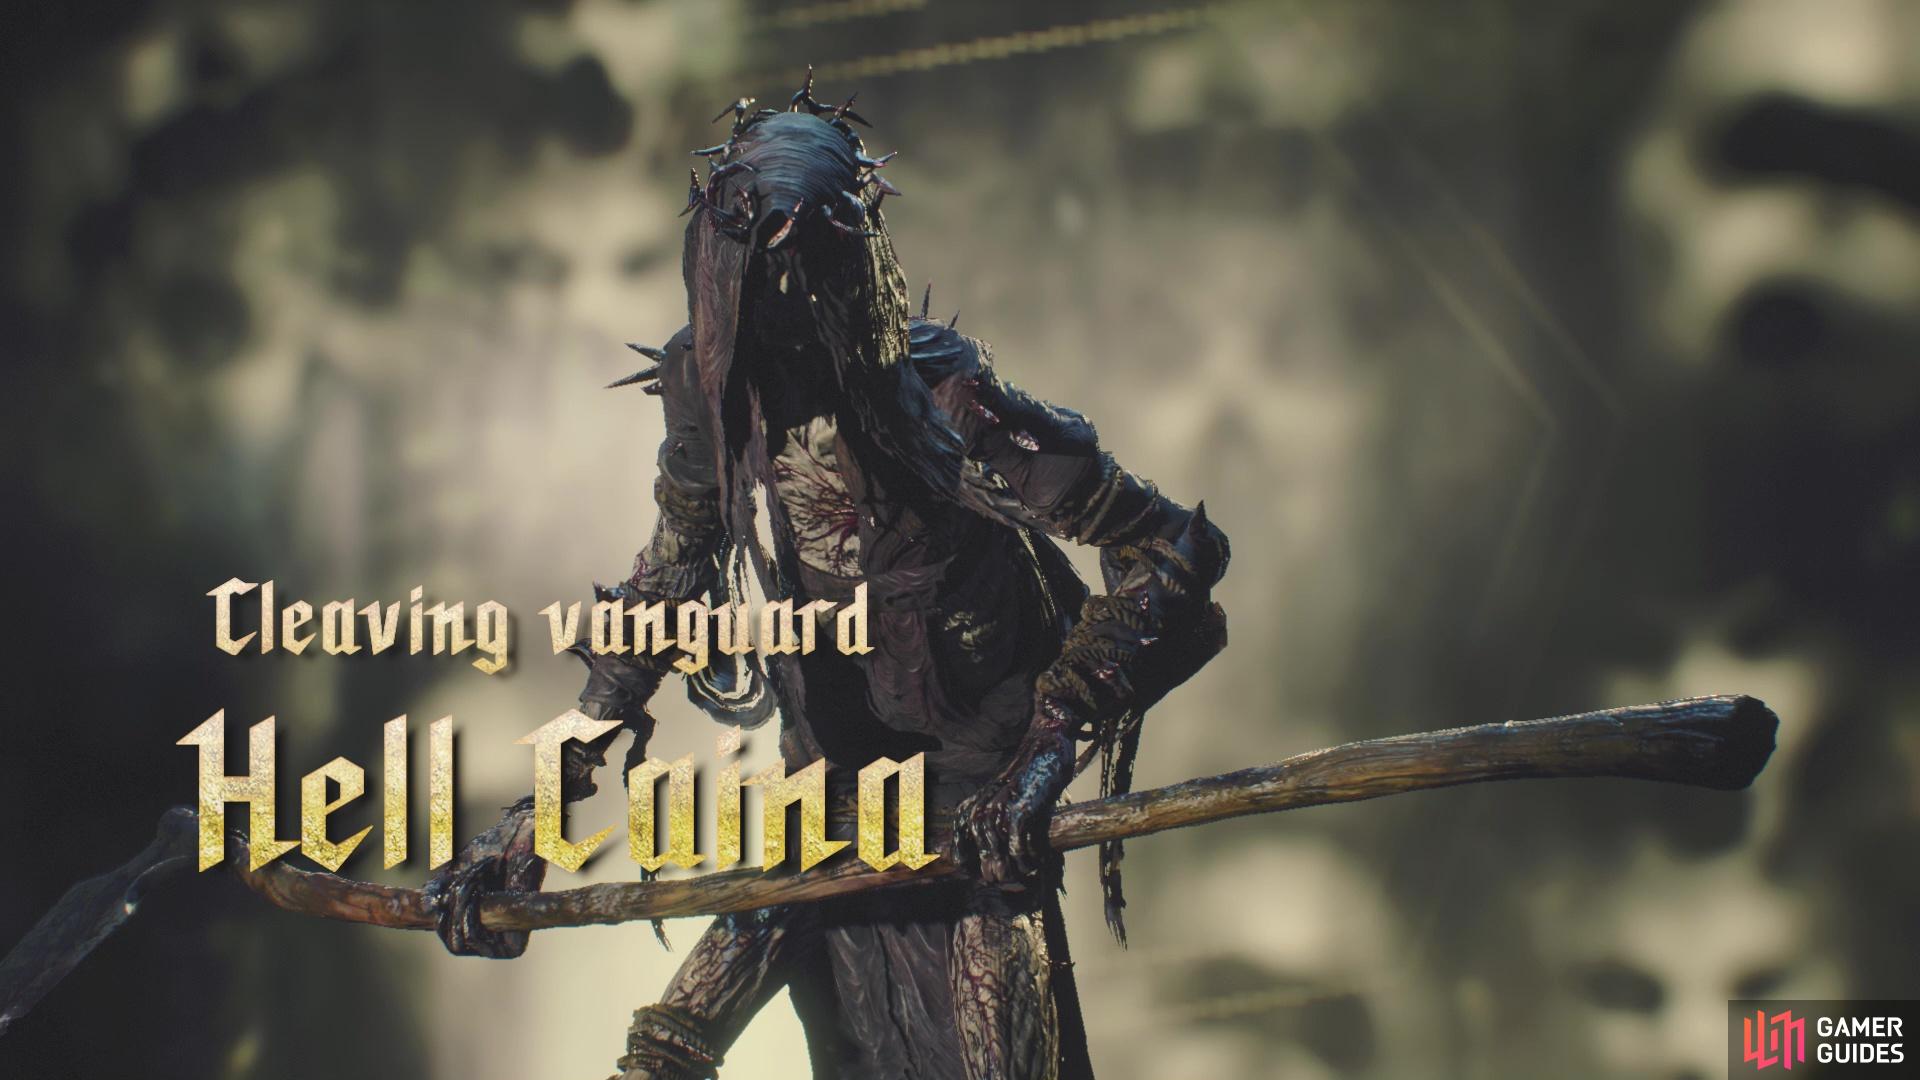
Return to the main path and you will see the street split, so take the right side for right now. A Red Empusa will spawn in this little area, so quickly kill it, then look for an opening on the right side (up a little bit). Jump up to this opening to find two Red Orb Clusters, so break them both and you’ll get this mission’s specific trophy/achievement. Back on the main path, some tentacles will appear, so get rid of them, and head into the courtyard, where you’ll be introduced to a new enemy, the Hell Caina.


(1 of 2) The first normal enemy that might inflict some damage
The first normal enemy that might inflict some damage (left), Be careful when they charge, as they can’t be interrupted (right)
If you see a Hell Caina running at you, either dodge or jump out of the way, as continually attacking while another is doing this will make you get hit. A few more will spawn after you get rid of the initial three, but you shouldn’t really have too much trouble with the Hell Caina. If you need some health after, or during, the fight, then there is a green orb on the right side of the courtyard, near the car. Head inside the building after the fact (there’s a Devil Breaker to the side of the stairs, if you need one) and after going upstairs, some enemies will spawn on the ground floor.
You should only see two Empusa, but a Red Empusa will likely be by the front door, ready to run away, so give chase if you want those sweet Red Orbs. Return upstairs and find the doorway that leads further into the building, until you view a cutscene of someone fighting in the back.
Cameo System
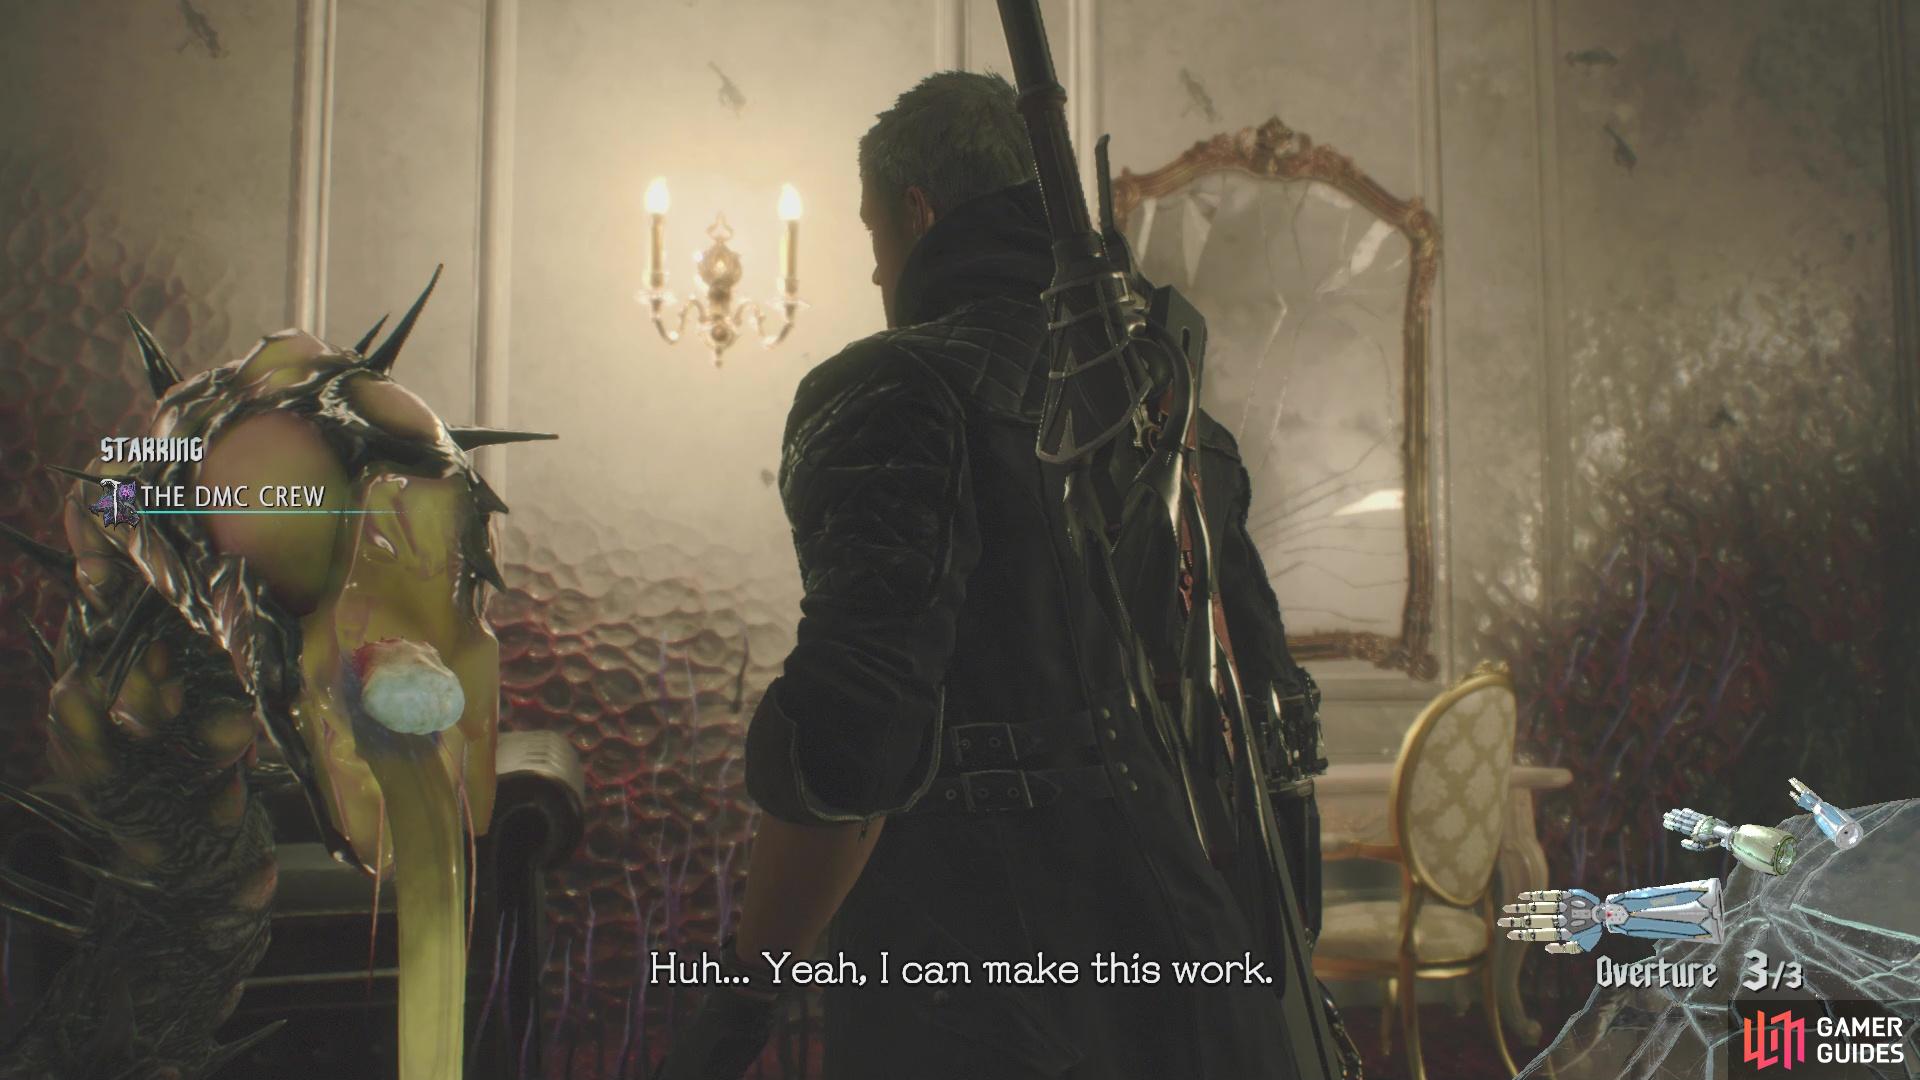
This will be a good time to briefly explain the multiplayer component of DMC5. During some missions, you will see a “Starring (insert name)” on the left side of the screen. If it’s a person’s online handle, then they will usually be shown in the background, but they aren’t really playing at the same time as you. This is another mission that takes place at the same time as your current one. “DMC Crew” is developer data, in case there isn’t any other player available or if you’re playing offline. At the end of missions, you will be able to “evaluate” the other player, rewarding them with a Stylish rating or not. For every Stylish rating received from another player, you will receive a Gold Orb.
Once the short scene is over, the floor underneath you will break away, dropping you to the level below you. There is only one way to go, so follow the path to a room that has some strange objects in it. The pedestal-like thing, when interacted with, will give you a Nidhogg Hatchling. This weird thing acts similar to a key, with the “door” being the thing with ooze coming out of it. Insert the Nidhogg Hatchling into the weakened Qliphoth Root to remove it, then step through the new opening. Jump up to the next section, where you have two ways to go, although one is a short dead end that only houses a Devil Breaker on the ground.
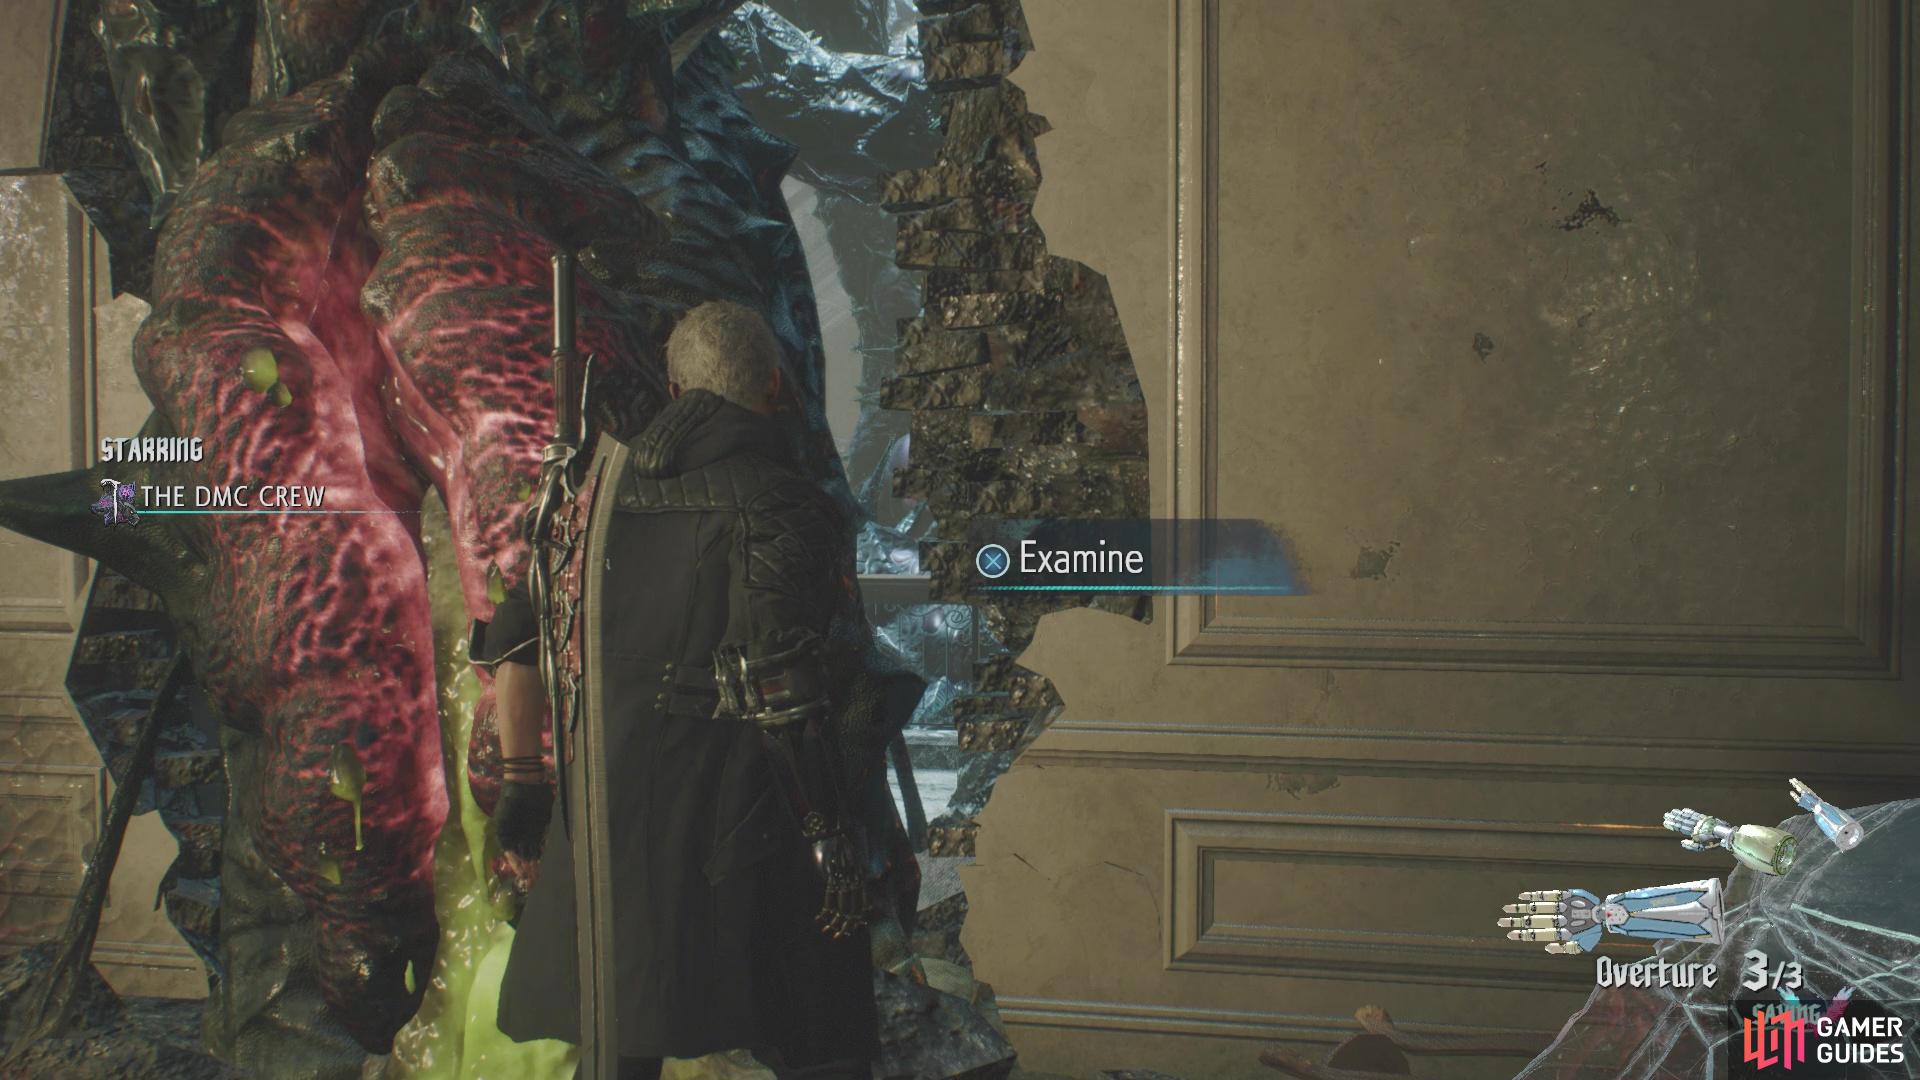
(1 of 2) Nidhogg Hatchlings are basically keys
Nidhogg Hatchlings are basically keys (left), that help you break through weakened roots to open up new areas (right)
Continue up the stairs and you should get a brief tutorial about finding the way if you don’t know where to go. This is done by pushing the left stick in and holding it there for a few seconds. Do this to be pointed in the one direction, but head in the other to find a Red Orb Cluster at the end of the hallway. This will also spawn a Red Empusa where you were, so you’ll have more orbs. As you head down the main hallway a little bit, there will be an empty room off to the side. Enter it and look for the cluster on the ceiling, but breaking it will spawn some Hell Caina in the room. Defeat them all (three in total), then continue down the hallway to find another weakened Oliphoth Root.
However, there is no Nidhogg Hatchling in site, so carry on until you find it in another room. Grabbing it will spawn a single Hell Caina, but don’t kill it just yet. Bring it into the adjacent room and coax it into slashing the floor there. If you get it to strike the right spot, the floor will break and you’ll fall into another room below it. Defeat the current Hell Caina, then any other ones that spawn above you and might happen to fall in (or you could jump up to kill them). After clearing the area of enemies, you will find a Blue Orb Fragment on the floor below, in the hole. With that out of the way and the Hatchling in your possession, return to the weakened root and clear it out of the way.
(1 of 2) Have a Hell Caina attack the floor above to create a hole
Have a Hell Caina attack the floor above to create a hole (left), where you will find a Blue Orb Fragment (right)
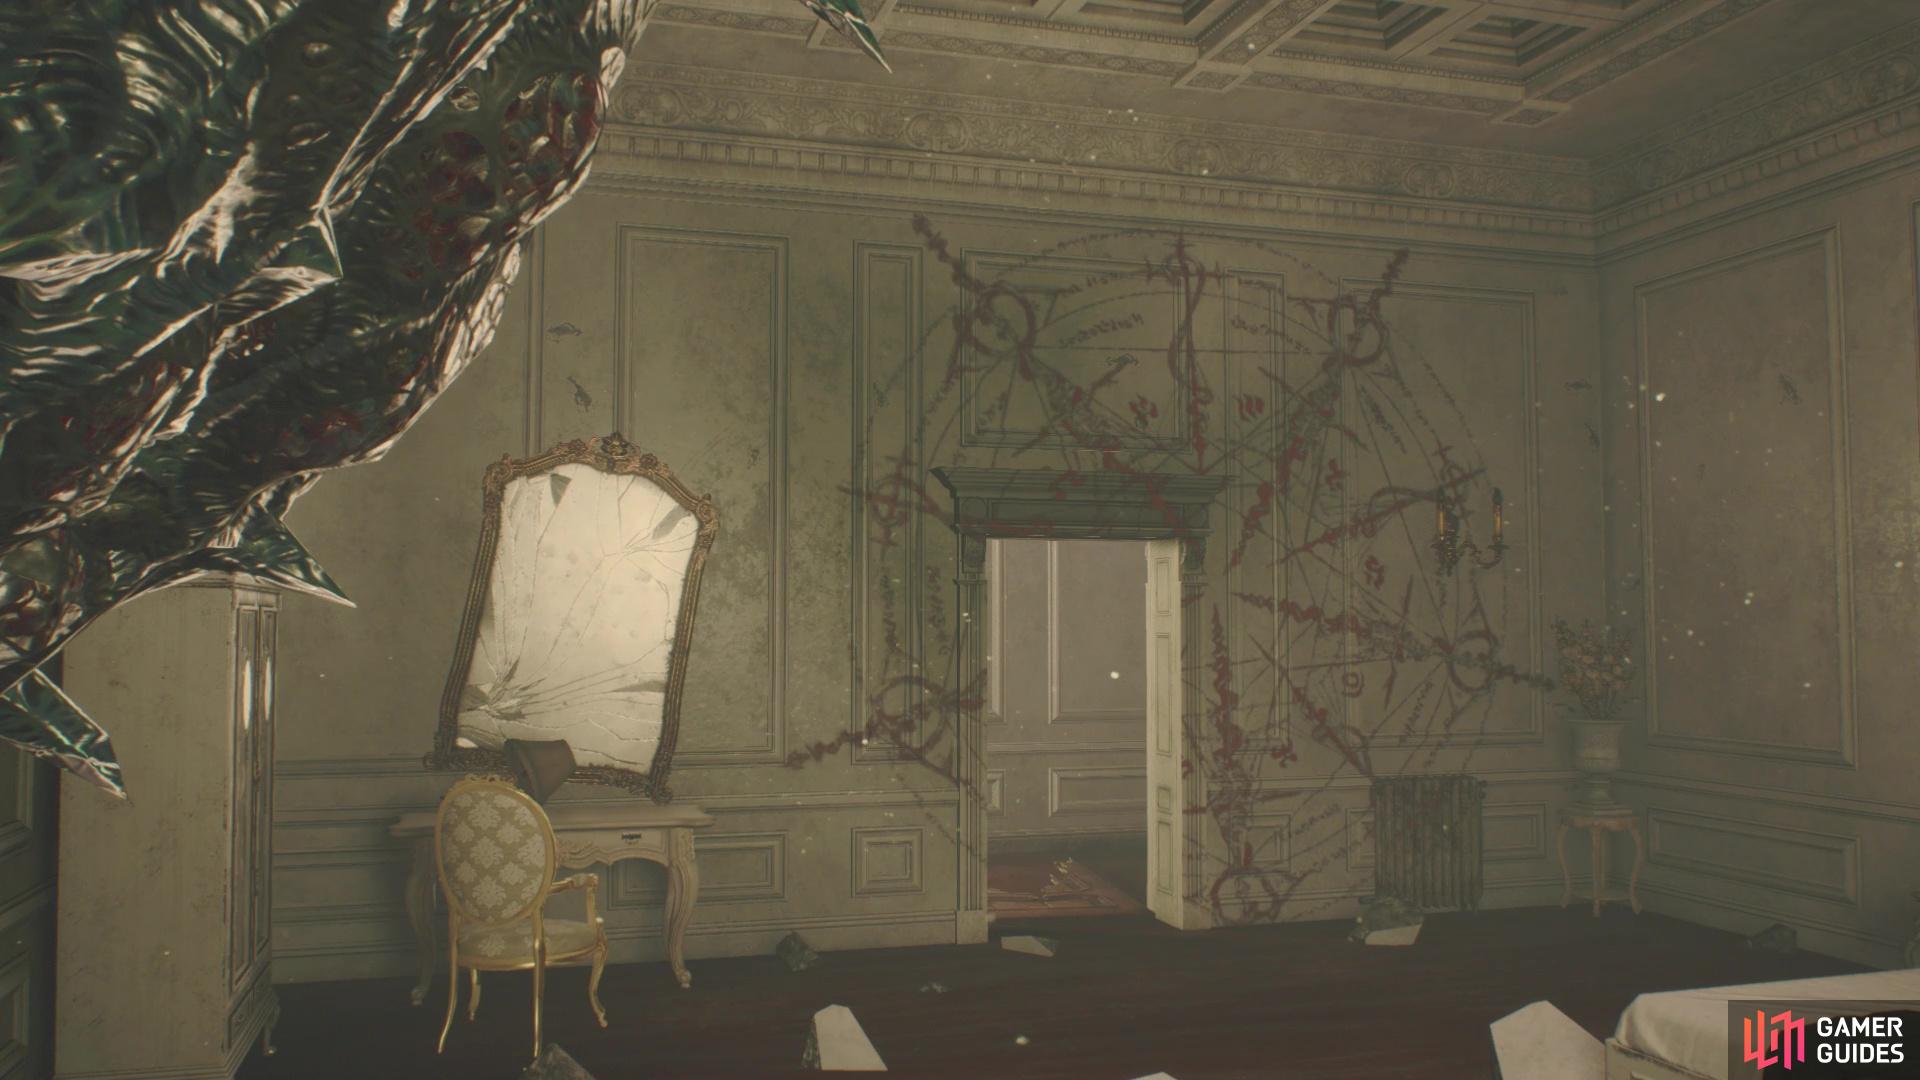
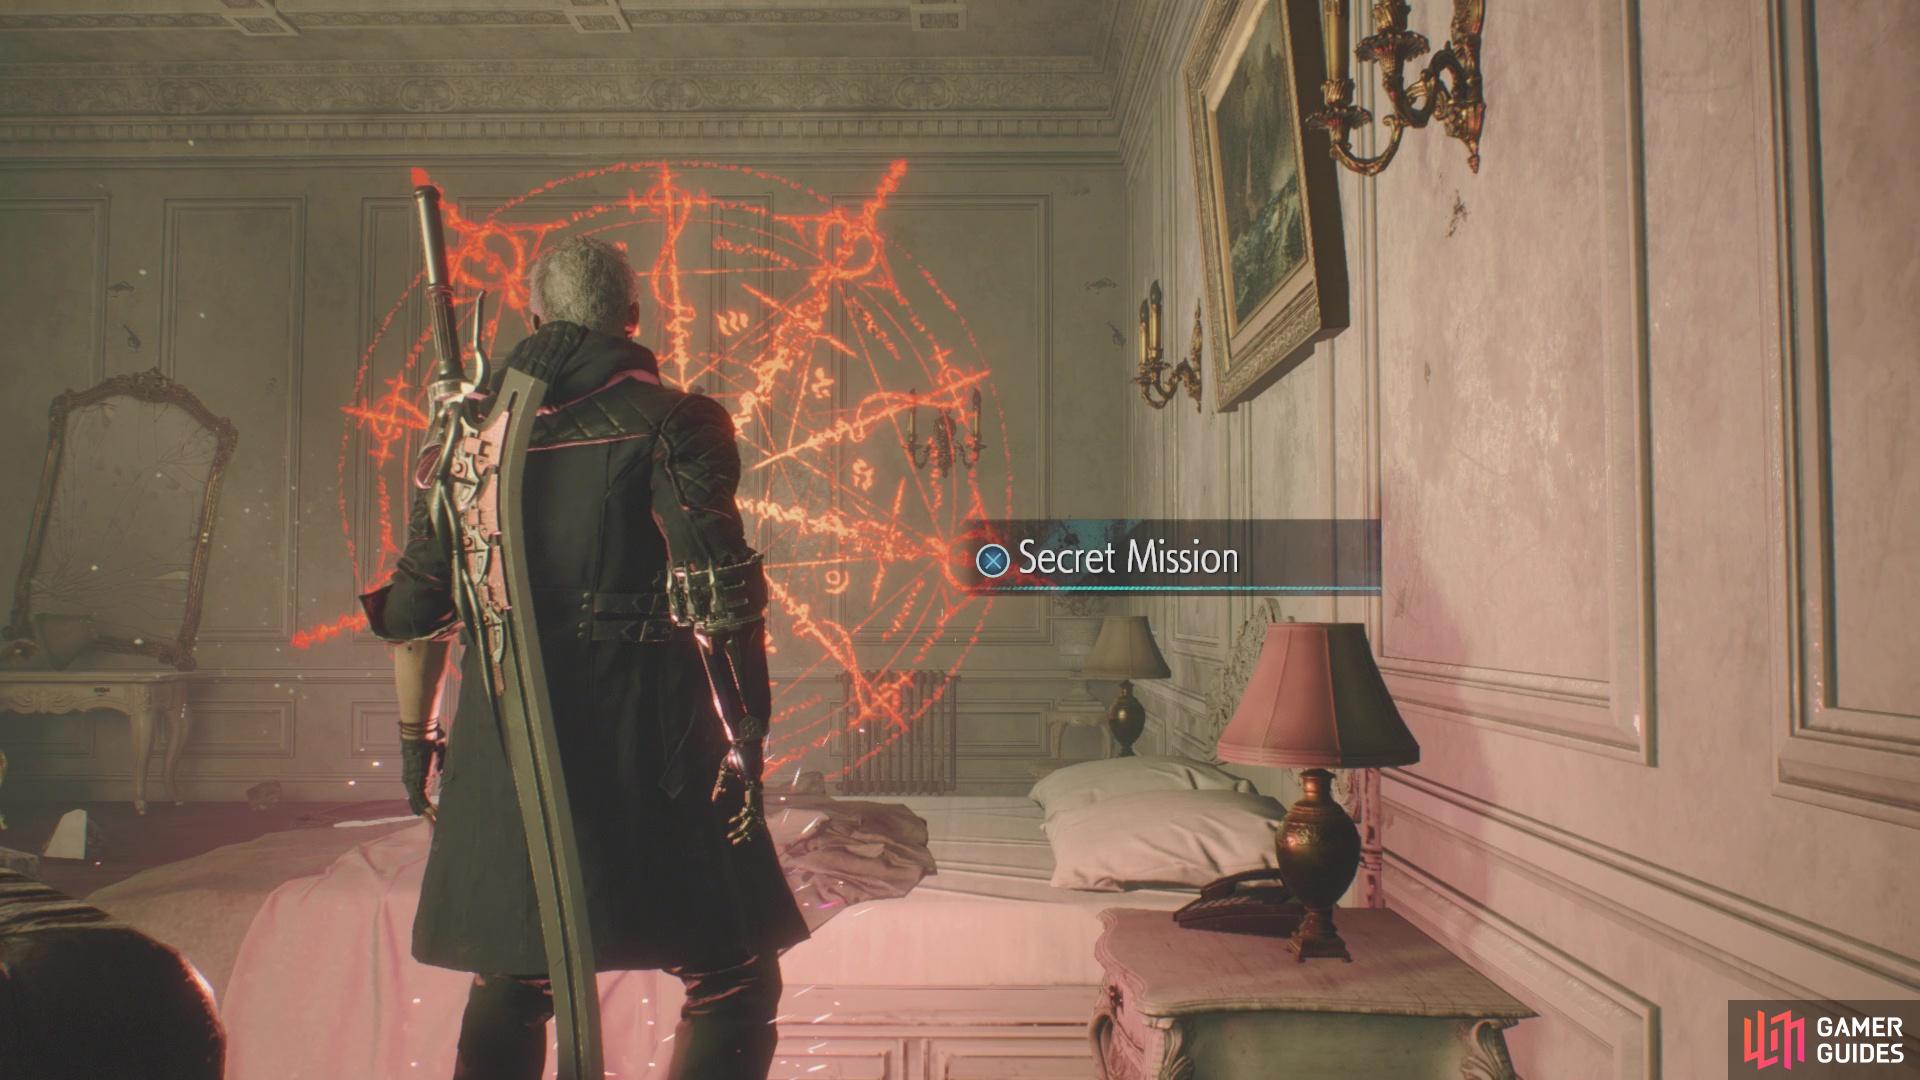
Follow the hallway down, stopping to grab some Red Orbs in the first side room, then you’ll see some roots break through a wall on your right. Go through this opening and you’ll get another tutorial, this time on Secret Missions. Basically, whenever you see the special patterns while playing through missions, there’s a Secret Mission nearby. To gain access to it, you have to find a specific spot to stand on, which will glow red once you do. While standing on it, look towards the markings and move the camera around to line up the pattern correctly. This will let you access the secret mission. Note that once you uncover a Secret Mission, it will be available from the Main Menu (where you can Mission Select).
Secret Mission 01
Go ahead and start this Secret Mission, as it is pretty simple and should be easy to finish. You just need to defeat all of the enemies within the time limit, which is 90 seconds. There will be some Empusa at the beginning, then the second wave will consist of some Green Empusa and a Hell Caina. The final wave will just have a few more Hell Caina. You shouldn’t worry about Stylish Ranks at all during this and just concentrate on killing the enemies as quickly as possible. Your reward will be a Blue Orb Fragment for completing it in time.
Once you’re done with that Secret Mission, exit through the door with the markings and follow the hallway to lounge/dining room of some sorts, where you’ll have to fight some more Hell Caina and a single Green Empusa. Continue outside and drop down, opting for the one corner with green and red orbs. As you approach the fork in the road, a giant wall erects itself on the left side, meaning you’re stuck with the right path. Keep going to the end, bypassing the weakened root you find, until you can go left to find a Hatchling.
(1 of 2) When you find these markings somewhere
When you find these markings somewhere (left), find a spot where you can piece the whole thing together to discover a Secret Mission (right)
As you head back, you might see a shiny on the ledge opposite the Hatchling, which is actually a Devil Breaker. Jump on this ledge, then look above it to find another ledge you can get to, where there will be a small hole in the wall. Go through this hole to find a Blue Orb Fragment, which should be your fourth one at this point, netting you another bar for your health. Make your way back to the weakened root now and as you do, the street will break underneath you and you’ll be introduced to a new enemy, the Hell Antenora.
You have to Antenoras to fight here, so try and keep an eye on both of them, especially if both become enraged at the same time. Once both are dead, jump back up and insert the Hatchling into the weakened root to open a new path. Follow the path to a telephone booth, where you can call Nico to do some some buying of skills or items, similar to before a mission begins. You will want to keep a lookout for these telephone booths during missions. Feel free to browse and get anything you want, then continue on the main path, where you will drop down and confront the boss of this mission.
BOSS - Goliath
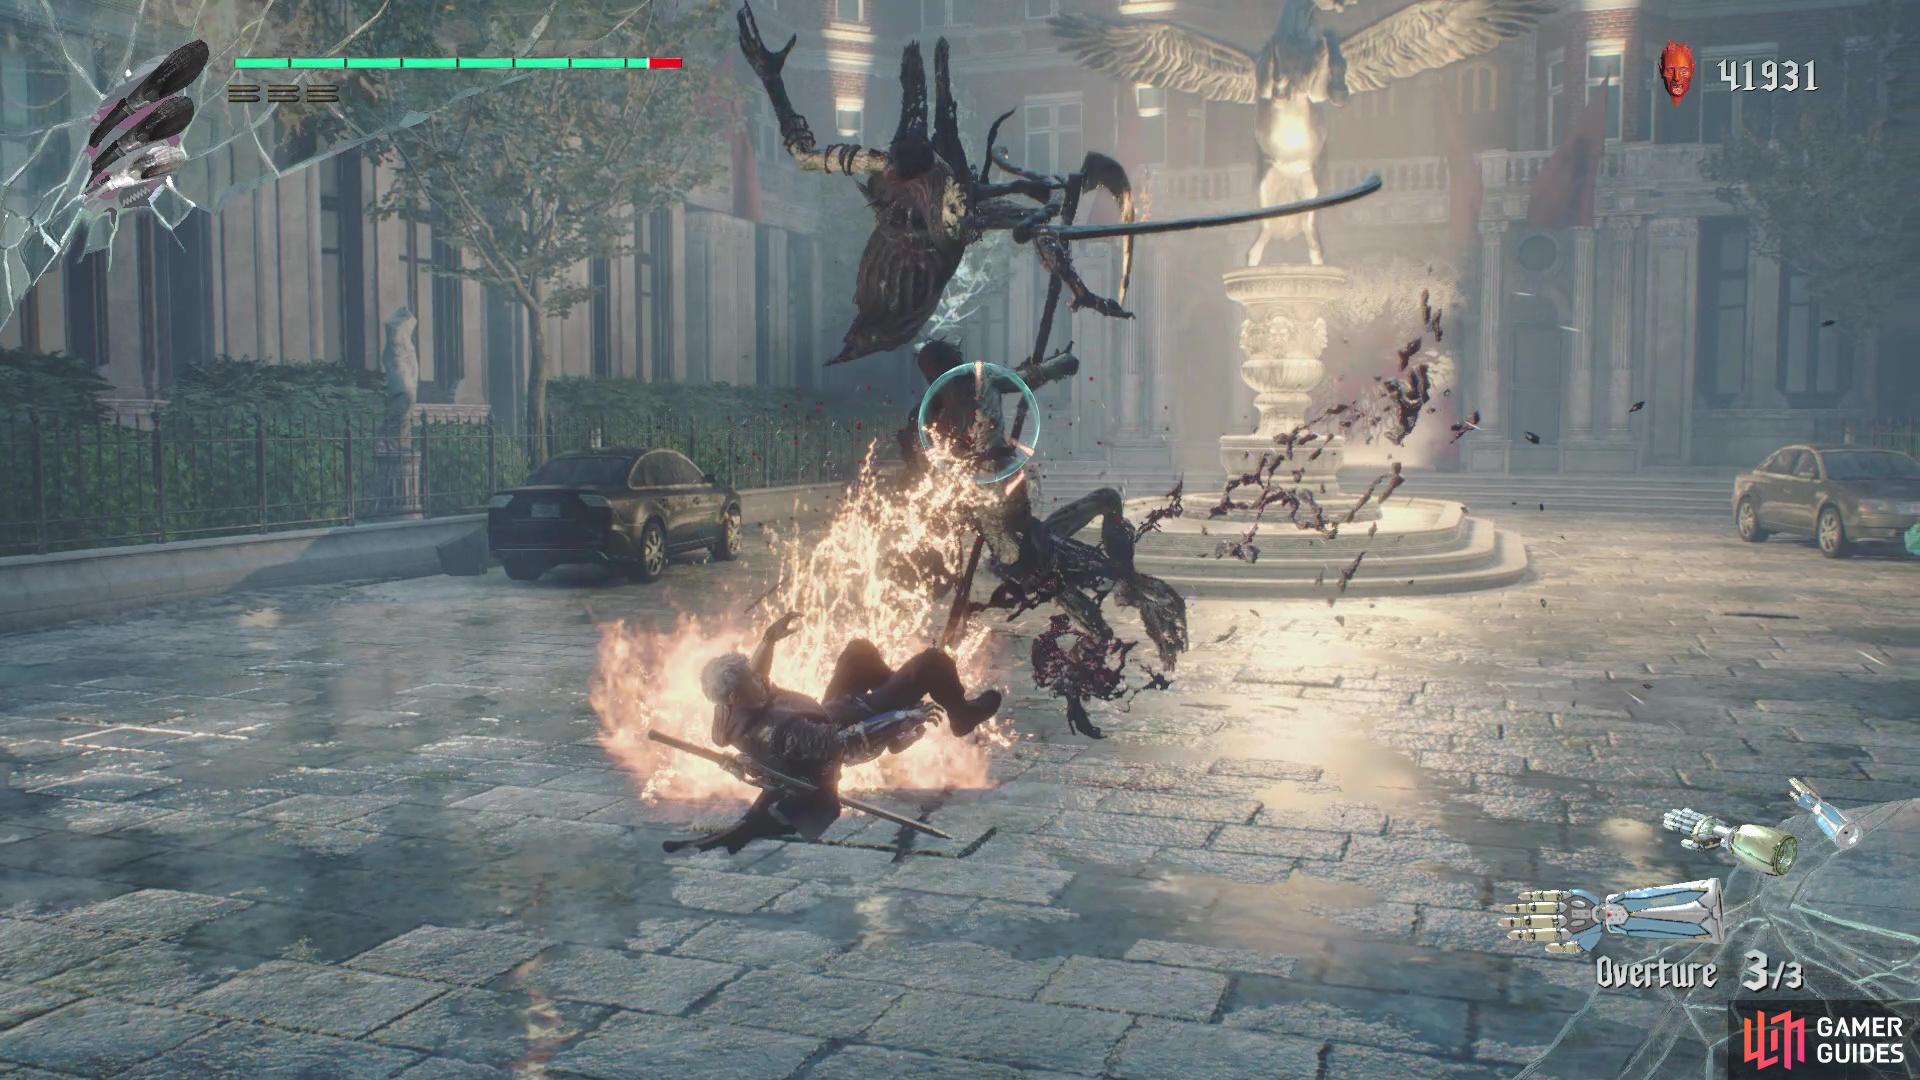
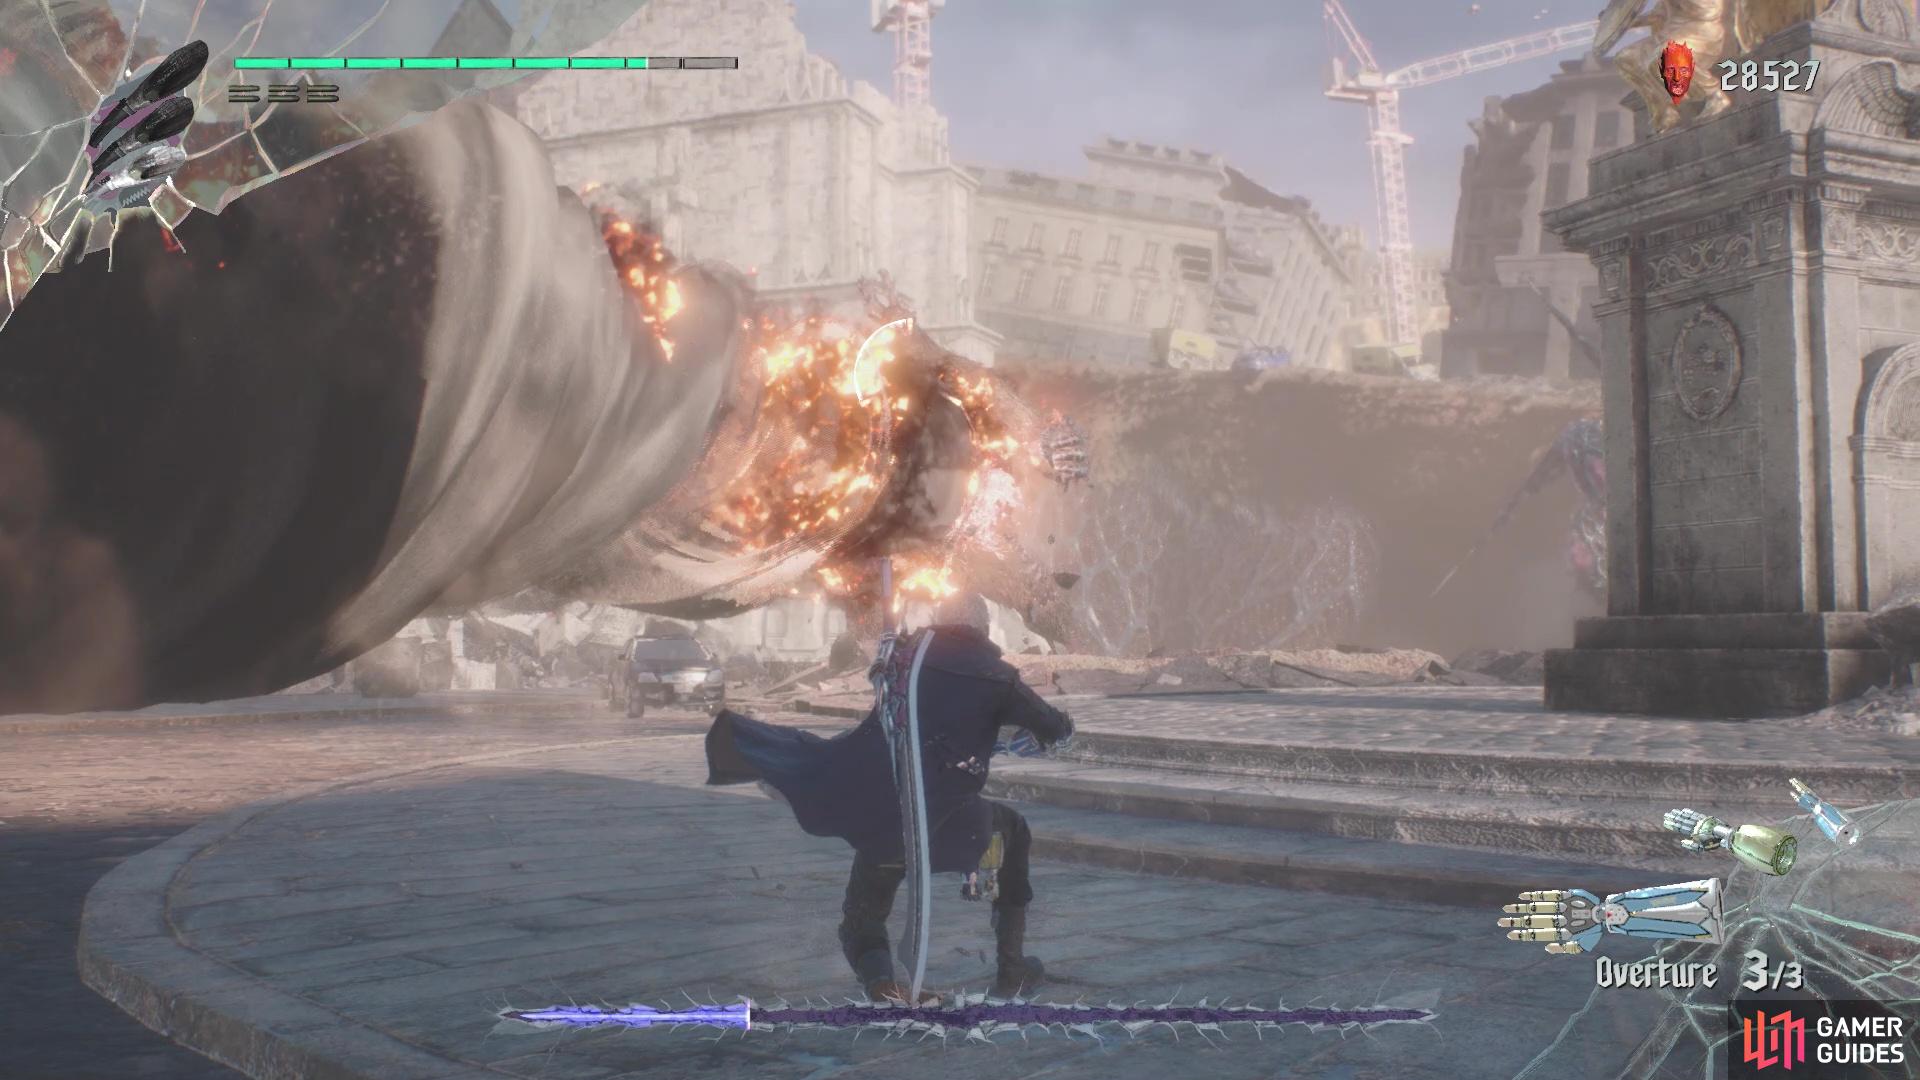
As the first supposed boss of the game, Goliath isn’t too bad, although some of his moves can be annoying. You saw him devouring some debris and objects in the introductory cutscene, spitting out a giant fireball, but he doesn’t seem to really use this until later on in the battle. The first stage of the battle is on a rooftop, where Goliath seems to simply use melee attacks the entire time. Stick to the sides and his behind while you attack him, being ready to dodge any wide sweeping attacks that will come your way. Once you cause enough damage, Goliath will jump into the air and crash into the ground, causing the roof to cave in, dropping both of you into the building below it.
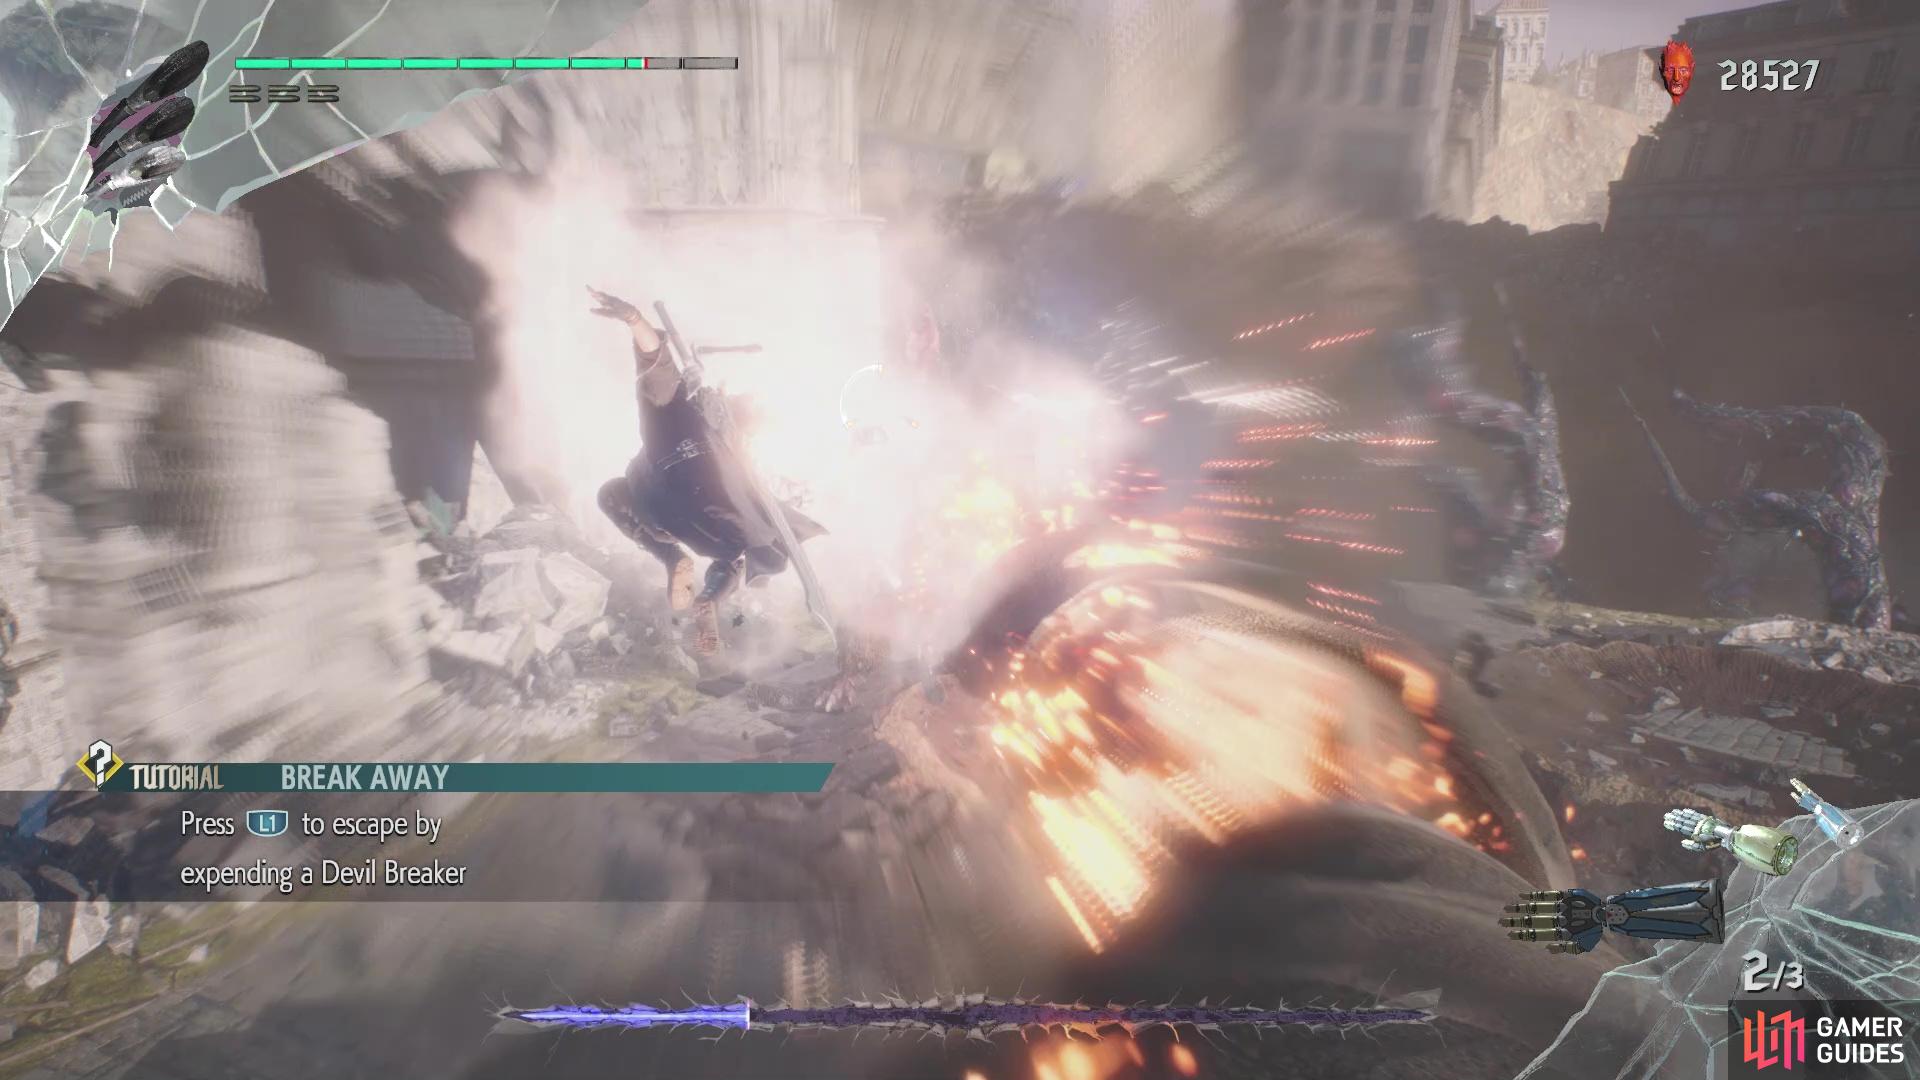
(1 of 2) Watch out for the giant inhale attack from the Goliath
Watch out for the giant inhale attack from the Goliath (left), as you’ll have to break the current Devil Breaker to escape it (right)
This second part is similar to the first, although Goliath might use a pillar or two as a weapon/projectile. Continue doing the same as before and once enough damage has been inflicted, the boss will bust a hole in the wall and start transferring to the final phase. Note that he will start inhaling with his stomach mouth, so quickly step outside and wait for Goliath to join you shortly. It is at this point he can start doing a few new attacks, like pounding the ground with either one arm or both. If you’re far away from him, Goliath can jump towards you or he can also run at you.
At some point, the boss will jump to one side of the arena and begin doing the big inhale again, like inside of the building. If you get caught up in it, you’ll have to destroy your current Devil Breaker by pressing L1/LB to escape. Keep attacking Goliath and you will eventually whittle down his health to nothing, which will bring this mission to a close.

 Sign up
No Comments