
Nero’s Path
If you didn’t go into the Customize menu in the previous mission, then going into it here will get your some new arms. The first is Tomboy, followed by Buster Arm, Rawhide and Ragtime. Tomboy augments both Red Queen and Blue Rose, changing their movesets and disabling lock-on. Buster Arm is a powerhouse of a Devil Bringer, which grabs demons and throws them to the ground, with the throw varying depending on the demon. Rawhide functions similar to a chain whip and can actually combo with itself, as well as with other attacks. Ragtime’s specialty is to slow down time, with the normal version creating a small bubble and the charged version slowing down time in the whole arena.
Feel free to do anything you need with Nico, then begin the mission. As you begin, you’ll find yourself on one side of a tunnel, with V on the other side. Run forward and destroy the blood clot ahead of you, then keep moving until you are introduced to a new enemy, the Riot, although you won’t fight them just yet. Instead, you will have to battle two Death Scissors, although it’s one at a time. If you remember the counter-one hit strategy from Mission 03, then these will be a piece of cake. Just wait until they’re about to attack, then clash with your sword to make them spew a red mist, which means you can shoot them for the one-hit kill.
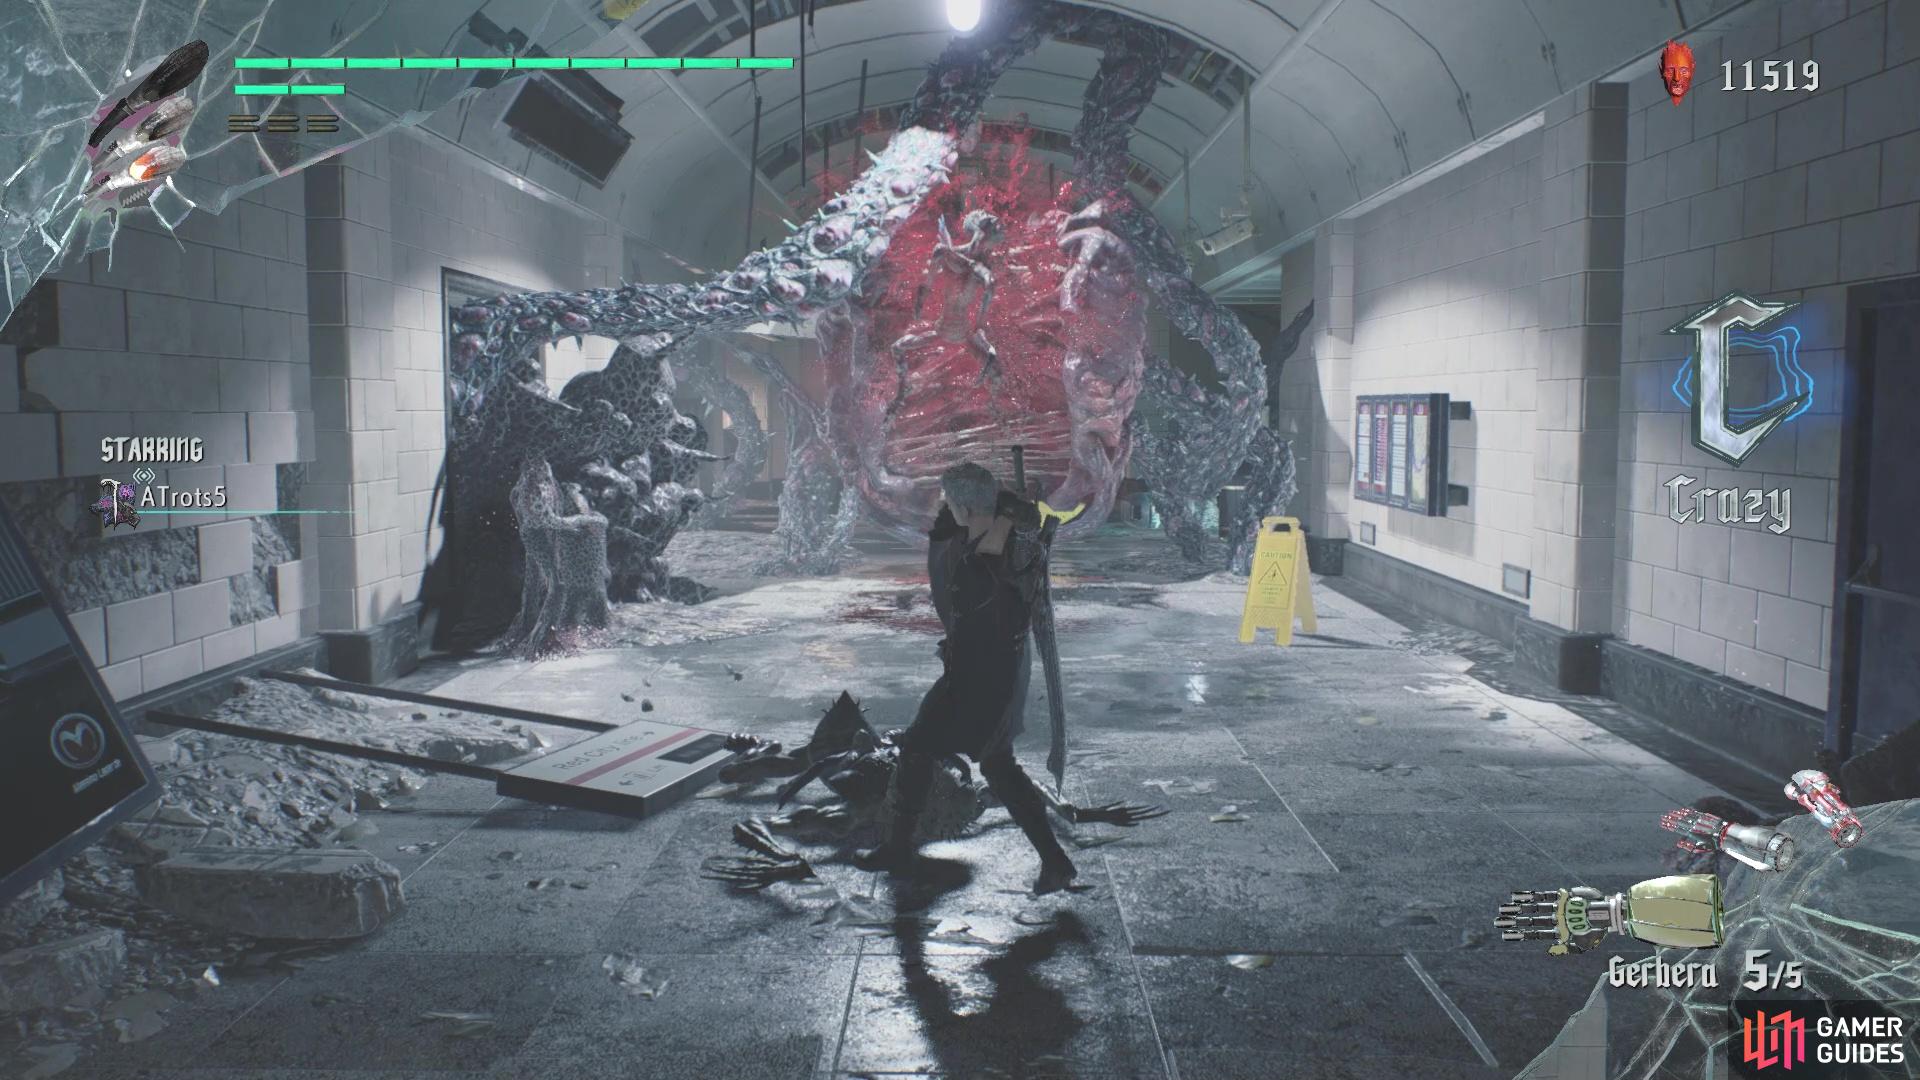
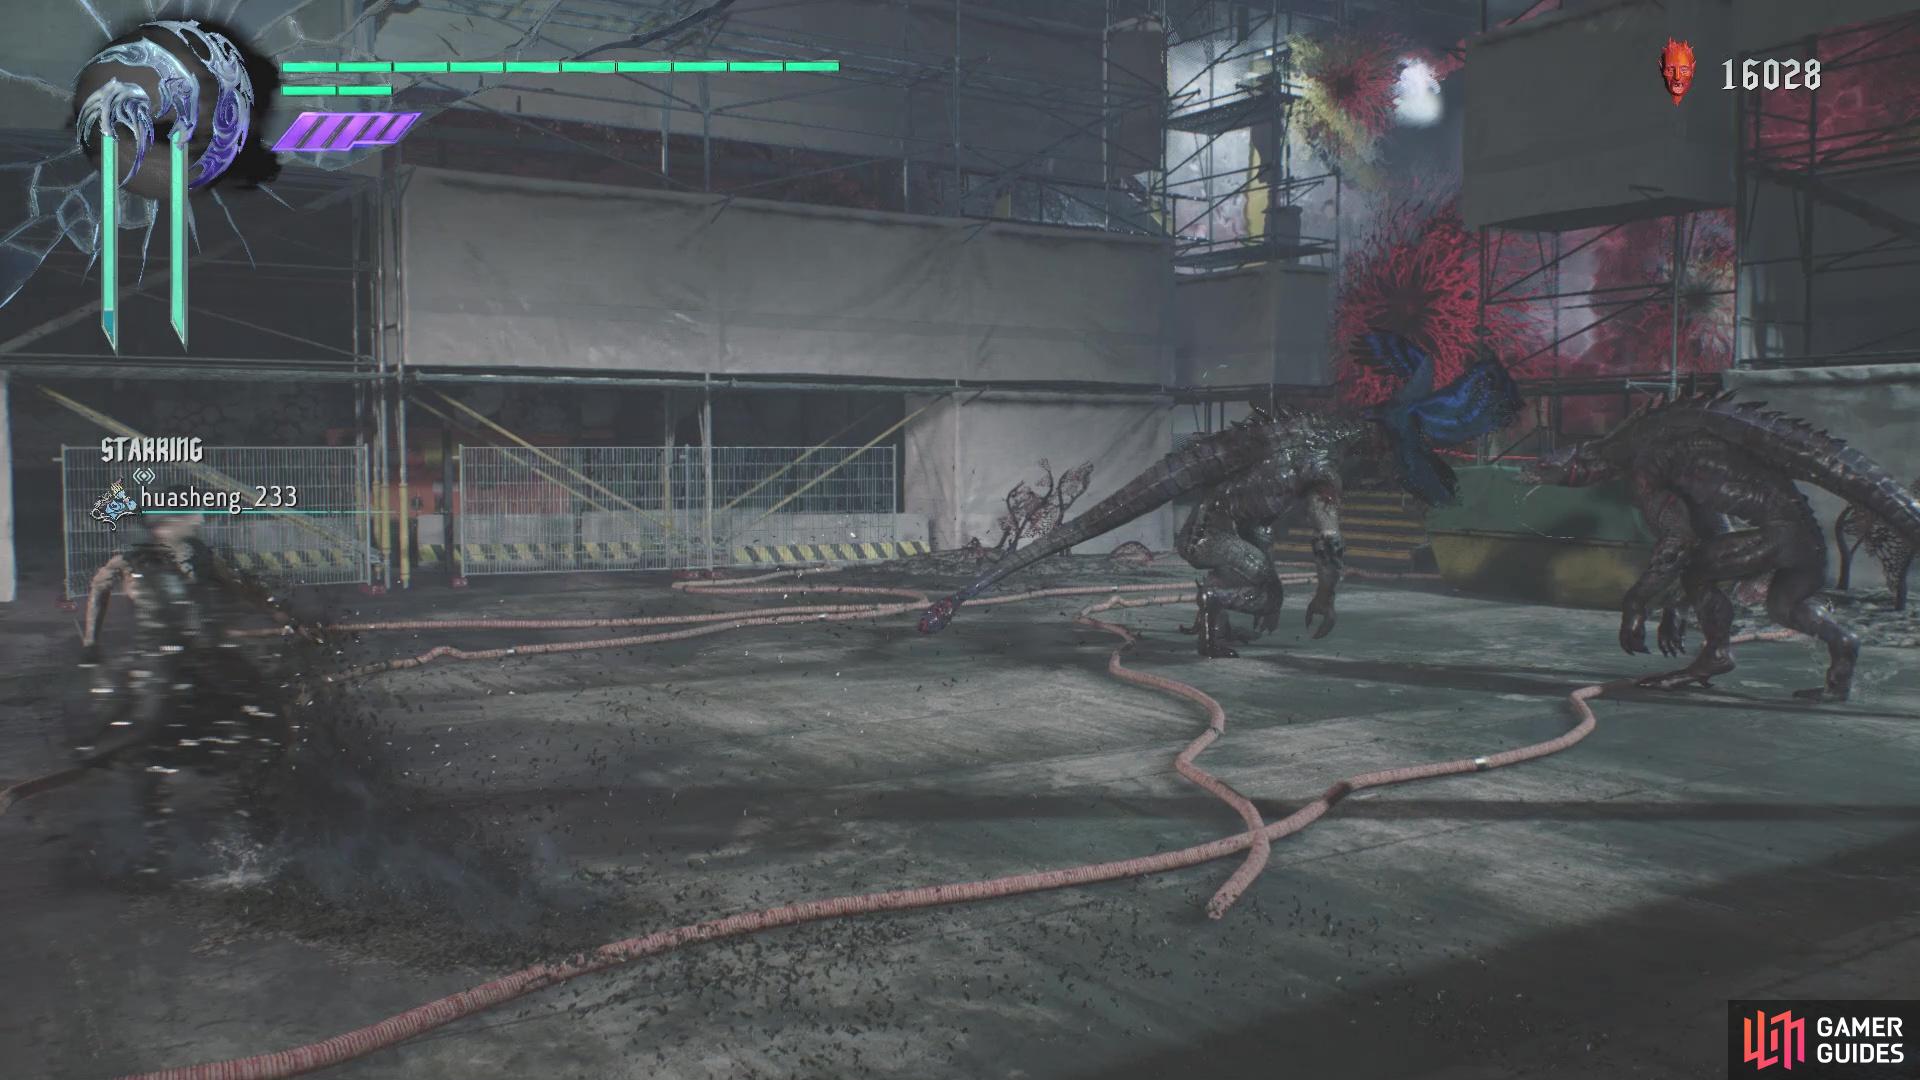
Continue on the path after the Death Scissors, passing through a train car and when you reach the stairs, look underneath for some Red Orbs. Head all the way to the top of the stairs, bypassing the open doorway, for a Gold Orb, then double back down and go through that opening. You will eventually reach a larger hallway with some enemies, and some strange thing at the end. This thing is an enemy spawner (hereafter called a Spawner), and will keep spitting out more Empusa for you to fight while it’s still kicking. Thus, you need to watch the other Empusas (not really a problem here) and destroy the Spawner.
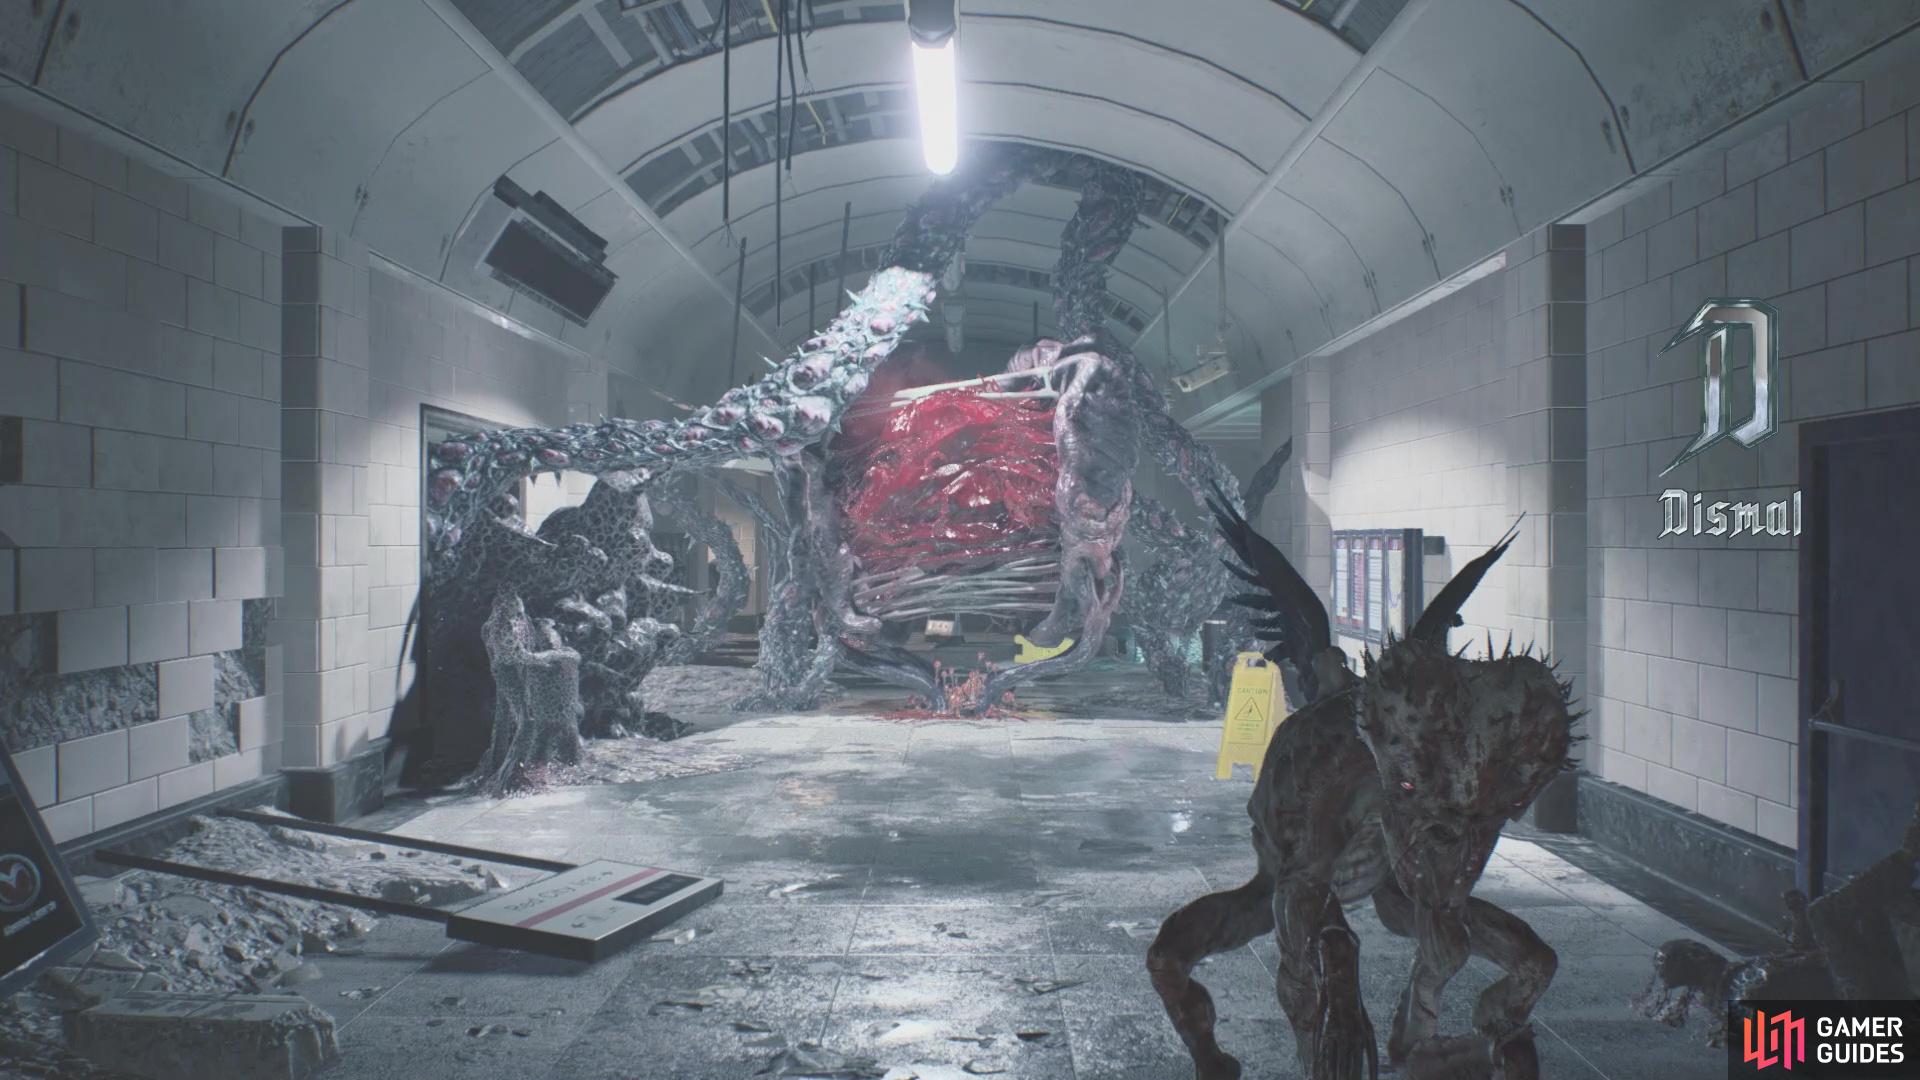
(1 of 2) These strange sac-like things will spawn enemies during a fight
These strange sac-like things will spawn enemies during a fight (left), It’s usually best to try and destroy them as soon as possible (right)
Travel on the path behind the Spawner, down an escalator and you will enter a large room with another Spawner. This one is spitting out some Riots, so let’s go over them real quick before anything else.
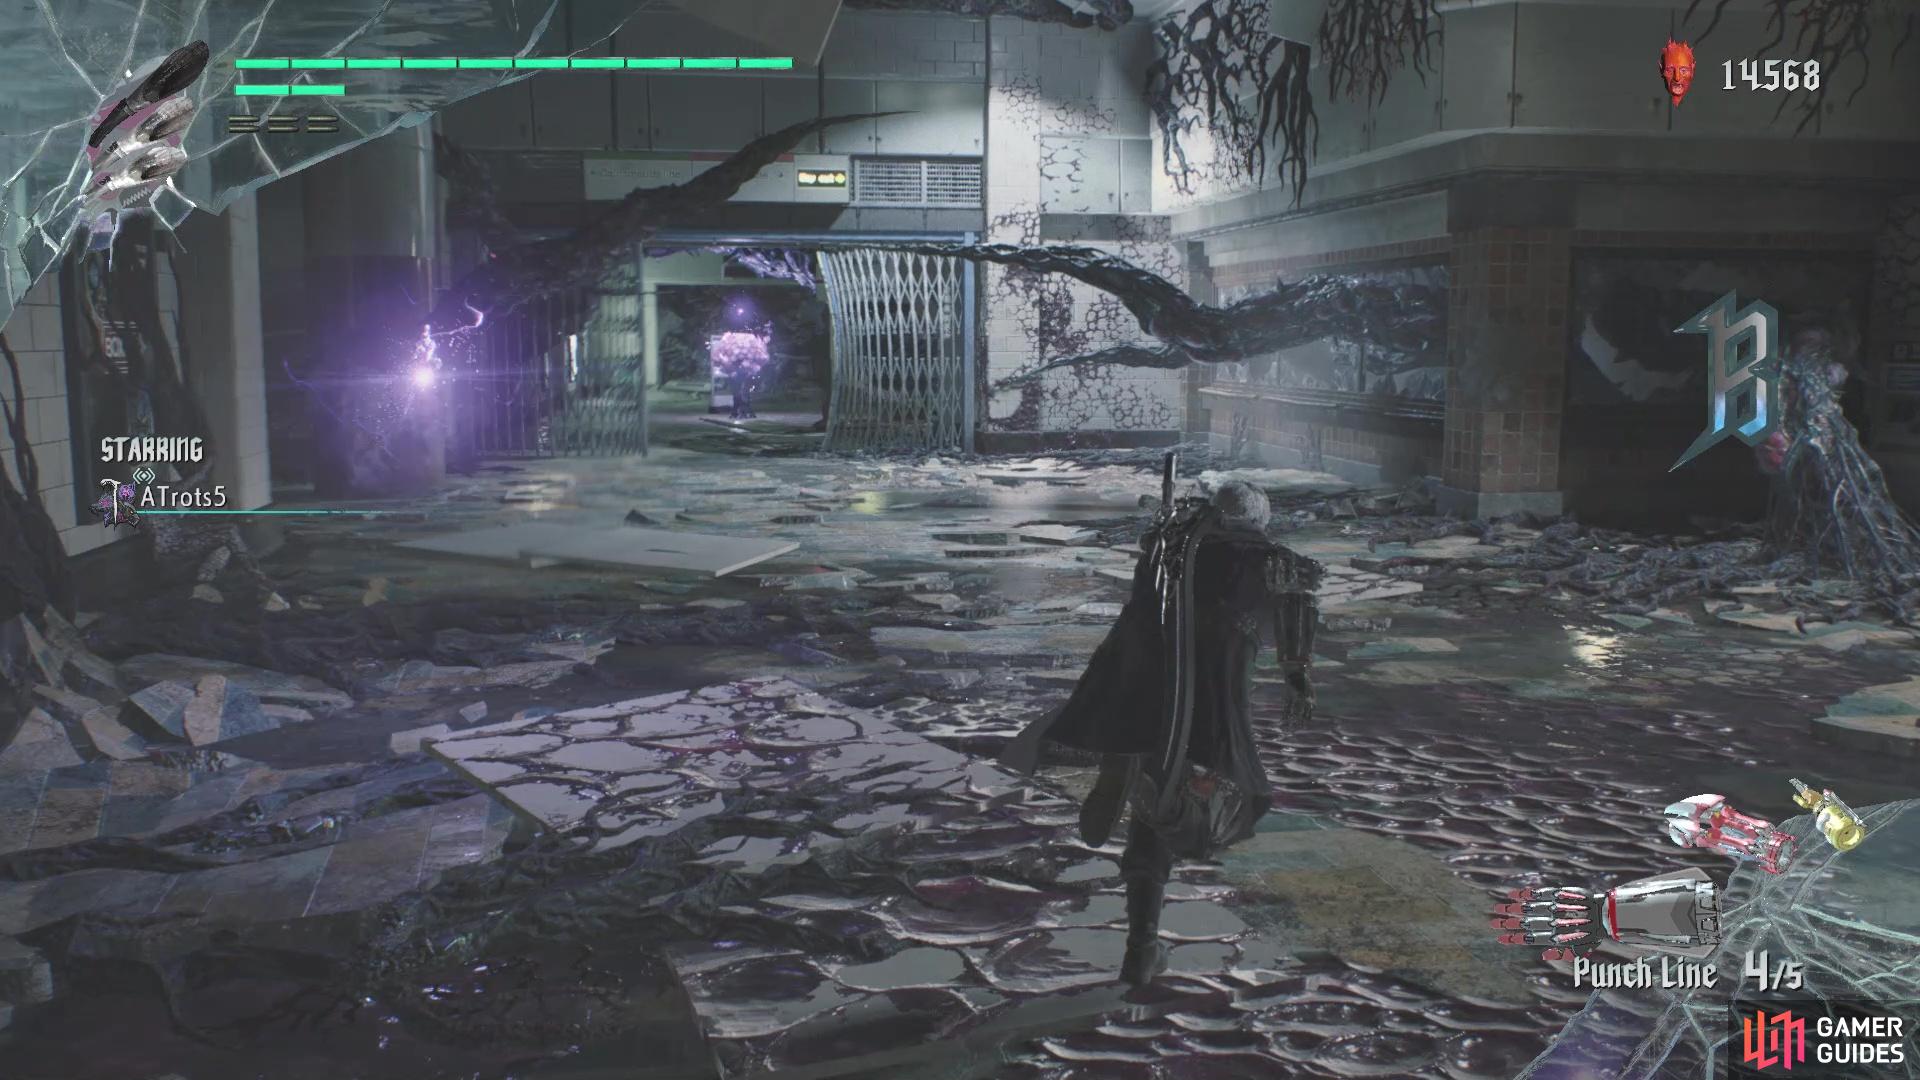
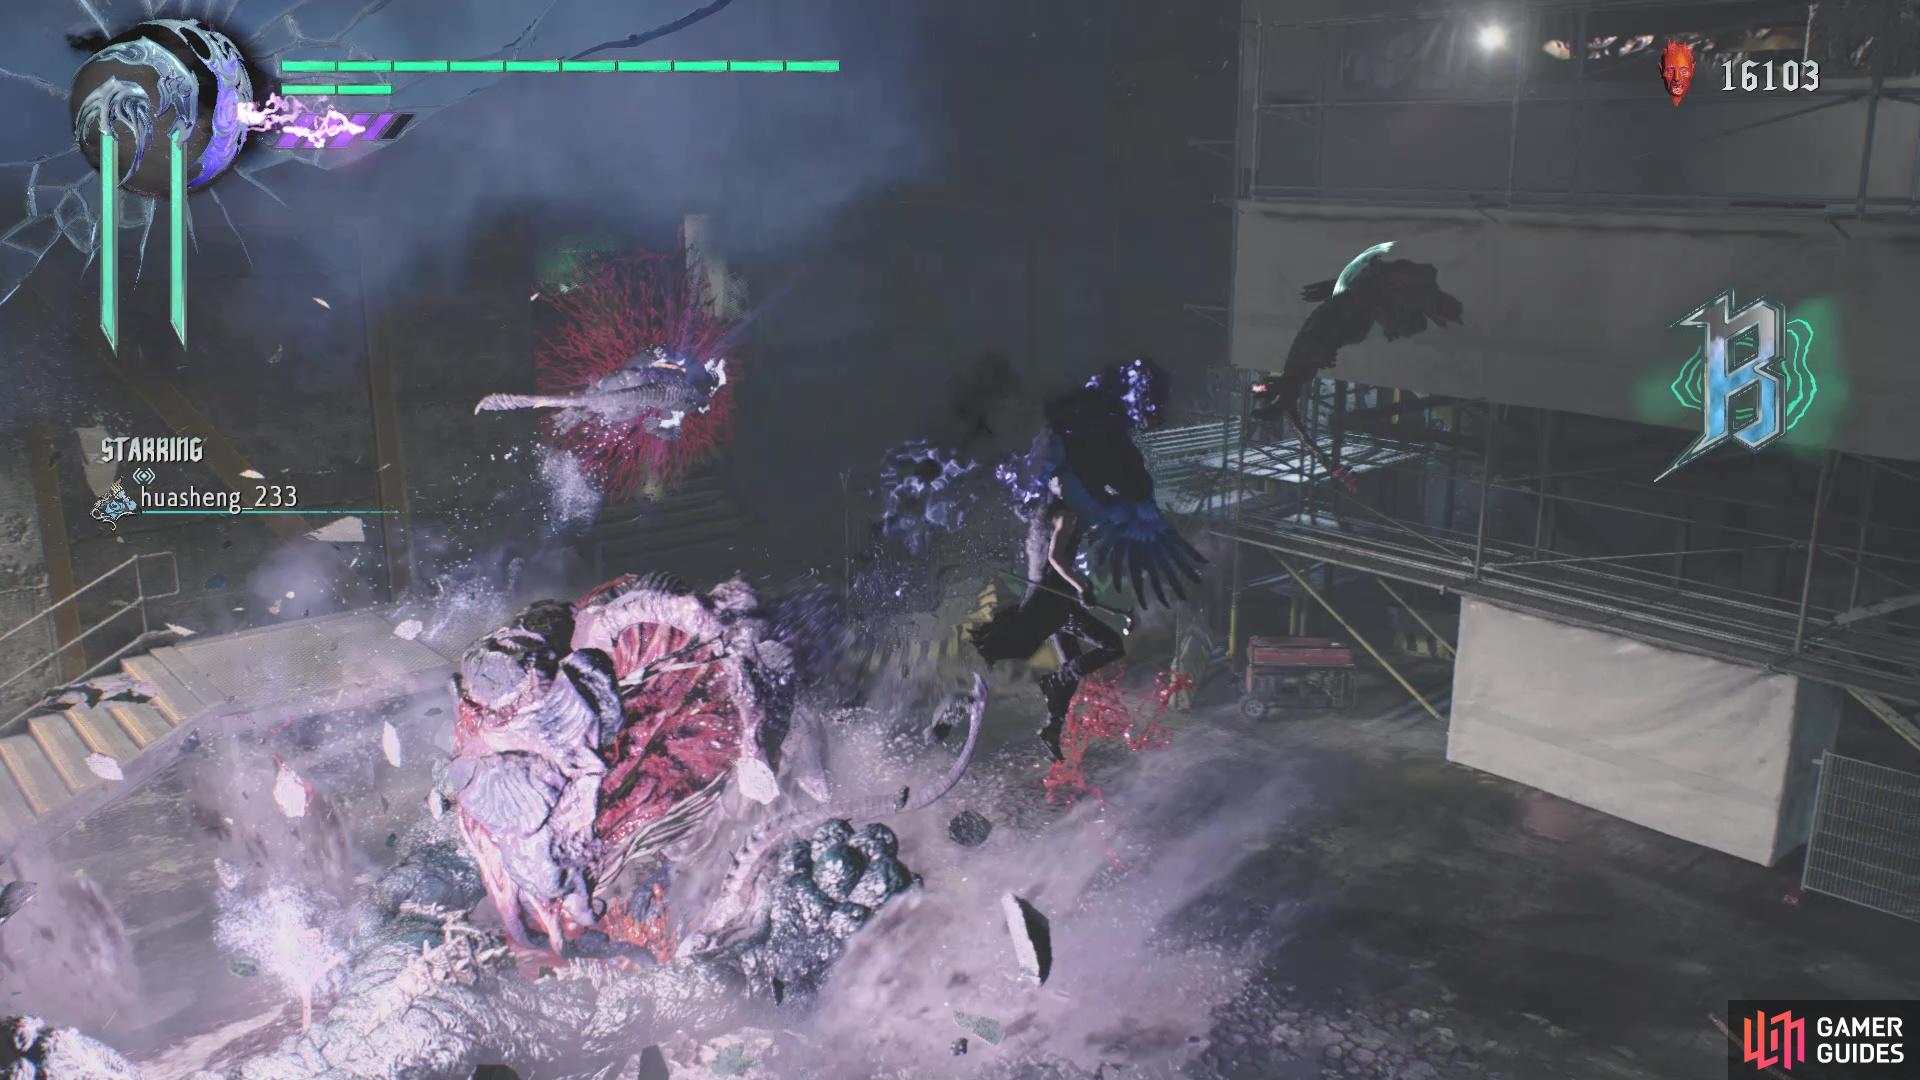
This battle can be a bit difficult, simply because you might be dealing with three to four Riots from the Spawner. If you have that many, thin the herd a little bit by one or two, then concentrate on the Spawner. When that is gone, you can clean up the rest of the Riots, then get on your merry way. As you go down the next hallway, it will change, but don’t be alarmed, as it’s just cosmetic. In the next room, you will see a Red Empusa, but ignore it for a second and look to the right of where you enter to see some brain-looking object. This little thing, dubbed a Zapper, will shoot little projectiles at you and only take a few hits to destroy.
Take out that first Zapper, then go after the Red Empusa, heading into the next room to find another Zapper. Look in the one corner for a blood blot, which when destroyed, will allow to continue. After going down the escalator, you’ll see the next room and witness V fighting while the camera pans around it. Locate the Red Orbs at the dead end, then enter the larger area to come to another Spawner. This one will produce Hell Antenoras, so you don’t want to doing that. Destroy it quick, then focus on the other enemies, giving priority to the Antenoras because of their enrage.
The brain-like things will send out projectiles every few seconds
With that out of the way, head to the dead end and look behind the root for a slightly hidden blood clot, which will open the way to the area below you via a giant hole. There’s some Red Orbs behind you as you fall and more behind the pillar, near the opened train car, actually connected to the pillar itself. Pass through the train and go in between them, leading you to the open area. Here, you will have to fight some Pyrobats at first, then Hell Cainas second, and Hell Antenoras, as well as some tentacles. There are some loose Red Orbs on the opposite side from where you dropped down, so look around to pad your numbers.
V’s Path
V starts out pretty similar to Nero, with a blood clot in front of him, so destroy it and continue down the tunnel to be introduced to Riots, although you won’t be fighting them right then and there. Instead of them, you’ll be fighting some Hell Cainas, so kill them and continue along until you come to a transformed hallway. As you pass through the doorway here, be careful about the surprise Riot around the corner (look up above for more information on these demons). As long as you’re aggressive, you should have no trouble taking it out for good.
Head downstairs and you will find an enemy Spawner, which conjures up three Riots to help protect it. This can be a challenging fight for V, as he doesn’t have the hands-on approach Nero does. That being said, you will want to try and lure the Riots to one corner of the room, opposite the Spawner. Once they are there, rush over to the Spawner and try to inflict as much damage as possible on it before the Riots come back to say hello to you, with their claws. Of course, you could also summon Nightmare to help out with things, since his attacks (especially the laser) makes things go boom.
(1 of 2) You can try luring the Riots to the other side of the room from the enemy Spawner
You can try luring the Riots to the other side of the room from the enemy Spawner (left), but it might just be easier to summon Nightmare to help out (right)
Continue through the next doorway and turn right to find a blood clot, as well as a brain-looking object that shoots projectiles at you. It only takes a few hits to destroy them, so they aren’t too much trouble. The blood clot will destroy the root, allowing you to exit by the train car with the bright lights. In the big area, on the side where you entered, you can collect some Red Orbs, as well as a Gold Orb in between the one pillar and the wall. There will be another enemy Spawner here, which is similar to the previous one, as it spits out Riot enemies. This place is a little bigger, though, so you’ll have more room to maneuver. You will also have to deal with a random Hell Antenora.
Once the coast is clear, go through the small gap by the train car and look for a blood clot up against the pillar on this side. This is the point where you might be able to meet up with Nero, depending on how fast you were to get to the big escalator spot. If there’s nothing there, then you can proceed to the next spot below. Otherwise, fight whatever enemies are there, then move up the escalator.
Converged Paths
You will see a giant escalator before you and depending on how quick you were, you might happen to see V here fighting with you. Either way, the enemies are the same, so this will apply to either character. As you make your way up the escalator, some Zappers will spawn on the railings, as well as some other enemies, including a Death Scissors and a few Hell Cainas. First and foremost, take care of the Zappers to avoid getting smacked by a roaming projectile, then try and kill the Death Scissors with the one-hit KO if you can. That just leaves the Hell Cainas, who will probably be at the bottom of the escalator, but they are easy enough at this point.
When you’re finished here, climb to the top of the escalator and there will be two Spawners this time, with them spitting out Riots. As before, concentrate on the Spawners before anything, while keeping an eye on the Riots. Keeping the Riots off the screen will definitely help with this, so give it everything you got on the Spawners to get rid of them as soon as possible. That about sums up the mission, for the most part, outside of the final bit. Journey the rest of the way up, where you will find yourself outside. On the one end with the huge Red Orb Cluster, some tentacles will spawn, so just shoot them from afar and reap the benefits of the orbs. Descend to the bottom and onto the stage, where you will be pitted against a plethora of foes.
MINIBOSS - Proto Angelo and Scudo Angelos
While not technically a boss, you will be fighting against five enemies at the same time, although you will have some help with the other character you didn’t choose joining in on the fun. The Scudo Angelos carry a big shield, meaning that attacks from the front are likely to be blocked, so you’ll have to find a way to get behind them. The easiest way, of course, is to bait an attack and dodge it, then quickly go to the back and unleash a combo of your own. They don’t have much in the way of health, so they should go down pretty quickly.

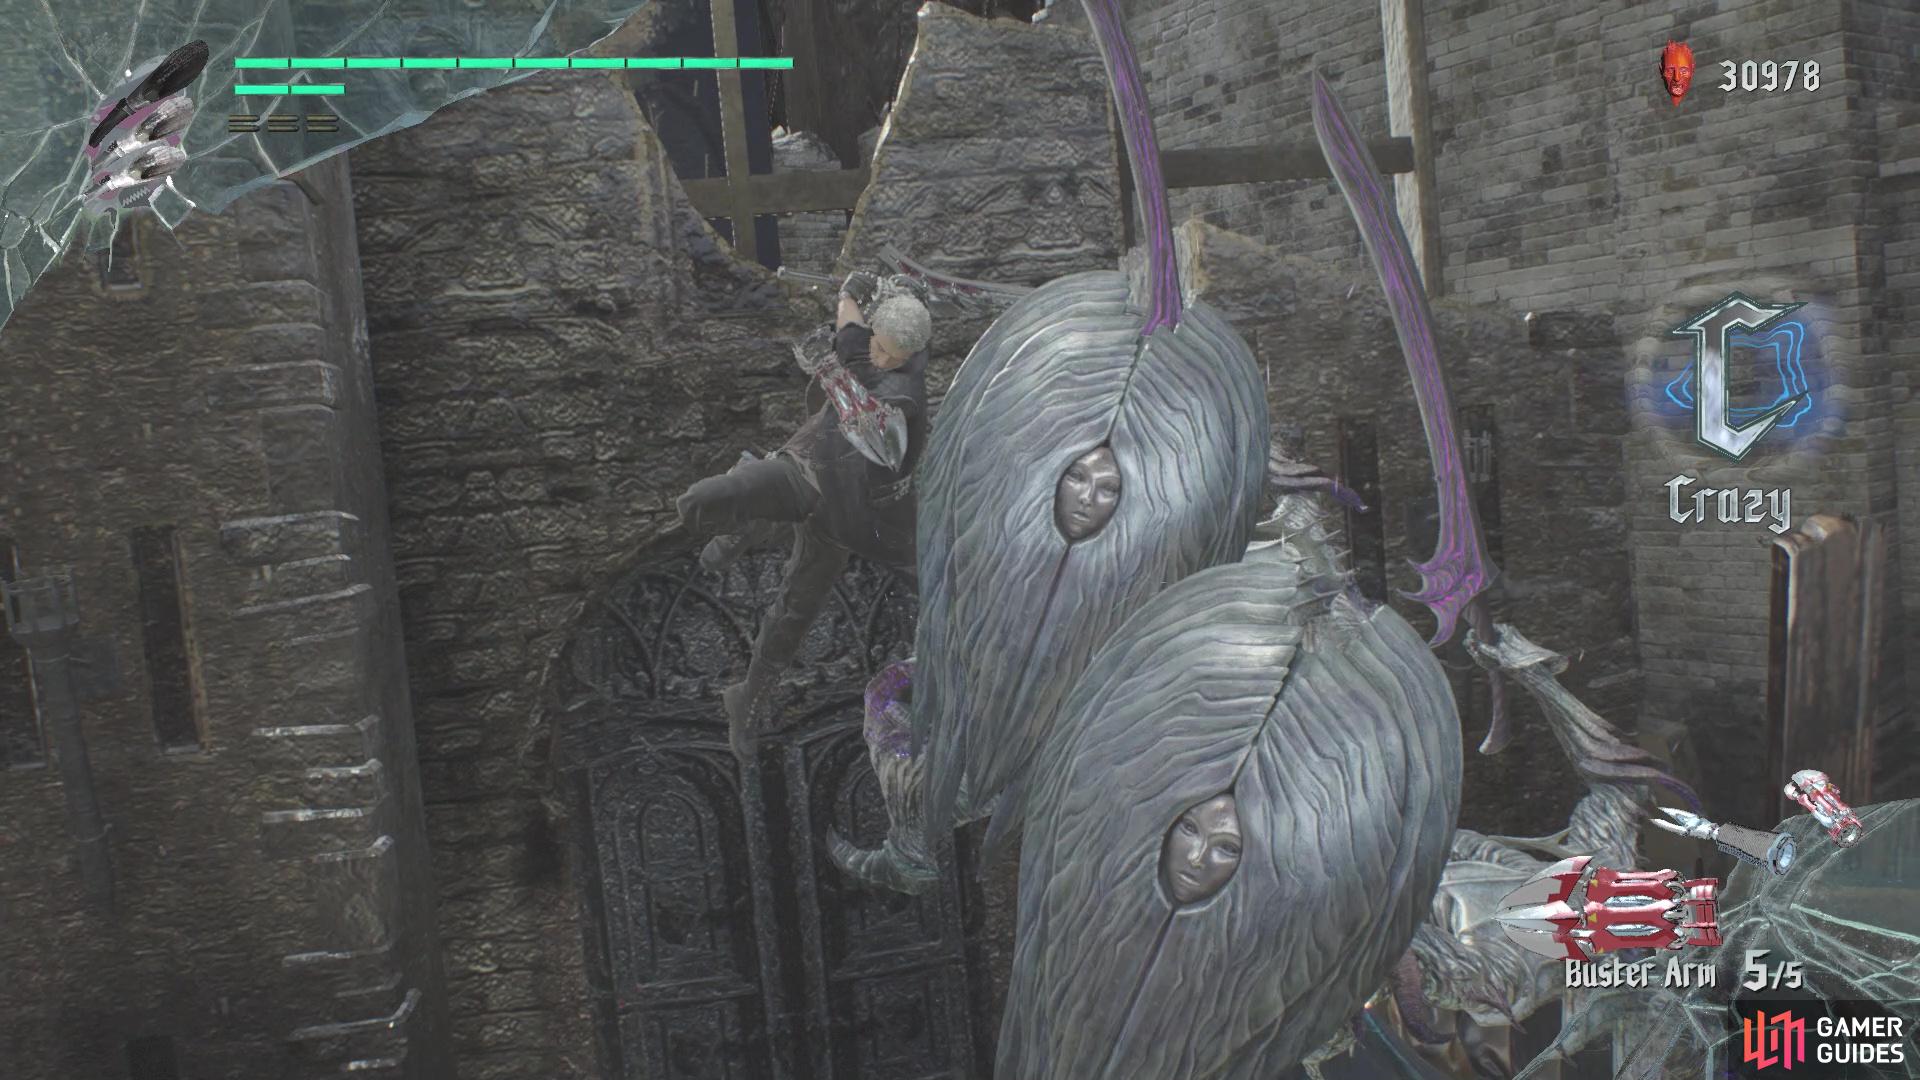
(1 of 2) Scudo Angelos have a shield that’ll block your attacks from the front
Scudo Angelos have a shield that’ll block your attacks from the front (left), Get them up in the air, though, to make them completely vulnerable to everything (right)
That’ll leave Proto Angelo, who can also block attacks from the front at times. When you see him raise his sword, he will block the attack and counter with a sword swipe. You have plenty of time to dodge this, as the attack has a bit of a windup, so you can counter after dodging. Overall, though, this fight isn’t too hard, as you have the other character helping out. Depending on whether you have an actual player doing some work or the AI, then things might be over before they even get started.


 Sign up
No Comments