
It’s time to return to playing V, so you’ll need to get back in the groove of staying back and letting your pets do all of the work. If you have enough Red Orbs, you might think about upgrading Griffon’s and/or Shadow’s health at this point, as their base health might not cut it anymore. Despite Griffon being the weaker of the two, health-wise, Shadow has more utility with his quick dodging, so go for his health upgrade first. At this point, though, you will want to save up some Red Orbs for the next mission, as they will be needed.
As the mission begins, move forward a little bit and some Empusas will appear to block your path. Dispose of them and continue going to the open arena, where the game will introduce you to a new enemy, the Behemoth.
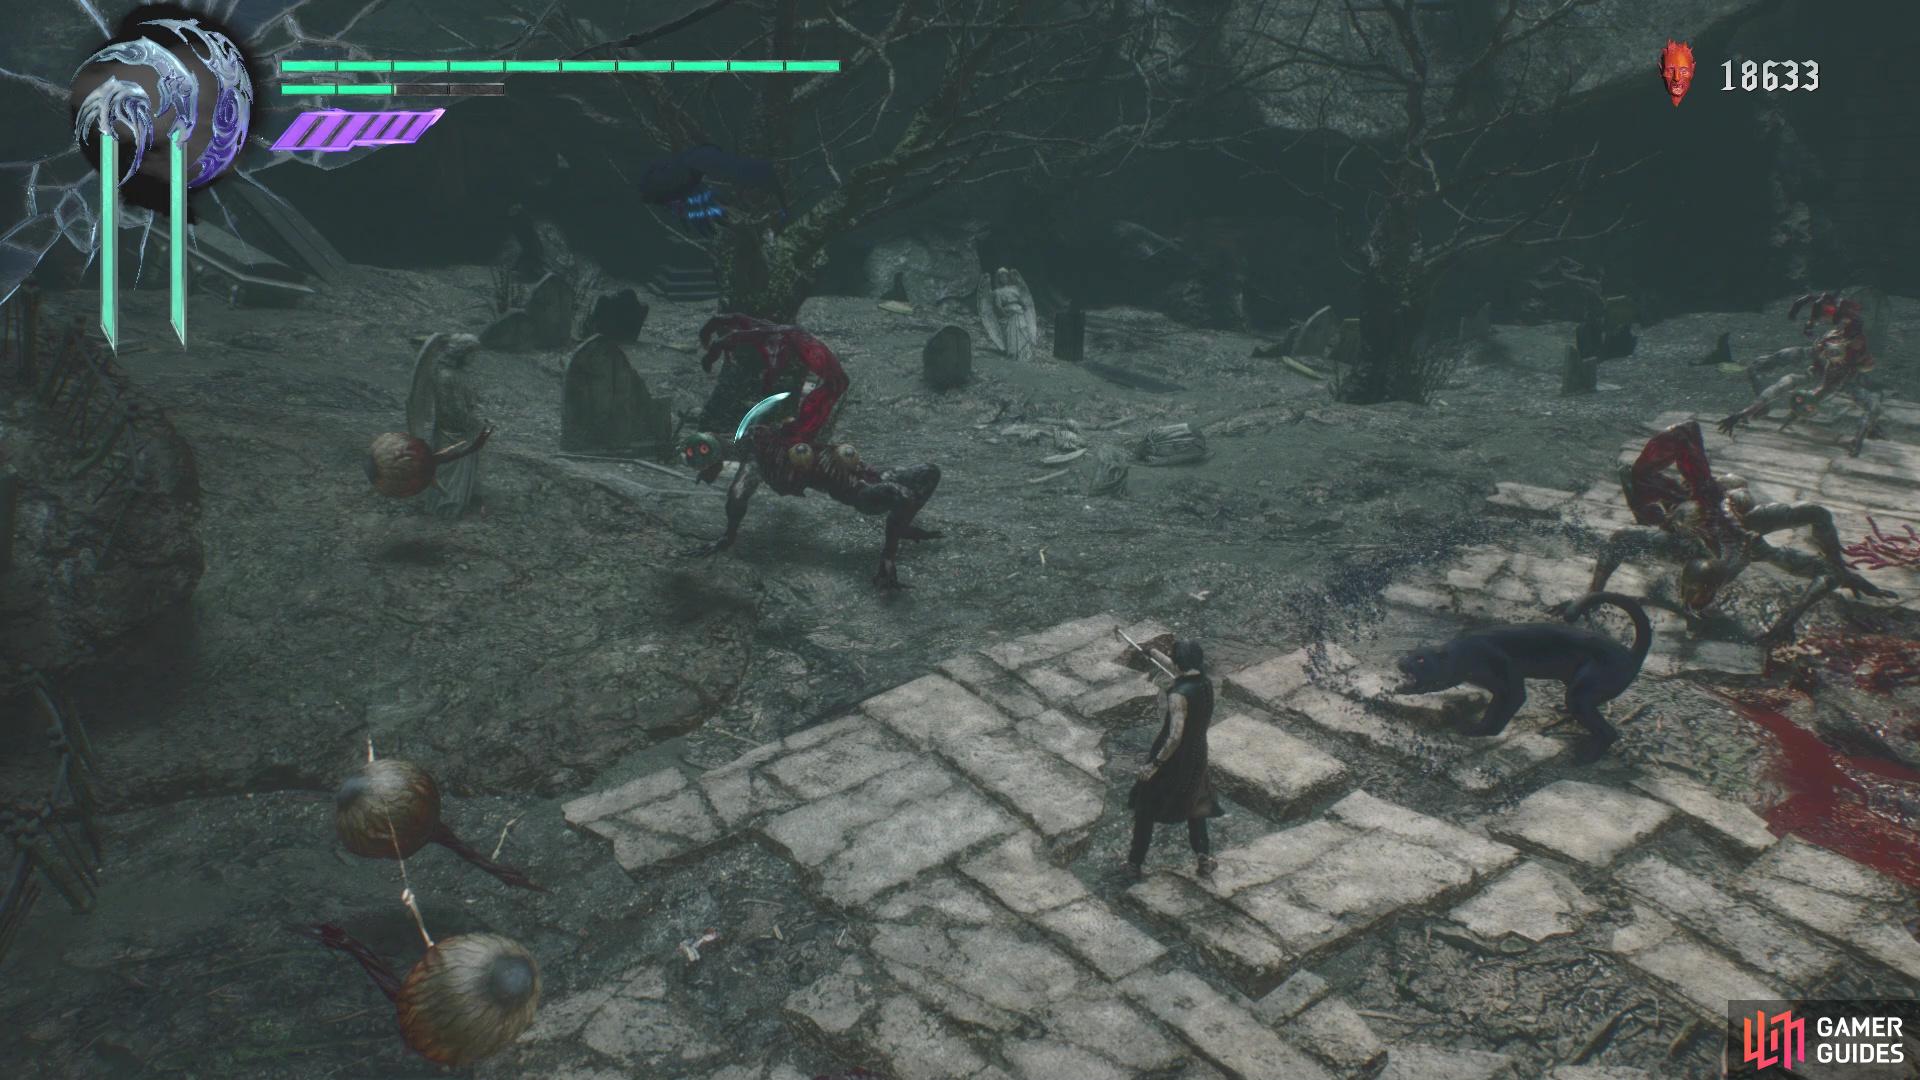
The Behemoth spawns with some Hell Cainas and Antenoras, so it’s up to you whether you want to take care of them first before concentrating on the Behemoth. Once the chains come off, the Behemoth can be annoying, as it will be moving around more quickly and there are times where you might not be able to get a hit in on it for five to ten seconds. However, leave them alone long enough and they will actually devour any other enemies in the battle with them, making things a little easier on your end. It can pounce on you from afar, plus it can “slither” along the ground repeatedly, so wait until it stops before resuming your attack.
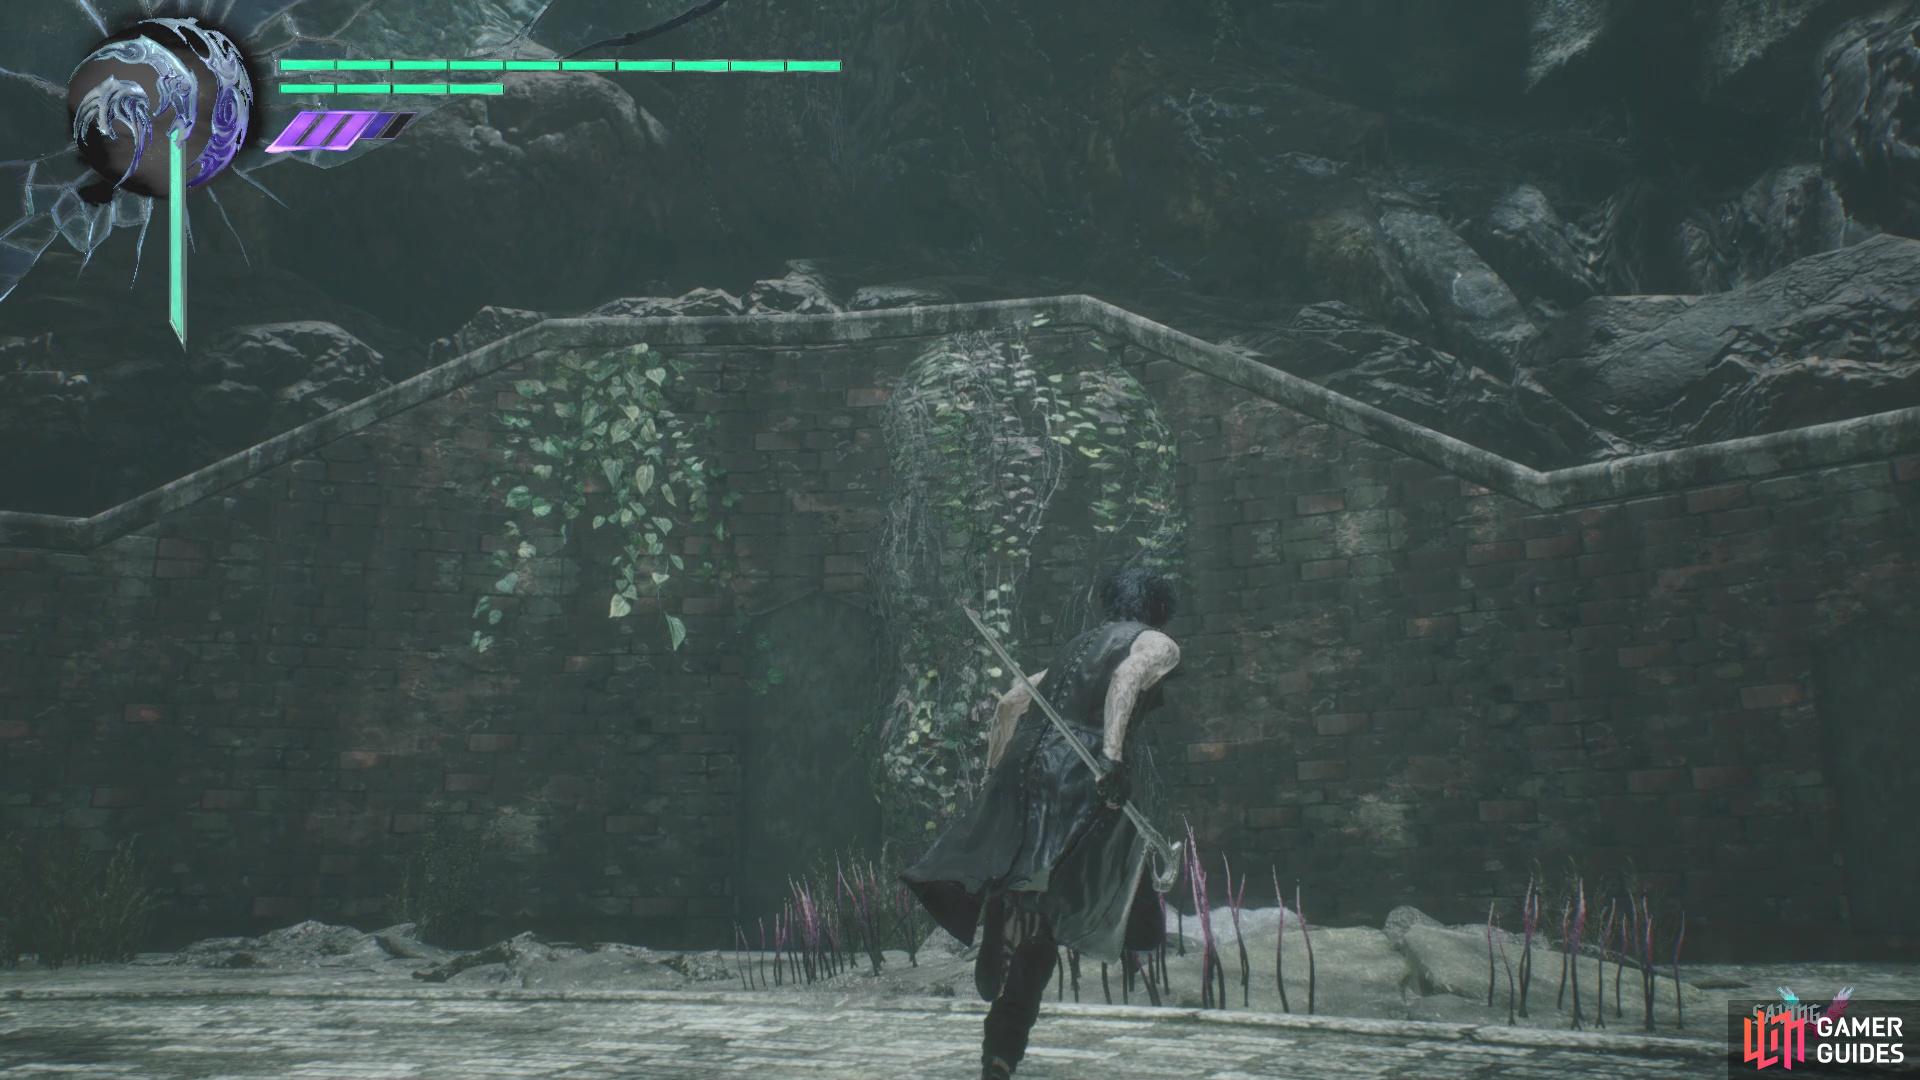
With the creature dead, continue along the main path until you encounter some Riots. Take care of them and look for the dead end straight away. If you look closely enough, you should notice that something is shining behind the wall, so summon Nightmare here to have him bust through it. Not only will this earn you the Eagle-Eyed trophy/achievement, but the thing that was shining is actually a Gold Orb.
(1 of 2) You can see something shining behind this wall
You can see something shining behind this wall (left), so summon Nightmare to destroy the wall and access a secret area (right)


Ignore the path behind the now broken wall and double back a little bit, until you notice some Red Orbs off to the side. Take this path, collecting the Red Orbs as you go, until you run into some Red Empusas. If you want the Red Orbs, hurry up and get to them before they have chance to escape. A little bit above you, there is a ledge you can get to with a broken building on it; behind this build is some Red Orbs. Opposite of that is another area that will have some normal enemies spawn, namely some Pyrobats and Hell Antenoras. Since the arena here is fairly small, you might want to eliminate the Antenoras first and leave the Pyrobats for last.
Jump up to the next ledge after finishing off those enemies and at the end, you can jump and glide over to the spot with the large Red Orbs Cluster. There will also be more Red Orbs behind you, once you drop down, so don’t forget those. You will be able to get back onto the main path from here, past the wall you broke with Nightmare earlier. As you step into the area, you will be doing battle against a Proto Angel, Baphomet and a couple of Pyrobats. This place is a lot bigger than the previous one, so you have a lot more room in which to handle your foes. Try and save the White Orbs that are in the vicinity, as you will be needing Nightmare in a short moment.
After the battle is over, head towards where the barrier was located and you should see a path off to the left. This leads to a dead end, as some roots are blocking access to the Blue Orb Fragment behind it. He will bust the blood clot you see in the back, getting rid of the roots blocking you. Collect the Blue Orb Fragment, then jump on the ledge behind it, standing at the highest point to find the familiar red glow for a Secret Mission; the markings are at the entrance to this little area.
(1 of 2) Summon Nightmare here to destroy the blood clot and clear the roots
Summon Nightmare here to destroy the blood clot and clear the roots (left), Jump to the top here to find the red glow for the Secret Mission (right)
Secret Mission 06
Your goal in this Secret Mission is to defeat all of the demons within 20 seconds, which doesn’t sound like much time, but you won’t have too many enemies to actually kill. There will be only three enemies in this Secret Mission, all of which will be straight ahead from where you spawn. It will be a single tentacle, then two Hell Cainas behind it. Despite the limited amount of enemies, time will still be tight, as you need to finish off the Hell Cainas with your cane. There is a good strategy that you can use to help defeat the Cainas quickly, which is by summoning Nightmare.
The quick rundown on this strategy is to run forward at the beginning and swiftly attack the tentacle to get rid of it. Then, move forward a little more to spawn the Cainas and immediately summon Nightmare. Hopefully, he lands on at least one Caina and drops its health to zero or close to it. From here, it’s just a matter of depleting the remaining health of the one and draining the health of the other, then using his cane before time expires. It may take a few tries to get a good rhythm down, but this strategy will bring success, with your reward being another Blue Orb Fragment.
Return to the main area and as you’re dropping down to the next segment, there are a bunch of Red Orbs for you to collect. When you finally get to the bottom, the follow the only path available, taking out the few tentacles that appear. At the broke stairs, if you look up to the other side, you might notice a Gold Orb, but you can’t get to that just yet. Ignore it for now and find the entrance to the crypt-like area, where more enemies will pop up for you to kill. It’s not much, as it’ll be two Pyrobats, a Hell Antenora and a Hell Caina. When you get to a large room with a big hole in the floor, drop down into the room below.
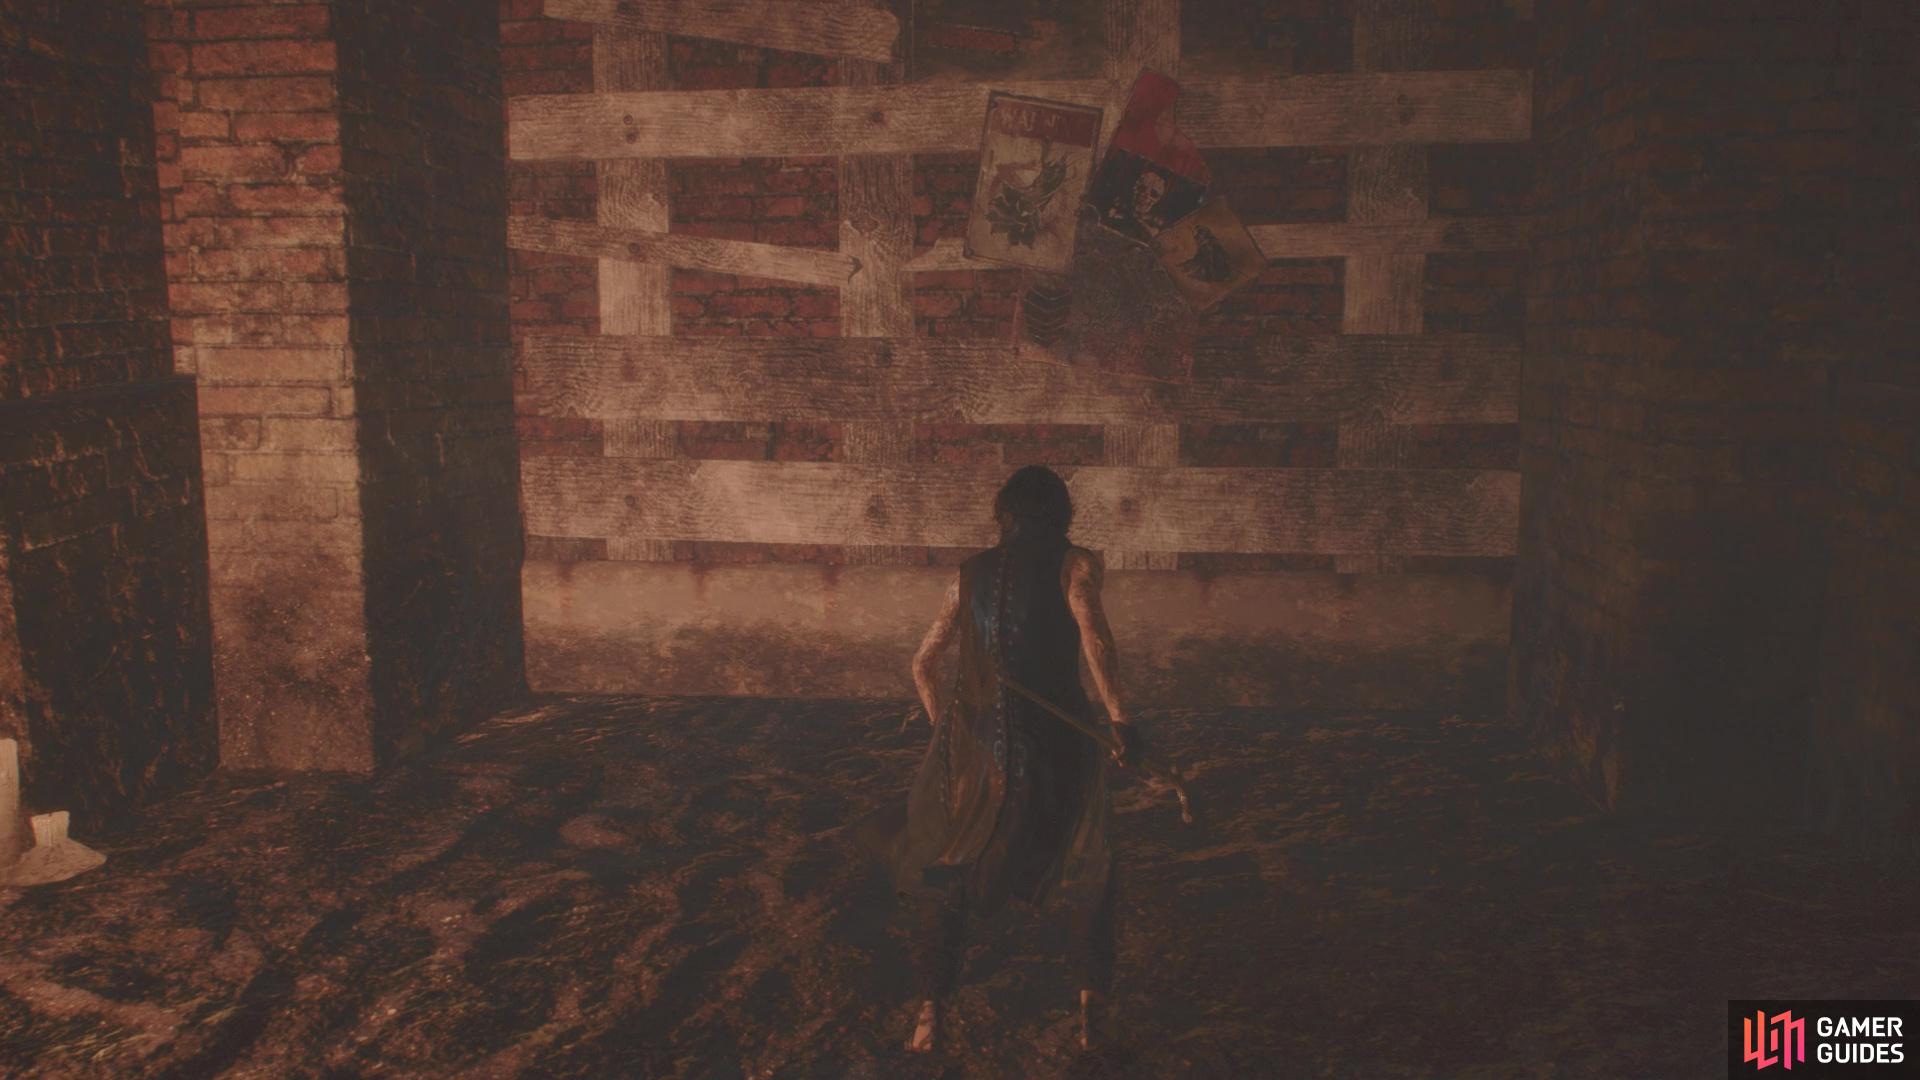
As soon as you do, you will be assaulted by a few Empusas, who will be joined by a Hell Caina shortly after you begin doing battle. Make sure you have three bars of the Devil Trigger gauge by the end of the battle, as you will be needing it for something else. When the coast is clear, look for the doorway with some wooden planks over it. Head into the next room to find another battle, this time against some Hell Cainas, Hell Antenoras and a tentacle. Your reward for clearing out all of the enemies will be a Purple Orb Fragment.
(1 of 2) You can summon Nightmare here to destroy this “door” here
You can summon Nightmare here to destroy this “door” here (left), After the previous section, jump up the ledges to find a Blue Orb Fragment (right)
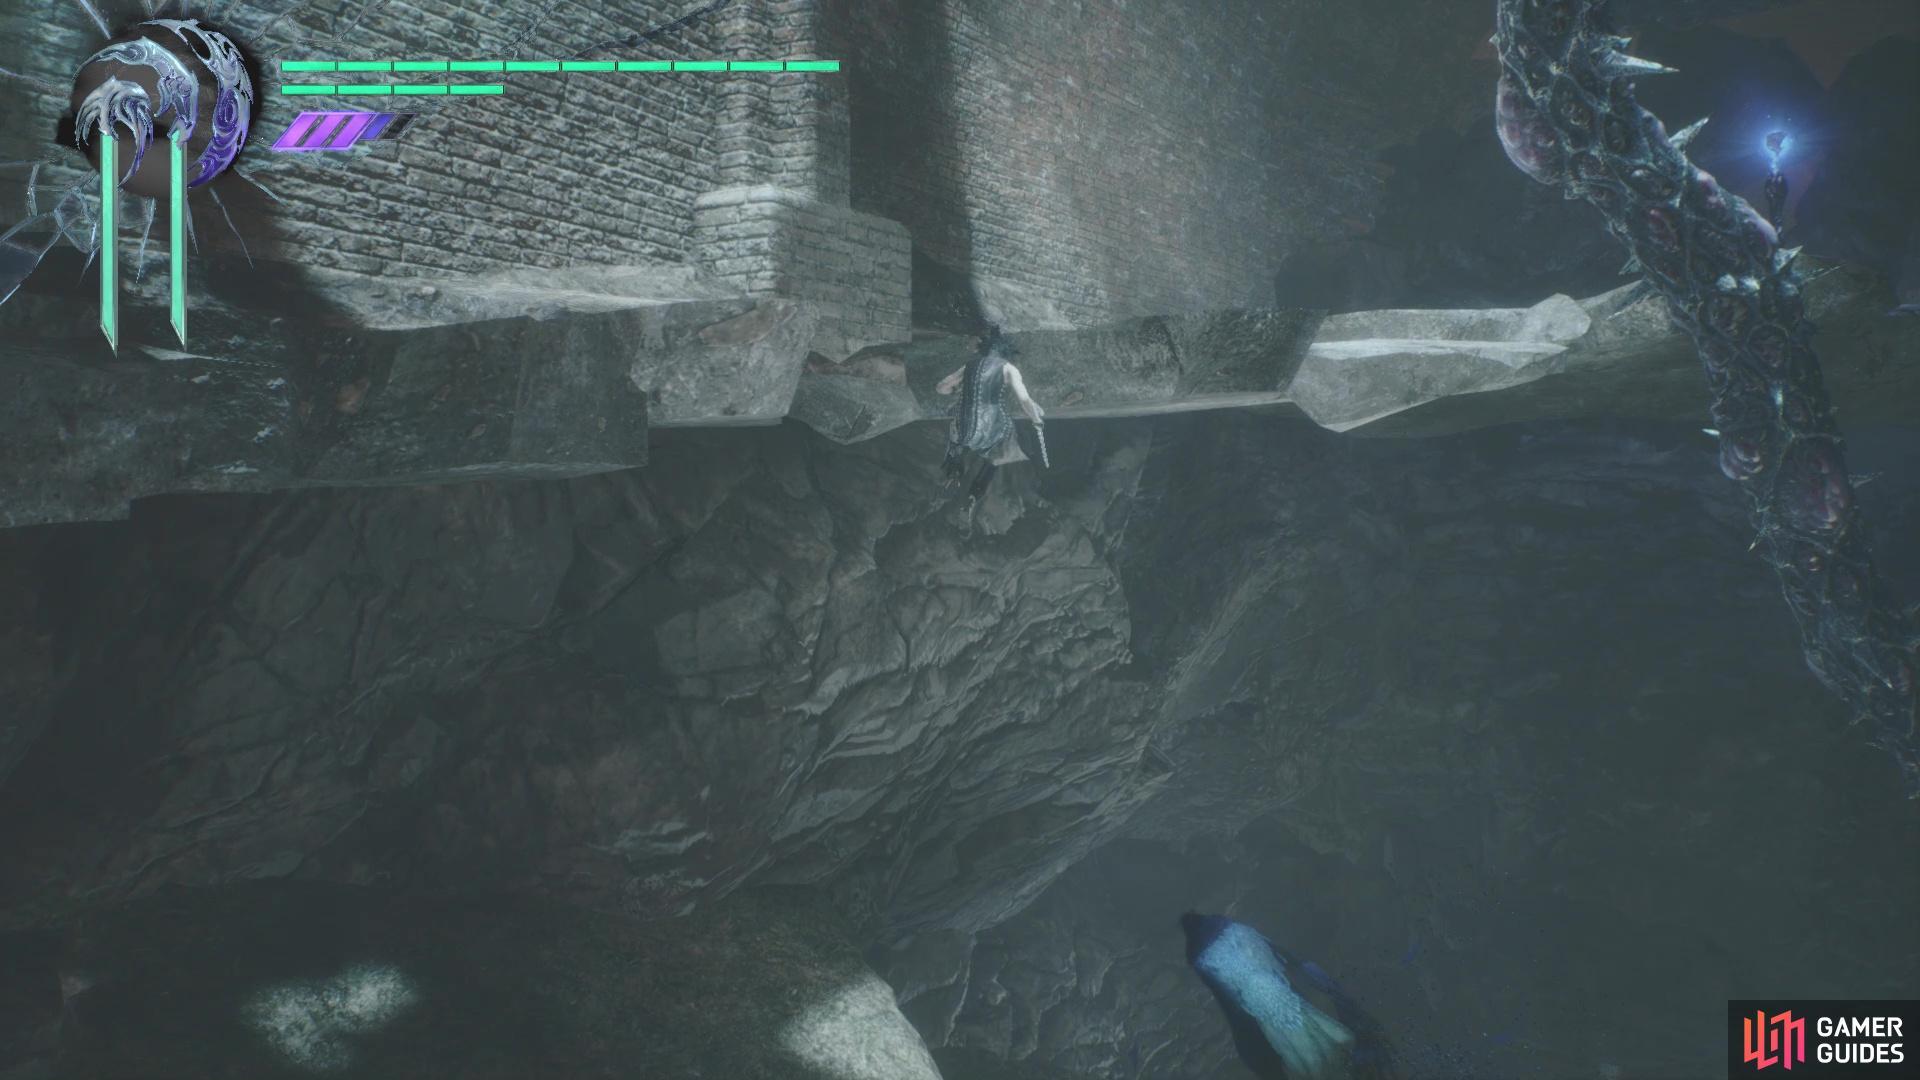
Return to the previous room and look out the exit to spot some ledges on the wall ahead of you. Jump on the lowest one and keep going upwards, looking around for more when there doesn’t seem like there’s any. When you reach the top, you can jump to a small area, where you’ll find a Blue Orb Fragment waiting for you. Drop down to the ground and follow the path to another crypt, this one with some pillars. Yep, you probably guessed there’d be a battle here and you are right. There will be plenty of Hell Antenoras, as well as a Baphomet, then a Behemoth will join the fun later.
Needless to say, but things can get a little hectic here and there’s one enemy that’ll be annoying with their ranged attacks, so concentrate on eliminating the Baphomet first. Once you do, the Behemoth will spawn, but leave it alone and concentrate on the Antenoras, focusing each one down until you can finish them off for good. When you have the Behemoth alone, then you can worry about breaking its armor and dodging its attacks without having to switch focus to any other enemies. Look for the exit once you’re done and when you get back outside, head to the edge nearby to find that Gold Orb you saw earlier in the level.
As you approach the end of this area, it will close off and you’ll have to do battle with two Death Scissors. They are a little more challenging as V, since he doesn’t exactly have quick attacks to try and parry them. Your best bet here is to attack aggressively to try and destroy their scissors, then when the red mist appears on them, have Griffon shoot them with his normal attack. This should put them into their dying state, making it easy to finish them off for good. Take care of the first two, then another will spawn and will be joined by a Hell Caina and Antenora.
With them out of the way, continue on the main path, collecting the Red Orbs along the way and you will reach a telephone. Feel free to call in Nico if you want, but it’s best to save your orbs for the next mission. Head to the end of the main path and you will find yourself pitted against some new enemies, Nobodies, in a mini-boss style battle.
MINIBOSS - Nobodies
Nobodies are definitely weird enemies, but they can be annoying in battle. They start out the fight wearing a gold mask and can actually change it, which dictates their mode of attack. The gold mask is their base form, as already mentioned, where they can perform a lunging attack or try to melee attack you. You may also find them dancing here and while it may look like it’s nothing, get too close and your Devil Trigger gauge will begin draining. Should they change to a green mask, then that will be their “ranged” mode.
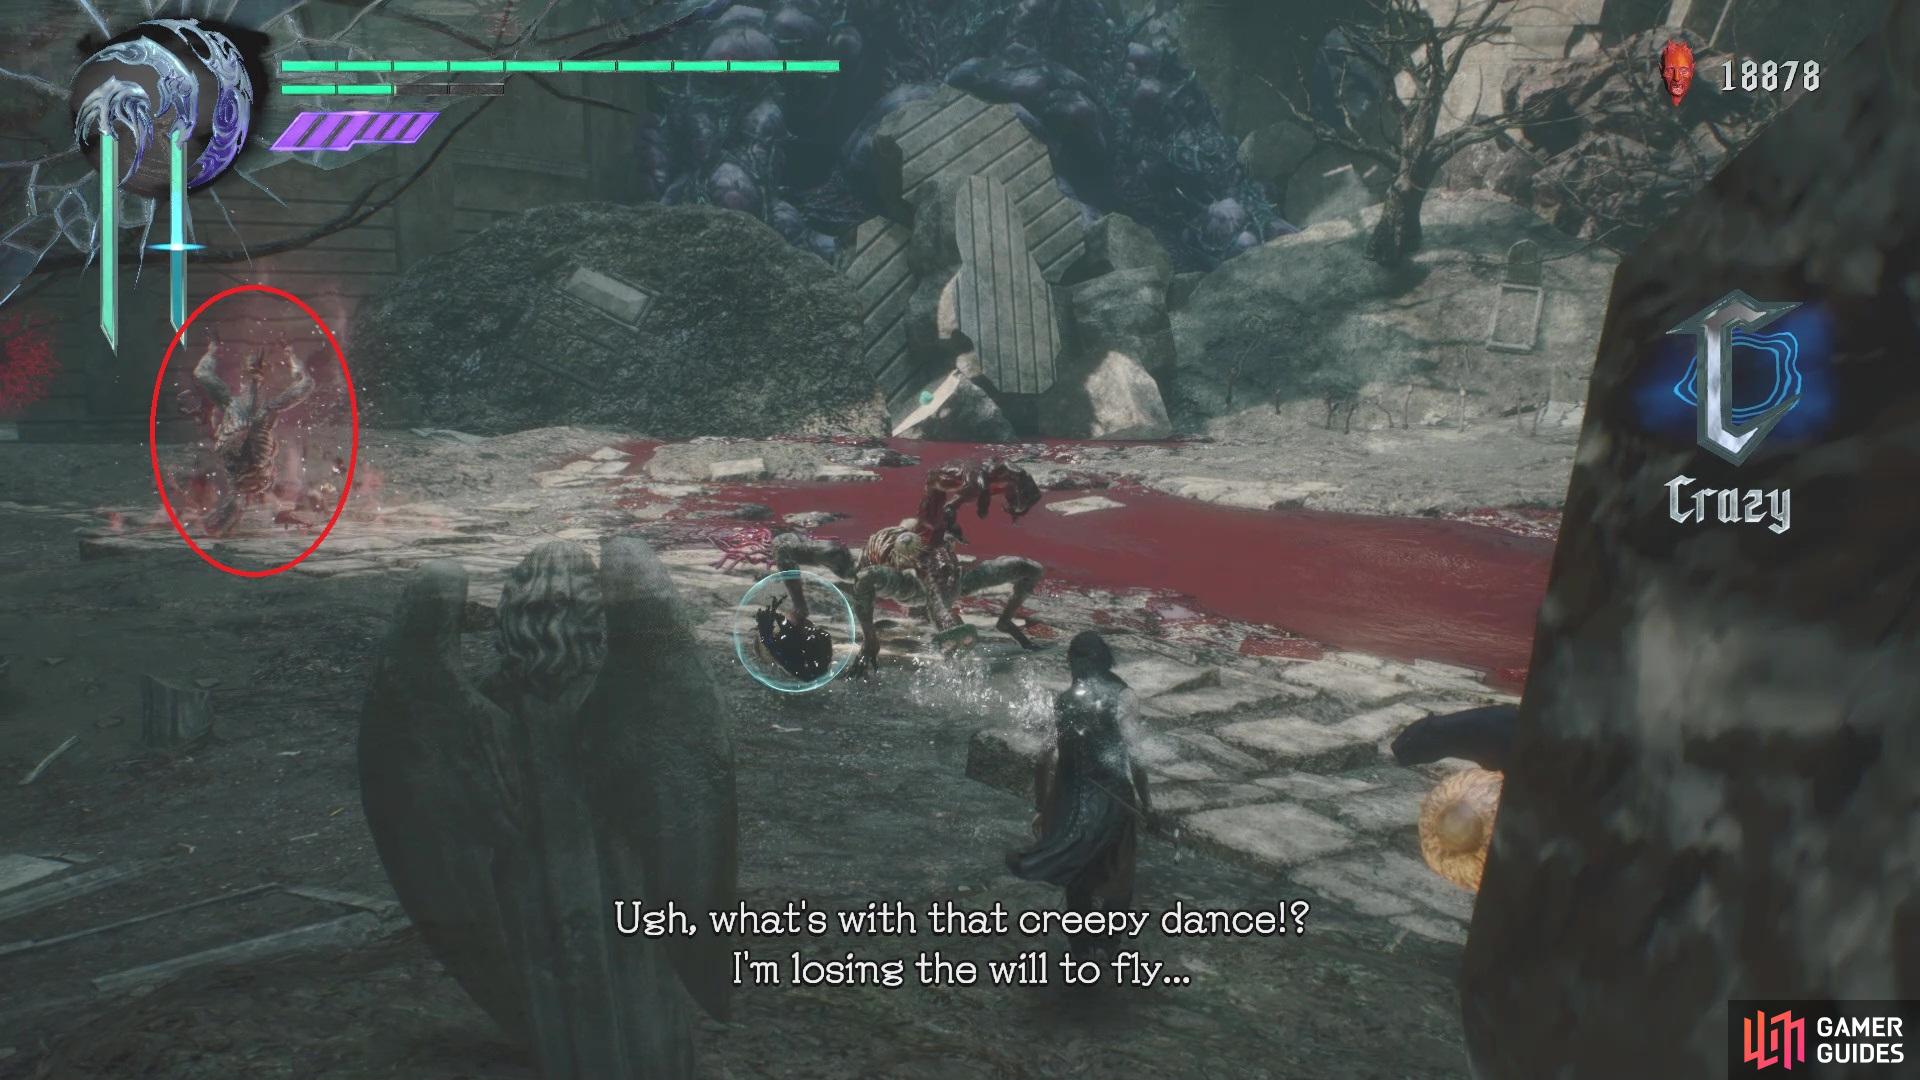
(1 of 2) The dance the Nobodies do can steal your Devil Trigger gauge
The dance the Nobodies do can steal your Devil Trigger gauge (left), The green mask involves the Nobodies sending eyeballs after you that explode (right)
With this, all they really do is produce eyeballs that follow you around and eventually explode. That’s about all they will do, as they tend to retreat if you get too close. The final mask they can use has some kind of tendrils coming off the side of it, but it’s easy to know when they put this one on because their arm becomes a lot bigger with muscles. It’s more aggressive with this mask, plus it can do a leaping attack that can grab you. The Nobodies seem to change their masks as they take damage, but there is no set pattern for the masks they change into, as it’s random.
One-on-one, a Nobody is fairly easy to fight, but you’re against three at the same time in this miniboss battle. A fourth will appear whenever you defeat one of them, but you will always have three on the screen at one time. Because of this, the battle can be a little hectic, especially if they manage to change to different masks and you have different types. One of the best courses of action is to summon Nightmare are the very beginning and hopefully, he can deal enough damage to eliminate one or two of them. Concentrating on a single Nobody and making sure it is gone for good is the second best option for this battle. Once you get rid of them all, you’ll be done with the mission.

 Sign up
No Comments