
The way to Mordegon is finally open and you have the weapon needed to slay the Lord of Shadows. You should have all of the quests complete leaving just the Wheel of Harma left untouched, you can attempt these now and make use of the rewards received. Do note however that once you reach Act III, you’ll receive tools that will make this task a lot easier without sapping the difficulty from the final boss of Act II. Once you’re prepared, head to an Inn or Camp to heal up completely before using the Calamus Flute, Mordegon’s Fortress of Fear beckons.
The Fortress of Fear
| Items | Area |
|---|---|
| Molten Globules x3 | Level 1, east, chest |
| Pride of the Valkyries | Level 1, west, chest |
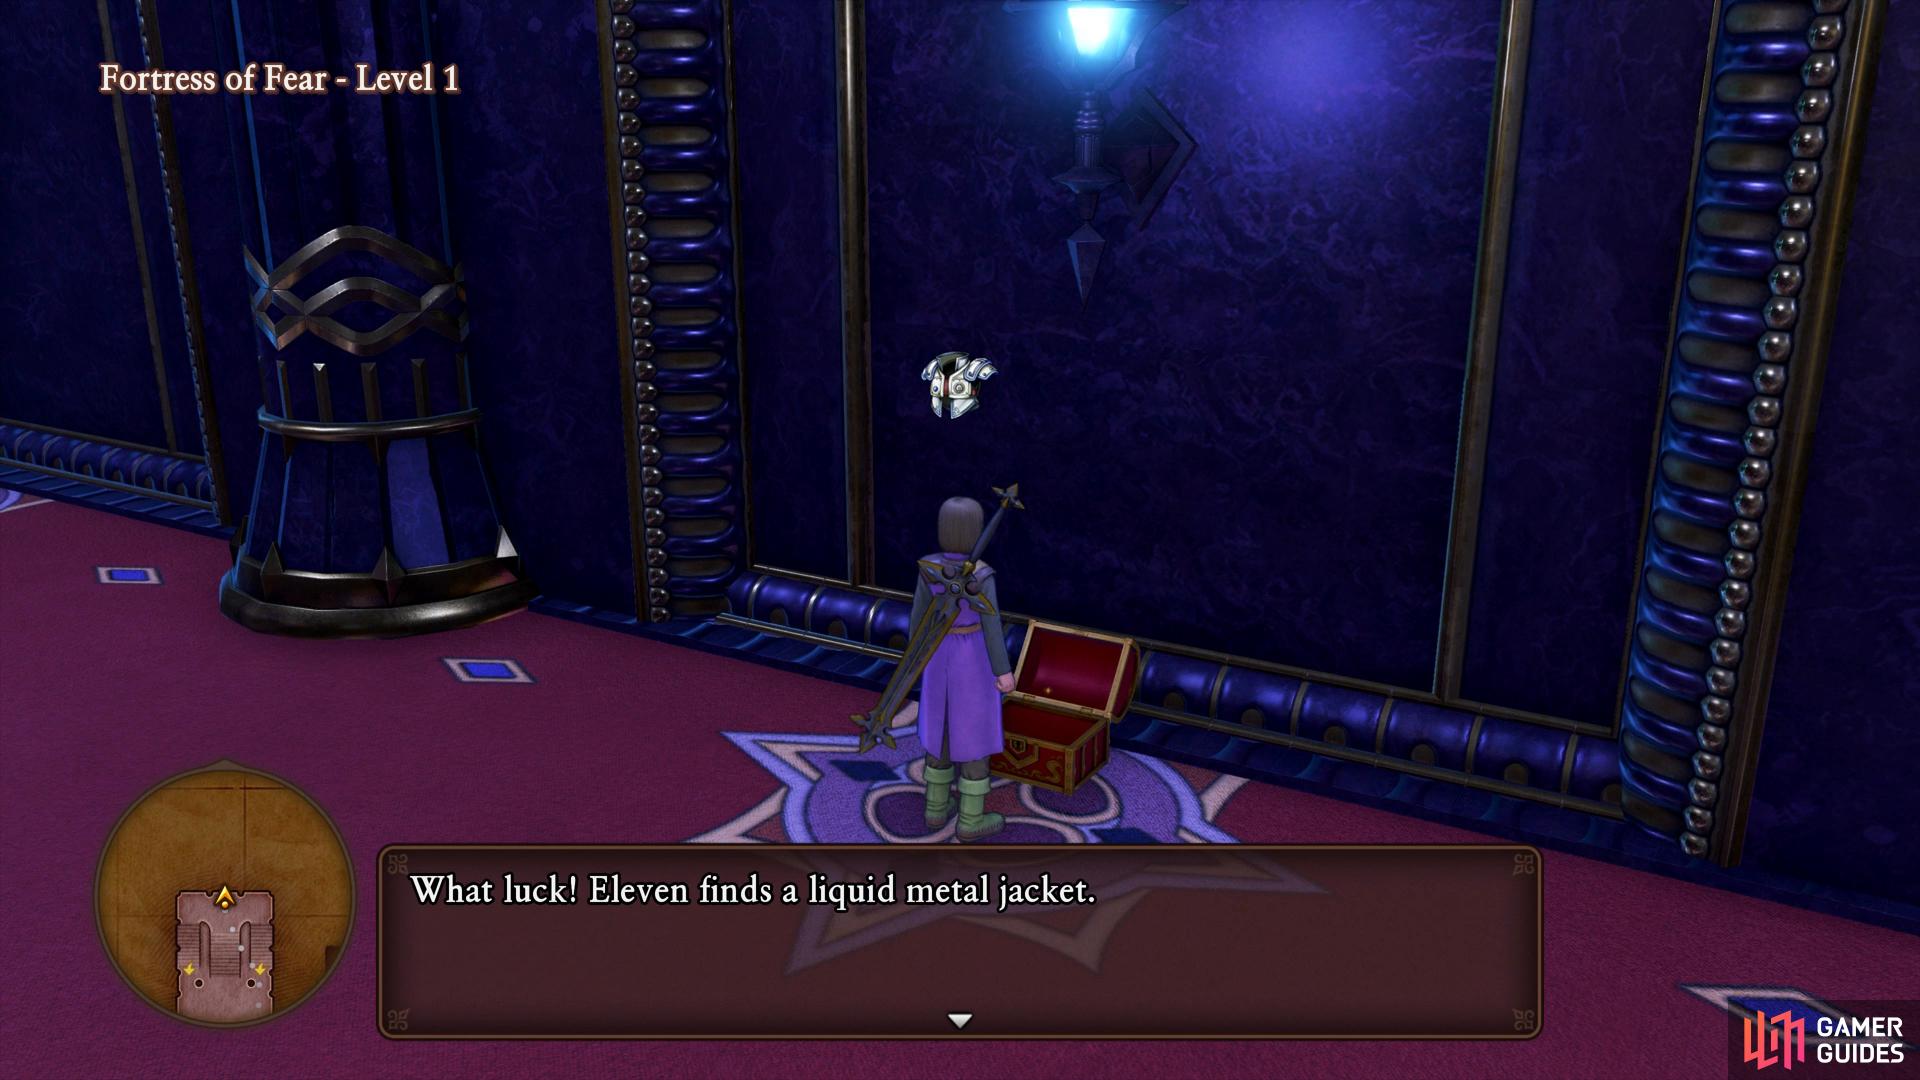
| Liquid Metal Jacket | Level 1, west, chest |
| Seed of Skill (Pandora’s Box) | Level 1, west, chest |
| Colourful Cocoon | Level 2, stairs, pot |
| Chronocrystal | Level 2, Exterior, chest |
| Technicolour Dreamcloth x3 | Level 2, South, chest |
| General Directives | Level 3, chest |
| Sainted Soma x2 | Level 3, central room, chest |
| Mini Medal | Level 3, west, chest |
| Gold Bar | Level 3, exterior, chest |
| In Fine Fettle with Liquid Metal | Level 3, exterior, chest |
| 50000G | Level 3, exterior, chest |
| Agate of Evolution | Level 4, central room, chest |
| Poker | Level 4, exterior, chest |
| Stardust Sword | Level 4, chest |
| Meteorite Bracer | Level 1, locked door to the north, chest |
| Sage’s Elixir x4 | Level 4, chest |
| Sparkly Spots | Area |
|---|---|
| Evencloth | Level 1, east |
| Savvy Saphire | Level 1, central room |
| Platinum Ore | Level 2, central room |
| Goobricant | Level 2, east |
| Evencloth | Level 2, exterior |
| Sunny Citrine | Level 1, central room |
| Equable Emerald | Level 1, central room |
| Saint’s Ashes | Level 3, central room |
| Royal Ruby | Level 1, central room |
| Artful Amethyst | Level 1, central room |
| Monsters | HP |
|---|---|
| Balhib | ~566 |
| Caped Caperer | ~218 |
| Dragooner (Mount) | ~296 |
| Overkilling Machine | ~504 |
| Pandora’s Box | ~1800 |
| Jerkules | ~1198 |
| Brodysseus (Rare) | ~3391 |
| Visor Kaiser (Mount) | ~329 |
| Dark Dullahan | ~575 |
| Metal Dragon | ~821 |
| Clockwyrm (Rare) | ~2429 |
| Golden Girl | ~346 |
| Leger-De-Man | ~261 |
| King Cureslime | ~680 |
| Manticore | ~791 |
| Hooper Trooper | ~576 |
| Hard-Boiled Eggsoskeleton (Mount) | ~463 |
| Dead Dragooner (Mount) | ~460 |
| Shadeshifter | ~255 |
| Great Keeper | ~699 |
| Hellrider (Mount) | ~360 |
| Headless Hunter | ~879 |
| Great Dragon | ~1900 |
| Loss Leader | ~1073 |
| Token Taker | ~381 |
| Metal King Slime | ~20 |
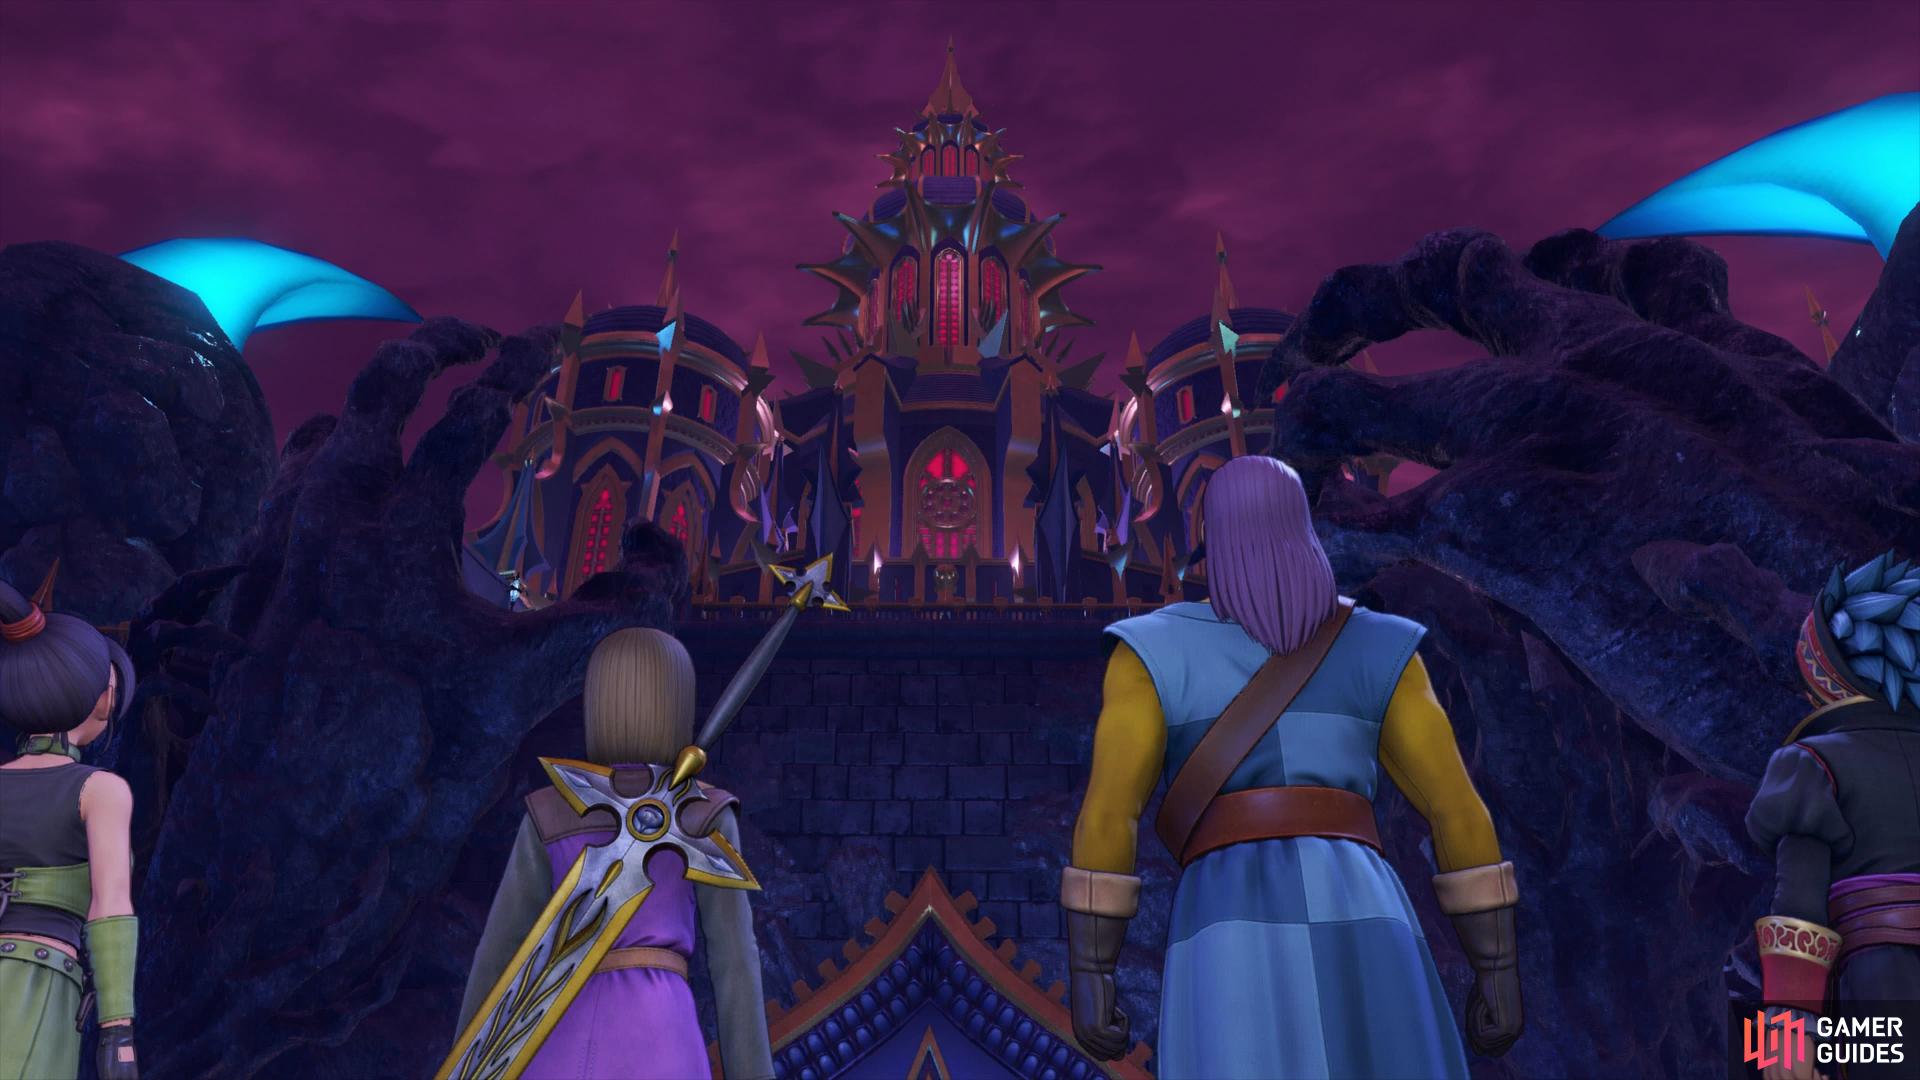
As you fly towards the barrier that surrounds the Fortress of Fear, the power of the Sword of Light melts it away. After you land, make sure once again you’re prepared as you head towards the entrance, another Spectral Sentinel blocks the way forward.
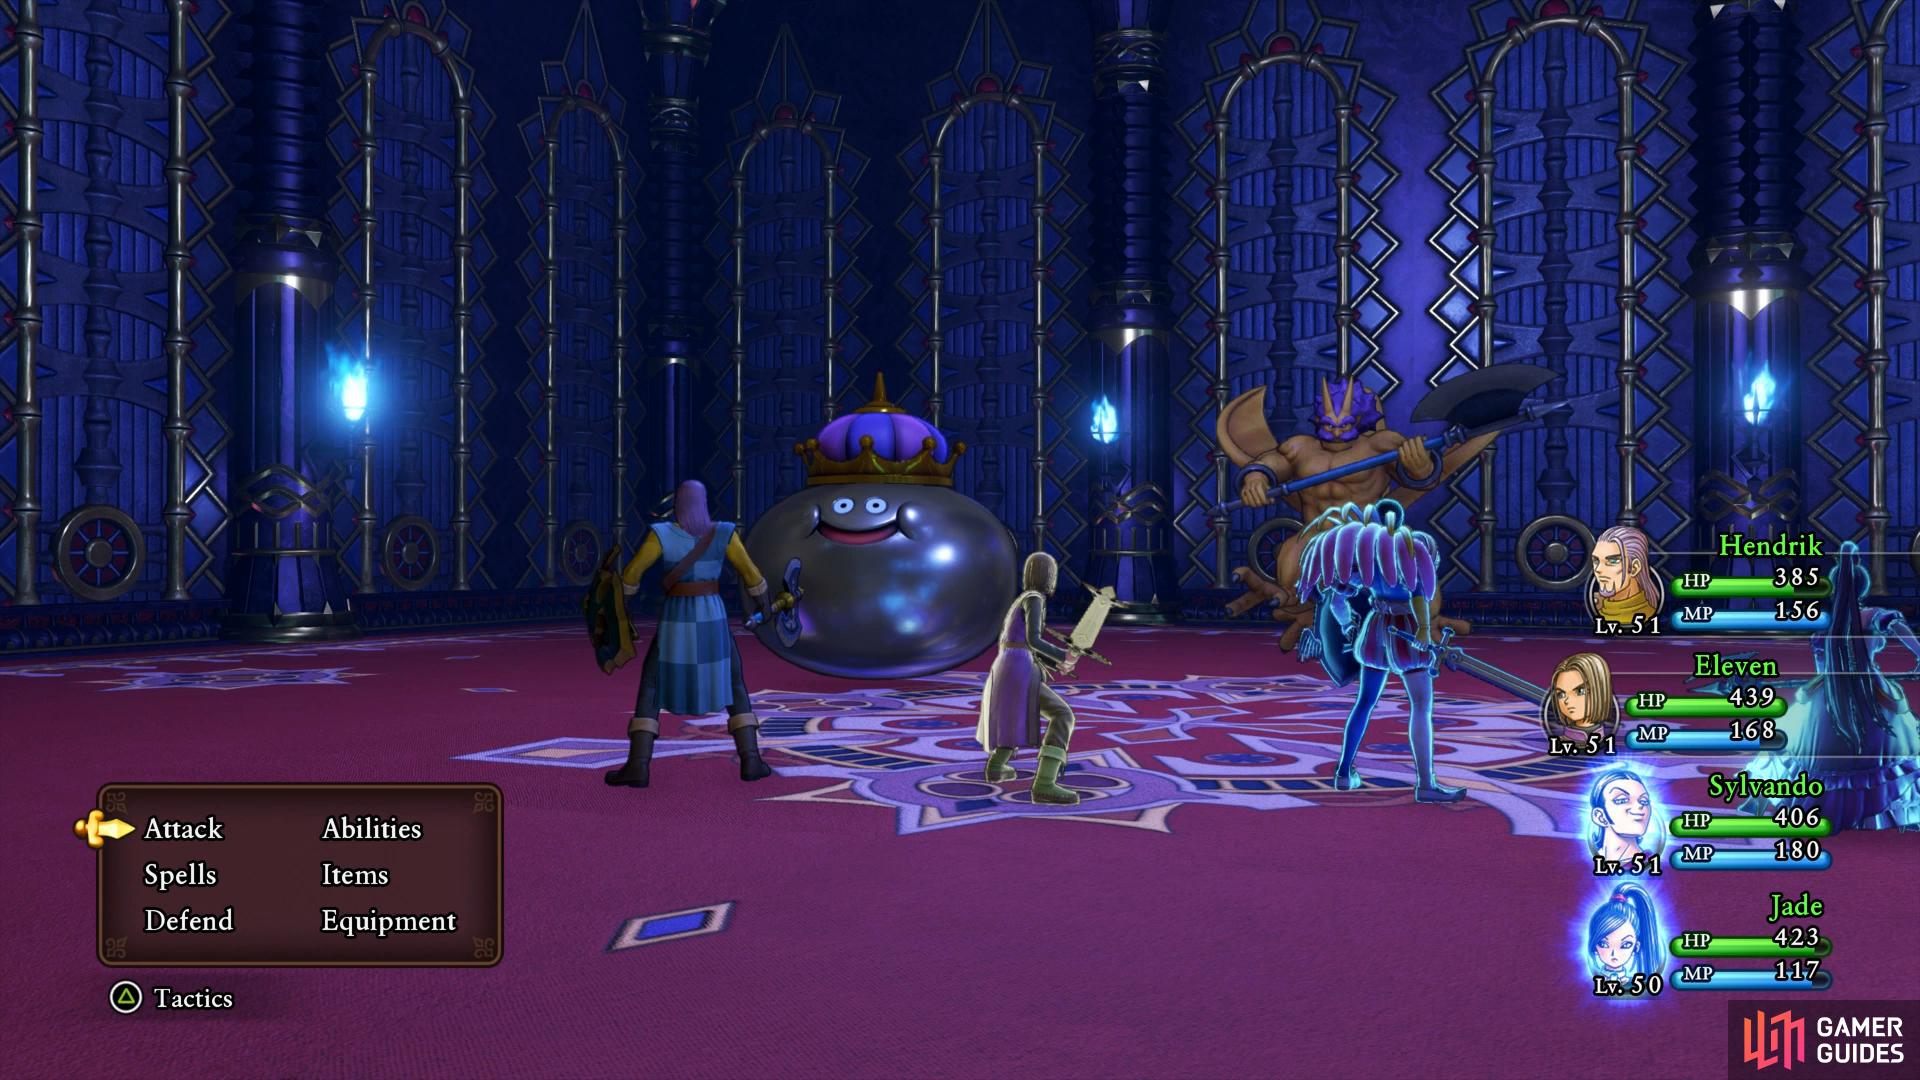
Boss: Indignus
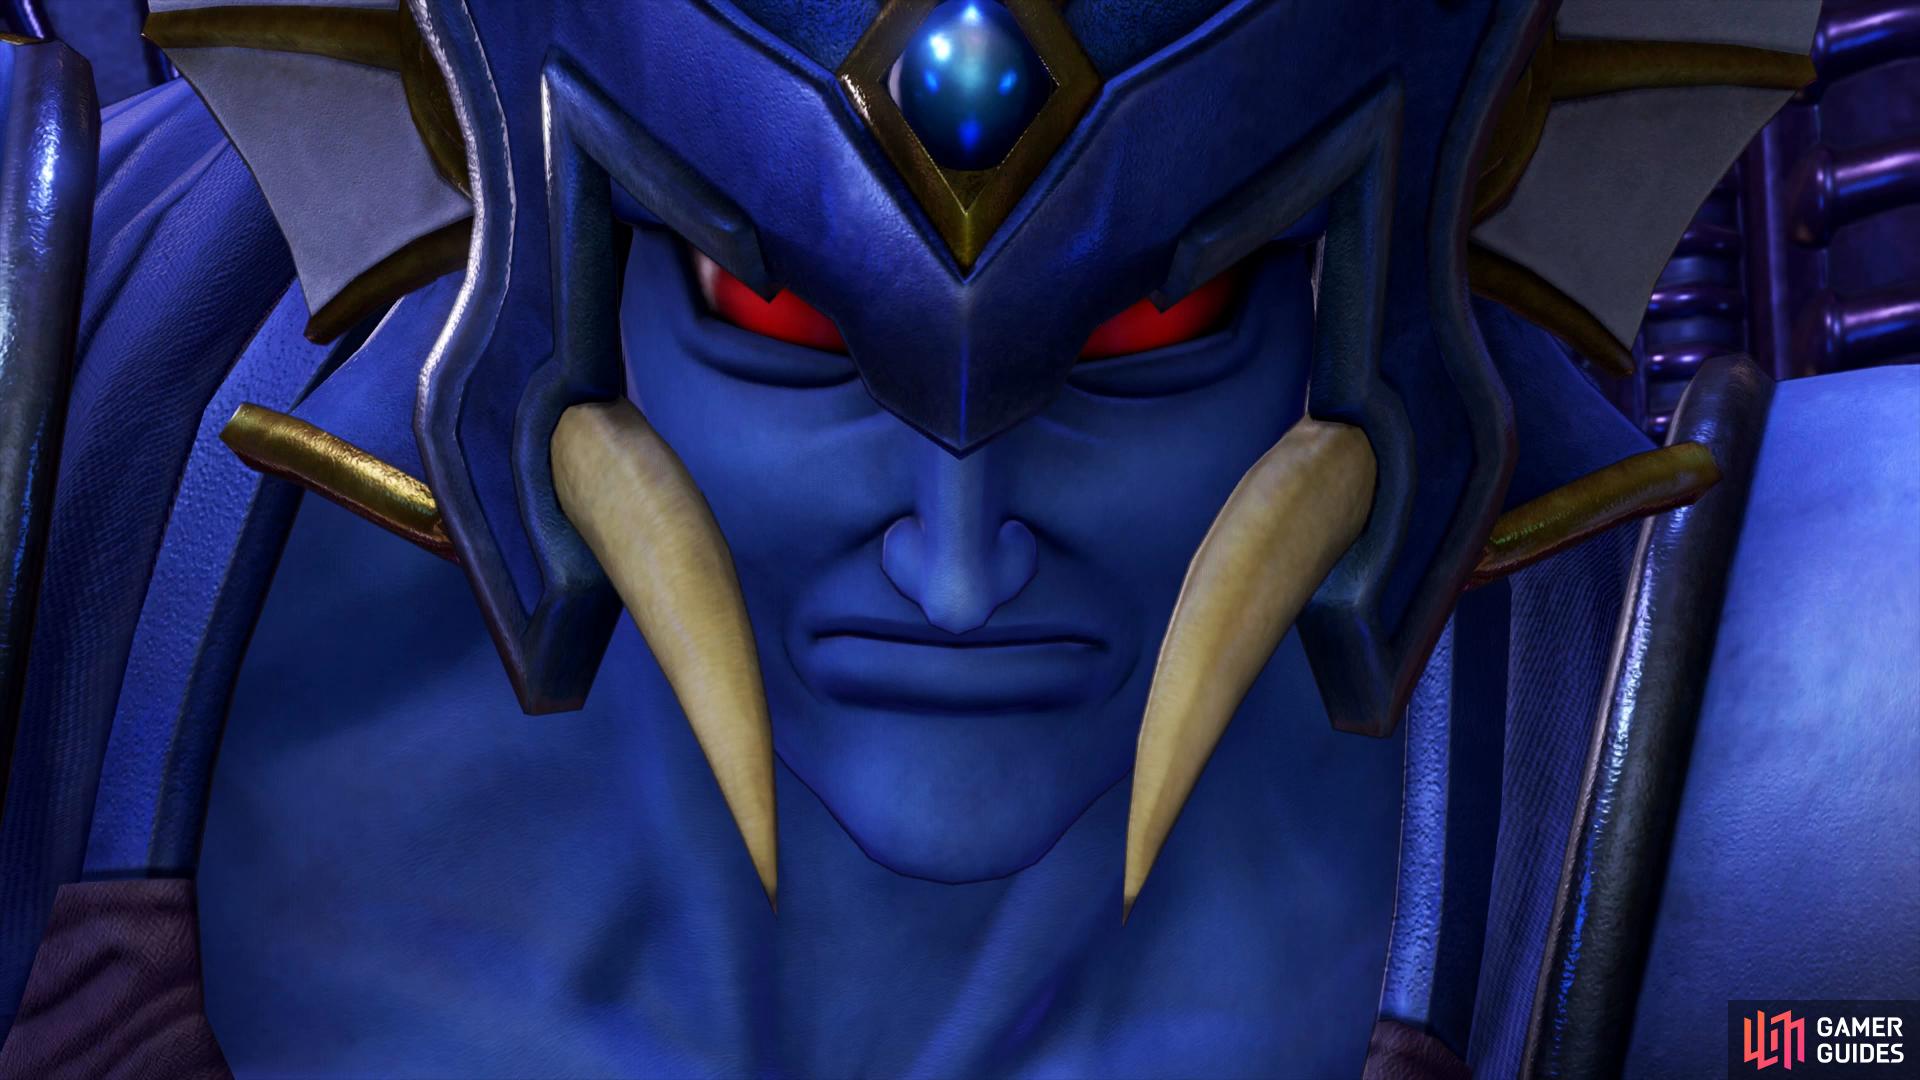
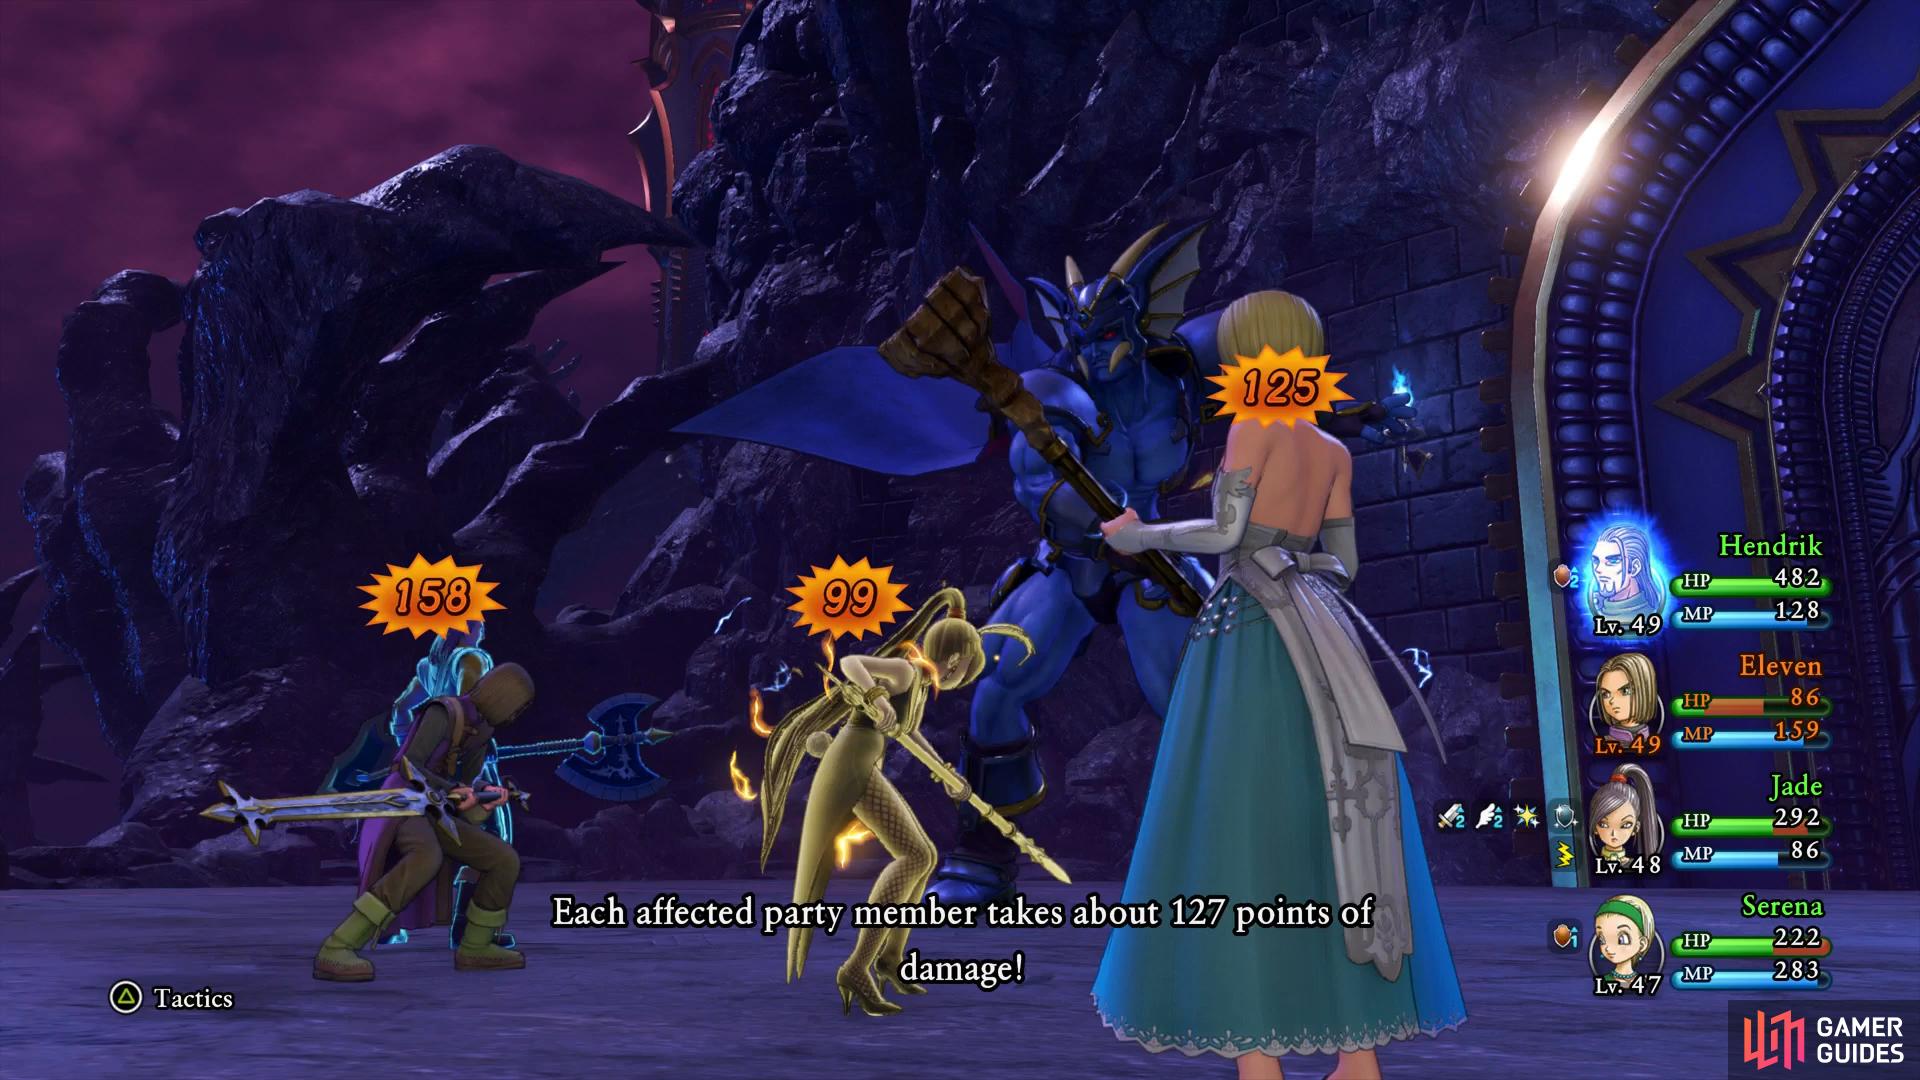
Indignus may look intimidating but by now you should be more than able to deal with him. He has around 3500 HP so you’ll need to make sure you Sap him to put a dent in him. His regular attacks will hit for 110+ HP and his most deadly ability is when he readies his blade, this will be followed by a combo of lethal strikes on random characters for over 170HP. If the majority of hits land on a character with less HP (such as Serena) then you could find her crippled right from the start. Inferno Slash will focus on one character for fire damage but is easily healed through and he can use Desperate Attacks at will. Kacrack will hit the entire party for over 90HP so be sure to keep an eye on your HP and don’t let it drop below half. Finally, and most importantly, Gigathrow will hit the entire party and inflict Paralysis, be sure to cure it with Tingle right away.
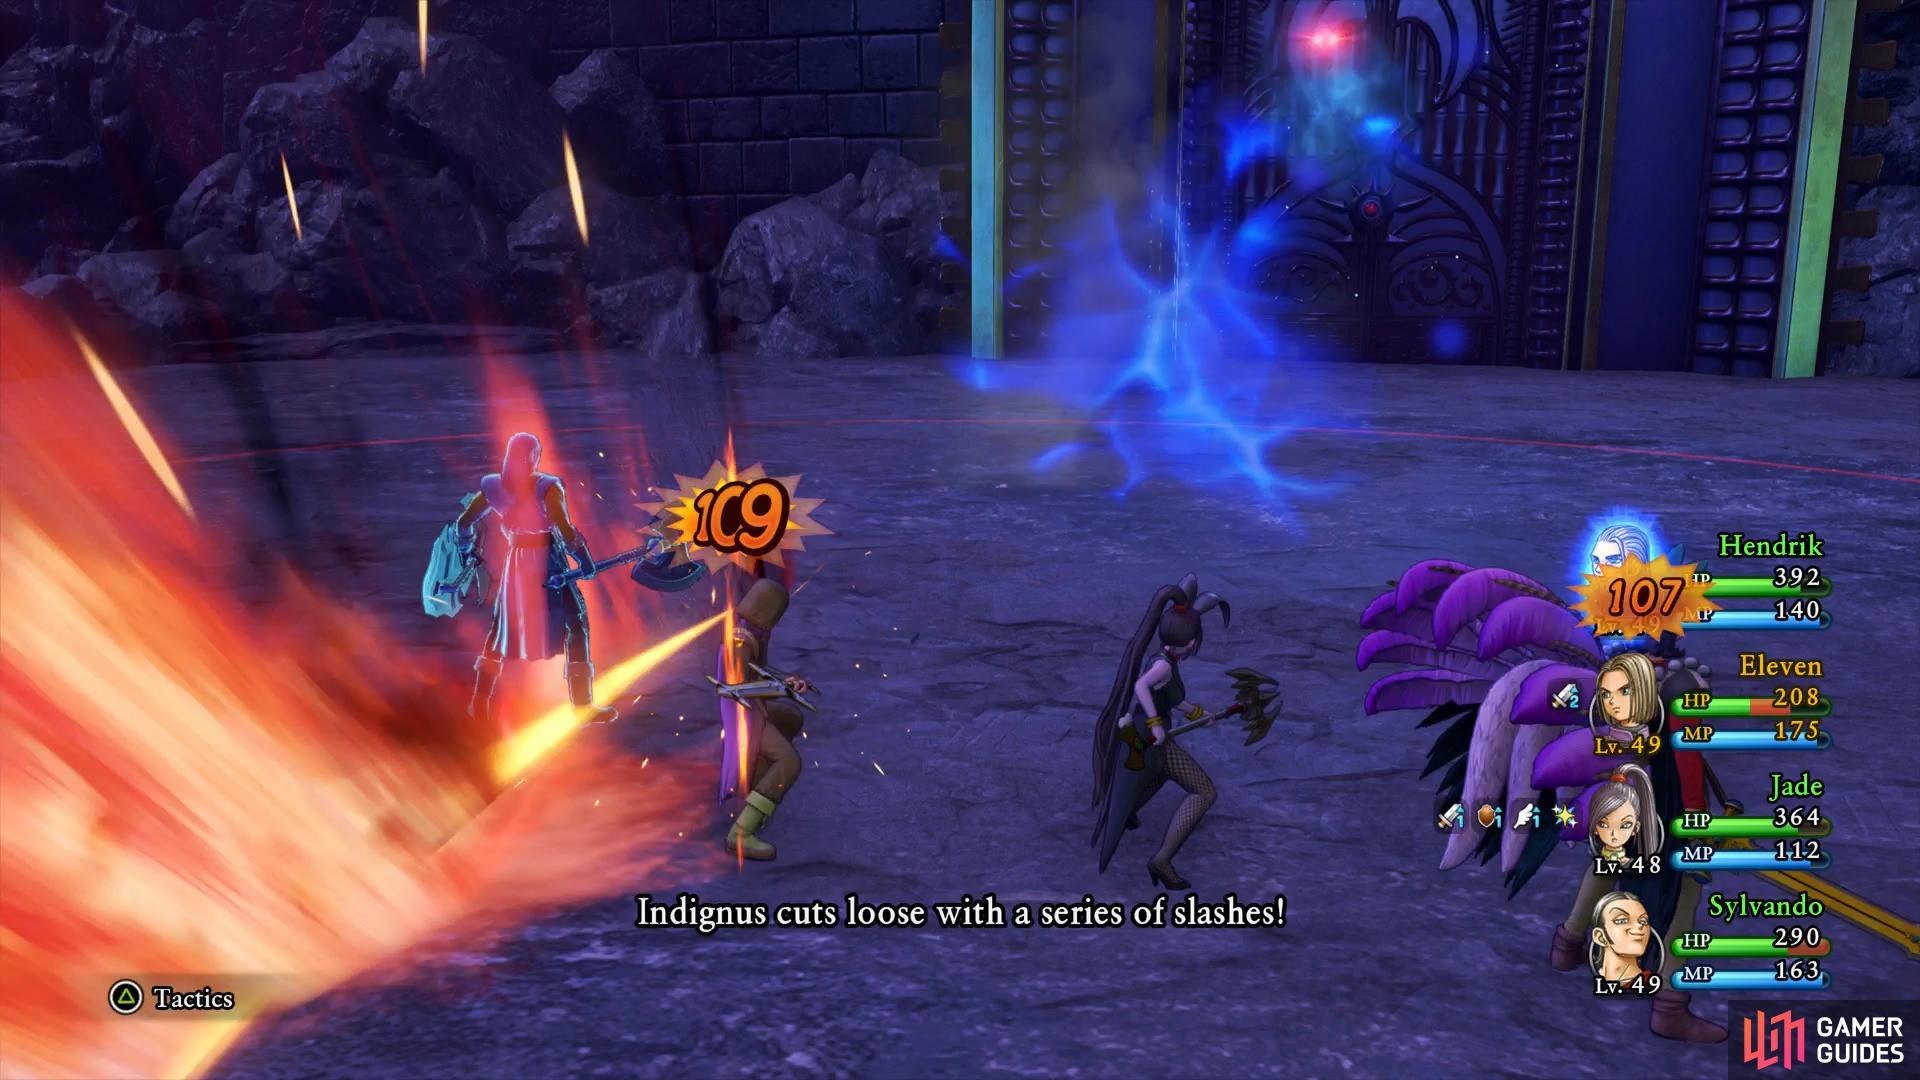
(1 of 2) Ready Blade is Indignus’ most lethal attack
Ready Blade is Indignus’ most lethal attack (left), while Gigathrow can inflict Paralysis on the party. (right)
At this stage in the game, Indignus and the following bosses can start wiping your beneficial status effects, this means that you’ll need to focus more on keeping consistant damage up rather than wasting time stuck in a cycle of constant buffing. Stick with the usual tactics by now, double Re-Vamp Jade followed by Multithrust or Multifeet and Oomphle the Hero to use Unbridled Blade. Have Hendrick Kabuff twice to soften the blows from Indignus and then resort to Parallax while Sylvando can continue with Hustle Dance, using That’s Amore if the chance arises.
Following the defeat of Indignus, you’ll obtain the Blue Orb once more and gain access to the Fortress of Fear at last. Before heading through the door, use the Goddess Statue in the corner to recover and save your game.
Inside you’ll be greeted by three Dark Dullahans, be sure to defeat them and then head into the central room. This room acts as a hub to the entire fortress and you’ll be passing through (and up) many times. Take the time to fight the monsters in this dungeon, you’ll want to be at least Level 50 by the end of it and 55 will make it a lot more manageable. Additionally, the monsters here can drop useful items and you also have the possibility of encountering Metal King Slimes.
Take the eastern door and then head north at the first intersection to find a Sparkly Spot containing an Evencloth. Go south now at the intersection to find a chest at the back of the room containing three Molten Globules. Return to the intersection once more and head east, past the Metal Dragon, to find a switch that, when jumped on, will unlock the door leading to the west of Level 1. Return to the central room and head west, heading south at the intersection and following it to the end to find a chest containing a Recipe Book, Pride of the Valkyries. This is a costume for Jade and is her best equipment for Act II, seeing as you’re still early in consider Zooming to a Camp to create it and return.
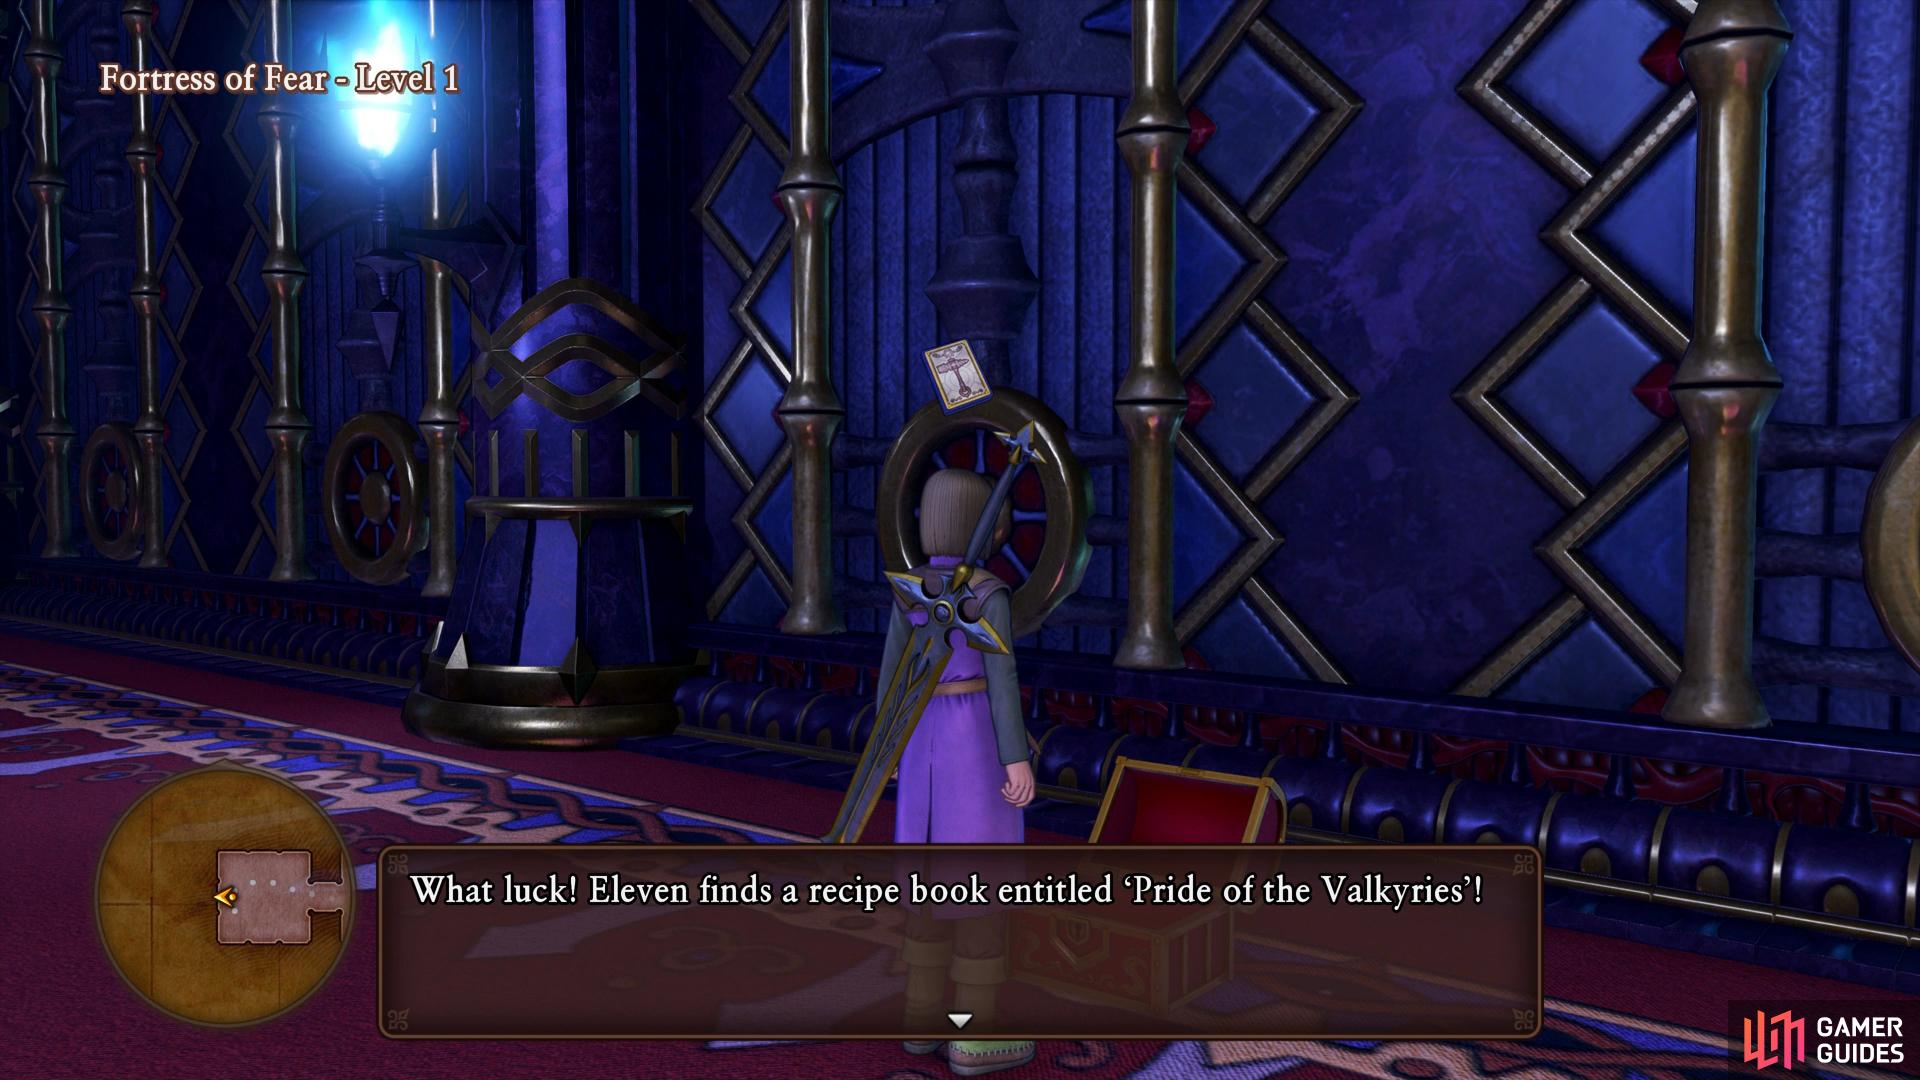
(1 of 2) This Recipe Book contains Jade’s best armor for Act II
This Recipe Book contains Jade’s best armor for Act II (left), you’ll find this chest under the stairs leading to Level 2. (right)
Return to the western corridor of Level 1 and go north at the intersection and search under the stairs to find a chest containing a Liquid Metal Jacket. Take the stairs up to find another chest, this one containing a Pandora’s Box, be sure to defeat it quickly before it can get Kathwack off and obtain a Seed of Skill. Take the western stairs up to find a pair of pots containing a Colourful Cocoon and then follow the path to the intersection.
Head west and through the door to find yourself outside with a chest, open it to obtain a Chronocrystal and then head back inside. Take the southern path next and follow it to the end to find another chest, this one containing three pieces of Technicolour Dreamcloth. Return to the intersection once more and head through the eastern door to reach the central room once more.
Walk on to the sigil to use the power of the Luminary and blast away the crystals allowing you to use one of the Dragooner mounts to fly to the bottom. Do so and loot the Sparkly Spot containing a Savvy Saphire before flying back up to Level 2. Instead of landing in the middle however, search the balcony to the south to find a Sparkly Spot containing a Platinum Ore. Land back on the central platform and head through the door to your east. Follow the path, past the Golden Girl and Manticores and search in the northwest corner of the room to find a Sparkly Spot containing a Goobricant before heading out to the exterior.
Follow the linear path up the stairs and to the end where you’ll find a portal that will take you to a different part of the exterior. Grab yourself a Hard-Boiled Eggsoskeleton mount and bounce your way up the platforms, looting the Sparkly Spot containing an Evencloth along the way and onto Level 3.
Follow the path west at the first intersection to loot a chest containing a Recipe Book, General Directives which will allow you to forge Hendrick’s best gear of Act II. Hold off on returning until you open the Level 3 shortcut however and head south to the central room once more. Use the power of the Luminary to shatter the crystals once more to open up another shortcut and then Zoom out to a Camp to forge Hendrick’s armor.
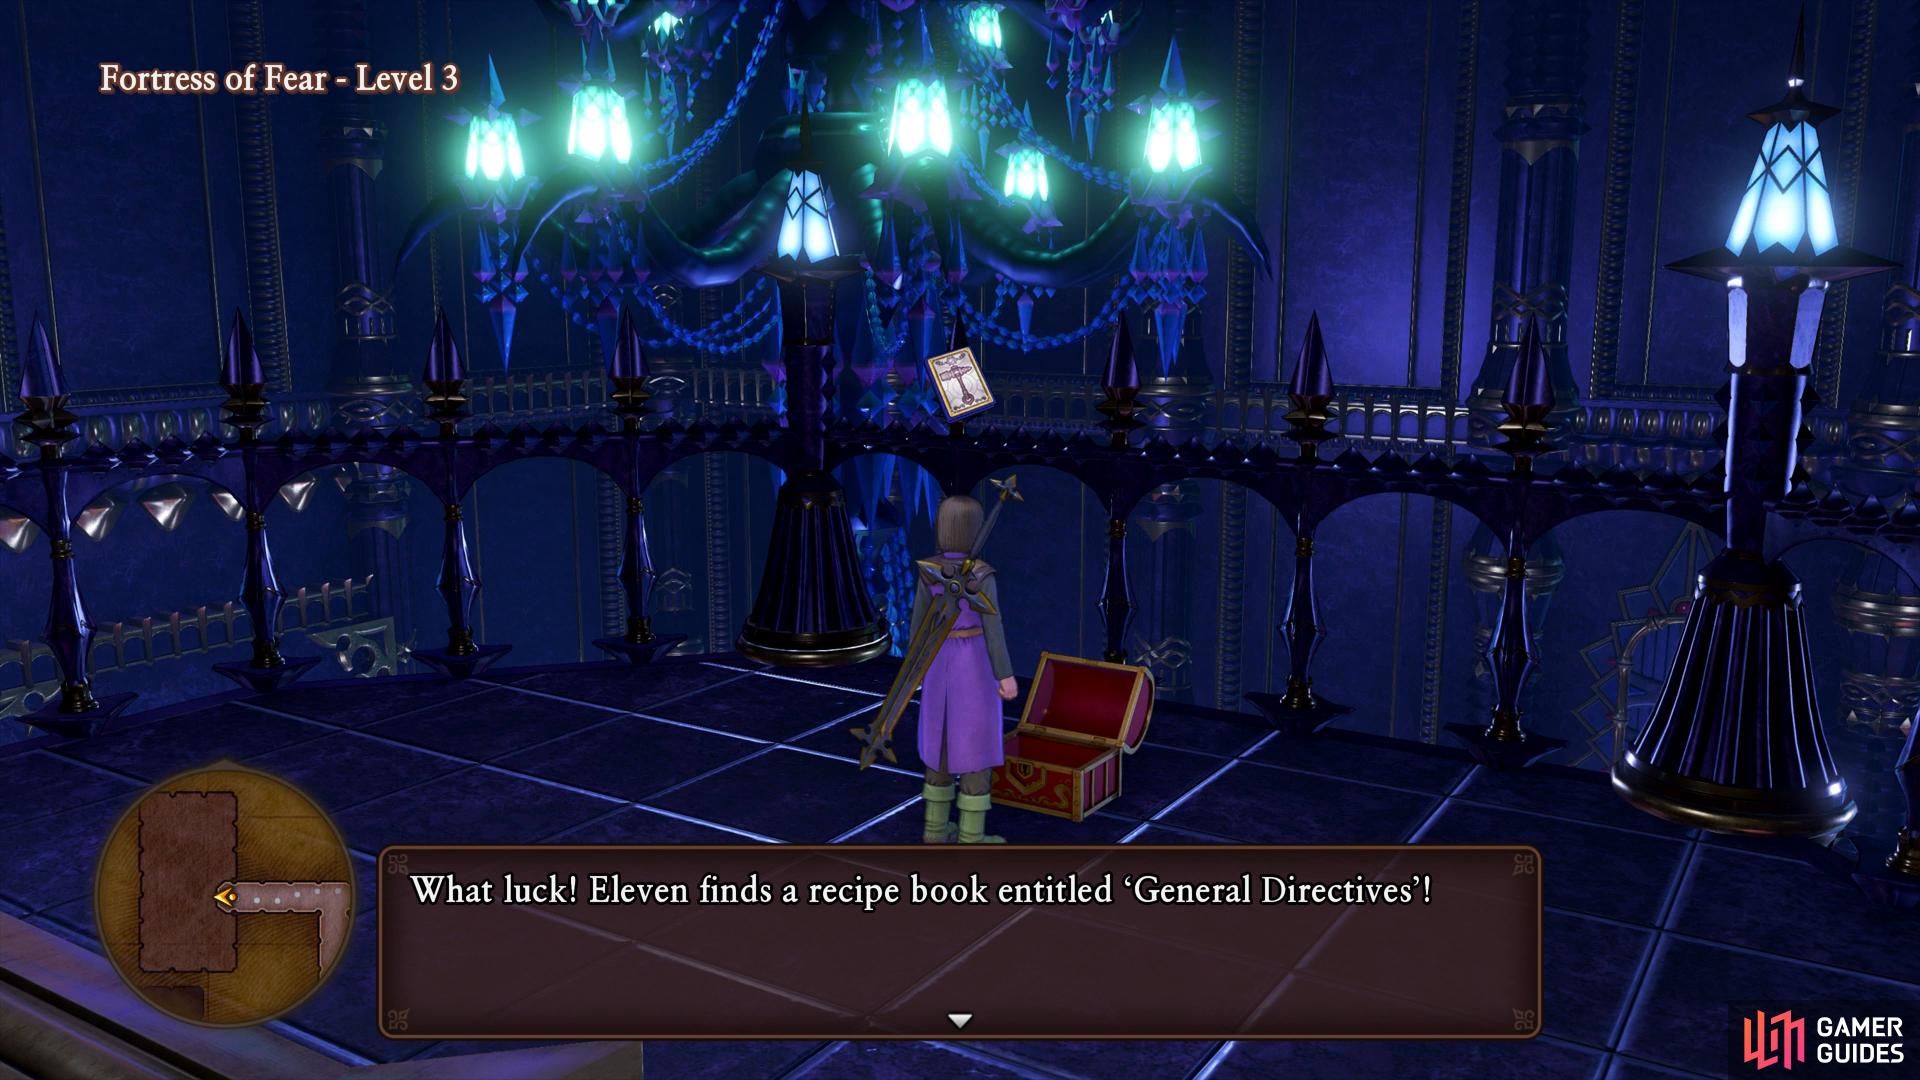
(1 of 2) This Recipe Book contains the best gear for Hendrick in Act II
This Recipe Book contains the best gear for Hendrick in Act II (left), be sure to fight encounters to hopefully come up against Metal King Slimes. (right)
Return to the central room on Level 1 and grab the new Sparkly Spots (along with the previous one) containing a Sunny Citrine and an Equable Emerald. Grab a Dragooner mount and fly up to Level 3 where you’ll find a chest on the west balcony containing two Sainted Somas along with a Sparkly Spot on the east side containing a Saint’s Ashes before exiting through the southern door.
Take the western path at the intersection and follow it to the next intersection, continuing west to find a chest containing a Mini Medal. Defeat a Visor Kaiser in this room and mount it, going north at the nearby intersection (the eastern path from the first intersection leads to a room of Penny Pinchers) and follow the path to reach the exterior.
Head north to the first portal and then follow the path until you reach the spiral stairs. Ignore the path to the south and make your way up to the top to find a chest containing a Gold Bar. Go back down the stairs, drop off the ledge and head south to the next portal. Search behind the Jerkules to find a chest containing a Recipe Book, In Fine Fettle with Liquid Metal that will allow you to forge the best weapons for Act II. Again, hold off until you unlock the next shortcut before shooting off to forge them.
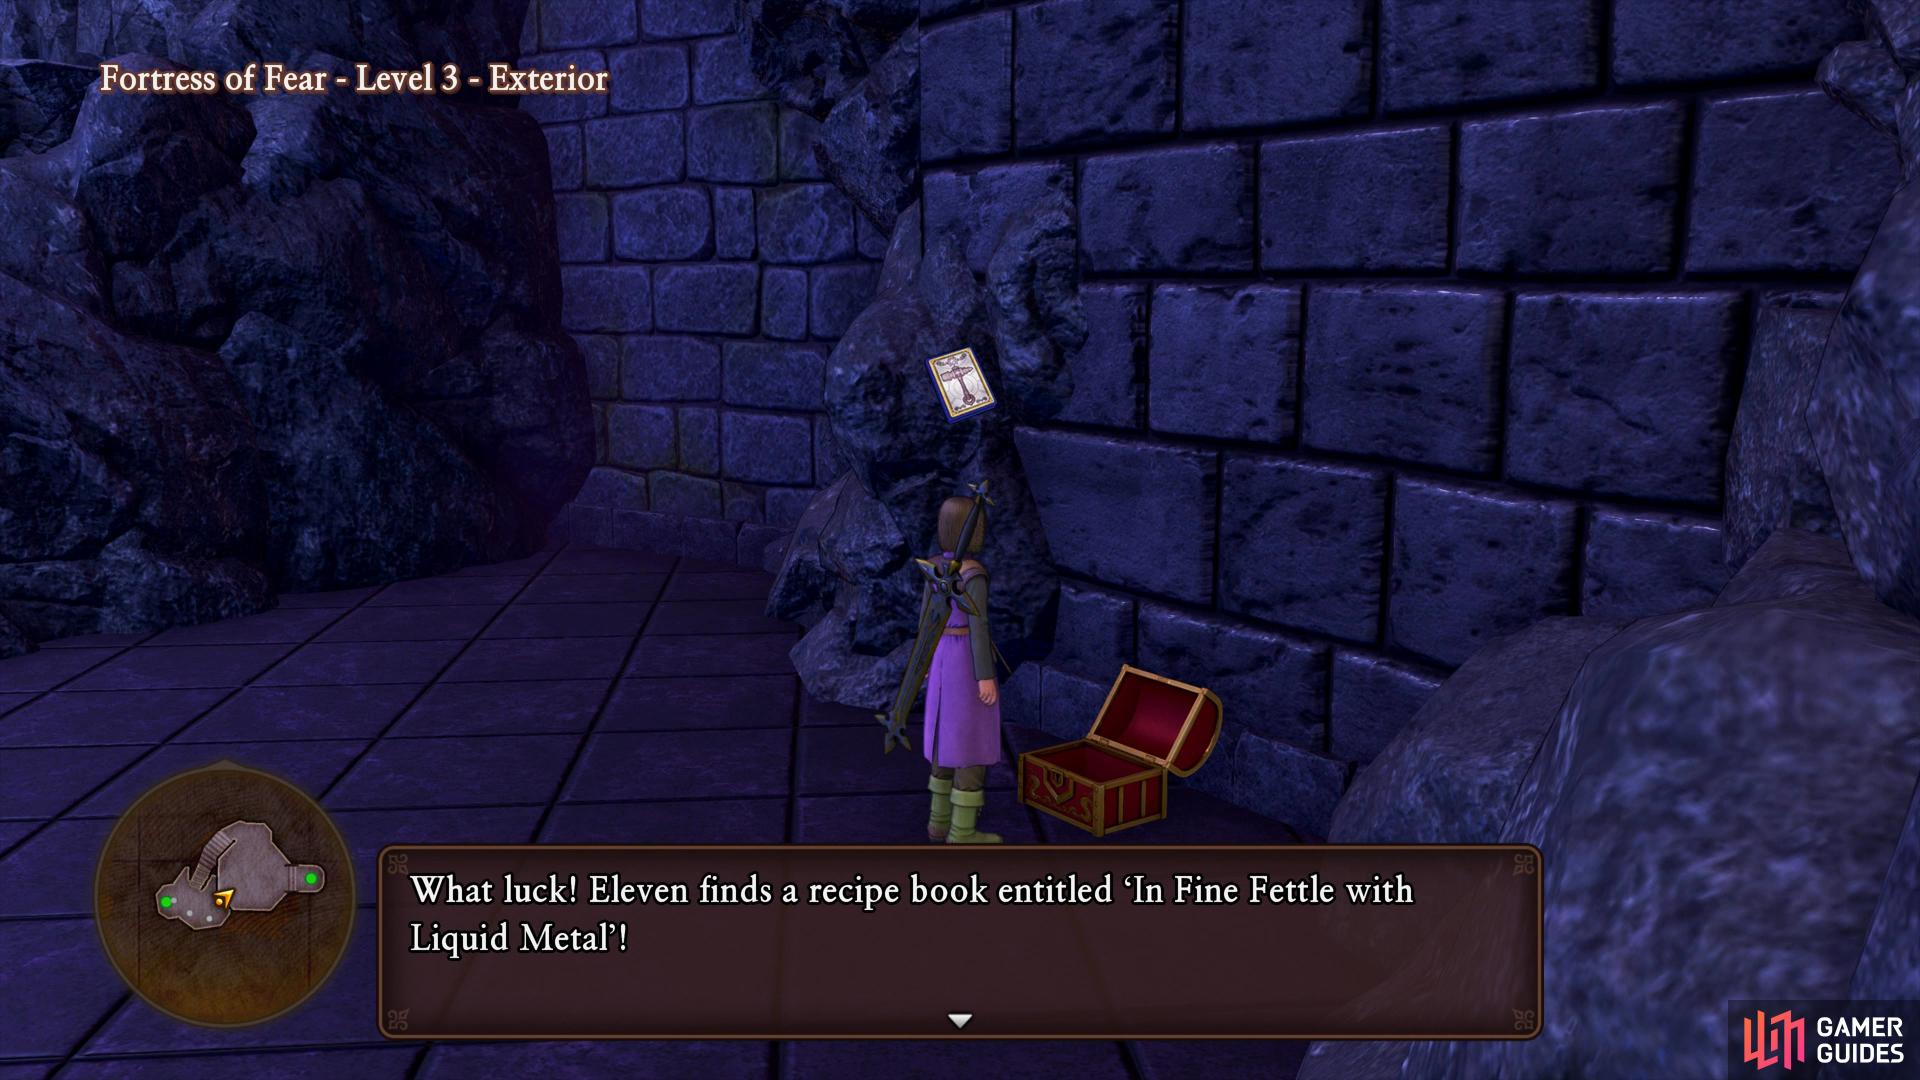
(1 of 2) Search behind the Jerkules to find this Recipe Book
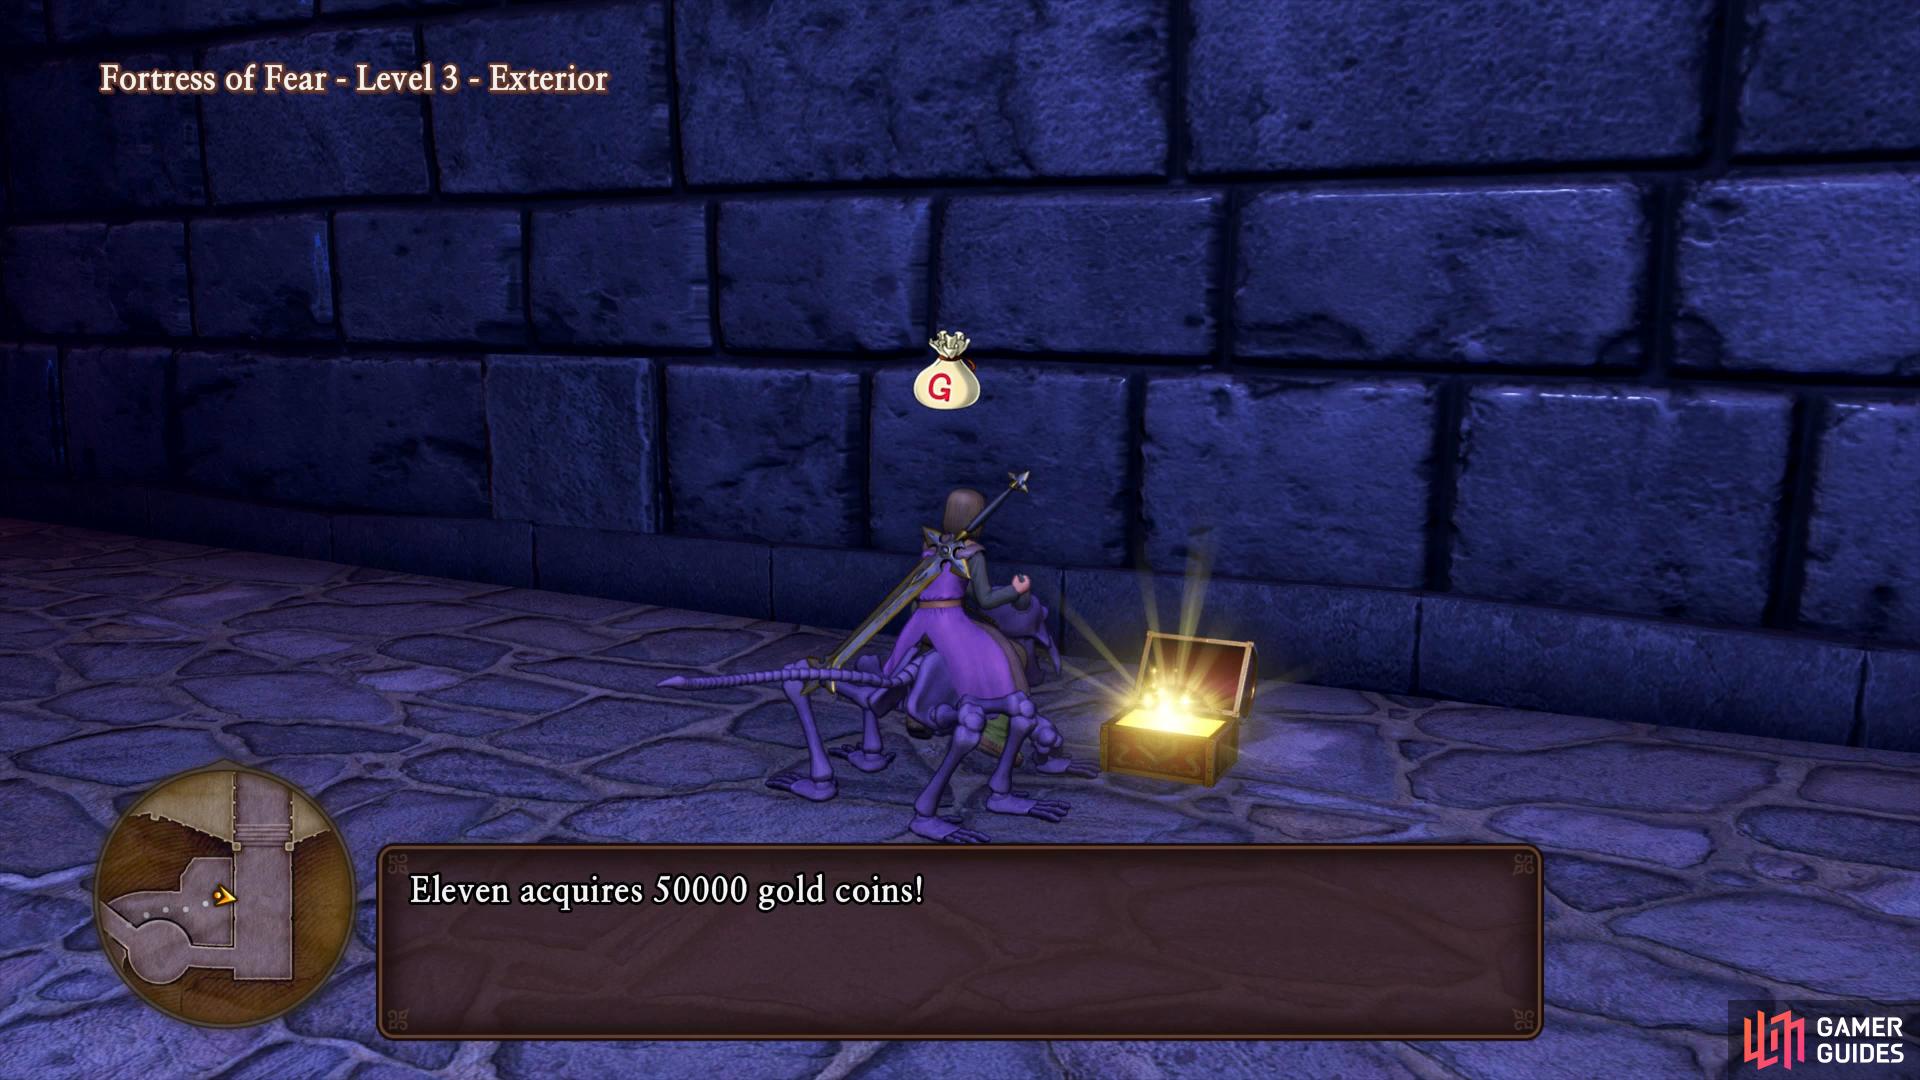
Search behind the Jerkules to find this Recipe Book (left), a large sum of gold can be found behind the Great Keepers. (right)
Climb the nearby platforms and take one final portal where you’ll come across some Hellriders, defeat one and mount it. Climb the first wall and then pass through the passageway the Great Keepers are guarding to find a chest containing 50000G. Head out of the passageway and take the next wall up to reach a bridge. Follow this path forward, defeating the Great Dragon in the process and through the door at the end.
Head forward, past the Headless Hunters and Loss Leader until you reach the central room once more. Use the power of the Luminary to break the crystals one final time and then Zoom to a Camp to begin forging some new weapons. Be sure to forge the Liquid Metal Gooreatsword and Liquid Metal Spear along with some Liquid Metal Armor for the Hero. When you’re ready, Zoom back to the Fortress of Fear and make your way to the central room on Level 1 once more.
Grab all the Sparkly Spots on the ground including two new ones containing an Artful Amethyst and Royal Ruby. Snag yourself a Dragooner mount and make your way up to Level 4 where you’ll find a chest on the eastern balcony containing an Agate of Evolution. Fly back over to the center and head through the northern door.
The way forward is blocked so take the western portal and follow the path north to an intersection. Take the western door first to find a chest containing a Poker and then head back through and take the eastern door to find a switch. Return through the portal and take the eastern portal, following the path to the next intersection. Head east to find a chest behind the Great Dragon containing a Stardust Sword before taking the western path to another switch.
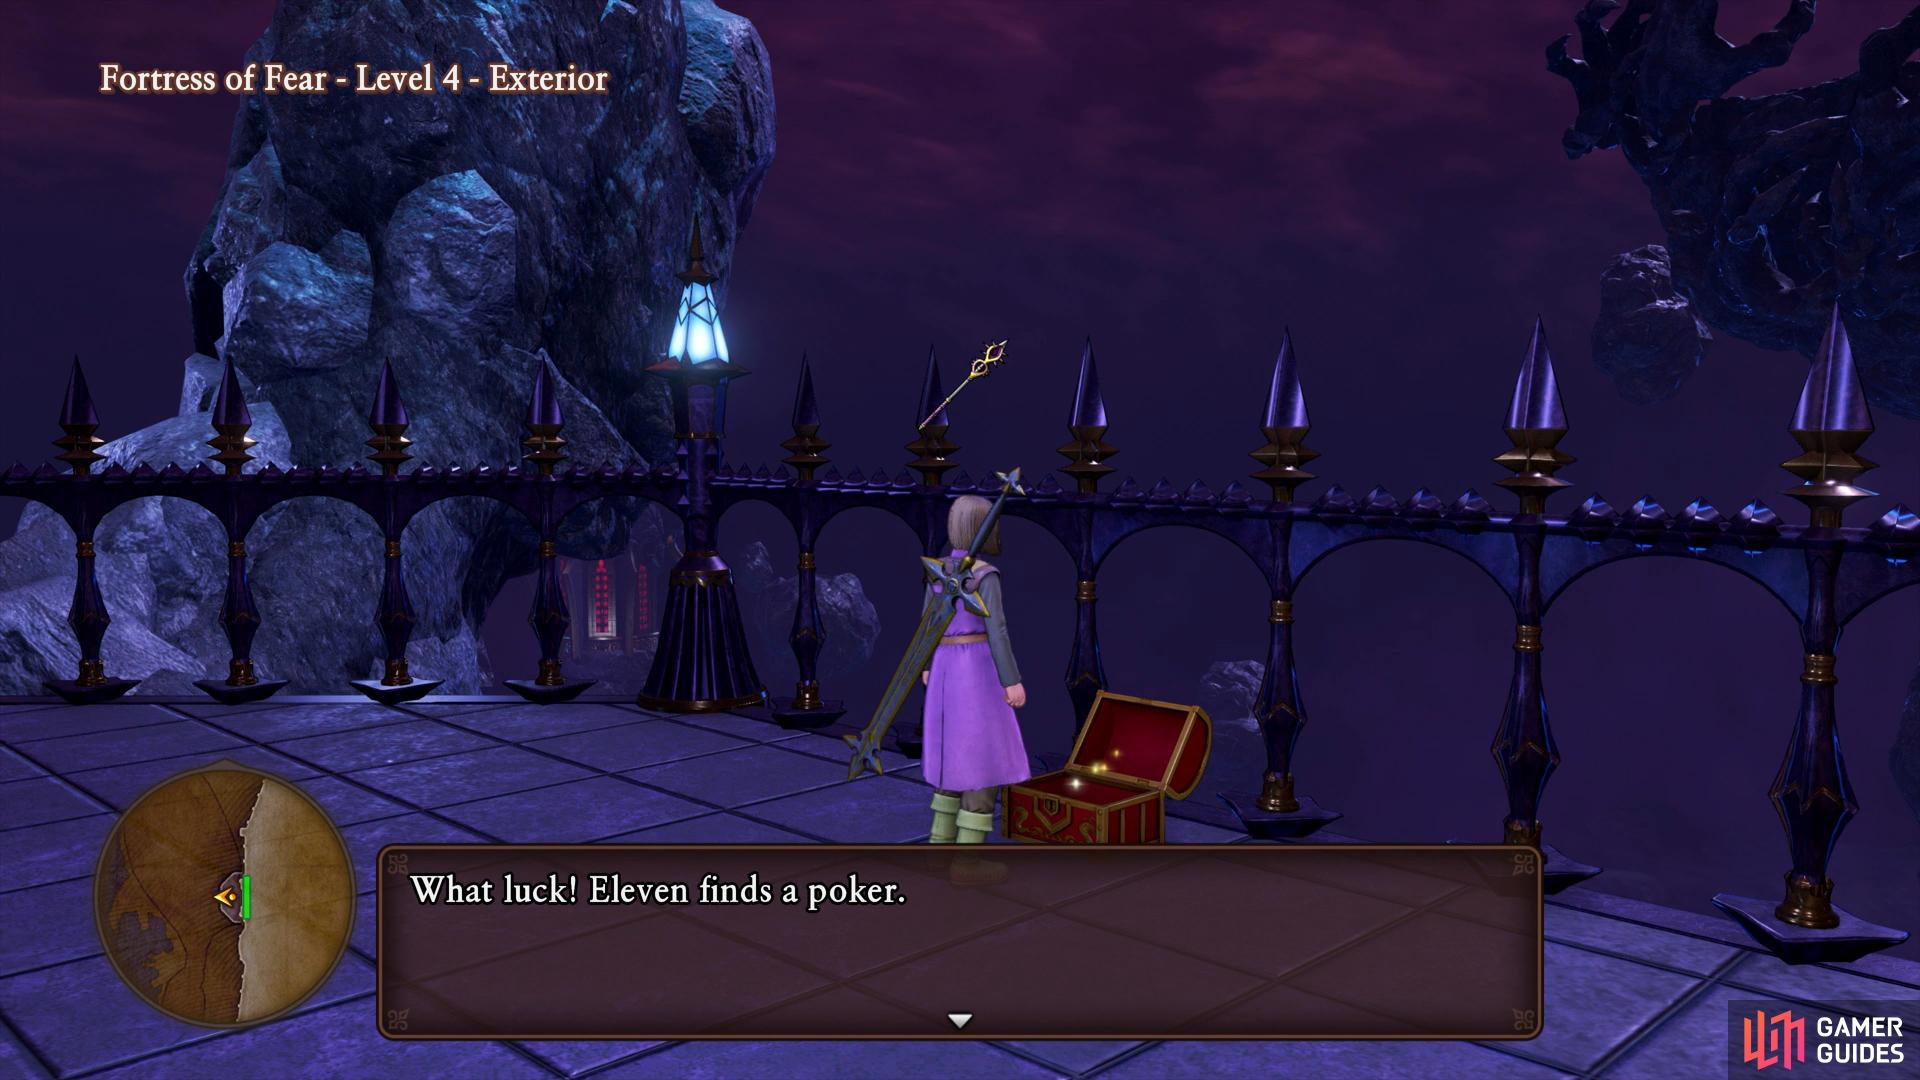
(1 of 2) The Poker and Stardust Swords are weapons that can only be upgraded in Act III
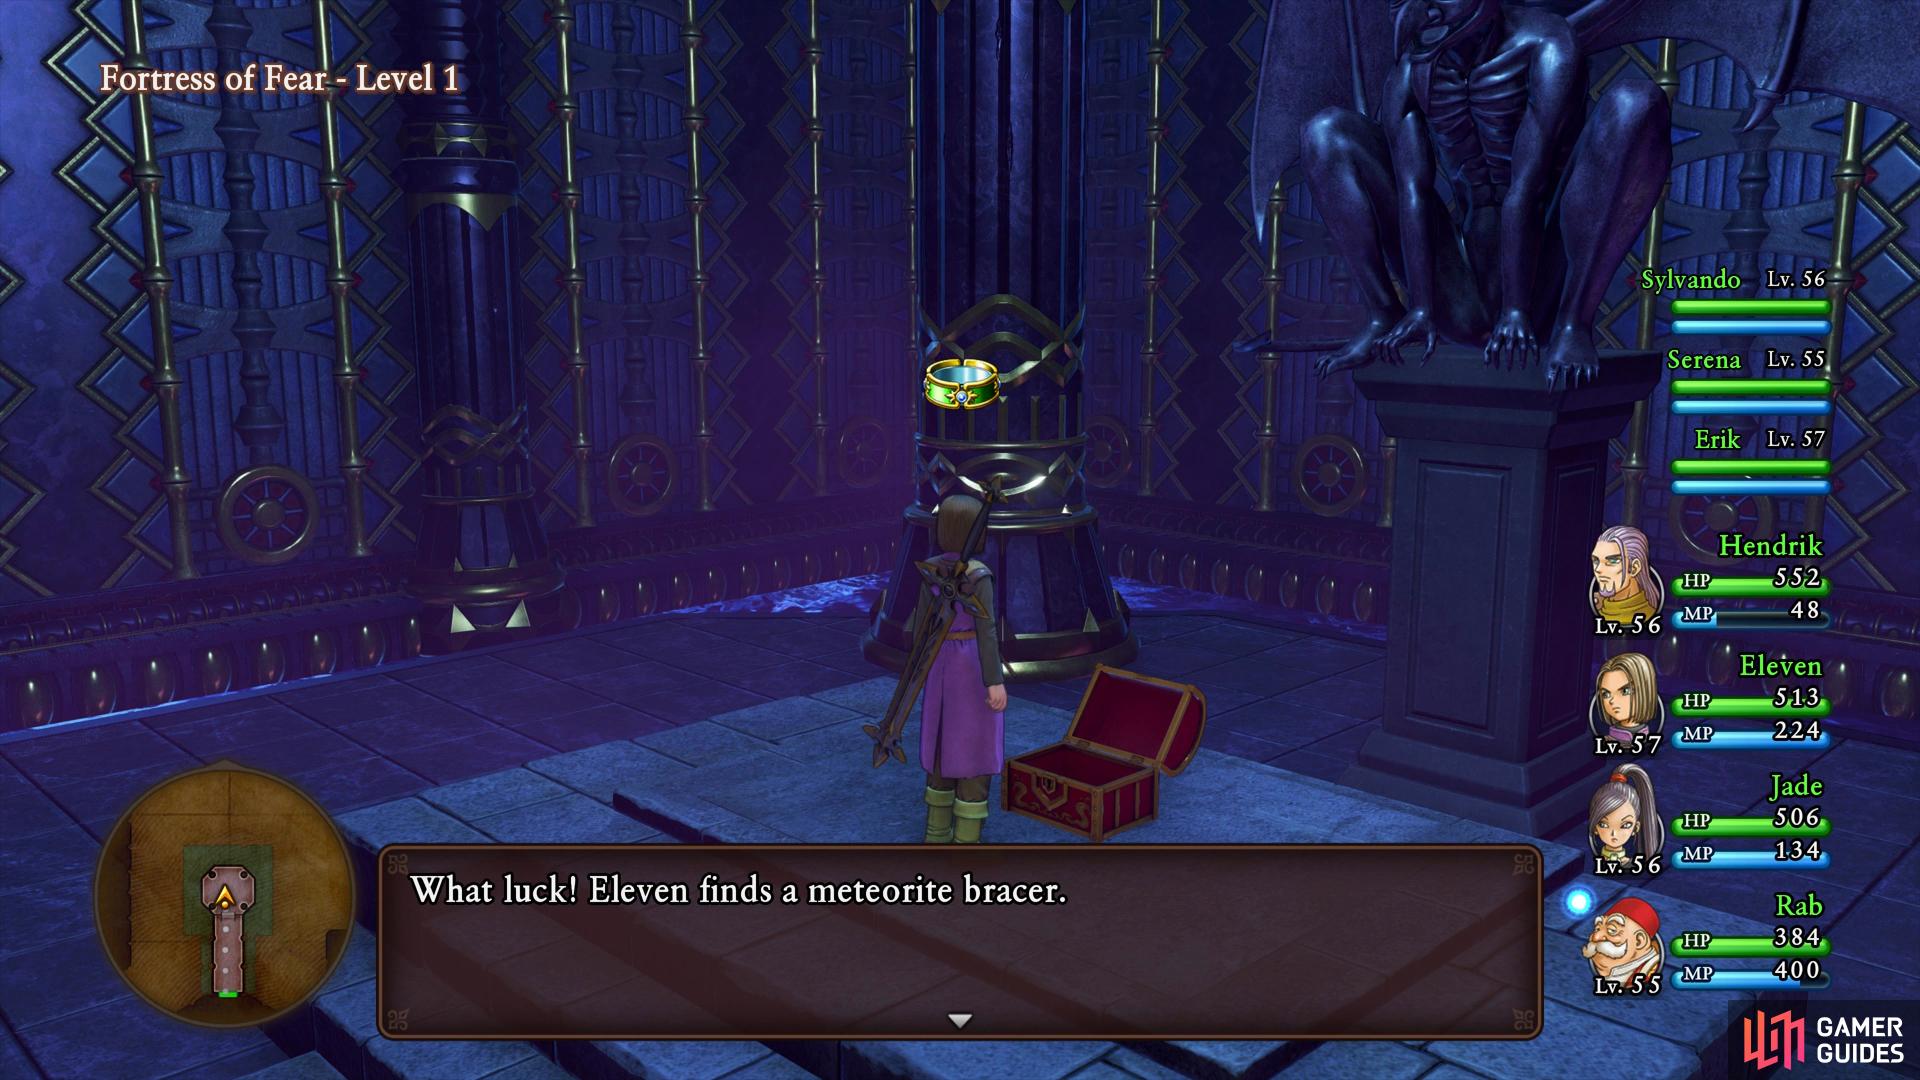
The Poker and Stardust Swords are weapons that can only be upgraded in Act III (left), the Meteorite Bracer is the best Agility accessory in the game. (right)
Return to the initial intersection and walk forward onto the platforms you just raised. Head through the western door and defeat the Great Dragon to access the switch behind it. This will allow you to access the deepest reaches of the Fortress of Fear however take the eastern path first to find another switch to hit. This unlocks the northern door back on Level 1 in the central room, head back and take a Dread Dragooner mount to the bottom. Head through the now unlocked northern door and open the chest at the end to obtain the incredibly useful Meteorite Bracer, this will boost the wearer’s agility by 100 (and 200 at +3) causing them to likely act first in battle, perfect for your healer.
While you’re here, head outside to use the Goddess Statue to heal up and save your game, you have a tough boss battle coming up. Fly back up to Level 4 and head north across the platforms you rasied to find the final chest containing four Sage’s Elixirs. Make sure you’re fully healed up and restored all your MP and then head through the door. Make your way across the bridge and an old adversary will greet you.
Boss: Jasper Unbound
Jasper is your toughest battle yet and is not to be taken lightly, regardles of your equipment. Like all bosses at this point, he can and will remove your buffs frequently, the good thing about this is that it will waste one of his turns casting it. Lance of Darkness will hit the entire party for around 200 HP, likewise Pitch-Black Flames will hit the party for around 150 HP and he can make a party member hallucinate. He’ll also use Desperate Attacks from time to time and his regular physical attacks hit hard. Finally, he’ll also call forth allies to help him in the form of Bahlibs, ignore these and focus on Jasper.

(1 of 2) Lance of Darkness is Jasper’s most dangerous attack
Lance of Darkness is Jasper’s most dangerous attack (left), likewise, Pitch-Black Flames also hits hard, keep your HP up at all times. (right)
Jasper has around 3600 HP, which isn’t too much at this point in the game but you’ll need to keep an eye on your HP at all times, don’t let it drop below half. Have Hendrick use Kabuff so Jasper wastes turns removing it and then help out with Sage’s Stone and Parallax where possible. The Hero should be using either Unbridled Blade or Sword Dance, both hit hard but Sword Dance is less MP along with each hit being able to perform a Critical Hit. Jade should be using Multifeet at this point, if you can buff her with Re-Vamp or Oomphle she’ll be even more deadly. Finally, Sylvando, Serena or Rab should be on constant healing duty, don’t take anything for granted.
As Jasper evaporates, you’ll obtain the Purple Orb once more to complete your orb collection. Proceed north through the door and head towards the portal to witness more scenes. Take the portal up to the Palace of Malice following it and then prepare yourself, when you enter through the door at the end, the final battle will begin.
For starters, check out your inventories, make sure you have plenty of MP restoring items on everyone and Yggdrasil Leaves on characters who otherwise cannot revive. You’ll want to be around Level 55 as a base, if you’re not then return to the lower levels and fight some battles until you reach it. Once you’re fully prepared, head through the door to face Mordegon at long last.
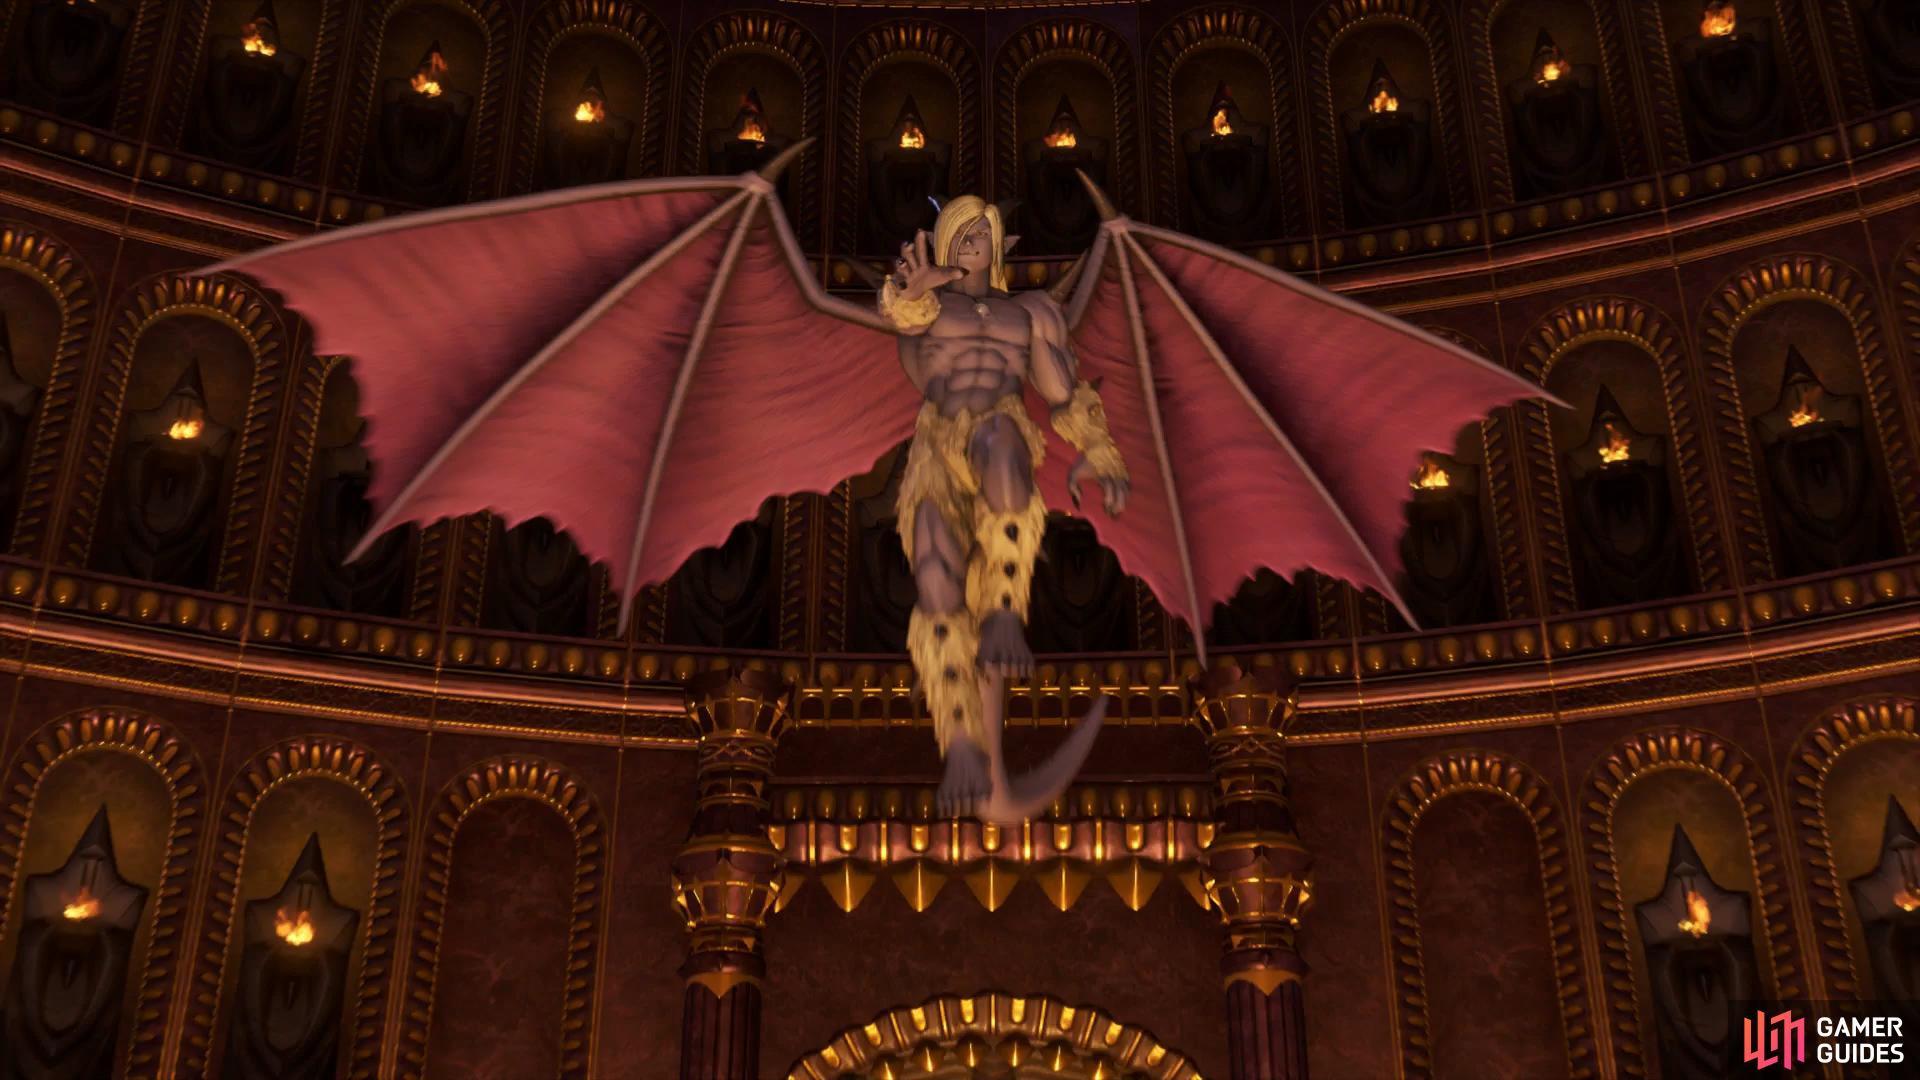
Boss: Lord of Shadows
The Lord of Shadows has around 5500 HP so you’ll need to be ready for a long battle. He has many damaging attacks and like Jasper before him, the ability to remove your own buffs. Using the orb, Evil Energies will deal around 150 HP to the party and he can summon a Shadow of Shadows that will both buff the Lord of Shadows and deal damage to your party. Be sure to take out the Shadow of Shadows before it has a chance to use Kabuff or else you risk prolonging the battle. The Power of Darkness is another party wide attack that can deal upwards of 200 HP and he can drain your MP on top of it. Finally, Blade of Ultimate Power will deal around 240 HP to a single party member, as you can see, if multiple attacks go against you then you could see yourself near death very quickly.
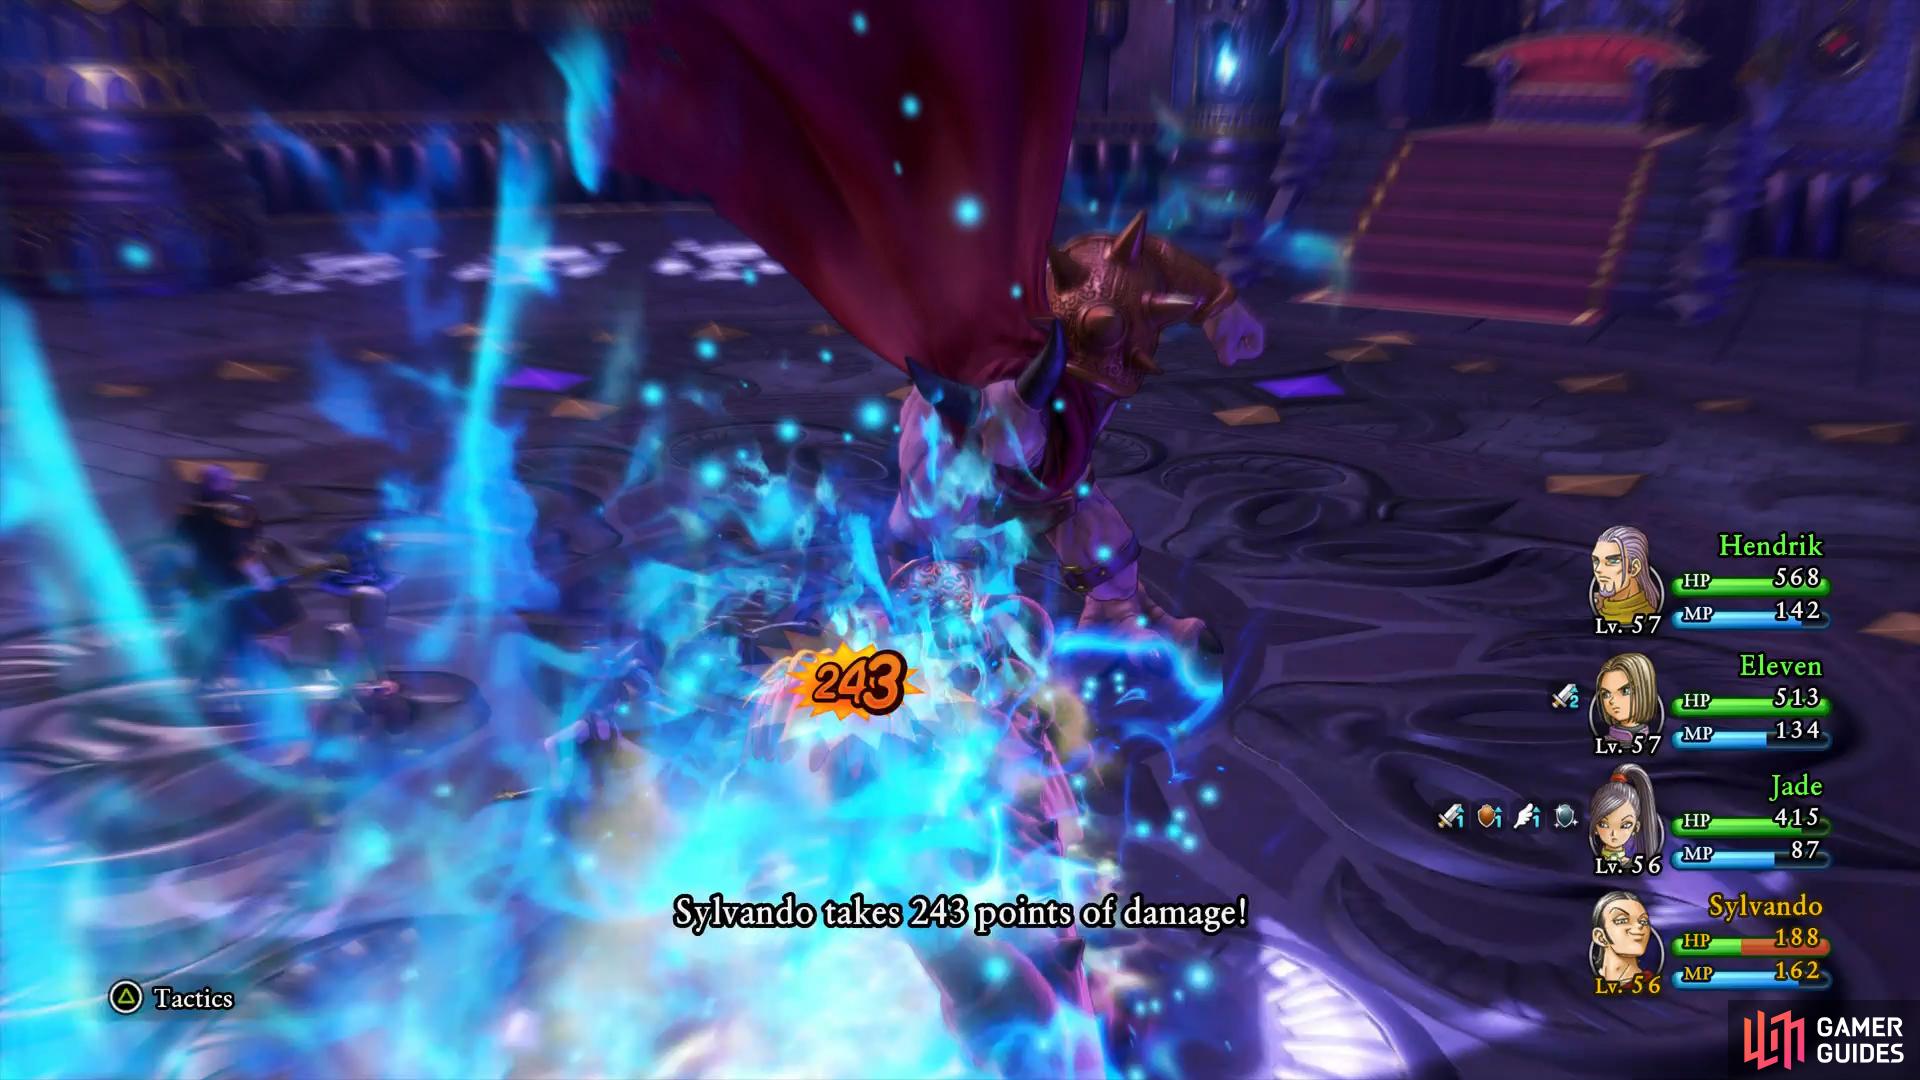
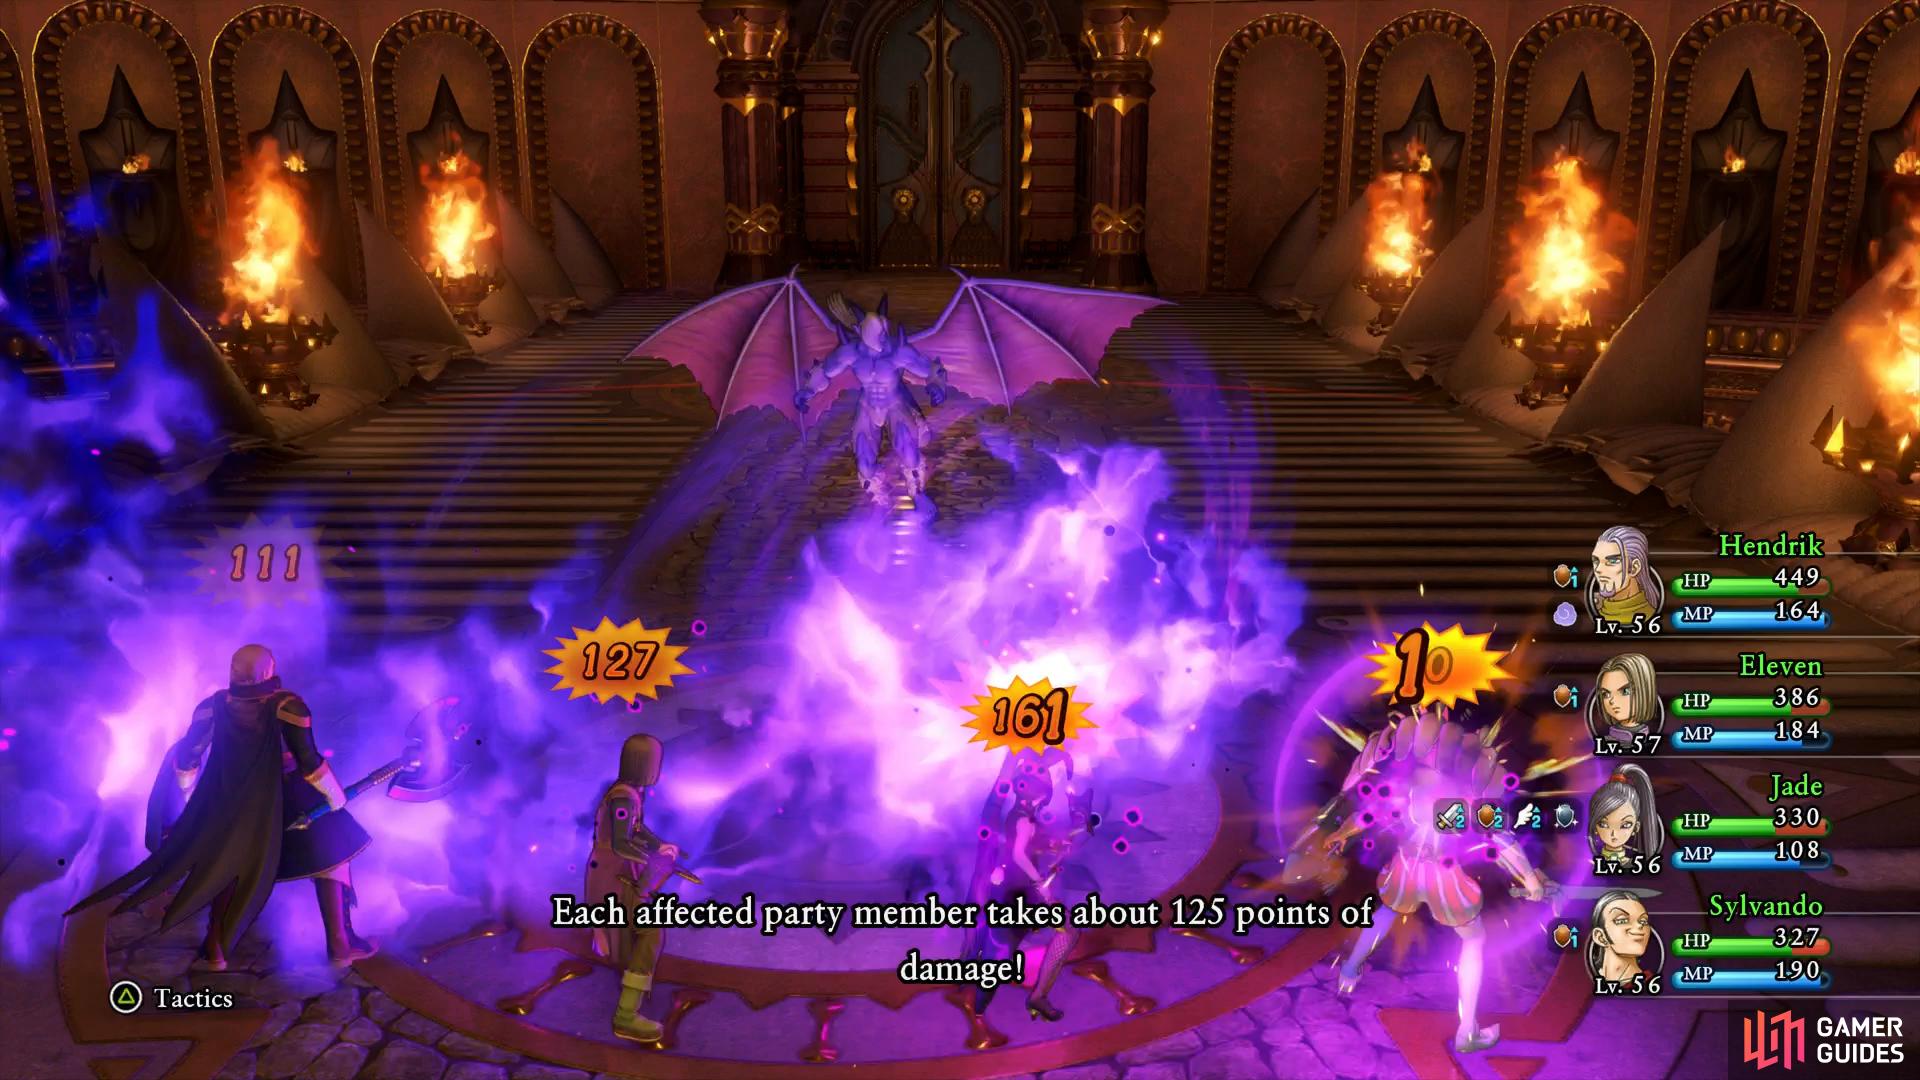
(1 of 2) Evil Energies will hit the entire party for heavy damage
Evil Energies will hit the entire party for heavy damage (left), while Blade of Ultimate Power focuses on one character. (right)
Hendrick should use Kabuff and then work on using Scrap Mettle to lower his defense while using Sage’s Stone to help heal. Try to get Oomphle off on the Hero and have him use Sword Dance and Jade is as deadly as ever with Re-Vamp (only use it once here) and Multifeet. Finally, any healer will be useful here although Rab’s large MP pool helps negate the need to use MP restoring items.
As the Lord of Shadows falls back, defeated, he uses one last trick up his sleeve, transforming himself into a giant combination of man and Dragon.
Boss: Mordragon and Mordragon’s Tail
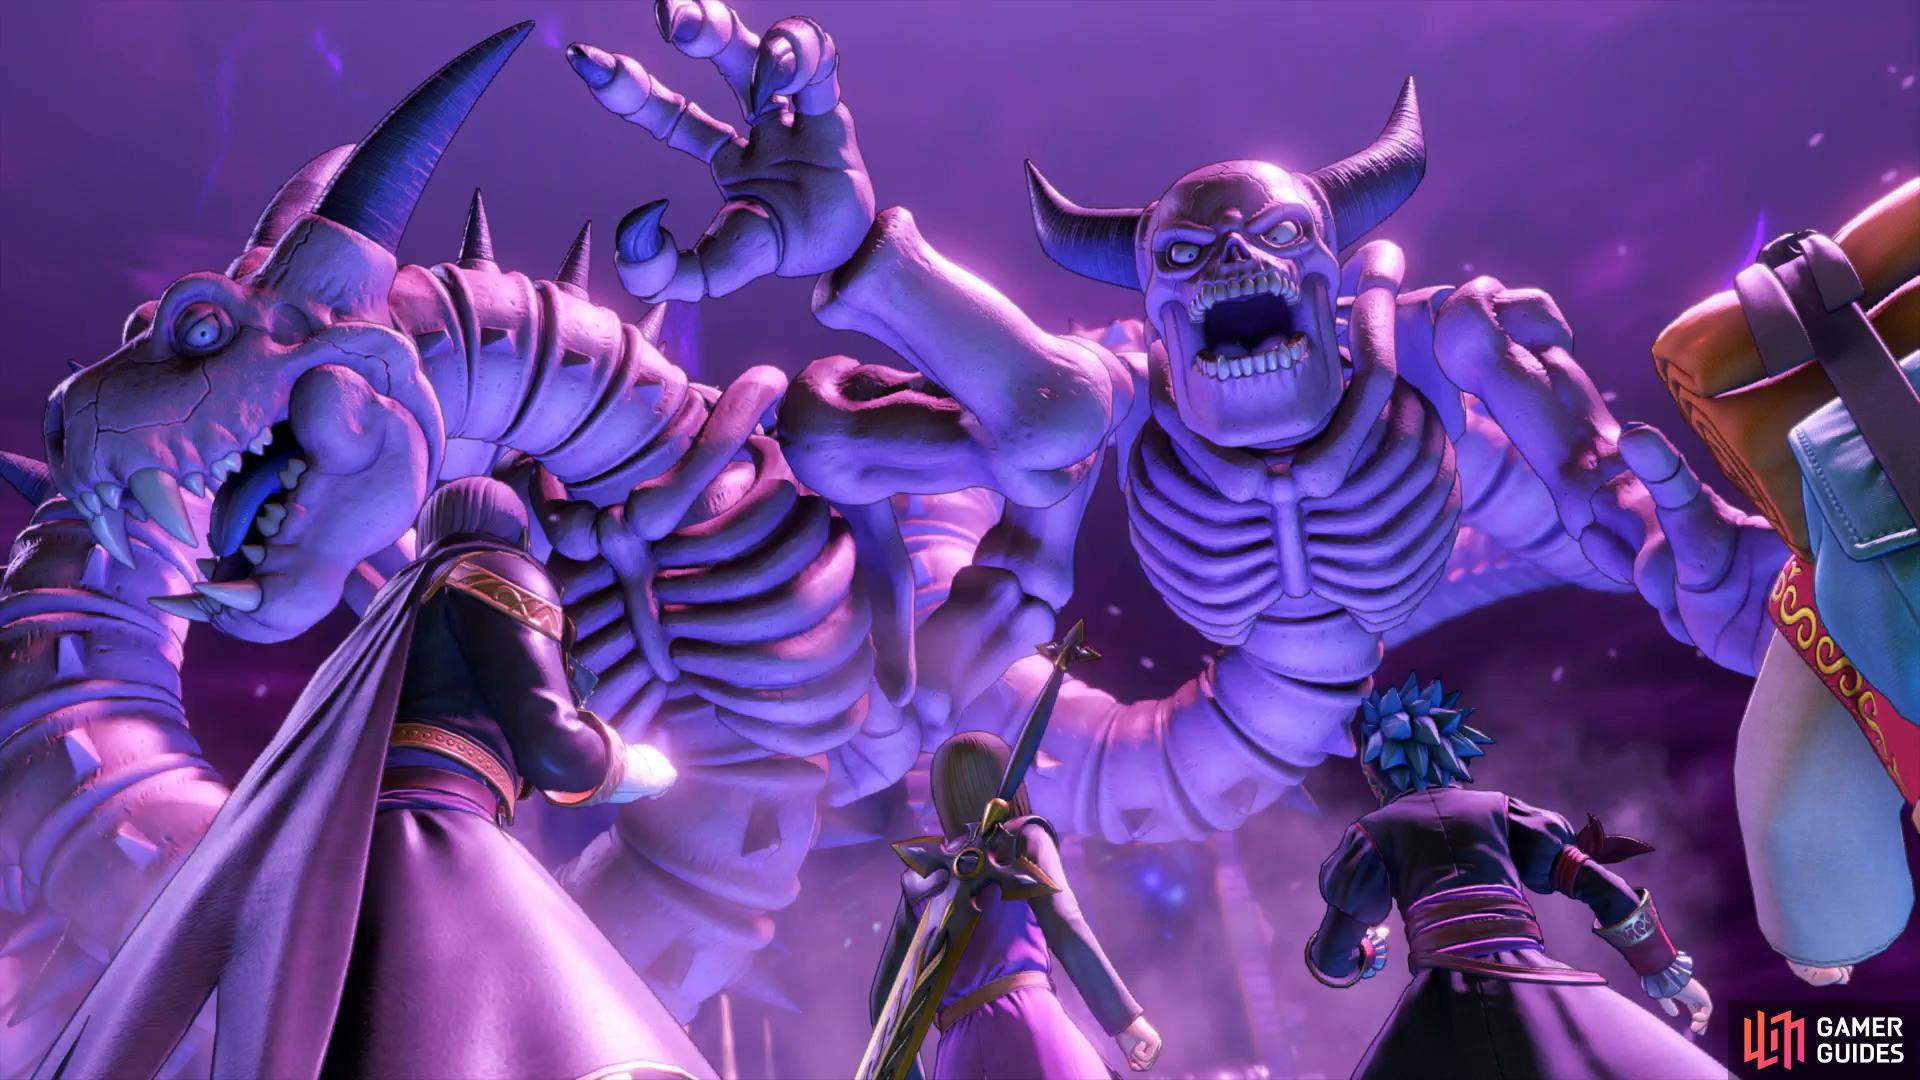
You’ll be fully restored at the beginning of the battle and you’ll be up against both the Mordragon and Mordragon’s Tail. Mordragon’s Tail is more magical based and will use heavy hitting spells while Mordragon is more physical based. Each head has around 5600 HP and you’ll need to defeat both to finish the battle.
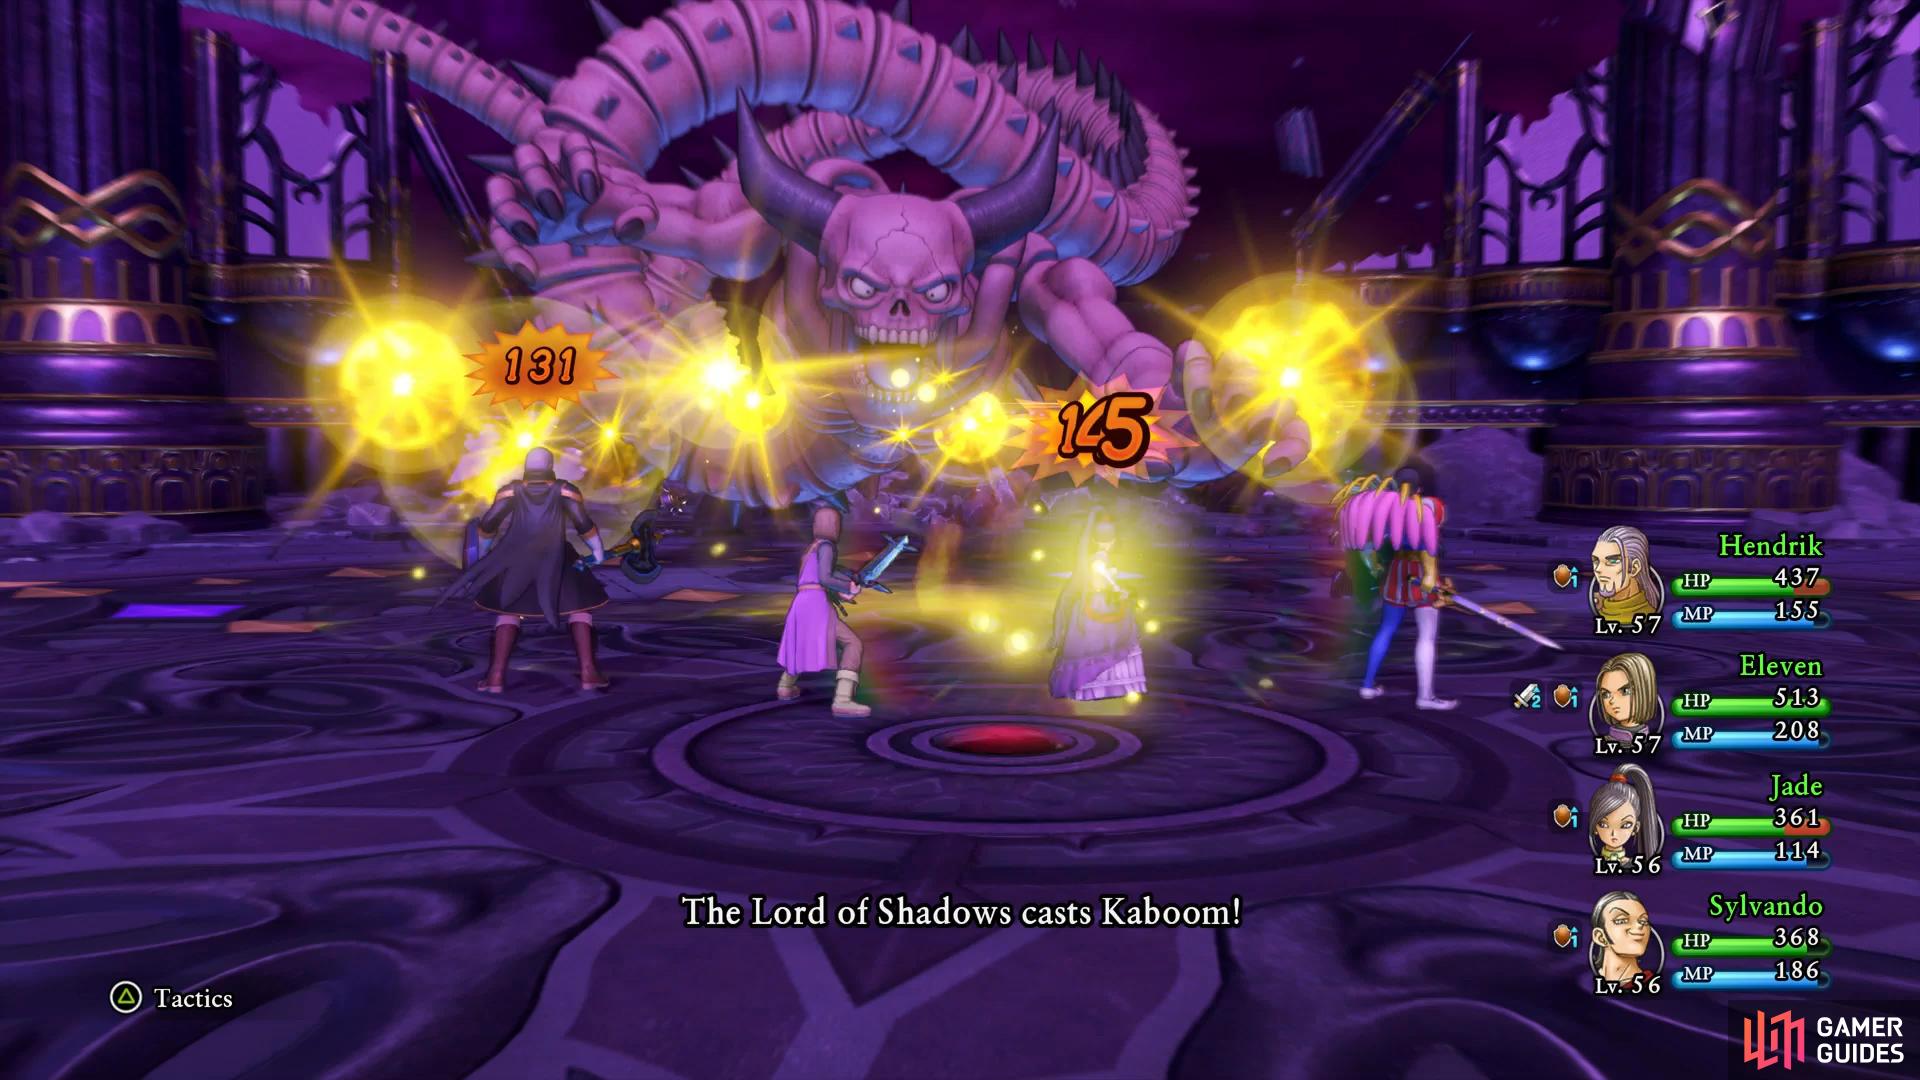
You begin fighting only Mordragon’s Tail until you deal around 1600 HP, take this time to buff up and prepare yourself. Mordragon’s Tail will use regular attacks for around 250 HP, heavy hitting magic spells and also Disruptive Wave to remove your buffs. A few Sword Dances and Multifeets should put it down quickly, at which point your target shifts to the Mordragon. Mordragon, like Mordragon’s Tail before him, will use Disruptive Wave to remove buffs along with using Kaboom for over 170 HP. Mordragon’s Tail can also attack from the distance with Kafrizz for around 120 HP to a single target.
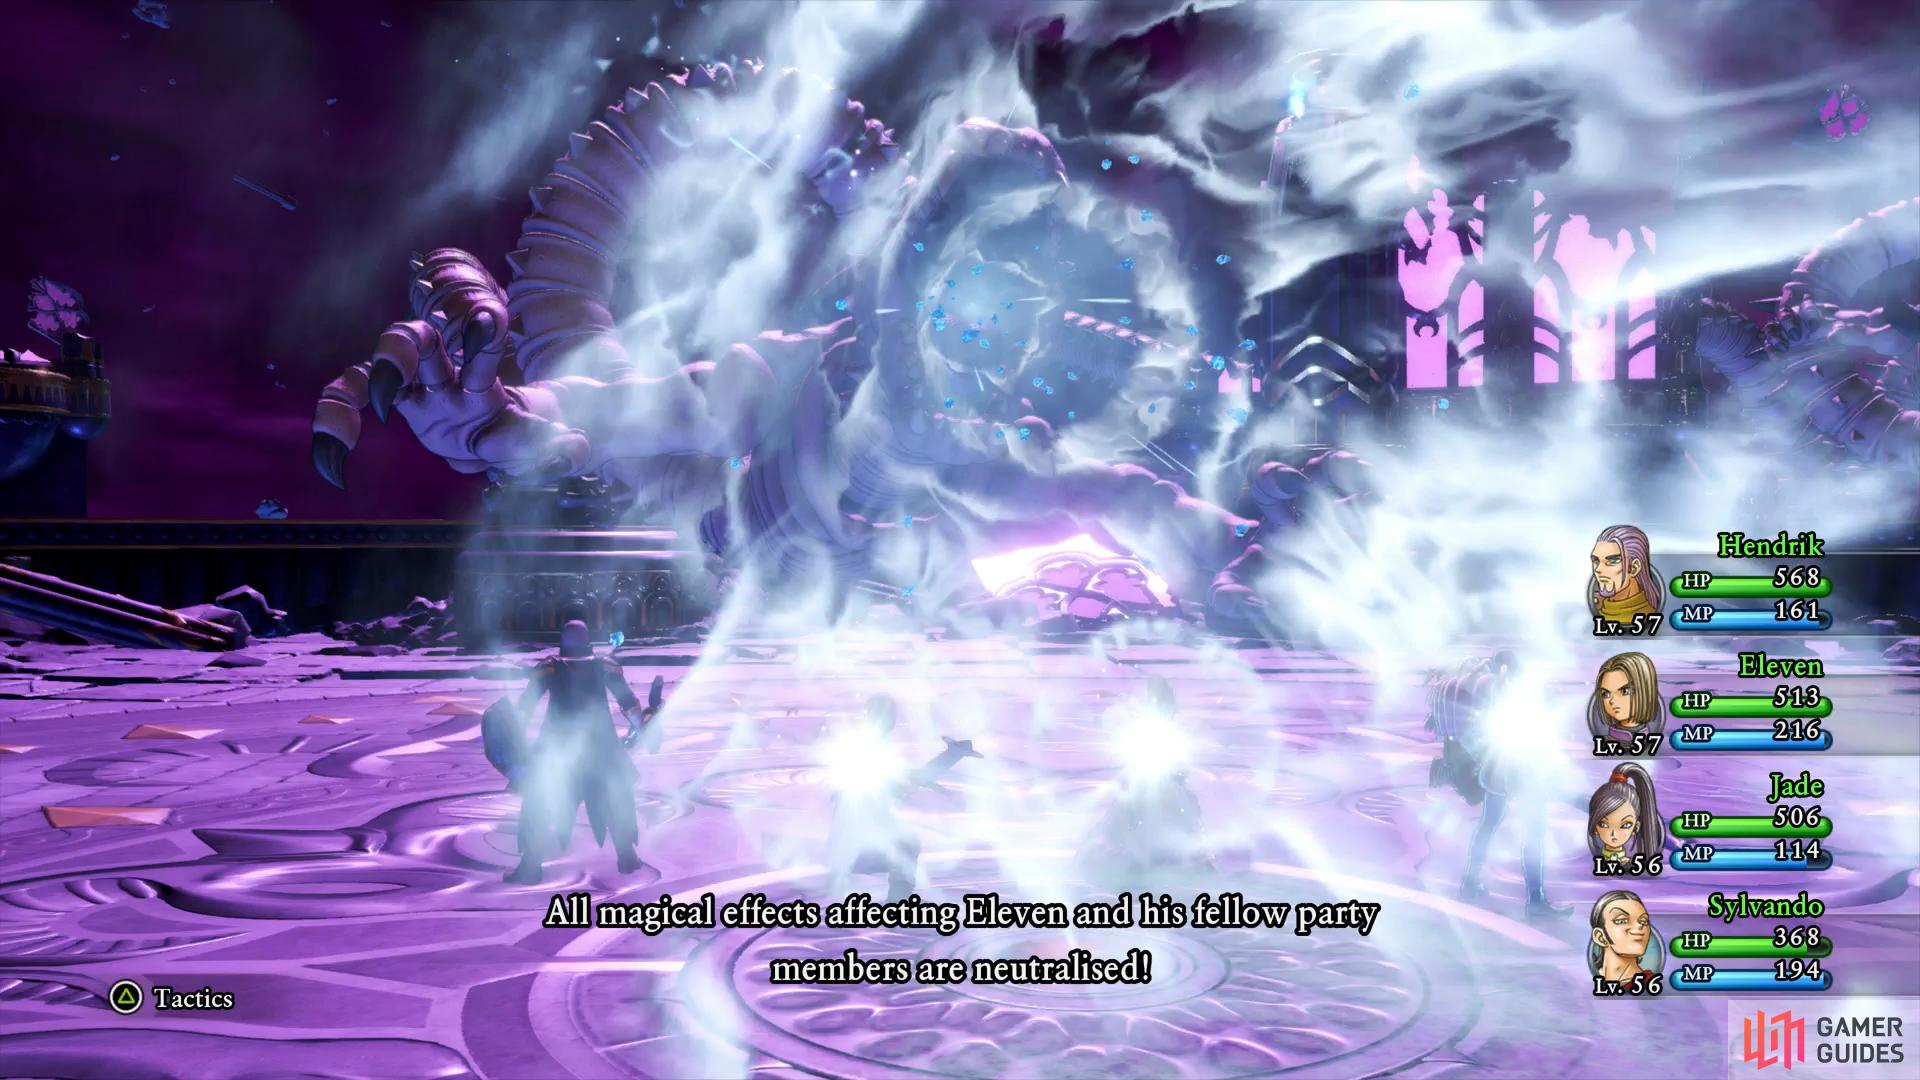
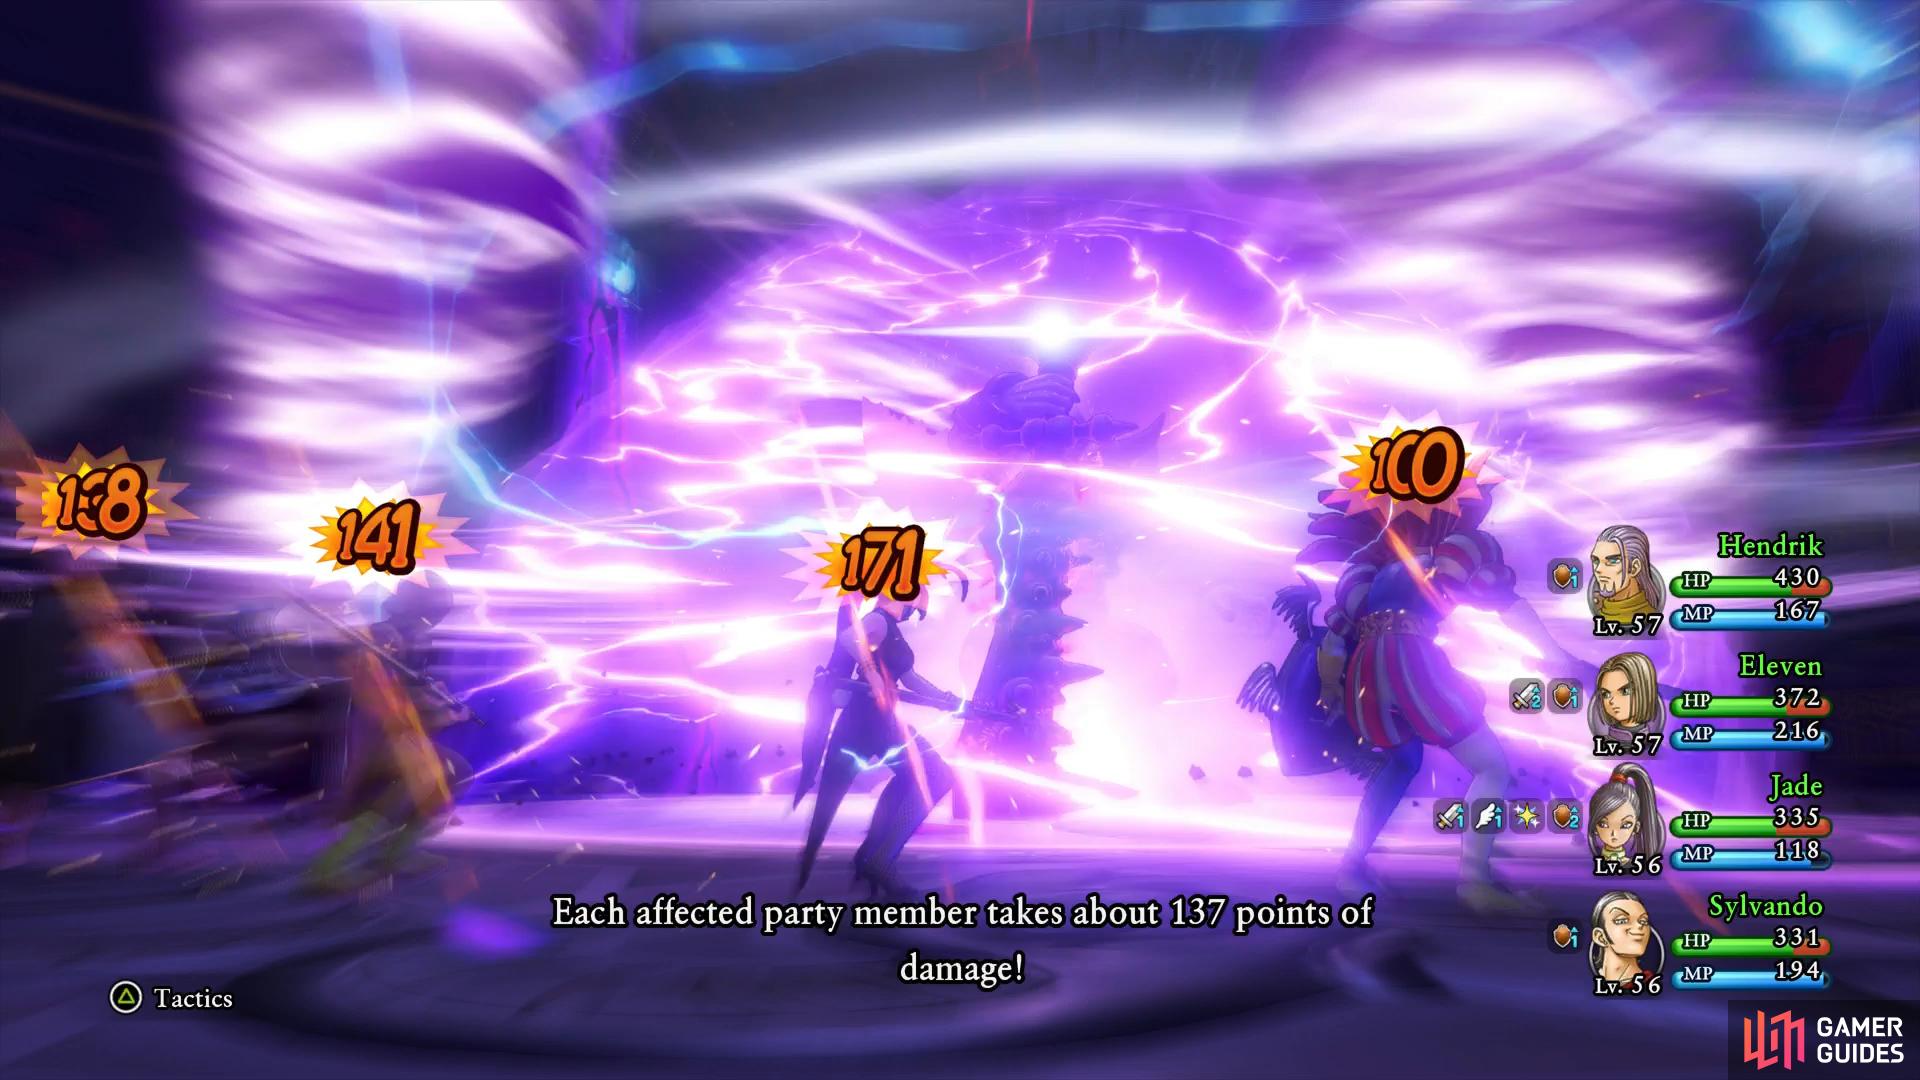
(1 of 2) Each head will use Disruptive Wave when it retreats
Each head will use Disruptive Wave when it retreats (left), use Magic Barrier to help with the magic spells. (right)
When the two of them attack together is when the battle really begins. At this point, you must make Mordragon’s Tail your main focus, if you defeat Mordragon first then Mordragon’s Tail will use Kazing to bring him back to life. Mordragon’s Tail can trap a character in its mouth, putting them out of action for a round before returning them with Toxic. Both of them at this point will begin using magic spells such as Kazam and Kafrizz, along with a flame breath from Mordragon’s Tail. Kaboom continues to be a nuisance and when the two of them Pep Up, be sure to be fully healed along with Magic Barrier, the Magic Burst that potentially follows is extremely deadly and can wipe out the party if not fully prepared. Alternatively, they may opt to use Almighty Black Mark instead and while a lethal trap is left in place, is preferable to Magic Burst.
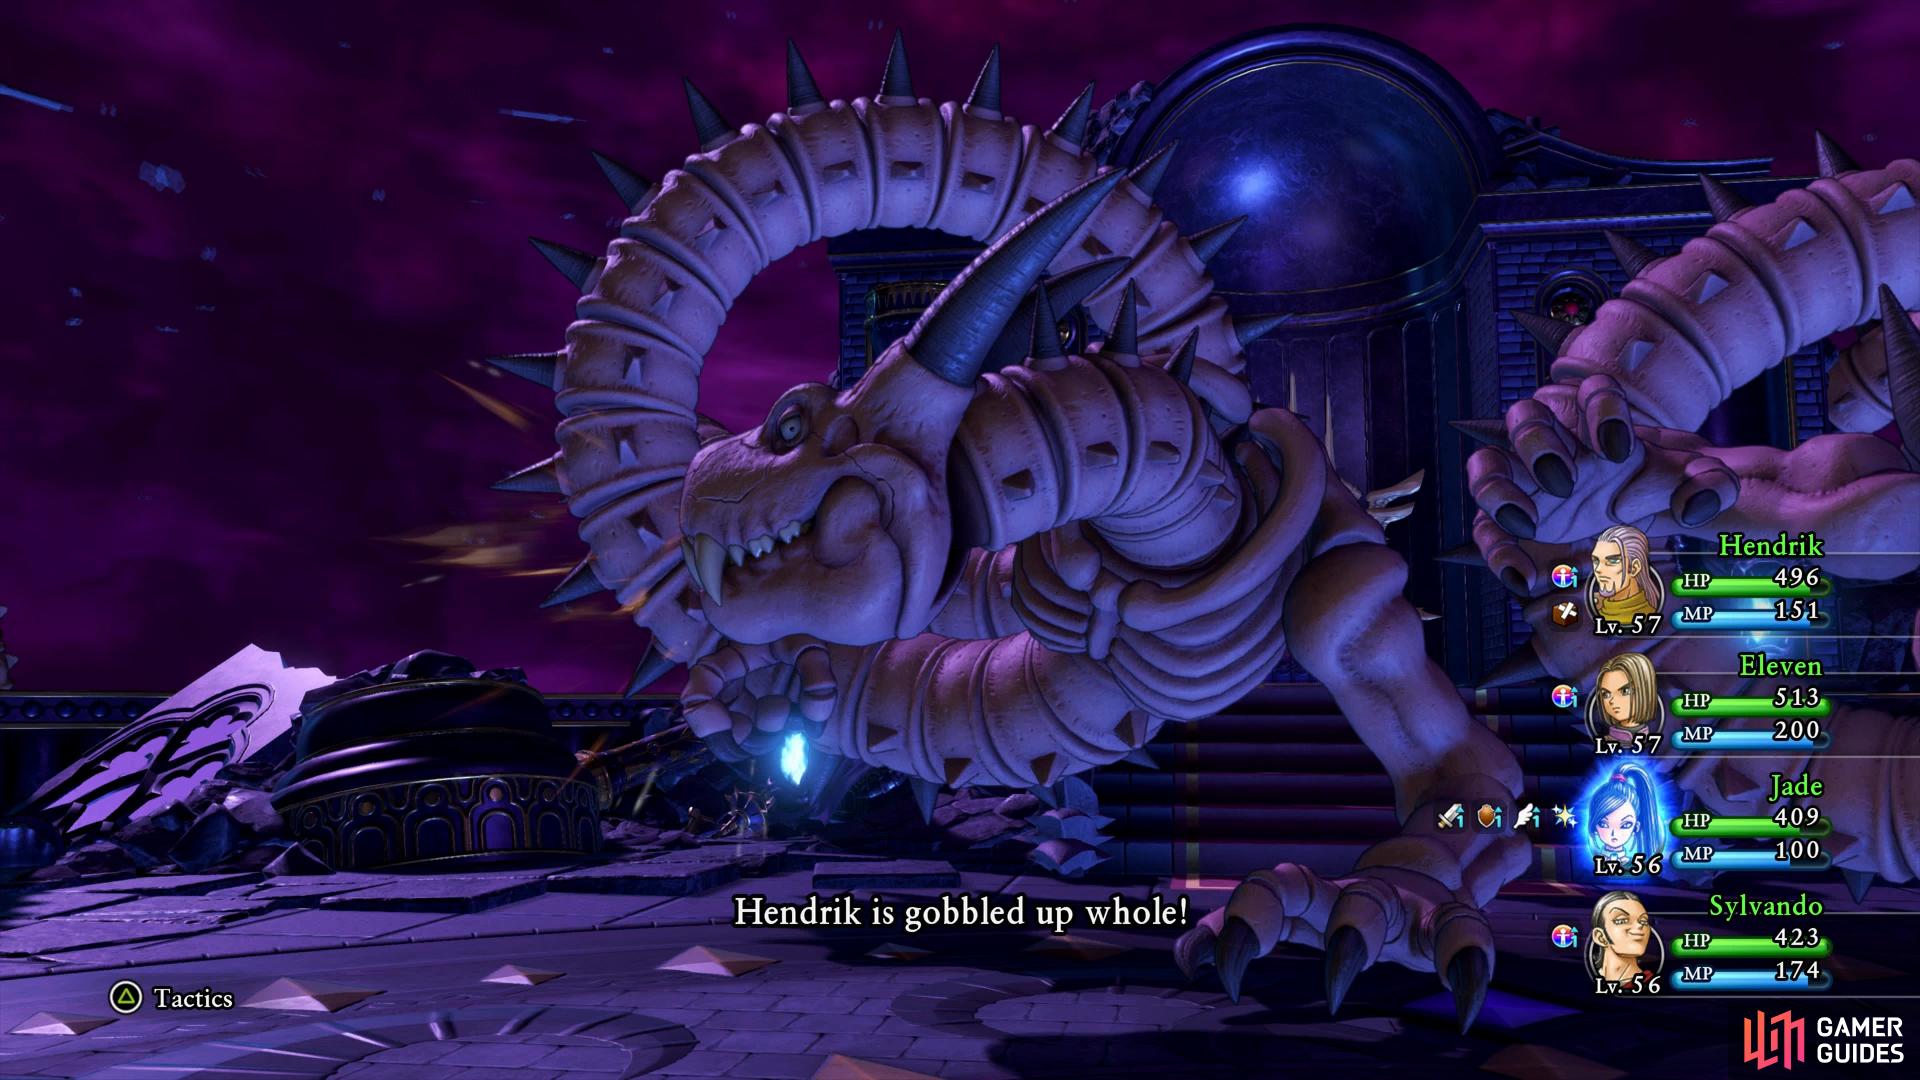
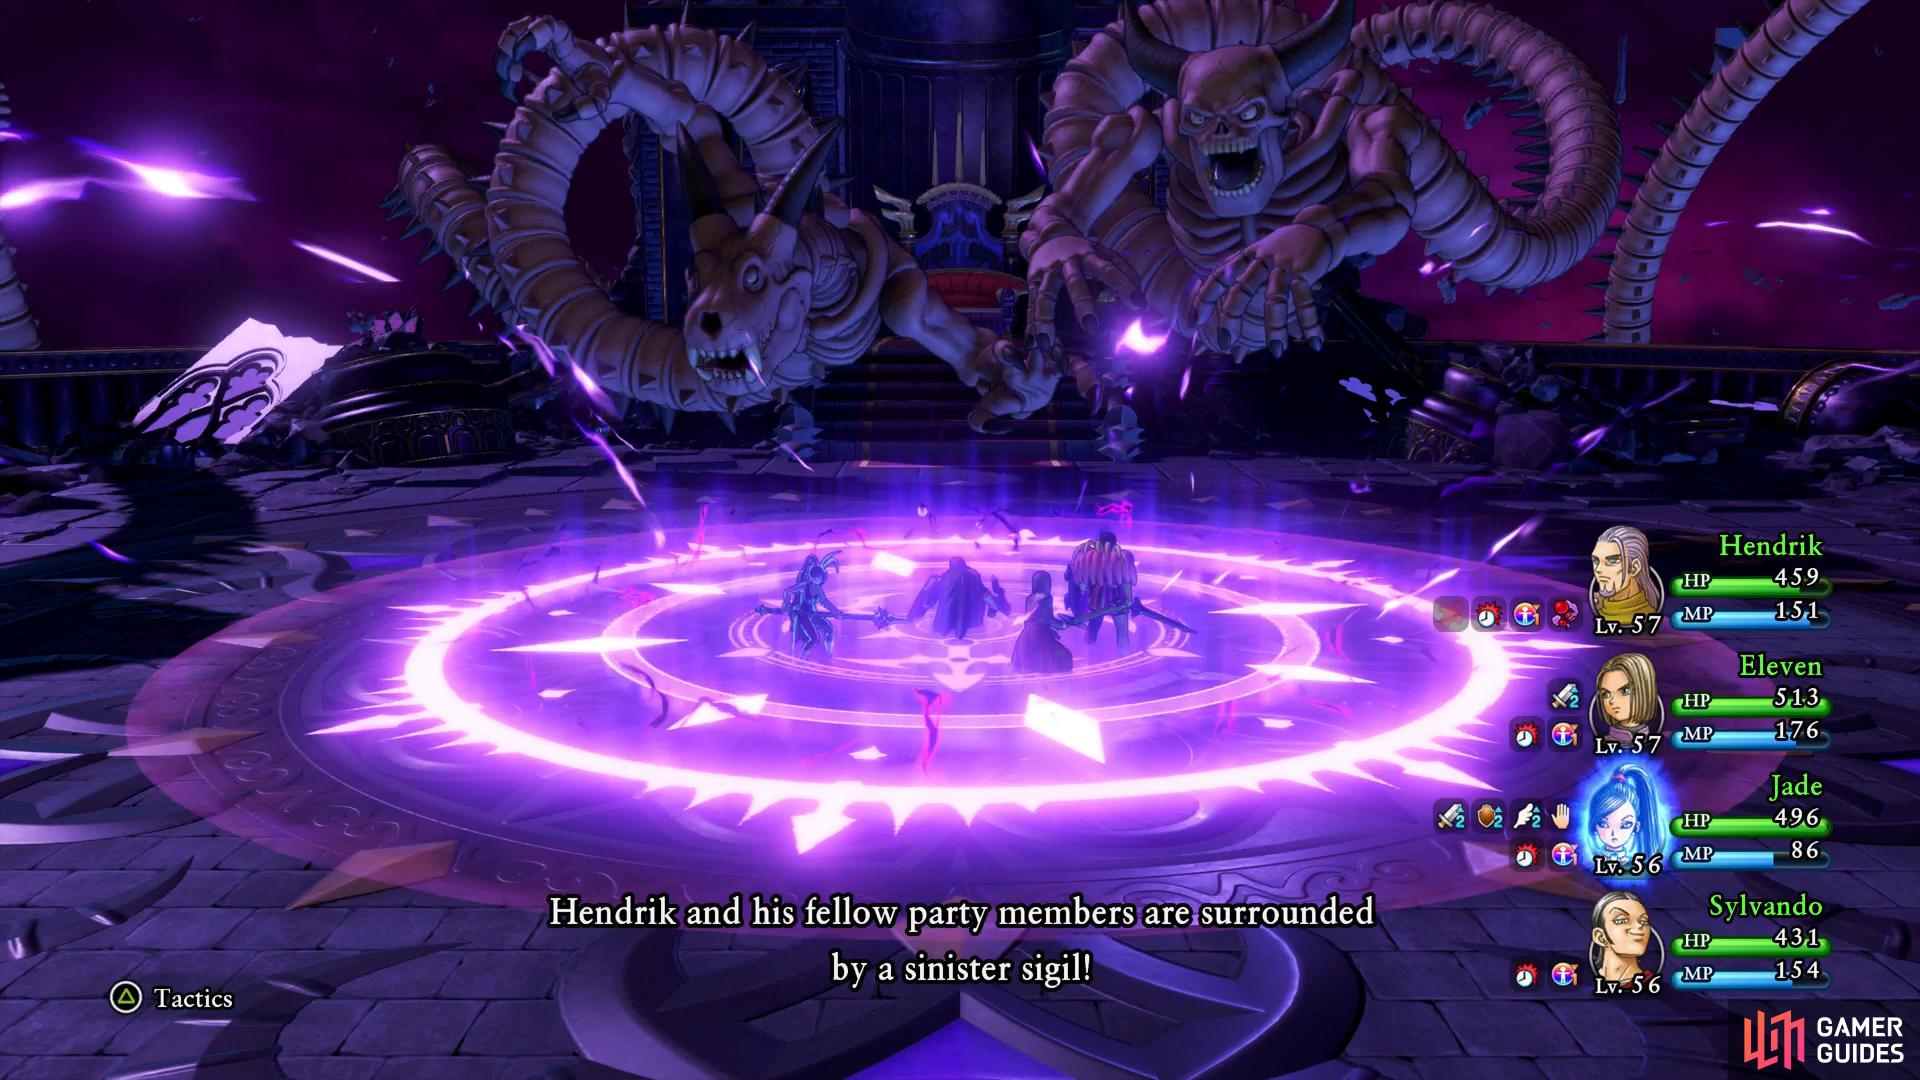
(1 of 2) Mordragon can eat a character to put them out of action for a few turns
Mordragon can eat a character to put them out of action for a few turns (left), ALmighty Black Mark is preferable to the deadly Magic Burst. (right)
If you’ve learnt Cleansing Mind with Rab then be sure to use it remove the threat of the Pep Power. Mordragon’s Tail has the ability to drastically reduce your spell resistance, make sure you remove this with Magic Barrier as quickly as possible. As for attacking, your usual strategy of the Hero using Sword Dance with Oomphle is a sound one. Jade should be able to use Re-Vamp at least once before Multifeet, if this Critical Hits multiple times then you’ll be doing upwards of 800 damage. Sylvando is useful for this final phase, Hustle Dance is as useful as ever, Oomphle is always handy and Gold Rush is a good group based attack to hit the pair of them. Remember that you have eight party members at your disposal, if one looks to be short on MP or near death, replace them with a healthier one to lay on more hurt.
Watch the scenes that follow as Mordegon is defeated and the Fortress of Fear collapses to the ground. In its wake, the World Tree recovers and returns to Erdrea. Enjoy the scenes that follow as the credits roll and you’ll get the opportunity to save your game.

Saviour of All Erdrea
Awarded for defeating the Lord of Shadows and restoring the World Tree to its rightful place in the sky.

10


 Sign up
No Comments