
An Amazing Waste of Time
Before you depart Gran Soren, it might be a good idea to grab some Secret Softener or ready High Voidspell on a character… or both. Big freakin’ hint-hint here. Once ready, head on over to the Mountain Waycastle (if you still need directions, there’s no hope for you at this point) and when you reach the Mountain Waycastle, cross the bridge from Moonsbit Pass to Manamia Trail. Along the bridge a soldier named Ser Ravenn will show up and tell you to return to Aldous with all possible haste. Well, what an amazing waste of time this was, eh?
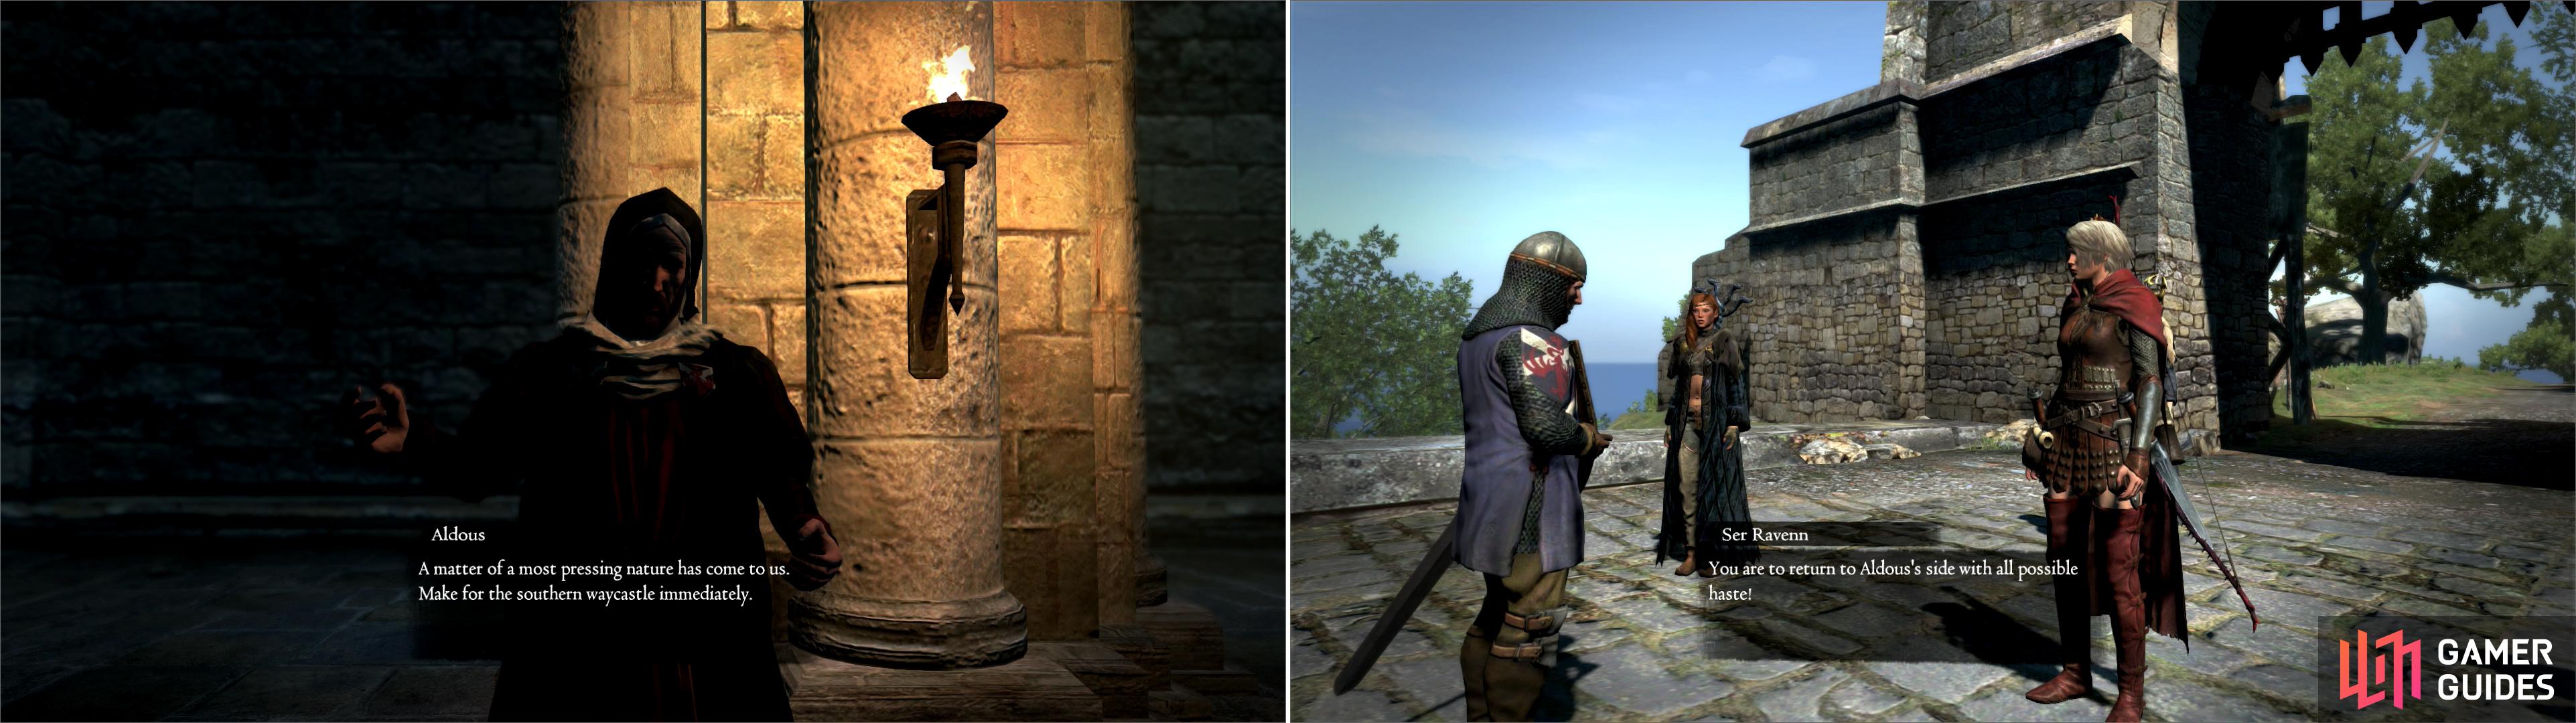
Accept Aldous’s next task (left) only to get the run-around when you reach the Mountain Waycastle (right).
The False Trophy
Return to Gran Soren. When you reach the Estan Plains and see the smoke rising from the northern side of the city… yeah, you should figure that something’s wrong. If you look closely, you can also see black wings flapping above the walls. If you go to the southern gate you’ll be turned away by one Ser Rickart, so head through the northern gate, instead. Ser Laurent will spill the beans; the Cockatrice that was brought to the duke as a trophy revived inside the walls, and is now going on a rampage. The people inside the city are safe, for the most part, but oh goodness, the poor duke might lose some of his other unearned treasures! He’ll help out by handing over two Secret Softeners and two doses of Potent Greenwarish. Off on your merry way you go, protecting the property of the rich.
Enter the Craftsman’s Quarter, where the Cockatrice prowls in the field. A squad of Gran Soren soldiers will help out, but they’re not likely to manage anything more than getting themselves petrified. A treacherous soldier named Ser Tolth will cackle about the fruition of his plan to unleash the Cockatrice on the city… and then there’s the Cockatrice, itself.
This encounter is similar to the Griffin fight on the Estan Plains during ‘Griffin Bane’, as the Cockatrice isn’t here to stay, and will run away if sufficiently injured… so it’s not a great place to discuss the beast in detail. In brief, however, it shares a number of attacks with the Griffin (especially the clumsy, short dive). The real danger, of course, is its breath, which comes in two forms, a short-ranged breath attack which it performs in an arc in front of it, and a series of aerial bursts, which it performs at long-range. Being hit by these breath attacks will deal a bit of damage, but more fatally cause Petrification. If you get petrified, use a Secret Softener, or cast Voidspell before it fully takes effect.
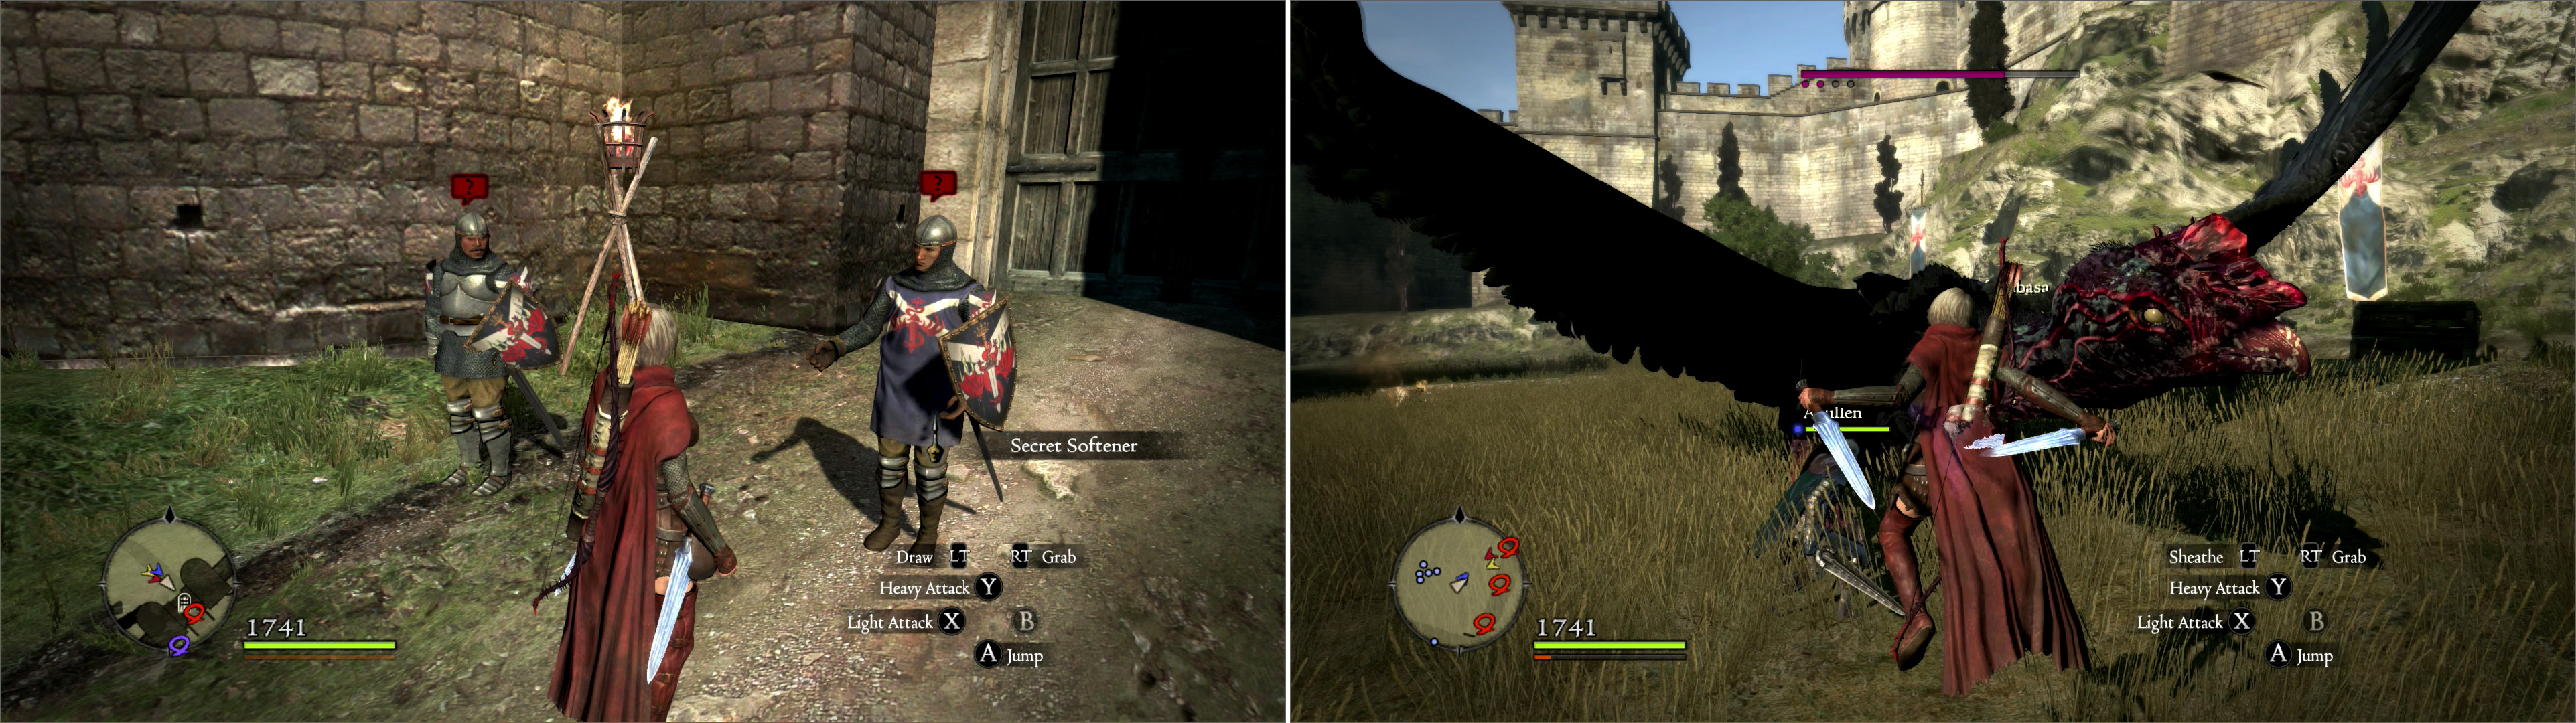
Approach the northern gate to Gran Soren and talk to the guard to get some helpful curatives (left), then enter the city and kill the resurrected Cockatrice, protecting the Duke’s other trophies, if possible (right).
The duke’s cargo that you are supposed to protect is along the road east of the field, but worry about staying alive, rather than protecting the duke’s parcels. After all, do you really care if the duke loses some toys? It’ll result in a lesser XP reward, but you can’t really control the Cockatrice, and going near the cargo will only draw the beast’s attention there. No, your best bet of surviving and protecting the cargo both is to confront the Cockatrice with overwhelming offense. When the Cockatrice flies away (or dies, if you’re lucky and powerful enough) Ser Tolth will falter, too.
Head over to the Pawn Guild and take the road running alongside it uphill to the east. Ignore the passage leading to the Urban Quarter-the way is blocked by a gate. Instead, head up to the Passage Tower at the end of the eastern road and speak to Ser Camillus, who will take you to Aldous. Aldous, in turn, will recap events-he’s an idiot, fell for an obvious trick to send off the duke’s strongest agent (you) while the Cockatrice was revived and unleashed in a nearly helpless Gran Soren. He’ll then give you a quest reward based upon how much of the duke’s cargo you protected-the posted rewards below are the best outcome and worst outcomes, respectively.
| Objective | Reward |
|---|---|
| For protecting all the Duke’s cargo | 25,000 XP, 40 Rift Currency, 60,000 Gold |
| For failing to protect the Duke’s cargo | 10,000 XP, 40 Rift Currency, 15,000 Gold |
Killing the Cockatrice
Aldous has yet another quest for you… but first let’s see to other matter. That Cockatrice started something here in Gran Soren, and you’re going to finish it. It just wouldn’t be right to encounter a foe without shortly fighting it in a fitting enough fashion to record it in full… besides, at five Steps this section is woefully short. So, let’s go kill that Cockatrice, eh? If you remember talking to the idiot soldiers who chanced upon its corpse earlier, they said they found it along the western roads. From where they were in the Deos Hills, what’s west of that? Well… lots of crap, but more specifically Soulflayer Canyon, and if one petrification-inducing beast nested there earlier, why shouldn’t another one take up residence now?
Trek back to Soulflayer Canyon, collecting whatever loot and killing whatever monsters you find along the way. Your destination? Leaper’s Ledge. It did seem kind of arena-y didn’t it? Large, fairly even, secluded platform. Now it’s got an occupant, your wayward Cockatrice.
Enemy Strategy: Cockatrice
Looking like a huge, diseased, black quadrupedal vulture, the Cockatrice is a nasty foe. It has similar dimensions to-and indeed shares a few attacks with-the Griffin, the the lightning speed and grace of the Griffin isn’t possessed by the Cockatrice. No, the Cockatrice is an ugly, inelegant foe whose most dangerous weapon is its breath.
An Inelegant Attacker
The Cockatrice’s resemblance to the Griffin yields similar forms of attack-it’ll perform a short, flying dive that the Griffin used in repeated series. It also fond of making lunging bites and an erratic, awkward, zig-zagging charge where it seeks to deal damage through its sheer size. What it lacks in grace it makes up for in sheer power. In this, it far out-classes the Griffin.
Its Breath is Worse than its Bite
Its most dangerous attack, however, is its breath weapon, a noxious cloud of vapor which can turn those struck to stone. You’ve dealt with Petrification earlier in Soulflayer Canyon, but the Gargoyle is a much weaker foe than a Cockatrice. Its breath weapon takes two forms-an arching horizontal spray in front of it, and a series of aerial blasts. The former has a fairly short range, while the latter has a much longer range, yet is more easily dodged as it sacrifices area for accuracy. Both have significant visual cues that indicate their imminent deployment. The safest place when fighting a Cockatrice is beside the beast, especially after it starts using its breath, which leaves it fairly vulnerable to attack. The strategy is simple-wait for it to start huffing and puffing, run to its flank and pummel it.
Once you slaughter the Cockatrice, return to Gran Soren and talk to Aldous again… your final task in service to the duchy is at hand.

 Sign up
No Comments