You can begin this quest by knocking on the door of the Cemetery Mansion in the middle of Bowerstone Cemetery. Knocking will have the grave keeper appear and hewill ask you to do some body part hunting for him. There are three body parts that he requires and they are buried in different places across Albion and he wants you to recover them for you. After finding each piece of the body, return it to the gravekeeper in the mansion here and he will tell you where to find the next piece.
Part 1: Hobbe Cave, Rookridge
Head to the Hobbe Cave in Rookridge and follow your dog, who will lead you to the objective. After killing several groups of Hobbes you will work your way through the cave and into what looks like a storage area. In this room you will be able to dig up the body part. Once you have it in your possession, take the part back to the grave keeper who will tell you a bit about the person behind the body part and where to find the next piece of her.
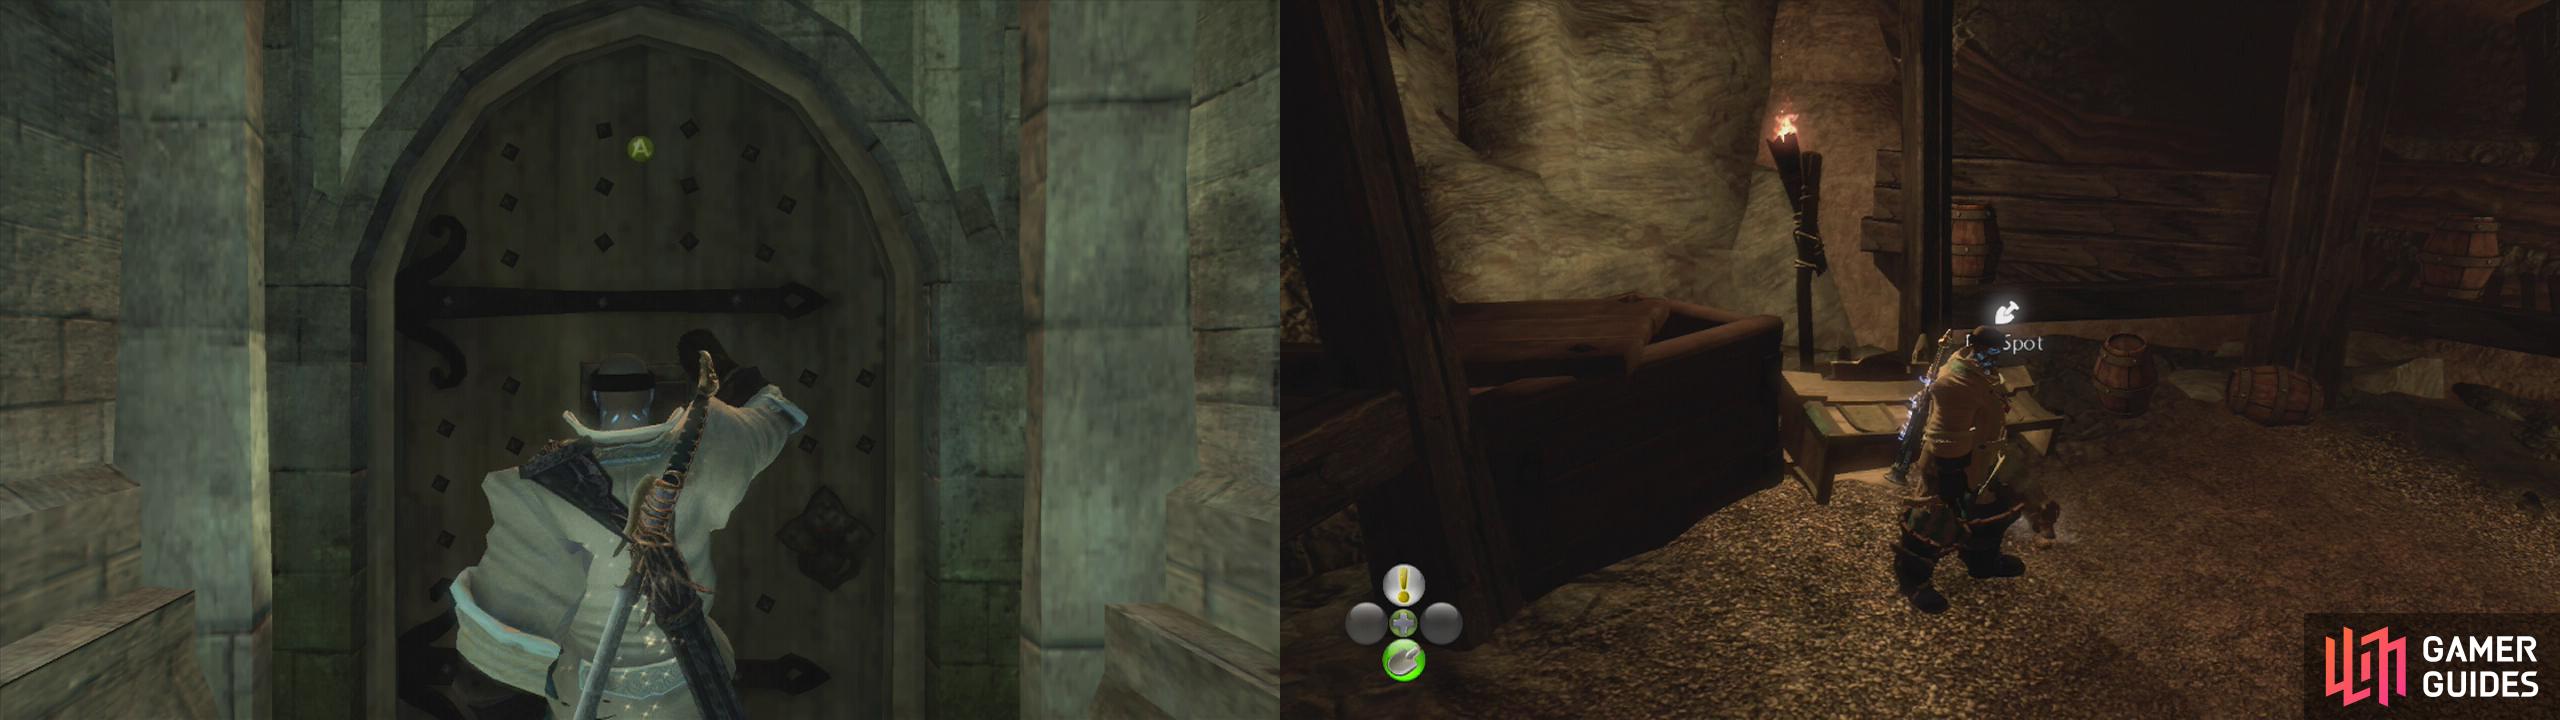
Knock on the door of the Cemetery Mansion to begin (left). The first body part is buried in the Hobbe Cave (right).
Part 2: Twinblade’s Tomb, Wraithmarsh
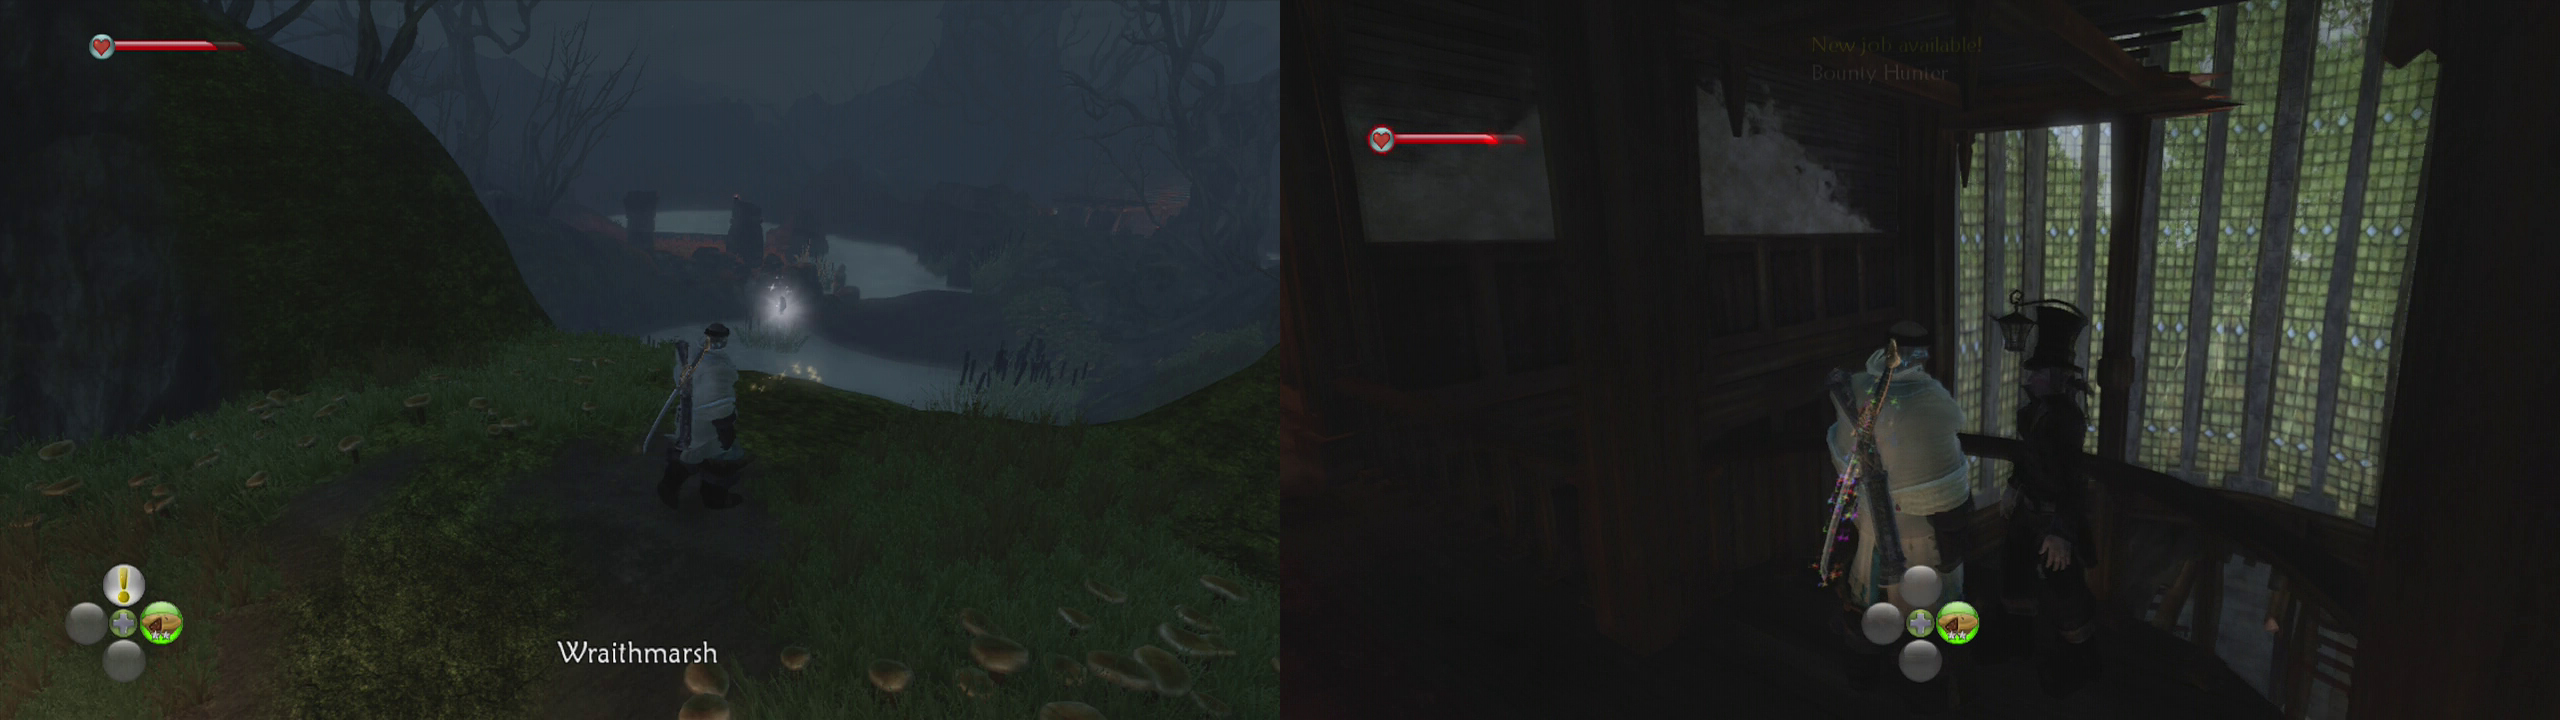
After you have finished the conversation with the grave keeper, you should fast travel to Bloodstone (unless you have discovered Twinblade’s Tomb previously). From Bloodstone head back into the Wraithmarsh and locate Twinblade’s tomb by following the gold dust, it should be just behind the bridge where we fought the troll.
Enter the door to the tomb and follow the corridor into the first large room. After you kill the enemies, climb up the stairs on the left side of the room and, cut down the shrubs on the platform here to reveal a blue floor switch.
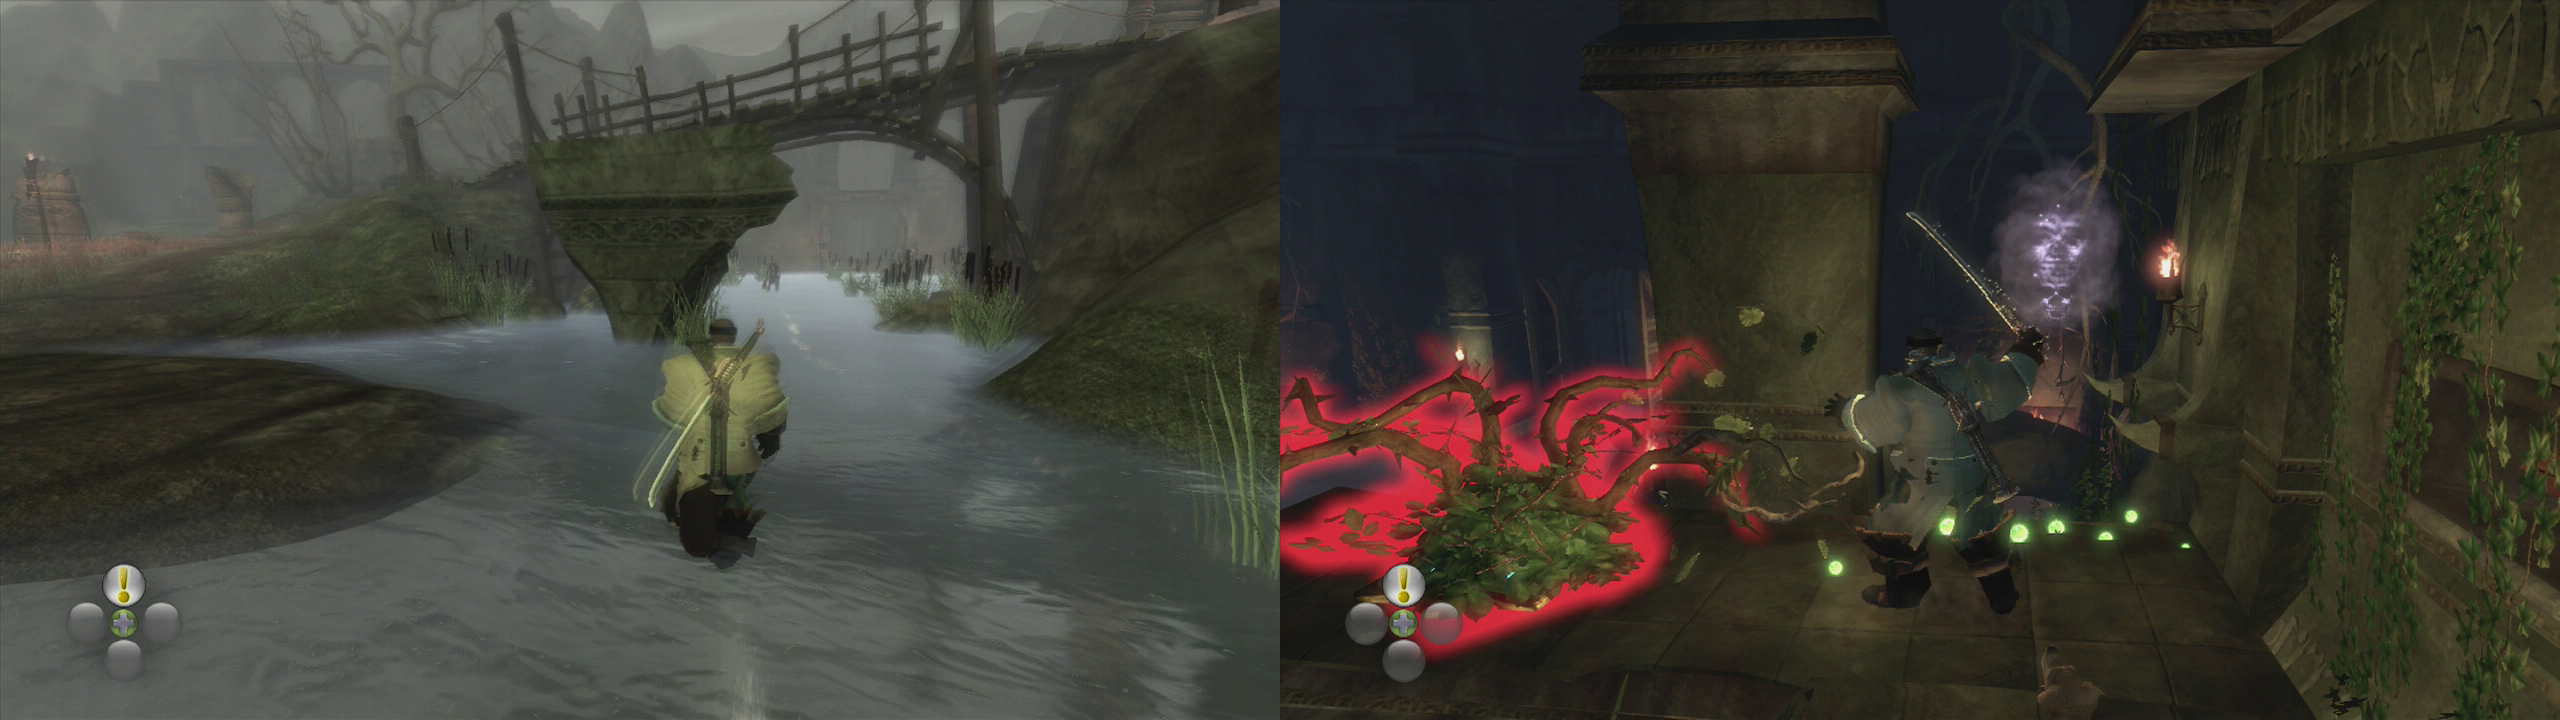
Twinblade’s Tomb can be found in Wraithmarsh by the bridge leading to Bloodstone (left). Inside, clear the shrubs int he first room to find a pressure plate (right).
Step on the pressure plate and a flit switch will appear across the room. Shoot it; it will come closer to you so that you can perform a melee attack on it. This will cause it to move again, shoot it one more time to open the door. Enter the door and go up the stairs.
You will come to a spike trap on your left. Ignore this for now and kill the hollow men before continuing past the spiked hallway and around the corner to the left where you will discover another blue switch sitting before a locked gate. Step on the pressure pad to reveal a flit switch. Run back to the spike trap hallway and shoot the flit switch which is now located at the far end. Now run back around to the door and it will be open.
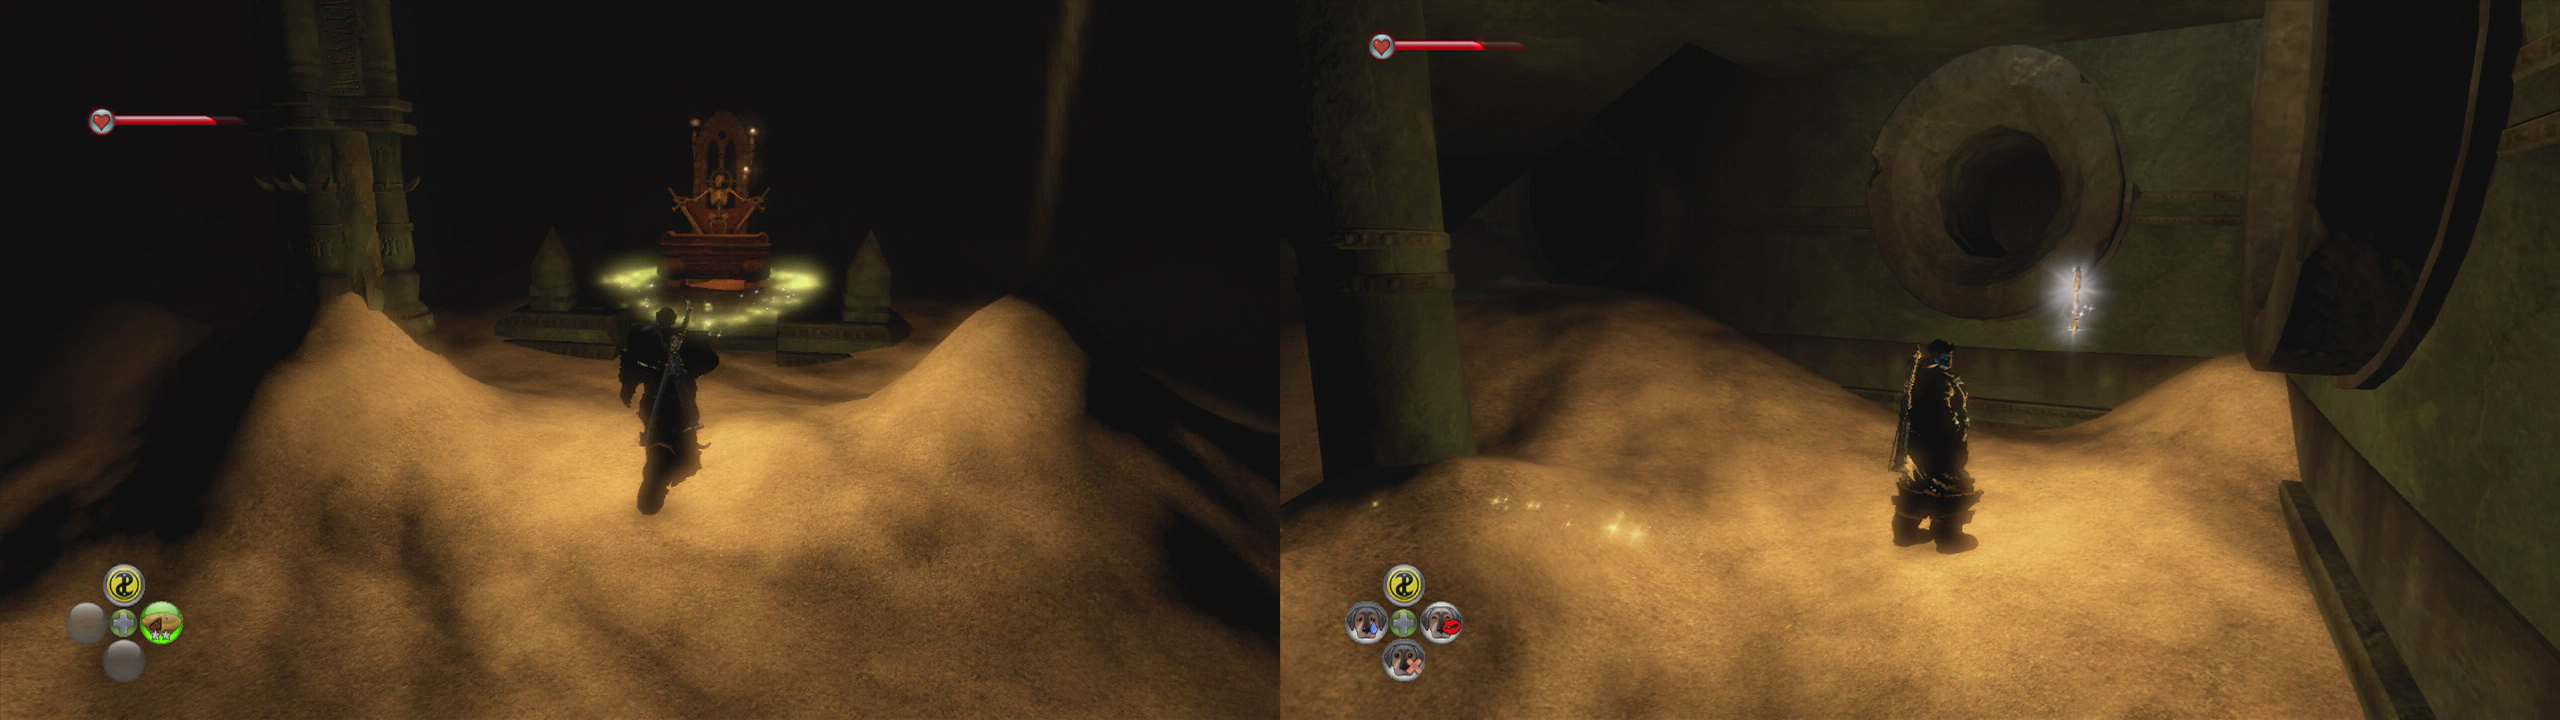
Follow the corridor to a small room with an expression statue in it. Move up the stairs in front of the statue and stand on the blue pad. Use the chicken expression to open the doors either side of the statue. Head through the right-hand door first and stand on the pressure plate inside and then head back to the statue. This time head through the left side door and step on the switch at the top of the stairs to activate a flit switch. Shoot it to open the door. Jump down and continue through the opening.
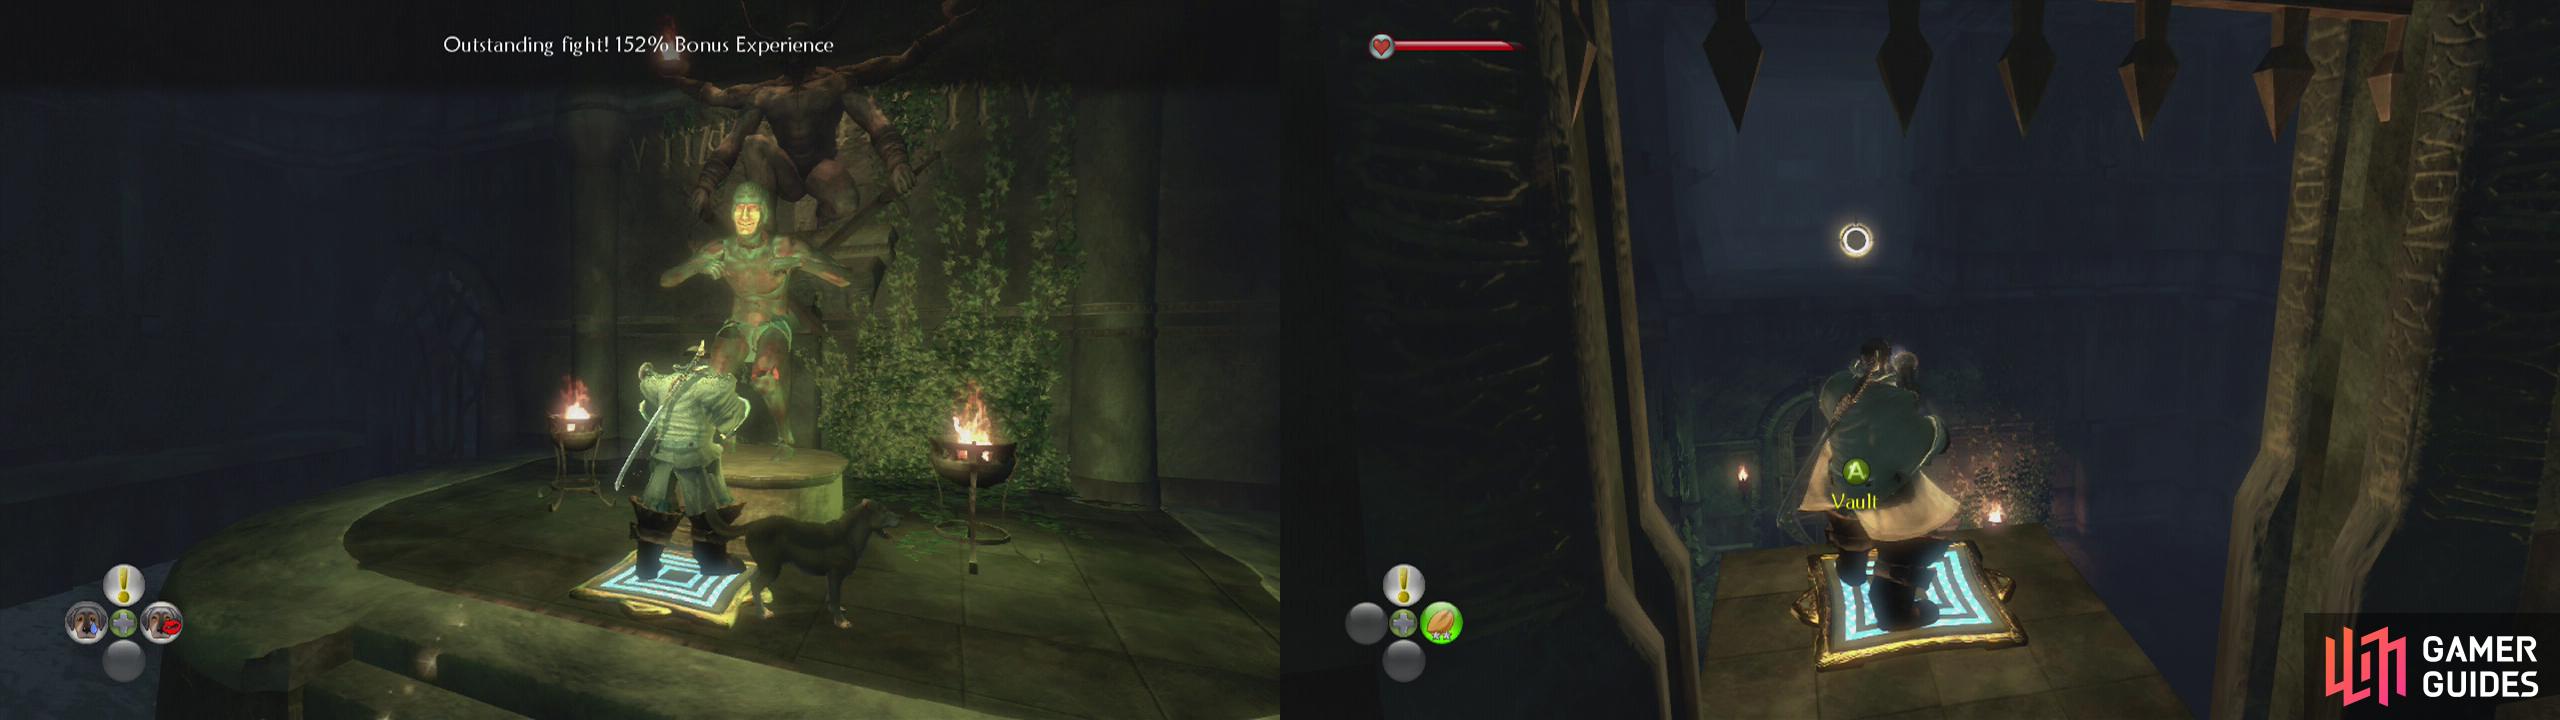
Use the chicken expression in front of the statue to open the locked doors (left). Shoot the flit switch from the platform through the left hand door to proceed (right).
The next room is heavily populated with hollow men so defend yourself for a few waves and after you have disposed of them, take a look at the statues around the edges of the room. One of them should be holding a flit switch. Shoot it and it will move, keep shooting it until it unlocks the door on the right of the room. Move through this hallway cautiously as the statues in here will shoot fire, as such time your runs to avoid the flames, or alternatively use slow time when they are all off and quickly sprint through to the far side. In the room at the end step on the pressure switch on the floor and return to the previous room.
The other locked gate will now be open so mosey on through and up the stairs to the tomb itself. Destroy the hollow men in the room here before moving over and opening the large coffin in the centre of the room to find a silver key . Now head to the coffin in the far right corner of the room for the next body part for the side-quest (it’s sitting right next to another silver key on the ground). Before leaving, look above the door we came in from to find a gargoyle. Shoot it down.
Grab the key from the large sarcophagus, the key on the right and the body from the golden marker (left) and then look above the door for a gargoyle (right).
Break the weak wall opposite the body part’s location for a chest and then bust down a second weak wall right next to where we picked up the body part for a fast exit to the tomb and once you are back outside in Wraithmarsh, grab the silver key in front of you and then return to the grave keeper in Bowerstone Cemetery.
Exit to Wraithmarsh to find a key (left). Return to the gravekeeper to hand in the body part (right).
Part 3: Lady Grey’s Tomb, Fairfax Gardens
After a brief conversation with the grave keeper you will discover the final piece of the body is hidden in Fairfax Gardens. Fast travel to Fairfax Gardens and go into the tomb located on the left side of the area.
Once inside, follow the set path through until you reach a hole in the floor. Before hopping down, look past the hole and shoot the gargoyle on the wall behind the debris opposite. Now drop down below.
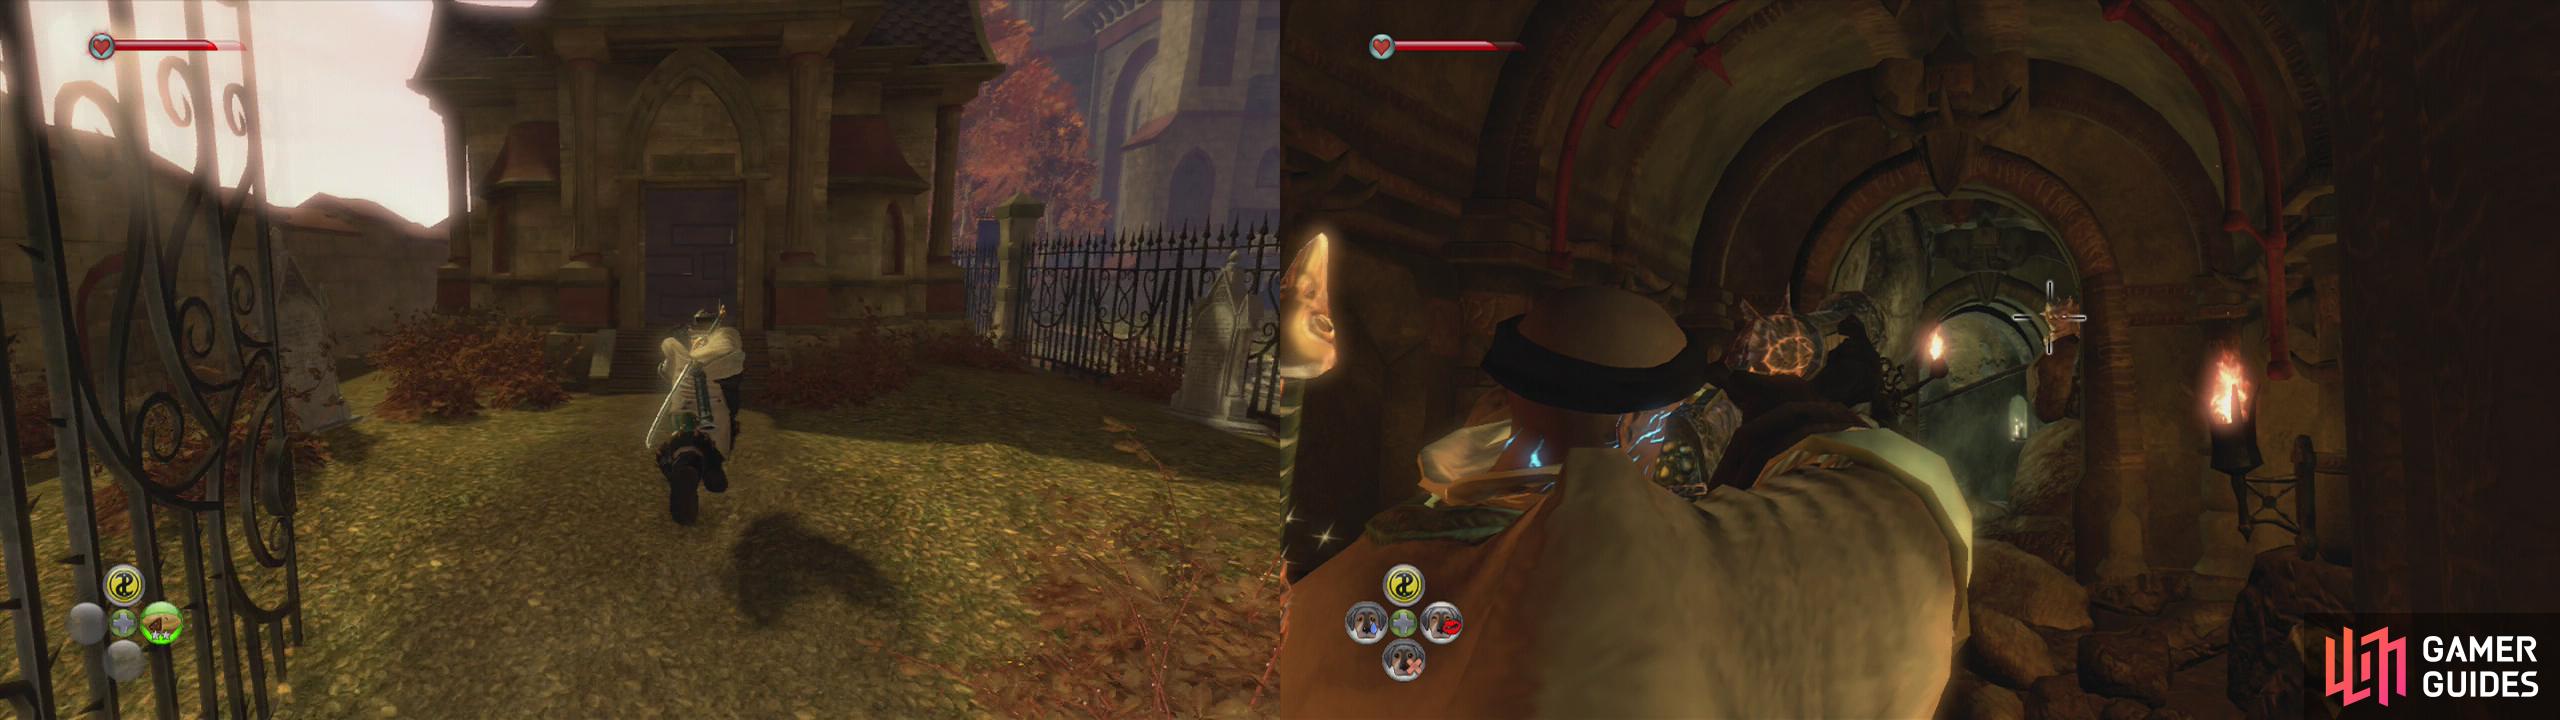
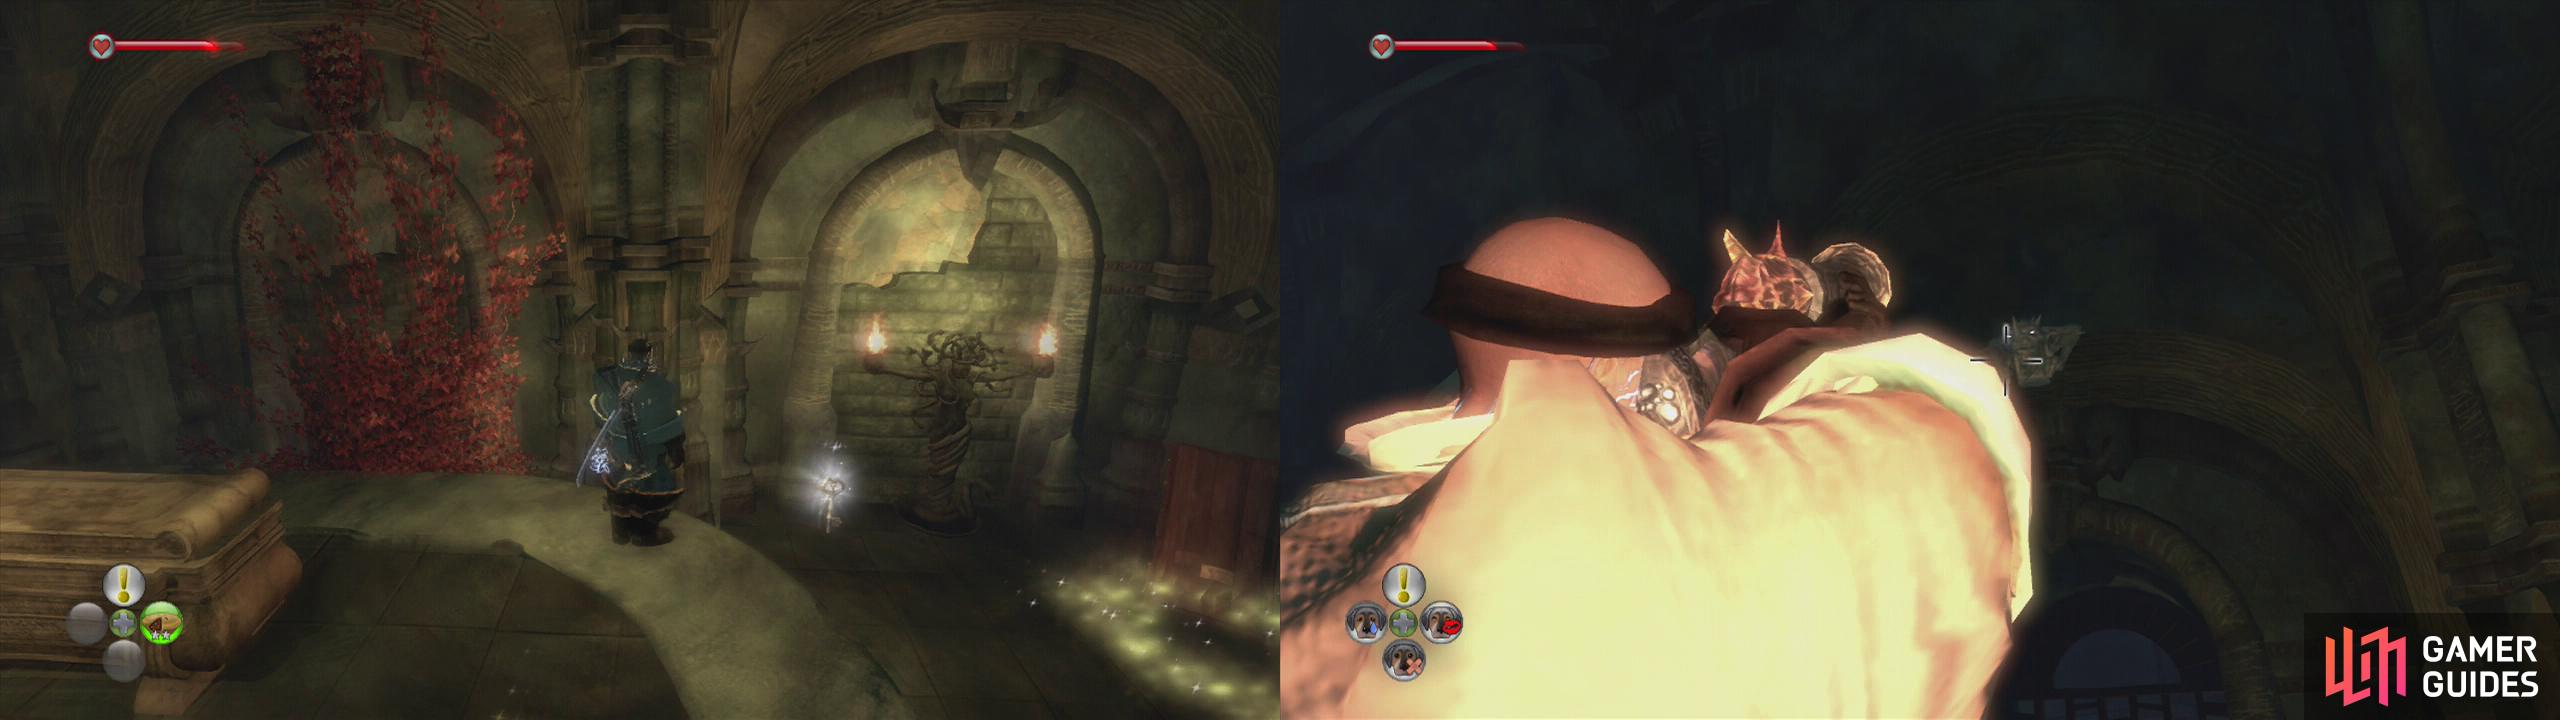
Enter Lady Grey’s Tomb in Fairfax Gardens (left). Shoot the gargoyle before jumping down the hole (right).
As you land, you should see a large coffin ahead. Ignore this for now and instead turn around and look in the left hand corner behind you for a chest. Now go to the corner of the room behind and to the left of the coffin the game wants us to open for another chest.
Return to the coffin and open it to pick up the final body part. As soon as you pick up the head, beetles will star to appear, so defend yourself and then run through the open gate at the far end of the room opposite the coffin. Go up the stairs and down the corridor, killing beetles as you go and continue into an open room. Destroy the beetles in here and look beneath the stairs for a silver key .
Open the glowing coffin for the body part (left) and then make your way out of the tomb. Look out for the silver key below the stairs leading to the exit (right).
Now get on the stairs and follow them upwards to the exit. Return to the grave keeper.
Now that you have recovered all the pieces of the body, the grave keeper will bring the woman back to life. When she gets up, you can decide to stay or to go. If you stay, Lady Grey will fall in love with you (evil choice) and if you leave, she will fall in love with Victor (good choice). Depending on your choice, you will earn +/-10 morality points.
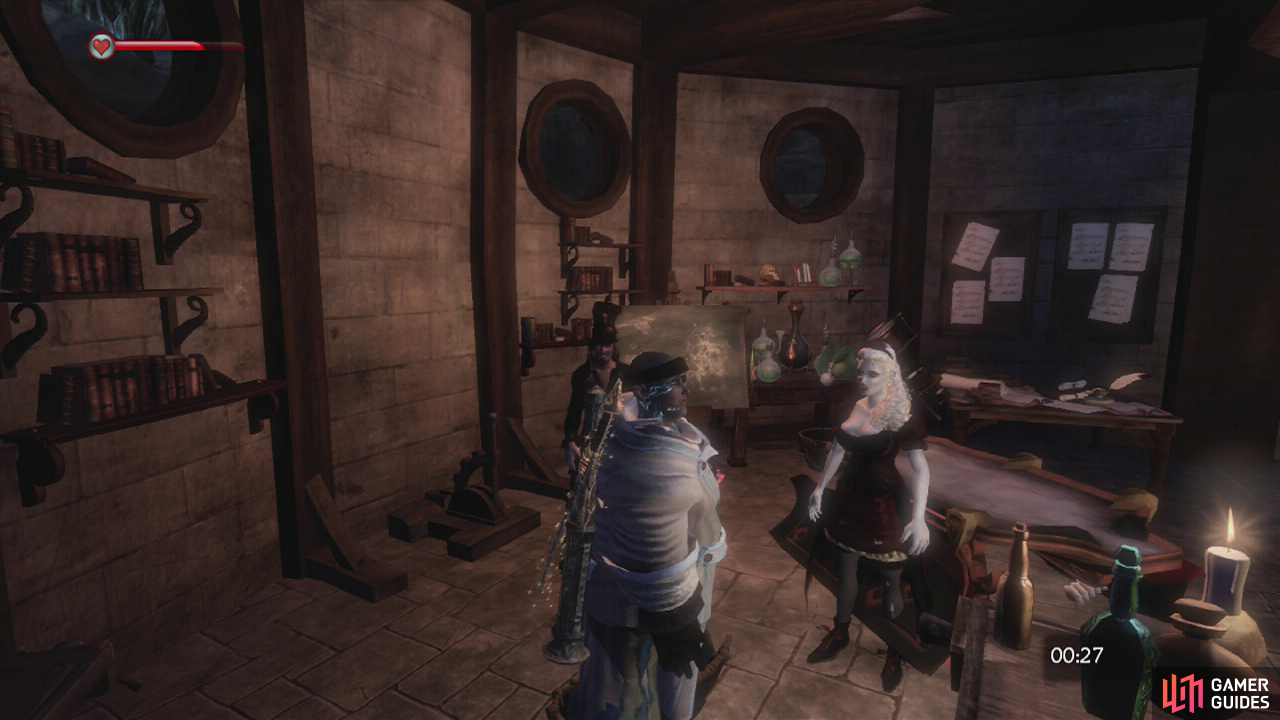
The final choice. Stay and she will love you, leave and she will love the grave keeper. Decisions, decisions…

 Sign up
No Comments