
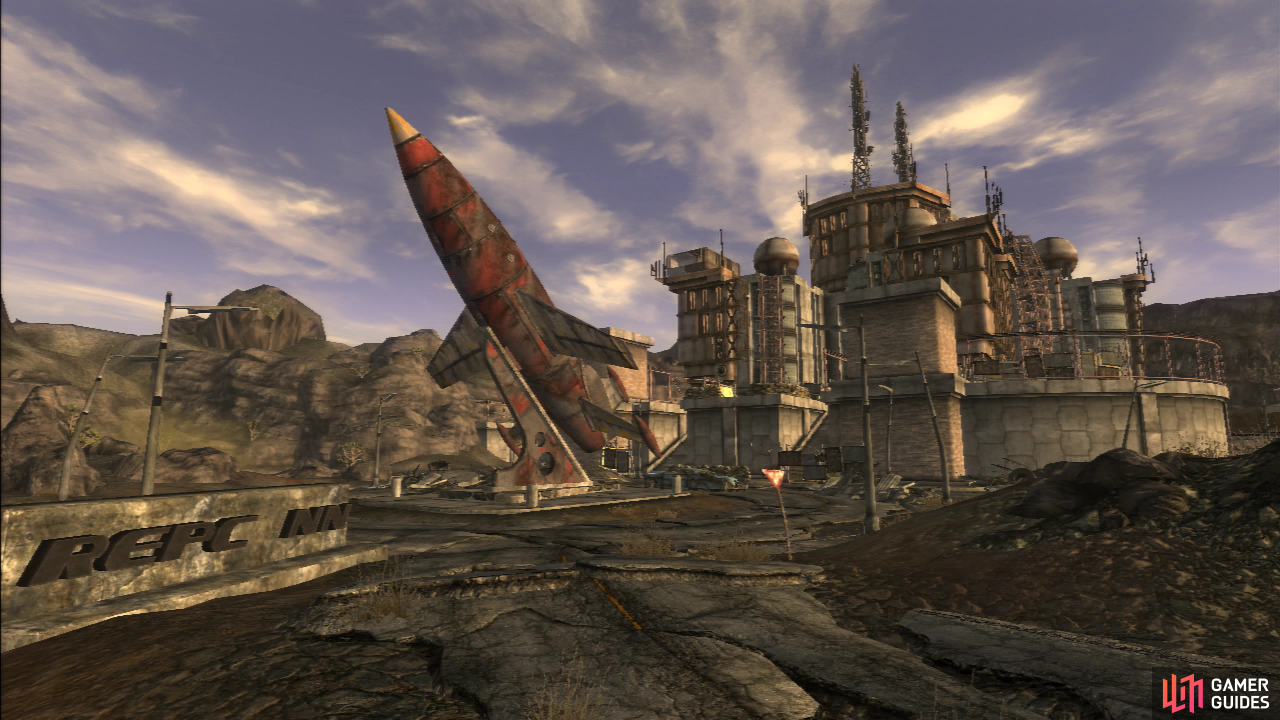
REPCONN Test Site
From Novac head west along the road running through town and over the train tracks. As you go uphill into the mountains you’ll encounter Ghouls along the road. Put them down with whatever tools you fancy; Spiked Knuckles and Ratslayer both work fine. Follow the road to a checkpoint and under an overpass, beyond which you’ll find a sandbag barricade. Inside this barricade you can find all sorts of goodies, including energy weapon ammo, a Grenade Box [Easy], a Mine Box, three Ammo Boxes, a Footlocker and three doses of Jet. Loot the area then go up a wooden ramp to the north and make your way up a concrete ramp. When you reach the top of the overpass turn south-east to find a cozy little outpost on top of the bridge, where more loot awaits. Grab a Cowboy Repeater, some .357 Magnum Rounds and some Energy Cells off a metal shelf then loot some Ammo Boxes from between two tables, then grab a Doctor’s Bag and some chems from atop a table. Also note the body of the Nightkin lying around. Ghouls and Super Mutants. Wonderful.
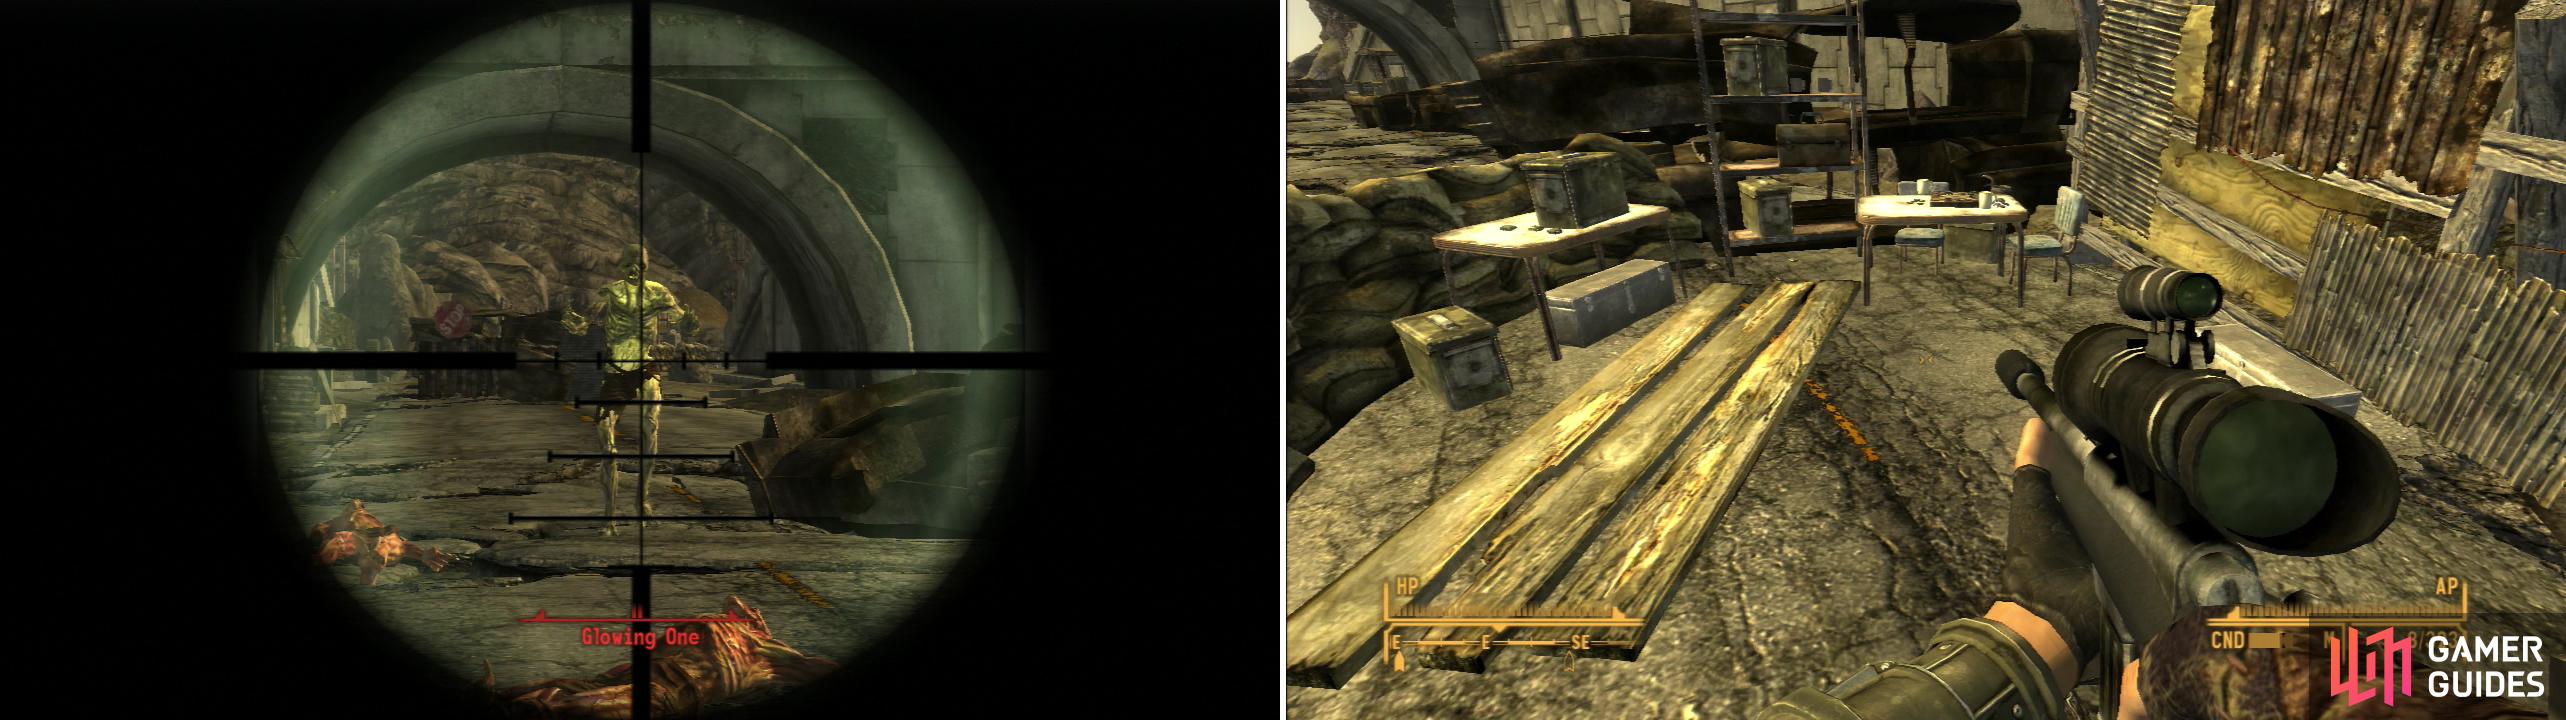
Kill all the Ghouls you find wandering around outside of the REPCONN Test Site (left), stopping to loot some valuables near some barricades (right).
Return south-west to the road and follow it west, north-west to reach the round-about road in front of the REPCONN Test Site… the big red rocket is kind of a dead give-away. So are the Ghouls milling around. There are also several Dead Ghouls lying around with Energy Weapons, ammo and Bright Brotherhood Robes on them, which are well worth looting. Reach the rocket and head north up some stairs, stopping to loot three Ammo Boxes and a Dead Ghoul behind some sandbags along the way. Once on top of the landing outside of the REPCONN Research Labs, search the elevated ground between the two stairs to find three more Ammo Boxes, then head east to find a shelter where yet another trio of Ammo Boxes lurk.
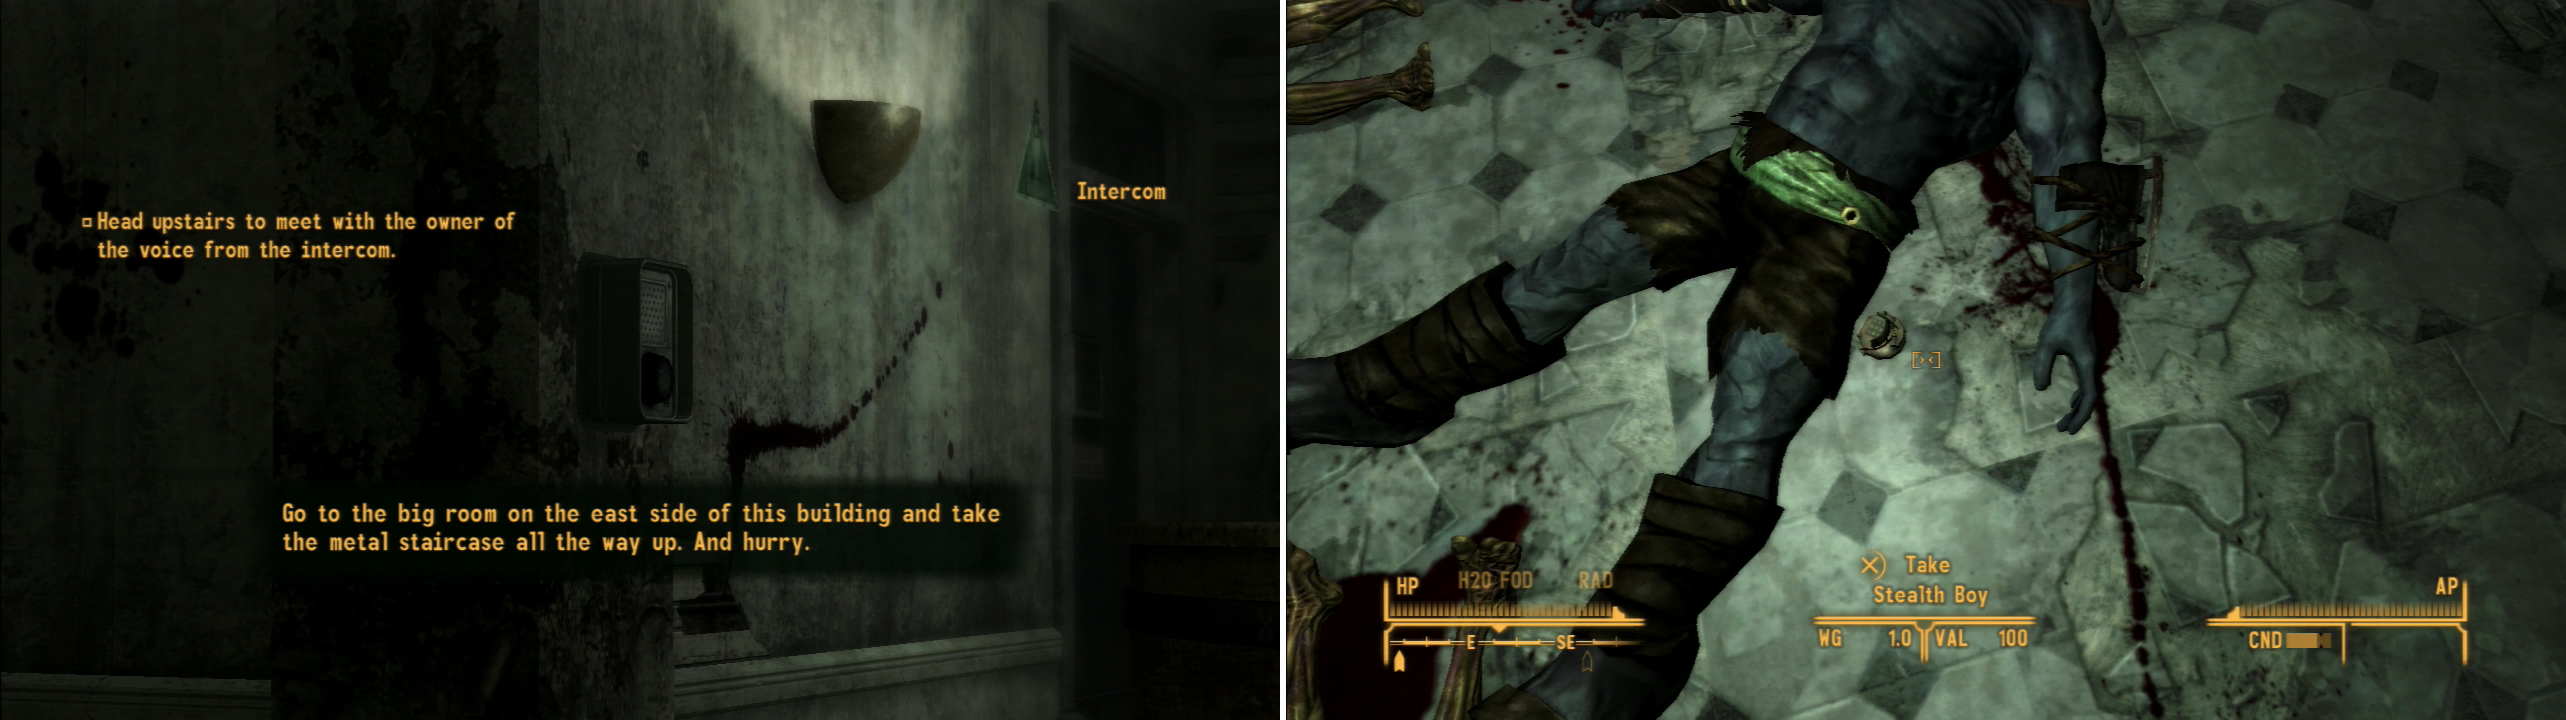
A voice over the intercom will direct you to come upstairs (left). A dead Nightkin - and its Stealth Boy - foreshadows the troubles at the REPCONN Test Site (right).
REPCONN Facility
After you’re done exploring the exterior of the building, head through the main doors to reach the REPCONN Research Labs. As soon as you enter, a voice will come over the intercom and tell you to head to the east of the building and head upstairs. Urgency is implied, but it’s not necessary - there’s no reason not to thoroughly explore the area before you meet your mysterious caller. In fact, loot the dead Nightkin (including the Stealth Boy on the floor near its body) and Dead Ghoul in front of you. Their loot should encourage the belief that, in fact, there’s plenty of reason to dawdle.
The threats in this area include wandering Ghouls and Glowing Ones, which are more nuisances than threat. Since their numbers include Glowing Ones, however, expect to catch some RADS… even if from proximity. Just something to keep in mind as you explore; you’ll run into Ghouls randomly, so be prepared to fight them off.
From the entrance head through a doorway to the west, ignore any stairs up for now, and just explore north along the western end of the building. About the best thing you’ll find here is a Dead Ghoul to loot. When done, return to the entrance and head to the bathrooms north of the receptionist desk to find First Aid Boxes to loot, and through a locked door [Easy] to the north you’ll find some stairs. Ascend them, then go through another locked door [Easy] to the west, wherein you’ll find a locked safe [Easy], on top of which is some ammo. There’s also a Hunting Revolver near a skeleton on the floor next to the safe. The room across the hallways to the east is less interesting, but there’s still a First Aid Box to loot.
Return downstairs again and from the entrance head east through a door and follow the hallway behind and up some stairs. On a balcony over-looking the lobby you’ll find two Dead Ghouls with loot worth grabbing. Take a brief detour through the double-doors to the east, then go up a hallway to the north. Loot the Dead Ghoul on the ground then ransack a small side-room to the east to find a few Vending Machines and a Refrigerator. Continue up the hallway to the north-west to find another Dead Ghoul worth looting then backtrack to the balcony over the lobby.
From balcony over the lobby head through a door to the west to find another locked door [Very Easy], beyond which is a supply closet full of uninspiring miscellaneous loot. After you loot the closet return to the hallway and head north. When you run out of north, go through a doorway to the west then follow the hallway beyond west, then north, until it ultimately terminates at locked door to the east [Easy]. Through this door is another supply closet, which is slightly more well-endowed with loot than the last one, as it includes a Toolbox and a First Aid Box.
Leave the storage closet and go through another doorway to the east, which is just a bit south of the storage closet. Go through the electronics-filled room beyond, stopping only to loot a Dead Ghoul along the way. In the cubicle-filled room beyond you can find some desks and cabinets to loot, as well as some Employee Terminals which contain pointless workplace memos. When you’re done scrounging for scraps, ascend a broken section of floor that forms a ramp to the next level, then make your way south-east to find a locked door [Very Easy]. Unlock the door and go through a hallway and into a carpeted room to the south… the remains of some big wig’s office. Investigate the RECPONN Administrator Terminal to learn the password to some generator room converted to a storage room; R3PC0N. Genius passwording there, guys. Once you read that terminal entry (which will grant you the note “Storage Room Safe”), pick the locked Safe on the wall [Average].
Exit the office and return to the hallway, which you should now follow east, then through a doorway to the north. Loot the Footlockers by the beds for what paltry loot they have, then head down some stairs to the east. From the room at the bottom of the stairs, go through a door to the east to reach a factory area, probably crawling with Ghouls. Kill them, then ascend the metal stairs to the east and follow them into an elevated metal shelter… stopping to loot a Dead Ghoul along the way. Activate the intercom near a locked door then proceed through it to reach the REPCONN Labs.
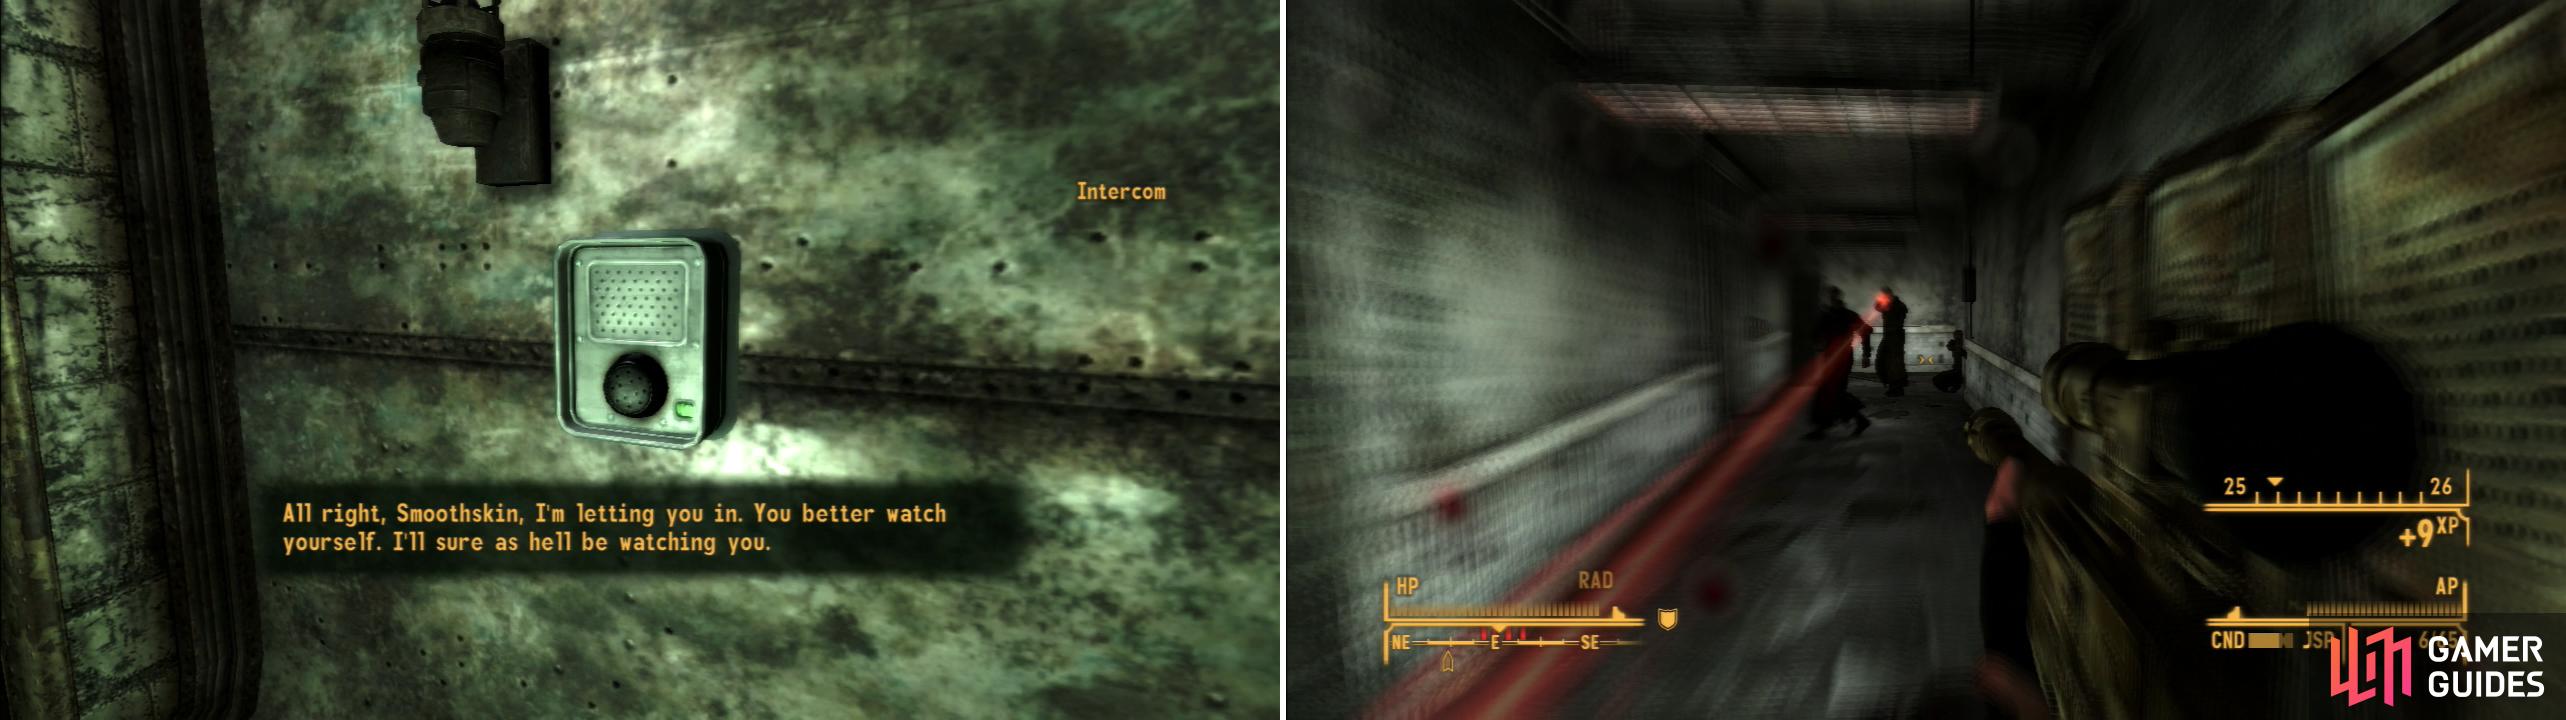
If you make it through the REPCONN Facility you’ll be reluctantly allowed into the REPCONN Labs area (left). If you’re feeling lazy and ghoulicidal, you can simply kill all the Bright Follwers (right).
REPCONN Labs
Once here you’ll be pestered by a rather… non-Ghoulish looking man named Chris Haversam, who insists that he is, in fact, a Ghoul. He’s quite willing to deny all claims to the contrary, too, and will refer you to somebody named Jason. Oookay… Ignore the Bright Follower Ghouls wandering around - they won’t talk to you anyways - and instead find Jason Bright, who is likely upstairs. It should be noted that you can kill all the Bright Followers, including Jason Bright and Chris Haversam, which will satisfy Manny Vargas. It does, however, fail the quest and cost some Karma. Do what you will, but the rest of this section will cover the more rewarding and time-consuming ways you can successfully resolve the quest.
Talk to Jason Bright, who is nothing short of a cult leader. His assembled followers are seeking some “far beyond”, but were interrupted when some “demons” arrived. You should be able to see where this is going… he wants you kill the “demons” so they can continue on their “great journey”, and if you agree to do so he’ll furnish you with a key that’ll give you access to the basement. Ask him about the Feral Ghouls that have been wandering about, about Chris Haversam, about his name, and about his cult’s buzz-words. When you get sick of his proselytizing, loot the upper level… it’s all stealing, but you can secure some chems and other minor loot.
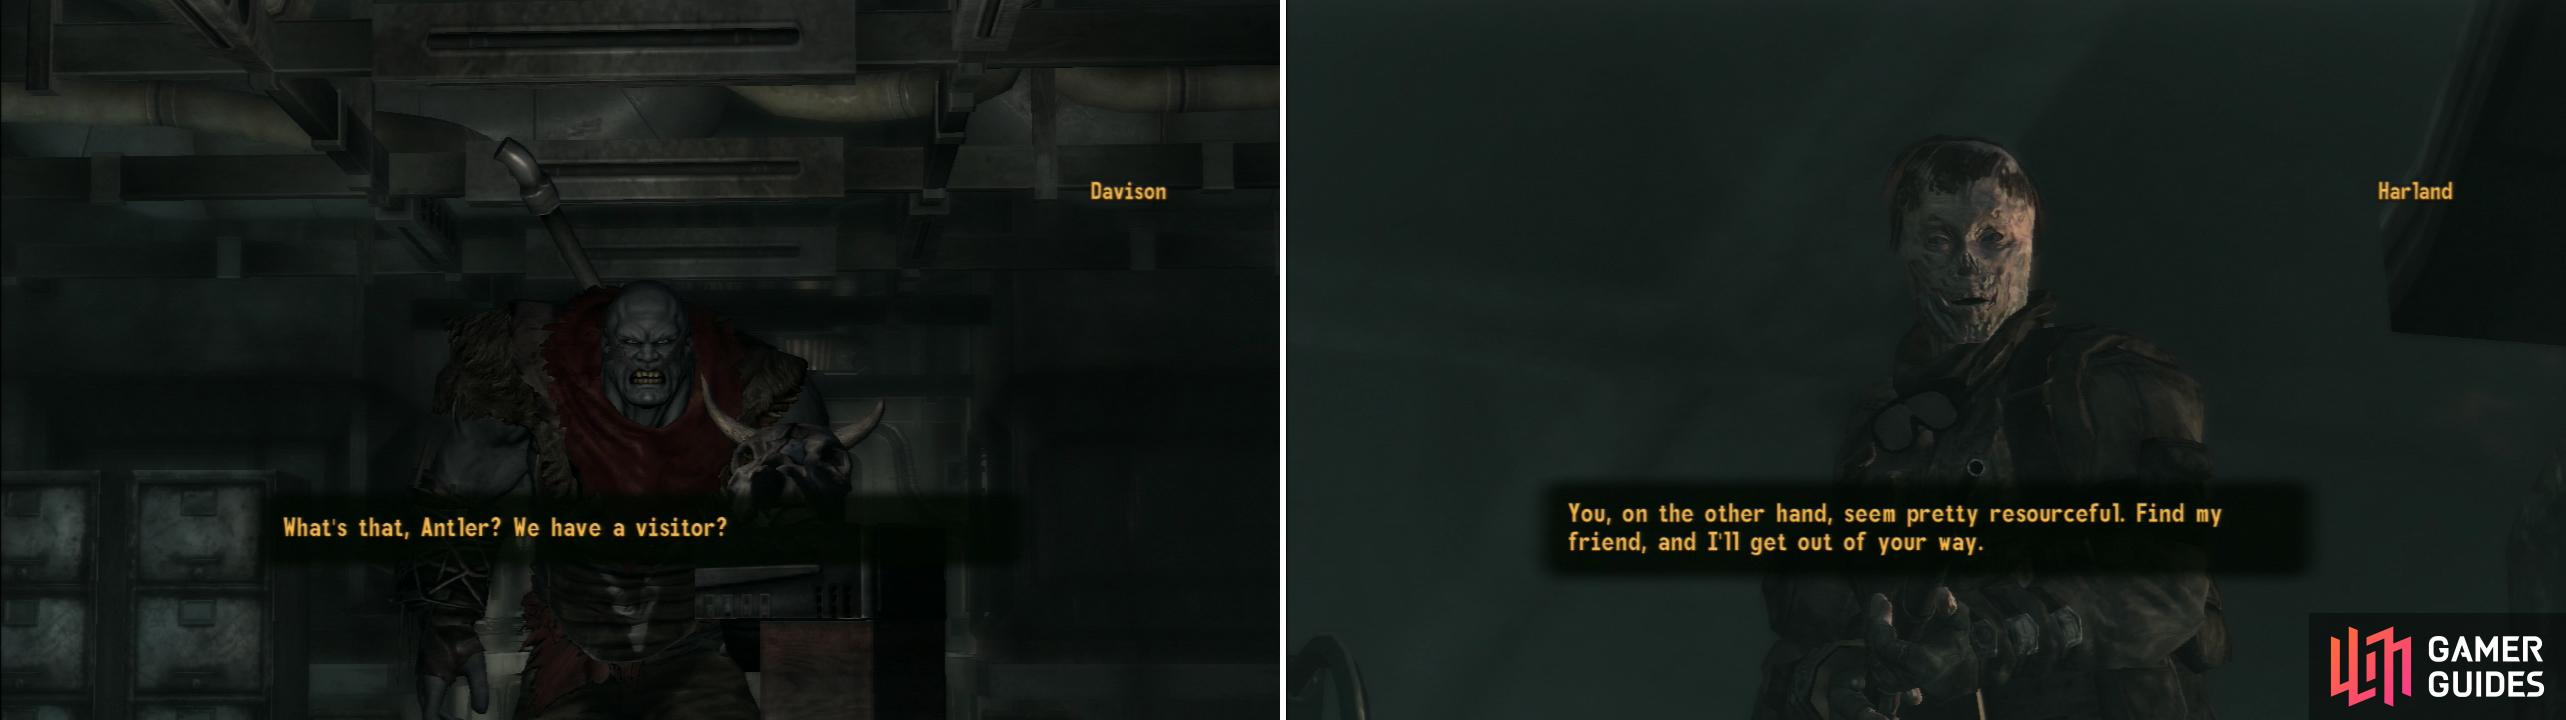
If you reach the Nightkin leader, Davison, you can work for him to resolve matters peacefully (left). A resourceful Ghoul named Harland also has a request for you (right).
REPCONN Basement
Head back down to the REPCONN Facility level, descend the metal stairs and reach the ground floor of the factory room. Head to the south-western corner of the room and loot a dead Nightkin, the proceed up a ramp and through a doorway to the west. Turn south and go down some stairs to find a door leading to the REPCONN Basement area.
This place is crawling with “demons”, which, if you haven’t guessed already, are Nightkins… or Nightkin Masters, depending on your level. There are two ways to handle the Nightkin here; diplomacy or violence… or more likely a combination of both. Let’s assume you try a nuance approach, but keep in mind that simply gunning down all the Nightkins is an option. On that note, Nightkins are fairly potent foes, although most of the ones here will be using melee weapons, which mitigates their threat somewhat. If you have a decent Unarmed or Melee Weapons skill score and Super Slam, you’ll probably not have much trouble simply pummeling them to death. Other than that, they’re invisible until they attack, but the illusion isn’t perfect; you’ll be able to spot the distortion that gives them away. Yes, like in the movie Predator.
From the entrance head south down some stairs and into a room. Make sure you’re sneaking. 50+ Sneak and Silent Running is ideal, but too much isn’t really required of you here, since you won’t be going near hostiles at first. Oh, and make sure your Pip-Boy light is off! Go through a doorway to the west, then follow the hallway beyond to the south, pass the first hallway to the west and instead go down some stairs a short distance to the south. In the room at the end of the stairs you’ll find an uncloaked Nightkin named Davison, who seems to be working under the advice of… a Brahmin skull called Antlers. Your conversation with Davison will reveal that not all is right in this monster’s head, but avoid questioning Antler’s sentience and don’t suggest that Davison is insane. The Mutant will not react kindly to continued questions along those lines. Instead, ask about Davison, tell it that you’re here on behalf of the Ghouls upstairs then offer to help locate the Stealth Boys they came here to plunder. There’s only one problem; a competent Ghoul is making a stand in the room they need to search, and they haven’t managed to crack that nut yet. Get Davison to agree to leave once the Stealth Boys are located and it’ll agree, giving you Davison’s Key.
Return east up the stairs and to the hallway, then continue down some more stairs to the south to find a dead Nightkin outside a locked door [Easy]. Either pick the lock or, if you have Davison’s key, you’ll automatically use that. Step inside the room and you’ll be pestered by a Ghoul named, Harland, a consummate survivor who has been living rough since the Nightkin arrived. He’s more sensible than the other Ghouls here, although his reasons for remaining with Bright and his followers are more… carnal… than anything else. To that end, remain diplomatic and he’ll ask you to look for one of his friends, who was captured by the Nightkin when they invaded. Stay out of the room Harland is in for now, as Harland will get jumpy if he thinks you’re trying to flush him out.
Instead, leave the room and return back upstairs and follow the hallway to the north back to the room you originally entered into. Continue north past this doorway and follow the hallway as it turns west and heads downstairs. At a three-way intersection, go down some more stairs to the north, avoiding a cloaked Nightkin lurking around this intersection if you can. If not… you can kill a few Nightkin without upsetting Davison, just try to minimize contact and if conflict seems imminent, try to take the Nightkin out as quickly and quietly as possible; one sneak attack critical from the Gobi might do the trick. Just keep in mind that since the Nightkin are cloaked, you can’t target them in VATS.
Continue down the hallway to the north until you find a door to the east where it terminates, beyond which is the upper level of what the Nightkin are using as their jail. Doing the rounds here is a Nightkin Jailer, who is armed with the Jail Key you need to check on Harland’s friend… it’s also armed with an Incinerator to help it keep that key. Still, the Nightkin Jailer is isolated and is nothing the Spiked Knuckles or Gobi can’t handle. If you want to avoid the Nightkin Jailer you can always sneak into the southern of the three rooms on the eastern end of the jail and loot a desk for a copy of the Jail Key. However you get it, once the Jail Key is yours, find three doors to the east. Through the middle door you’ll find some stairs leading down through another locked door [Easy] and to the lower part of this impromptu prison. Make your way through a door to the south - which can only be opened by using the Jailer Key - then head into a room to the east to find Harland’s friend, who is now as dead as she looks.
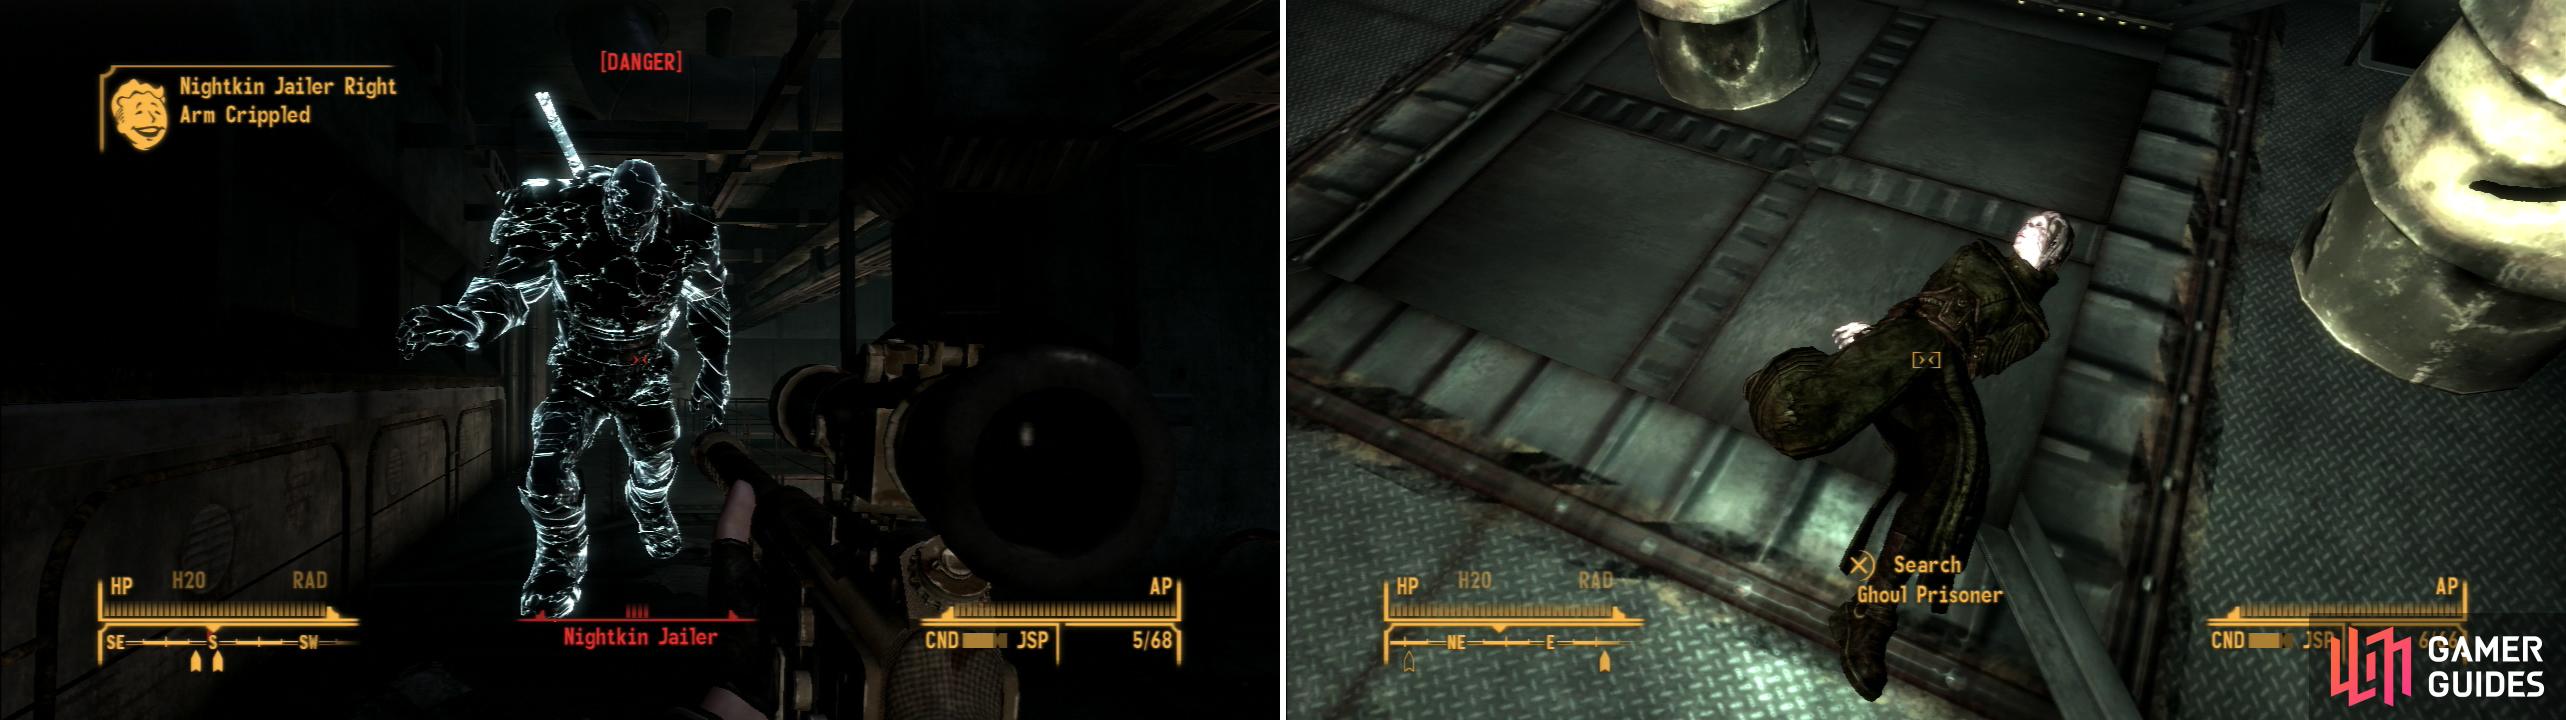
Kill the Nightking Jailer to get access to the cells below (left) where you can find Harland’s friend (right).
Return to Harland and tell him the news, which he doesn’t really care to hear the details of. After you let him know he’ll vacate his position and make a run for it, allowing you to explore the room. Head to the south-west to find a door, which is where you want to go to find the information you need… but you can also explore the lower floor to find a mess of cleverly concealed mines, bear traps, trip-wire rigged shotguns and a rigged computer terminal. When you’re done messing with traps - or if you want to avoid them - head through the doorway to the south-west, go up some stairs, then go east to find a Terminal and read the entries to find out what happened to the Stealth Boys. Give Davision the bad news and, if you killed two or fewer Nightkin, the mutant should honor its word and leave. Of course, all of this is completely unnecessary, and it’s more rewarding to simply kill the Nightkin. Either way, they should be out of your way, which means it’s time to return to Jason Bright. You can loot the area, if you want, but you’ll be running around here shortly, and honestly, unless you’re a huge fan of Conductors, Fission Batteries, Sensor Modules and Wonderglue… There’s not much to grab.
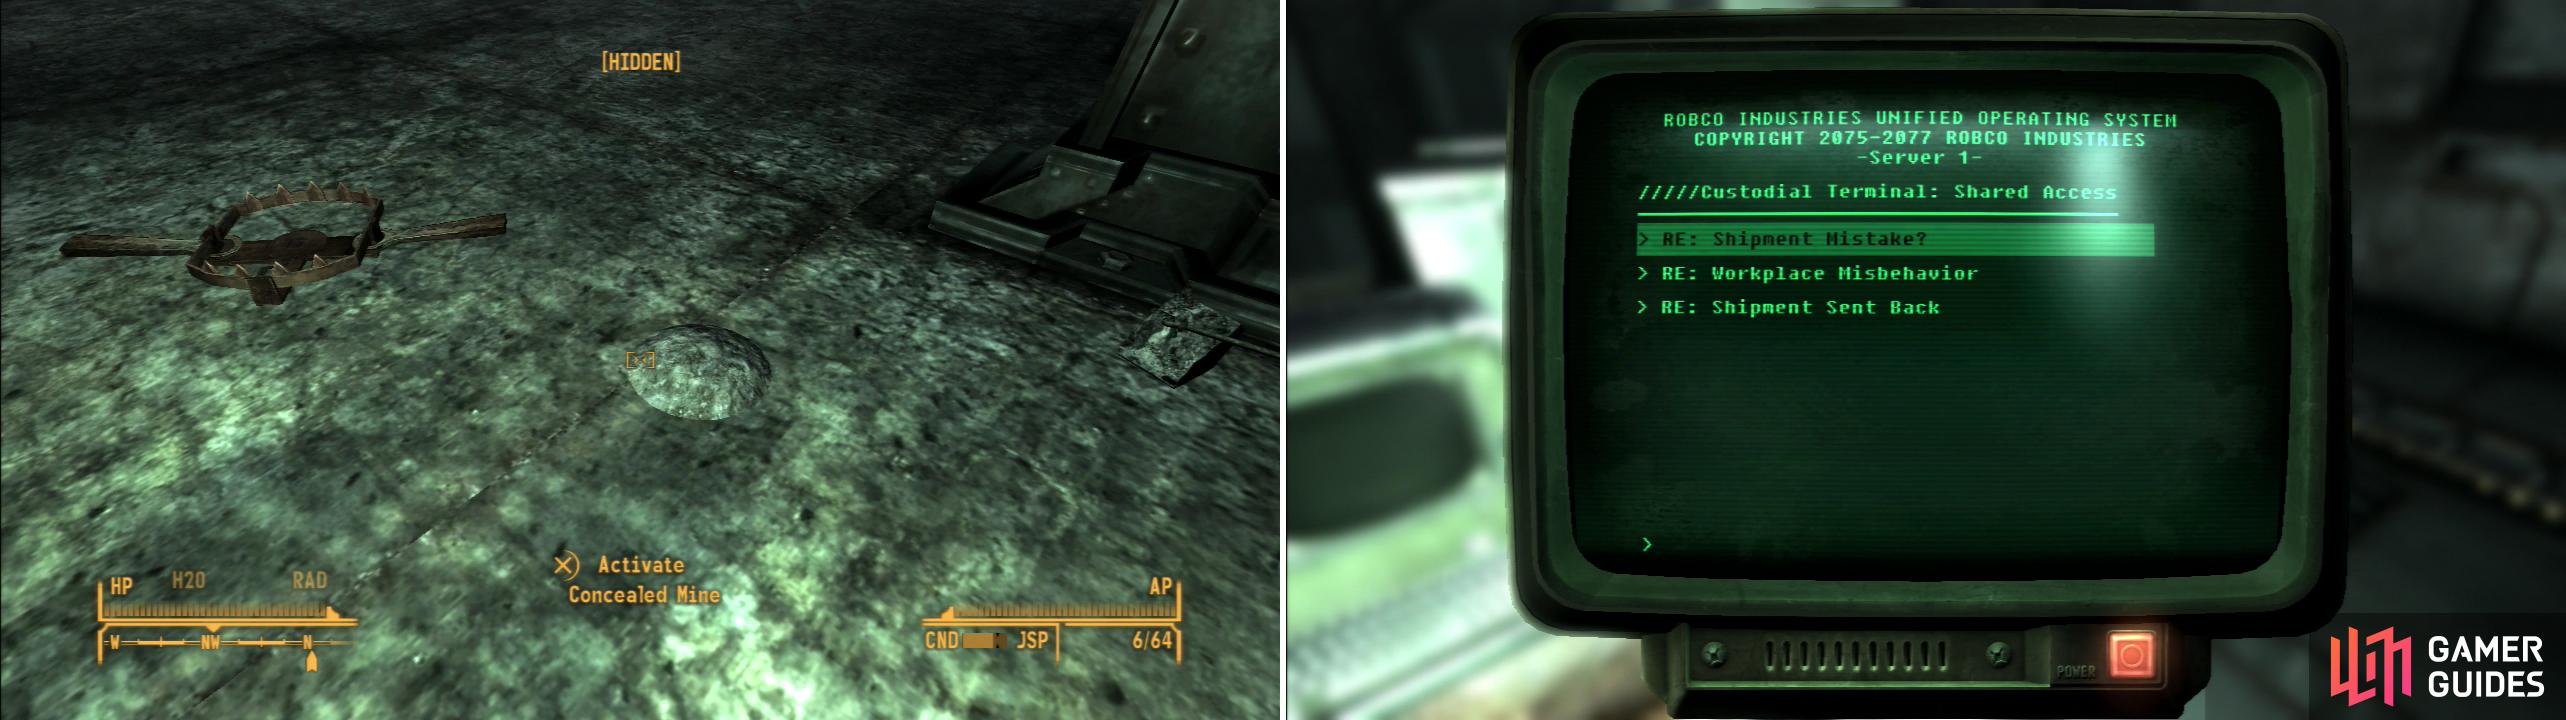
After Harland is gone (one way or another) make your way through he room he booby-trapped (left). Find a Terminal which provides the information Davison desires (right).
The Great Journey Continues
Head upstairs and talk to Jason Bright and he’ll… tell you to come talk to him again in the basement. What a dink. Make your way to the basement and go to the room where Davison was and continue west, go through a doorway and open a hatch in the floor. Go through a doorway to the south to reach some sewers, which you should proceed through until you reach a room at the southern end of the tunnels, wherein you’ll find Jason Bright. Talk to him and he’ll thank you, babble more culty stuff about his insane plans and Chris, then ask you to do more mundane labor for him by collecting components. Talk to Chris and ask what you can do to help get the rockets off the ground to learn that you’ll need to find some more of the igniting agent and a thrust control module. Pick which one you want to go after, then ask him for a tip as to their location. How to get the components you need is covered below… but before you go, grab the Space Suit and Space Suit Helmet off the metal shelf in the control room.
Isotope-239 Igniting Agent
The igniting agent can be obtained from two places; first being from the Rocket Souvenirs you could find in Novac’s Dino Bite Gift Shop, which requires five of the trinkets. If you didn’t already steal them return to Novac, where you can buy the Dino Bite Storeroom Key from Cliff Briscoe for 75 Caps and nab all his Rocket Souvenirs (10 Caps for the key if you succeed at a [Barter 30] check). Otherwise, he only carries an unsteady supply of them, and charges around 3 Caps per Souvenir.
The other place you can find the igniting agent is at Clark Field. Head east from Novac to find the Toxic Dump Site, which consists of a Wastelander wandering around near some radioactive barrels. Not very interesting. South of here lies Clark Field, which is now an irradiated Golden Gecko Nest. In this area - likely along the road - you’ll find the body of a Scavenger who carries a Radiation Suite, the note “Mr. RADical’s Journal” and some of the precious Isotope-239 Igniting Agent.
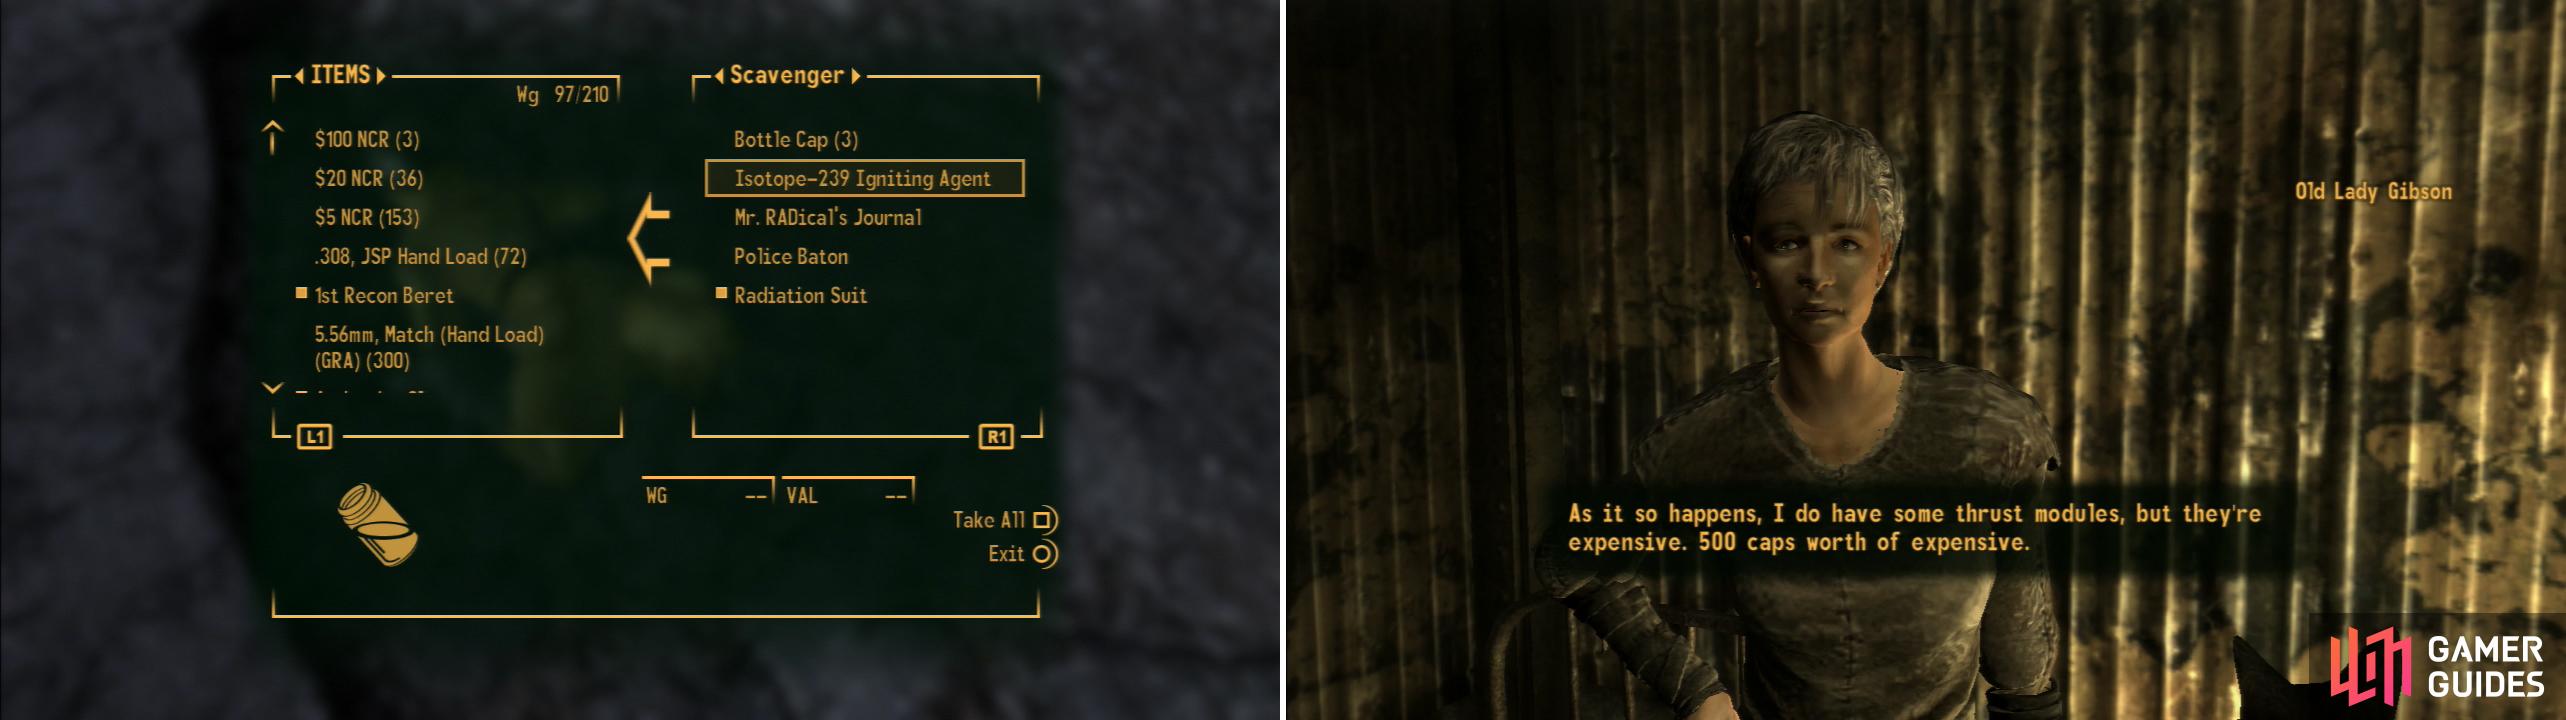
To help the Brights continue their Great Journey, you’ll need to find the Isotope-239 Igniting Agent (left). A Thrust Module can be purchased from Old Lady Gibson (right).
Thrust Control Modules
Head north along the road running through Novac (near No-bark’s Shack) to find the Gibson Scrap Yard, inside of which you can find Old Lady Gibson. Talk to her and she’ll tell you about the nearby HELIOS One plant, the Brotherhood of Steel and NCR’s fight over the plant and her old days scavenging the REPCONN ruins. She’ll also sell you junk and repair your gear. As for the task at hand, ask if she has any thrust control modules and she’ll offer them up… for 500 Caps. Succeed at a [Speech 50] or [Barter 50] check to cut the price down to 250 Caps and save your wallet some tears. Finally, if you have ED-E in your party when you talk to Old Lady Gibson the quest ED-E My Love will begin. Apparently specific keywords unlock Enclave data stored on ED-E… something to keep in mind as you explore the Mojave with your favorite robot pal.
Flight of the Ghoulkries
Return to the REPCONN Test Site and talk to Chris Haversam. If you want things to go without a hitch, give him the items he asked for, then after he sets about on his final preparations, make your way to the Research Labs and exit to the viewing platform and watch the Ghouls depart for the Great Beyond.
On the other hand, if you want to complicate matters talk to Chris and start asking him hard questions about his role here. Point out that he can’t work on repairs himself because the radiation would kill him and he’ll whine about his “past life” in Vault 34. Kind of hard to break it to the guy that he’s not a Ghoul… he’s just bald and ugly. Convince him he’s not a Ghoul by succeeding at a [Speech 50] check or by using the Black Widow perk and he’ll threaten to sabotage the rockets. If you want to sabotage the rockets, support the idea in dialogue then get him three boxes Sugar Bombs, which can be purchased from many merchants (including Cliff Briscoe in Novac). If you want to help him realize he’s not a Ghoul, but you want him to avoid sabotaging the rockets, tell him he’s not a murderer, then convince him to settle down in Novac. Either way, go to the viewing platform to witness the successful launch, or their demise. The reward is the same regardless of what you do. Be sure to return to Manny Vargas and get your information; the next place you need to look for the checker-suited man is Boulder City… but there’s a few things to do along the way.
| Objective | Reward |
|---|---|
| For sending the Ghouls to the Great Beyond | 800 XP Novac Fame |


 Sign up
No Comments