
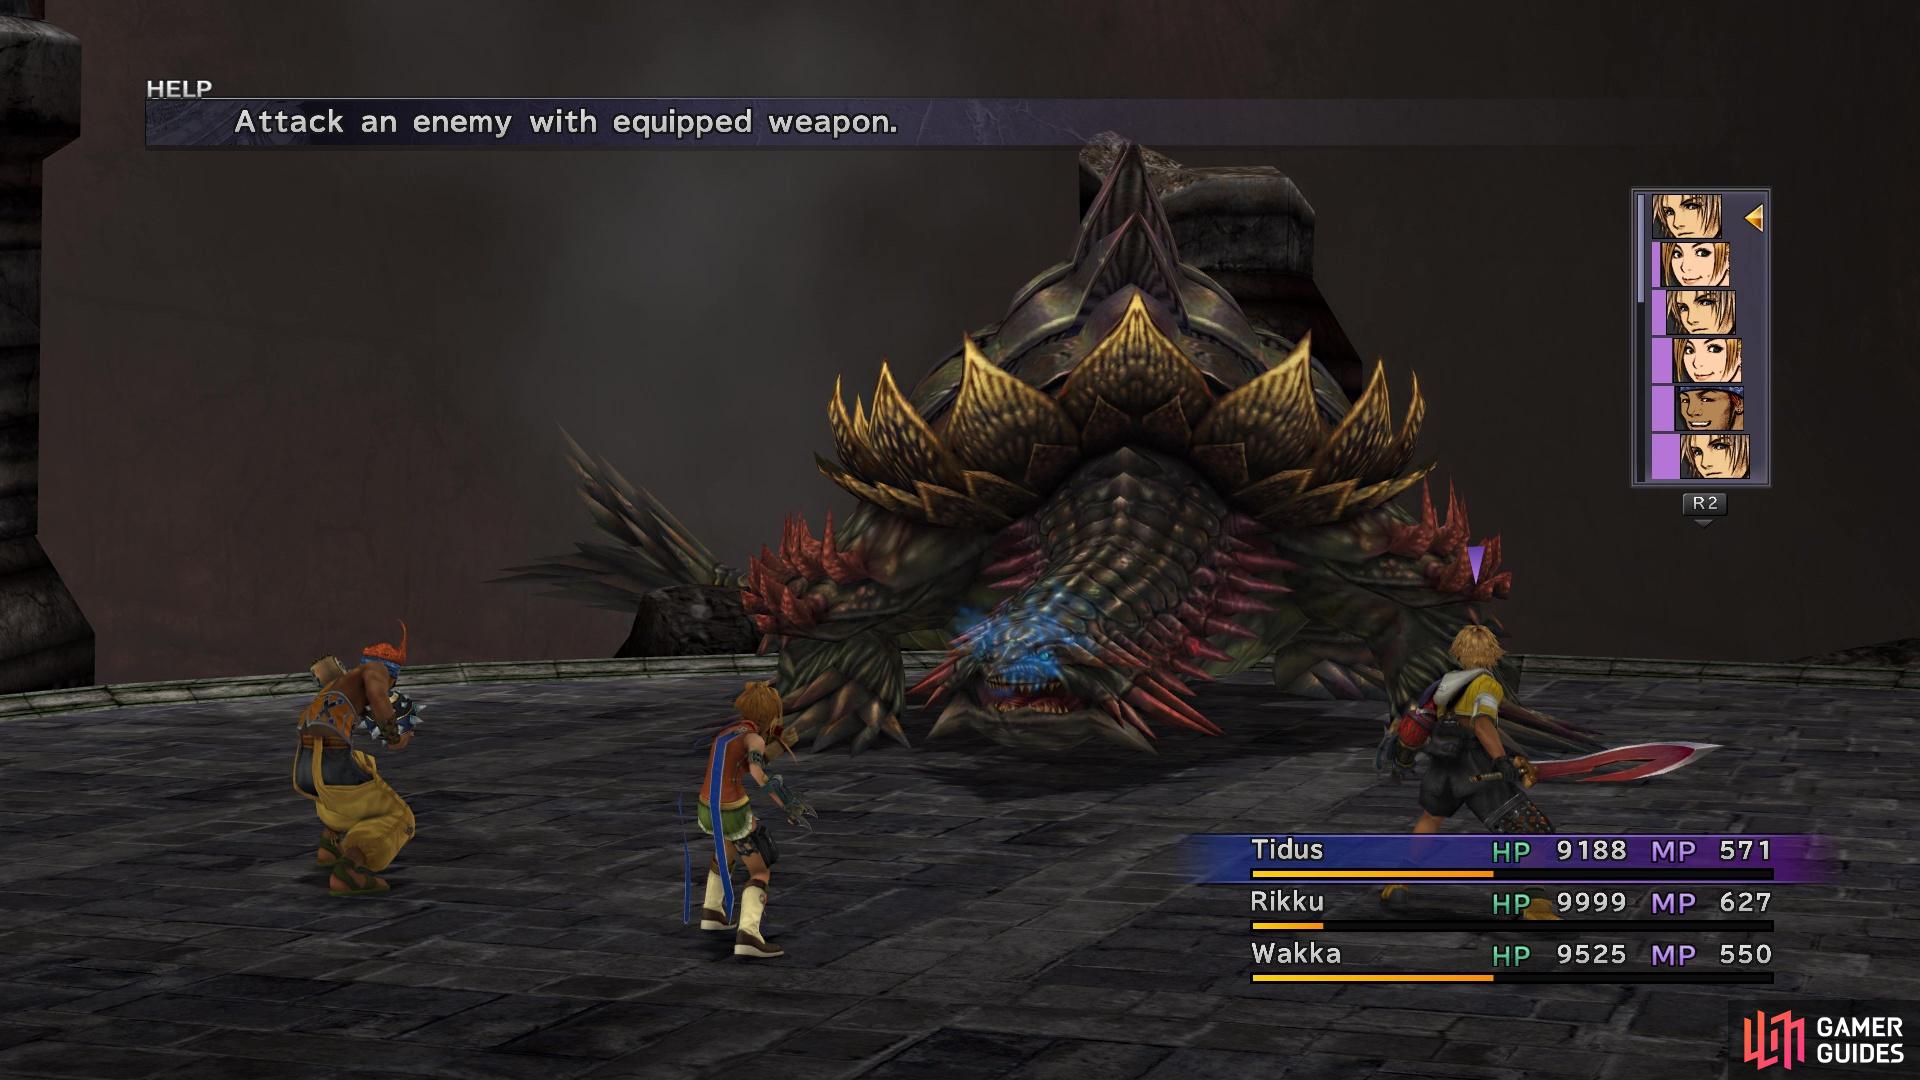
The Omega Ruins is an optional dungeon that is accessible once you have full control of the airship near the end of the main story. You’ll know you have full control when you can access the navigation to go to any previously visited locations. Whenever you access the navigation menu, pick the Search option and look around 75x and 35y in order to unlock the Omega Ruins. Before you dive into the place, you will want to make a few quick preparations. First and foremost, you will want First Strike on someone that either has Flee or Provoke. The reason for this is that [Great Malboros] will always ambush you in this dungeon, unlike any other locations, with their first turn being Bad Breath.
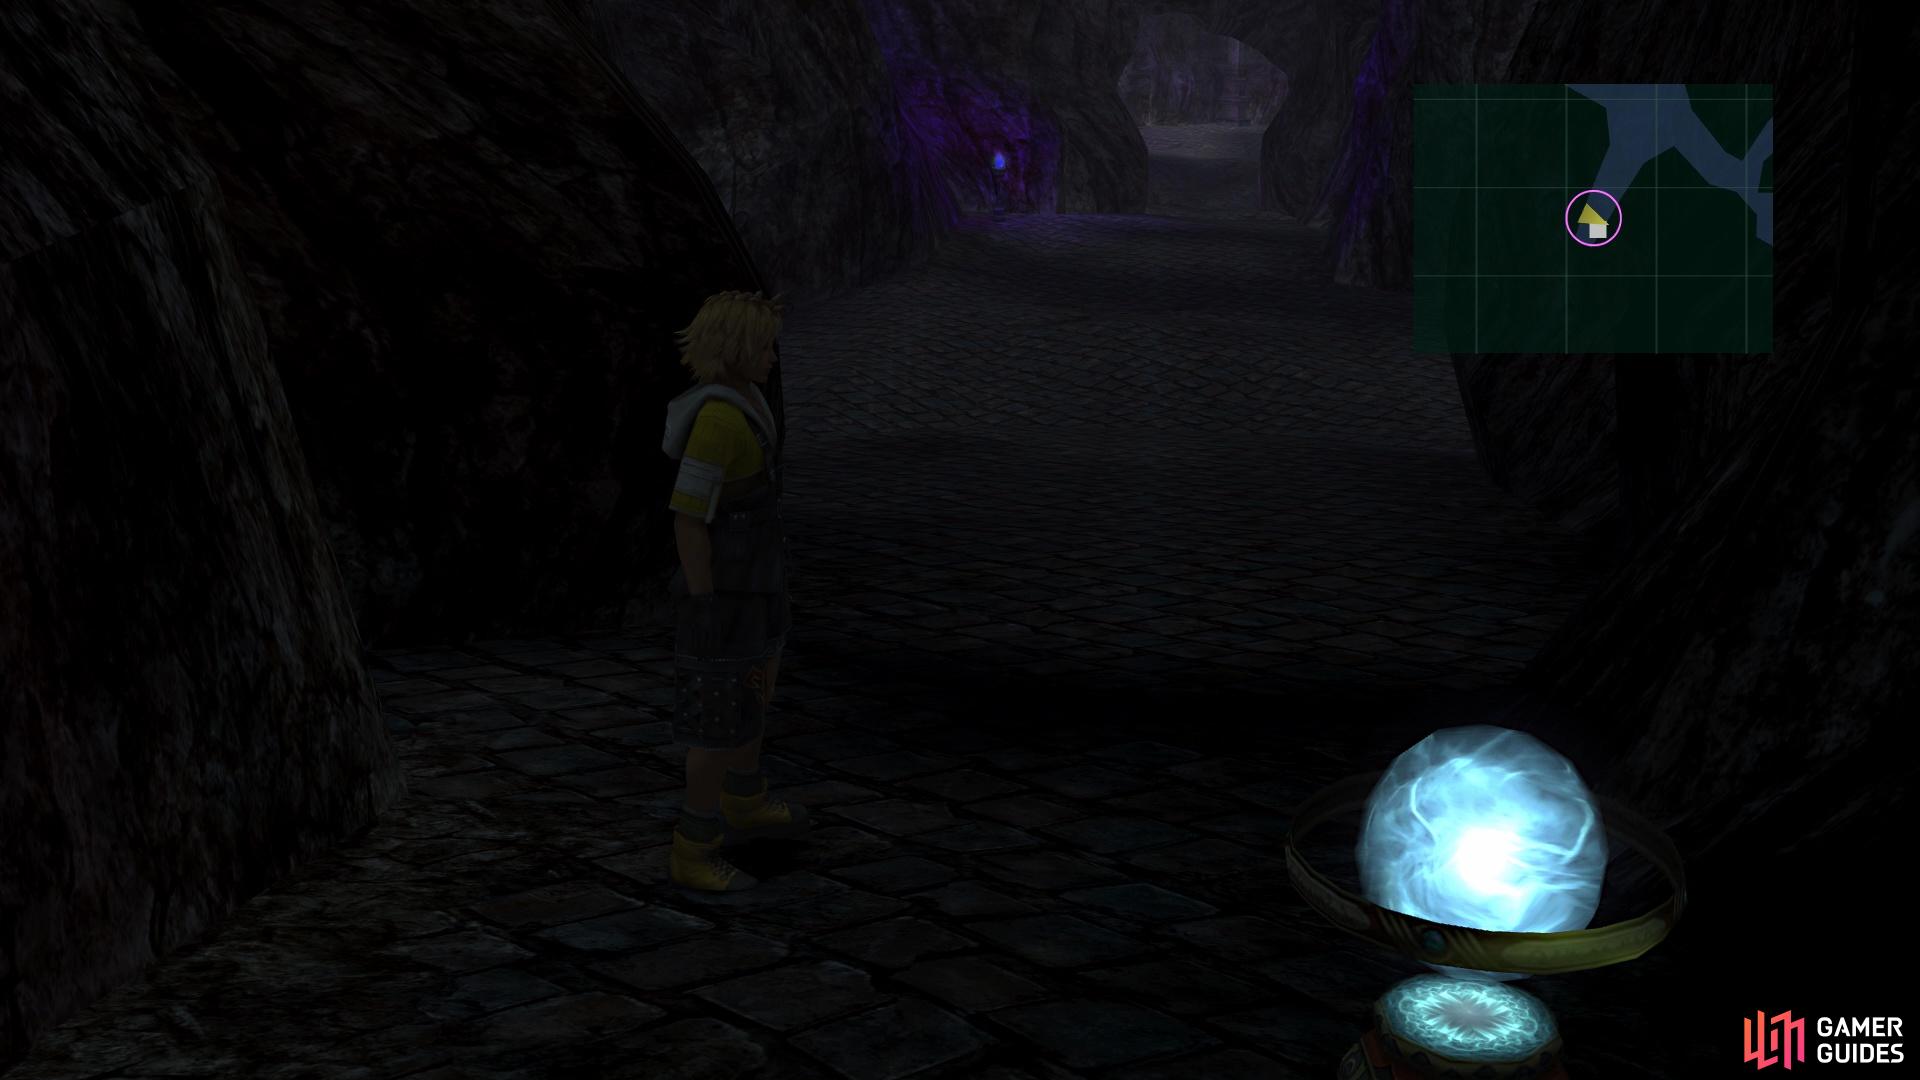

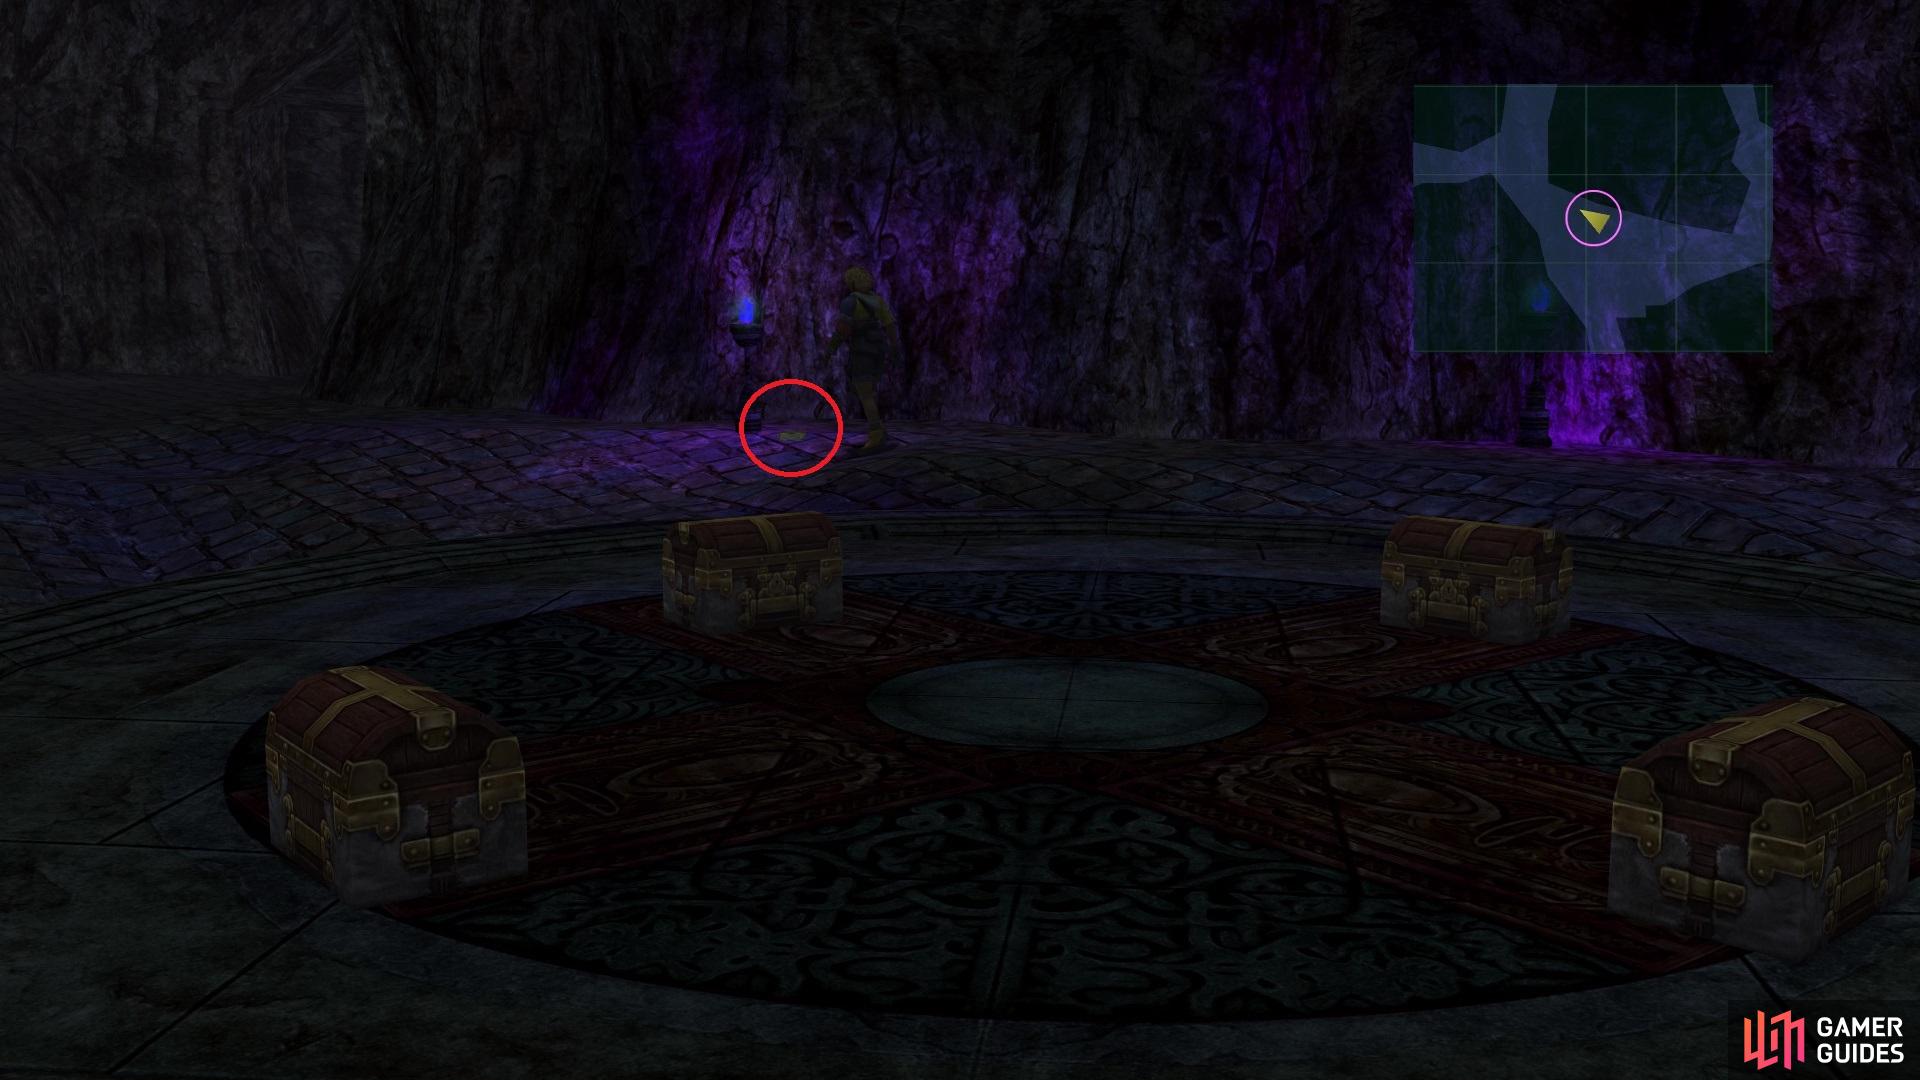
(1 of 2) The Save Sphere at the start is the only one in the dungeon
The Save Sphere at the start is the only one in the dungeon (left), Great Malboros will always ambush you in the Omega Ruins (right)
If you can, you will want Silence Buster on at least one character, possibly two or all three, as the [Demonoliths] can be a hassle with their Pharaoh’s Curse counter. Also, you will want Stoneproof on your main characters, because of the Demonolith’s Breath attack. Provoke will also help against the [Spirits] and [Defender Zs]. Celestial Weapons are also something you will want, if not just for Break Damage Limit, but the fact they ignore defense will also work (they do not have Piercing). Rikku’s Celestial Weapon will also be very nice, because it has Gillioniare on it and the Mimics in this dungeon are one of the ways to get some nice gil. Capturing weapons can also be a good thing, if not just for the [Machea], since they can be bribed for Chocobo Wings, an item needed to add Auto-Haste to armors.
Mimics
Throughout the Omega Ruins, you will run into a battle against a singular Zaurus enemy, as well as a chest. Stealing from this chest will sometimes get you an item, but if the chest has nothing, then it will be a Mimic enemy. There are four variations of this Mimic enemy, all with different stats and weaknesses/strengths. Note that the Mimics have nothing to steal and don’t drop anything, as well as giving no AP, either. However, they do drop 50,000 gil for each one defeated, making them a great source of money. If you put Gillionaire on a character’s weapon and have them in your active party, then the Mimics will give 100,000 gil for each one.
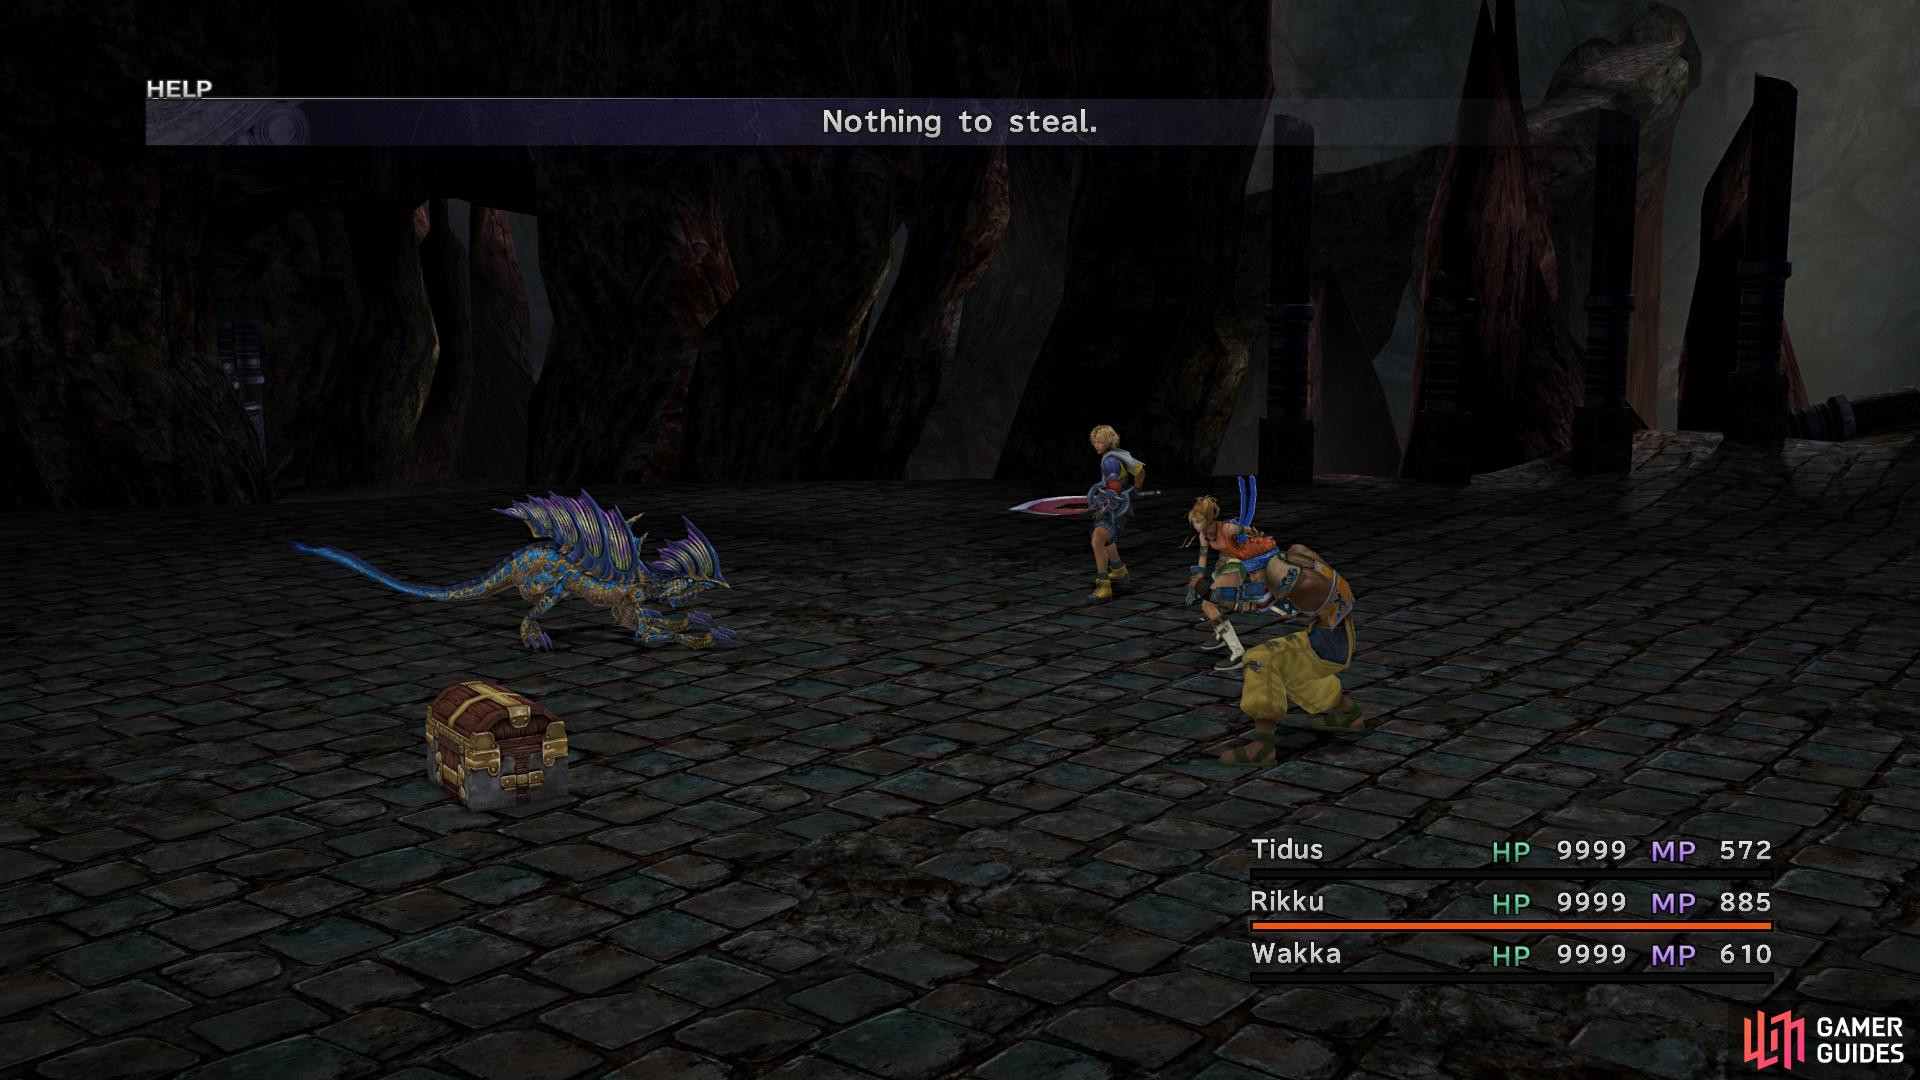
(1 of 2) If a chest has no item
If a chest has no item (left), then it will reveal itself to be a Mimic (right)
Omega Ruins
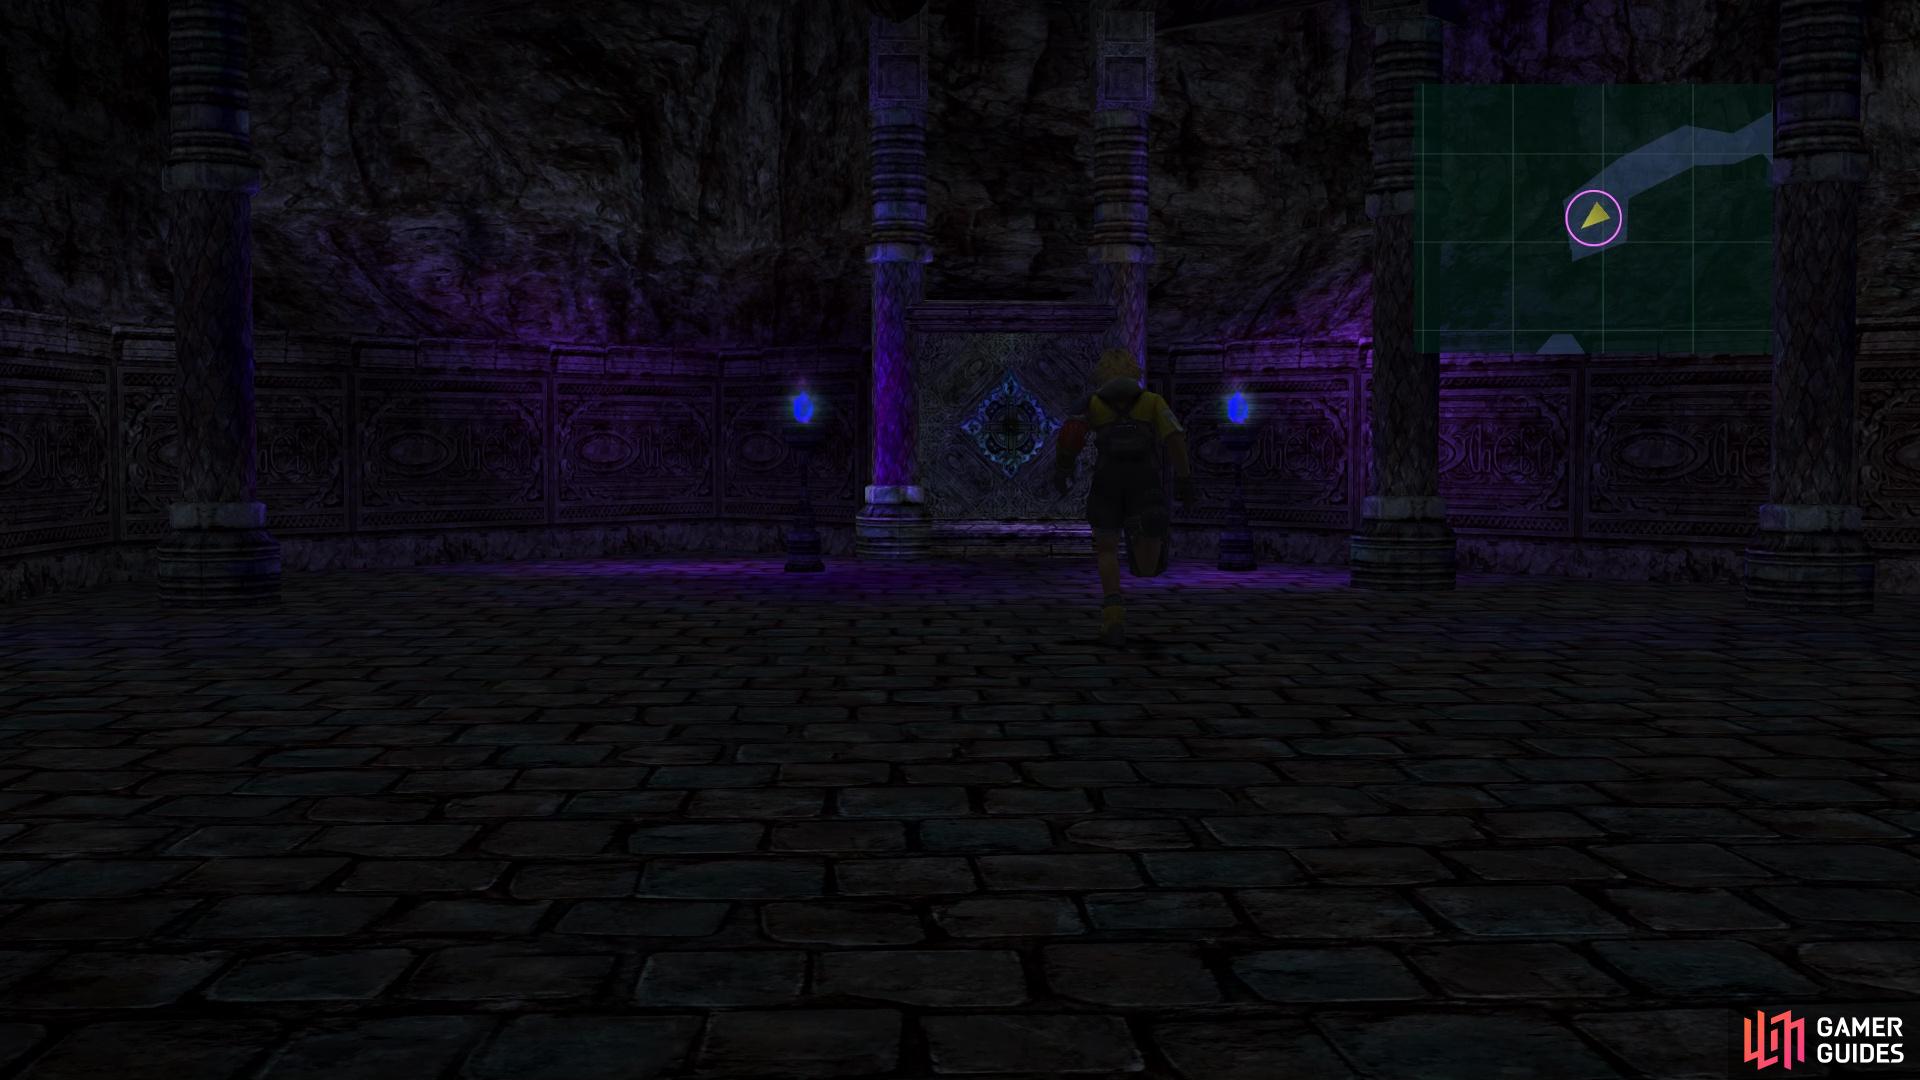
The map in Omega Ruins is similar to the one Inside Sin, as it will be filled in as you explore, so you won’t know the layout unless you look at a map online. Immediately upon starting the place, there will be a Save Sphere and this is the only one in the dungeon. It’s a good idea to test your characters’ builds at the beginning to see if they are up to the task, as this place can be quite dangerous. When you move forward, there will be three ways to go at the first open area, which are left, forward, and right. Straight forward will lead to nothing but a dead end, while the right path leads to a dead end with some chests.
Speaking of the chests, there are four groups of chests that are a bit special, since they are not guaranteed to contain treasures; it’s more of a secret minigame. The chests will either contain a treasure or a Mimic. If you get a treasure, then you will get a chance to open another chest. However, if you encounter a battle with a Mimic, then the rest of the chests in that group will disappear. Your reward for opening all of the chests throughout the dungeon that are in groups, is 99 Warp Spheres. These allow you to move to any node on the Sphere Grid, which is nice, but it’s not worth the trouble.
Back at the beginning, head left at the crossroads, until you get to another split, with the left path being a dead end with another group of chests. Continue north to another fork, with the left path being yet another dead end with more chest. As you move right at this fork, you will notice a glyph on the wall, but it does nothing right now, so keep it in your mind. Keep going north to the fourth, and final, group of chests. Just north of those chests, along the wall there, will be Al Bhed Primer Vol. XXVI on the ground, which can be a little hard to see. If you’ve collected all of the others, then this will earn you the Master Linguist trophy/achievement.

(1 of 4) The grouped chests are random, but you can sometimes get treasures from them
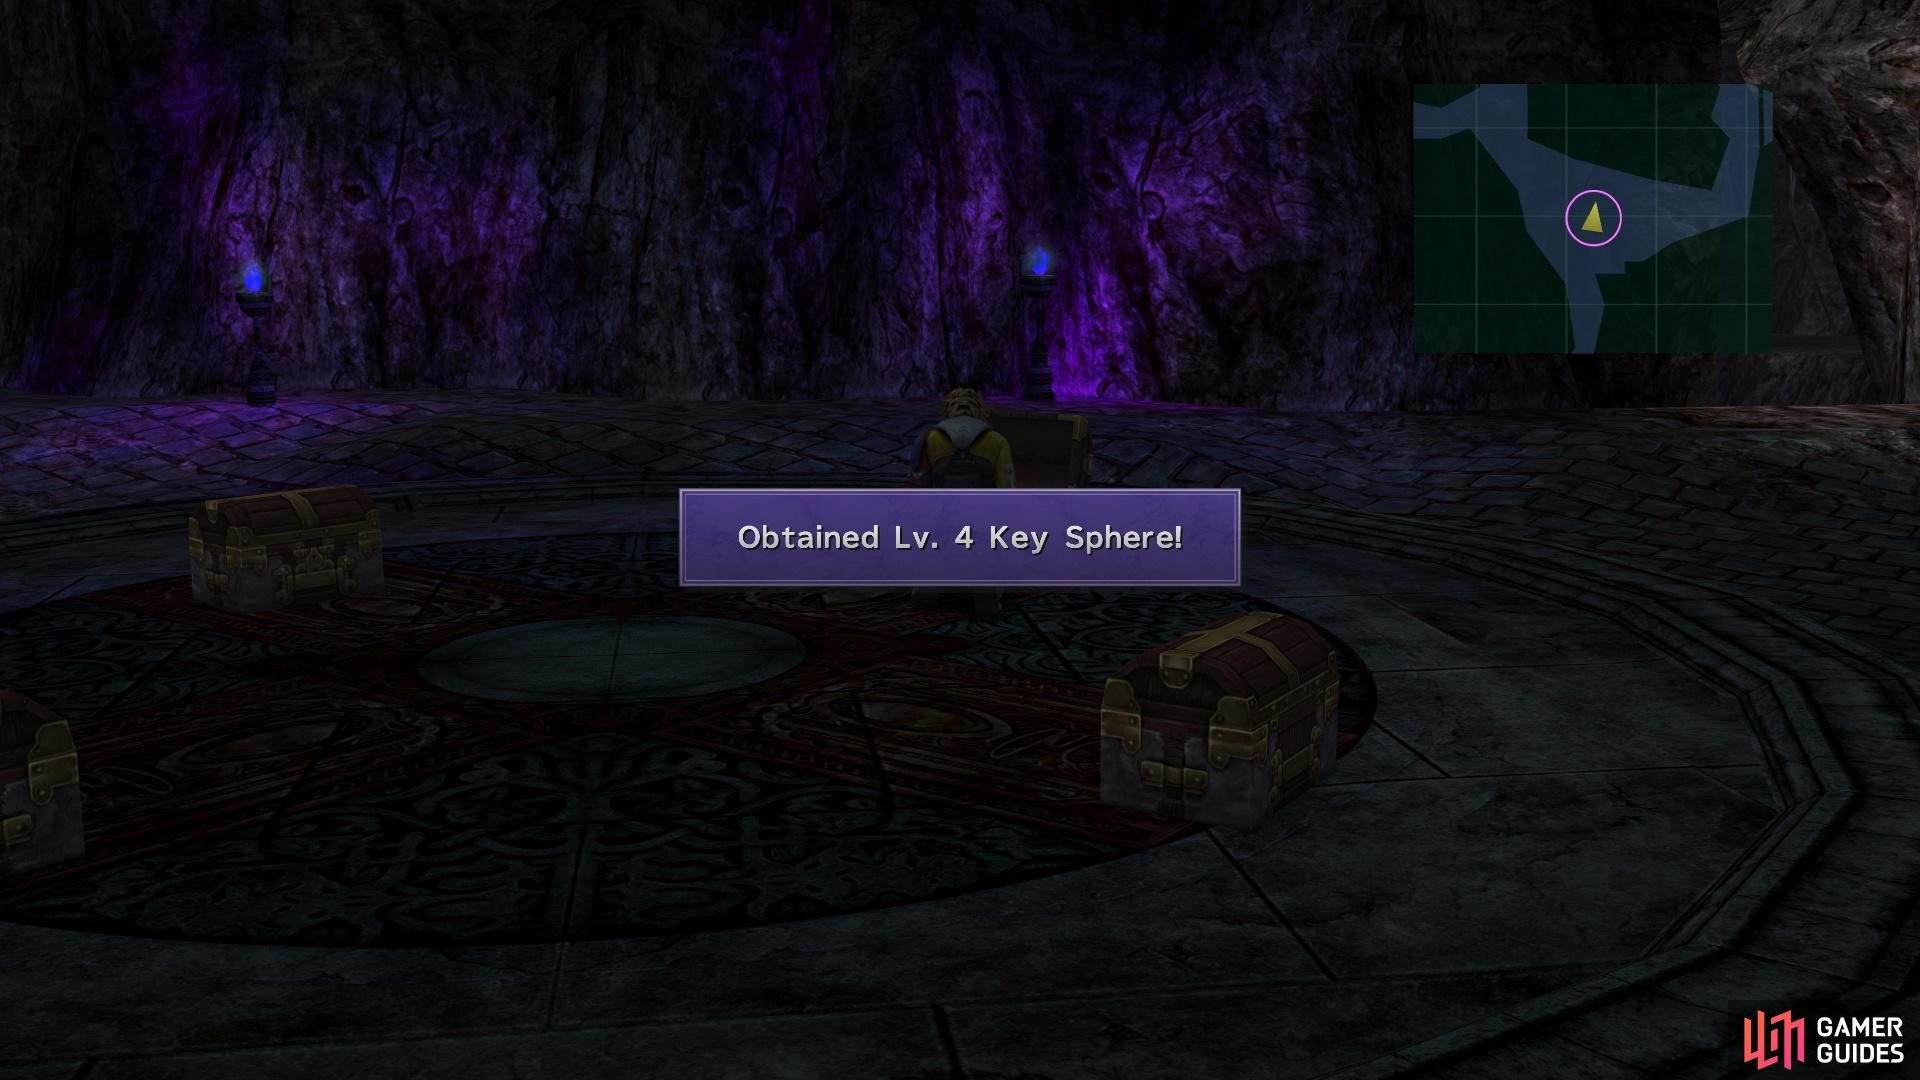
To the left of the final group of chests, there is one more dead end, where you will find another glyph. Touching this one will activate the previous glyph, so do that and head back there to interact with that first glyph. Activating both of these will create a bridge on a thin path just south of the one glyph. Follow this path, with more bridges being created, to the end to find a chest with a Teleport Sphere. Return to that fourth group of chests and head right, where you will find a glyph on the ground. Stepping on it will transform it into an elevator, bringing you to a higher area. The path here will bring you to a structure, that once you step into it, will trigger a boss fight.
BOSS - Ultima Weapon
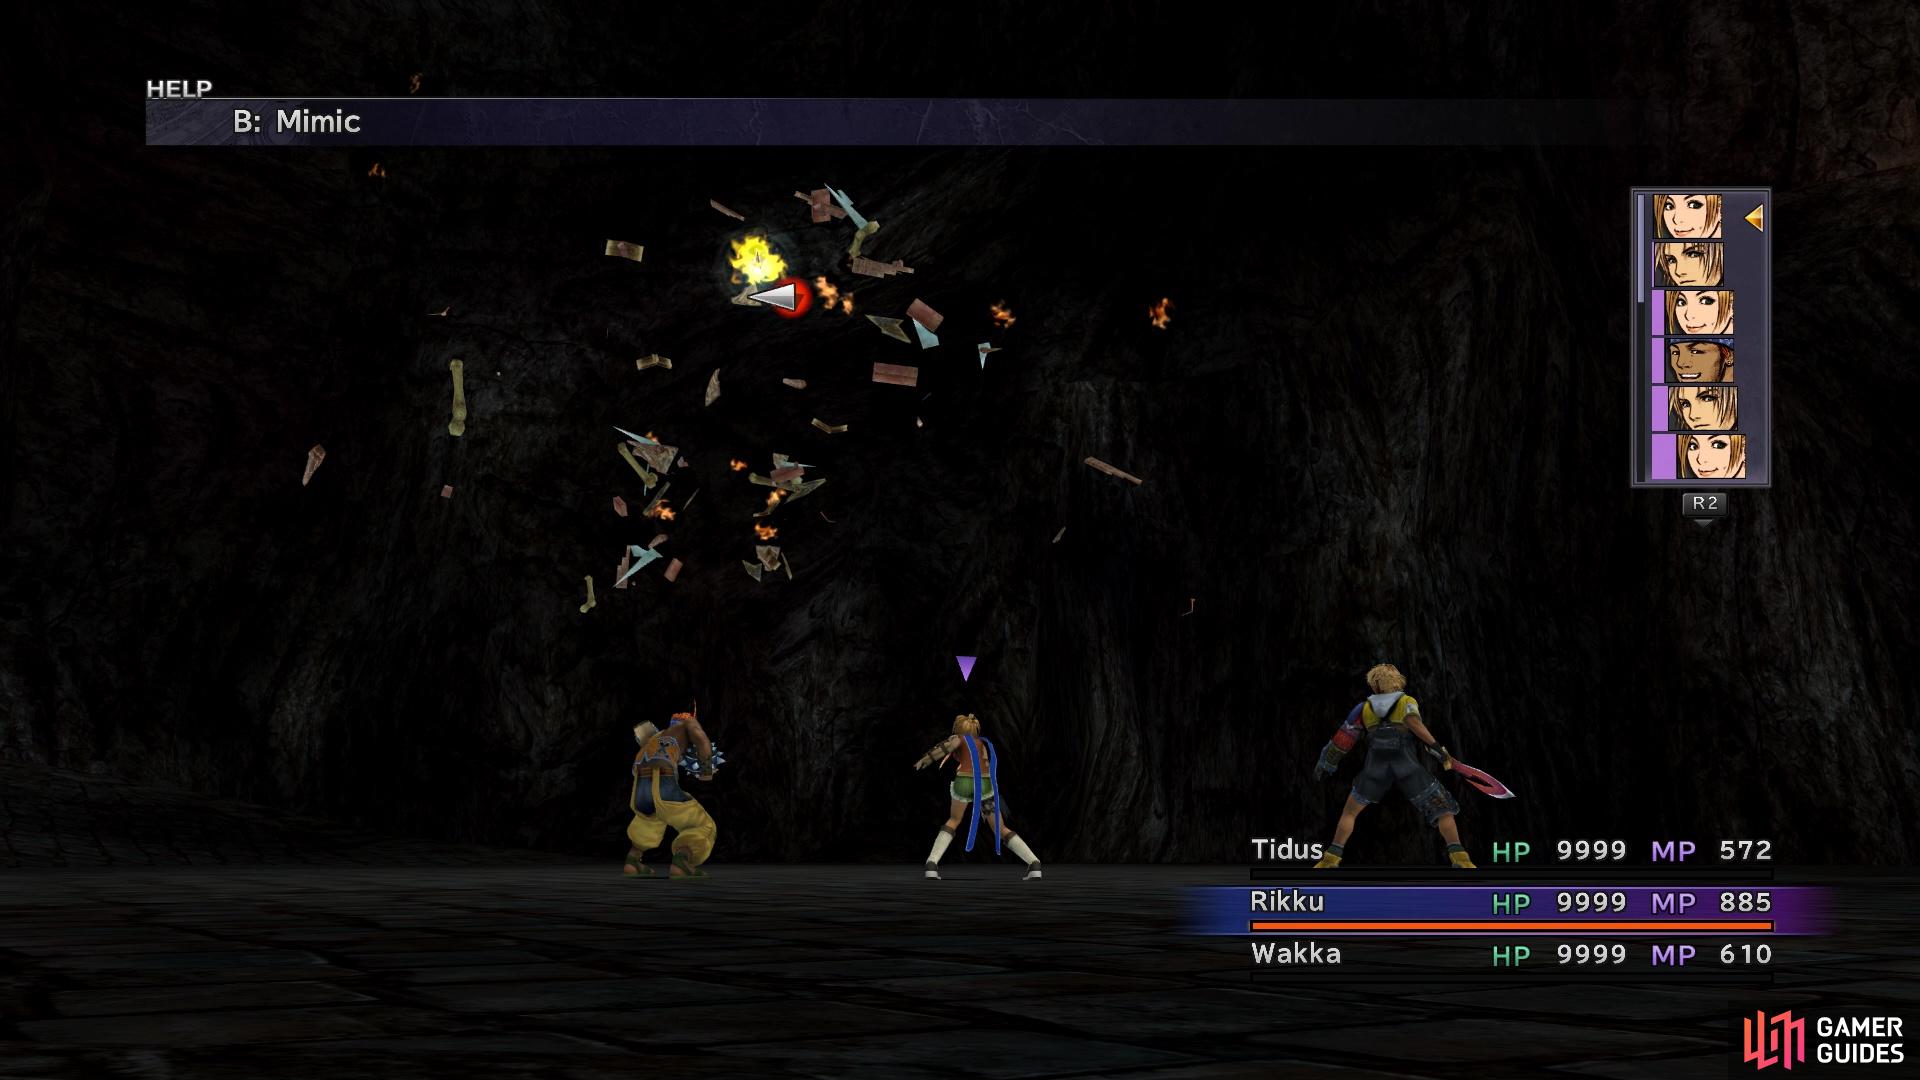
Ultima Weapon is the appetizer to Omega Weapon, so if you have trouble against him, then you will definitely be struggling against the latter. Thankfully, Ultima Weapon is rather formulaic, as he tends to stick to a pattern for his attacks. When the battle begins, you will want to buff up your characters with the normal spells, like Haste, Protect and Shell. He will start with a basic, normal attack, which can hit anywhere from around 2,000 damage to 3,000. On the second turn, Ultima Weapon will use one of the following spells: Confuse, Silence, or Break. Both Confuse and Break are the bigger offenders here, since the former is just disruptive, while Break removes all buffs if it hits.
Of course, if you have Stoneproof on your armor (and you should, due to Demonoliths), then you should be fine with Break. At this point in the game, you have probably migrated from magical attacks, so Silence should present any problem. The third turn will have the boss use Core Energy on a single character, an attack that has a huge randomness to its damage, as it can do 3,000 damage or even deal upwards of 9,999 damage. Thankfully, Shell can reduce this damage, so you should have it cast on everyone. The fourth turn is another option for spells, where you might see Confuse, Sleep or Holy. You will then see another normal attack, then Ultima Weapon’s strongest ability, Shimmering Rain.
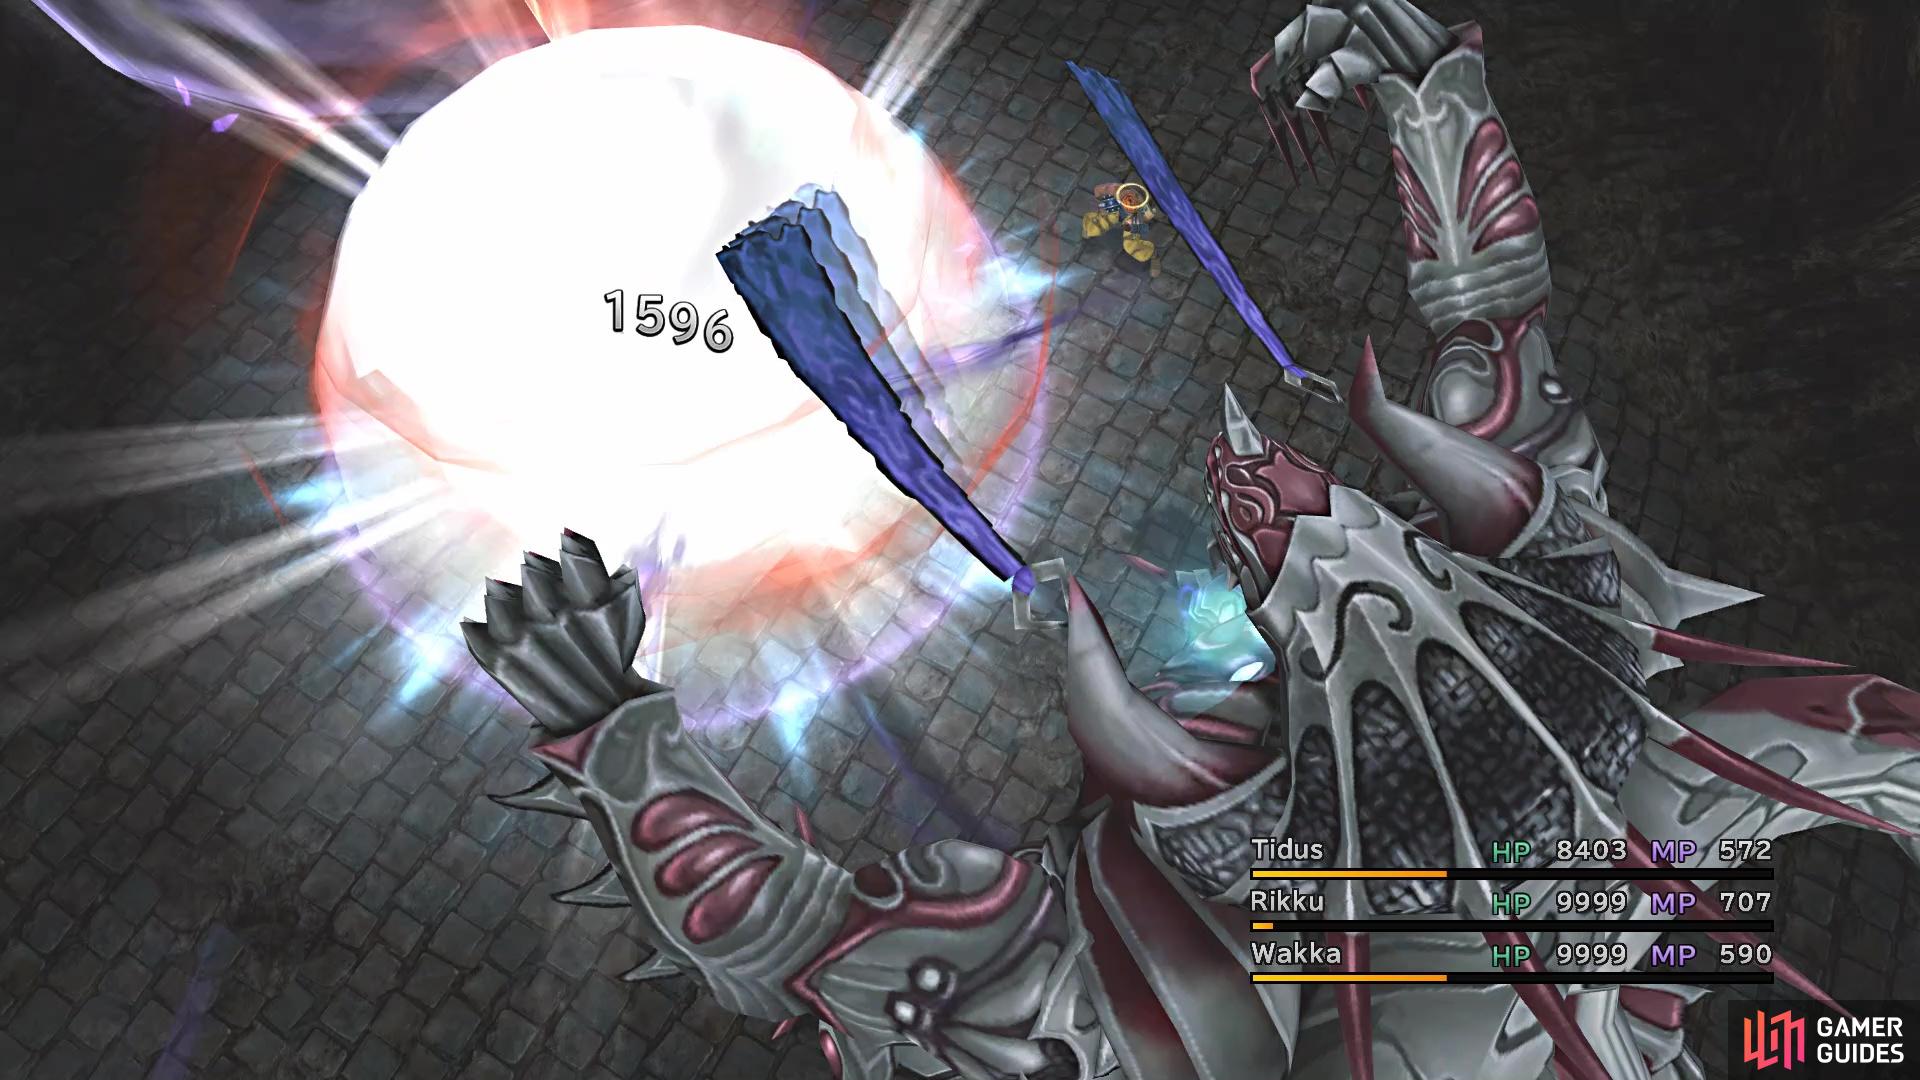
(1 of 2) Core Energy’s damage can vary pretty wildly
Core Energy’s damage can vary pretty wildly (left), Shimmering Rain will hit all characters, so make sure you’re ready for it (right)
This attack can deal around 2,500 damage or so to the entire party, so you will want to make sure everyone is healed above 3,000, just to be on the safe side. After using Shimmering Rain, Ultima Weapon will start over from the beginning of his cycle. If you don’t have Celestial Weapons, but are hitting for 9,999 per hit, then it will only take 11 strikes to bring down this boss. Note that Ultima Weapon is susceptible to Bribe, but it costs a good amount (around 2.4 million gil or so). This will net you a huge amount of Pendulums (the max amount is 99), 30 of which can be put on an armor for the Master Thief ability.
The place where you fought Ultima Weapon is now a teleporter, which will take you to the inner portion of Omega Ruins. There are no true random encounters here, but as you step onto the circular areas, you will be forced into a battle against a random fiend. You don’t have to actually finish the fight, though, as you can simply use Flee to run away. At the beginning, go left and at the end, you can loot a Friend Sphere from the chest. As you head all the way down to the right, you will eventually reach a purple fog wall. Approaching this fog wall will initiate the battle against Omega Weapon.
(1 of 2) You will be forced into battles on the large circles
You will be forced into battles on the large circles (left), but you can just run away from them if you want (right)
BOSS - Omega Weapon
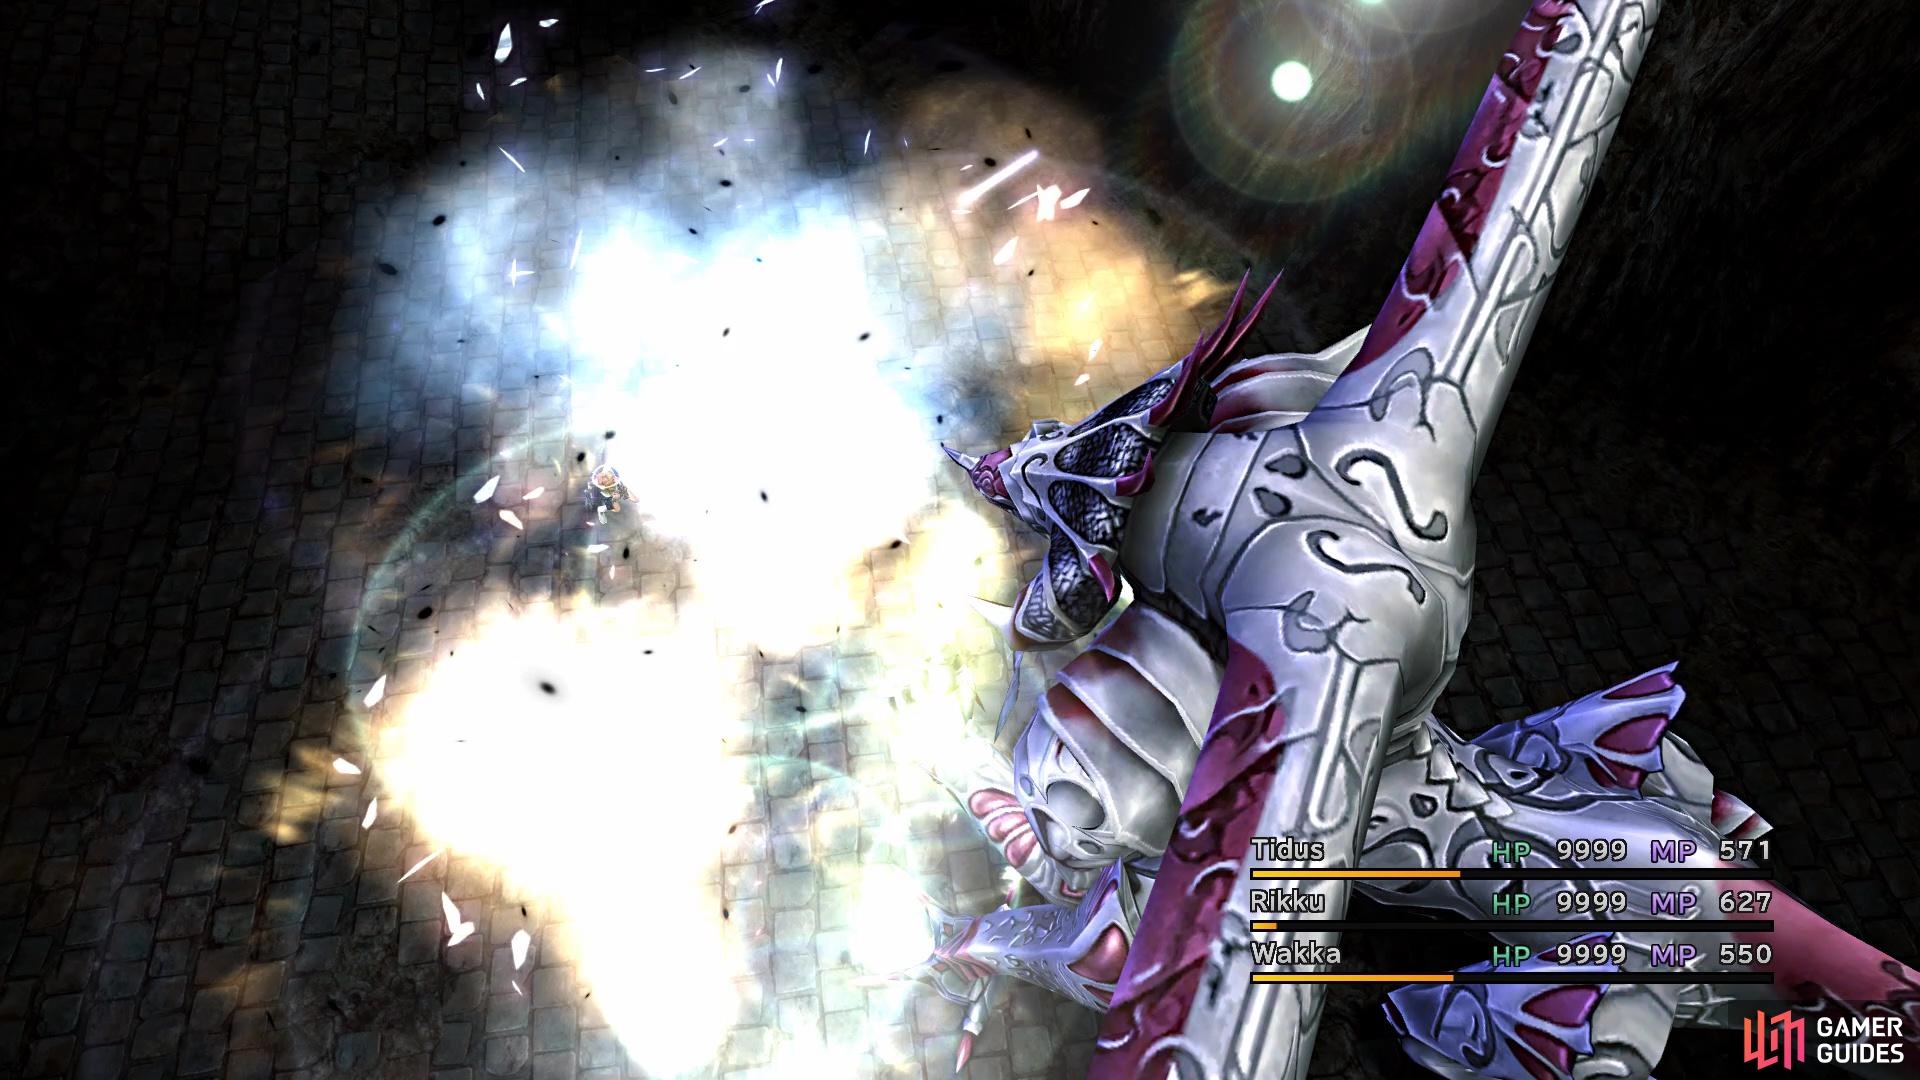
Omega Weapon has ten times the HP that Ultima Weapon had, so if you don’t have Celestial Weapons at this point, you might be in for a very long battle. Also, Omega will absorb all elements, so you won’t be able to use magic on him, unless it’s non-elemental. Omega’s pattern will go through four phases, where he can either use a normal attack or a special one, with the special one pushing the next phase forward. The first phase will have Core Energy, which can deal upwards of 4,000 damage plus to a single character. Remember this is a magical attack, so having Shell on will reduce the damage.
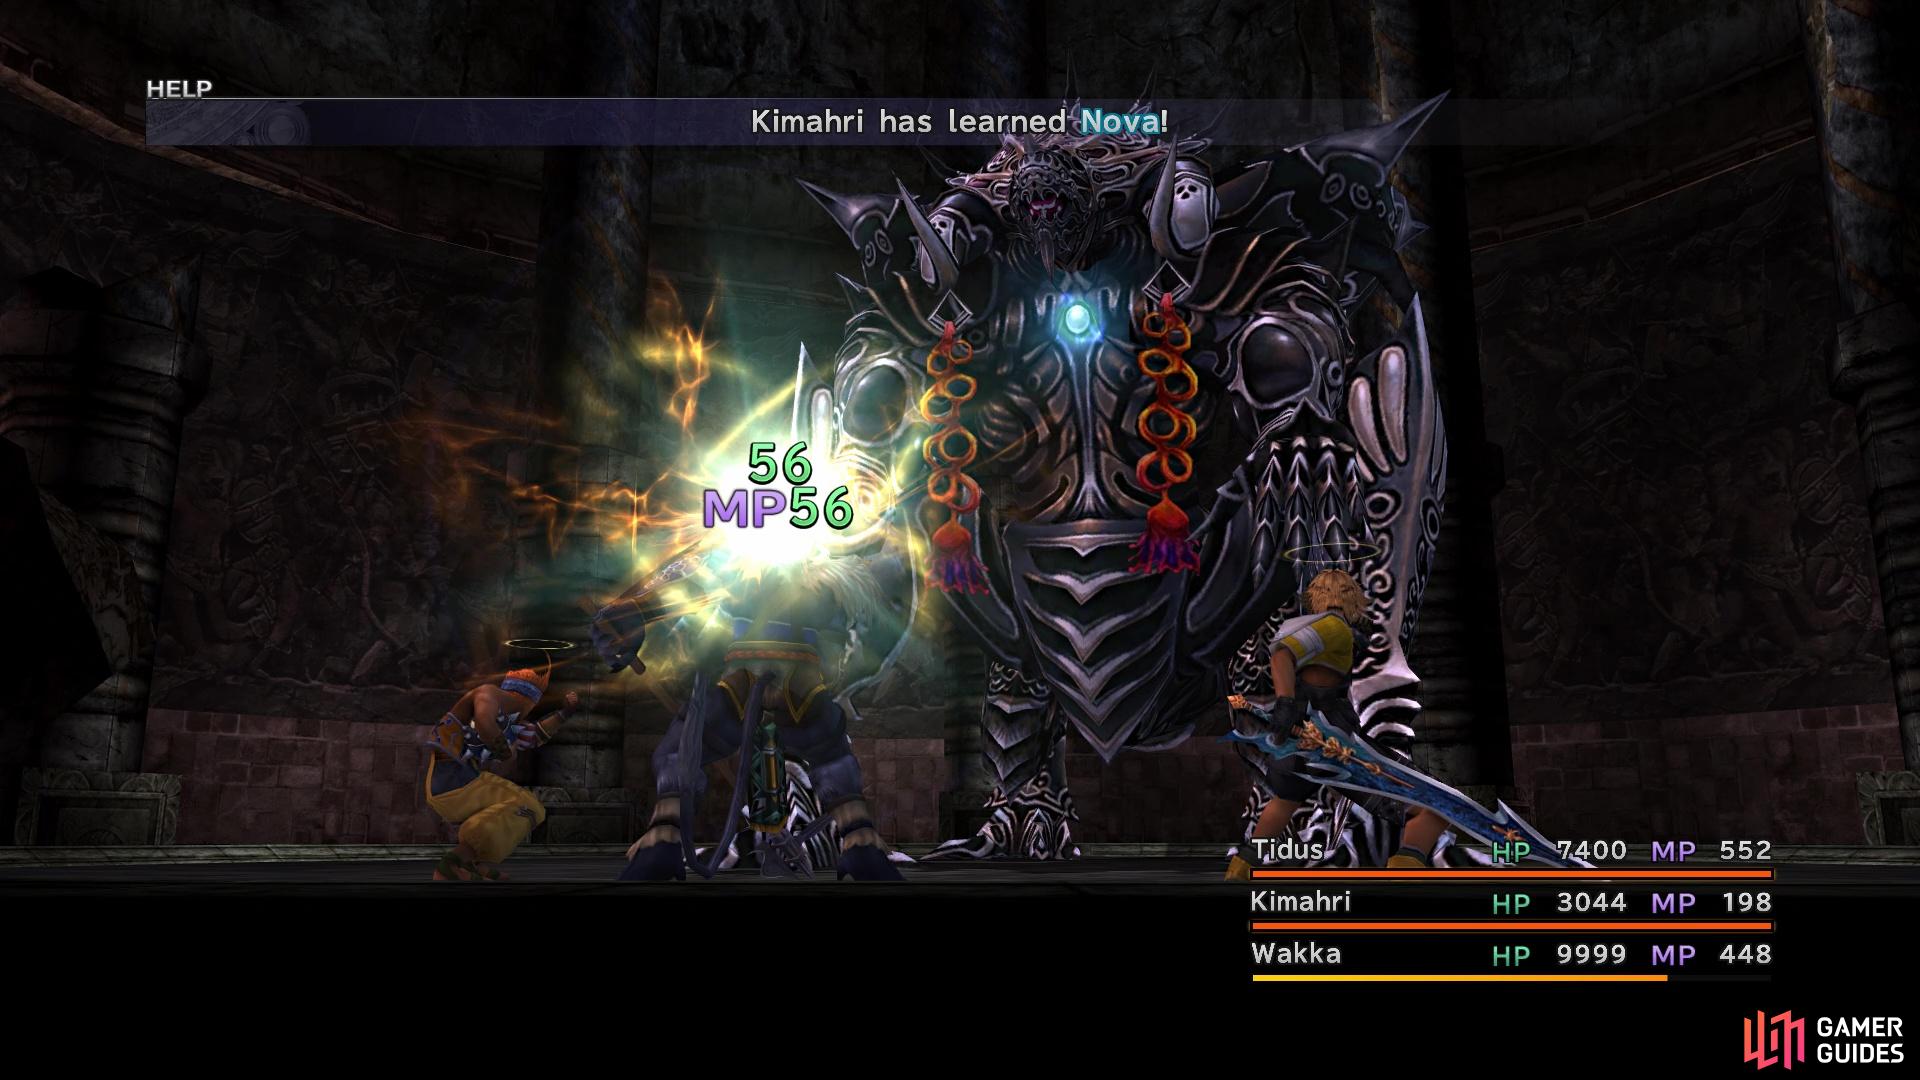
The second phase can have Omega using either Confuse or Break, both of which can be detrimental in the long run. The third phase includes Shimmering Rain which hits the entire party for around 2,500 or so damage. The final stage will have Omega use either Demi or Ultima, with the latter being reduced by Shell. Note that Omega doesn’t just go through the stages one after another, as he can mix in physical attacks that won’t advance things. Besides all of the above, Omega Weapon does have one more attack, called Nova. This is separate from all the others, as Nova has a special counter.
This special counter will go up more if Omega uses normal attacks, while the special attacks make it go up a little bit. Once the counter reaches a certain threshold, then Omega will use Nova on the party, inflicting a lot of damage (upwards of 6,000+). The threshold for Nova is at 30, with specials contributing two and normal attacks adding five. Since you can figure out when it’s coming, you could summon an Aeon and have them Shield in order to reduce the damage. Otherwise, you simply have to take it and hope you don’t die, especially if your characters aren’t beefed up.
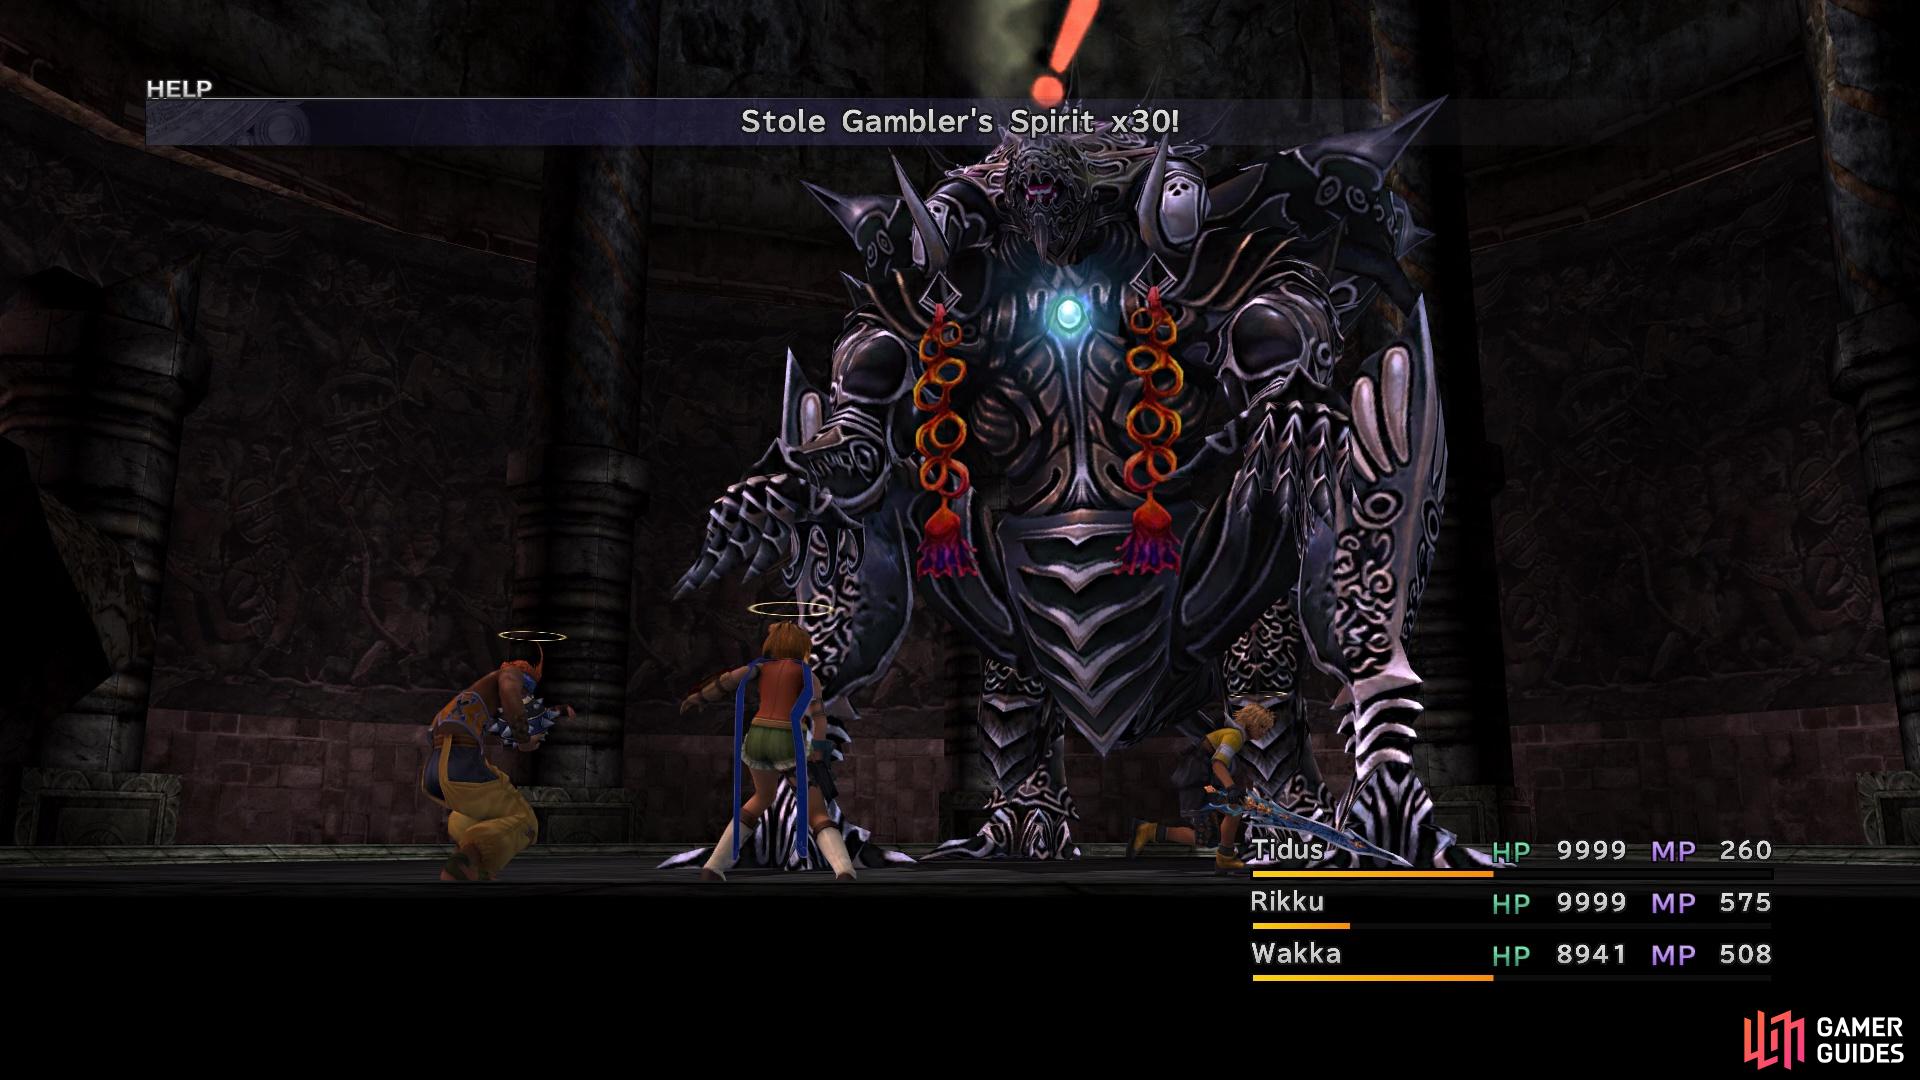
(1 of 3) You can steal a lot of Gambler’s Spirits from Omega
The usual buffs will work wonders here, so Haste, Protect and Shell will go a long way. If you have some Lunar/Light Curtains in your inventory, with access to Rikku’s Overdrive, you can steal some Gambler’s Spirits from Omega, then combine it with one of the previously mentioned items to get Hyper Mighty G, which puts on Protect, Shell, Haste, Regen and Auto-Life. That last one can be very important if you happen to see Nova. Other than the above, you can’t use elemental magic and Omega is immune to all ailments and Breaks. So, you’re pretty much stuck with physical attacks and non-elemental magic.
Upon defeating Omega Weapon, you will be transported back to the beginning of the dungeon. If you head all the way back to the inner section of the dungeon, you will see that you have normal random encounters there, which can be blocked with No Encounters now. Note that this area is a great spot for capturing [Master Tonberries] for the Monster Arena, since there aren’t that many enemy groups here. Return to the spot where you fought Omega Weapon to find a chest, which contains a Magic Sphere. That about wraps up everything for the Omega Ruins.

 Sign up
No Comments