
Journey to the Village
To get to the Black Mage Village, you’ll have to head through the thick forest that’s near Conde Petie. If you go straight east from Conde Petie, you should see the entrance to the village in the forest below the cliff’s edge. However, you can’t reach it from here and will need to follow the edge as you move east, where you should see the entrance to the forest on the world map. Continue through this forest until you eventually reach your destination. Note that if you didn’t get them earlier, this forest is a great spot for the Ragtime Mouse and the Ladybug Friendly Monster.
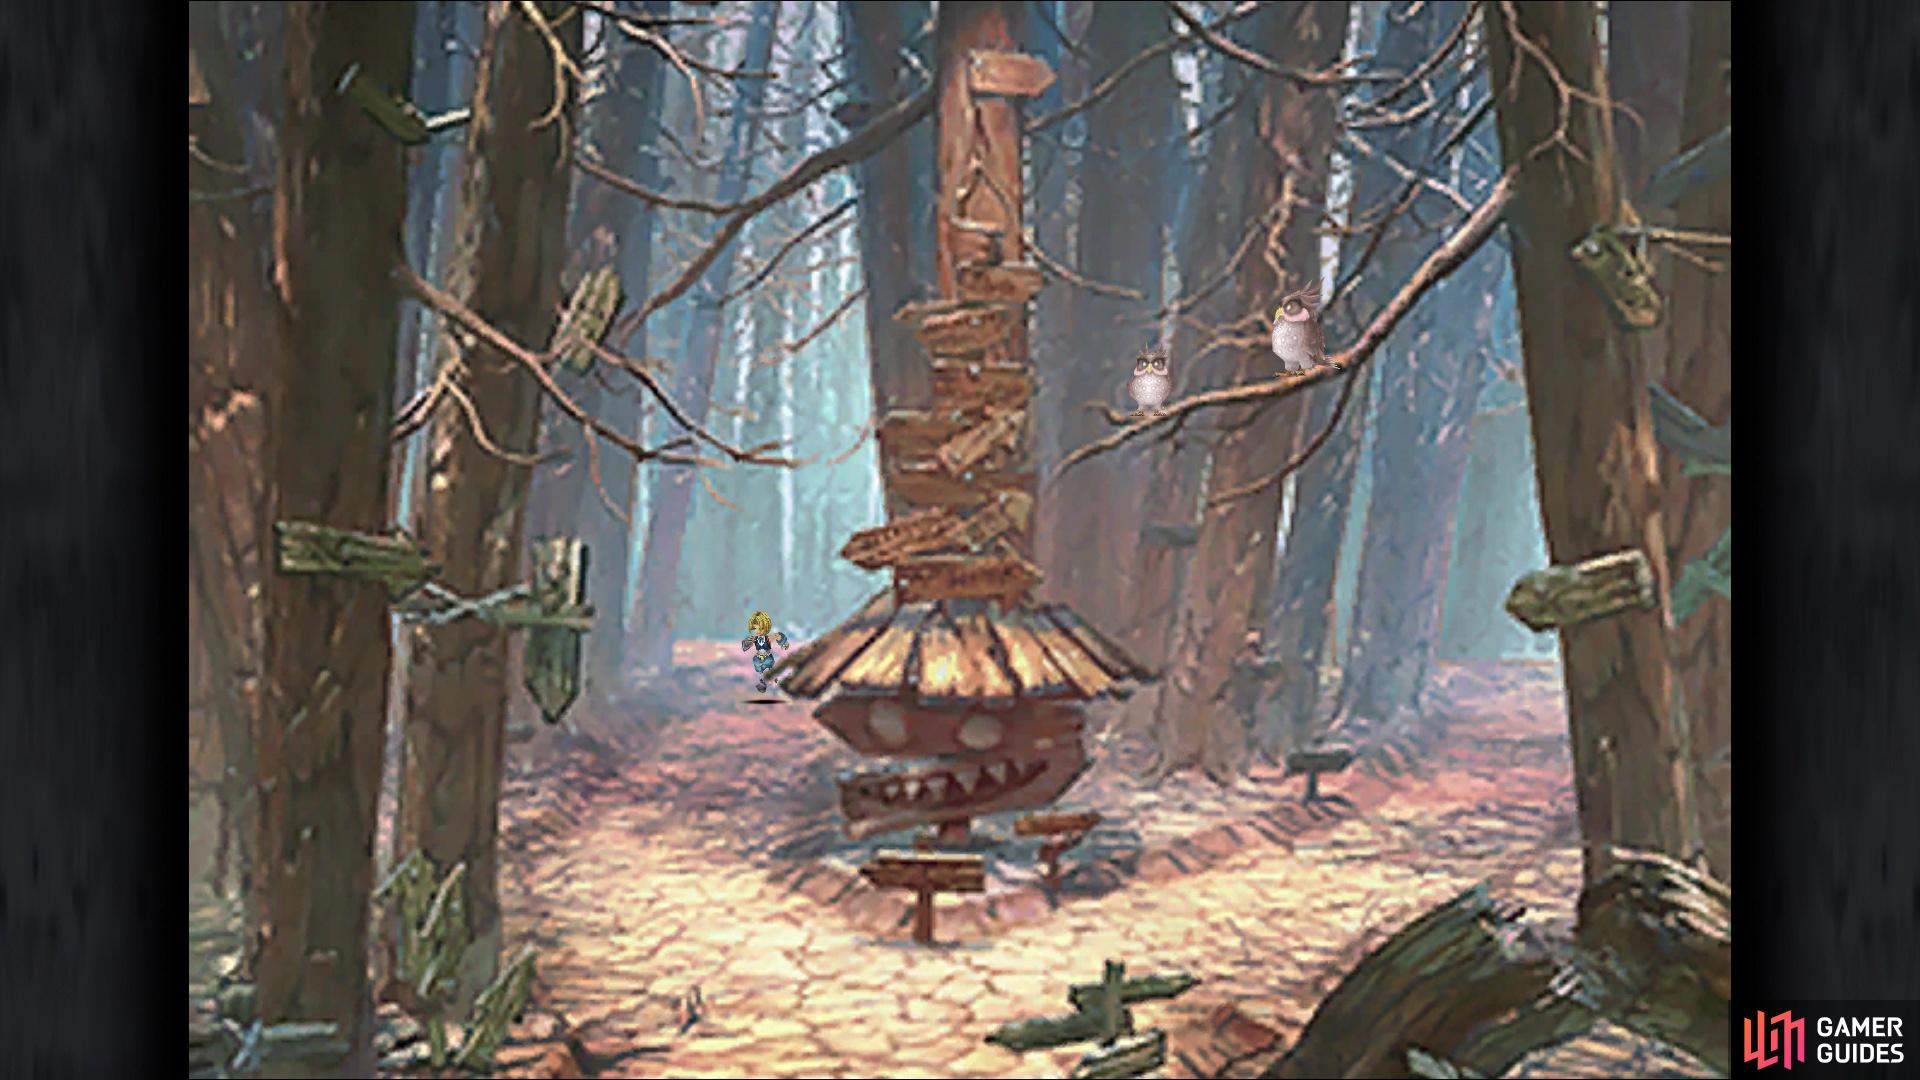
Upon entering, you should spot a Black Mage running off to the right and Zidane will say the hint given by the one dwarf back in Conde Petie. At the fork, there is a sign that also helps with locating the village, with you basically having to follow a set way to reach the actual place. Looking at the sign, head in the direction “where there are no owls” is pointing, which will be to the right. You might be confused, as you will end up at the same screen, but you are making your way there. Re-read the sign and head in the same direction as last time (right), then go left and for the final one, right.
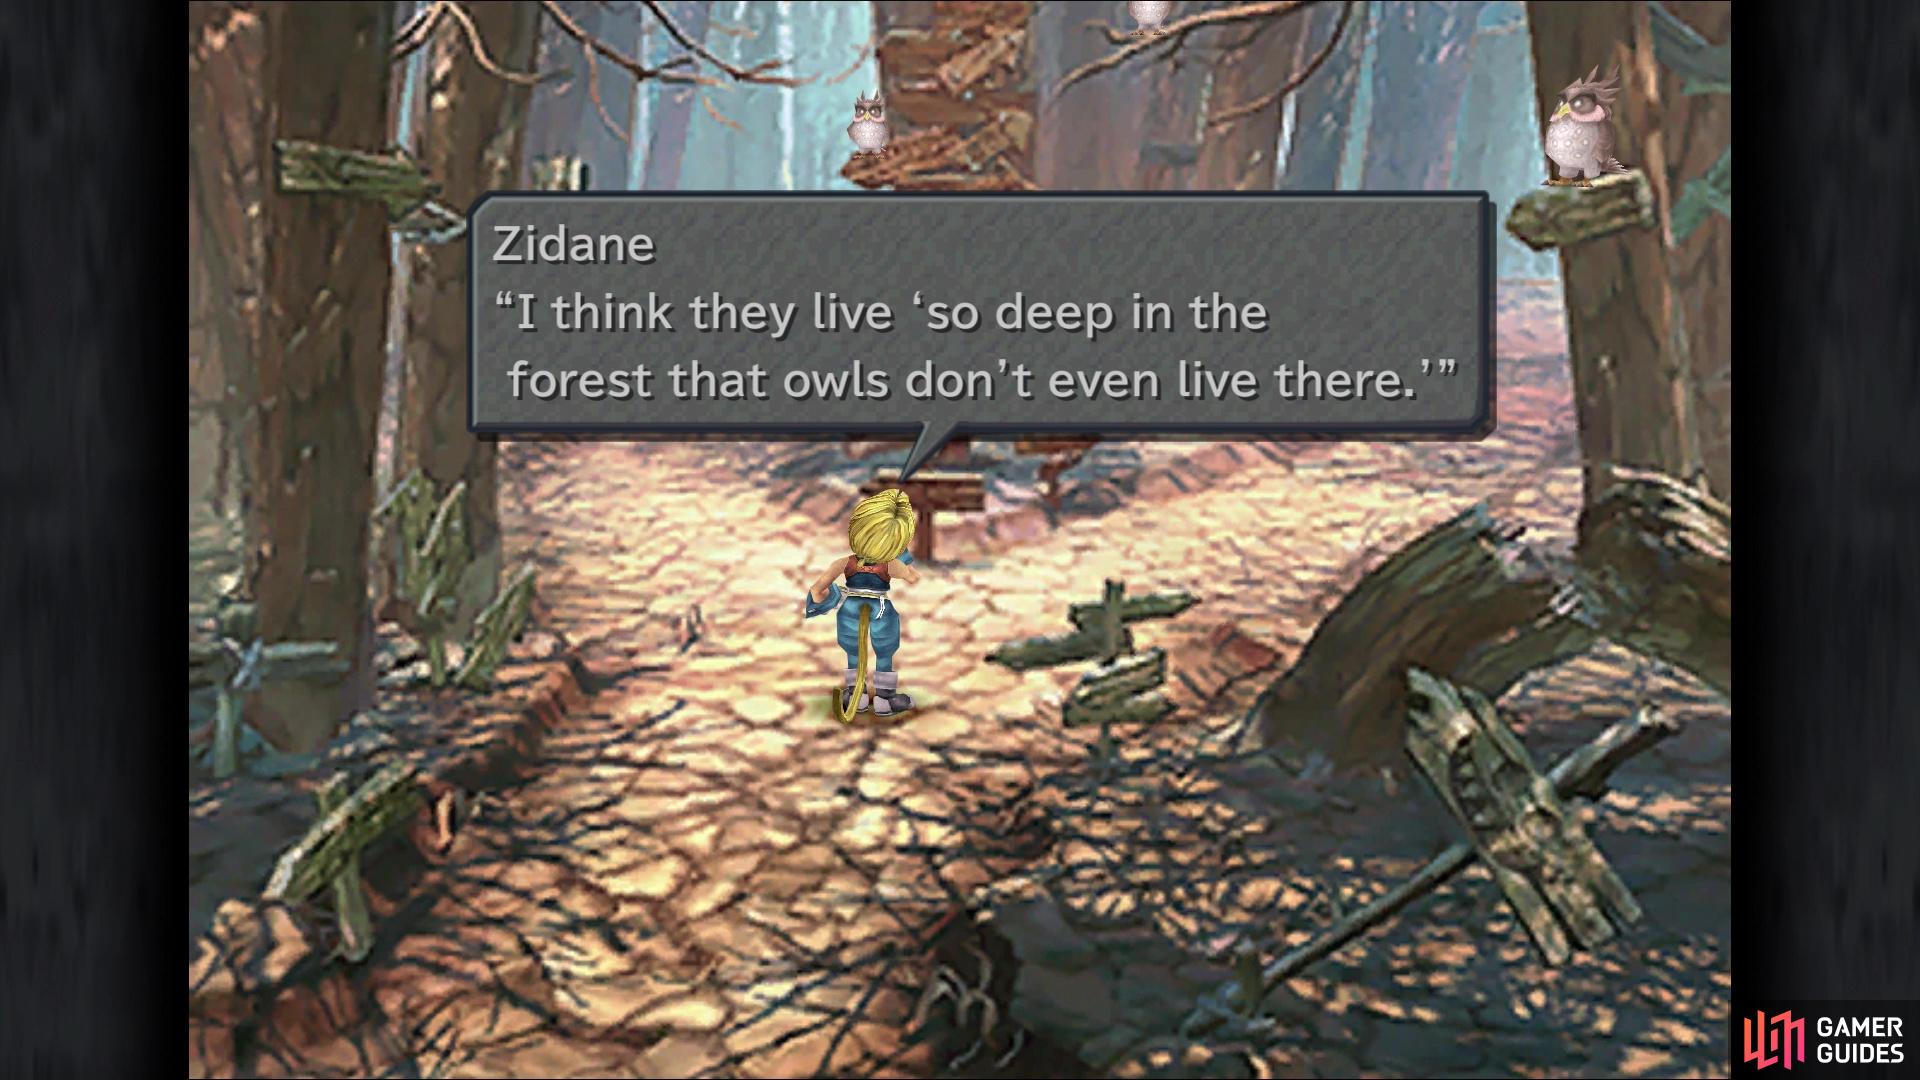
(1 of 2) You will receive a hint from Zidane upon entering, plus the sign also gives one
You will receive a hint from Zidane upon entering, plus the sign also gives one (left), Even when going the right way, you’ll stay on the same screen (right)
There are random encounters on this path, with Quina possibly learning Blue Magics from them, provided s/he hasn’t learned them earlier. The Myconids (around 1,372 HP) has Mighty Guard, while the Zemzelett (about 1,571 HP) has the White Wind skill.
Black Mage Village
There will be a quick scene upon entering the village, after which, everyone will run off and Zidane will be by himself once more. Similar to Treno, there is a series of ATEs you can view that can be quite annoying to trigger, so this guide will take care of those before anything else. You have three choices for ATEs as soon as you regain control, so pick Everyday Life. Once that’s over, look at the central building, which is the shop, and take the path to the right of it (not the far right one). This will take you to another screen, where you should be right outside of the item shop; view the Life On The Run ATE here.
There will be a back door to the item shop, so pass through it and take the normal exit on the other side to end up on the left side of the item shop. If you don’t see the Gourmand’s Nose ATE here, then you did something wrong and need to restart. If you do, then watch it and return to the beginning screen of the village. Take the rightmost path here to find yourself in front of the building Quina entered during the previous ATE. There is also a moogle here, so make sure you talk to Mogryo and receive the letter to Mocchi. This moogle is missable and although it doesn’t matter in the long run (it won’t mess with the Mognet Central trophy/achievement), it sucks to miss things. This will also put your letters at three, which is the maximum you can hold at one time.
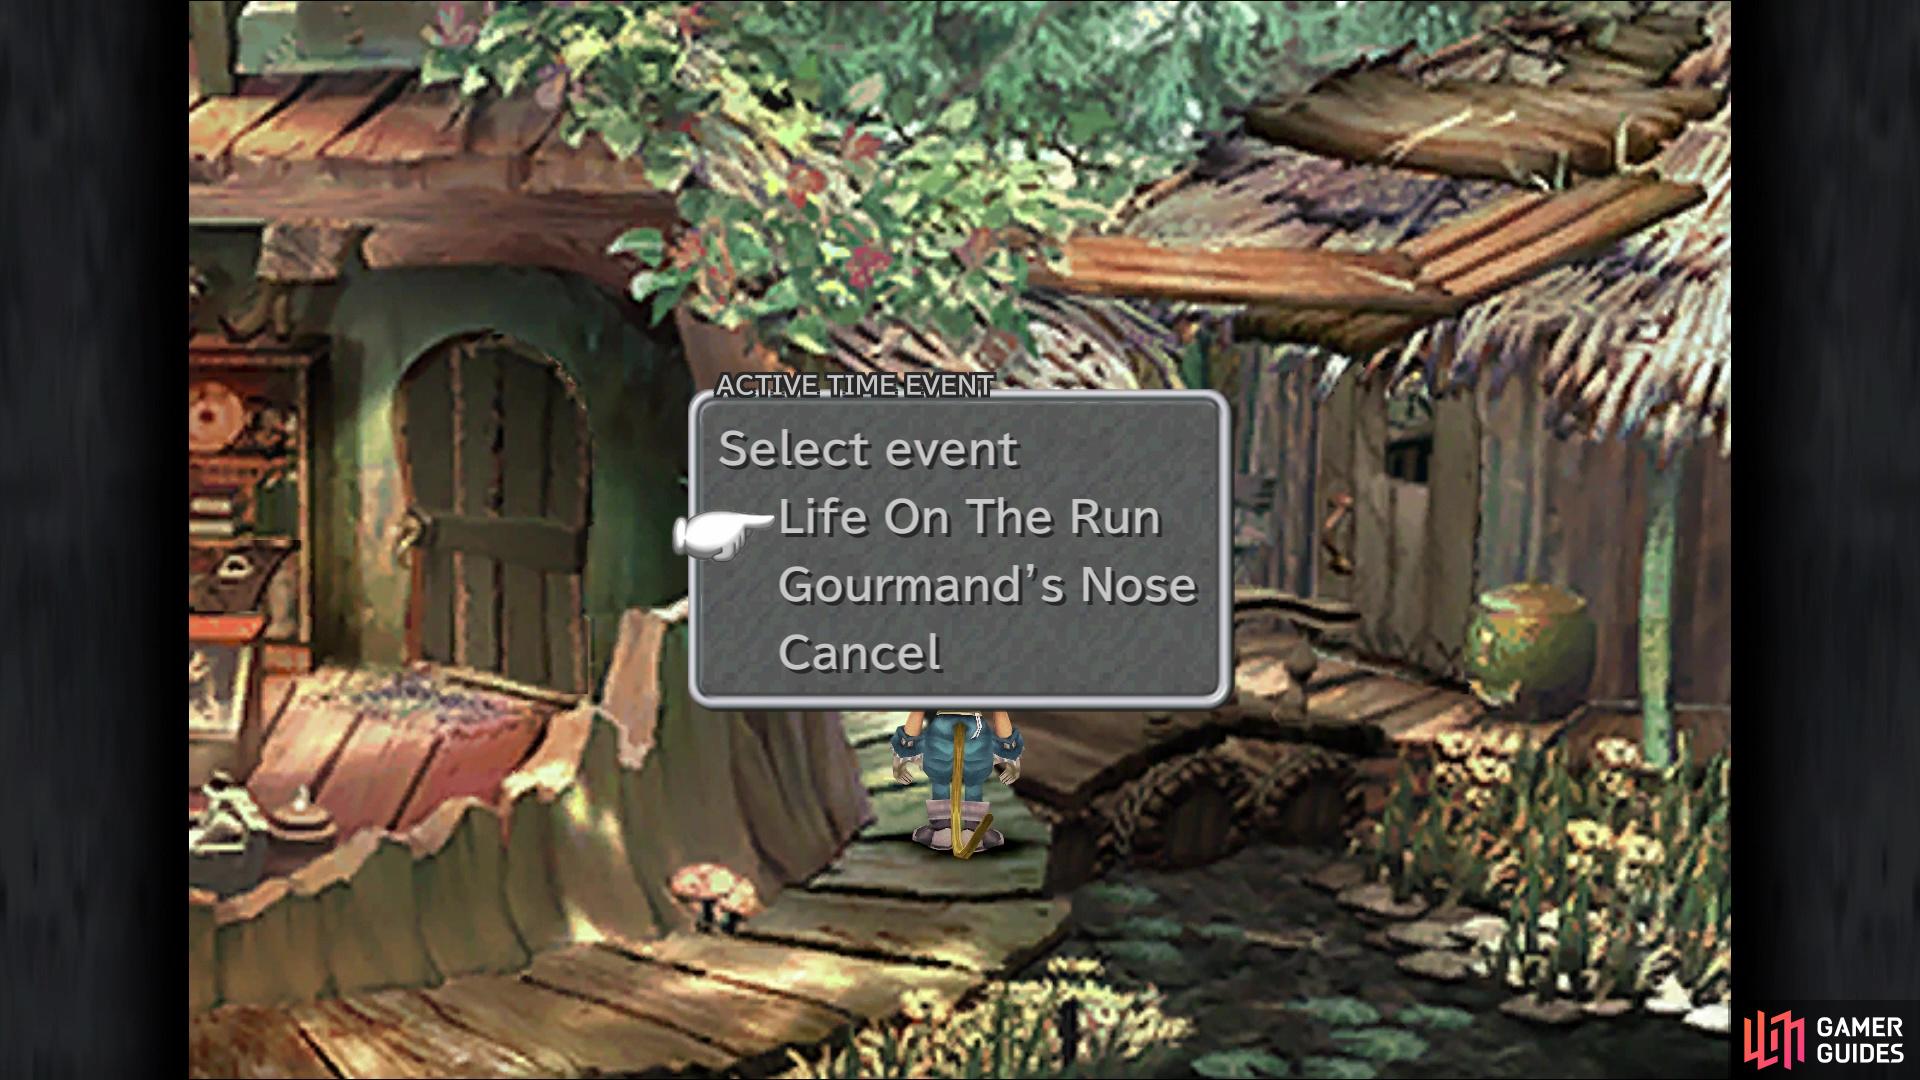
(1 of 2) You will want to do the ATEs in the village in a certain order
You will want to do the ATEs in the village in a certain order (left), Gourmand’s Nose is probably the easiest one to miss (right)
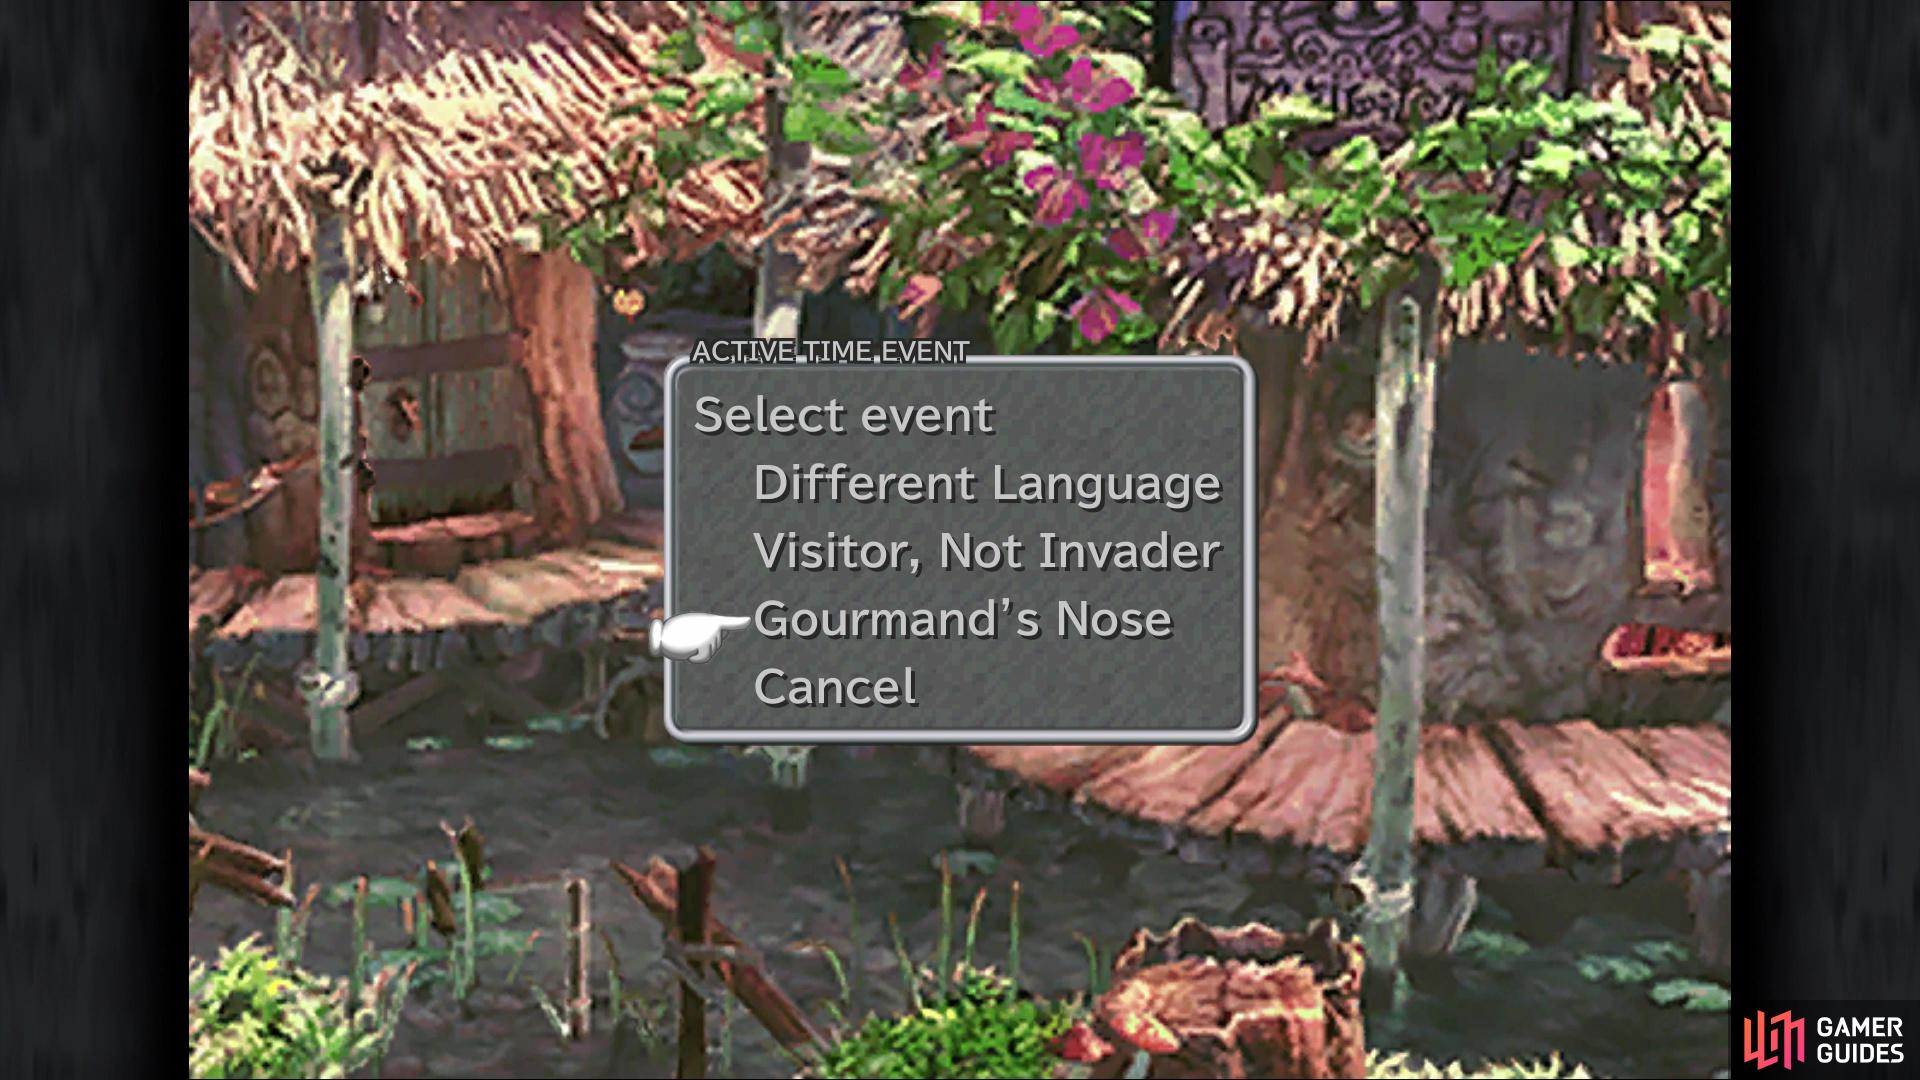
Once you’re done with the moogle, view the Different Language ATE, then head all the way back to the western side of the main part of the village. Be careful not to enter the synthesis shop, which is to the left of the item shop, as that will trigger a cutscene. If you did things right up to this point, Vivi will run by as you get to the exit. Ignore him and go into the graveyard, where another ATE opportunity will pop up, so pick Visitor, Not Invader. That’s all you need to do here, so it’s finally time to stop by the synthesis shop. A cutscene will occur when you go inside and as soon as Dagger leaves, you can trigger the final ATE here, Life Cycle.
With that all out of the way, it’s time to get down to business and actually explore the village. In the synthesis shop, there is a hidden chest behind the tower thing, which contains 2,000 Gil. Climb the ladder and follow the path to the end, mashing that confirm button until you open a chest for 843 Gil. You can also check out the synthesis shop, but you might want to wait until you have your other characters back. Enter the item shop next door and check out the normal wares, where you see you can actually purchase Hi-Potions and Remedies. Buy a few (don’t spend too much), then speak to the Black Mage again, choosing “Give me the usual.” He will move out of the way, allowing you to climb the ladder and inspect the bed for a Black Belt. You can also find an Ether on the bookshelf on the ground floor.
Return to the main entrance and back to where the moogle was located, making sure you grab the letter if you didn’t earlier. Enter the building behind the moogle and search the right side to find some Gysahl Greens. Back at the main entrance, go left to find another building, but search to the right of the door for an Elixir. This is the equipment shop, but you should have most of the stuff already. Do purchase two Mythril Daggers, though, if you don’t have them, as you can make a nice weapon for Zidane at the synthesis shop. That about wraps up things here, so go on the right side of the item shop and enter the building to the right, which is the inn. Approach Vivi and when given an option, choose to rest.
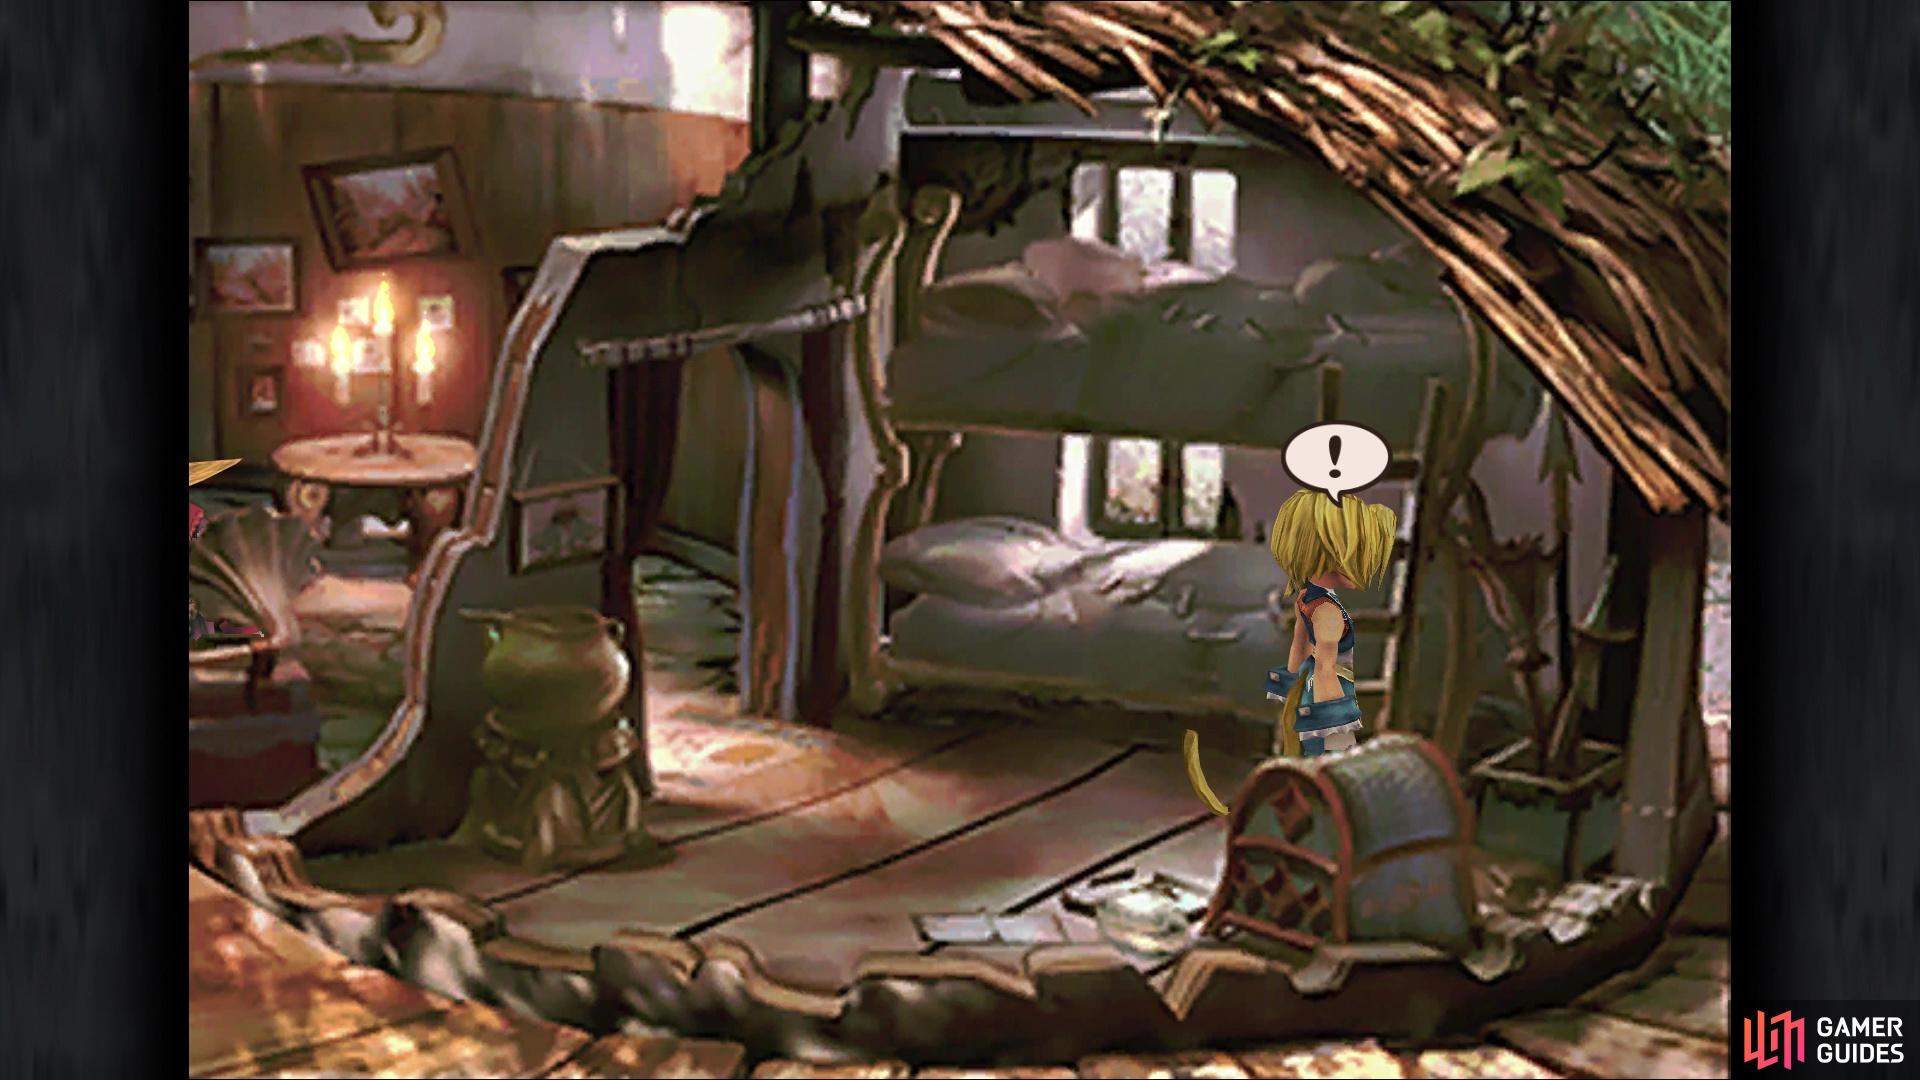
Don’t forget to head back to the inn to pick up the Virgo Stellazzio
A bunch of scenes will now occur and once they’re all over, your party will be back together. Return to the inn and check by the ladder next to the beds in the room Vivi was in to find the Virgo Stellazzio. Next, head on over to the synthesis shop and forge the Rune Tooth for Zidane, which should be a nice improvement over his previous weapon. Feel free to grab anything else you might want, but there’s nothing amazing that you will need and you have most of the items. As Dagger pointed out in the last scene, you have to head back to Conde Petie to find out about this Sanctuary place there, so head back there.

 Sign up
No Comments