

S-Rank Requirements
| Time Limit | Phantoma | Casualties |
|---|---|---|
| 21:00 | 108 | 0 |
1 - Mt. Klimov Base
The first area will throw you right into the mix, with Bat Eyes and Capparwires coming after you. The latter are little plant-like creatures that might move around a lot when trying to hit them, especially from a distance. Also, as pointed out to you in the game, moving in the blizzard will slowly sap your health, similar to poison. This stops whenever you aren’t moving, though, so stand still if needed.
2 - Snow-Swept Slopes (1)
There will be some Dominion soldiers on the ground, with an item near one of them. This is a Keycard and it will be needed shortly, so pick it up. However, you might not get the chance right away, as a Snow Giant will come barrelling towards you. You should have plenty of experience with these foes by now, so quickly defeat it and carry on.
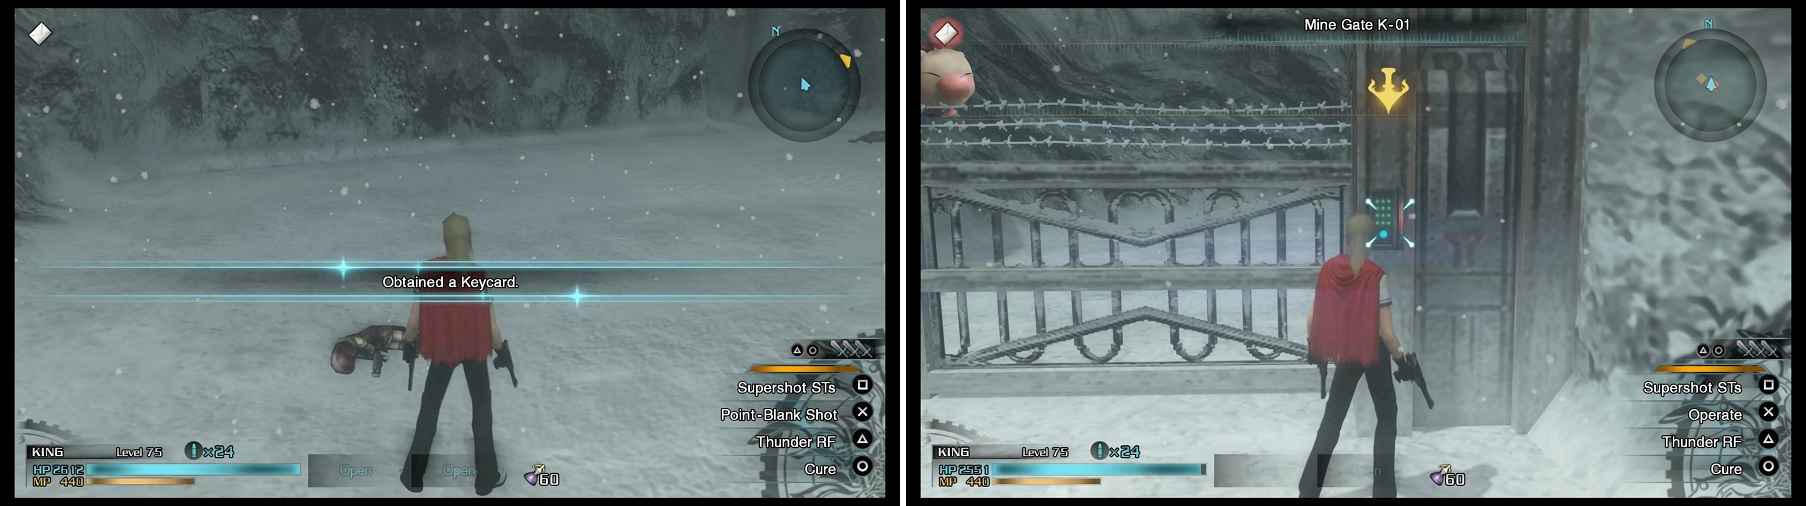
Make sure you pick up the Keycard (left) on the body of the dead soldier, as it will be used multiple times throughout the mission to open gates (right).
3 - Snow-swept Slopes (2)
More Capparwires and Snow Giants will be found here. There’s two exits, one that leads into a cave and another that goes north, blocked by a gate. This gate requires a Keycard in order to open it, so if you didn’t get the one in the last area, you can go inside the cave to get another.
4 - Klimov Caverns (1)
There’s no enemies here, but you’ll be able to find a Knowing Tag , as well as another Keycard on the ground.
5 - Mine Gate K-01
| Objective | Time Limit | Effect | Reward |
|---|---|---|---|
| Take down the Snow Giant | 2:00 | Aura 0:45 | Shock Shield |
At first, there will be nothing but more Capparwires here, but when you go to the north end of the area, you will find a Snow Giant. Cycle through your SOs until the above one appears, which wants you to take down the Snow Giant previously mentioned. There’s three exits here, one leading north (towards the objective), one going west (dead end) and one more heading east. Go east first.
6 - Klimov Caverns (2)
Nothing but some Bat Eyes and Capparwires here. Continue east.
7 - Frozen Precipice (1)
| Objective | Time Limit | Effect | Reward |
|---|---|---|---|
| Keep fighting in spite of the snowstorm | 1:00 | Regen 0:45 |
There will be some Bat Eyes and Ice Flans here. The SO is pretty much just to survive while fighting the enemies here, although you don’t even have to engage with the Flans at all, so defeat the few Bat Eyes and stay where you entered the area to complete the SO. There’s a cave halfway up the slope, netting you a Knowing Tag and another item . Go north.
8 - Frozen Precipice (2)
As soon as you enter, you’ll likely see a Snow Giant charging towards you, as well as some Bat Eyes. There will only be one Snow Giant, but the latter will come in around two waves before stopping.
9 - Klimov Caverns (3)
This is a small cave that will have four Ice Flans in it at one time. Although there is little room, you should still be able to easily get Killsights on them if they miss their attacks. Go back to the previous screen and south a bit, entering the cave.
10 - Klimov Caverns (4)
Another fairly small cave, this time with Bat Eyes and Ice Flans. Defeat them all and go west.
11 - Snow-swept Slopes (3)
This area is littered with Ice Bombs and some Snow Giants. You don’t have to actually go after the former, but you will be required to defeat all three of the Snow Giants before you’re allowed to continue. Head north now.
12 - Mine Gate K-02
There is literally nothing valuable to do here, as the area is filled with Martinets and Panjandrums, both of which don’t drop any Phantoma. The gate to the north needs a Keycard, but you already have one.
13 - Excavation Site
| Objective | Time Limit | Effect | Reward |
|---|---|---|---|
| Defeat all enemies in five minutes | 5:00 | Protect 0:30 | Gold Anklet |
You will be required to defeat all of the enemies anyway, so you might as well accept the SO here. As for what kinds of enemies you’ll face, there will be Martinets, Imperial Troopers and some Airborne Troopers. Once you’re finished, go over to the gate on the map and open it, going east.
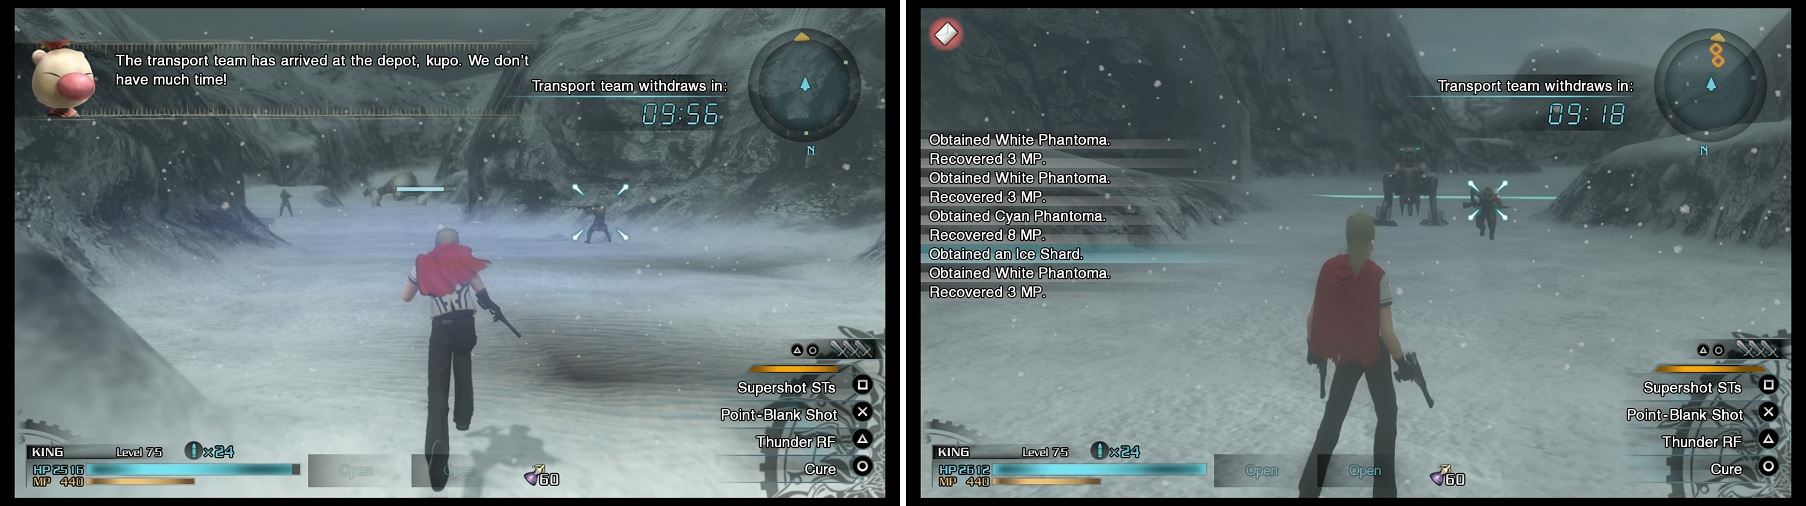
14 - Snow-Swept Slopes (4)
You have 10 minutes (timer included on screen) to get to the bottom of the map before the enemy transport team leaves. In this first area, you will see some Imperial Troopers fighting against a Snow Giant and some Bat Eyes. The easiest solution would be to concentrate on the Snow Giant, then take out everyone else afterwards.
15 - Snow-Swept Slopes (5)
Here, Imperial Troopers and a Warrior unit will be fighting against some Ice Bombs. Again, the Warrior is probably the most dangerous enemy here, so defeat that first and go after the rest of them.
When going back down the mountain, you will find both Imperial soldiers and monsters fighting (left). Sometimes, you will need to defeat certain enemies to proceed (right).
16 - Snow-Swept Slopes
At first, you will see some Imperial Troopers and a Supersoldier, but as you go south towards the next exit, some more of the above will spawn, as well as a Colossus. When you get to the Colossus, defeat that first, then go after the rest of the soldiers.
17 - Mine Gate K-03
More Imperial Troopers and a few Colossi will be encountered here, so take them all down and go through the gate.
18 - Supply Depot
There will be three waves of troops before the final confrontation, with the first wave being Coeurls, Imperial Troopers and some Supersoldiers. The second wave will consist of more of the above, with the final one being just an Imperial Trooper and Supersoldier.
| Objective | Time Limit | Effect | Reward |
|---|---|---|---|
| Deal 5000 damage to a Snow Giant | 2:00 | Aura 0:45 | Wildfire Saber |
Upon clearing all of them, an enemy commander (without the marker) will show up piloting a Colossus, along with two other Colossi. As you’re fighting them, two Snow Giants with more health than usual will also decide to join the party. Since the Colossi will probably be easier to defeat, go with them first.
There is an SO here that involves the Snow Giants, so make sure you cycle through any with white envelopes until a red one pops up. This involves dealing at least 5000 damage with a single attack on one of them. Once again, King or Trey are perfect candidates for this, since they have very strong attacks as well as an Eidolon if you’re so inclined. The battle, and mission, will be over once you take down all enemies in this area.

 Sign up
No Comments