

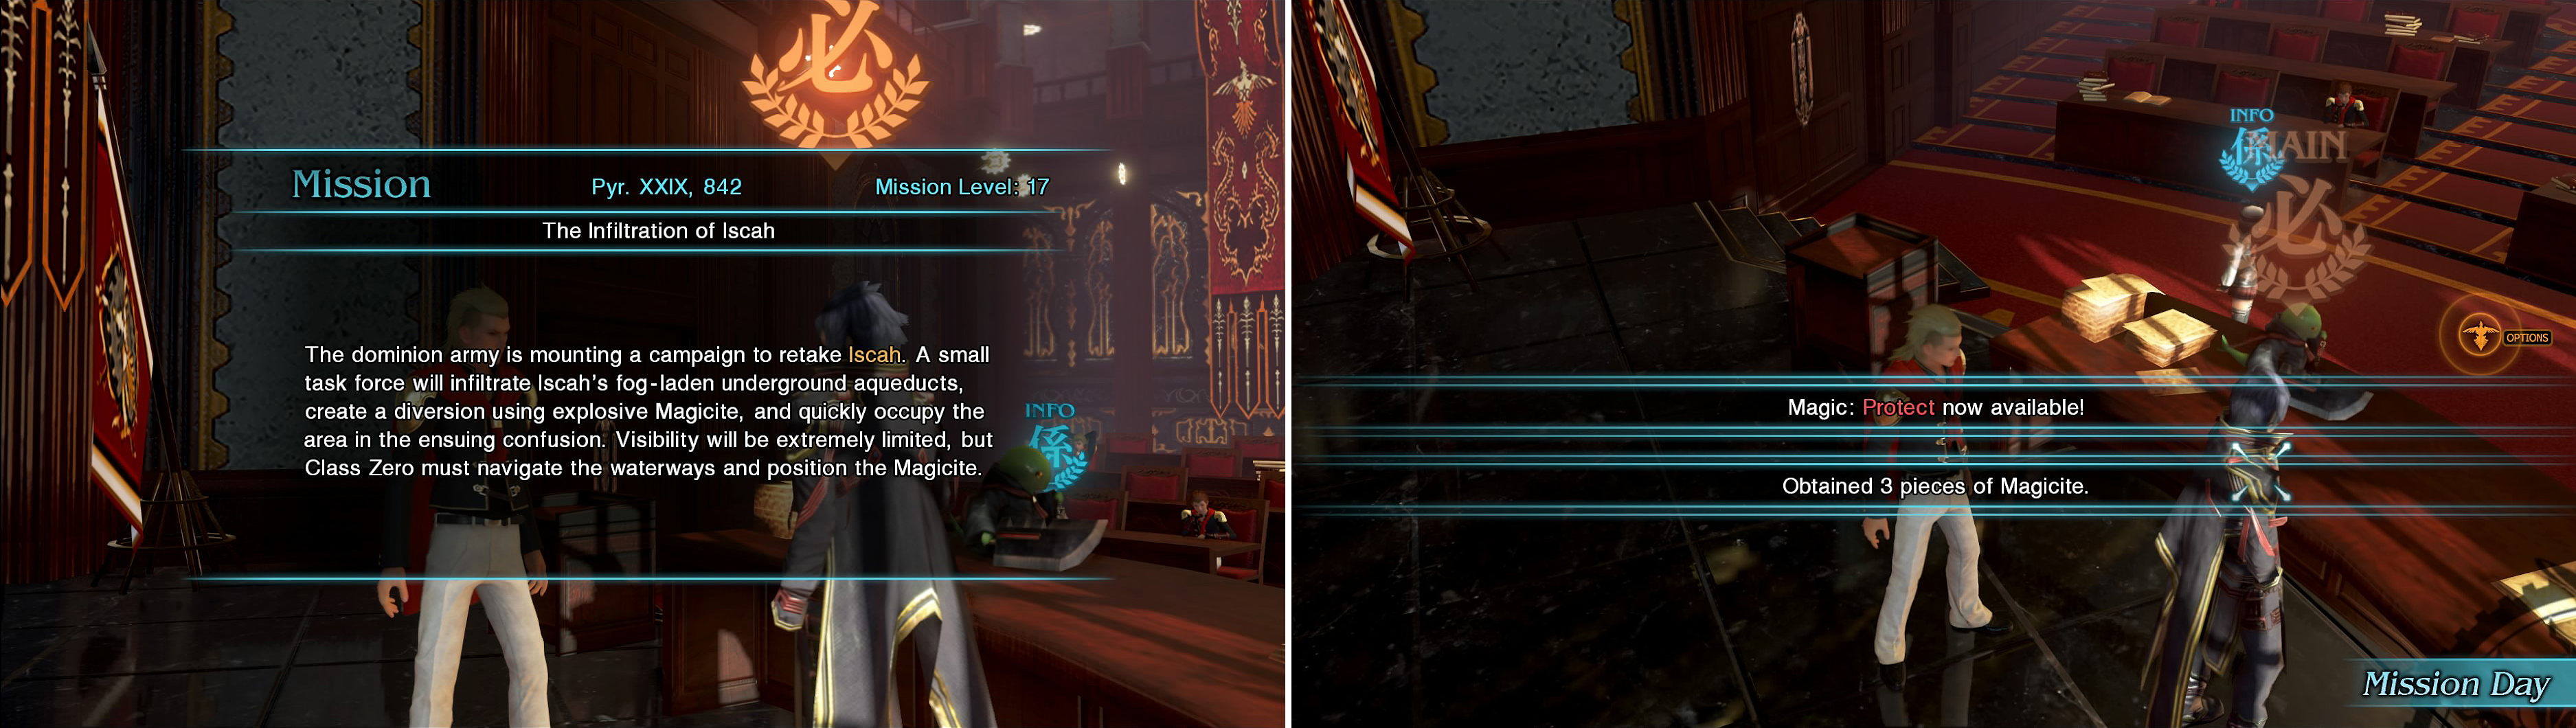
S-Rank Requirements
| Time | Phantoma | Casualties |
|---|---|---|
| 15:00 | 90 | 0 |
Iscah is located to the northwest of Akademeia and the town you need to invade is right in front of you whenever you get to the region. As soon as you enter the town, you’ll find yourself in the sewers and will find it covered in fog. This limits your visibility, making it troublesome to lock on to targets as far as you would normally.
1 - Iscah Aqueduct UG-91 (Safe Zone)
There’s nothing in the first room, so go on ahead to the next and immediately head west to find a drain valve, which will lower the water.
2 - Iscah Aqueduct UG-92
There will be three Evil Eye enemies on the other side, so pay attention and dodge when you see them mark the ground with the beam of light. If you get hit by this, it will cause Stop so you should keep moving when fighting these enemies. Head northwest to reach the exit.
3 - Iscah Aqueduct UG-93
In the next room will be several more Evil Eyes and some Flame Flans. If you’ve fought the latter types of enemies in previous Final Fantasys, then you know they are resistance to physical damage, so you’ll either have to use magic or wait until a Breakstrike/Killstrike opportunity arises. You can easily get a Killstrike opportunity by getting up close and dodging its attack. They swivel their heads right before they leap so watch for that animation and then be ready to strike. Head east to the next area.
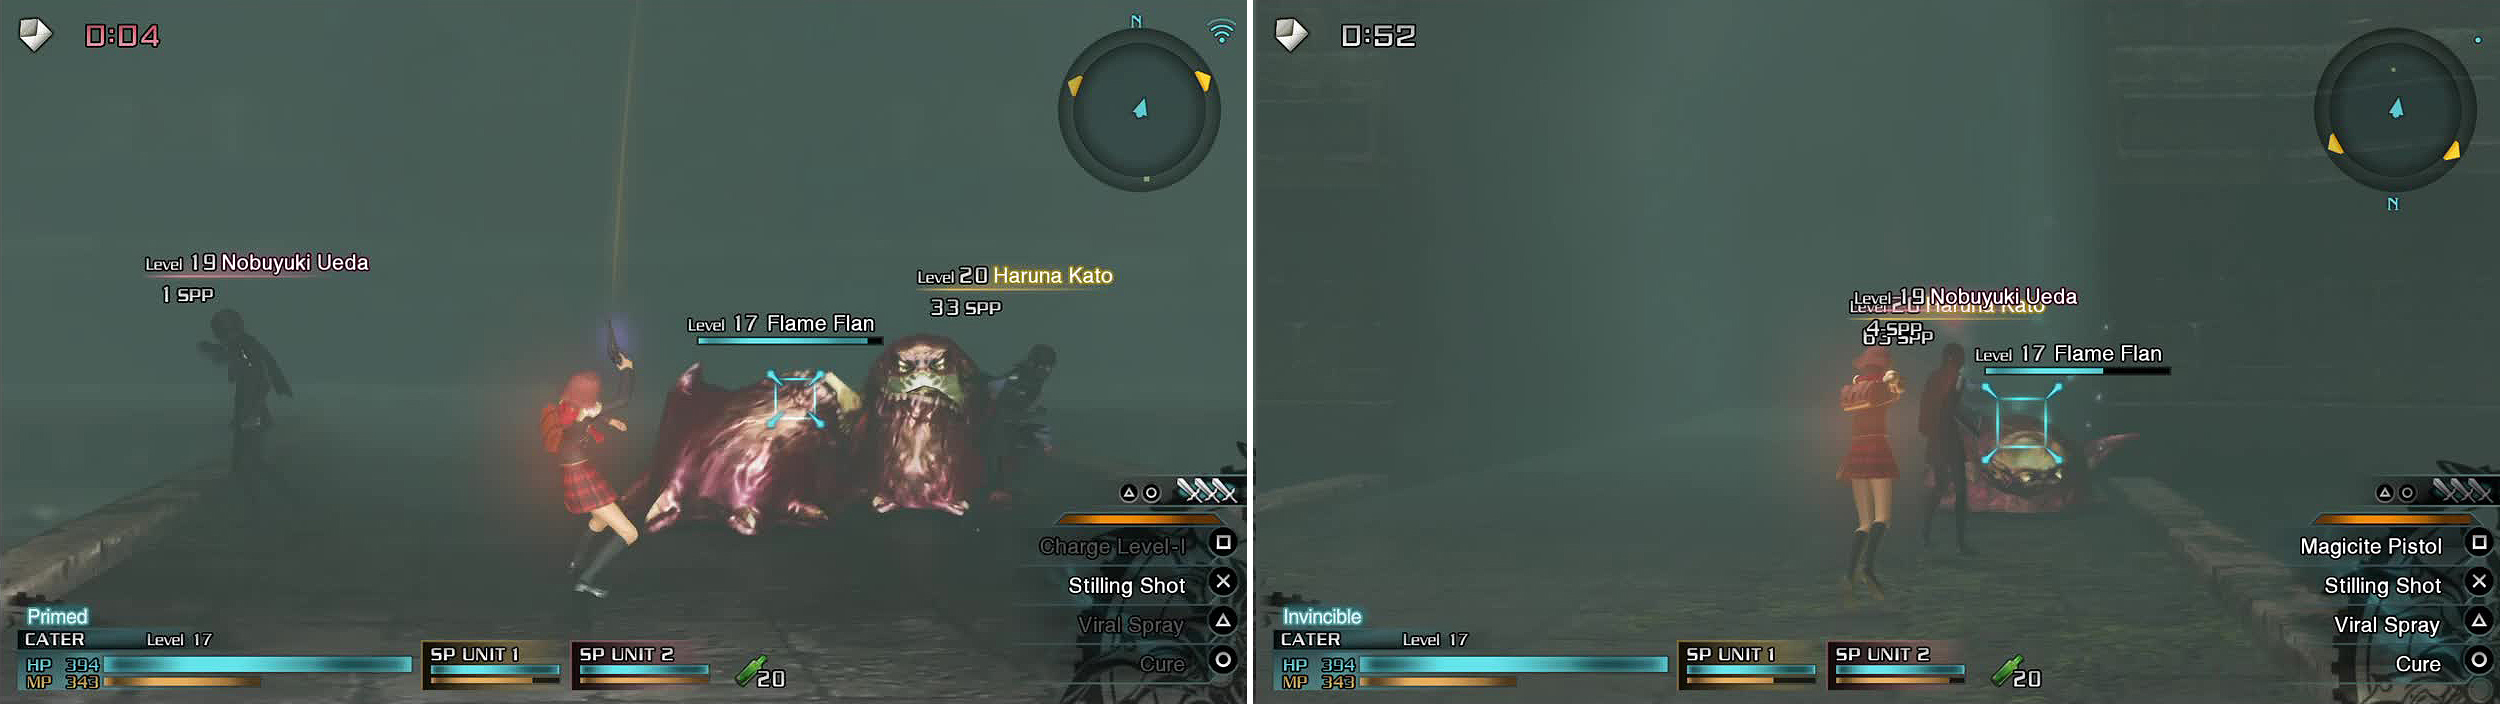
Wait for the Flans to swivel their heads and leap to get a Killstrike.
4 - Eastern Dynamo
Your objective in this area is to go to the designated locations on your map and set the Magicite. There’s three locations in all and it’s fairly straightforward, with the only enemies encountered being the Ankhegs, Flame Flans and Evil Eyes. The only thing you need to watch out for are the valves you have to turn to lower the water levels.
When you enter the Eastern Dynamo, head forward and pick up the Potion (50%)/Hi-Potion (50%) before moving on. Once you’ve cleared the room, head up the stairs to place the Magicite then return to area 3 and from there, go west to reach area 5.
5 - Iscah Aqueduct UG-94
The water level is raised in this room but you can’t find the valve here. Move to the southern exit.
6 - Iscah Aqueduct UG-95
The valve is in the far south of this passage. Run over there, fighting through the enemies and turn it. Head west to the next area after you’ve done so.
7 - Southern Dynamo
Plant the Magicite but beware as a flock of Evil Eyes will appear at the bottom of the stairs. Return to area 5 once you’ve finished here.
8 - Iscah Aqueduct UG-94 2
You can cross the room now the water has dissipated but beware the monsters in the middle. Go through the northern passage to the next area.
9 - Iscah Aqueduct UG-96
There are only a handful of enemies in this room but carefully make your way through to the east. If you want an item, go west and pick up the Potion (50%)/Ether (50%) .
| Special Order | Time Limit | Effect | Reward |
|---|---|---|---|
| Refrain from using magic so as not to alert the enemy to your presence. | 01:00 | Protect 00:30 | Ignis Tertius, Vol I |
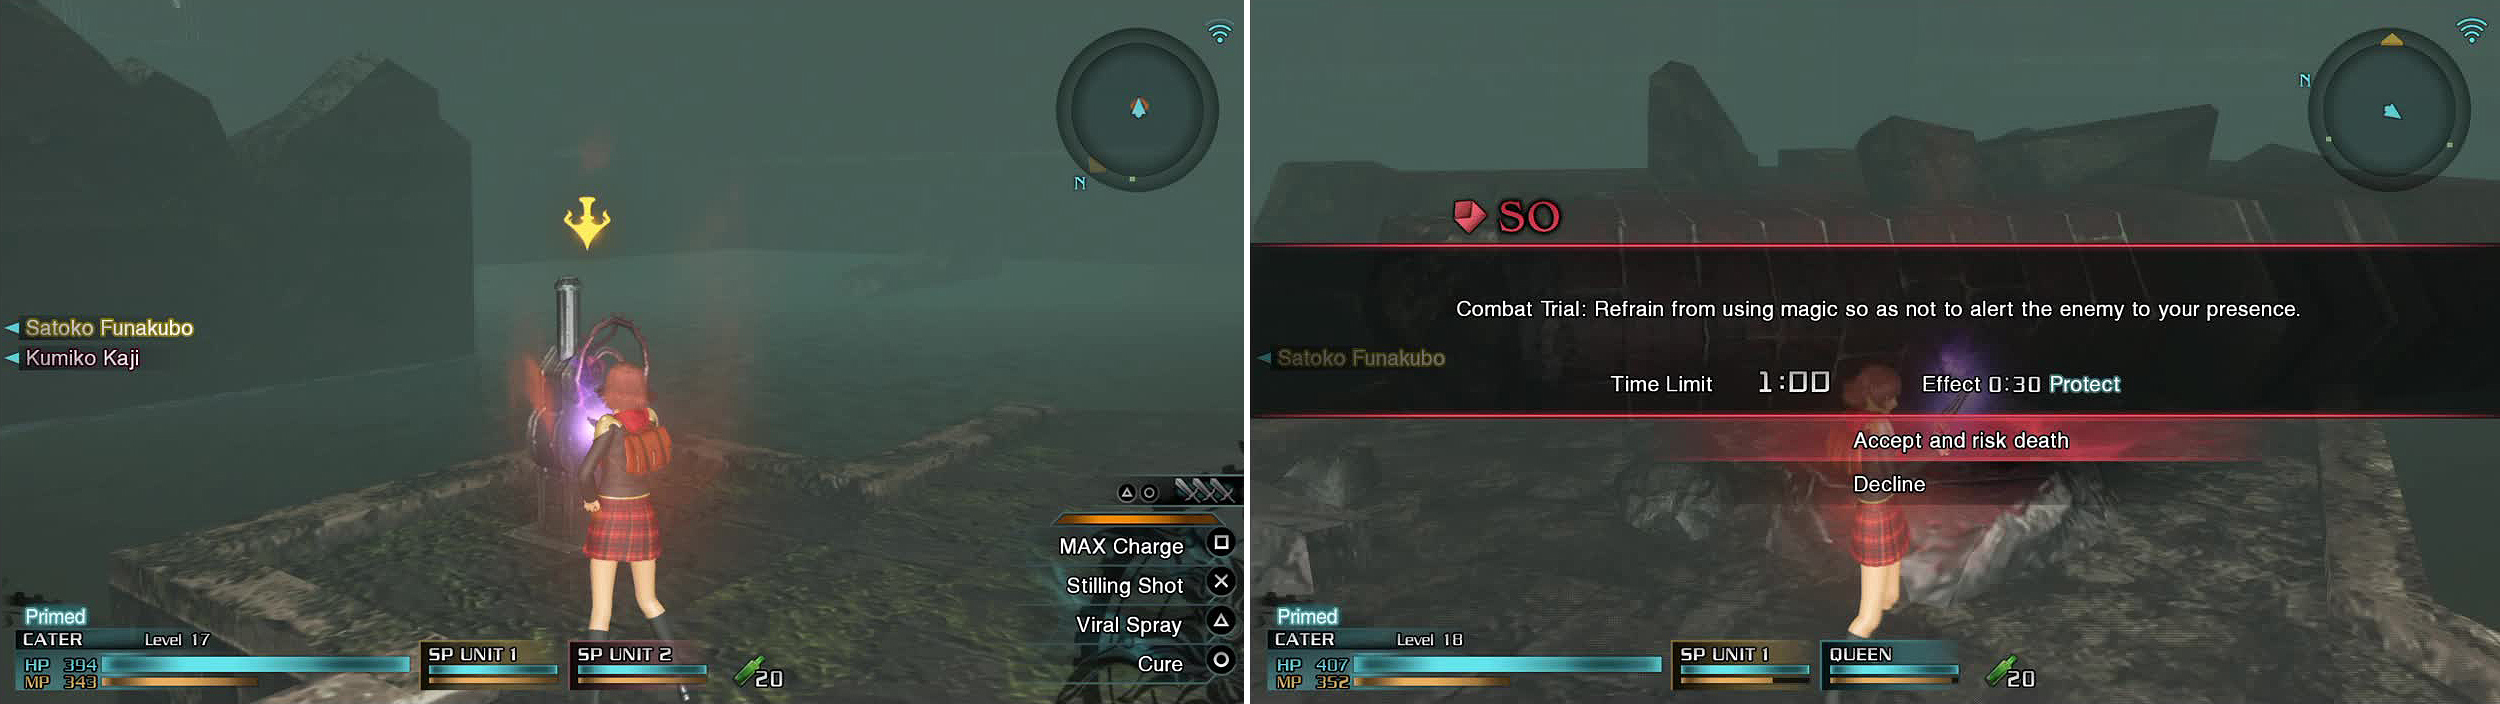
You must find the Valve here by following the orange marker (left). In UG-96, there is an SO where you must not use magic (right).
10 - Iscah Aqueduct UG-97
The only worry here is the Flame Flan who is accompanied by a few Ankhegs. Follow the passage into the next area.
11 - Northern Dynamo
You will finally reach the last dynamo but your way is blocked by three Flame Flans. Plant the Magicite once you’ve dealt with the enemies then return to area 8 and this time head north into a Safe Zone. Save and use the Relic Terminal if you wish, then follow your objective marker.
12 - Iscah Aqueduct UG-142
It’s time to bring the fight to the Imperial Army, so get to it and go through the marked door. As you’re fighting the enemies in this room, which consist of a mixture of Imperial and Shock Troopers , a timer will appear. This marks the amount of time you have before power is restored, with it starting at 25 minutes. You should move as fast as you can and don’t spend too much time in any one room.
13 - Iscah Aqueduct UG-143
Helpfully, the Imperial troops and the other enemies will fight each other, making for a distraction that you can use to spring a Killstrike if given the opportunity. You cannot cross the room yet due to the water level so head straight forward to the northwest corner where you can find the valve. Monsters will keep spawning as the water slowly recedes so be careful. In the northeast corner you can find a Fortified Ration (50%)/Combat Ration (50%). Move to the northwest exit once you’ve finished here.
14 - Iscah Aqueduct UG-144
Don’t dash through here because you could end up getting wedged between the three Flame Flans here. The corridor is very narrow so slowly clear out the enemies when you can and wait for an opening to run past to the next place.
15 - Iscah Aqueduct UG-145
There is a Knowing Tag in the bottom left corner but beware the Diceratops that stands guard. These are the same as the Demonicorns you fought previously so treat them as such. Return to area 13 and this time take the southeast exit.
16 - Iscah Aqueduct UG-146
The northern passage is blocked by an energy field of some kind so you will need to defeat the Troopers that guard it. RPG Gunners will appear as you pass through and a Supersoldier will arrive just before the exit. There is also a Knowing Tag found nearby just before the exit.
17 - Iscah Aqueduct UG-147
Couerls and Troopers litter the narrow path so try not to attract them all at once on your way to the exit.
18 - Iscah Aqueduct UG-148
This corridor is similar to the previous one except there will be flying robotic Martinets and some troopers. Head south to the next marker.
19 - Iscah Aqueduct UG-149
In this room, another energy field blocks your path as well as three Troopers. The field will not clear until you defeat the CO who appears at the end. Use the Recovery Portal if you need to.
20 - Iscah Aqueduct UG-151
A new soldier-type awaits; the Heavy Gunner. They wield a minigun and can deal some massive damage at a distance. Close them down however, and they are completely ineffective.
21 - Iscah Aqueduct UG-26
The SO in this room has you find the Sullied Ring which can be found in the southeast. You must also kill the Troopers before you can progress through to the northwest exit.
| Special Order | Time Limit | Effect | Reward |
|---|---|---|---|
| Search the fallen for personal effects using your active leader. | 02:00 | Protect 01:00 | Elixir |
You can find the Sullied Ring lying next to a dead soldier (left). Watch out for the Panjandrums (right) which will explode upon destruction.
22 - Iscah Aqueduct UG-27
Another narrow corridor awaits here. Martinets can be found floating just out of melee range but you can just rush past them if you wish.
23 - Iscah Aqueduct UG-28
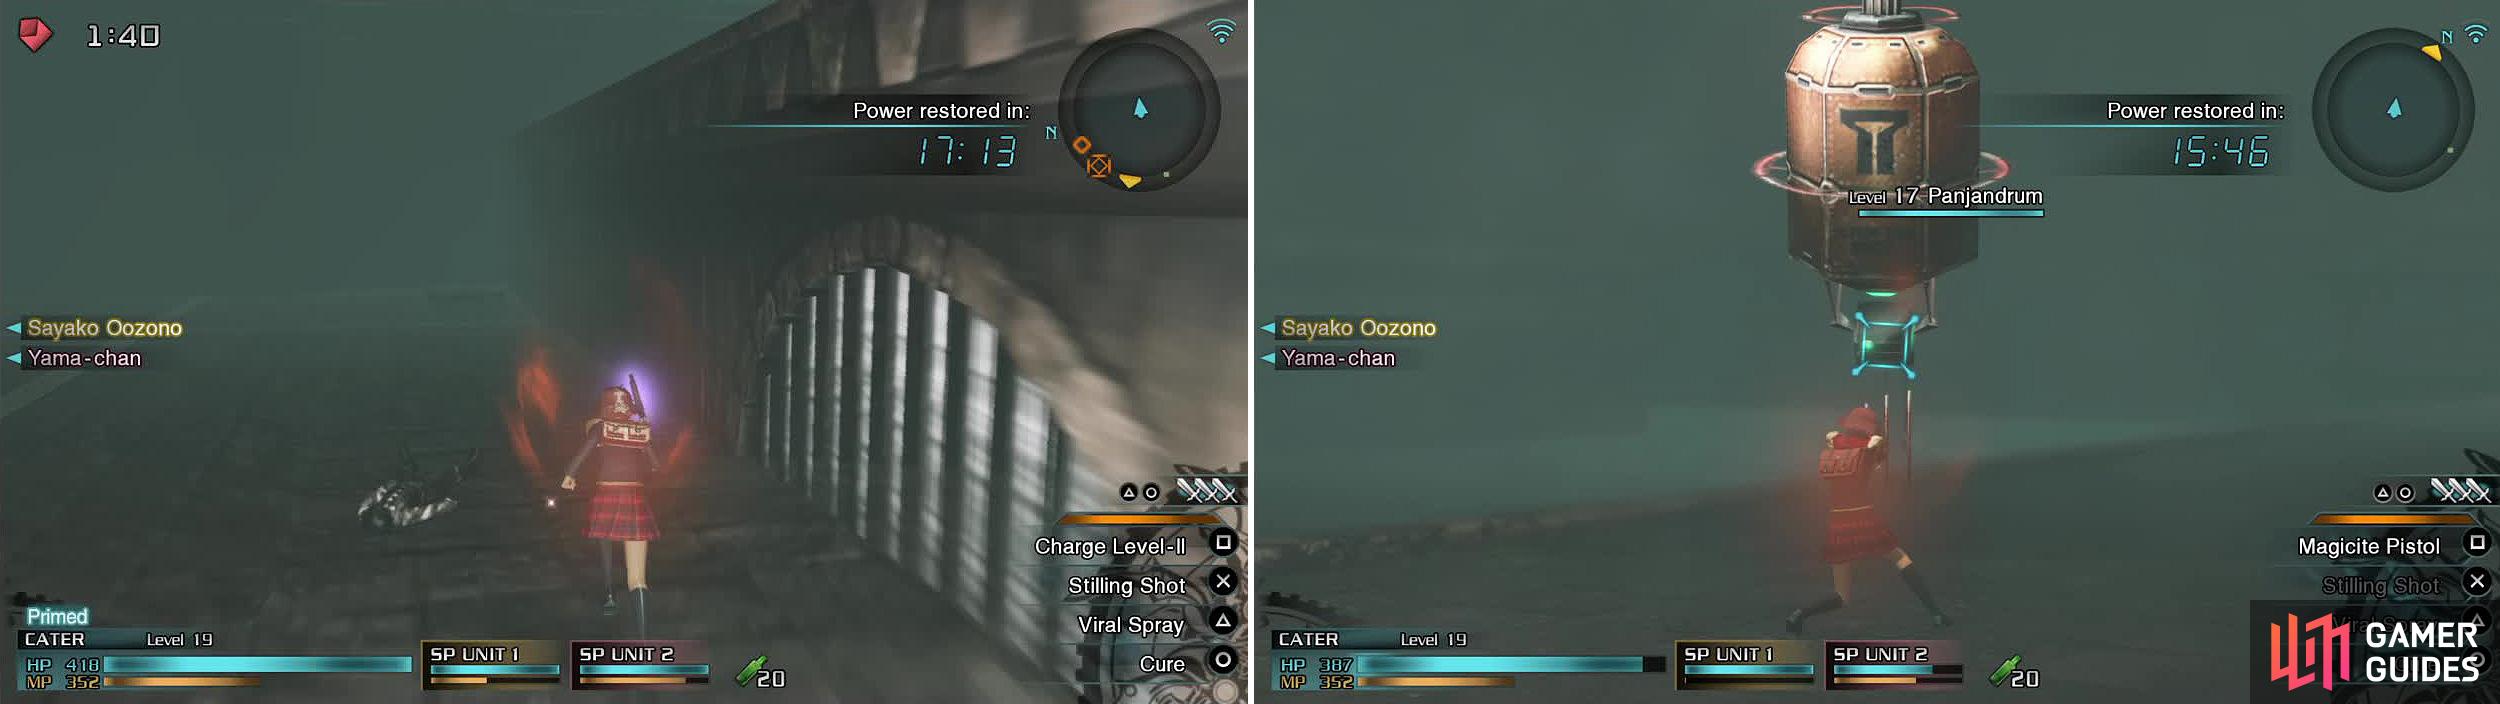
Panjamdrums are encountered here for the first time. They are basically flying fuel tanks which explode when destroyed. Couerls and Supersoldiers make up the rest of the enemies.
24 - Aqueduct Exit
The exit! Corporal Helmutt is blocking your way though, along with a few soldiers. Defeat him to gain access to the next room; a safe zone. Before you leave, in the northwest corner you can find a Fortified Ration (50%)/Medical Kit (50%).
25 - Downtown Iscah (Safe Zone)
The Recovery Portal is an indication of a tough fight in the next room. Prepare yourself accordingly then head north when ready.
Imperial Command
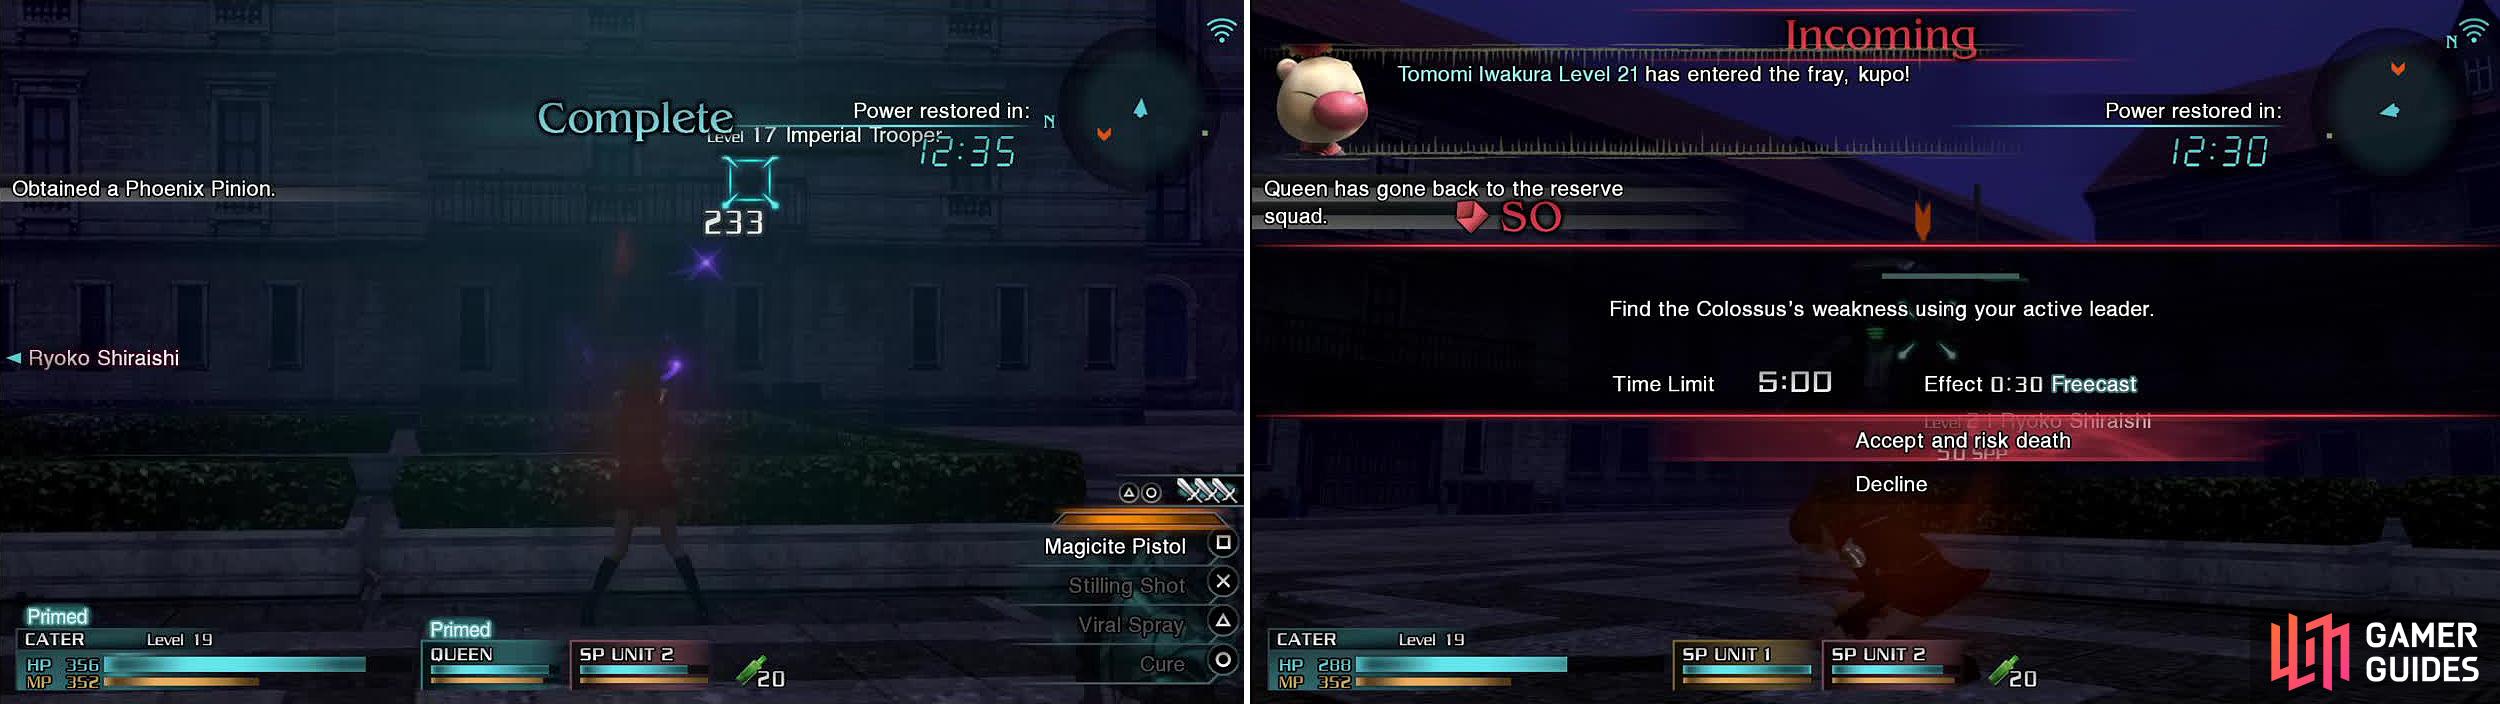
Shoot the soldiers around the ledges for the first SO (left). The second will pop up once the CO in the Colossus appears (right). Use a Thunder spell on it to complete.
| Special Orders | Time Limit | Effect | Reward |
|---|---|---|---|
| Take out all Imperial Troopers on high ground using your active leader. | 02:00 | Freecast 00:30 | Phoenix Pinion |
| Find the Colossus’s weakness using your active leader. | 05:00 | Freecast 00:30 | Megalixir |
As long as you have plenty of time left, you can just pick off the soldiers one by one around the square. There is an SO to pick off the enemies on the high ground anyway so switched to a ranged character to take them out easily.
After the Colossus appears, so will the second SO. Clear out all of the enemies to make it appear and you can then hit it with a thunder attack to expose its weakness and complete the SO. Easy.
Iscah Town
Upon completing the mission you will earn the Golem-Class Eidolons. Naturally, as you have seen, Golem is slow and lumbering but very powerful.
You can also enter Iscah to complete a task and buy some new accessories if you wish. Head back to Akademeia when you’re ready.

 Sign up
No Comments