To find Locke, you’ll need to find the Phoenix Cave. Go to the peninsula on the northern end of the continent containing Tzen, Albrook, and Kefka’s Tower. There should be a bunch of mountains here; land at the green spot in the middle of them.
You’ll need to form two parties for this event. Technically, just having Celes and Edgar, as you should, is sufficient … but also a stupid idea. These are the parties I used:
Party #1: - Terra - Cyan - Sabin
Party #2: - Celes - Edgar - Shadow Admittedly, there were only three in each party where I could have more than easily provided a fourth for each. But I hadnt found many others yet with a decent weapon supply. Same goes for armor, and I was already emptying most of my resources without having to revive a useless fourth. Use whichever characters you have levelled the most and that you have strong weapons for.
Phoenix Cave
Local Enemy Bestiary
| Monster Name | HP | MP | ATK | DEF | Gil | EXP |
|---|---|---|---|---|---|---|
| Chaos Dragon | 9013 | 1300 | 13 | 5 | 1000 | 4881 |
| Clymenus | 3815 | 9900 | 13 | 120 | 826 | 1698 |
| Face | 4550 | 1700 | 11 | 105 | 890 | 2600 |
| Galypdes | 6013 | 820 | 13 | 120 | 906 | 2781 |
| Ouroboros | 50 | 760 | 13 | 252 | 390 | 1780 |
| Necromancer | 3525 | 900 | 13 | 100 | 791 | 1510 |
| Seaflower | 4200 | 200 | 13 | 135 | 670 | 1315 |
| Zeveak | 2077 | 500 | 13 | 80 | 674 | 1620 |
Remember earlier when you had to pick two parties? In your mind, designate one as Party #1 and another as Party #2 for this dungeon, for the easiest way to follow this walkthrough. Remember how to switch between parties.
Also note that any spikes in this dungeon can be bypassed. However, you will get damaged, and for much more than in other Final Fantasies - 400 damage. So, yeah, I think you might want to avoid them.
Finally, also note that many chests in here are empty, as Locke, being the super-epic thief – sorry, treasure hunter! – he is, has already plundered a large majority of them.
Head north and into the cavern, then step on the switch.
Also head north and into the cavern, then go through the newly-opened western door. Go upstairs and east, then along the southern path to a switch. Step on it.
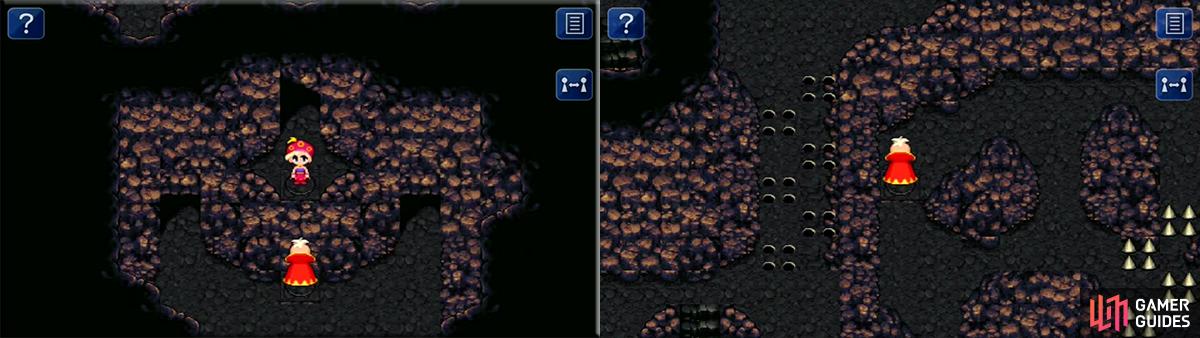
You need to switch regularly between the parties to open up new pathways.
Go through the newly-opened door to the east, then go north and onto that switch.
Go north past the sunken spikes, then east and south to find another switch.
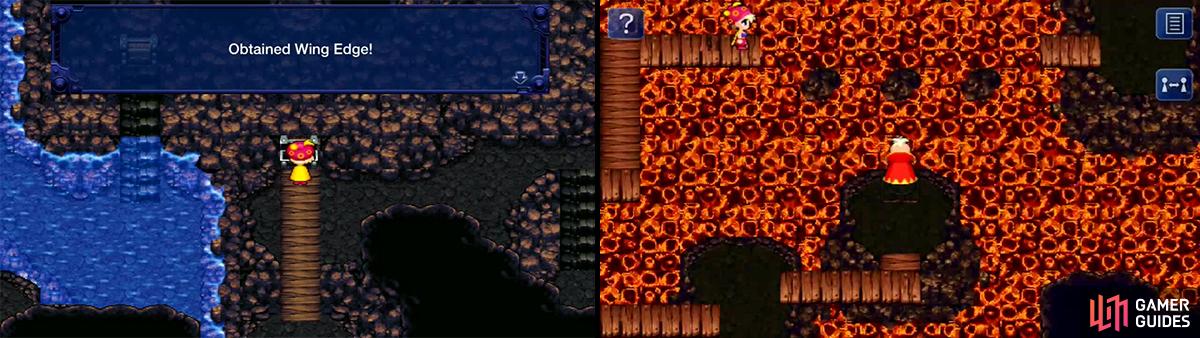
Now head southeast, but ignore the staircase for the moment. Rather, go east and south to find a chest; open it for a Teleport Stone . Return to the stairs and go downstairs. In this area, go northwest and onto the switch here. Backtrack now to the stairs you entered this hot area with, then go along the southern path to a giant wall. Stop there and switch.
Head to the far west and downstairs. Go south and up some more stairs. Here, step on the switch to create a bridge for yourself and then cross it to find the Wing Edge in the chest. Go back to the lava area from where you previously entered it, then go east and along the path. Jump across the lava stepping stones, then head to the switch. Step on, step off, and switch.
There are a couple of weapons littered around the place. The spikes blocking paths can be removed via switches.
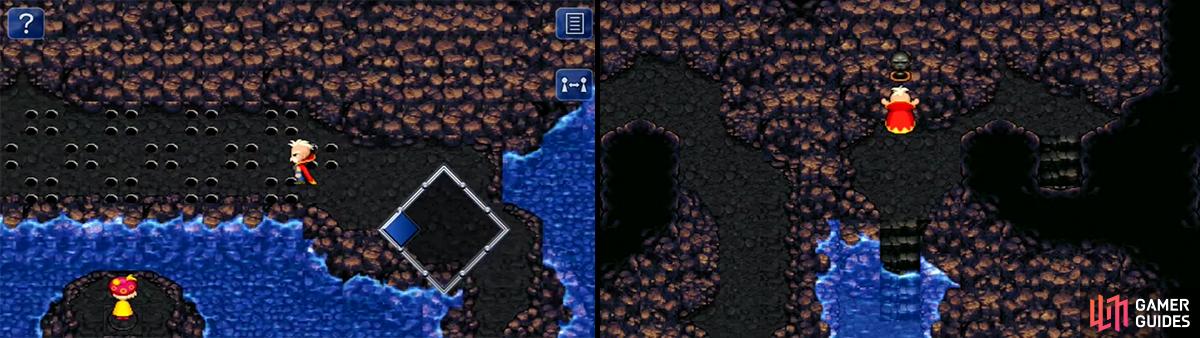
Go north and into the next area, then circle around to the west. Go south and use this exit to find a switch. Step on it.
Go north and into the next area. Go along the path, being sure to use the side-path north to find another switch.
Go north to the previous area and along the path for a while, past the sunken spikes. Go south and through the doorway once reached. In this area, go west and hop across the stepping stones, then go south and repeat with the nearby stones. After stopping hopping, go east and take the path northward. Go through the door and pull the lever within.
Go south and use the Save Point. Then go northwest and step on the switch here.
More switches! And paths! Eventually, the Red Dragon will appear and attack your first party so be aware.
Go south along the new path and continue going south to the end of the path. Here, you’ll notice a Red Dragon nearby. If you don’t want to fight it, you can manage to bypass it to the staircase, atop which you’ll find a chest with the Dragon Horn inside. Running into the Red Dragon forces a fight.
Red Dragon
The Red Dragon will be a fun one to fight … if you’re idea of fun is getting hurt a lot, in which case, you might need some help. Especially given the super-strategies I manage to hand you every now and then.
Anyhow, it can use a basic attack, Fira, Firaga, Flare (a basic one), Lv. 4 Flare , Fireball, Eraser (damage and removes Reflect), Flare Star , and Southern Cross (Fire damage to all).
So, yeah, cheap strategy – put Confuse on it and watch it beat the stuffings out of itself. You can also Poison it, in theory, while it is Confused – I never tried that though, and all it’ll do is speed up the process. You’ll have to keep up the Confusion, though, so you’ll want to have Edgar constantly using Noiseblaster , with a Bioblaster fit in at some point to induce Poisoning, hopefully. Otherwise, you might be in trouble.
Start the fight by using Kirin and Zona Seeker; Shiva and Bismarck are good ideas for some quickie-damage. Next, use Osmose or Rasp to get rid of the boss’s MP and force him down to a shameful repertoire of attacks. Inflict Darkness on him and kick him while he’s down and you’ll have no problem. While the MP-draining goes on, I suggest casting Cura/Curaga every turn to maintain good health, and refresh every few turns after the Darkness is inflicted.
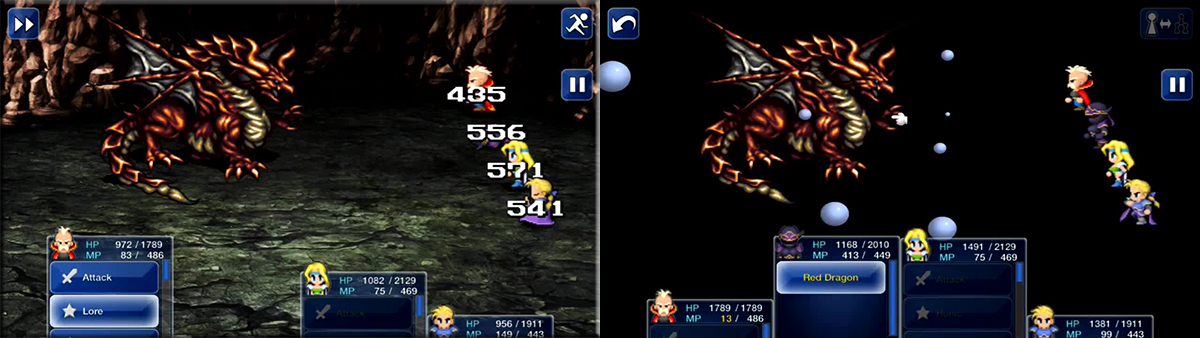
This guy can attack quickly and will use powerful Fire magic. Have someone constantly healing or you will get stuck in a cycle of reviving. Southern Cross can wipe out your party in one hit if you aren’t protected.
After that grueling battle – it is so HARD to see enemies effectively commit suicide, right?– open the chest atop the stairs for the Dragon Horn if you have not yet done so. Then go northwest and upstairs onto the platform, then north onto the switch there.
Go south, downstairs, and west along the passage to some stairs. There, go down and head south. At the end of the fairly linear path, you’ll find a chest; open it for a Ribbon . Then head to the northwest corner and outside of this cold-lava zone. Upstairs, go along the path around to the south. Hop across the rocks to find yourself united with the other party. Go south and onto one of the two switches you find here.
Go south and step onto the second switch, then go south and use the stairs. Go along the path to meet up with Locke.
We all know why he has it, and so we return to Kohlingen.
Kohlingen
After the cutscene, Locke formally rejoins the party and hands you an Elixir, a Flame Shield, a Phoenix Down, the Valiant Knife, an X-Ether, and an X-Potion .
I feel like mentioning the Valiant Knife here. It is much like the opposite of the Ultima Weapon, for it deals damage based on your HP, but moreso on how LOW it is. At high levels, this can become quite powerful, for the damage is calculated as follows:
you’ll get the typical no-ability damage added to the ability-based damage (how much HP you lack from your maximum HP). Also unlike the Ultima Weapon, using hats such as the Red Cap and Green Beret to boost your max HP will boost the damage dealt.

 Sign up
No Comments