The first thing you will notice when entering this area is the leaping enemies. There are plenty of them in here so be prepared for ambushes that may not be apparent as you travel around. On the first path dance two Yakshas, slightly stronger counterparts of the Skata’ne enemies fought previously. They can be treated much the same and are weak to Water abilities which should be used to Stagger them quickly.
Carry on forward, ignoring the two enemies off to the right and confront the next lot of enemies. A Yakshini presents itself for the first time and much like the Stikini, it can buff it’s allies when it gets weaker. At the start of battle it will also use “Catastrophic Dance” to inflict Deprotect on the whole party. Water and Earth abilities are most effective and when one is present in any group, it should be dispatched first.
When you reach a fork in the road, take the right path into a dead end filled with Puddings. Two Ferruginous Puddings make this fight a little tougher but stick with your regular strategy, making sure to heal and buff when needed, and you should be fine. Collect both the Rainbow Anklet and 3x Perfect Conductors for your troubles. Head back and take the other path this time.
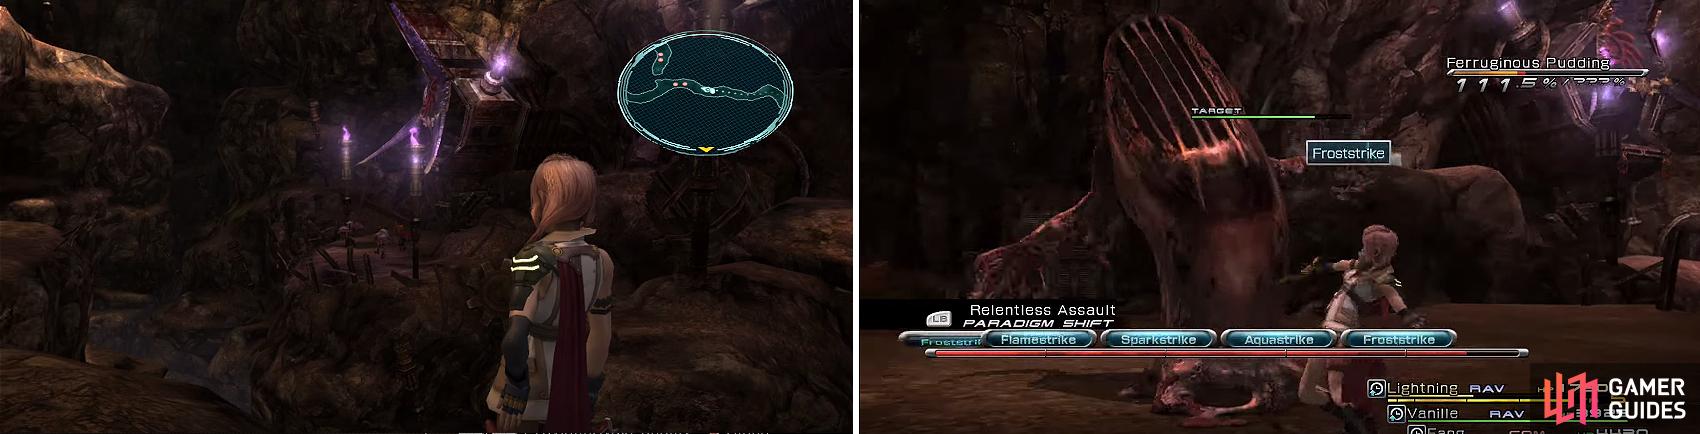
You can see the plethora of Yaksha and Yakshini enemies from above (left). Ferruginous Puddings are weak to Lightning and quite a bit stronger than the Rust Puddings (right).
A Yaksha and Yakshini are your next foes to defeat and just up the stairs some shutters will open, revealing quite a few Cryohedrons. You will have to fight all six at once so protection against Ice and a way to inflict Fog on them will help enormously. After the fight, check the containers they emerged from for 2x Metal Armband and 2x Particle Accelerator .
A few more Yaksha and Skata’nes litter the path before you and then right at the end is an event battle like the Juggernaut meeting. This time you will be fighting a Tyrant which is a stronger version of the Berserker. It has the same Centaurion Blade but it is much tougher and can severely damage your party if you do not remove it quickly.
Tyrant is weak to both Lightning and Water and it can be debuffed to help you inflict Stagger. It won’t forge the Centaurion Blade while in the Stagger state so aim to do this quickly and keep it Launched for good measure. Having a way to keep the Tyrant’s Chain Gauge up while you deal with the Blade is a must or you will end up in a very protracted fight.
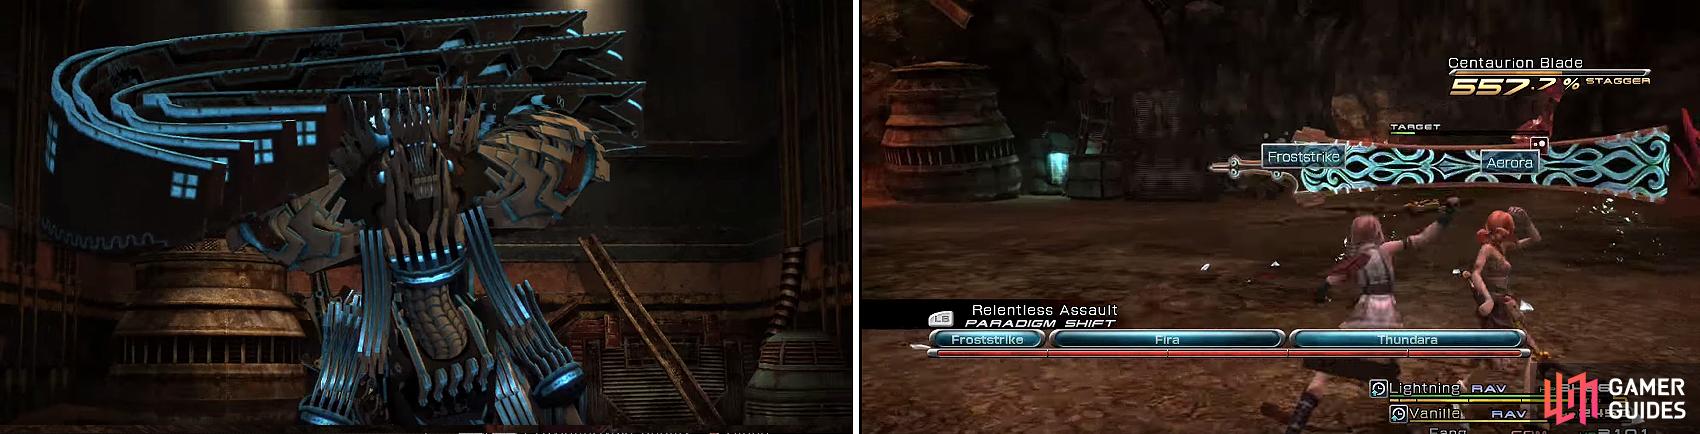
The mighty Tyrant (left) and its Centaurion Blade (right) are formidable foes and should be treated with caution.
Sadly, the only thing the Tyrant was guarding was a Cie’th Stone so you do not need to kill it yet until you’re ready to deal with that mission. Now, run all the way back to the first path split in the Asylum of Light (where you ignored the two enemies earlier) and jump onto that path. Kill the Yakshas, run forward a little and you will see a set of stairs off to the right where, at the end, is a Sphere containing a Moogle Puppet . Kill the last group of enemies just before the next location.

 Sign up
No Comments