The path through here is fairly linear with a few offshoots containing treasure so, for the sake of ease, we will just detail those and highlight anything of note. A lot of PSICOM soldiers patrol this area too and they make up the bulk of enemies you’ll face.
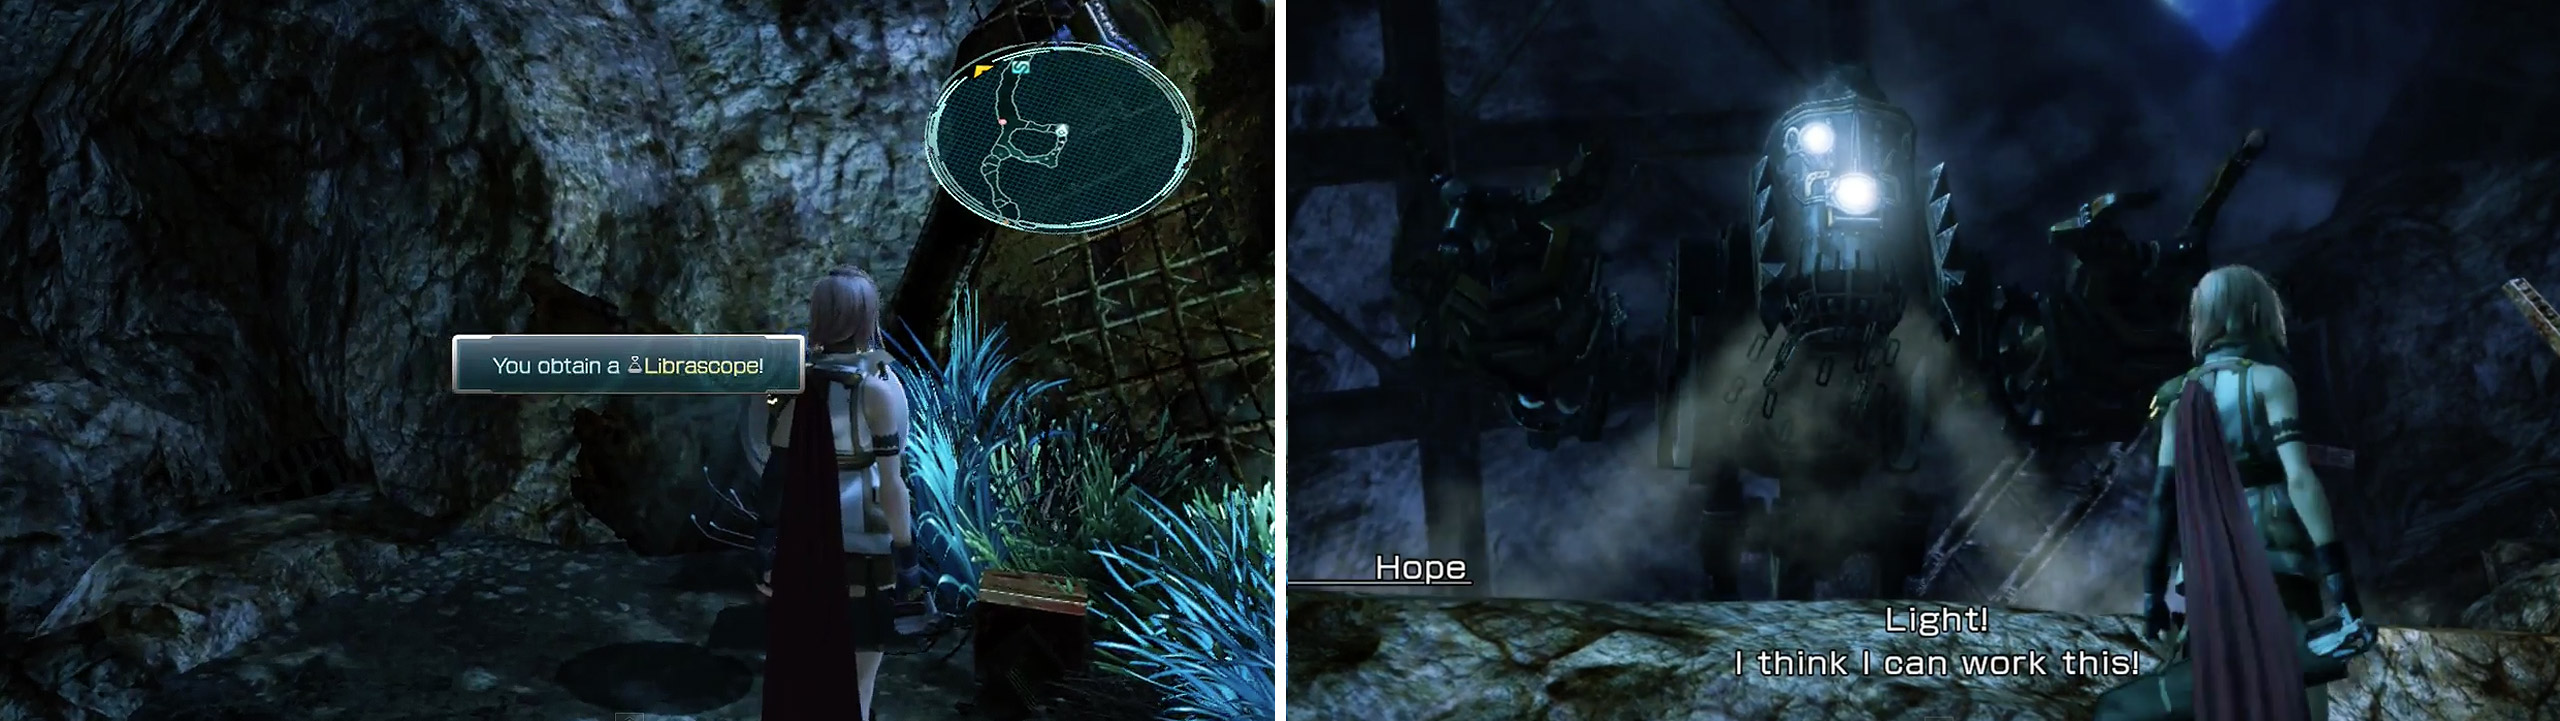
Proceed on and turn left at the first fork to grab the 3x Fiber-optic Cables guarded by the soldiers. Head north and take note of the flying machine in the distance. This is the most dangerous regular enemy here mostly because of its Missile attack. It can be brutal if you aren’t prepared, though thankfully you can avoid it more often than not with a quick Stagger. Follow the path right around and jump up to grab another Librascope then return to ground level to continue.
A scene and easy battle lies just ahead after which will be a minigame of sorts. You will control an armament capable of scything through hordes of enemy soldiers. Attacking consumes power but you can restore some power by smashing down fences. Your party won’t be harmed during this little interlude either so don’t worry about them.
Librascope (left). Time to bludgeon some enemies! (right)
Bludgeon your way through enemies with X/A and try to time your attacks so you hit several at once. When you start to run out of power, break a fence to recharge. Trampling works too, though it isn’t as effective and the number of enemies you kill determines what reward you get after the game. Two rewards are on offer: one for sweeping blow kills and the other for total kills so try and utilise the sweep maneuver as often as possible. See the table below for details on rewards:
| Sweeping Blow Kills | Gil Reward |
|---|---|
| 40+ | 999 |
| 25-39 | 300 |
| 24 or less | 100 |
| Total Kills | Item Reward |
|---|---|
| 35+ | Spark Ring |
| 25-34 | Thickened Hide x20 |
| 24 or less | Sturdy Bone x10 |
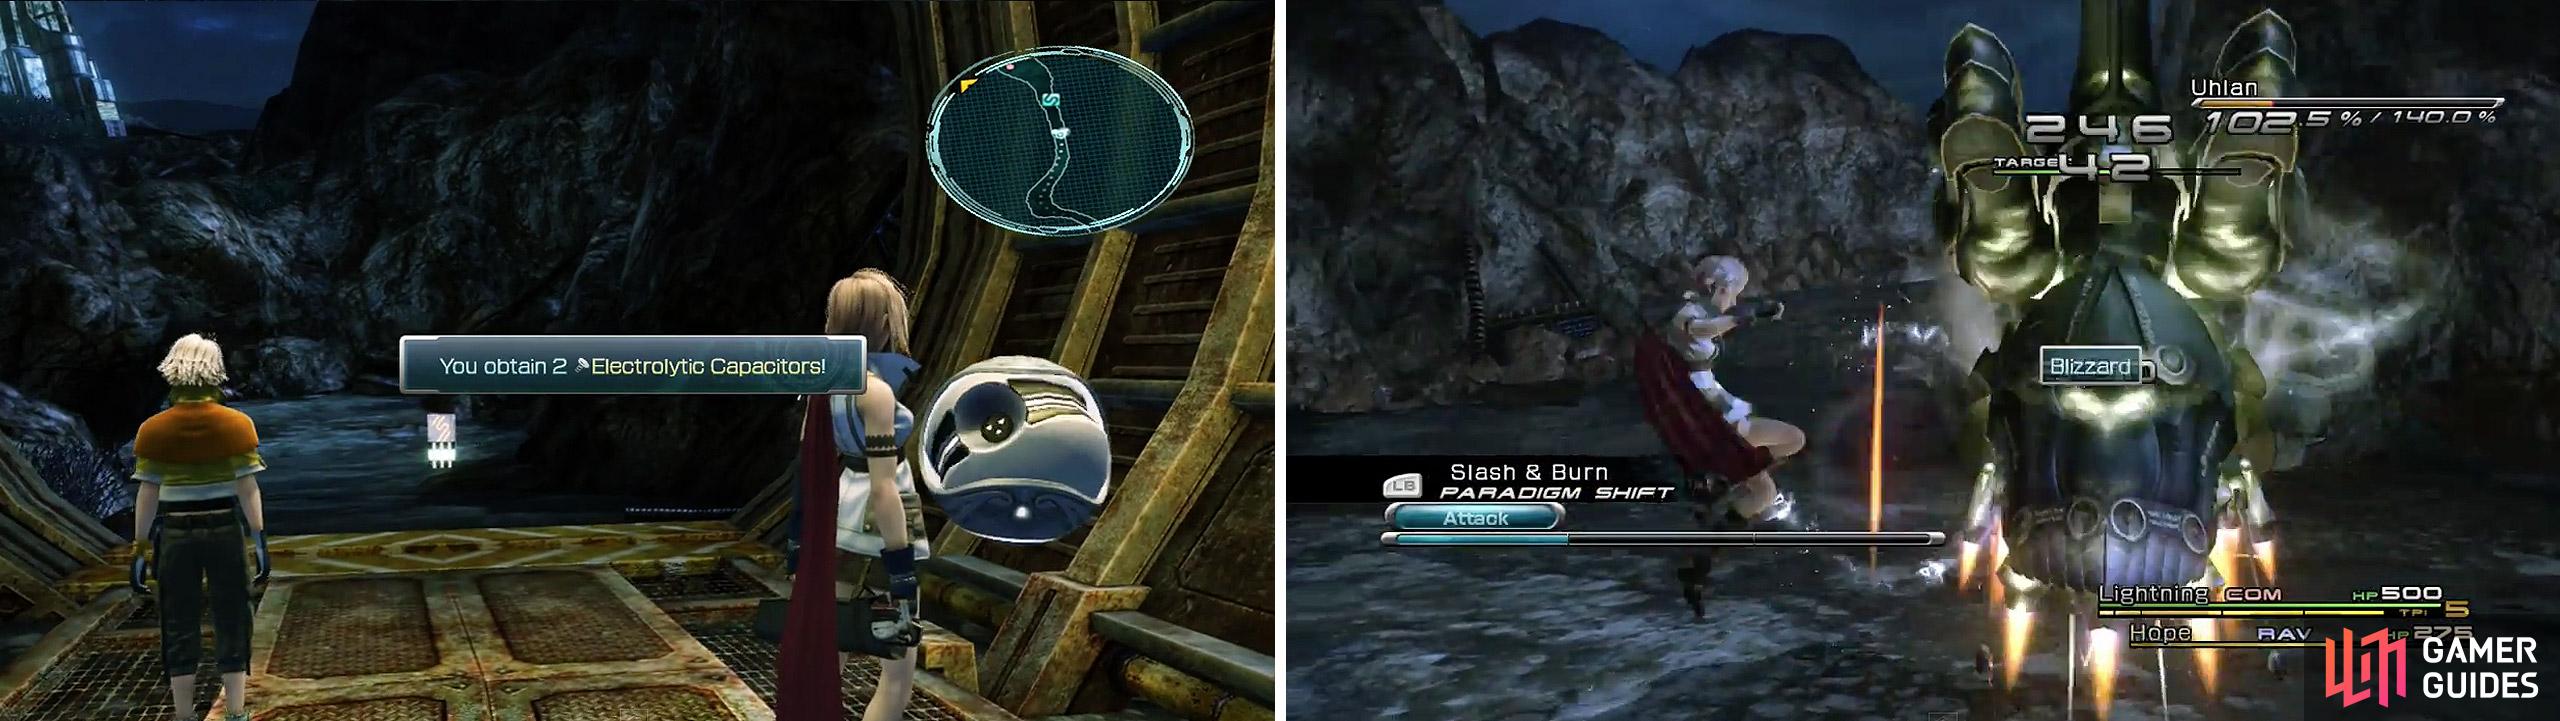
2x Electrolytic Capacitor. (left) The Uhlan. (right)
Two Treasure Spheres appear with your rewards inside after you finish that little section. Collect them and take the path through another tunnel that holds 2x Electrolytic Capacitors then follow the marker, killing any foolish soldiers in your way until you reach another circular split. The treasure ( Spark Ring ) sits above on a little walkway which you can reach by using the jump circle. Spark Rings are a must for the upcoming boss battle so don’t miss this one.
A little way along is another split where you should take the right-hand path to the Phoenix Down . Clamber over more obstacles, kill the group of PSICOM soldiers (watch out for the Targeting Beacon if you wish to complete the bestiary which is easily missed) and carry on forwards. The tunnel houses nothing of interest so don’t waste your time going over there.

Spark Ring (left). Phoenix Down (right)
At the Save Station, spend your CP, save, then equip as many Spark Rings as you currently have on both characters. Additionally, create a new Paradigm, Symbiosis, consisting of a MED and SYN and set it as the default. Prepare these paradigms for a storm is coming:
- RAV/RAV
- MED/SYN (default)
- MED/MED
Eidolon Battle: Odin
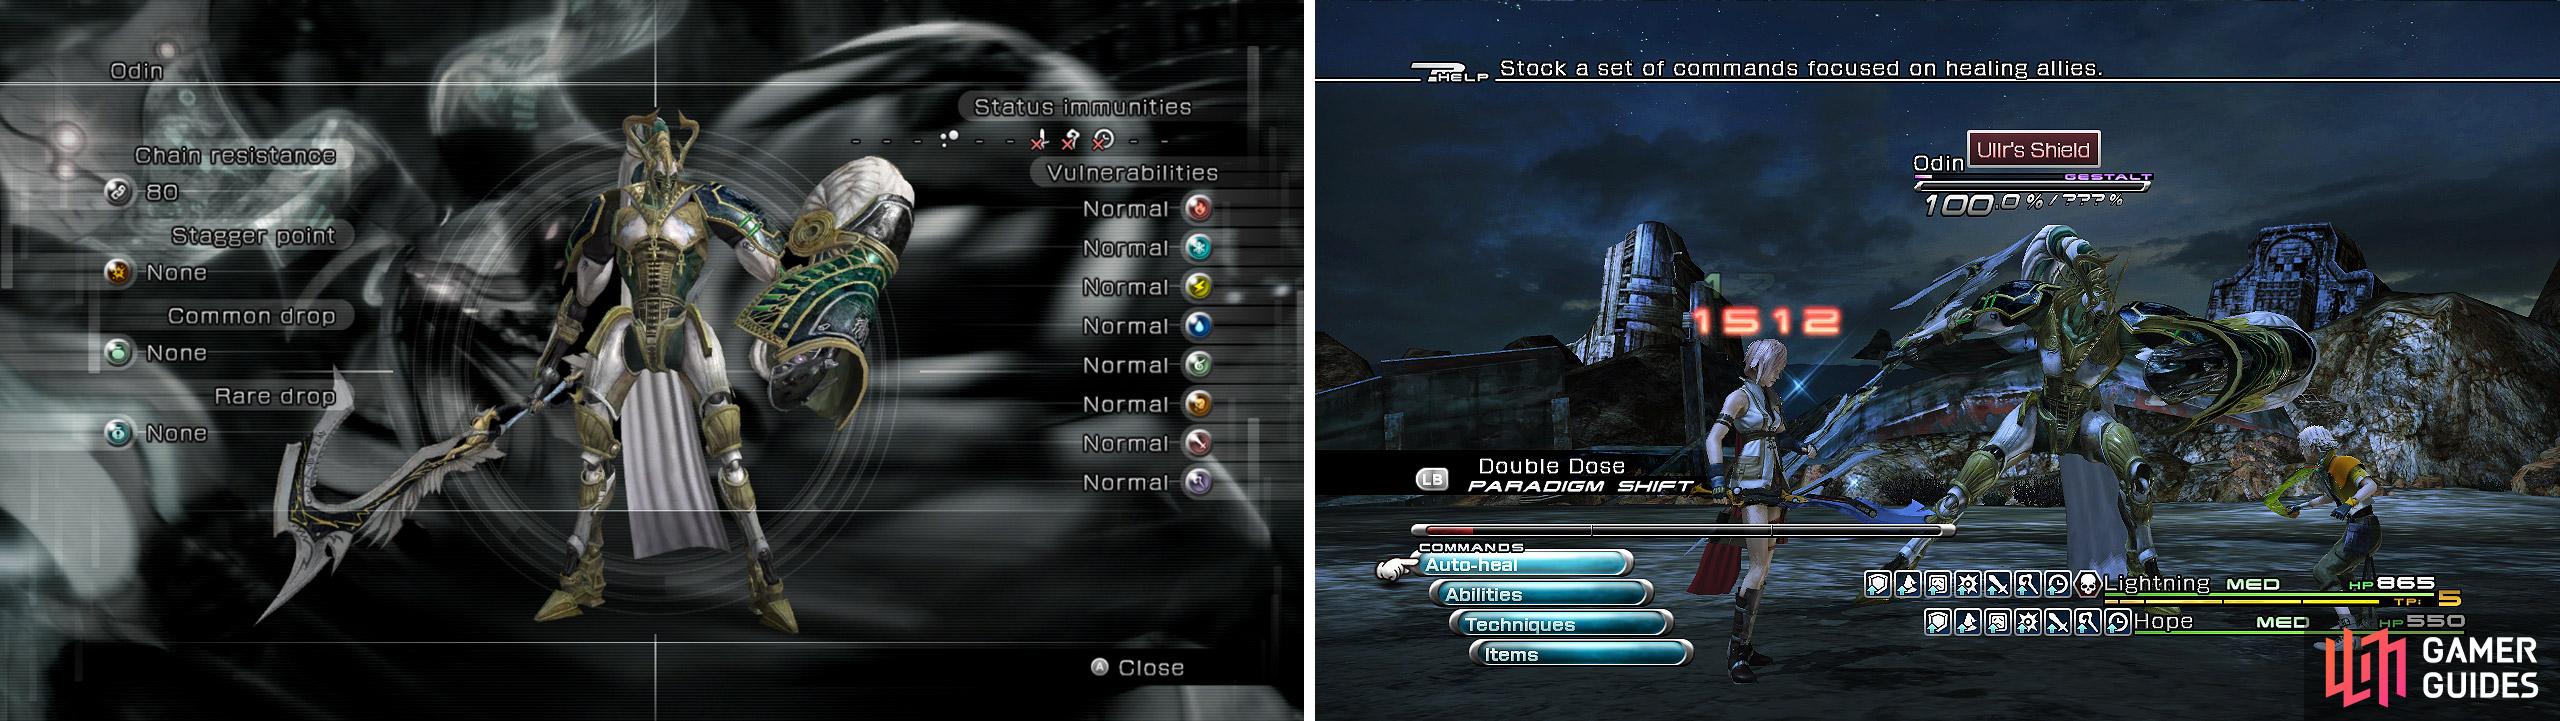
Odin is Lightning’s Eidolon, and is fought by Lightning and Hope in the Vile Peaks as a test of Lightning’s physical and mental fortitude.
Odin looks really awesome, doesn’t he? But first you need to defeat him… and it’s not easy. Be warned that if the Doom counter on Lightning reaches zero, it’s Game Over. Begin the battle with setup and have Lightning heal the team until both her and Hope are under Shell and Protect. Then, depending on what Odin is doing, fight like this: if Odin is guarding, switch to setup , and if Odin is attacking, switch to . Both actions will steadily increase the Gestalt gauge, and when it’s full, press Square/X to win the battle. If you require emergency healing, toss Potions - and if Protect and Shell wear off, switch to setup so Hope recasts them.
Lightning’s ATB gauge will increase by one segment, bringing her total to 4. You’ll obtain the Odin Eidolith Key Item. After the battle, save your game at the Save Point and remove the Doctor’s Code from Light, then proceed to the destination for a further event battle.

 Sign up
No Comments