Enemy Encounters
| Name | Notes |
|---|---|
| PSICOM Destroyer | Powerful physical attacks; easily Staggered so dispatch first when in groups. |
| PSICOM Reaver | Very high HP; all magic and elemental damage other than Earth halved; uses Dispel, Deshell, Deprotect. |
Now the whole gang is back together, you can choose who to take with you in your party. Aim for a balanced party consisting of a healer (so either Vanille or Hope), a tank (Snow or Fang) and a good damage dealer (Lightning etc). Someone who can do both healing and buffing is a good idea, as is another who can debuff but damage as well. The choice is ultimately yours but we will be sticking with the current party for now.
This place is enormous, complete with a myriad of Treasure Spheres and various platforms of enemies. It takes a long time to traverse and battles are difficult to escape, so be prepared before you charge into any battle. Use of the Diversity Paradigm will make even uncomfortable battles quite simple and no enemy in here should pose you too many problems.
Press the console to activate the bridge to the next platform. You will be doing this throughout and the route you take will largely depend on what treasures you wish to aim for. The only one really worth having is the Gold Bangle, which provides a boost of 250HP. We will be detailing the route for all treasures however, so if you wish to just grab the Gold Bangle and go, then skip through the next few paragraphs.
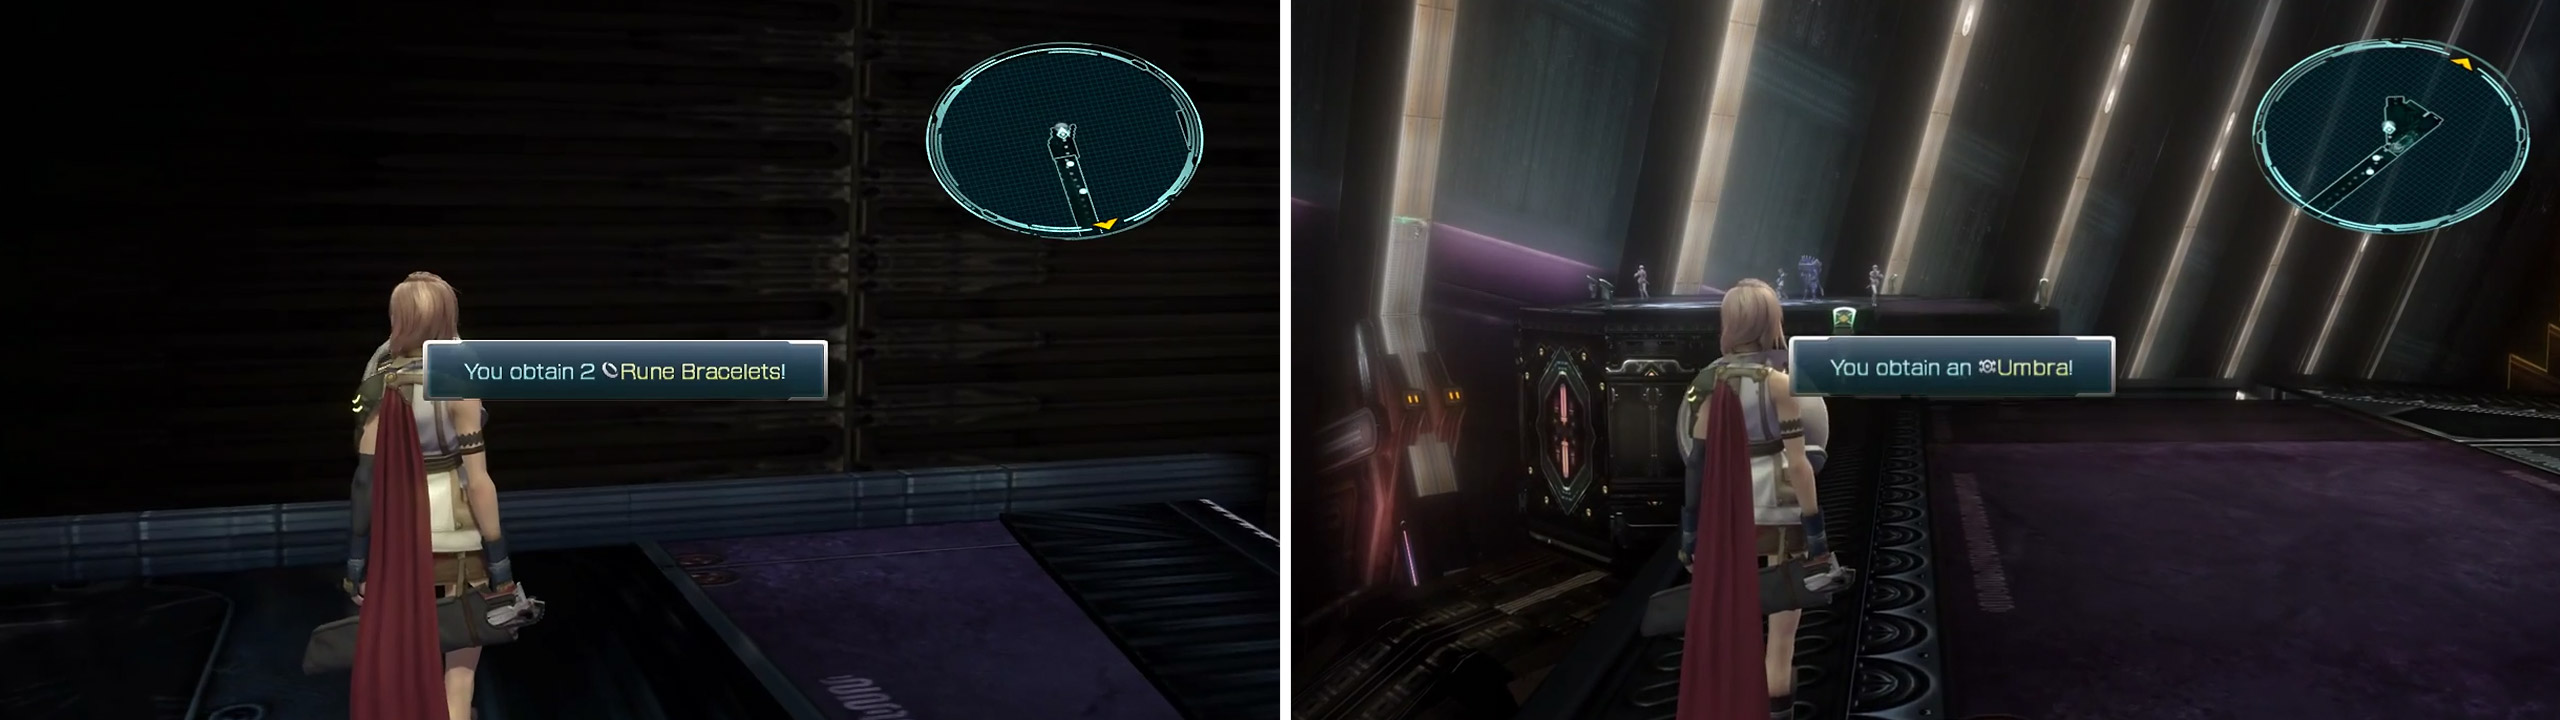
Rune Bracelet x2 (left) and Umbra location (right).
You can peer over the edge to see what enemies await you on the next platforms so you can decide if you wish to avoid any enemy groups or not. We will be plowing through them all for the extra CP and spoils. Cross the first bridge and remove the enemies down there then extend the bridge on the left side to reach the first platform containing a Sphere. Inside is a Librascope .
Press the console at the back of the platform (away from the marker) to reach another area with a Pain Dampener then run back to center and activate the right console. Once again, press the console at the back to extend another bridge out to 2x Rune Bracelets . Head in the direction of the marker and activate the forward console and pass over the bridge to reach the Umbra (weapon for Snow which improves Ward abilities).
Head north via another bridge then make your way to the left side by pressing the left consoles and eventually, you will reach a Sphere containing 3,600 Gil . It was worth it! Extend the bridges north until you can reach the most northerly platforms. The left side has the Gold Bangle and the right has a Perfect Conductor . Finally, the last treasure, an Ethersol , is found just near the Save Station.
Once you’ve finished, equip the Gold Bangle on Hope, give Lightning 2x Tungsten Bangles, throw on an Aegisol and a Fortisol then prepare the following Paradigms:
-
COM/COM/RAV (default)
-
RAV/RAV/RAV
-
COM/COM/SAB
-
RAV/RAV/SAB
-
MED/RAV/MED

 Sign up
No Comments