
(1 of 2)
New Units
| Name | Class | Level | Recruit |
|---|---|---|---|
| Katarina | Grandmaster | 20 | Complete Normal route |
Strategies for all difficulties
Be prepared: this is the toughest mission in the game and possibly in the entire history of Fire Emblem. Here, you must win five consecutive battles against extremely powerful enemies with impossibly high stats and a range of deadly skills and weapons.
God-like tacticians who crave a challenge suitable of their superior abilities can access a secret route featuring a selection of even stronger enemies… This page will deal with the normal route, which is still very intense.
At this stage, you should be a master of Fire Emblem, having toppled every other mission in the game. However, this mission is like no other, so before jumping in, be sure to revise the following key concepts.
Your stats:
Everybody must have max stats, plus the Limit Breaker skill equipped, which extends stat caps by 10. You can get the Limit Breaker skill by completing Rogues and Redeemers 3; a character with Nosferatu or Sol and Limit Breaker can blast through the level easily to get more.
If you need to grind for stats, summon Risen in the final areas or the SpotPass sidequest areas; when levelling up gets slow, replay Lost Bloodlines 3 (50 enemies gives you at least 8 level ups with Paragon equipped).
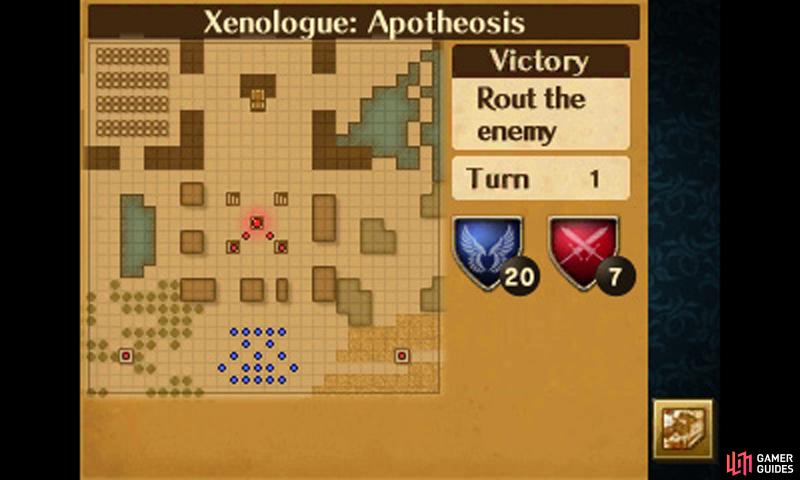
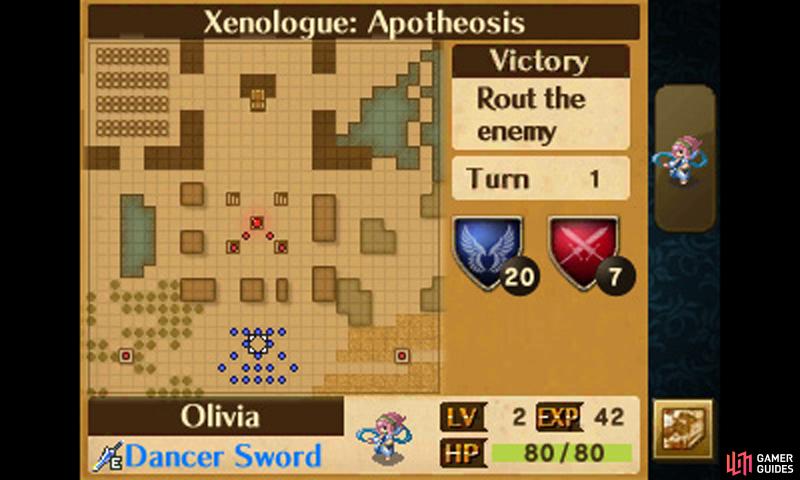
(1 of 2) Make sure you’ve made all the necessary preparations before beginning.
Make sure you’ve made all the necessary preparations before beginning. (left), (right)
Galeforce:
This skill totally breaks the game, by letting units with the skill move again after killing an enemy (once per turn). In effect, anybody with the Galeforce skill acts as two combat units during your turn. Anybody who can be a Dark Flier can learn it–only certain female units can have it as well as their children if you passed the skill down.
Galeforce is also useful for hit and run tactics (kill an enemy and, when Galeforce activates, pull back to safety) or navigating the map. If you pair up two units with Galeforce (known as a “Galeforce pair”), they can move up to three times per turn, by alternating the lead unit after each kill, greatly enhancing their manoeuvrability.
Brave weapons:
Besides ranged weapons, these are the only weapons you need. With standard weapons, you can attack an enemy up to two times; Brave weapons double your number of attacks, allowing you to attack up to four times and twice by default. Needless to say: more attacks = good.
Having more attacks also means more chances of your support partner dishing out a Dual Strike (up to four chances with Brave weapons) and if your partner has a Brave weapon, it doubles their attacks too! You can buy Brave weapons from the penultimate chapter and Celica’s Gales from Celica via the Bonus Box.
Rescue staff:
Don’t underestimate this cheeky little stick. Obviously, Rescue is useful as an emergency method of rescuing units stranded in the enemy’s attack range. However there are many additional manoeuvres you can perform.
One, you can chuck your units at the enemy; don’t worry about being ganged up, pull them away with Rescue later. Two, you can have mobile units (e.g. Falcon Knights) move near isolated enemies and Rescue other units to take them out. Lastly, you can Rescue other staff users and create Rescue chains to navigate the map.
The enemy:
Study the enemy hard. In this map especially, every enemy has its own special characteristics and, for some, it’s a puzzle to figure out how to tackle them without getting killed or fatally wounded.
For starters, every enemy has Dragonskin, which halves damage taken, so expect every enemy to be resilient. Enemy with Pavise? Use magic and bows.
Enemy with Vengeance? Let them attack you or bring somebody with high defences. Enemy with Hawkeye? You will get hit (unless your partner does a Dual Guard) so check your defences.
Now that we’re clear with everything, away we go!
Round 1
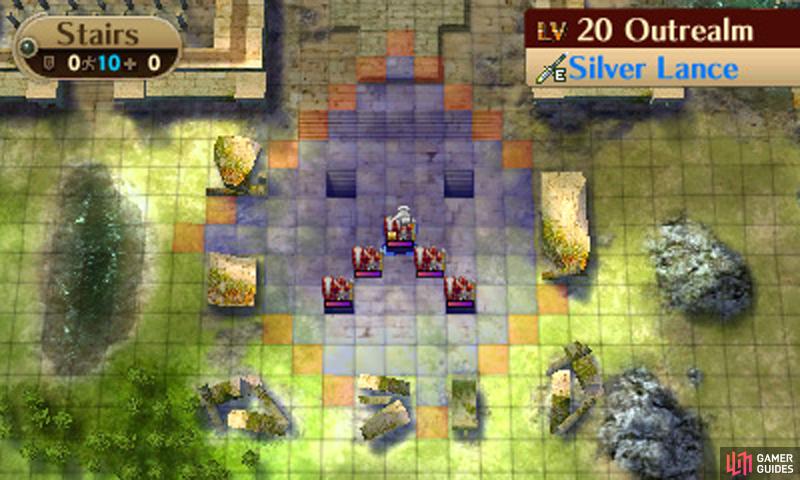

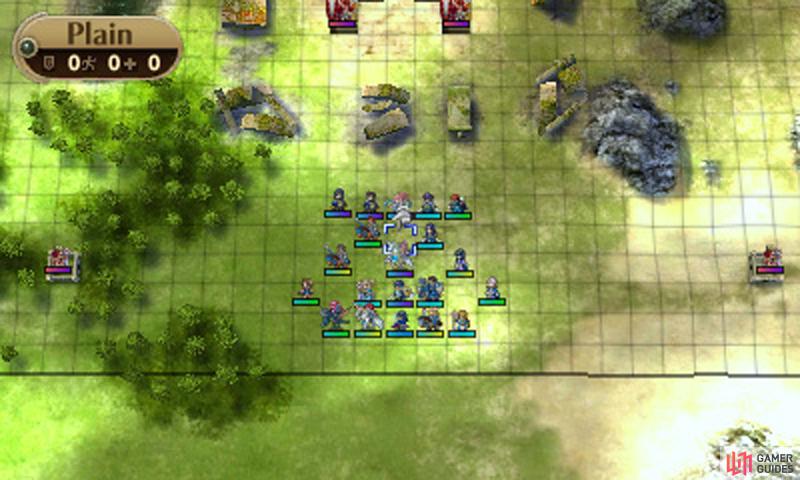
(1 of 2) The enemies here are no normal enemies.
The enemies here are no normal enemies. (left), (right)
| Name | Class | Level | Items |
|---|---|---|---|
| Outrealm | General | 20 | Silver Lance |
The first round is pretty simple, to ease you in. Position your magic units near the front lines, to deal with the Generals, and have two mobile units on the left and ride side, to slay the War Clerics.
The Generals have Pavise and Vengeance, so you will want sturdy magic users to deal with them, especially the Generals with Spears. Having magic + magic pairs would help or maybe bow/melee + magic pairs. If you’re not sure, use the first turn to get into formation and lure out the first two Generals.
Before killing the last enemy, try to have your units near the centre of the map and, ideally, have some toward the left and right.
Once you’ve killed all the enemies and if you were quick enough, Anna will ask if you want to challenge the secret route or not. If you choose “Yes”, please skip to the next page , which details the secret route; if not, please continue reading.
Next, Anna will ask which enemy force you want to battle during the second round: Monks or Pegasus.
Round 2
| Name | Class | Level | Items |
|---|---|---|---|
| Outrealm (Monks) | War Monk | 20 | Tomahawk |
| Outrealm (Pegasus) | Falcon Knight | 20 | Spear, Fortify |
If you chose to fight the Monks, on the next turn, 5 War Monks will appear to the west and 5 Wyvern Lords to the east. Unlike normal reinforcements, the new enemies here will not act as soon as they appear, so don’t panic. If you picked to fight the Pegasus, 5 Falcon Knights will appear to the west and 5 Berserkers to the east instead.
Either way, split up your forces into two and, when ready in formation, lure in one of the flying units. In doing so, all the enemy units will move on their turn.
Next turn, crush the incoming enemies; ideally, on each side, you will have 4-5 pairs (many with Galeforce) facing 5 enemies, so it should be an easy task.
Whack the War Monks with melee units with good resistance (or a magic + magic pair). Use bows against the Wyvern Lords and Falcon Knights. The Berserkers will go down against magic or bows. If necessary, the Axebreaker skill will make most of the enemies easy.
In preparation of the next round, have your free units move north-ward.
Round 3
| Name | Class | Level | Items |
|---|---|---|---|
| Outrealm | Sniper | 20 | Longbow |
The new enemies you face include 5 Snipers to the north-west, 5 Generals north and 5 Bow Knights to the north-east.
Split up your forces into two–one going north-west and a slightly larger group going north-east. When ready, lure in a Sniper or two, a General or two and a Bow Knight. The Snipers have Longbows so you may not be able to counter them, but you can kill the other lured enemies with counter-attacks at least.
Next turn, crush the Snipers; melee units are good for this. Watch out for the “boss” Sniper as he’s speedier and sturdier. If you don’t feel confident, have your units go in and then pull them out with the Rescue staff. Have your magic units take out the Generals and Bow Knights (the latter at direct range).
Here, you may want to focus on the Bow Knights first, due to their high movement, and then pull out your units with Rescue; use your next turn to fight the Generals.
Before killing the last enemy, try to spread your forces near the north-west and north-east corners (which shouldn’t be hard, since the enemies in this round start there) and have some free units begin to head south-west and south-east.
After the last enemy is downed, Anna will ask whether you want to challenge the Fliers or the Cavalry.
Round 4
| Name | Class | Level | Items |
|---|---|---|---|
| Outrealm (Fliers) | Dark Flier | 20 | Superior Jolt |
| Outrealm (Cavalry) | Paladin | 20 | Spear |
If you picked the Fliers, you will be met with these enemies: 5 Dark Fliers north-west, 5 Griffon Riders north-east, 5 Wyvern Lords south-west and 5 Falcon Knights south-east.
Meanwhile, going against the Cavalry means fighting these: 5 Paladins north-west, 5 Dark Knights north-east, 5 Great Knights south-west and 5 Valkyries south-east.
No matter your choice, focus your efforts on the northern enemies first. Chances are your units who fought the Snipers from the previous round will be in an immediate position to take out the north-western enemies.
The flying units are easy pickings for bow wielders; otherwise, use melee units against the Dark Fliers and magic units against the Griffon Riders. Against the Paladins, use sturdy melee units, while use melee units or magic + magic/melee pairs against the Dark Knights.
Meanwhile, if you have free units, have them distract the other two groups of enemies–position your units so the enemy groups split up rather than converge.
Next turn, clear up the northern corners and begin marching south to greet the new enemy. Split up your forces into two–one heading south-west and the other south-east.
On the following turns, continue marching south. Lure in enemies if they’re too far away; smash them if they’re close. Like before, dealing with the flying units will be a piece of cake with strong bow users. Use magic units against the Great Knights and melee units against the Valkyries.
When it’s almost time for the next round, try to have your units by the southern partition, just below the central stairs, ready to face the final group of enemies. If you’re feeling super-confident and have enough Rescue casters, you can leave units toward the very south.
Round 5
| Name | Class | Level | Items |
|---|---|---|---|
| Outrealm | Hero | 20 | Silver Axe |
The final round sees a whole slew of enemies (25 in total) appear along the very south. Besides the boss Hero, most of the enemies you’ve fought before, so there are no real surprises.
Unlike in the previous rounds, there are a lot of enemies and they’re all grouped together to boot. If you wish to prevail, you’ll have to play slightly differently than before.
To begin with, have your units spread out horizontally. When ready, place a few units in the enemy’s range to lure them in. On the enemy’s turn, all of the enemies will move except for the four healer units.
From here, you can either pull back all your units north, luring in a handful of new enemies each turn, or throw units against the enemy and Rescue them, until you can handle the enemy numbers.
Use magic or melee + magic pairs on the Generals, Heroes and Paladins, melee units or magic + melee pairs against the War Monks/Clerics and bow users against the flying units.
When you feel the time is right, for example when there are 10-15 enemies left (or 20 if you’re confident), swoop in on the enemy and let none survive. Have mobile units cast Rescue to reach the Falcon Knights and War Clerics who haven’t budged.

 Sign up
No Comments