


This is a guide for recruiting Byleth, the Ashen Demon, in Fire Emblem Warriors: Three Hopes.
First encountered in Chapter 0, Byleth is Shez’s main rival and the protagonist of Fire Emblem: Three Houses. Although Shez wants to defeat Byleth at first, perhaps there’s value in trying to recruit Byleth instead?
Recruiting Byleth is possible as you near the endgame, but they’re by far the hardest and most complicated character to recruit in the entire game. Here’s how to persuade the Ashen Demon to fight for your cause!
How to Recruit Byleth in Scarlet Blaze
In Scarlet Blaze, Byleth can be recruited in Chapter 10: Shifting History.
Step 1: Obtain the “Resonant Lightning” Strategy
Before beginning the chapter’s Main Quest, you must obtain the Resonant Lightning Strategy by searching the tent surveying spot in Western Duval Territory (near the Main Quest) on the War Map. Then, when you start the Main Quest, be sure to enable the Resonant Lightning Strategy (costs 30 Strategy Resources) before entering the fight.
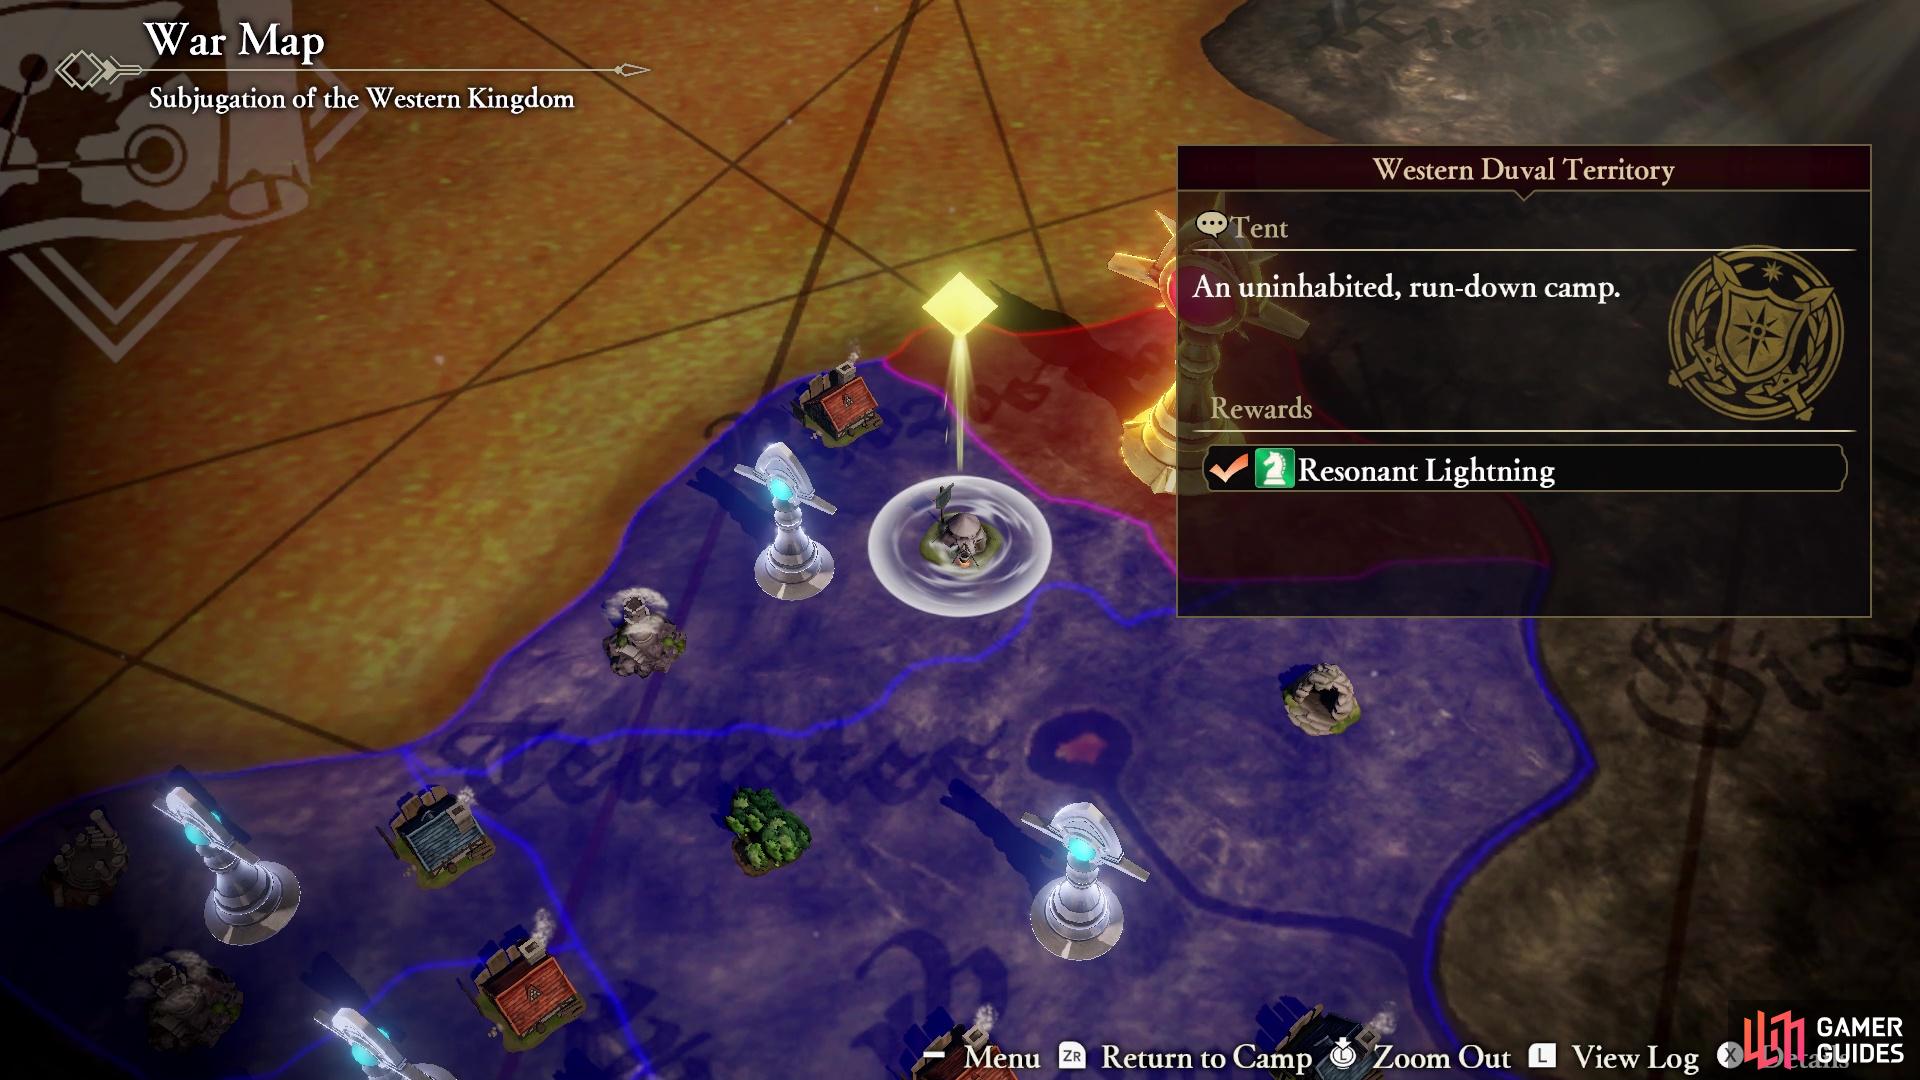
(1 of 4) You can get the Resonant Lightning Strategy from this Surveying Spot
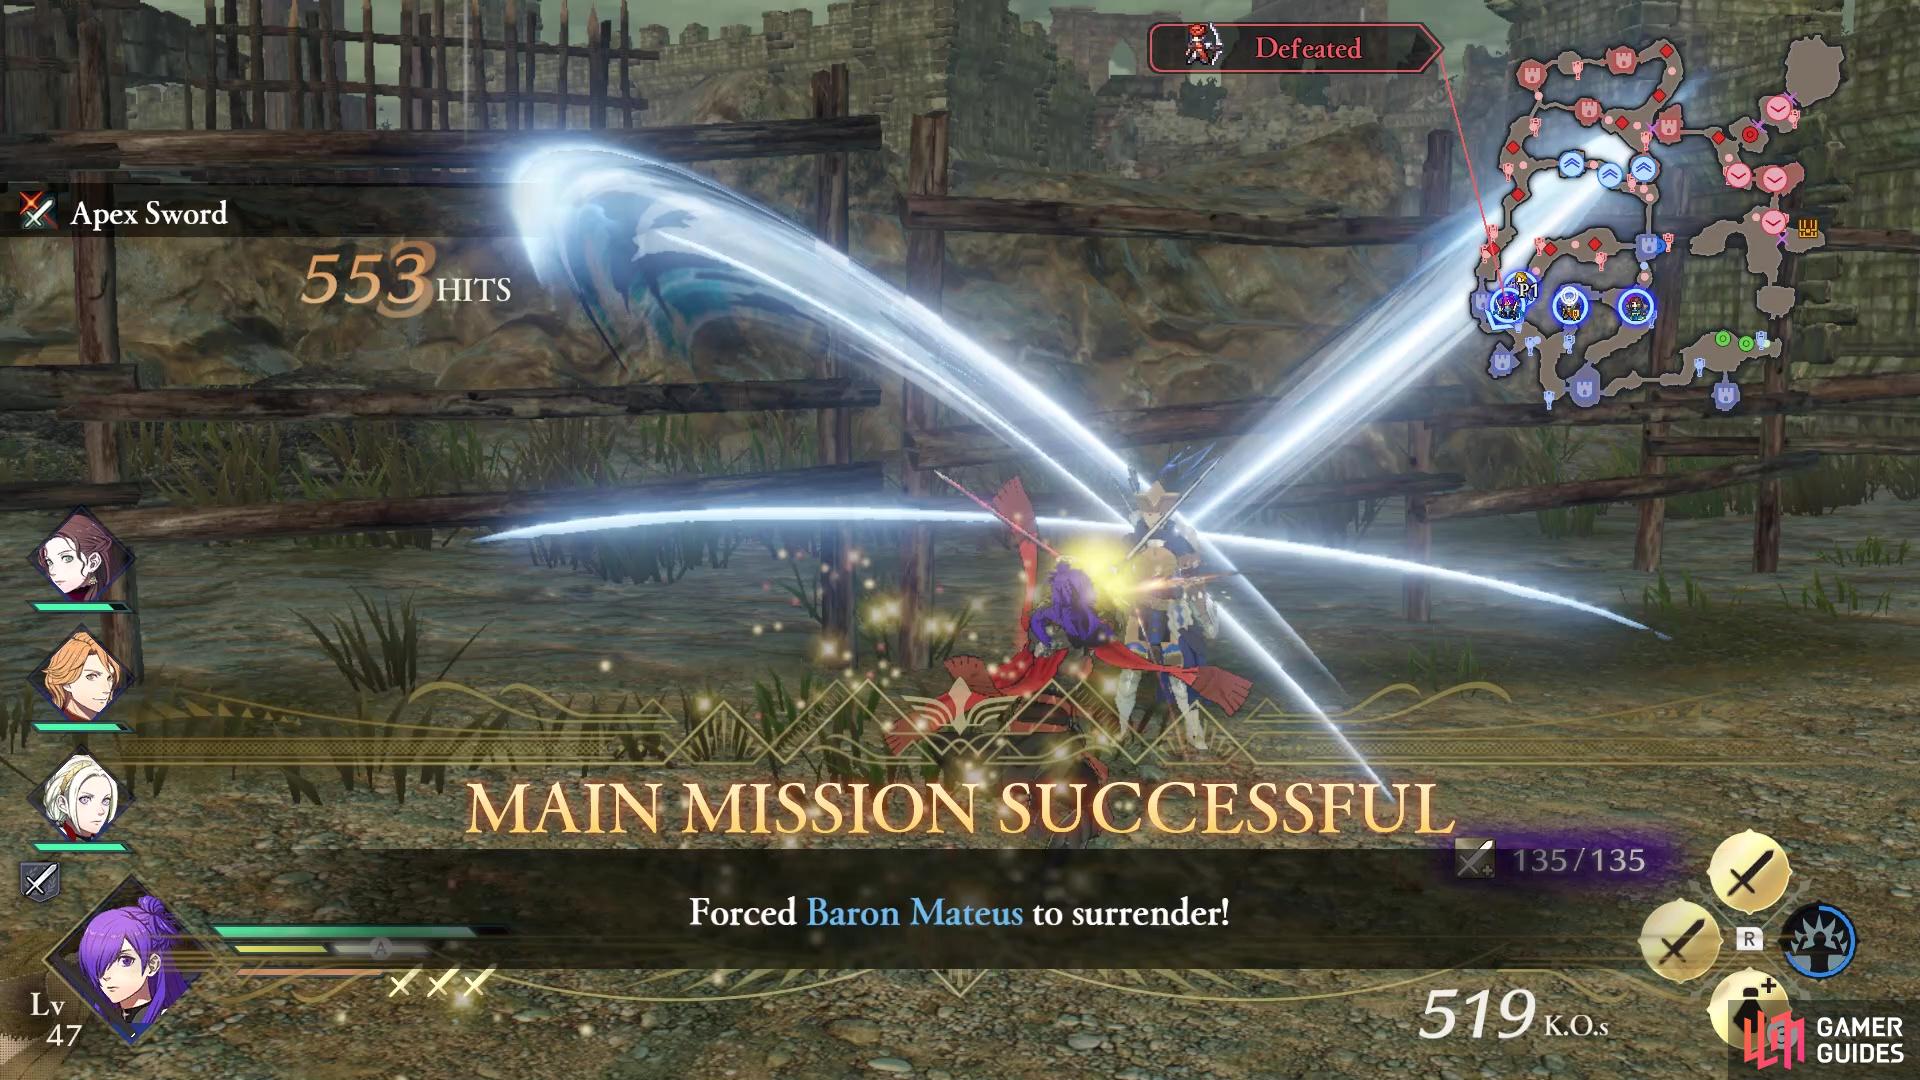
Step 2: Force the Baron to Surrender
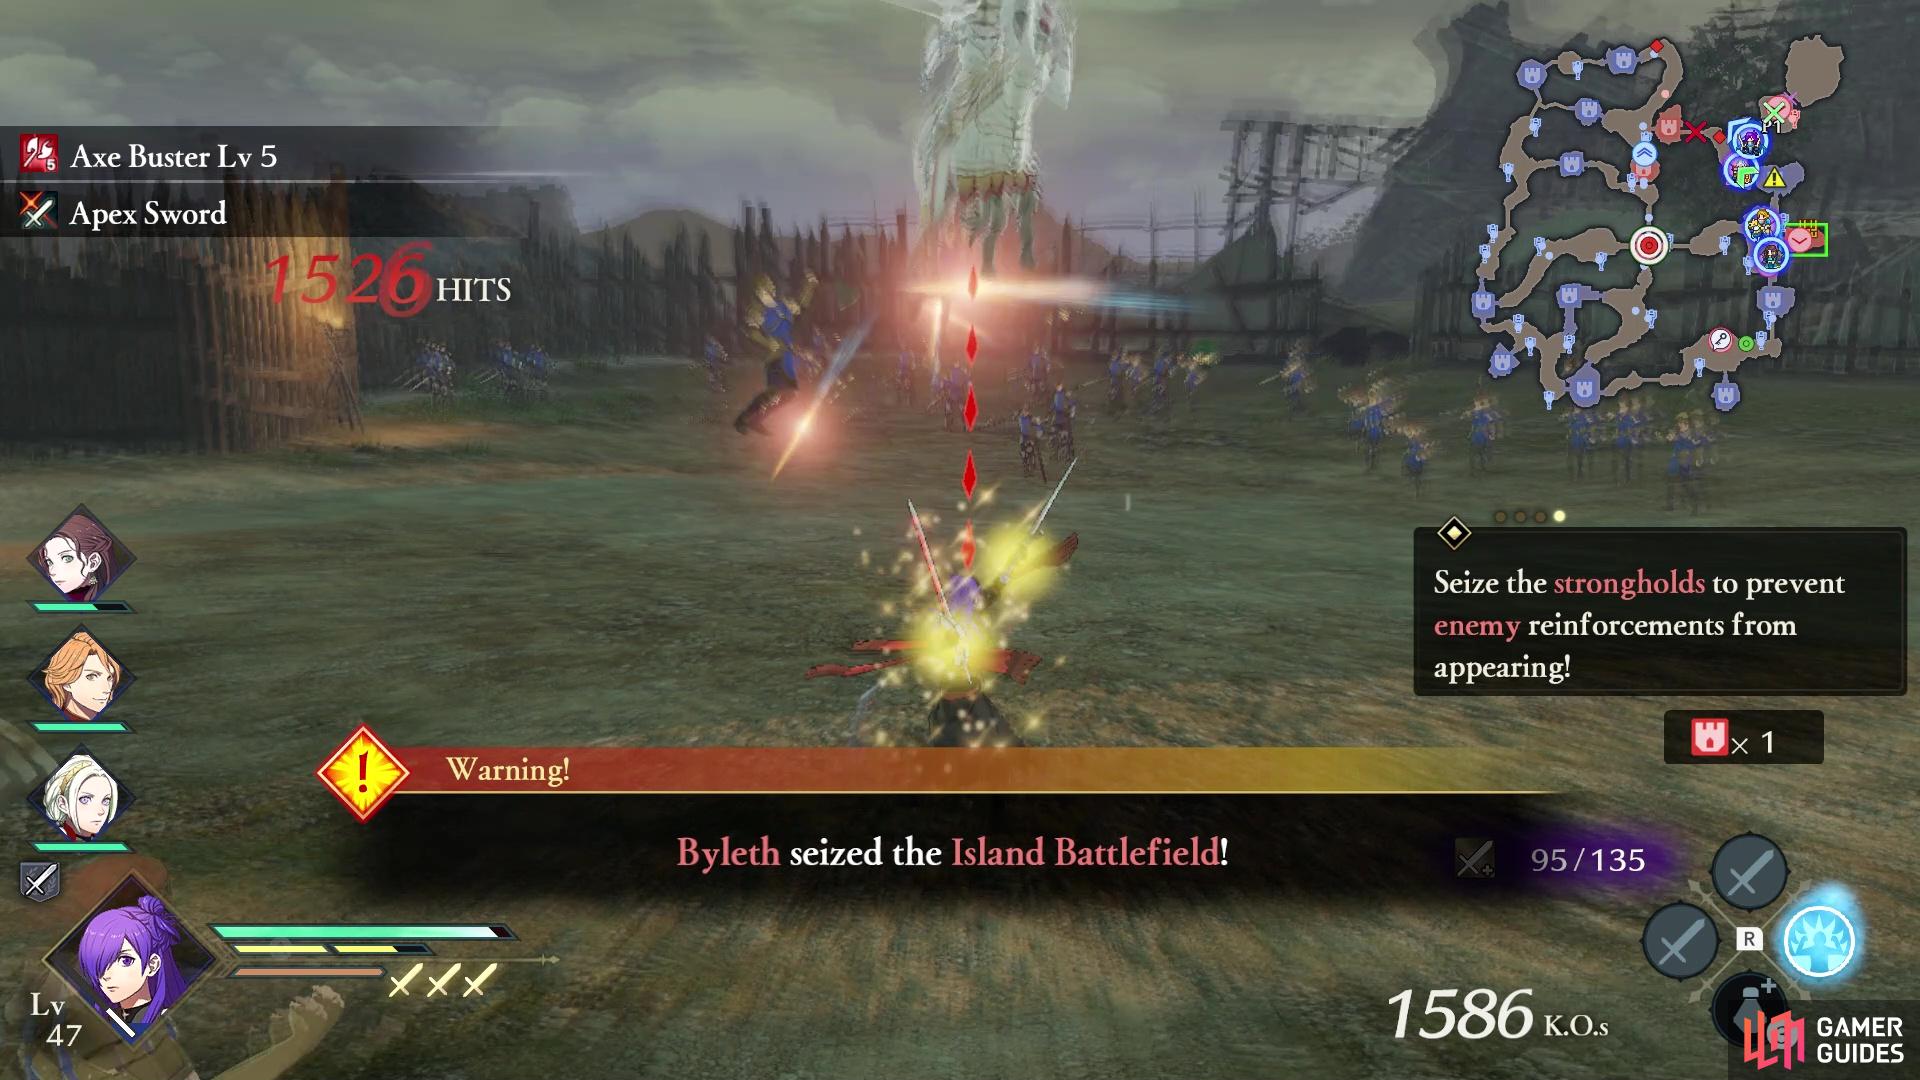
When the fight begins, you’ll have two missions: to defeat Baron Mateus and seize the strongholds surrounding Baron Mateus. Throw the man a bone and focus on seizing the strongholds without killing him. Do so and the baron will surrender peacefully.
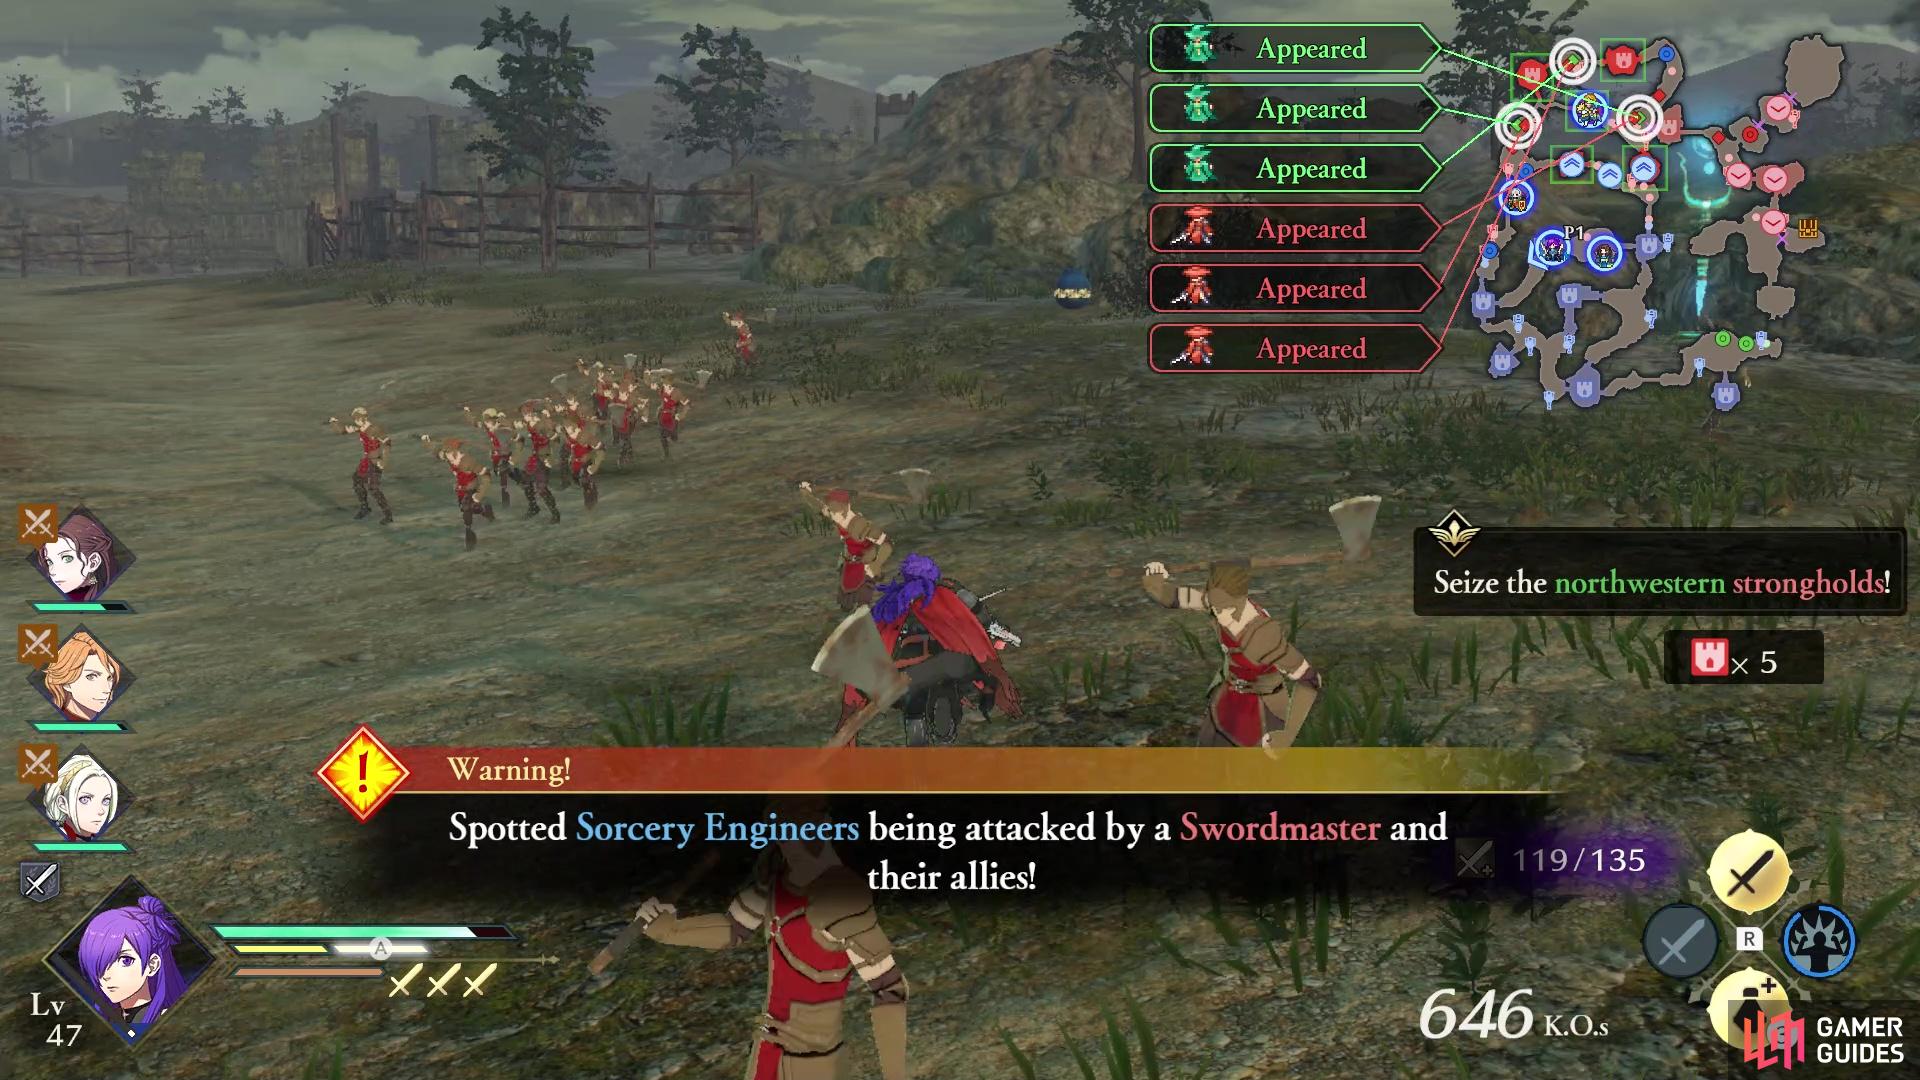
Step 3: Unleash Resonant Lightning
Next, you’ll be asked to seize the north-western strongholds. Soon afterwards, three Sorcery Engineers will be attacked by Swordmasters around the same area. Hurry to rescue the Sorcery Engineers. You can either ignore the strongholds for now and focus on rescuing the engineers or split your army to deal with everything at once. In any case, don’t let the engineers get killed.
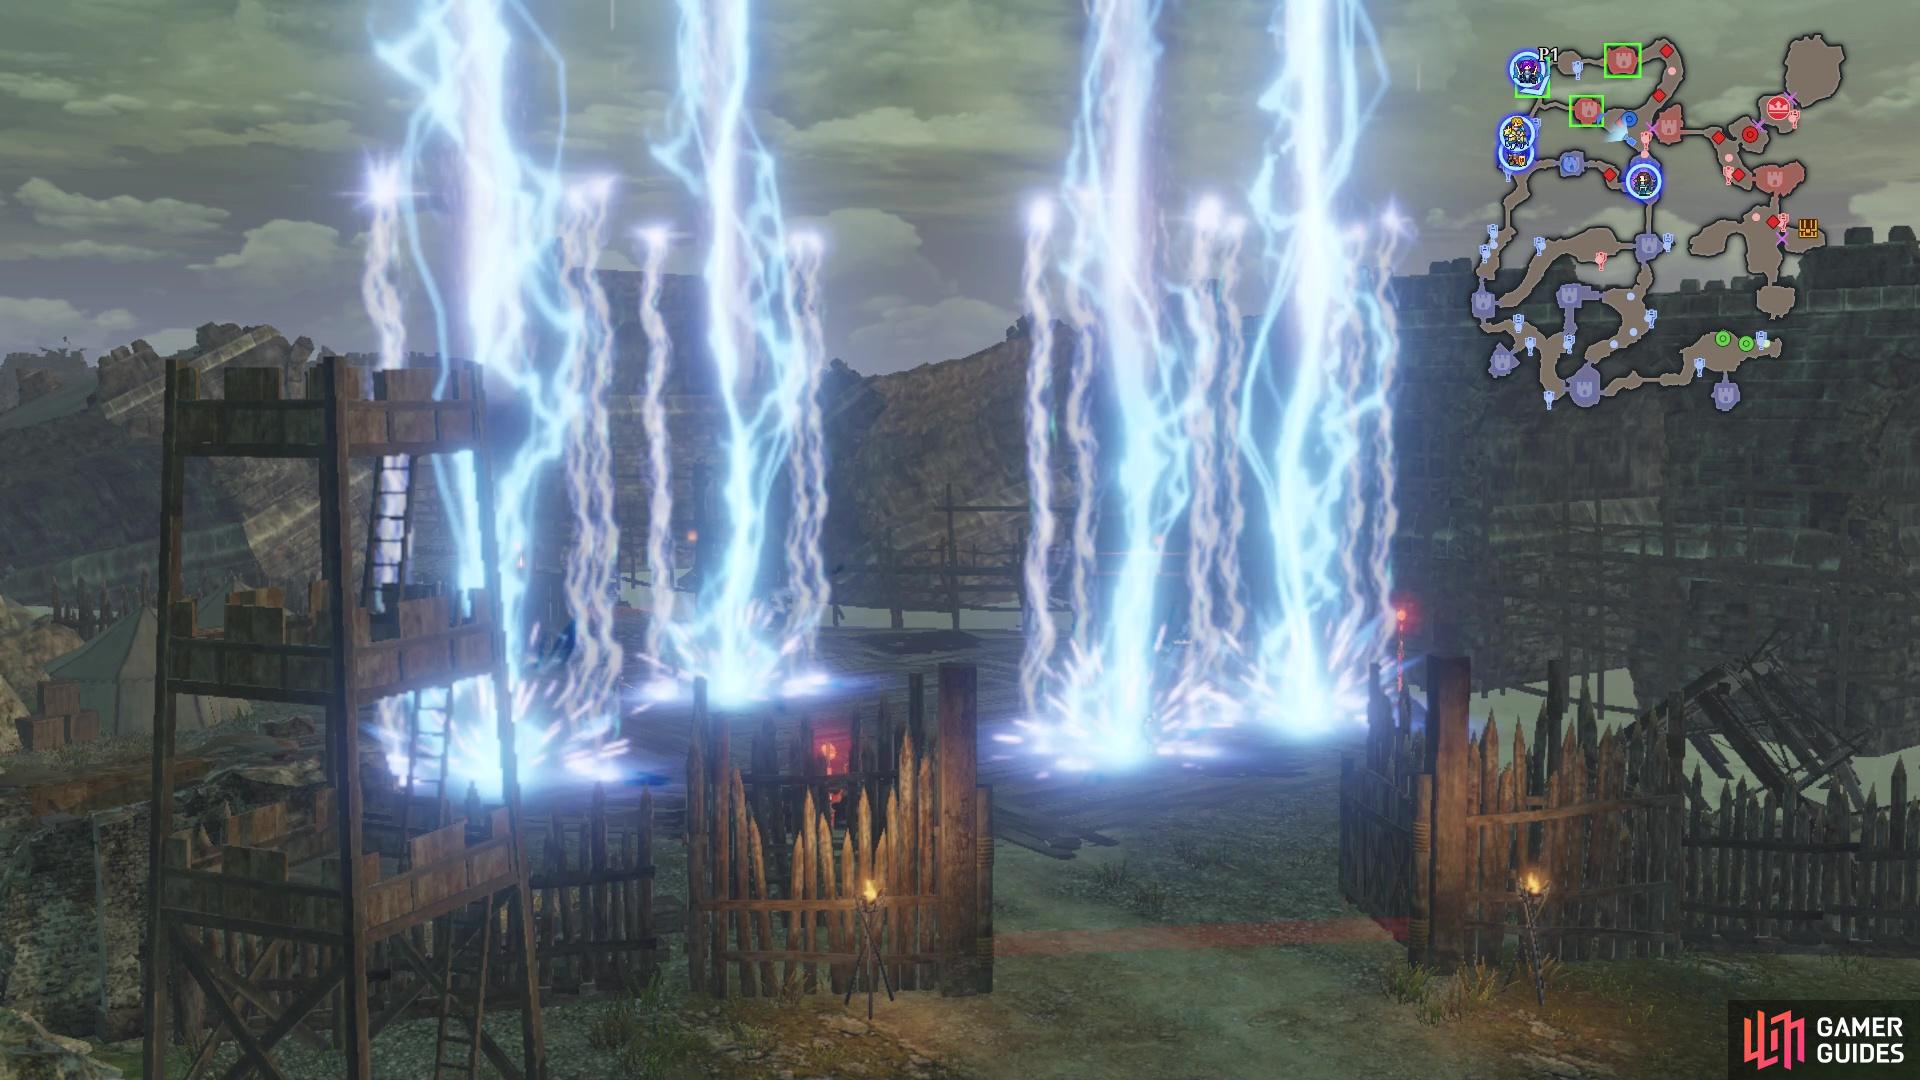
Once you’ve rescued all three Engineers, the Resonant Lightning Strategy prompt will show up. Activate it by holding 
Step 4: Defeat/Recruit Yuri
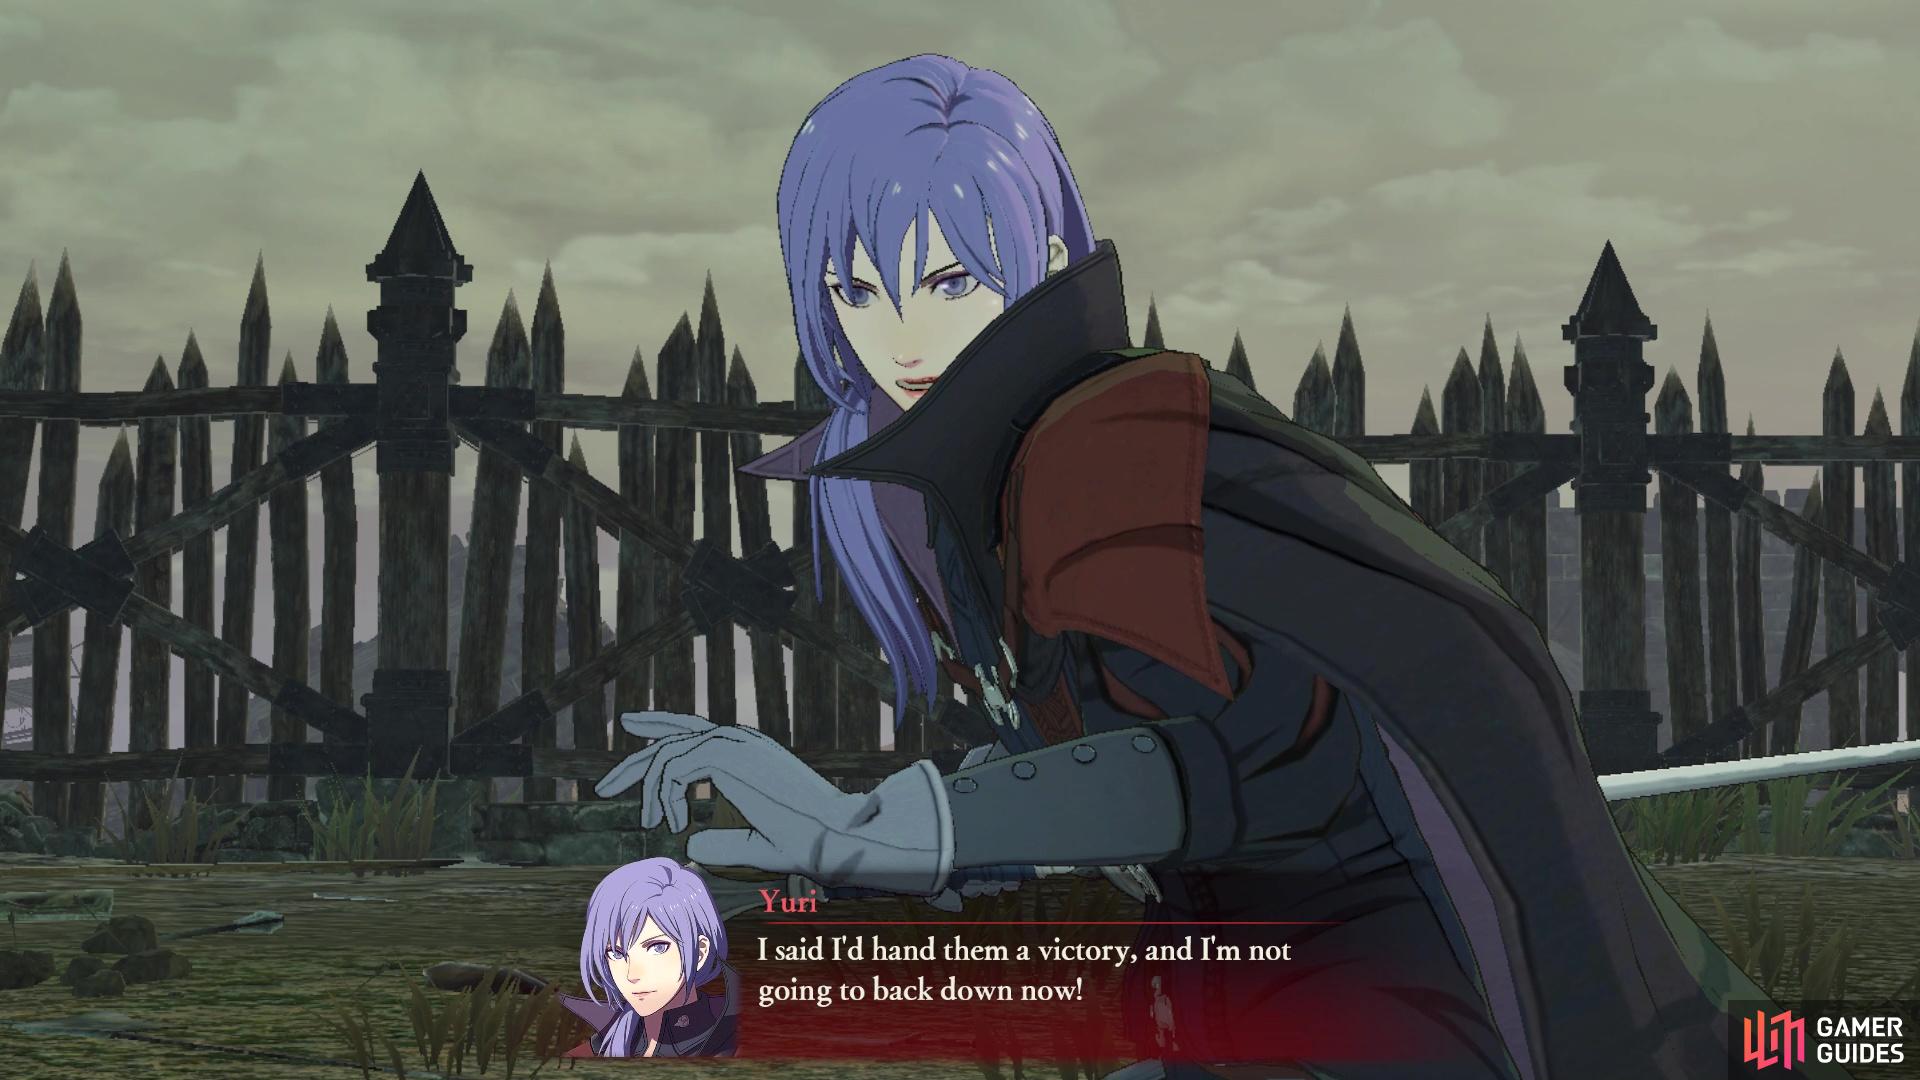
Eventually, Byleth will spawn near the north-east, while Yuri will spawn towards the far west. Ignore Byleth and gather most of your troops near the south-east corner. Control somebody (a lance user preferably) and head west to deal with Yuri. Unless you don’t plan to recruit Yuri, trigger the strategy to persuade him, then kick his butt.
Step 5: Defeat Rodrigue Before Byleth Reaches Him
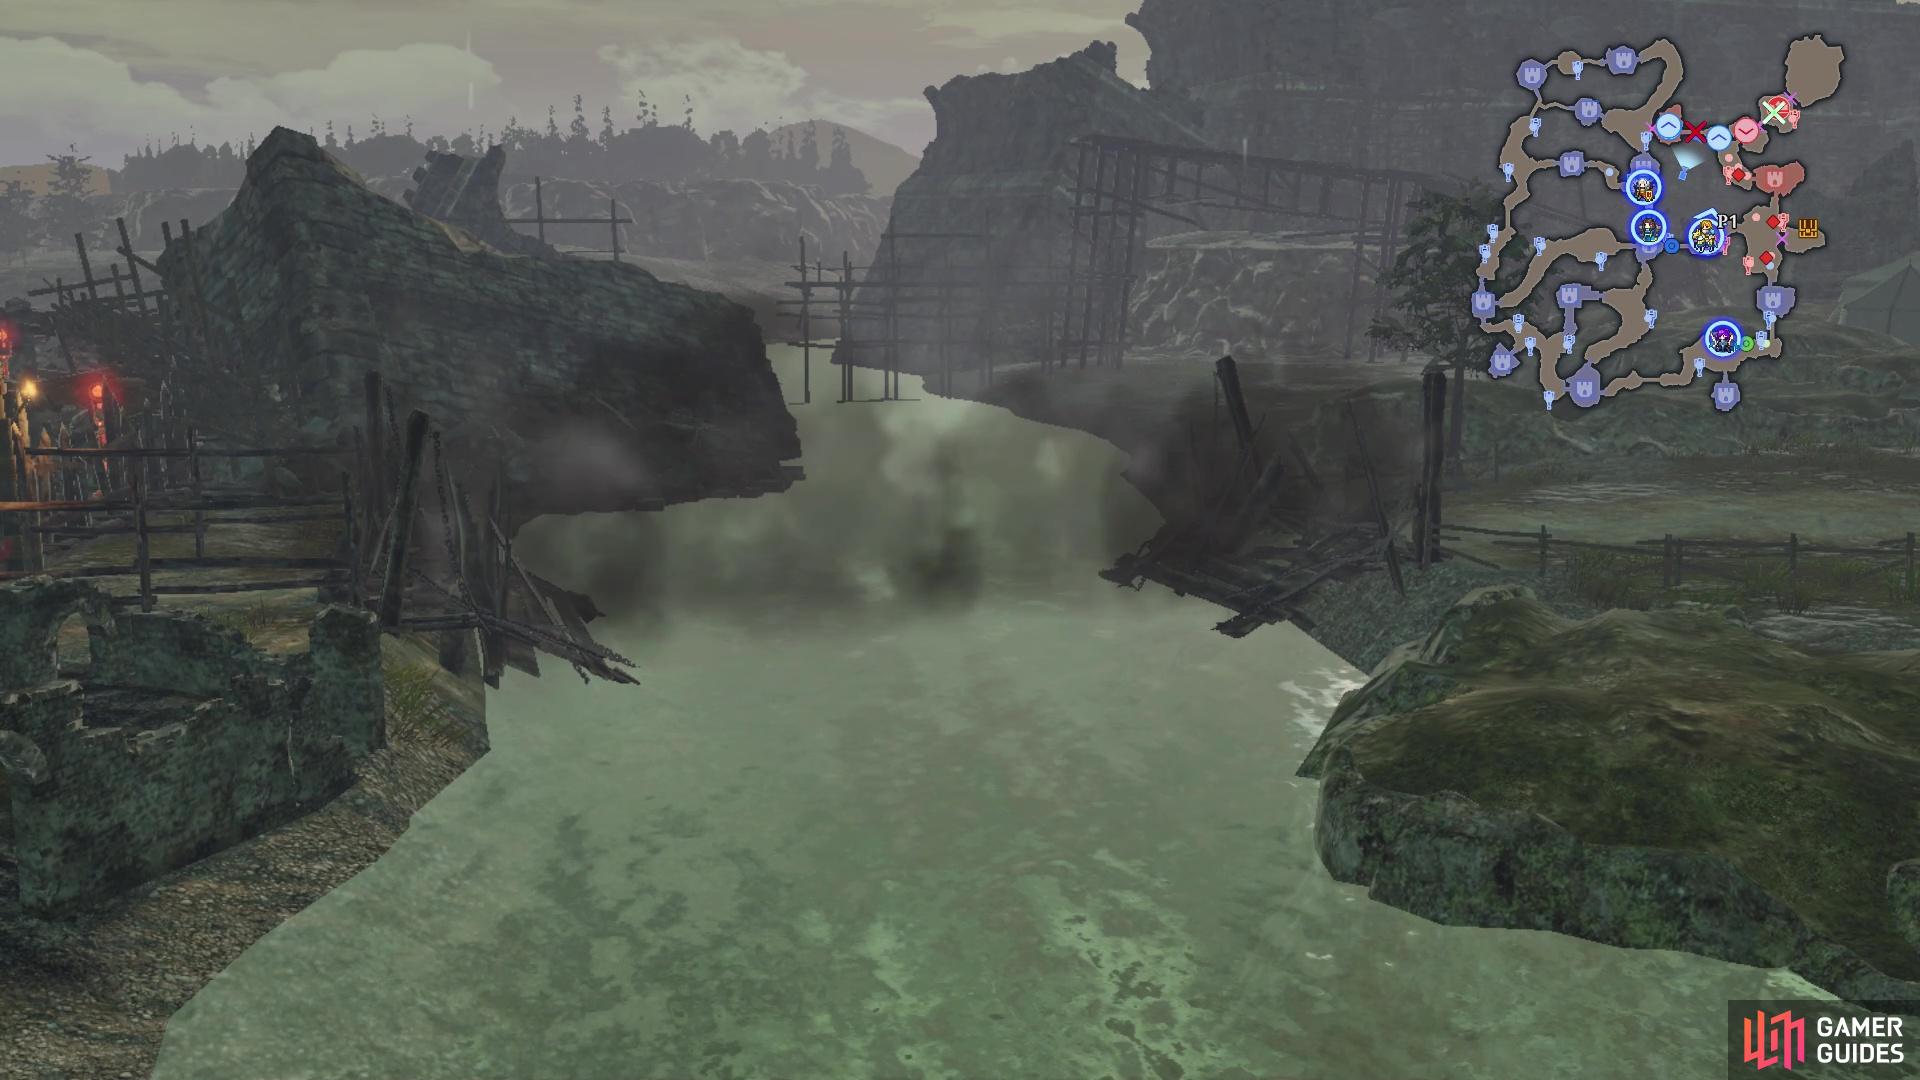
Afterwards, the eastern shoal bridge will be complete. Hurry to the enemy base via the east side of the map. Byleth will try to return to the enemy base, but their path will be cut off, forcing them to go the long way.
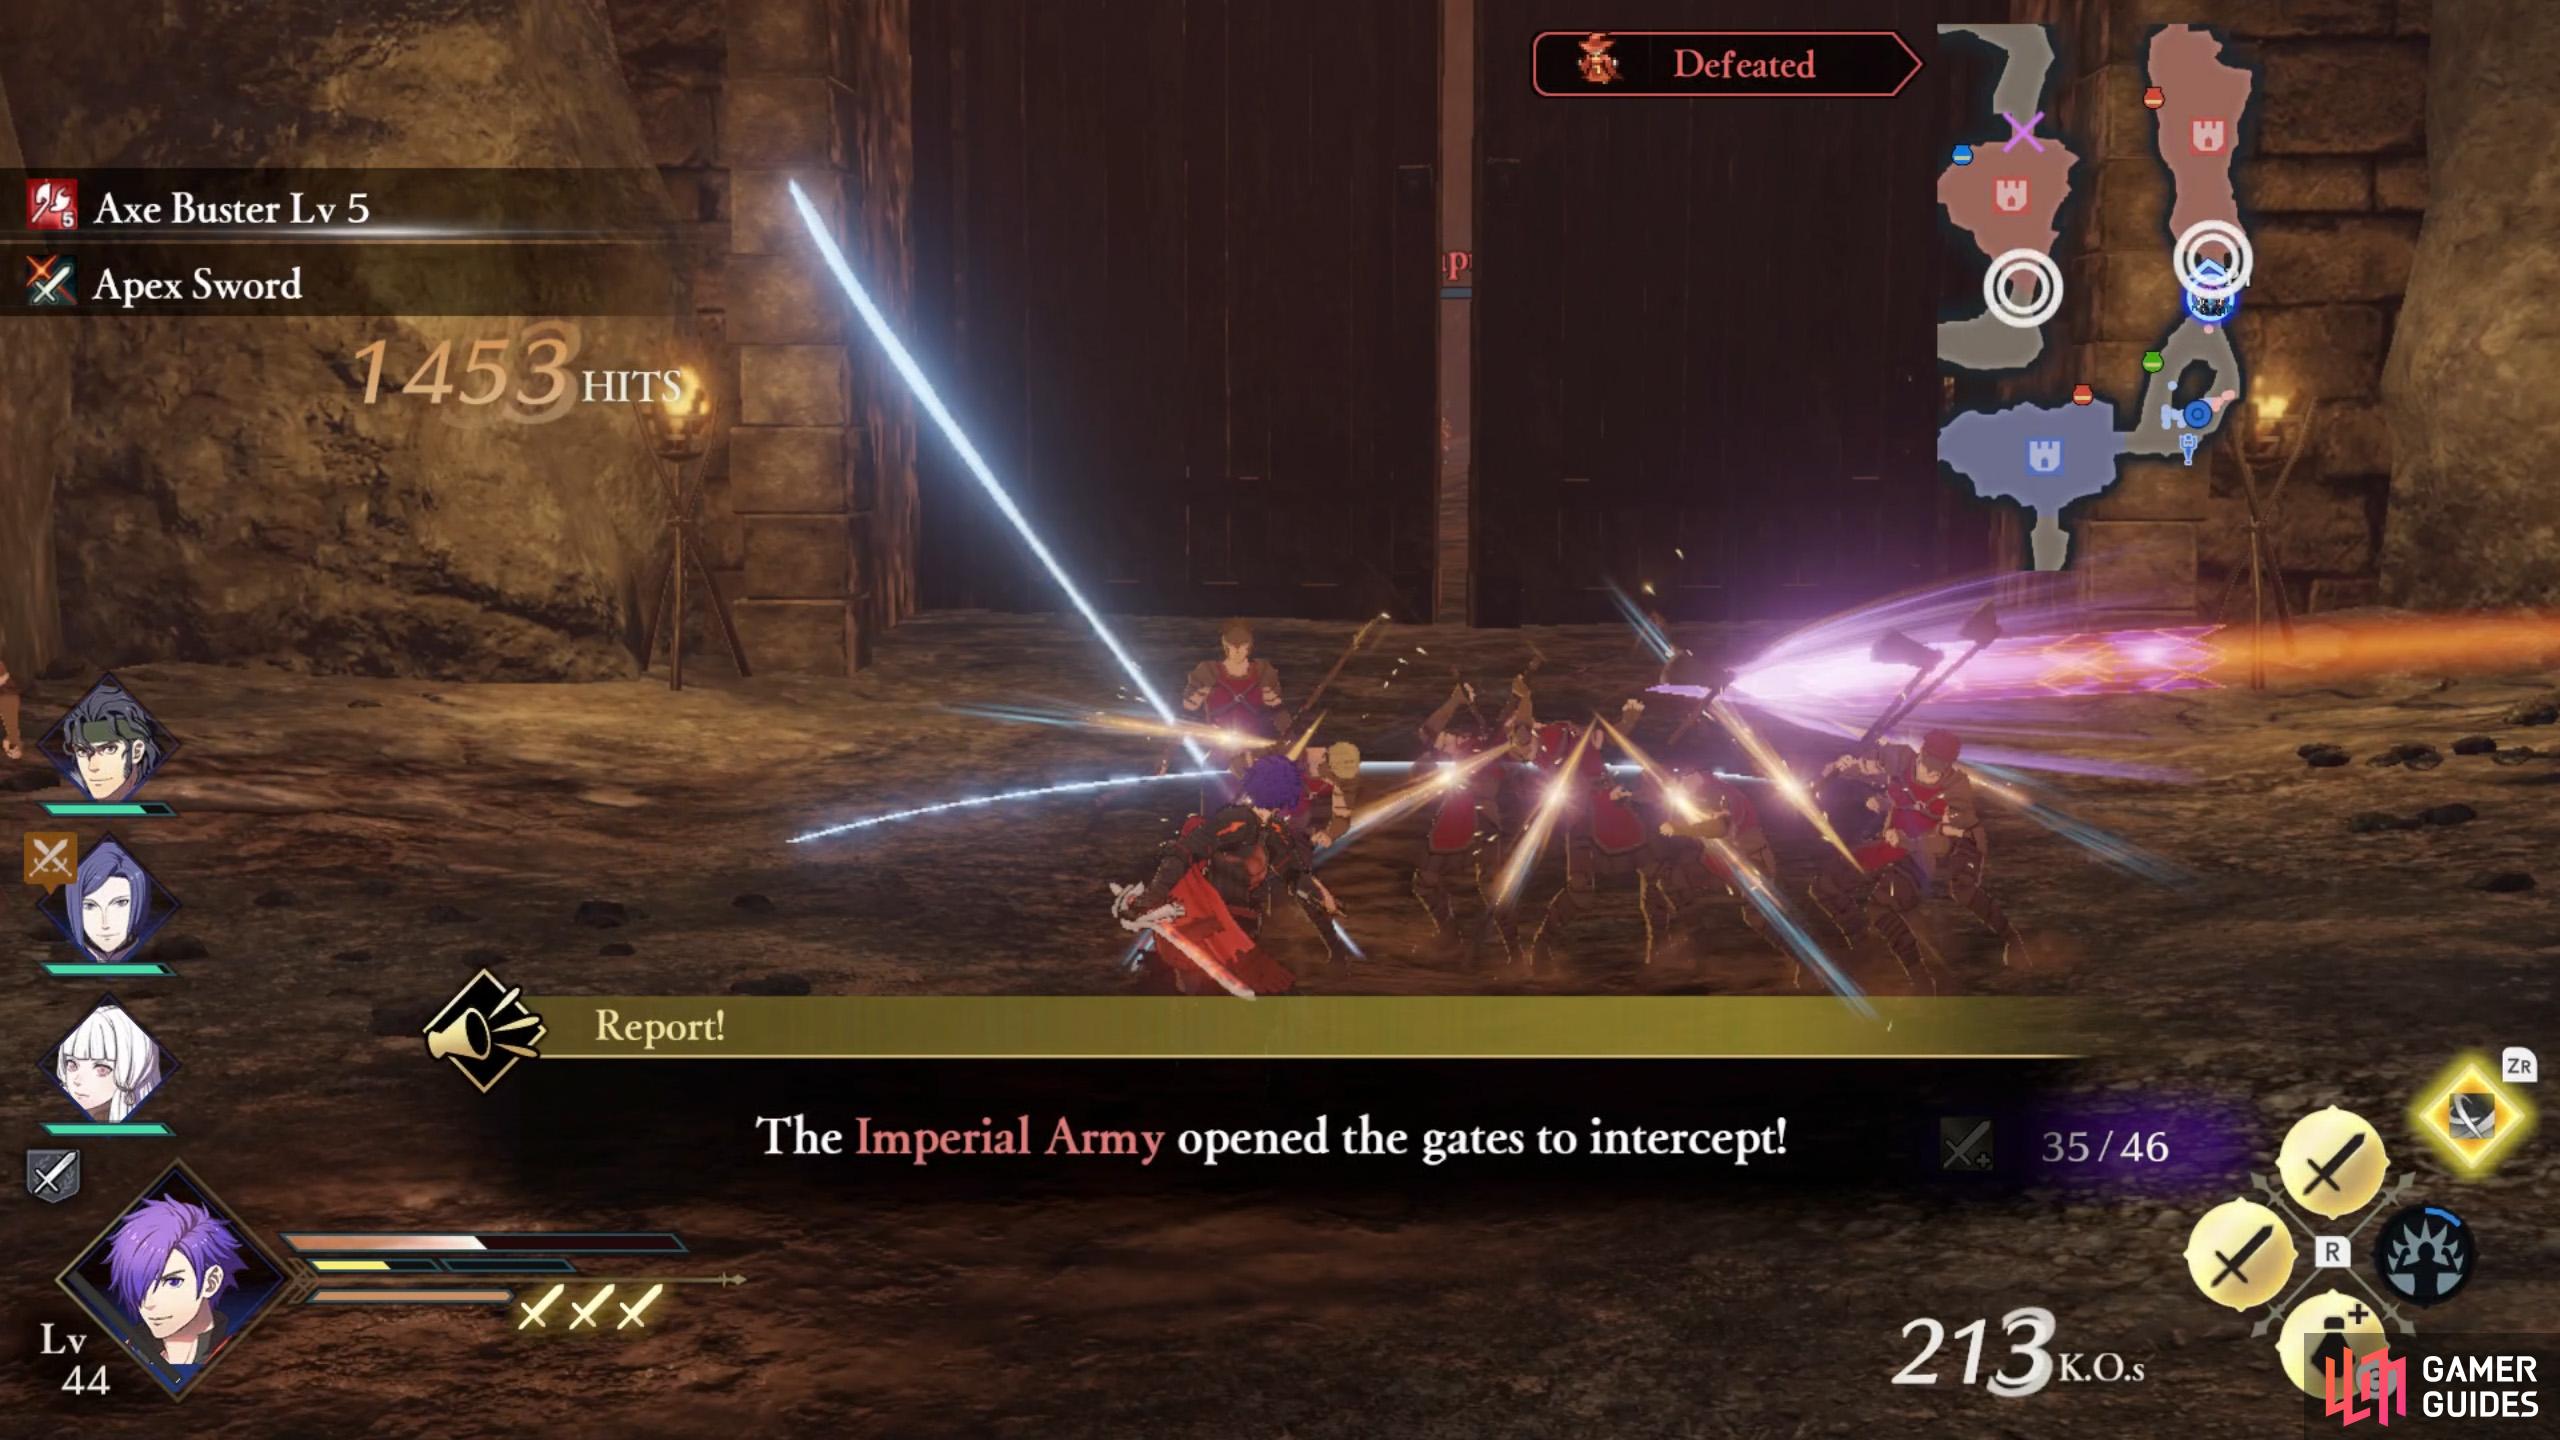
Before reaching Rodrigue, you’ll need to first defeat Alois. A sword-wielder is preferred to swiftly take him down. Cavalry and armor-effective weapons are also good to have.
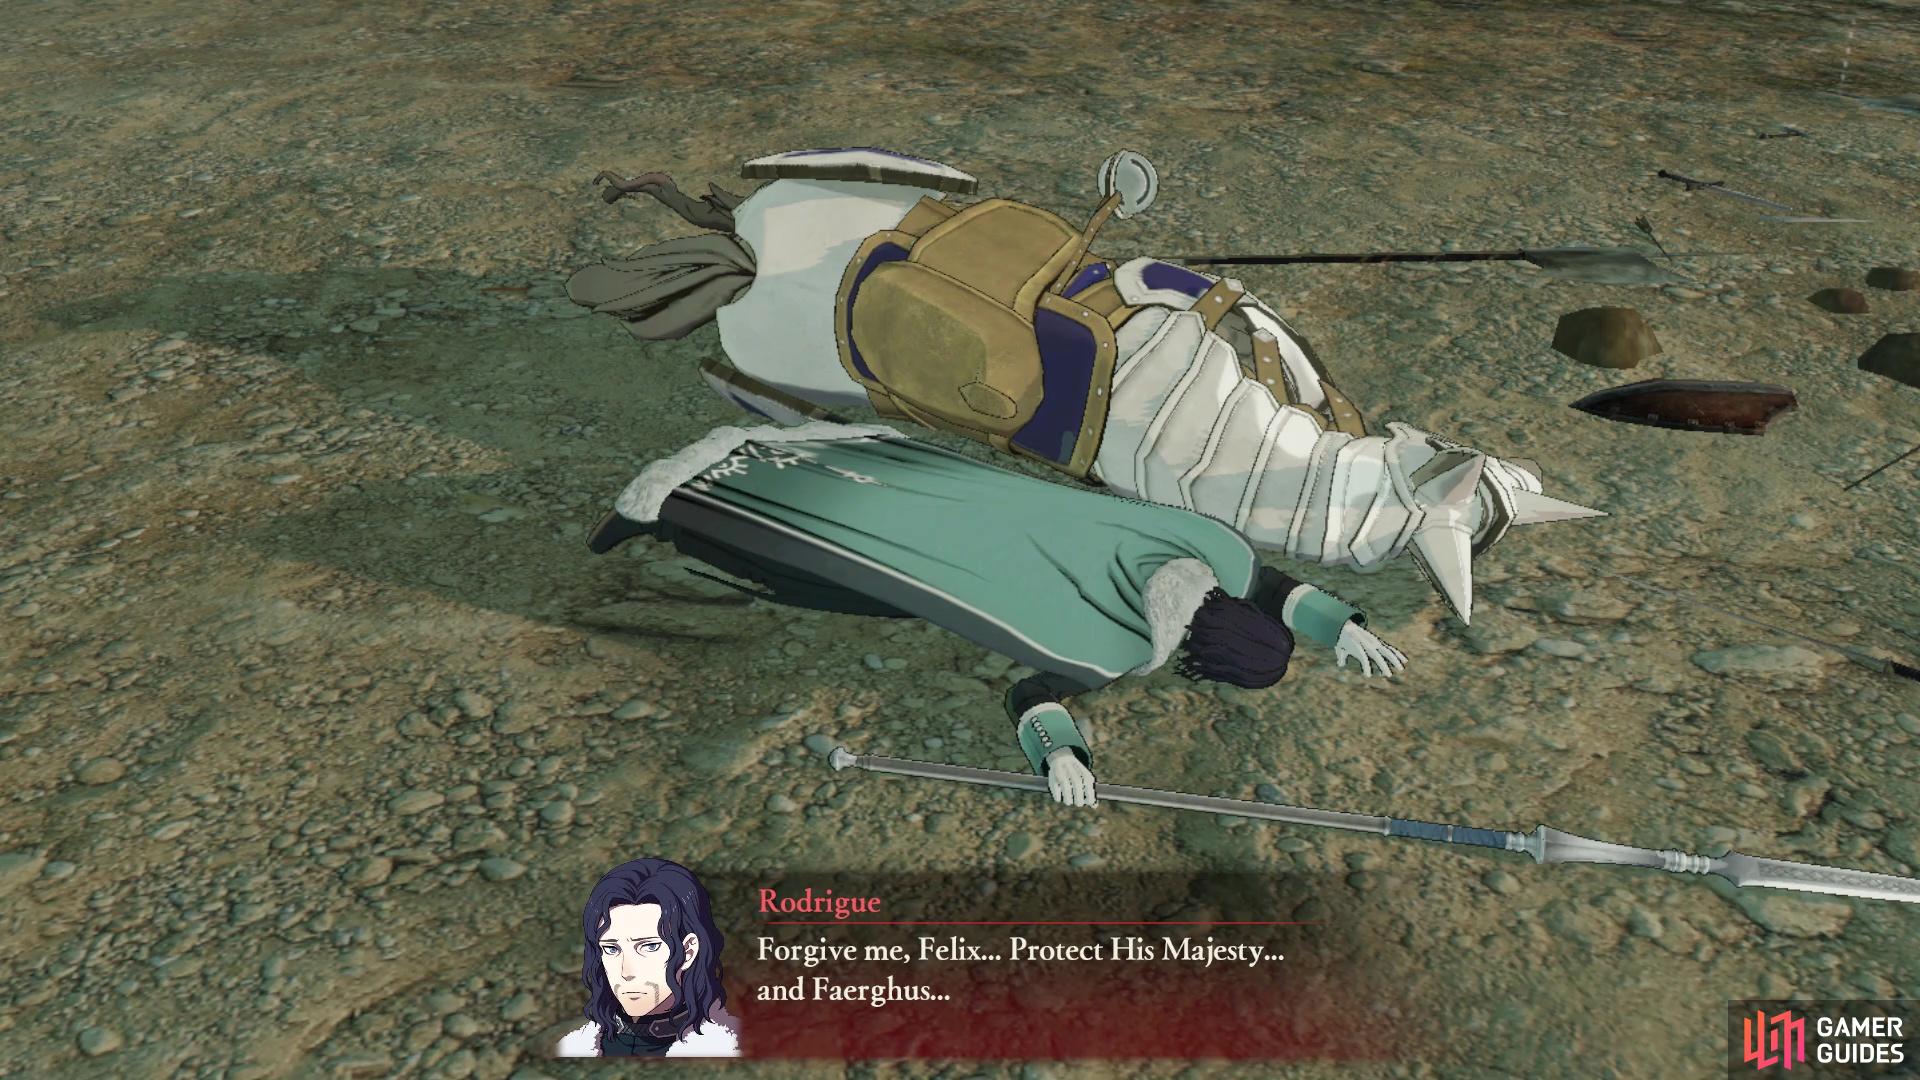
After Alois retreats, the gate ahead will open, allowing you to reach Rodrigue. Batter him senseless with an axe user if you can. Your goal is to defeat Rodrigue before Byleth reaches him (and without defeating Byleth).
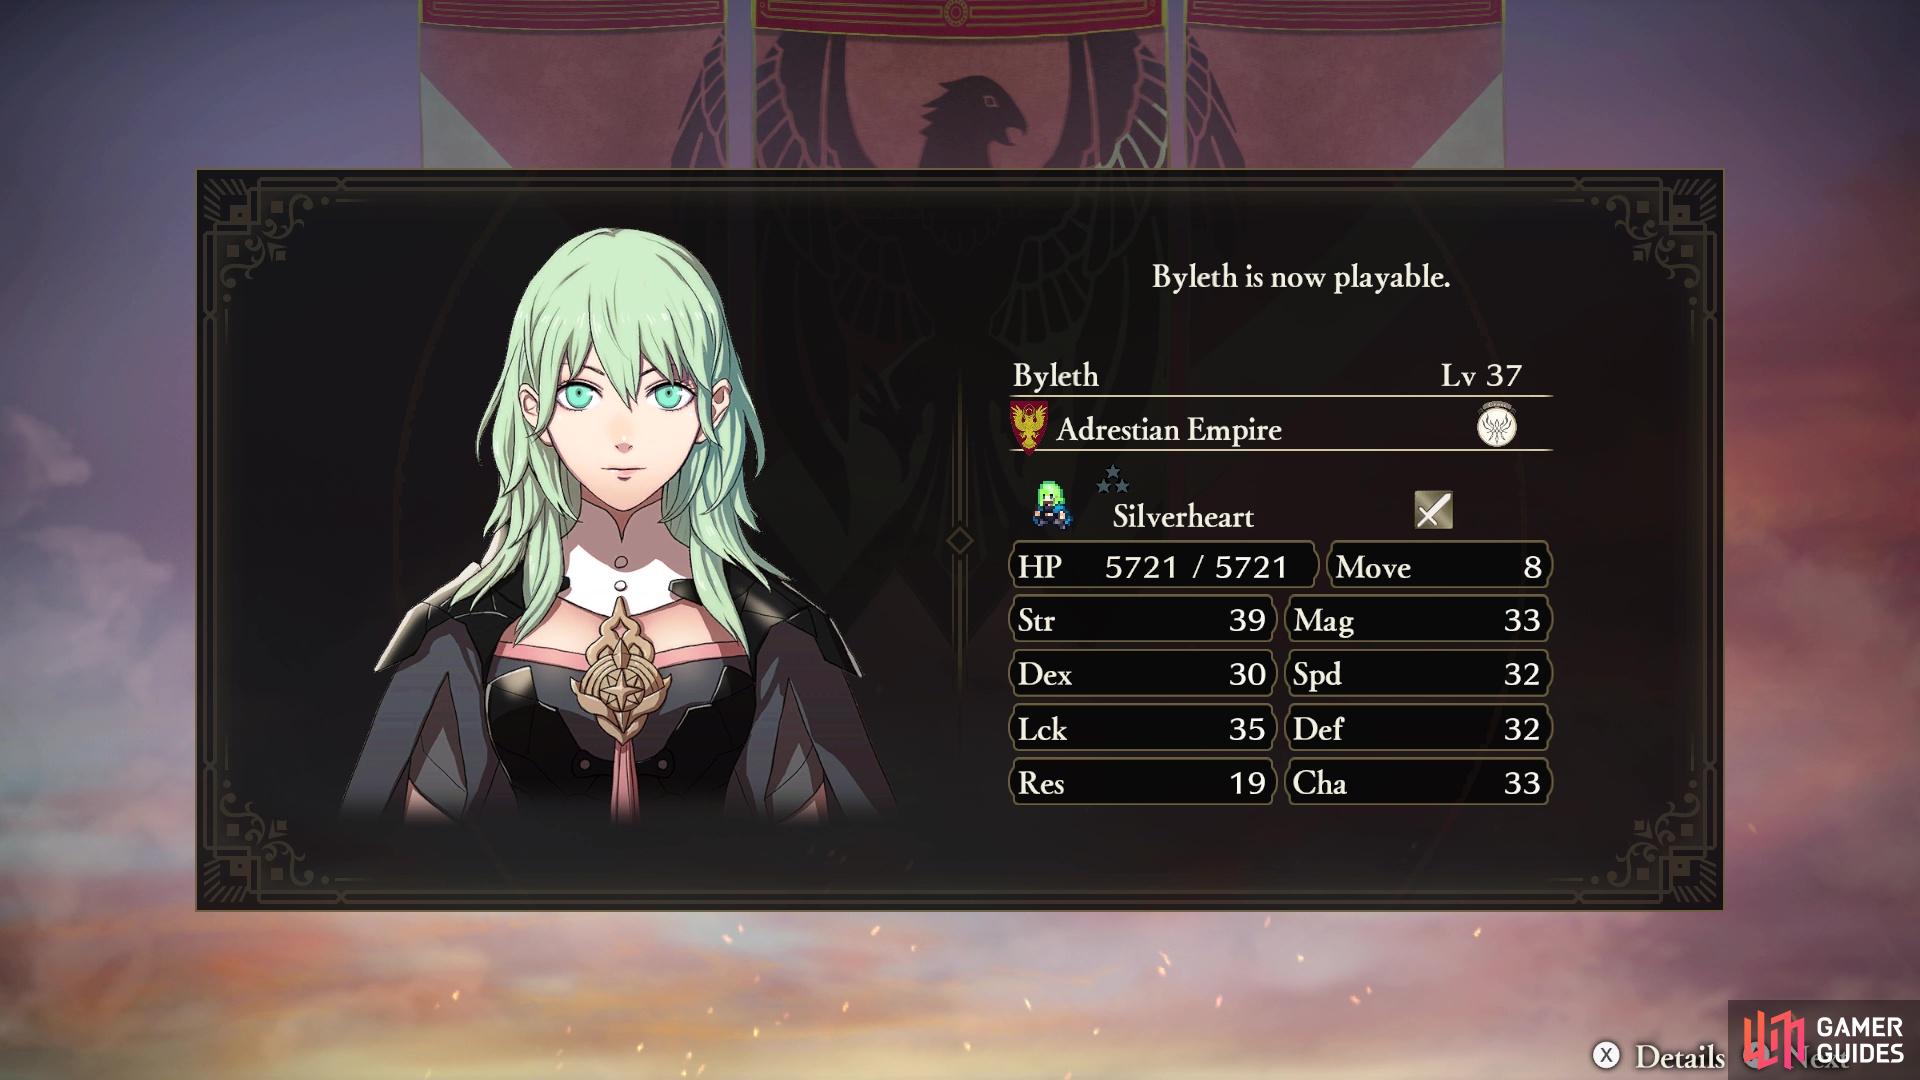
Succeed and Byleth will lend you their sword.
How to Recruit Byleth in Azure Gleam
In Azure Gleam, Byleth can be recruited in Chapter 12: A Trick of the Goddess, during the Main Quest battle [The Conquest of Hevring].
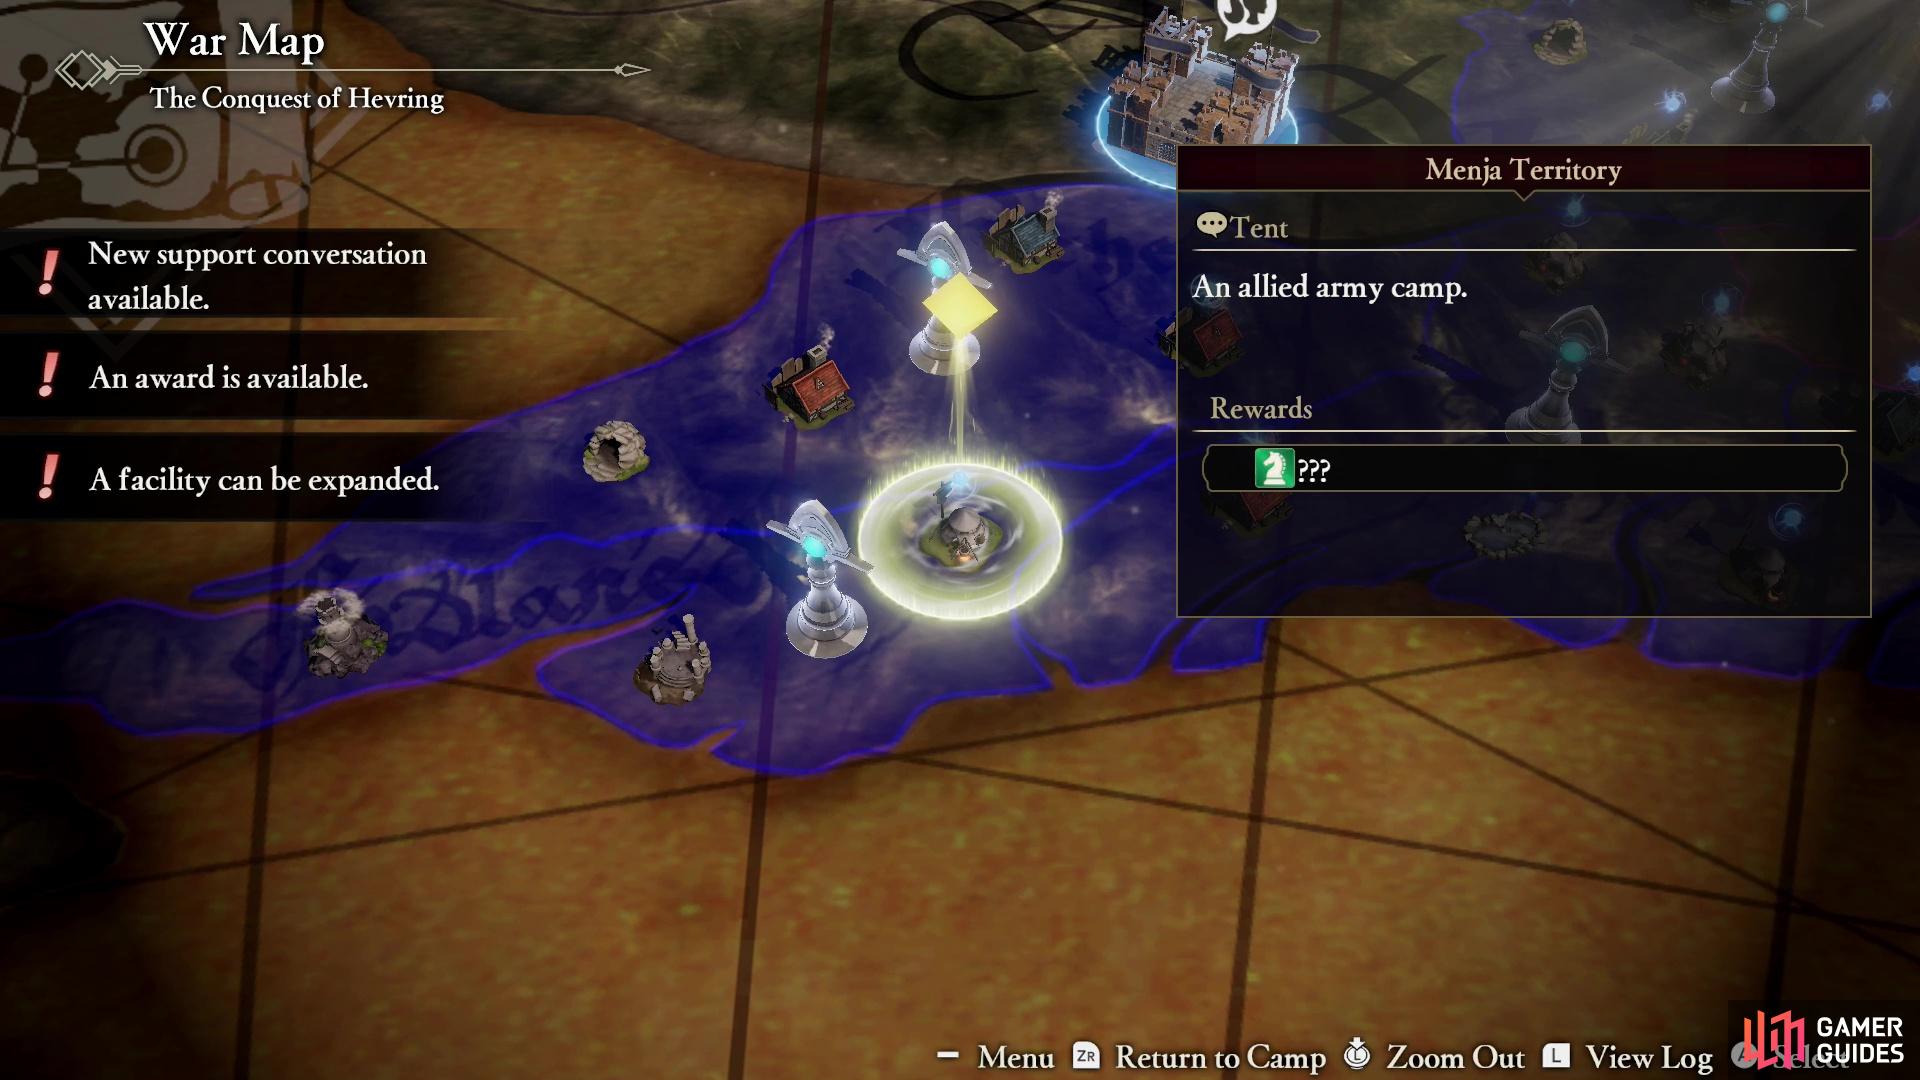
(1 of 3) Seek out a Surveying Spot in Menja Territory,
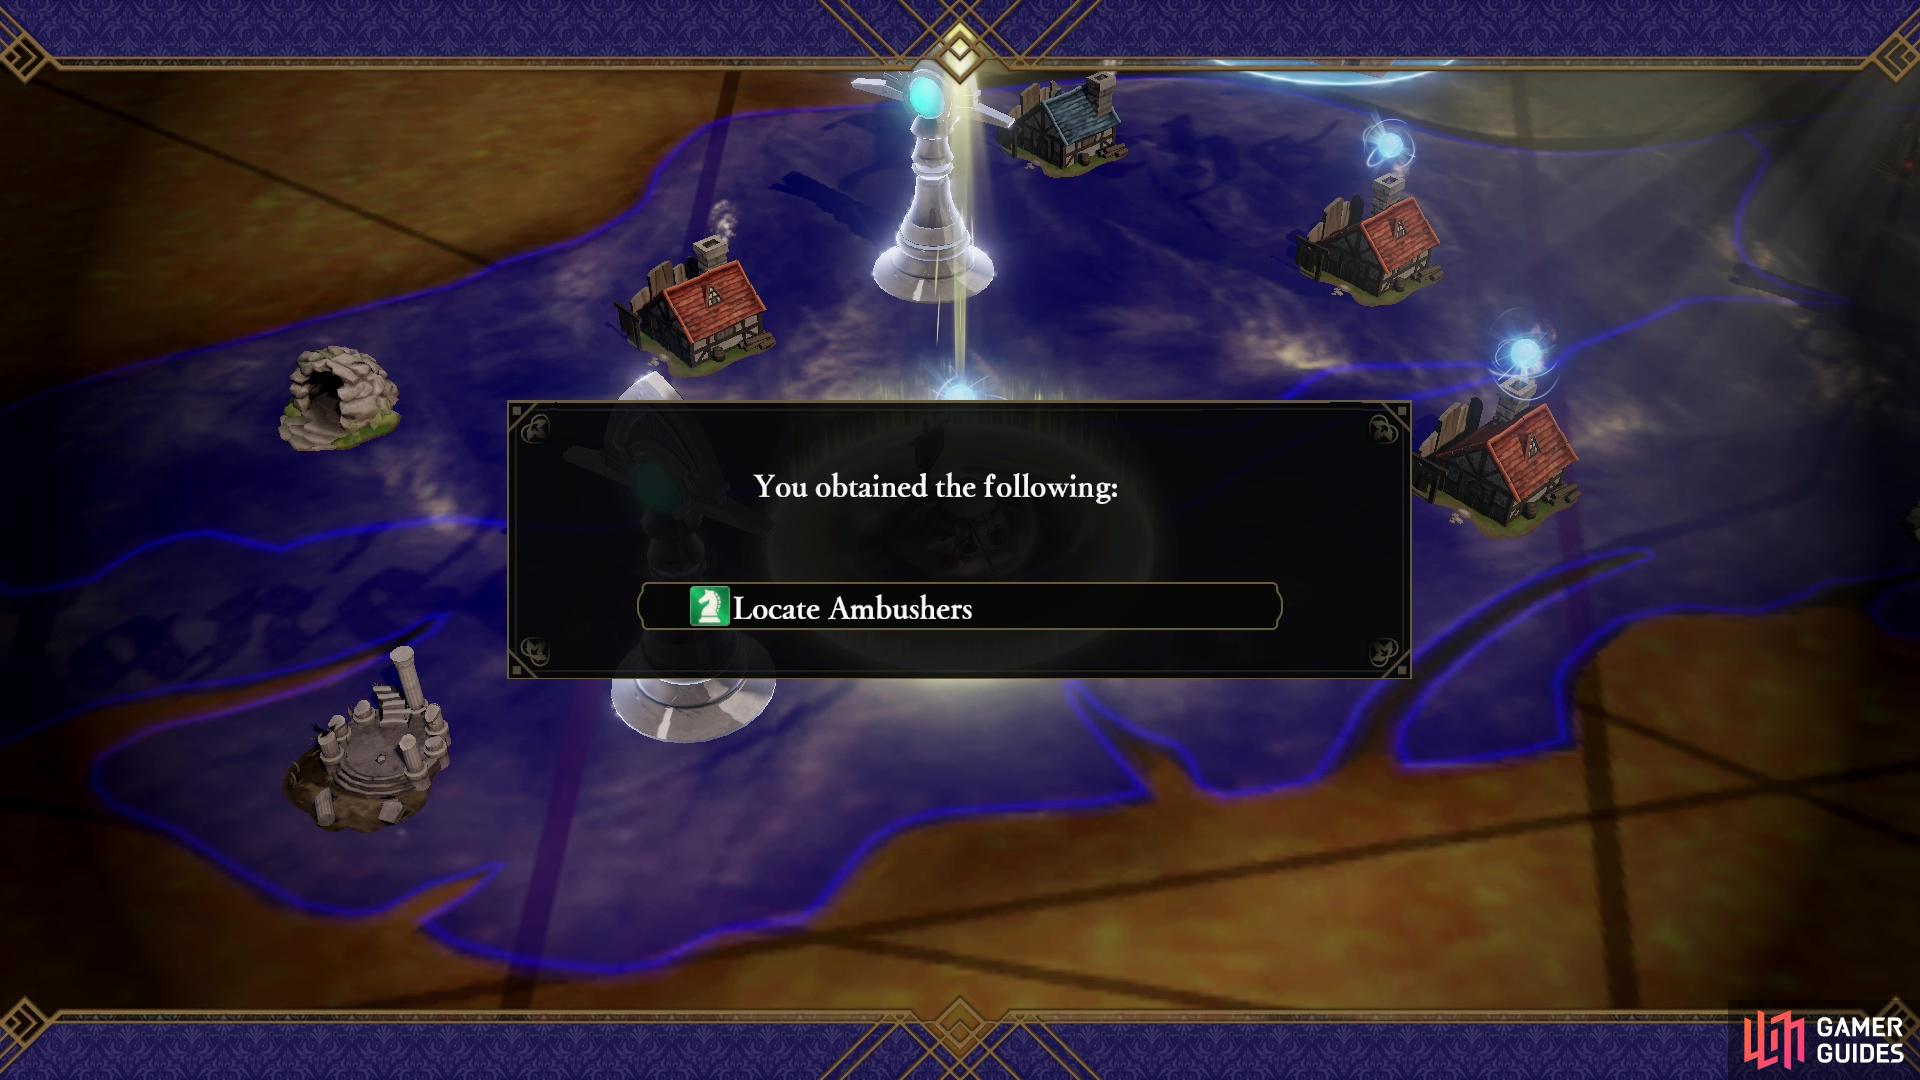
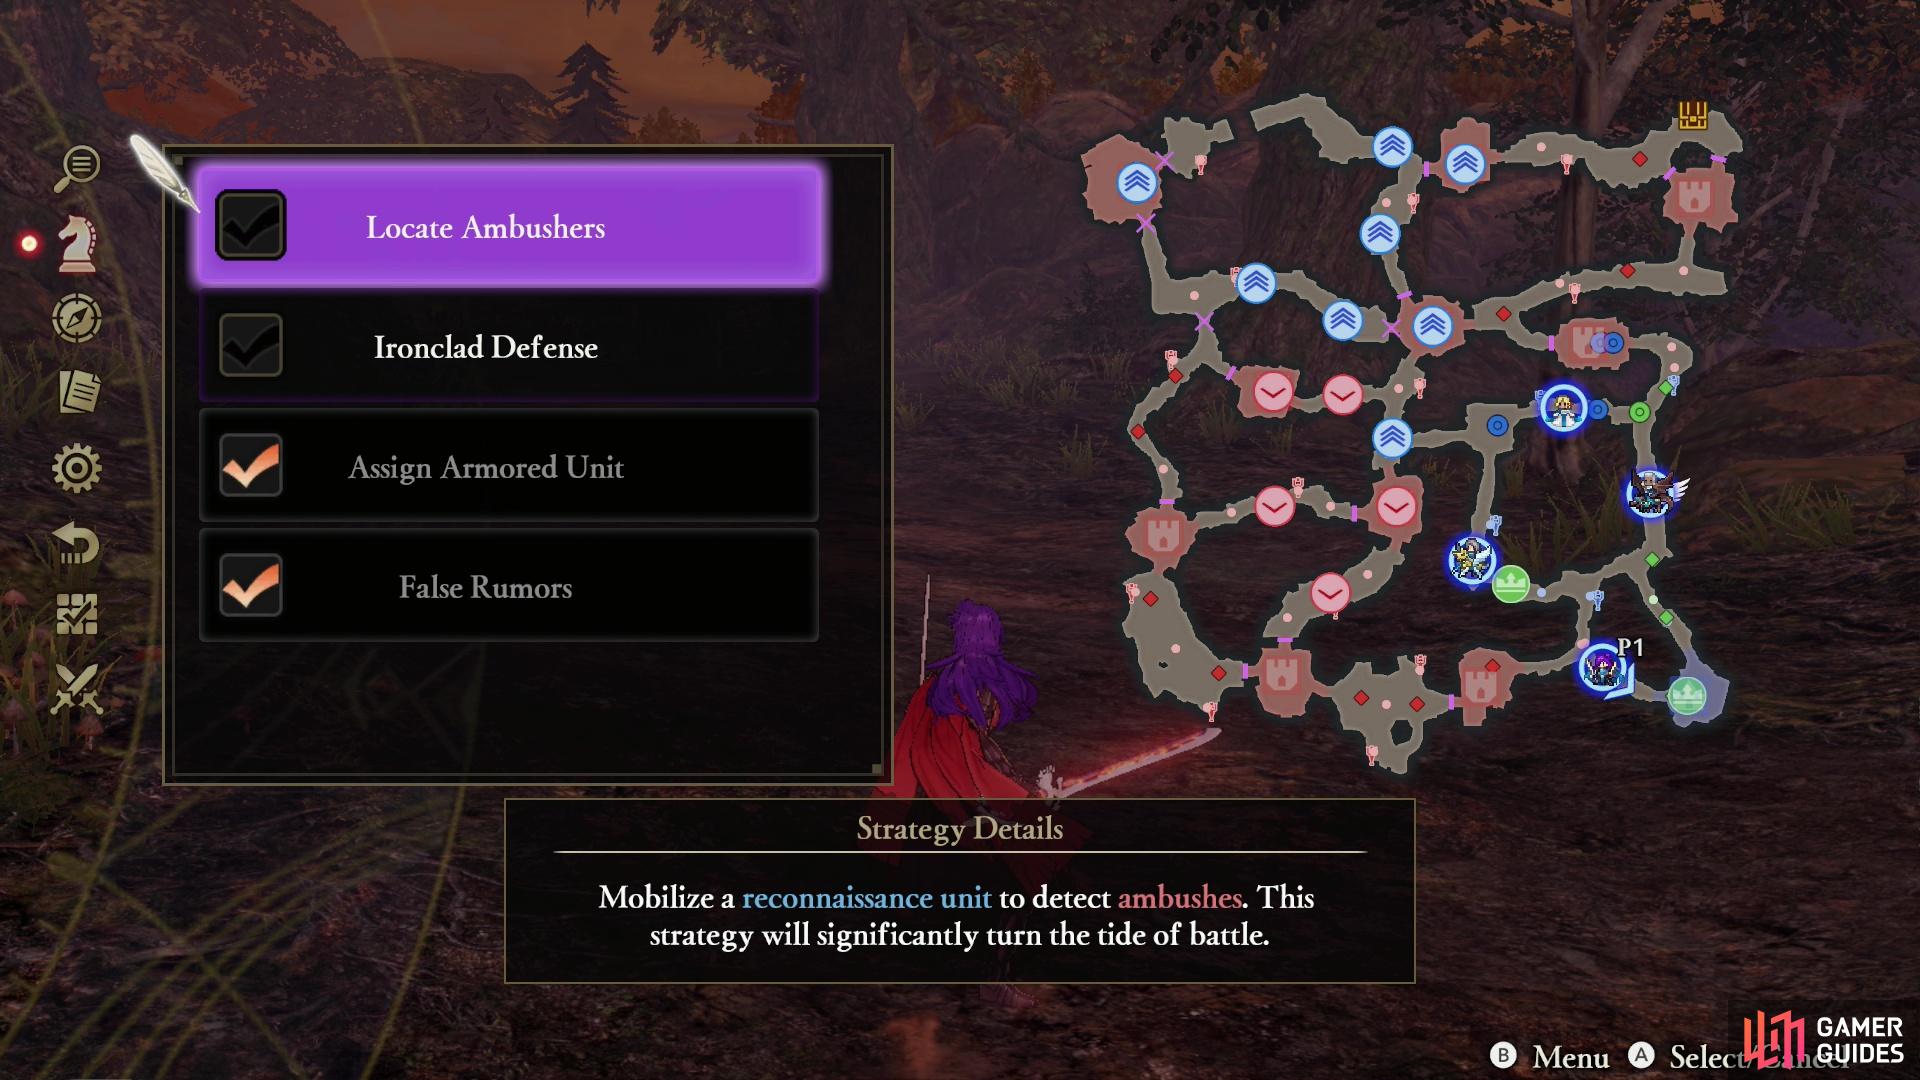
Step 1: Obtain the “Locate Ambushers” Strategy
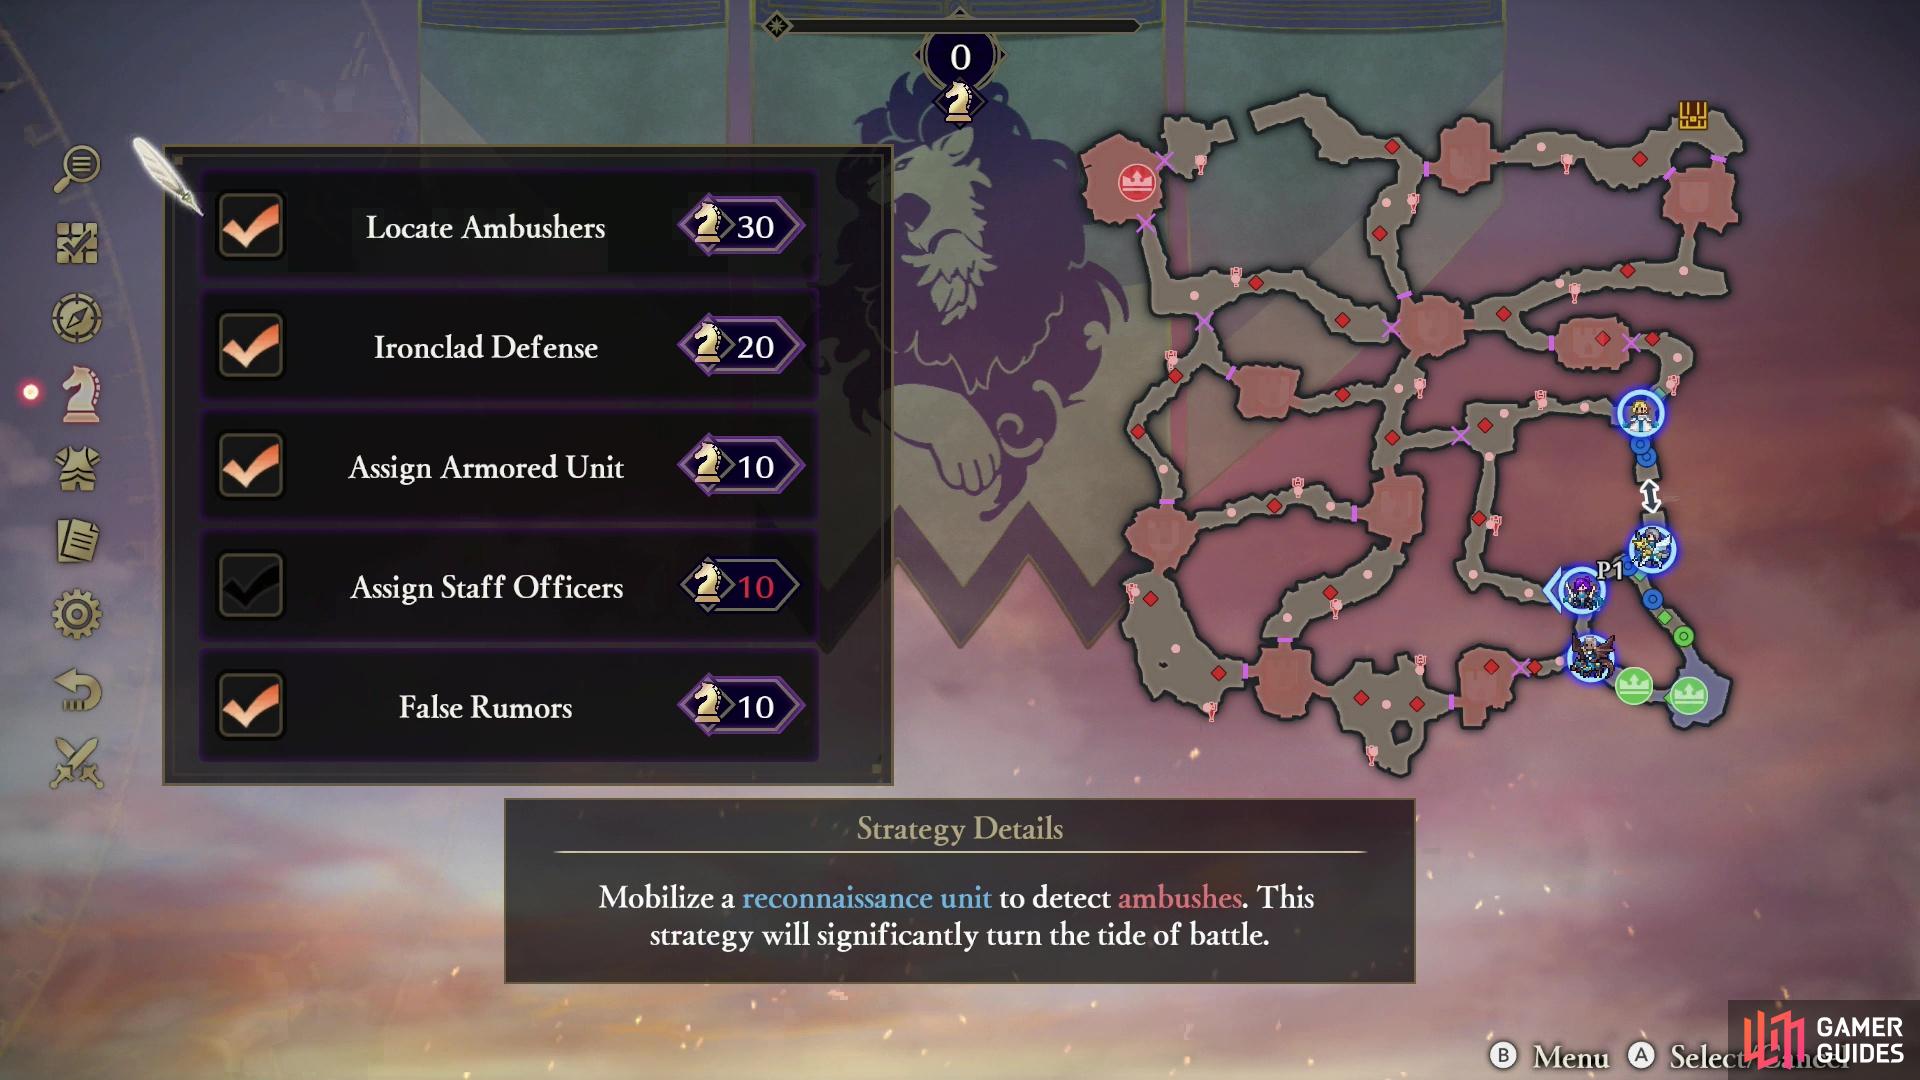
Before beginning the chapter’s Main Quest, you must obtain the Locate Ambushers Strategy by searching the tent surveying spot in Menja Territory (located towards the south-west) on the War Map. Then, when you start the Main Quest, be sure to enable the Locate Ambushers Strategy (costs 30 Strategy Resources) before entering the fight.
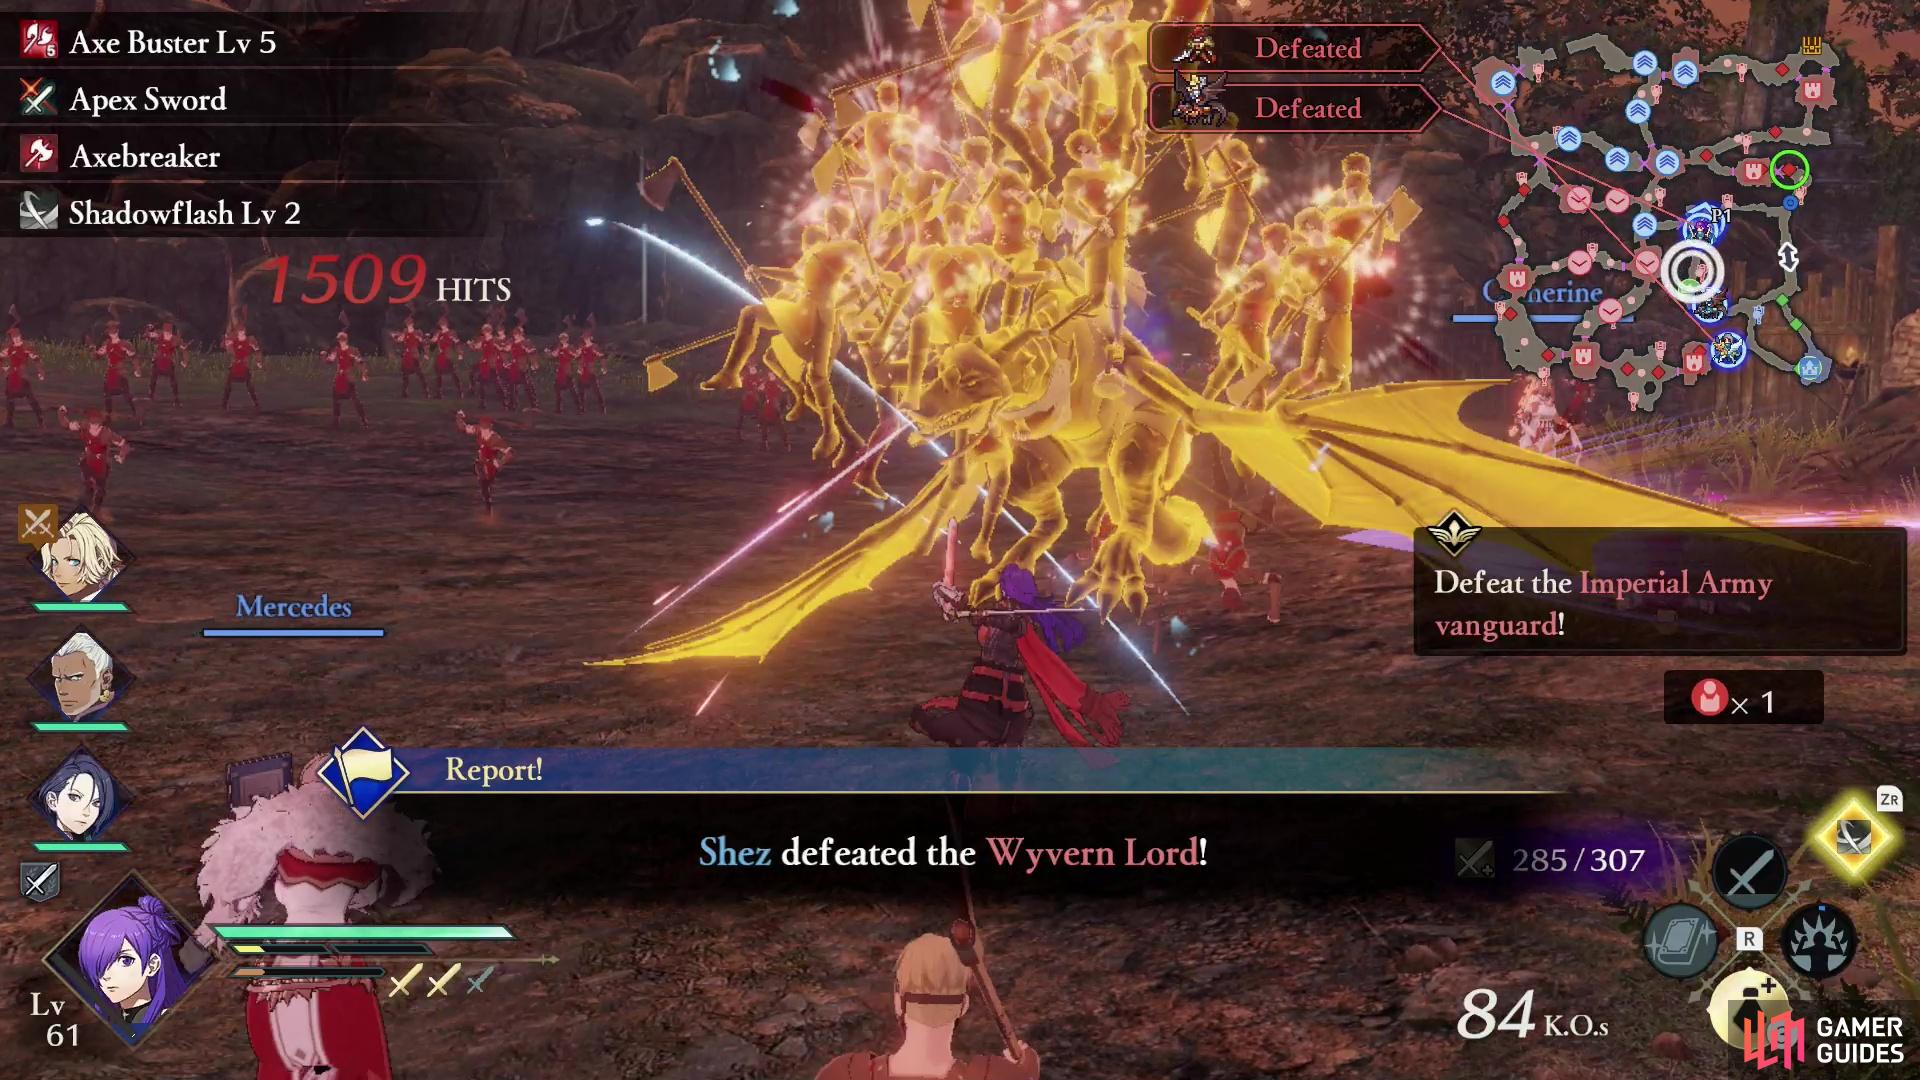
Step 2: Defeat the Vanguard and Secure Strongholds
When the battle begins, your first task will be defeating the enemy vanguard just outside your main camp (Allied Base). This consists of a Trickster, Bow Knight and two Wyvern Lords. At this point you really can’t do much to mess up the battle, so just stick close to base and clean up. Once they’re defeated Strongholds to the north (Forest Lake Path) and west (Forest Camp) will open their gates - claiming these Strongholds will make your life much, much easier, and you should sic a few units on seizing each. Once these Strongholds are yours, be sure to enter the Battle Map and command most of your allies to defend these two Strongholds; an enemy counterattack will pour through these Strongholds, and if they get through your chances of recruiting Byleth will be compromised. Also, if your allies get too feisty and pick fights with the wrong enemies, it could foil your plans. Setting units to guard these Strongholds kills two birds with one stone.
(1 of 2) Clear the Imperial vanguard near your main camp,
Clear the Imperial vanguard near your main camp, (left), and activate the “Locate Ambushers” Strategy when prompted. (right)
Step 3: Avoid the Ambushers
After defeating the imperial army’s vanguard and securing the Strongholds near your base camp you’ll need to advance to Randolph without being ambushed. During the beginning phases of the battle, keep an eye out for the prompt to activate the Locate Ambushers Strategy, and be sure to activate it when you see it (hold
Now for the tricky part. You need to reach your destination without any of your characters being spotted by those ambushers. This is why your allies should be assigned to guard the aforementioned Strongholds (ideally you’ll stick at least two characters in each Stronghold), but if you want some extra firepower you should be safe in nominating an adjutant or assigning some allies to guard whichever character you plan to primarily play for the upcoming phase. Do not dump characters in your main base! It may stave off defeat if anything goes awry, but it will not prevent you from failing to recruit Byleth!
With everything assigned (now isn’t a terrible time for a Bookmark Save, if you’re not playing on Classic Mode), move west across the center of the map, following the arrows as you go. You can capture the south-central Stronghold (Roadside Rest Stop), then head west and subjugate the west-center (Roadside Forest Trail), after which you’ll need to head north towards the enemy main camp (Castle Ruins).
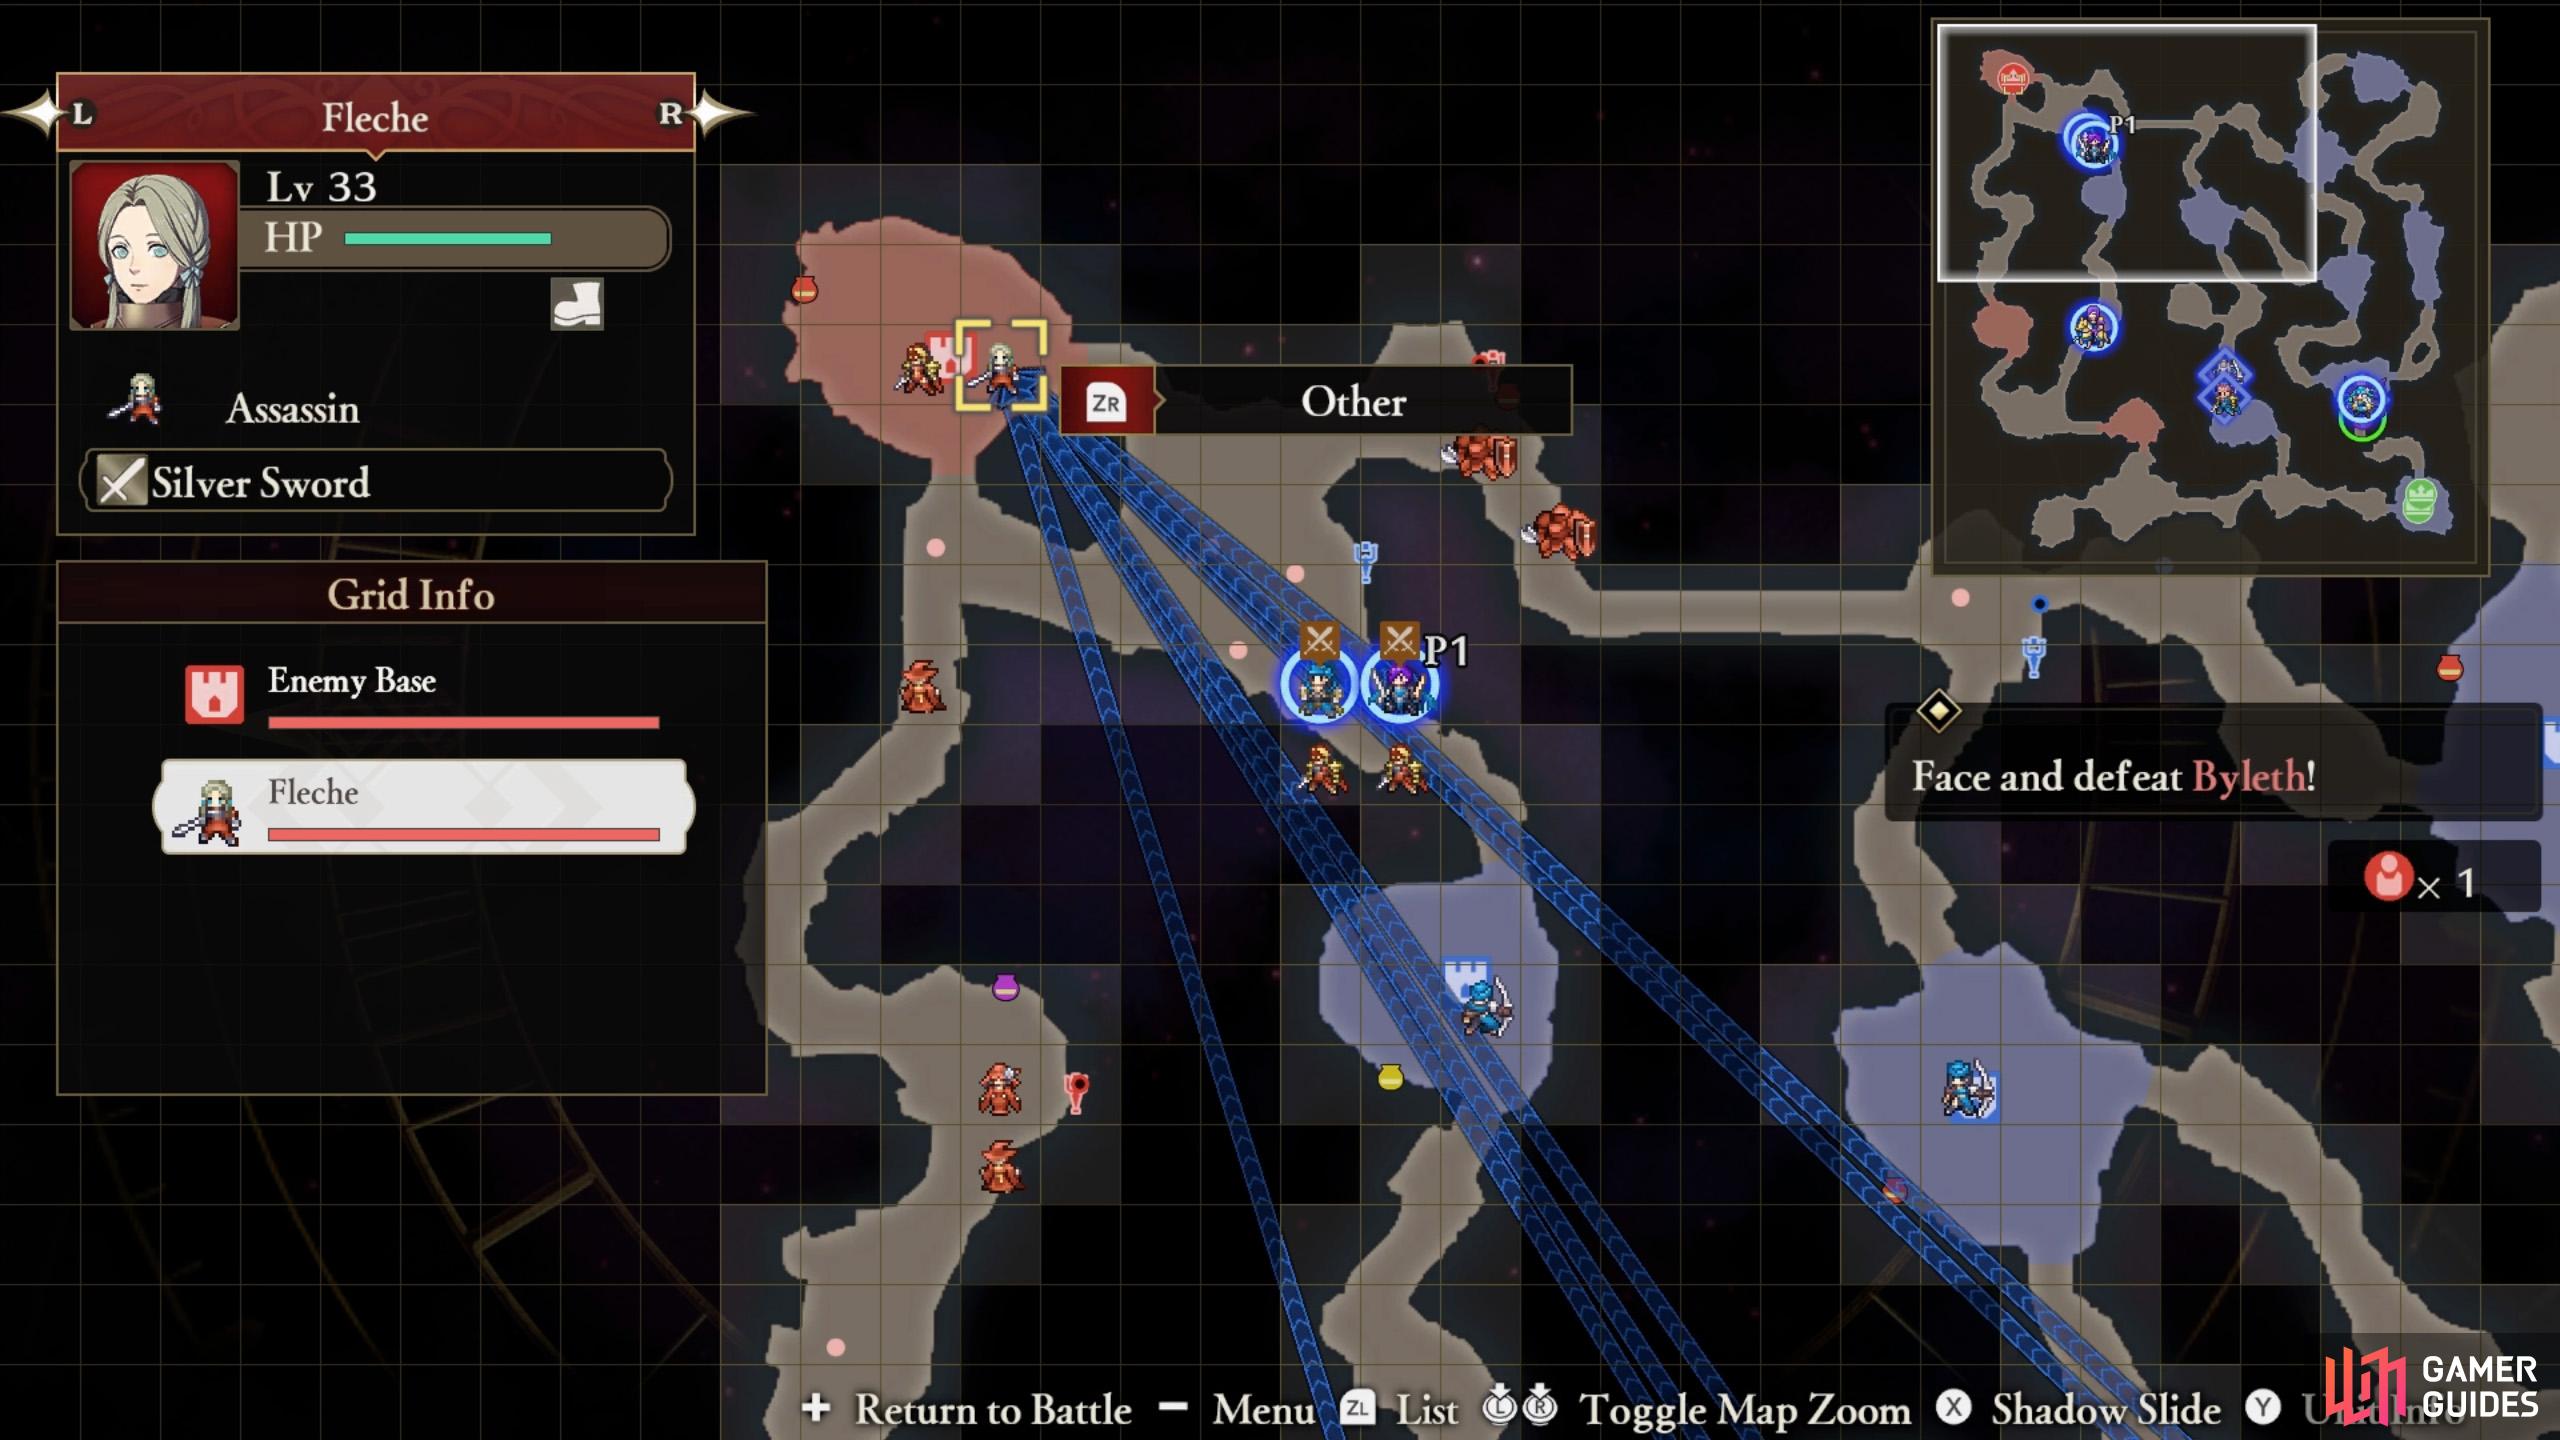
When you reach the gate to the enemy main camp, Fleche will suddenly appear.
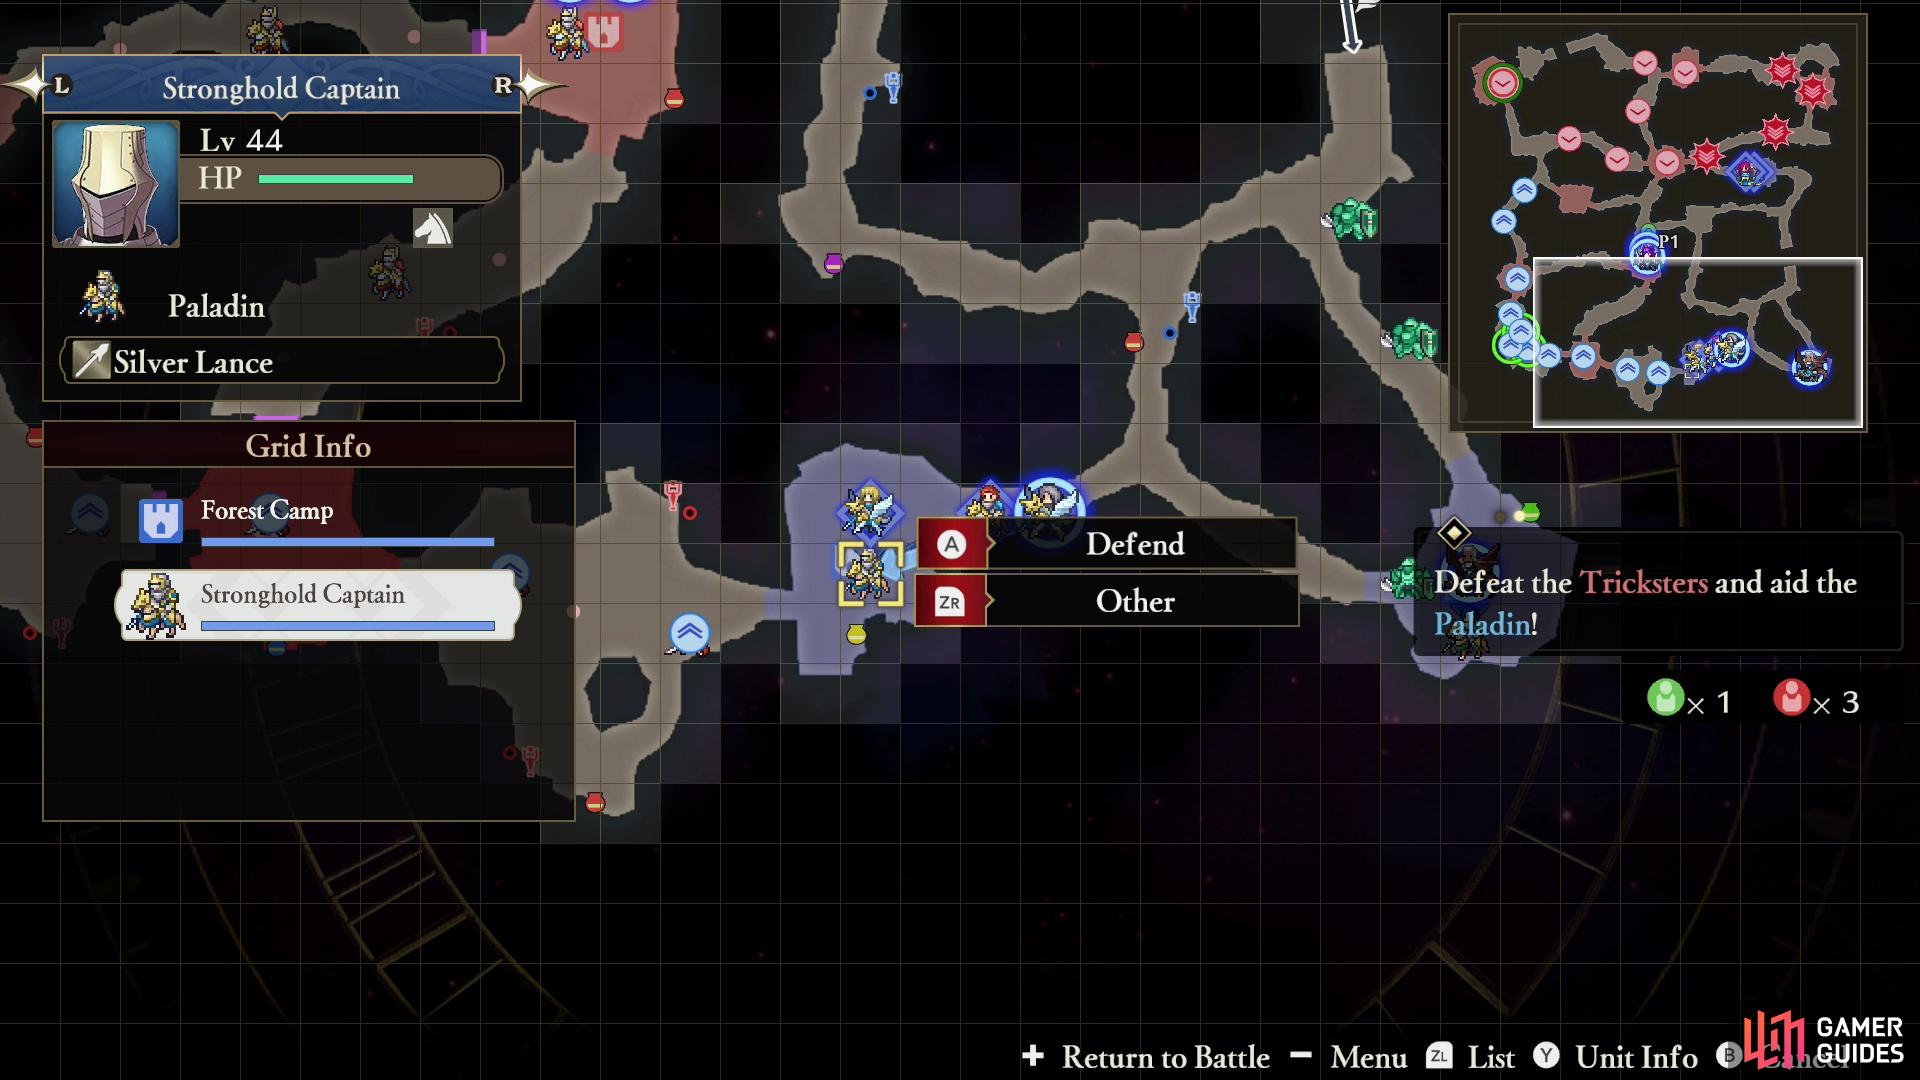
(1 of 3) Reinforce the Strongholds near your main camp to keep your units from straying afield and prepare for an upcoming emergency.
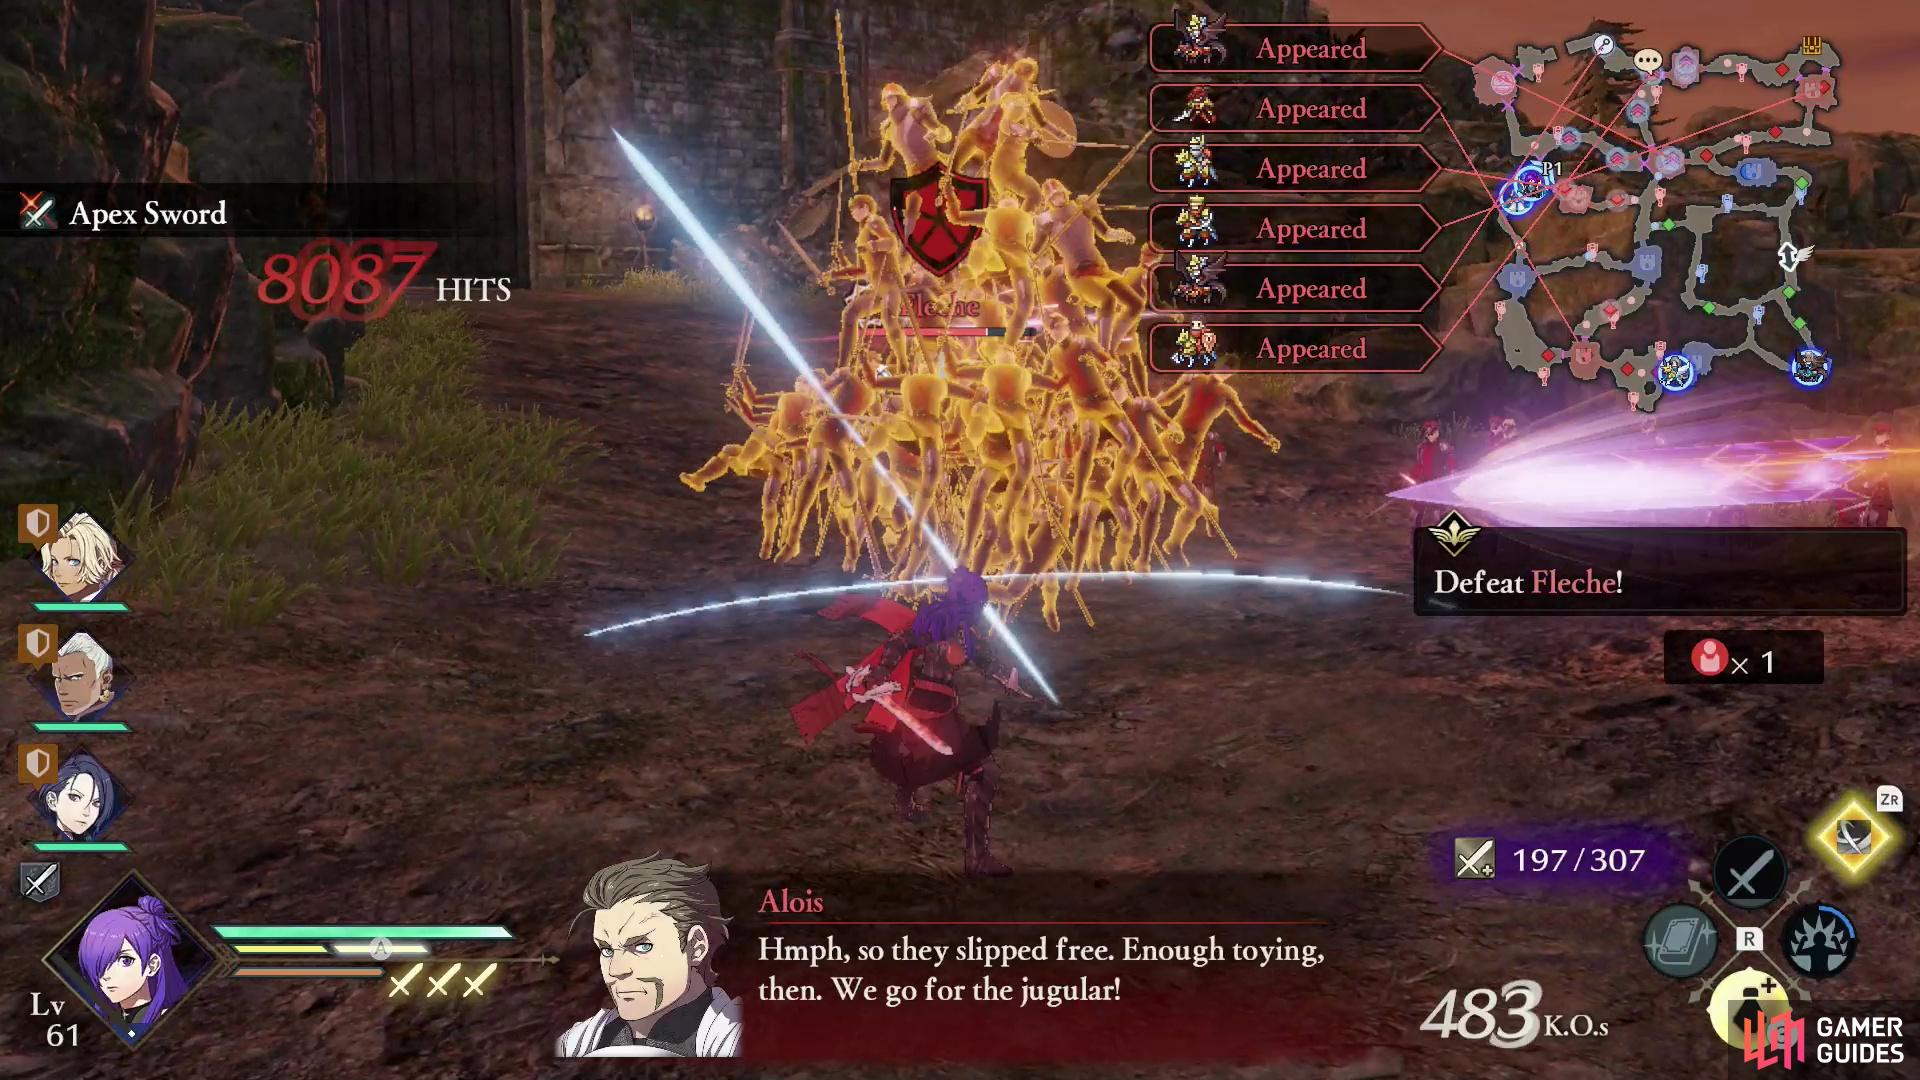
Step 4: Defeat Fleche and Alois
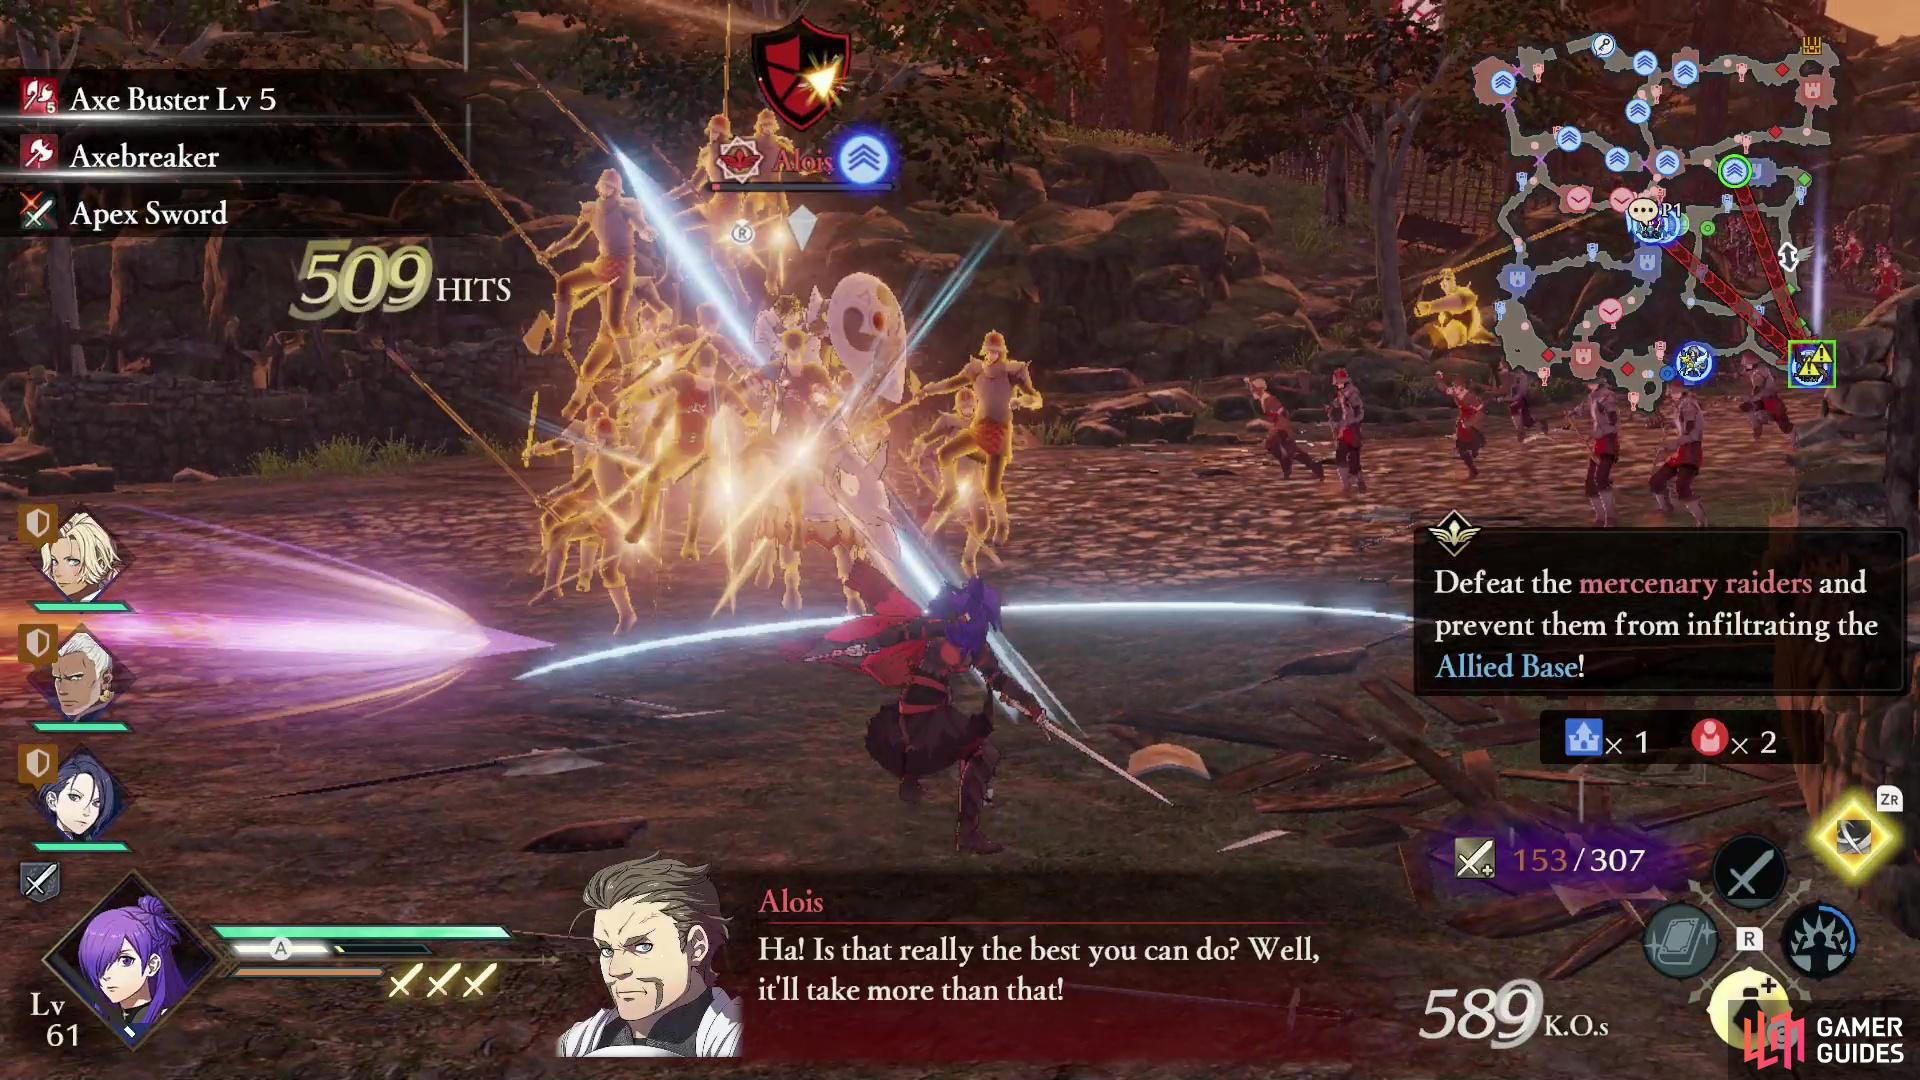
Your Main Mission will then change to “Defeat Fleche”, and as you fight her another Main Mission will start, “Defeat the mercenary raiders and prevent them from infiltrating the Allied Base”. Alois and around half a dozen units - presumably the would-be ambushers - will appear and engage in a headlong charge towards your main base.
If any of the enemy units make it into your main base, Byleth will decide the offensive is well in hand and will appear near the enemy main base, where she’ll defend the gates. You will have no choice but to defeat her to reach Randolph, the enemy commander, thus preventing you from recruiting her this playthrough. You must defeat Fleche quickly (this shouldn’t be difficult), then quickly stop Alois’ raid, which can be trickier.
If you claimed the Strongholds near your main camp (Forest Lake Path and Forest Camp) and assigned some officers to guard them, this should be much easier, as most of Alois’ raiders will end up in these two Strongholds. Assuming the guarding characters aren’t poorly matched or horribly underleveled, they should at least be able to hold the enemy raiders at bay long enough for you to deal with them. The tricky part involves Alois and an attendant Holy Knight, who will move down the center of the map, taking the path between the two Strongholds flanking your main camp. Alois is shameless here, and if left to his own devices he’ll run straight on into your main camp, spoiling your attempt to recruit Byleth. Remember, it does not matter if your main camp is in any way legitimately threatened by Alois - if he makes it there, Byleth will defend the gate to the enemy main camp and you won’t be able to win without defeating her.
That being the case, the best strategy is to make your way back east after defeating Fleche (ideally by using Shadow Slip to return to your main camp), then head to intercept Alois and the Holy Knight. This is easily done by simply waiting at the fork in the road north of the south-central Stronghold (Roadside Rest Stop) you claimed en route to western end of the map. When Alois arrives he’ll opt to fight it out with you instead of running past - defeat him, and his Holy Knight, then mop up the other raiders occupied at the nearby Strongholds, if necessary. Once Fleche, Alois, and the mercenary raiders have all fallen/retreated, Byleth and Randolph will appear on the battlefield.
Time for the final stroke of your stratagem.
(1 of 3) Defeat Alois’ raid without having your main camp compromised and Byleth will decide to reinforce Randolph.
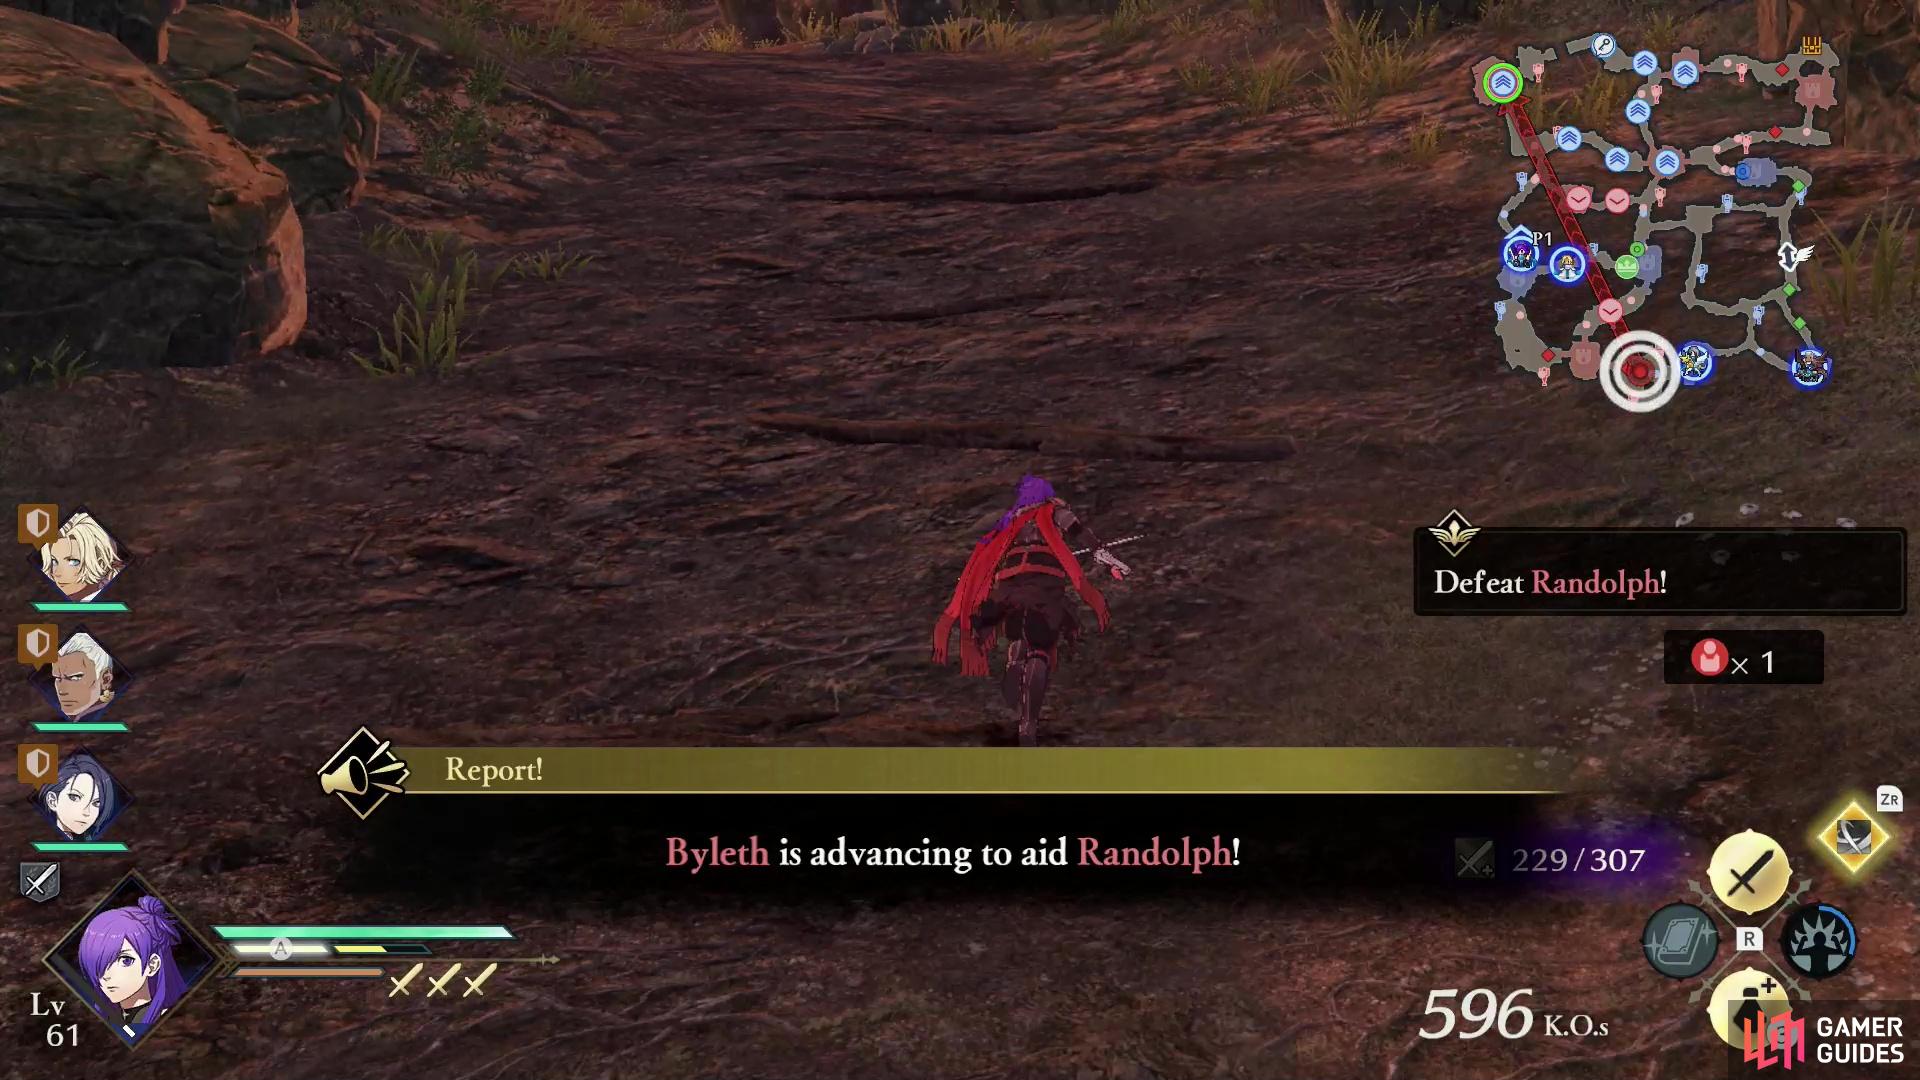
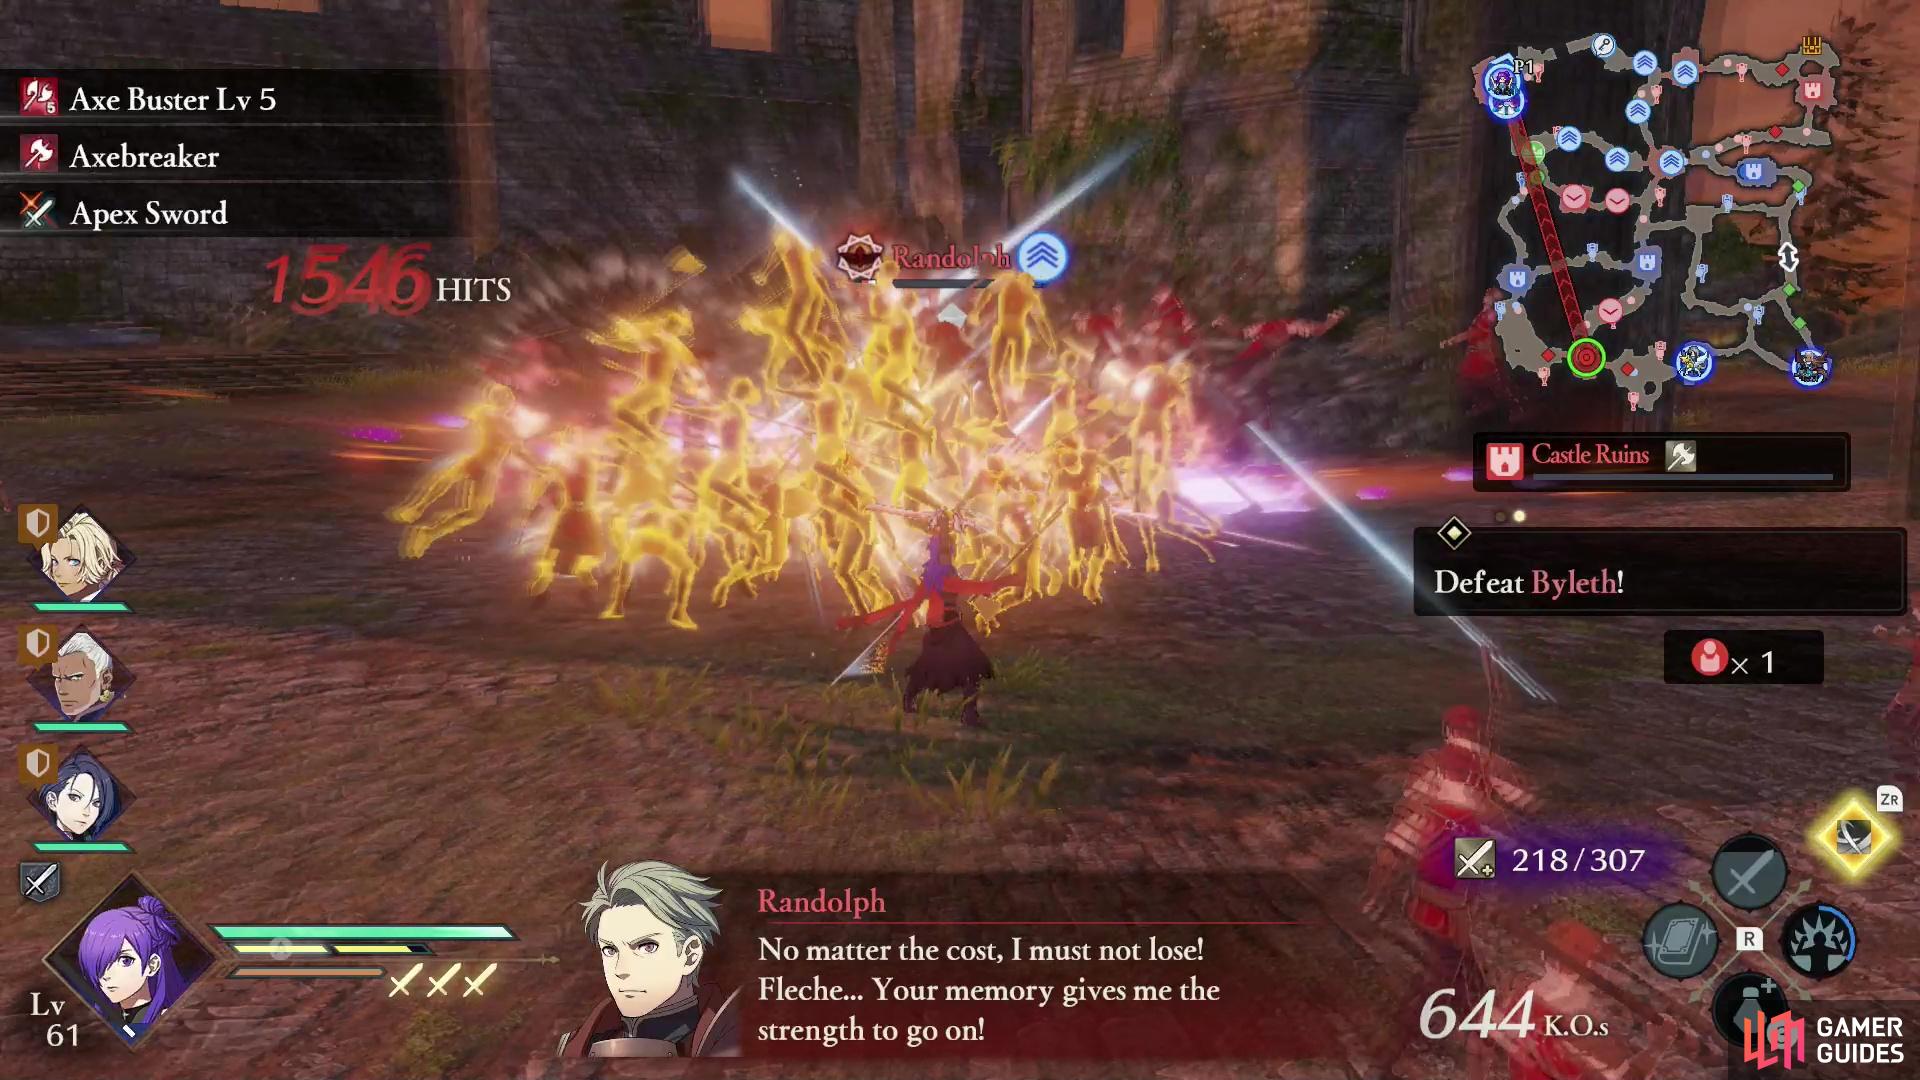
Step 5: Defeat Randolph Before Byleth Can Rendezvous
Byleth will appear west of the Stronghold west of your main base (Forest Camp), and given the failure of Alois’ ambush and Fleche’s defeat, she’ll decide that the best way to salvage the situation is to rendezvous with Randolph and protect him. To finish the battle and recruit Byleth you must now make it to Randolph first and defeat him before Byleth can arrive. If you’re playing Shez, once again Shadow Slip will prove invaluable, as you can zip to the western edge of the map (Roadside Forest Trail). Do not worry about padding your KO count or claiming the chest along the northeastern corner of the map - you can worry about S-Ranks and treasure when you replay via the Record Keeper. You can go back and get those later, but you cannot recruit Byleth if you miss her here.
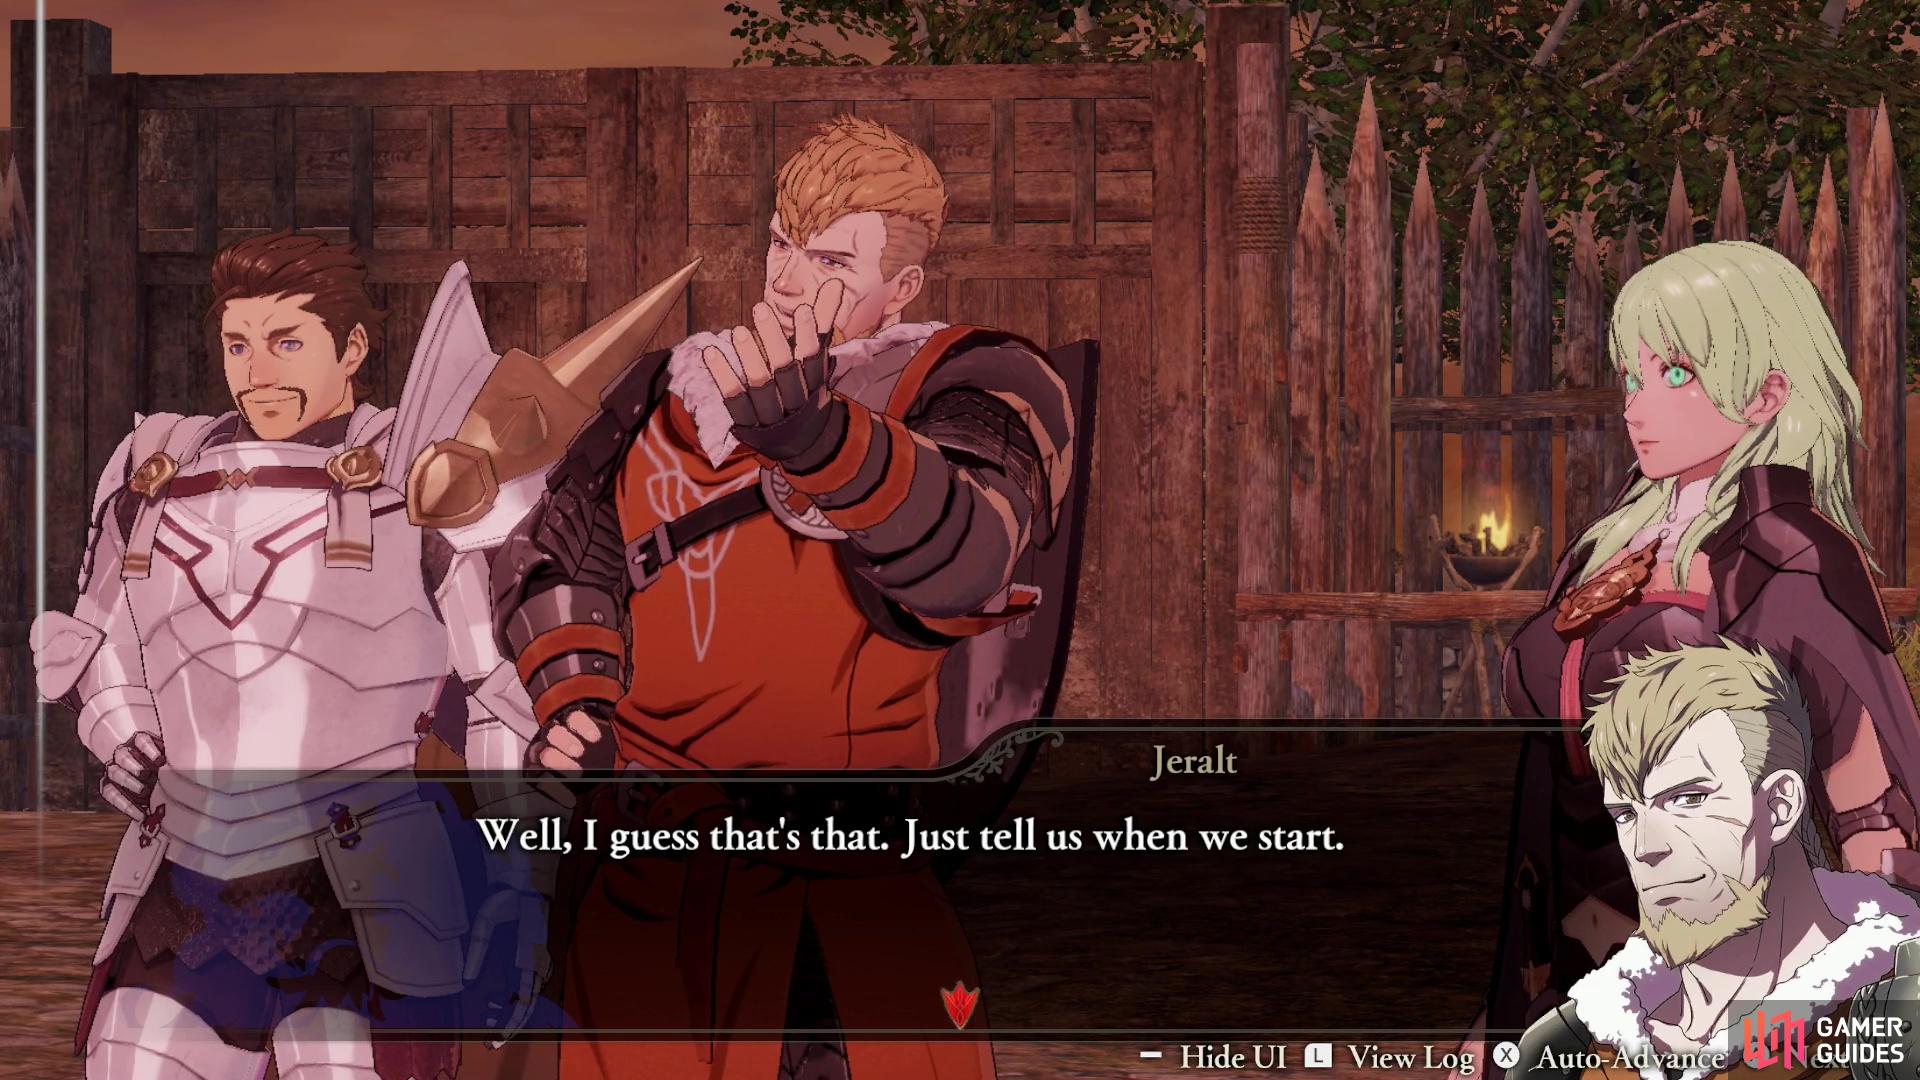
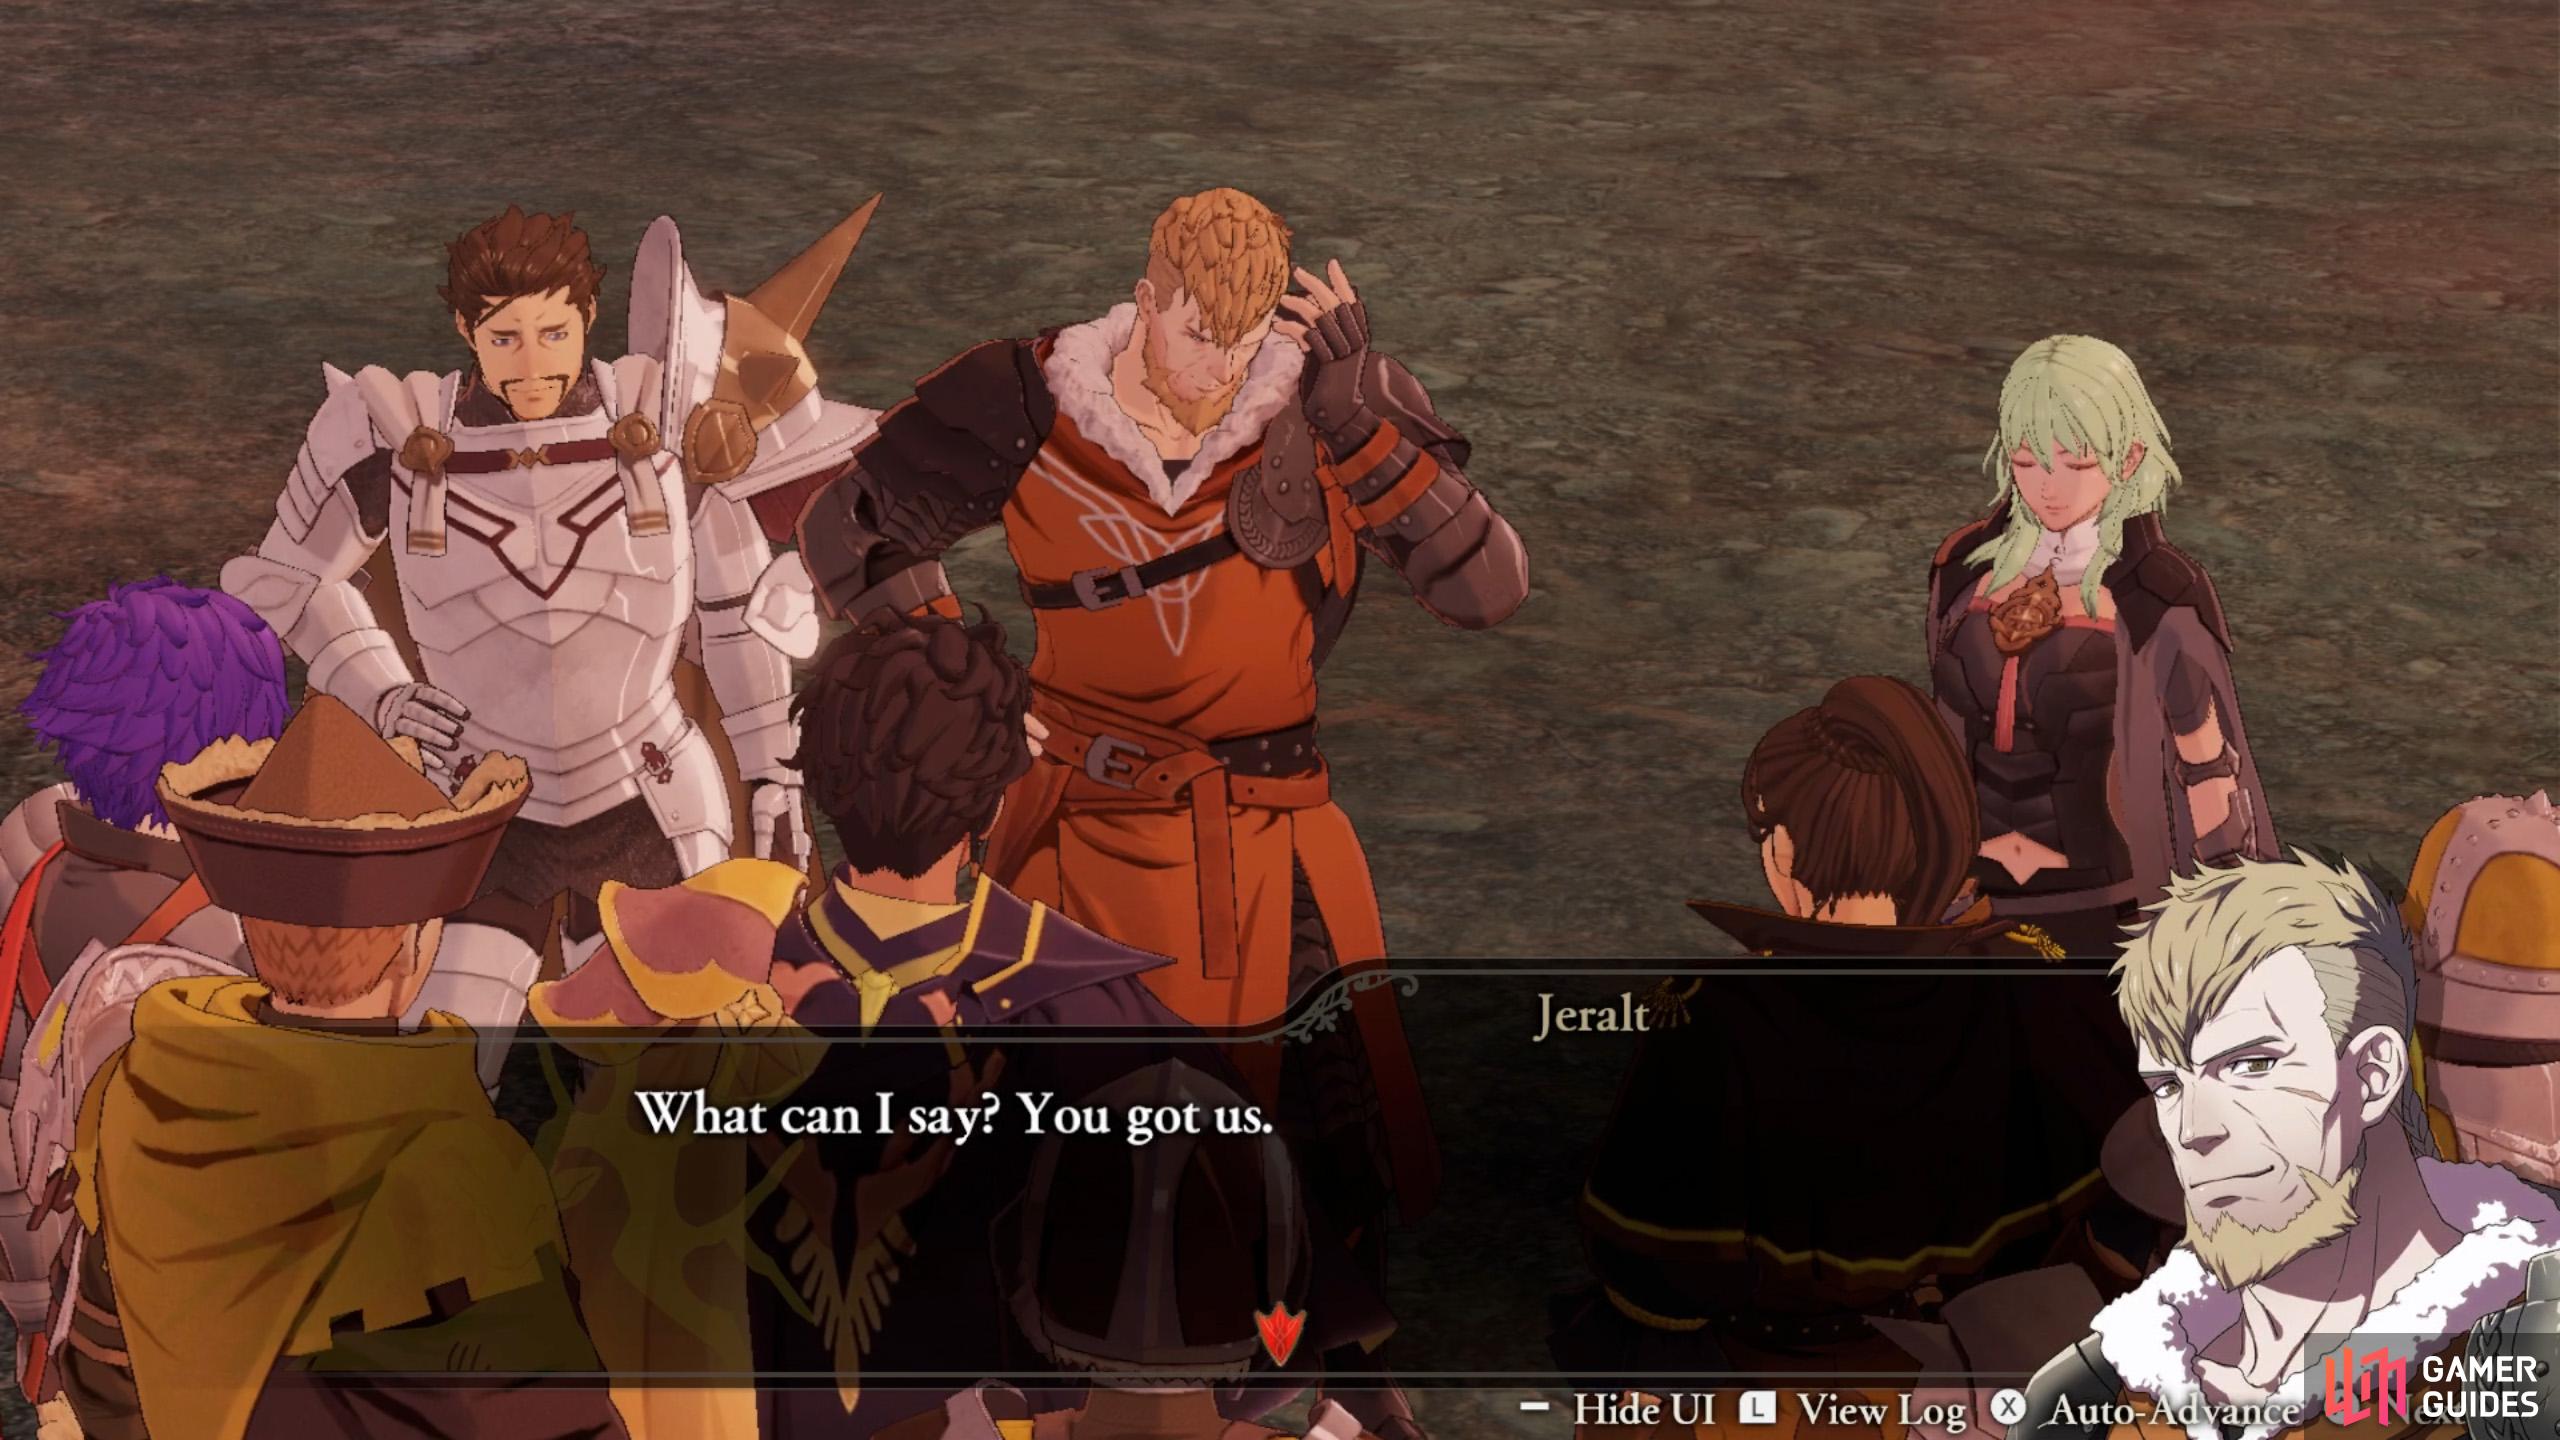
Randolph is somewhat stronger than your average enemy officer, but he’s not overwhelmingly powerful. If you have Warrior Specials or you can trigger an Awakening, by all means, use them. Battle’s over after this anyways, and you’re on the clock. Spam Combat Arts, use Magic, throw the kitchen sink at him. If you bring Randolph down in time, Jeralt and Byleth will decide that they’ve been properly bested in such a way as to make further struggle pointless, and… well, if you can’t beat ’em, join ’em. Kingdom money is just as good as Imperial money.
How to Recruit Byleth in Golden Wildfire
In Golden Wildfire, Byleth can be recruited in Chapter 10: Love and Loss.
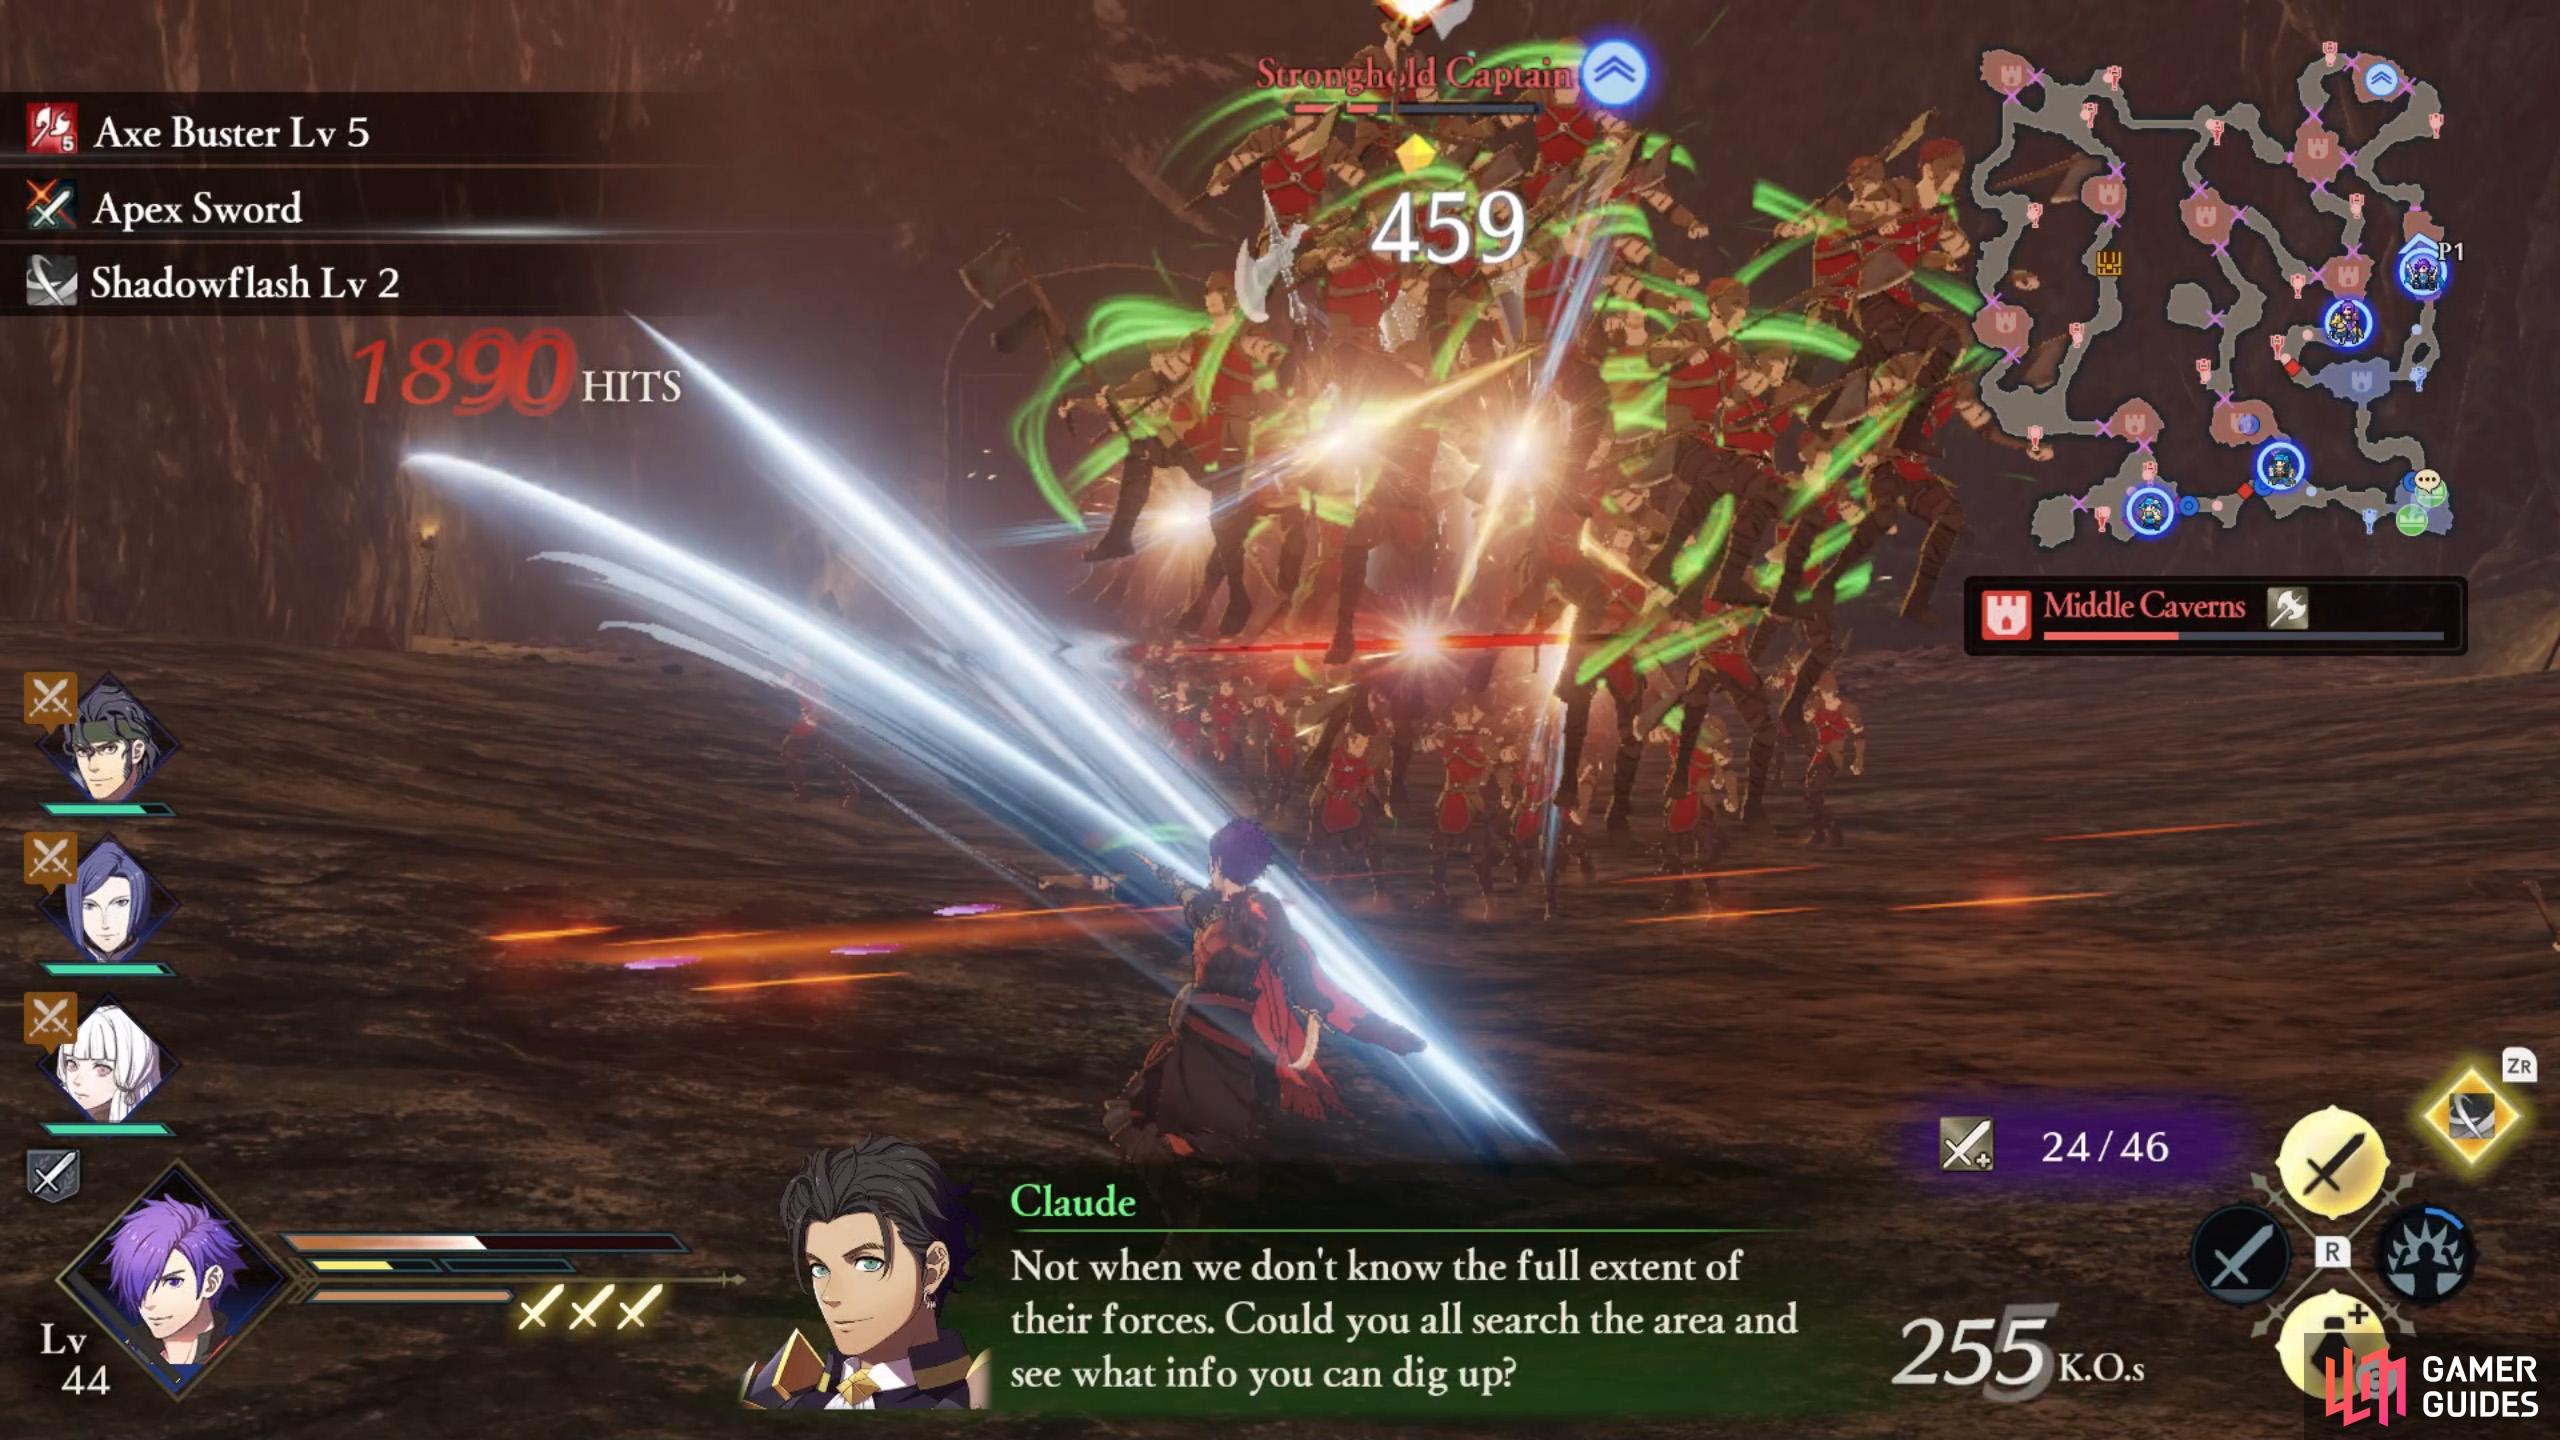
Step 1: Gather Intel on the Enemy
When the battle begins, Claude will be in trouble. Typical. Defeat the five highlighted enemies near the south-east sector of the map to get them off his tail.
(1 of 2) When the initial enemies have nearly been defeated, wait just outside this stronghold, until it opens up.
When the initial enemies have nearly been defeated, wait just outside this stronghold, until it opens up. (left), This will let you capture an important stronghold before Claude even finishes talking. (right)
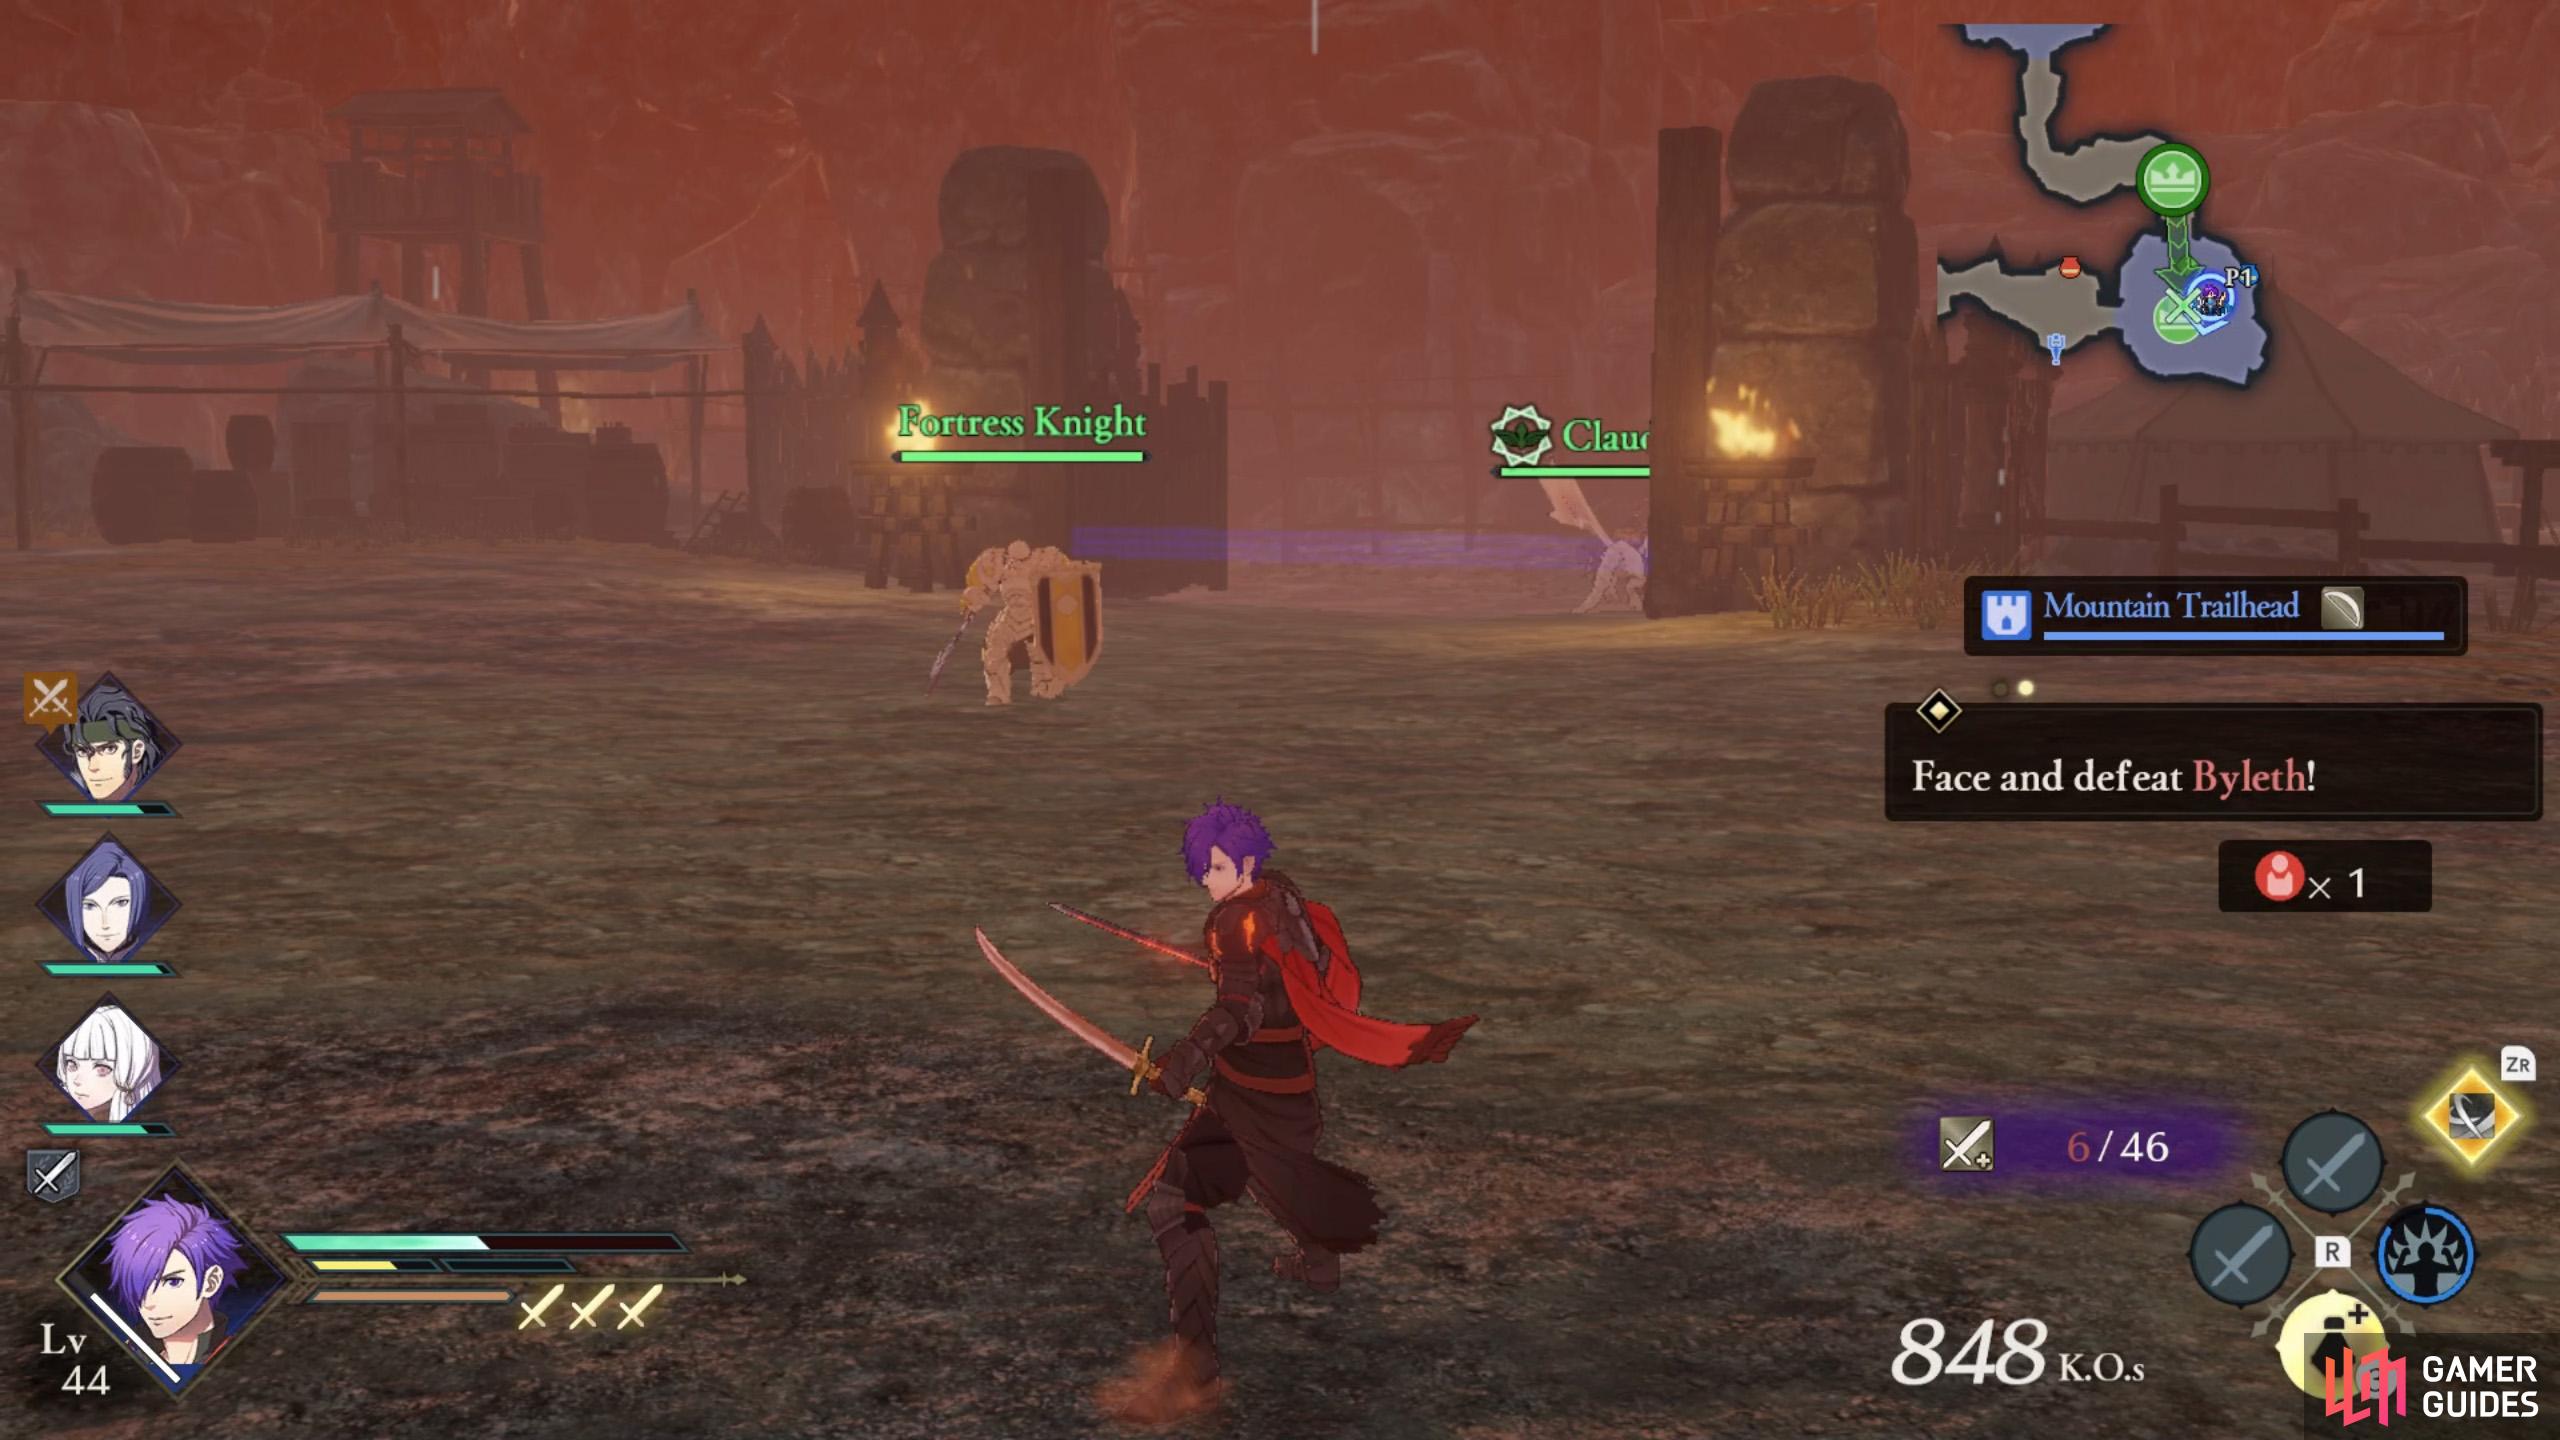
You should control a sword user to take out the Fortress Knight north of the allied camp, while ordering suitable characters to handle the remaining foes. Once you’ve defeated the Fortress Knight, hang around near the gate of the next stronghold to the north-east.
After dealing with the initial threat, you’ll have 3 minutes to gather information on the enemy.
First, you’ll receive a mission to capture three strongholds along the east side. However, you don’t have to wait for the mission prompt to appear. After the initial five enemies have been defeated, the gates to these strongholds will soon open.
When this happens, immediately control a sword user to take the easternmost stronghold; bonus points if they have armor-effectiveness. For the middle stronghold, order a lance user there. Finally, send a Gauntlet wielder to the remaining stronghold. Gather the rest of your characters near the south-west corner.
(1 of 2) By the way, if you’re super quick, you can arrive before Alois even spawns…
By the way, if you’re super quick, you can arrive before Alois even spawns… (left), There we go, we finished using less than half the allotted time. (right)
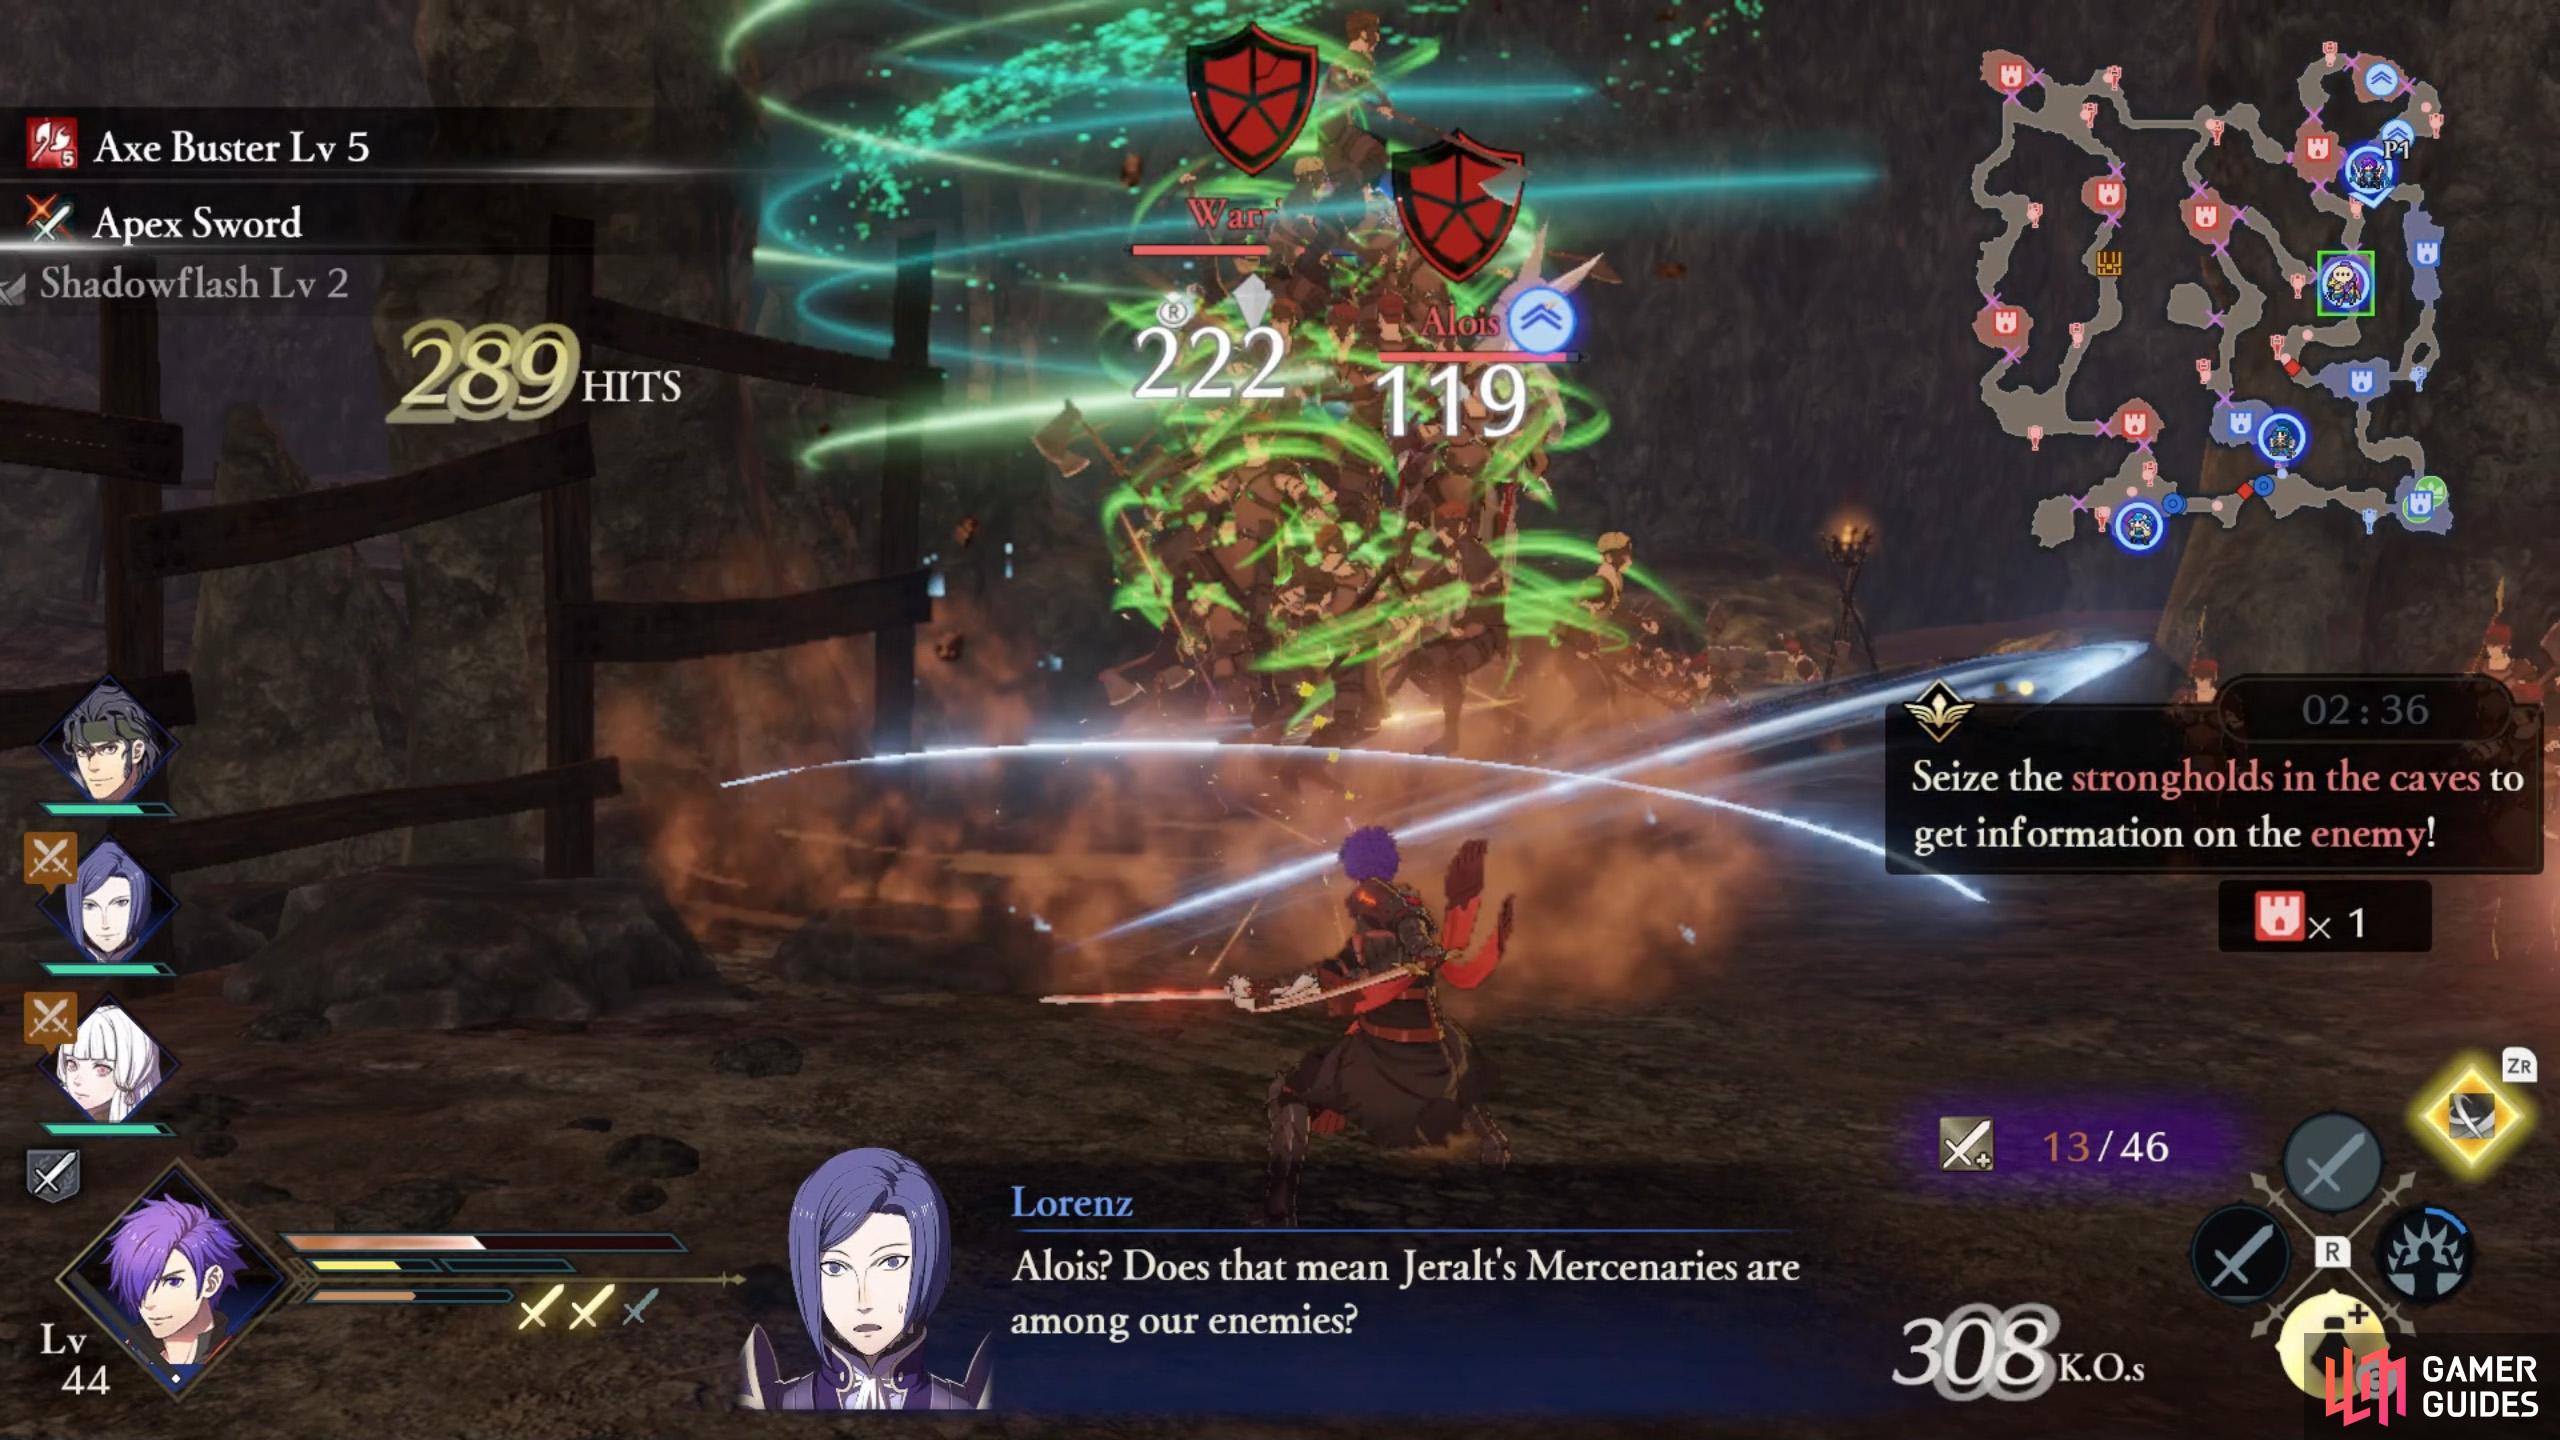
After the easternmost stronghold is captured, the gate to the north will open. Quickly head that way to find none other than Alois chilling towards the north-east. Like earlier, control a sword user and/or cavalry or armor-effective character to dispatch him.
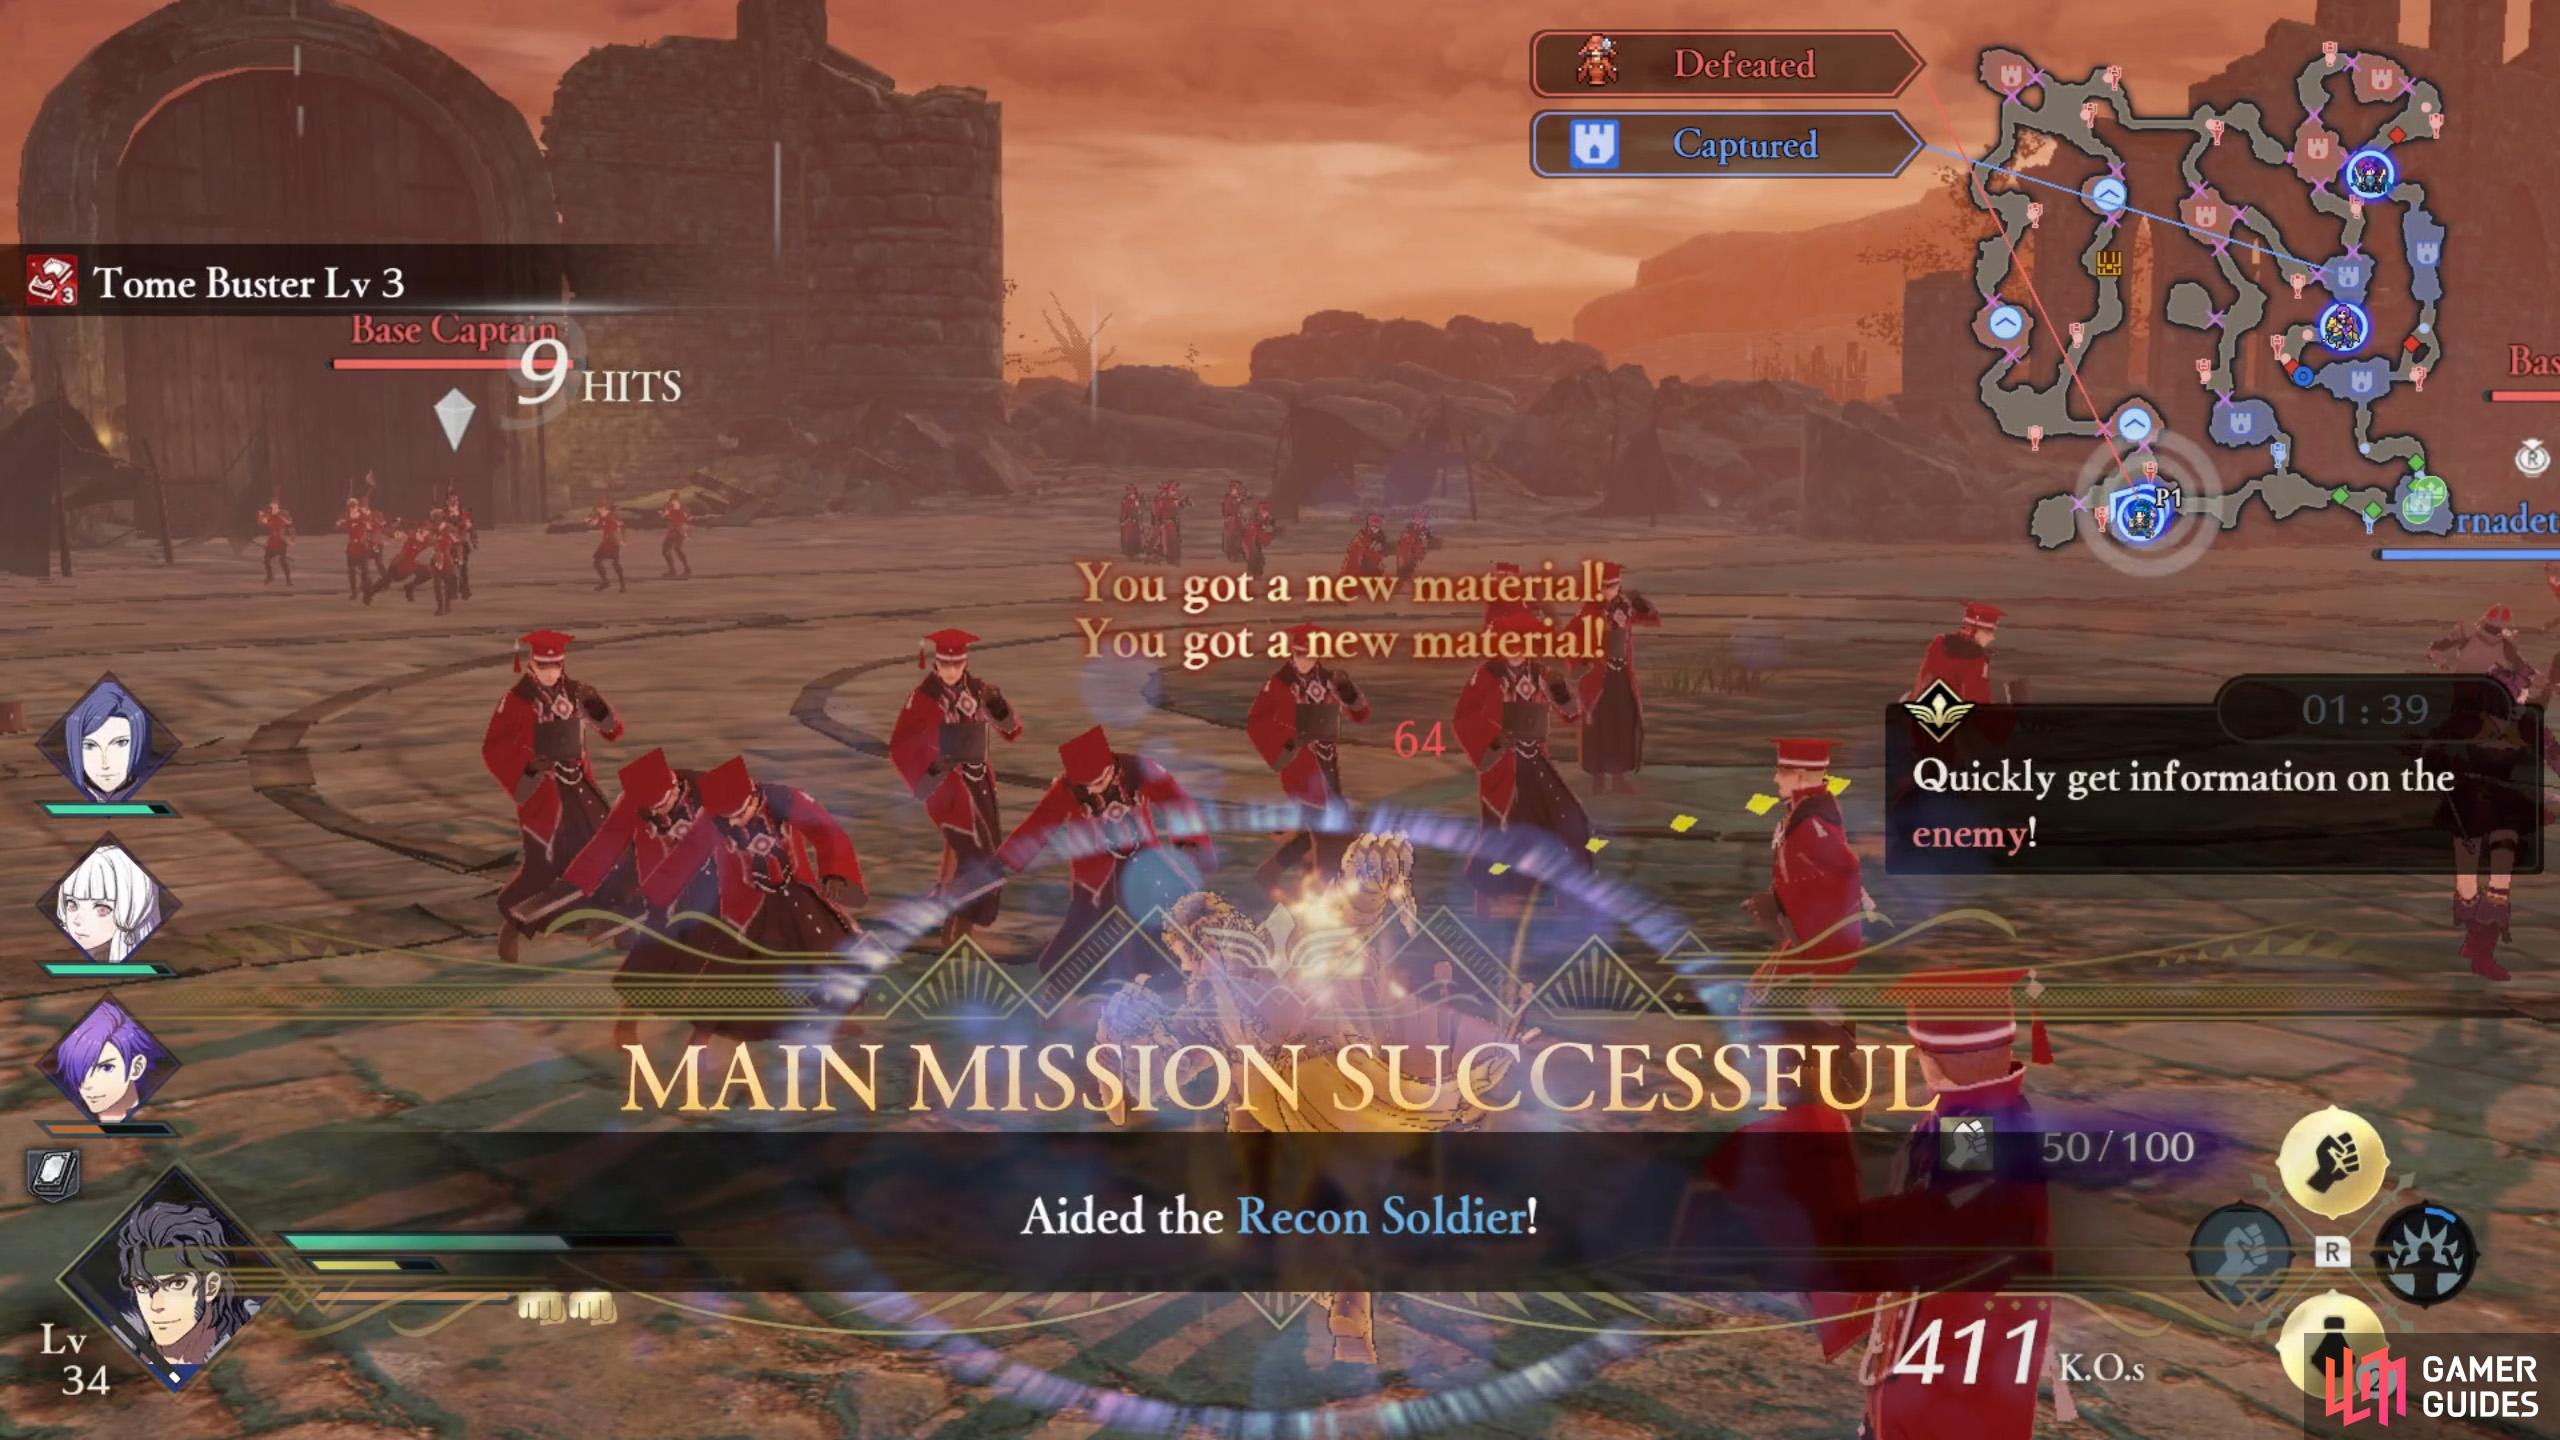
Around this time, a Recon Soldier will be attacked by three enemies near the south-west. That’s your cue to Order some characters to their aid. Prioritize Gauntlet users, to quickly fend off the tome-wielding attackers. Once you’ve defeated Alois, control a character here to mop up the remaining attackers.
Step 2: Defeat/Recruit Yuri
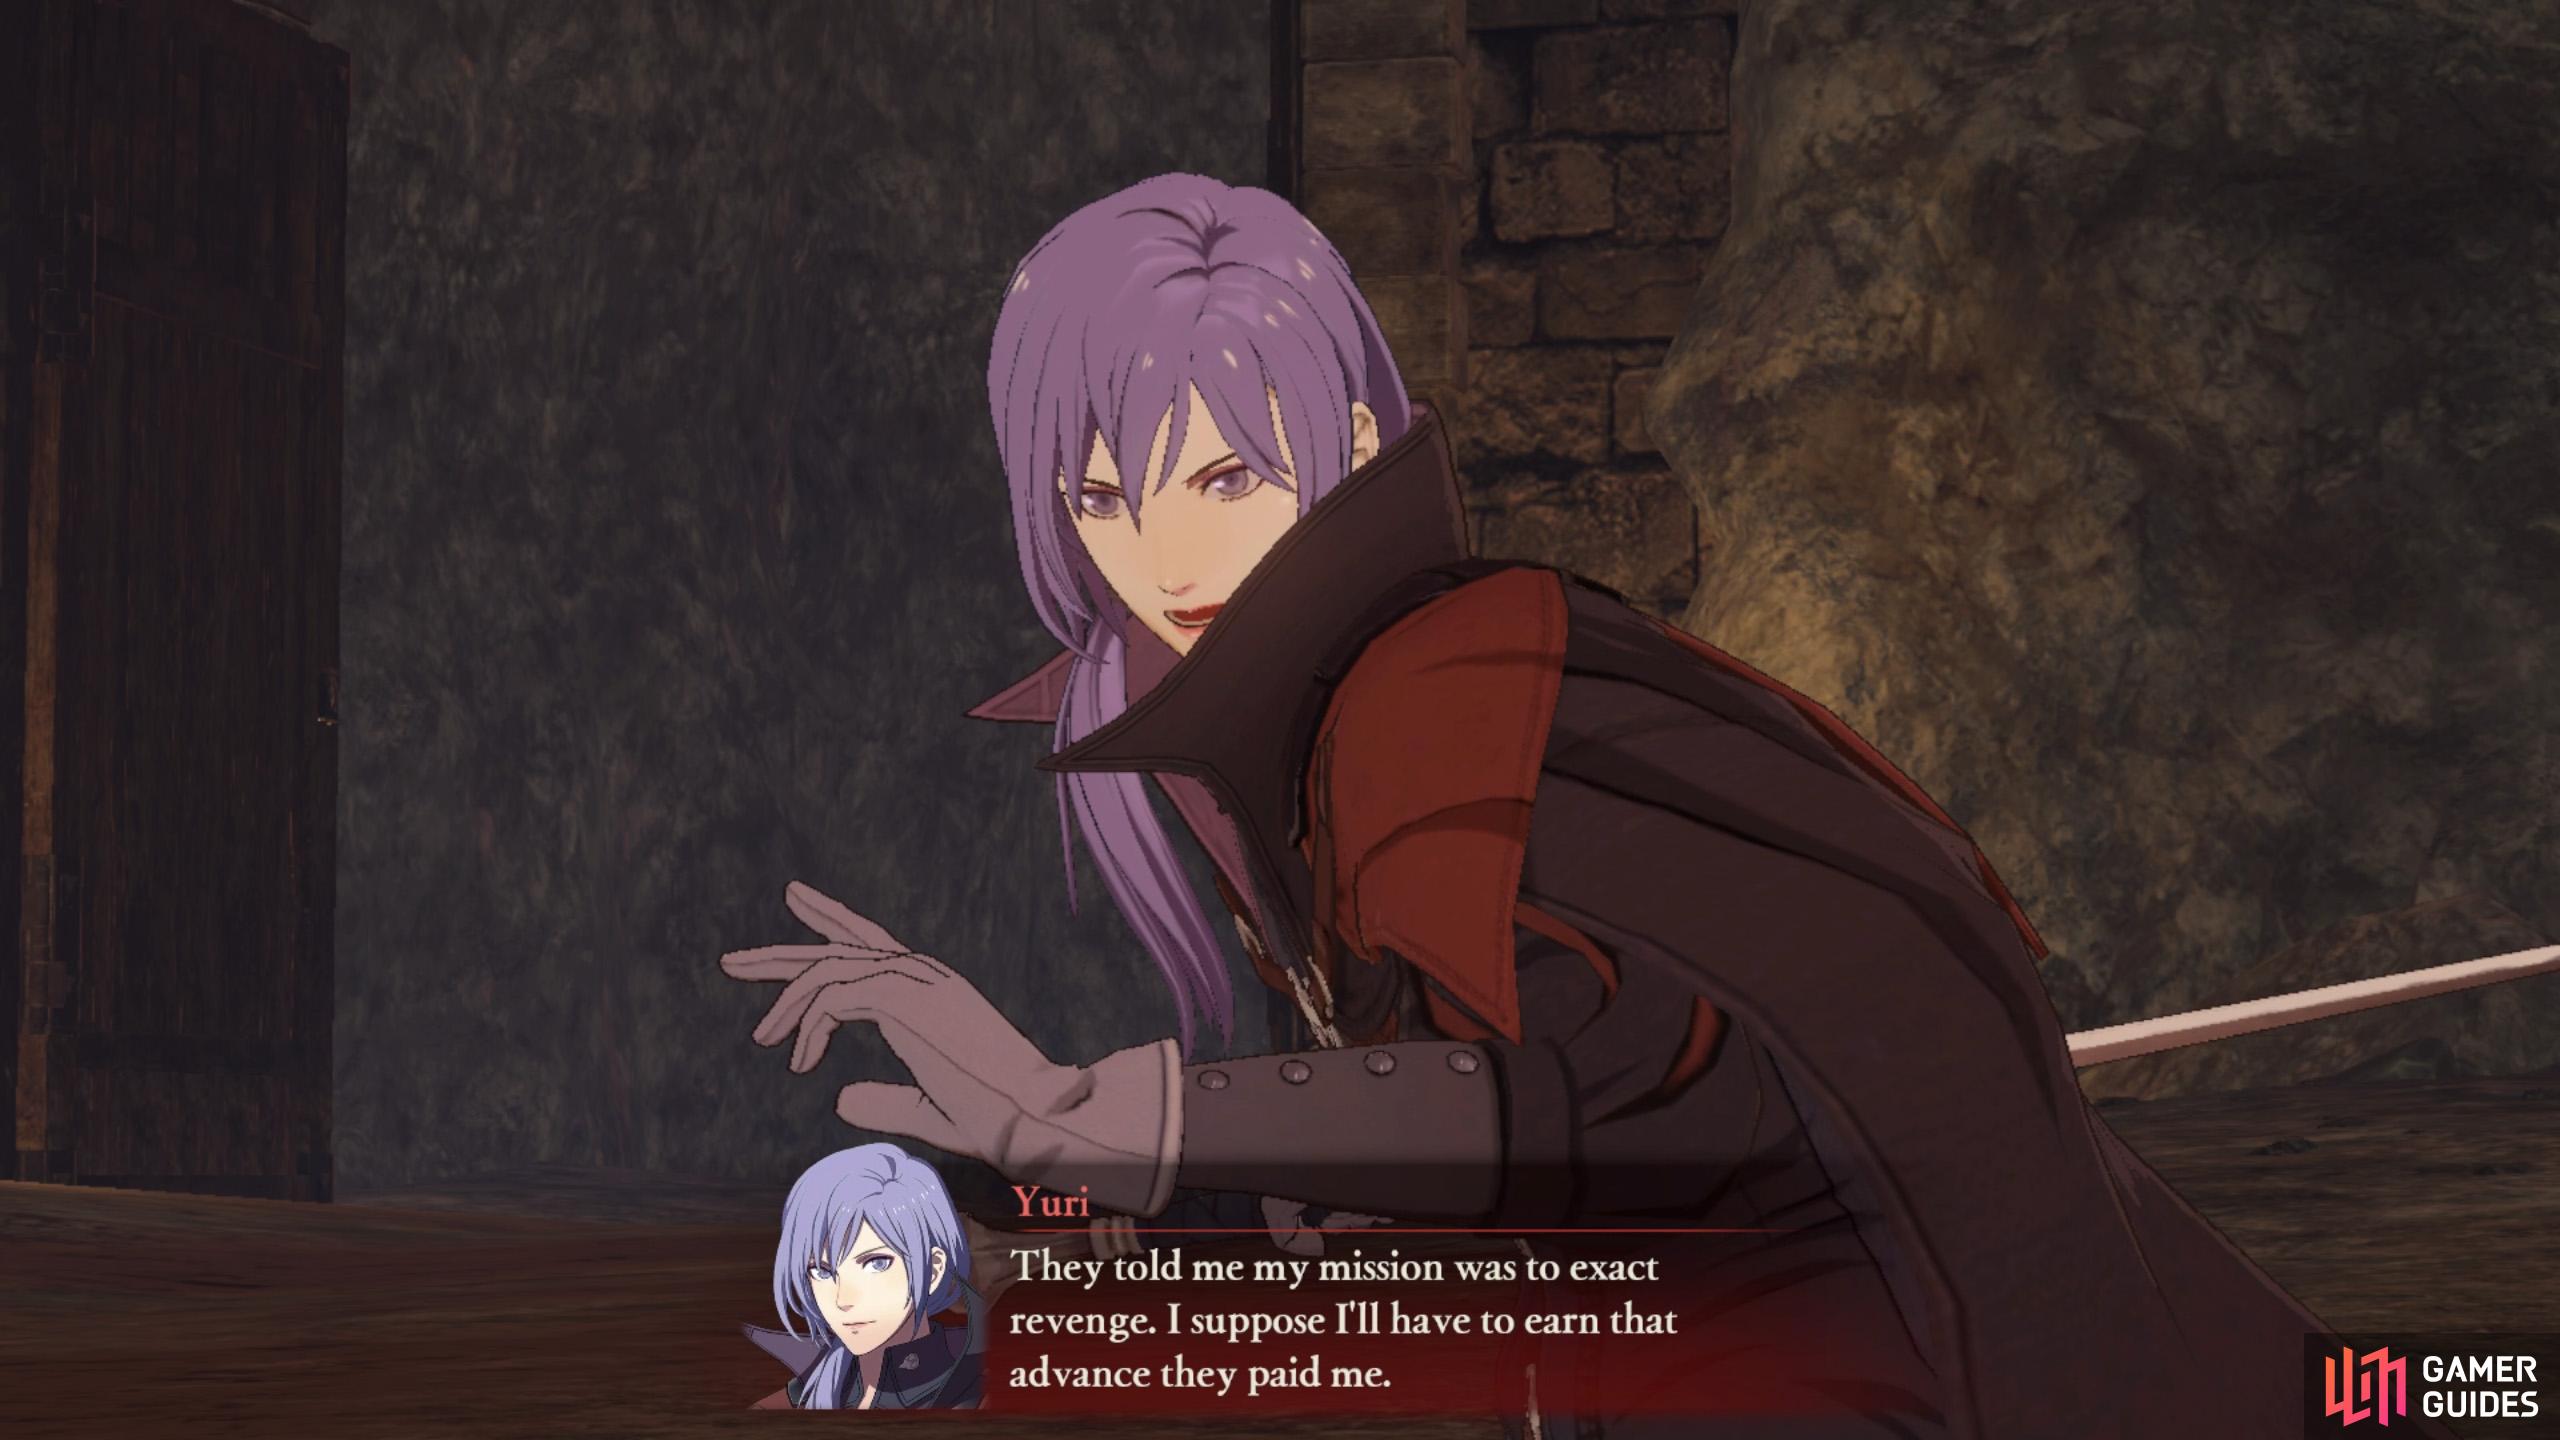
(1 of 2) Not now, Yuri, we’re busy.
Not now, Yuri, we’re busy. (left), Well, you asked for it… (right)
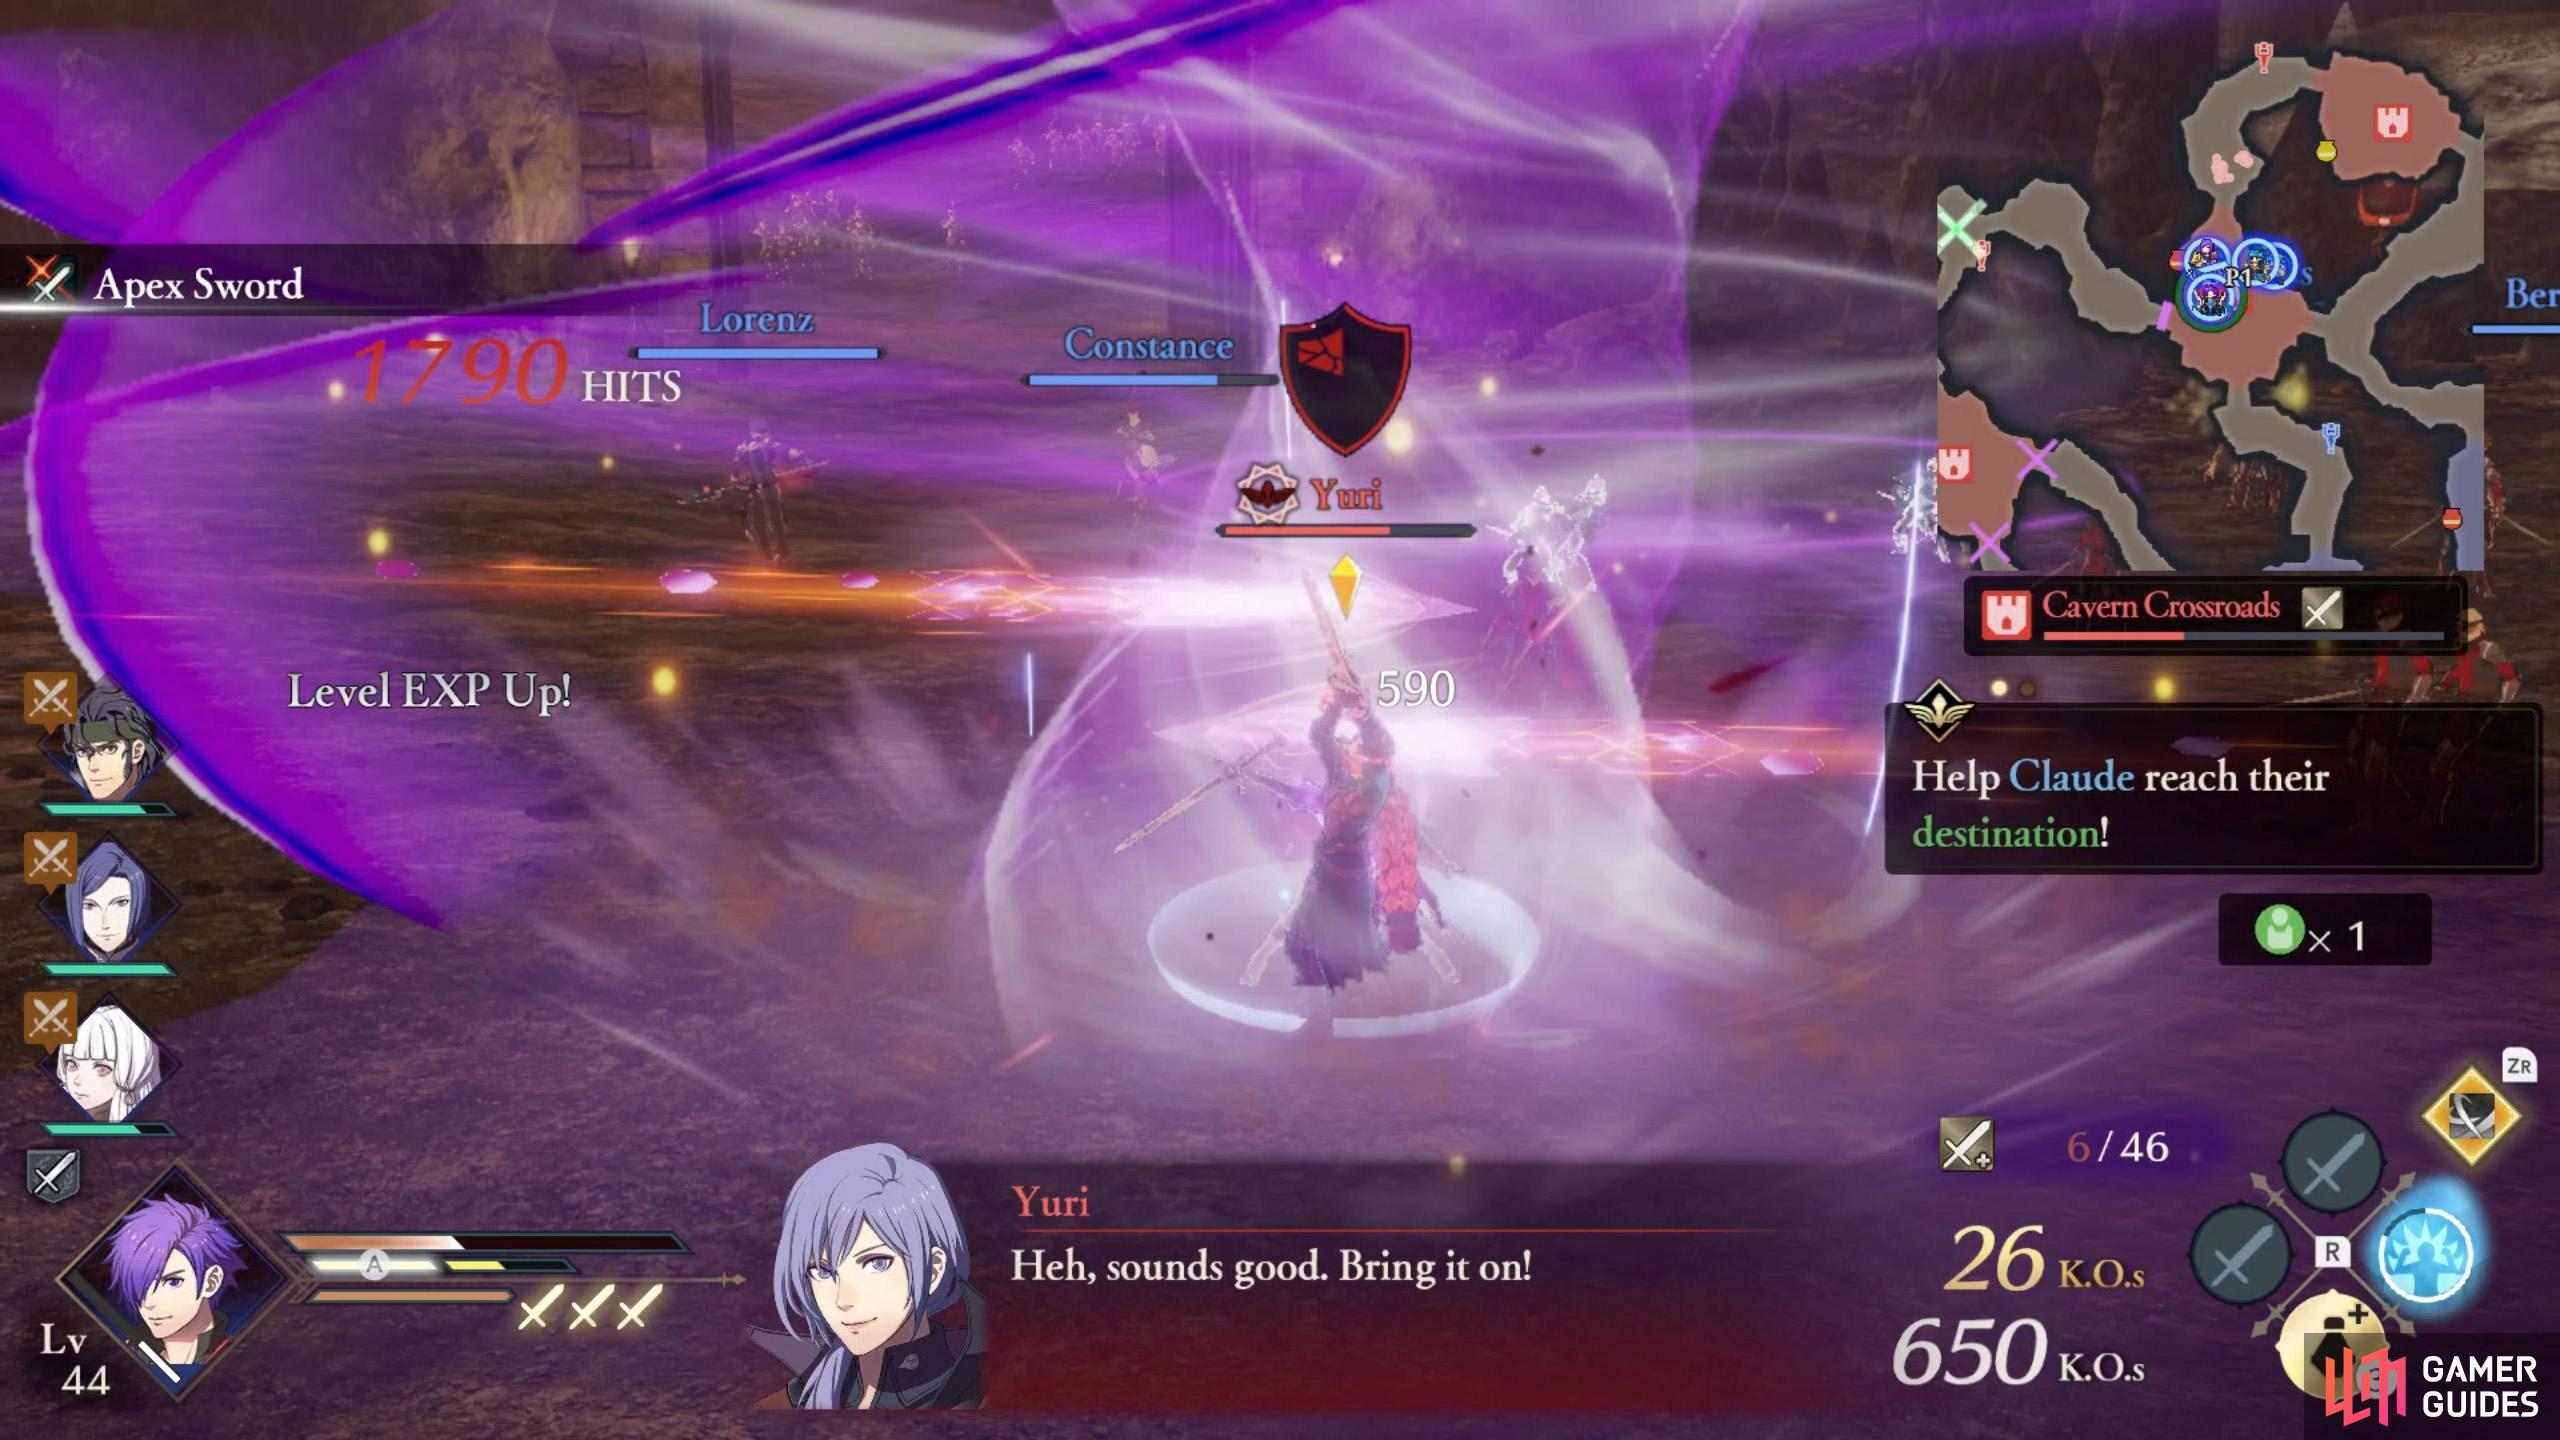
Do all this and the positions of Jeralt’s Mercenaries and Fleche will be revealed on the mini-map. Claude will act as a decoy to distract Byleth. He’ll advance from the allied camp towards the northernmost stronghold along the center line. Naturally, enemies will appear to stop him, including a certain Yuri Leclerc. He will spawn at the Cavern Crossroads, near the north-east corner.
Now’s the time to trigger the Persuade Yuri Strategy by holding
Step 3: Help Claude Return to the Allied Base
(1 of 2) Claude sure is a magnet for trouble.
Claude sure is a magnet for trouble. (left), Um, Claude, what are you doing? The base is right here. (right)
Afterwards, Byleth will spot Claude and begin following Claude, who retreats back to the allied camp. This part is where you must be careful not to mess up. If Byleth reaches Claude, you’ll lose the chance to recruit them. So focus all your efforts on getting Claude back home!
To begin with, at the Cavern Crossroads, where Yuri spawned, Claude will be interupted by an enemy Swordmaster. Control a lance user to save Claude’s butt. At the next stronghold south, another Swordmaster will try and stop Claude. We think not!
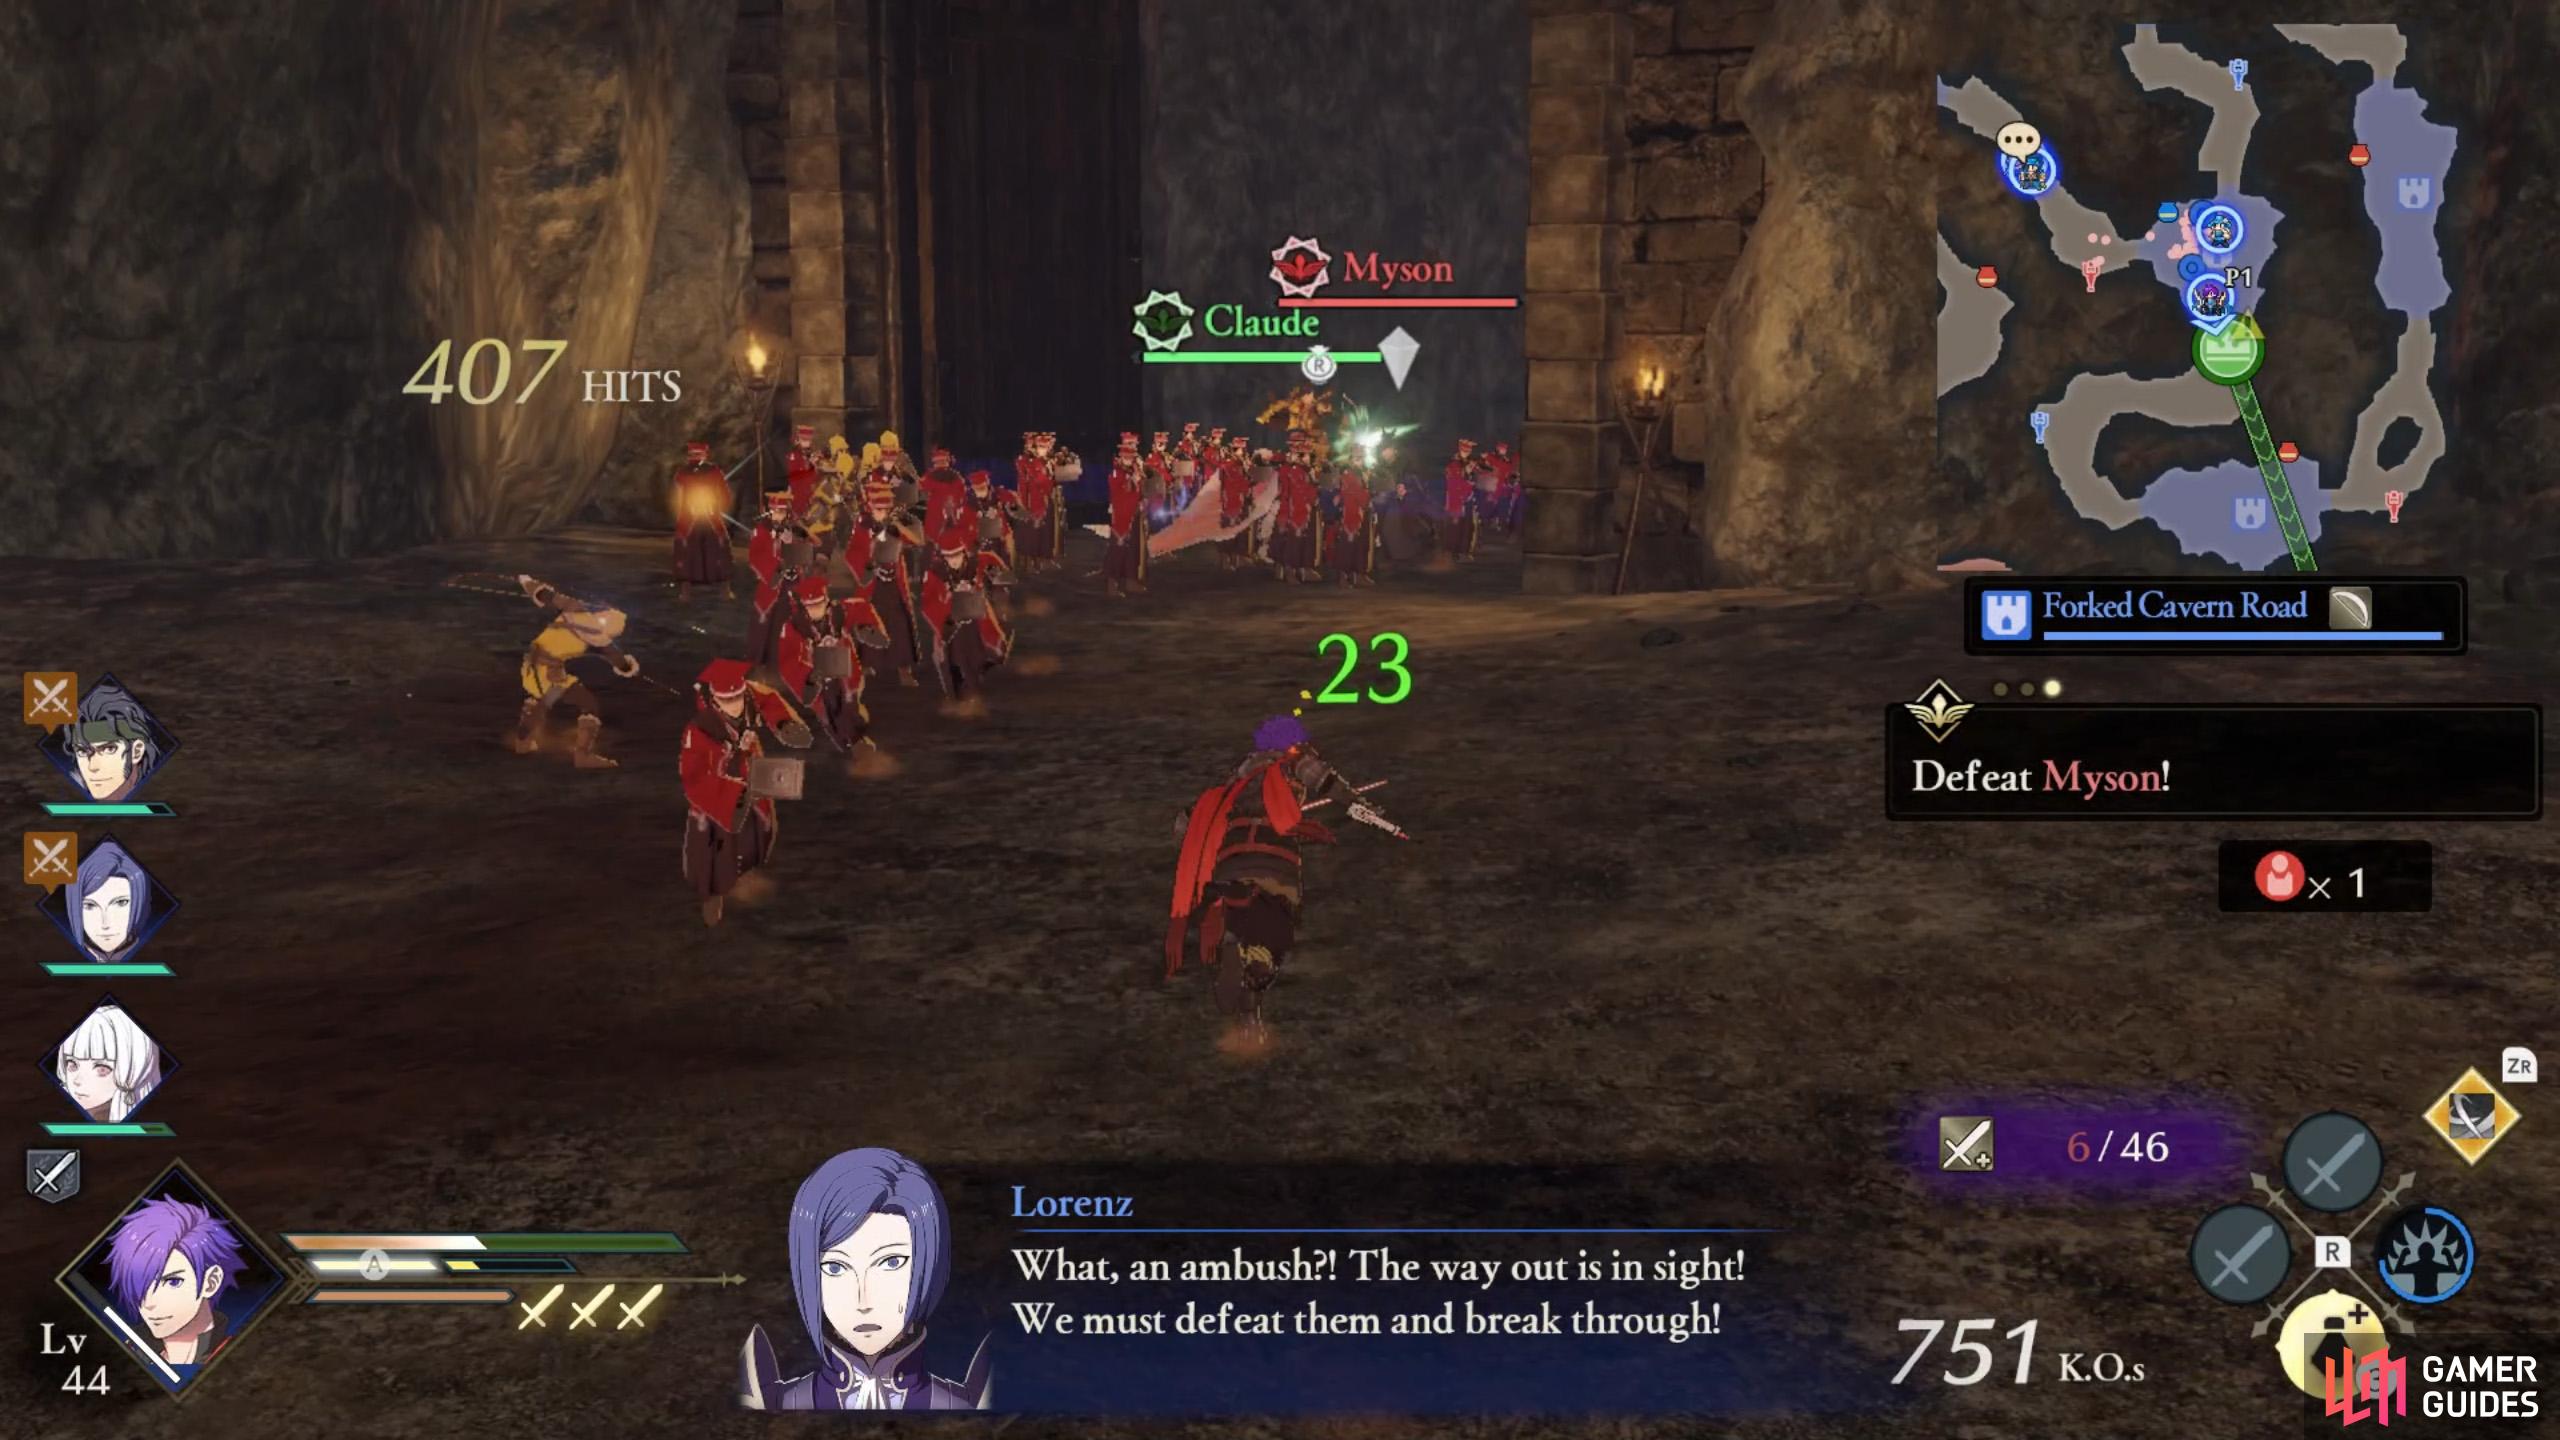
Just before reaching the allied camp, Myson will spawn to delay Claude. He’s a magic user, so somebody with Gauntlets will do more damage to him. After forcing Myson to retreat, an enemy Warrior will appear to halt Claude. These guys sure are persistent, huh? This is an ideal job for a sword user.
Step 4: Defeat Fleche Before Byleth Reaches Her
(1 of 2) No hard feelings, Fleche.
No hard feelings, Fleche. (left), We got you good, alright. (right)
If you manage to help Claude reach the allied camp, the path north will be blocked, preventing Byleth from catching up. Now hurry to the far north-western stronghold and lay waste to Fleche there. Control a lance-wielder to speed things up. Your goal is to defeat Fleche before Byleth reaches her (and without defeating Byleth).
Succeed and the Ashen Demon will pledge their loyalty to you!

 Sign up
No Comments