

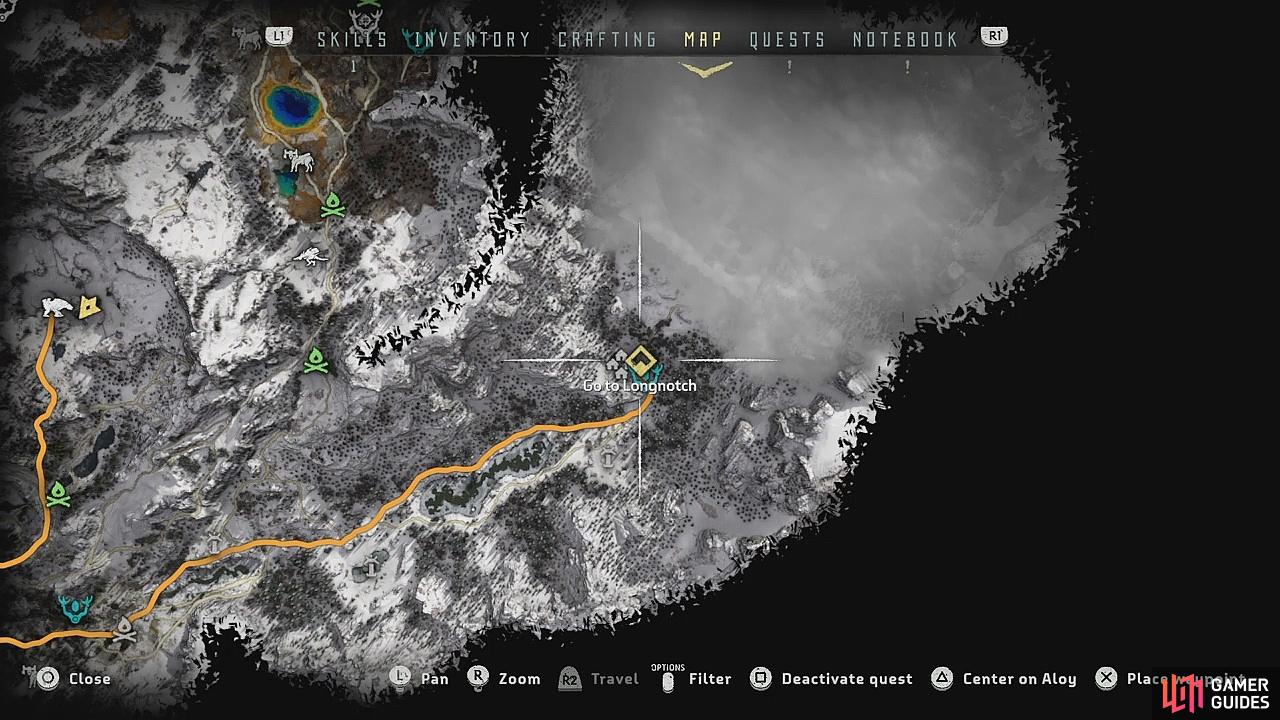
Go to Longnotch
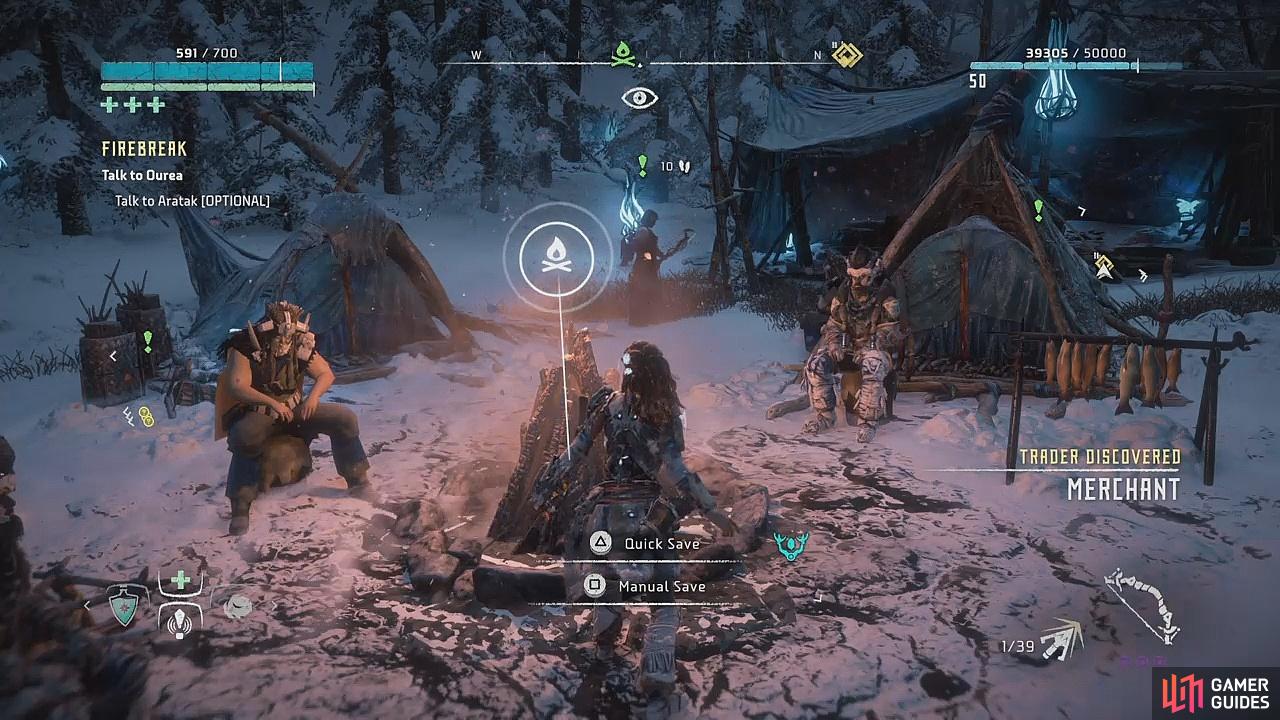
It shouldn’t take long to get there on foot, but you might also have activated one or two campfires earlier on that you could fast travel to and make it a shorter trek. There’s also a merchant on the way if you need to make a quick stop to sort through your inventory, otherwise you can head straight to Longnotch to meet with Ourea and Aratak.
Opposite the merchant is a campfire, so light it up and continue the path to the waypoint marker. You’ll come across at least four control towers along the way. The first is surrounded by four Daemonic Shell-Walkers. After this first area, if you continue to follow the trail to the waypoint, you’ll see a small, stone arch with two collectibles nestled underneath. Pick up the Animal Figurine 6 and Text Datapoint – Will Tourists Return? to add to your collection.
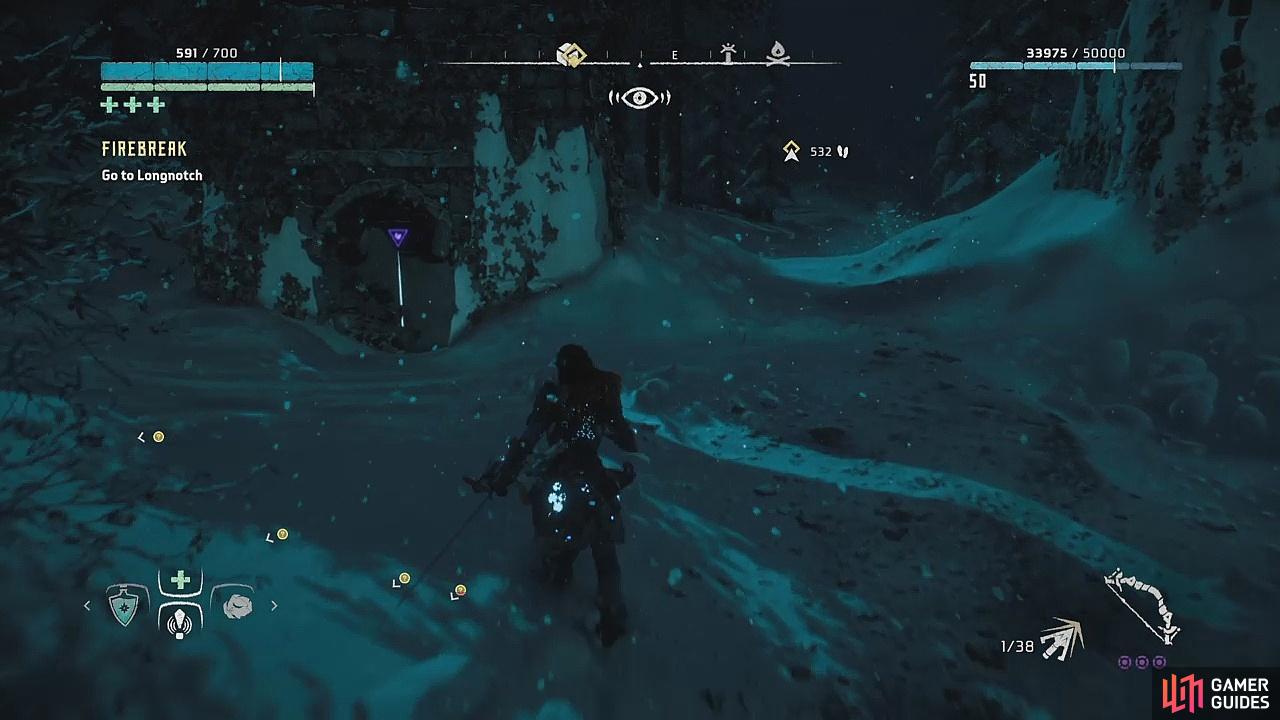
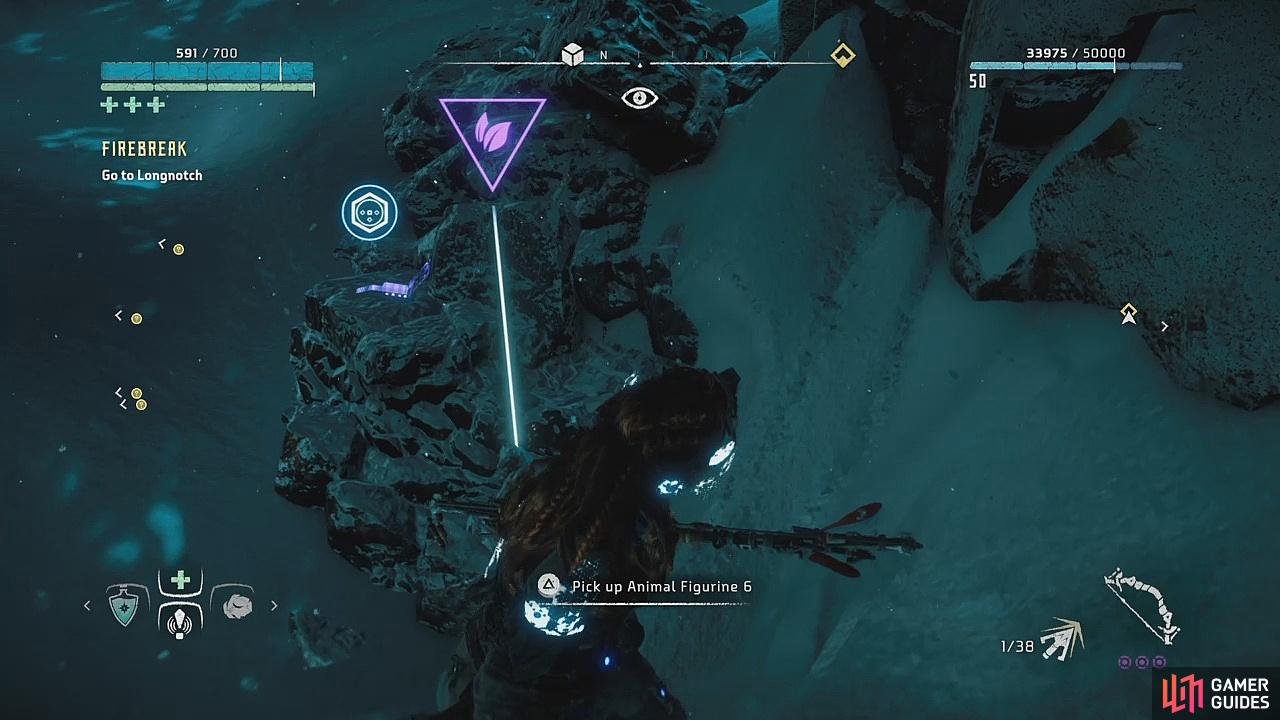
(1 of 2) Find the small ruin on the way to Longnotch
Find the small ruin on the way to Longnotch (left), to pick up a datapoint and Animal Figurine 6 (right)
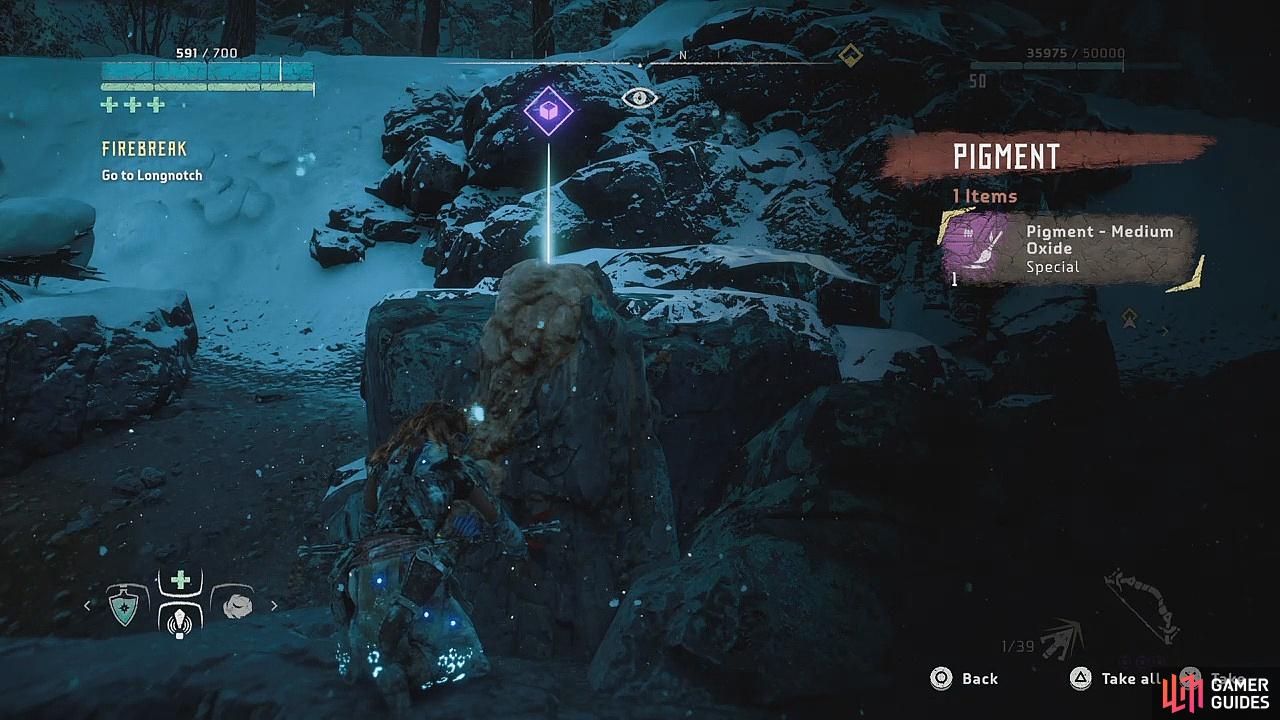
The second and third control towers are next to one another, almost immediately after finding the small arch, and are surrounded by two Daemonic Longlegs and a Daemonic Scorcher. When you continue onward, you’ll eventually come to a frozen lake on your right, and a purple resource symbol on the rock just below you. Investigate it to pick up Pigment – Medium Oxide for Sekuli.
Keep going until you have to stop to help out a few Banuk fighting off some Scrappers. It’ll only take a moment and then you can continue towards the fourth control tower. This area is inhabited by Daemonic Stalkers and Watchers, so proceed with caution. And when you’re done here you can complete the snowy trek into Longnotch!
The settlement has three available sidequests, so you can grab them now or go back for them when you’re ready.
Talk to Ourea
You’re also prompted to Talk to Aratak, but you’ll see that this is optional. If you do, he seems to be bitter about making Aloy the new Chieftain, but he’s willing to talk regardless. He’ll give you some more background story if you’re interested. Otherwise, seek out Ourea nearby up the hill. She will also engage you in a long conversation, giving you information and extra background story.
You’ll see that the dialogue wheel also gives you two solid options on how to proceed – you can continue the main quest on to Thunder’s Drum, or you can return later. This is where you get your last chance to prepare for the fight ahead, or to simply explore the rest of the Cut if you’re not yet ready.
When you choose to continue, Ourea and Naltuk will perform a short ritual to open the pathway into Thunder’s Drum. Ourea and Aratak will both accompany you for this mission, so no need to worry about going it alone.
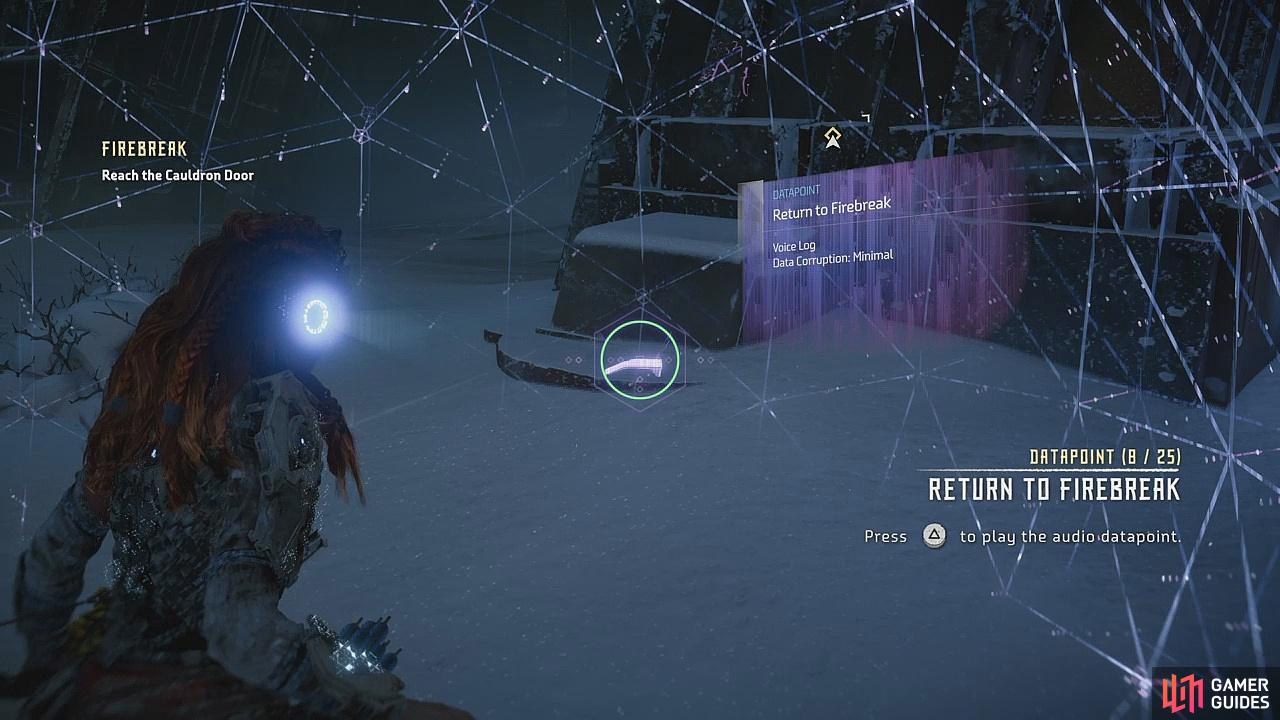
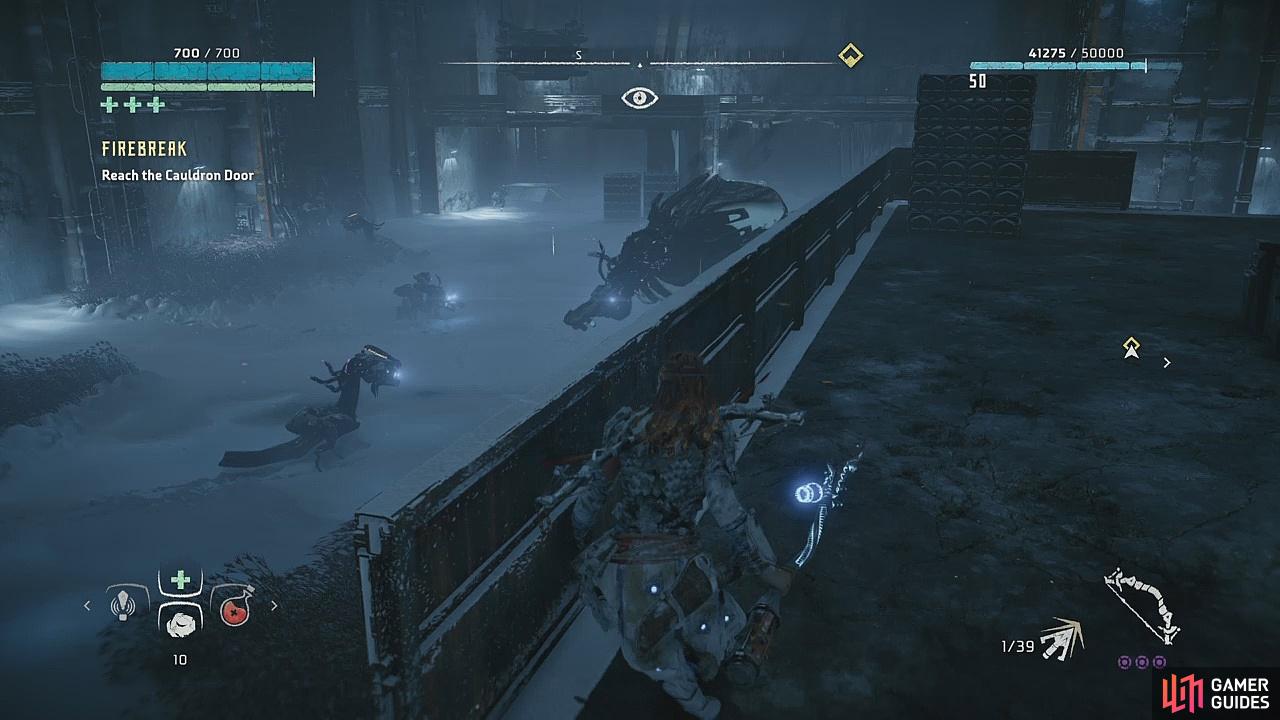
Reach the Cauldron Door
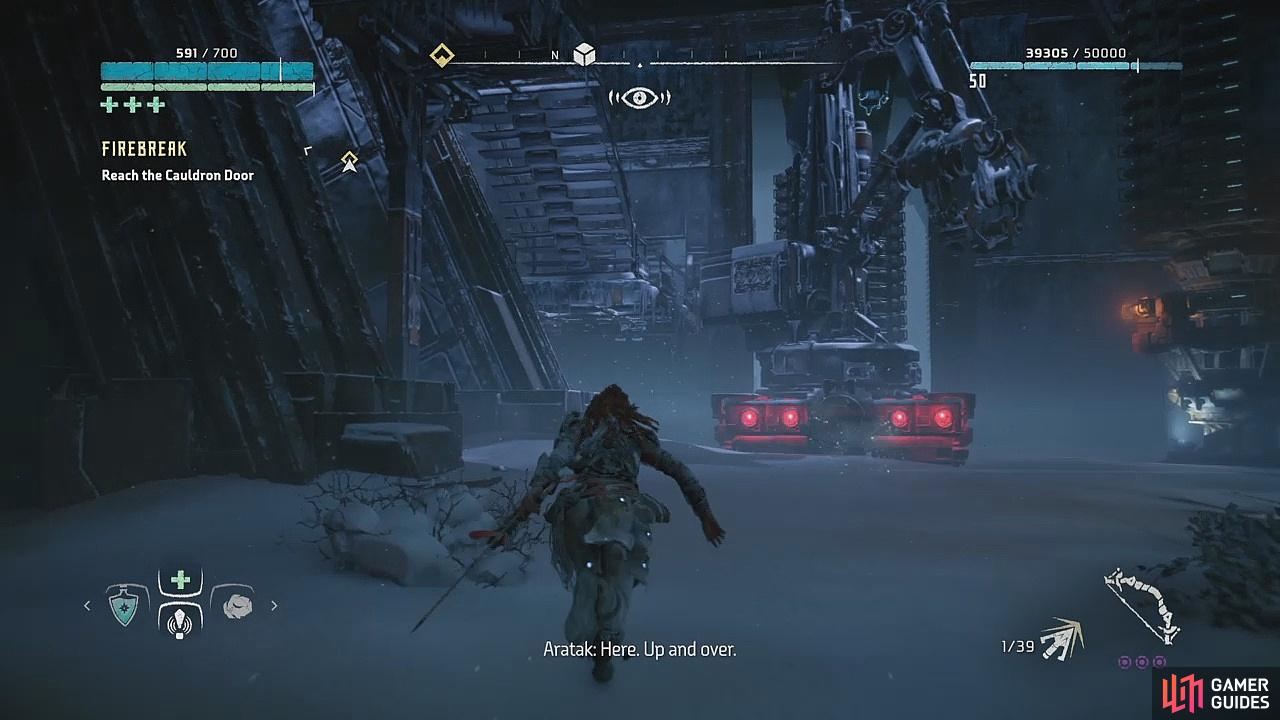
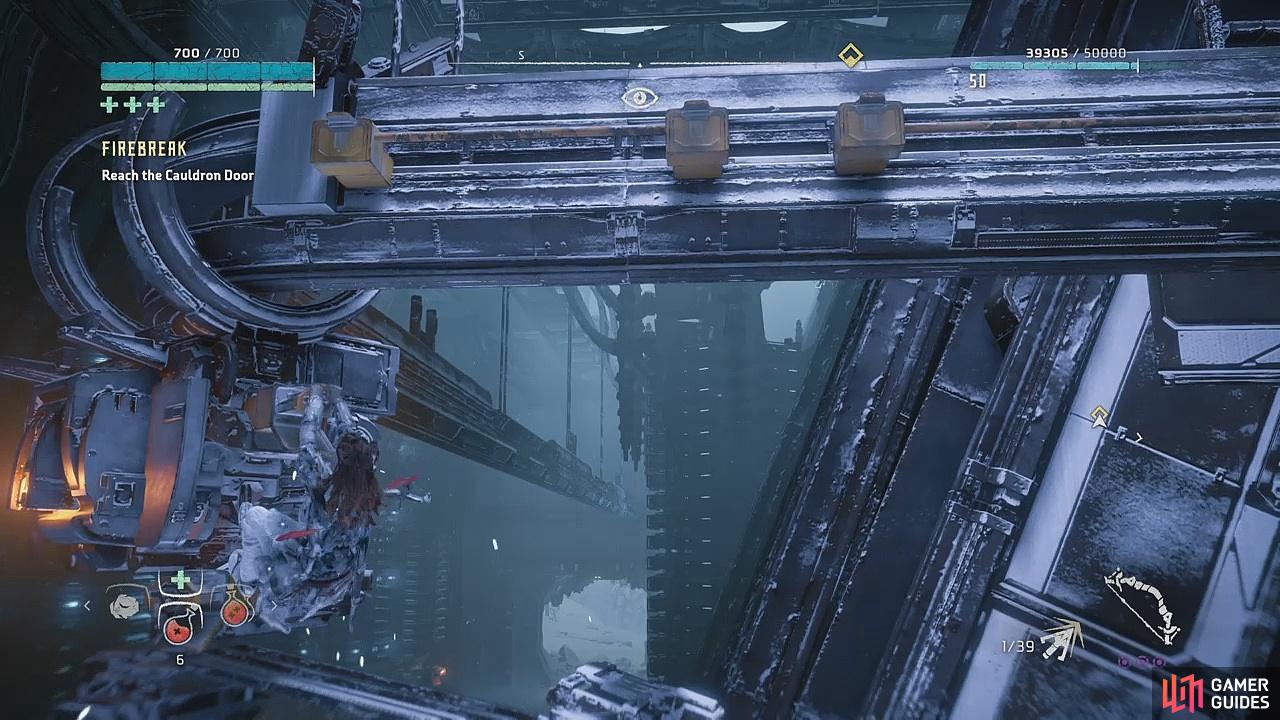
Head straight down the middle to find Audio Datapoint – Return to Firebreak on the left at the very end. It’s just before the tall mechanical structure, and there’s a locked door to the left of it as well as a loot crate for you to scavenge. There are some stairs above you, but you need to climb the machine to reach them. Once you’re up there and you’ve jumped to the platform on your right, there’ll be Text Datapoint – Kenny’s Homecoming sitting on a desk against the wall. Pick this up and continue up the flight of stairs, then traverse the mechanical construction through to the right and into the next room.
(1 of 2) Pick up the datapoint
Pick up the datapoint (left), And climb the metal structure to reach the stairs above you (right)
The room is quite large, housing five Watchers, a Scrapper, and a Freeze Bellowback. If you’re lucky, one of the Watchers will have stopped just below you on your way in, and you can strike it from above to take it out stealthily. Whether you go in arrows blazing or not is entirely up to you, but you should probably take out all the machines if you want to make it to the next door with ease. There’s even a door that leads back to the first room – the one that was locked before – but you can ignore it.
(1 of 2) Traverse the mechanical structure into the next room
Traverse the mechanical structure into the next room (left), Destroy the machines (right)
When all the machines are down, head over to the other side of the room (adjacent to the way you came in) to find Text Datapoint – That Kiss lying on another desk and a loot crate. On the wall beside you, in the back corner, is a ladder that leads to the upper walkway – follow it around to find some loot and take the stairs all the way up to the top.
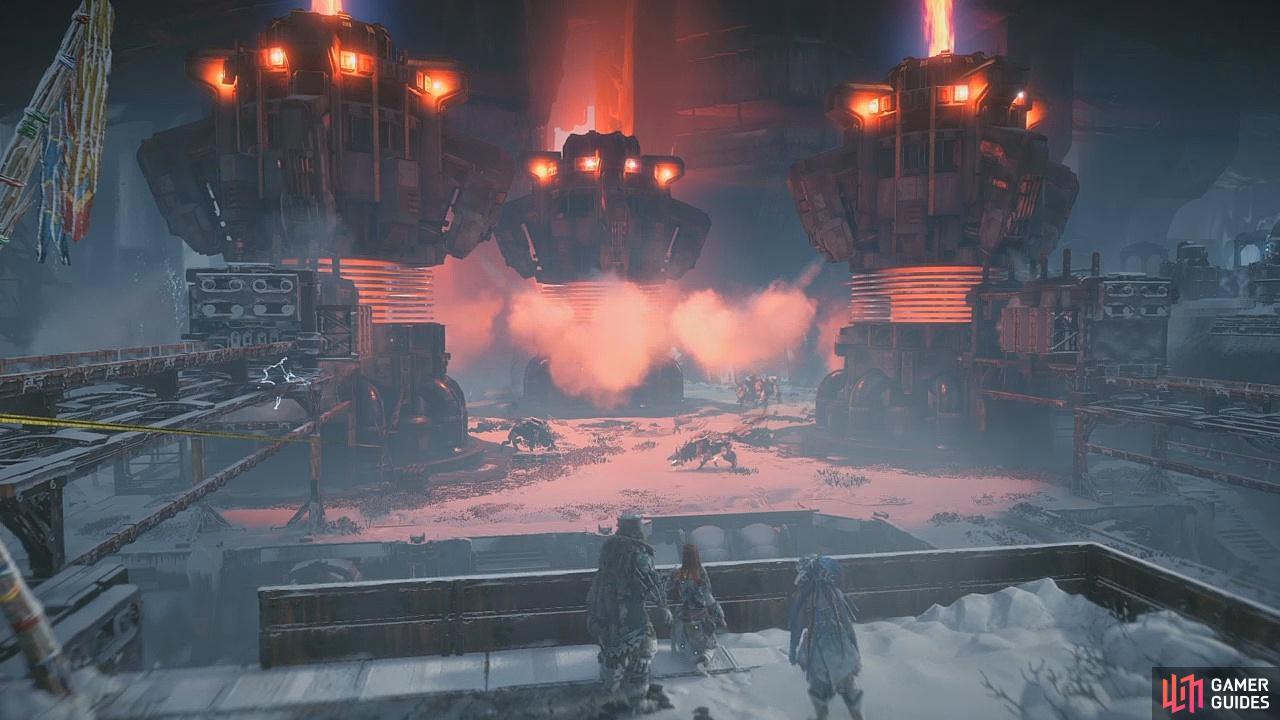
Reach the Cauldron Door through the Tower
This room is riddled with different kinds of machines, but you get to choose which route to take to reach the door at the back. You can Take Aratak’s Path directly to the Tower, which will require taking down two Lv 35 Scorchers and a Lv 40 Behemoth, or Take Ourea’s Path up to the Tower to avoid them completely. However, taking Ourea’s option means fighting off Stalkers and Scrappers, as well as a couple of Watchers and a singular Lv 23 Longlegs. The Scrappers are Lv 15, and the Stalkers are Lv 30, which are a big difference compared to their buddies on the main floor. So, the choice is yours.
Once you make it to the tower door there’ll be an Audio Datapoint – Excessive Secrecy sitting on a crate. Pick it up, and then go through the door into the control tower. Descend the stairs to access another door below (there’s a loot crate under the stairs) and follow the hall into a room at the back for a large supply crate.
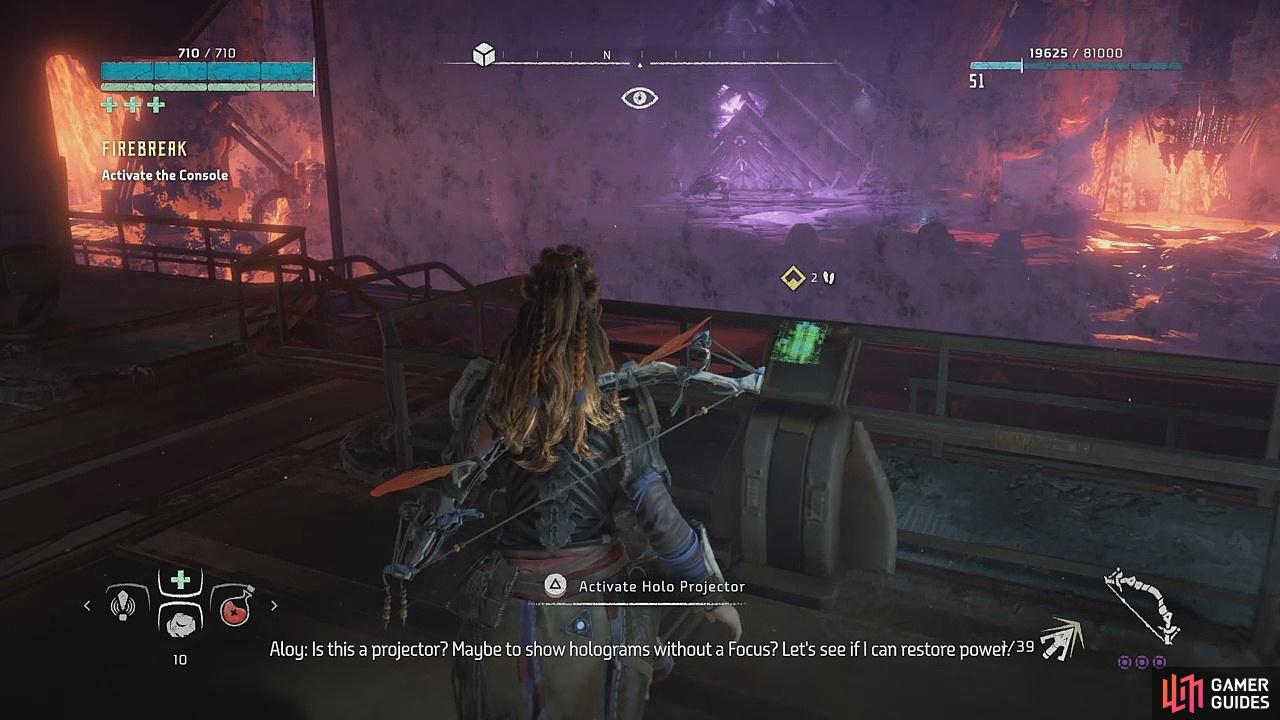
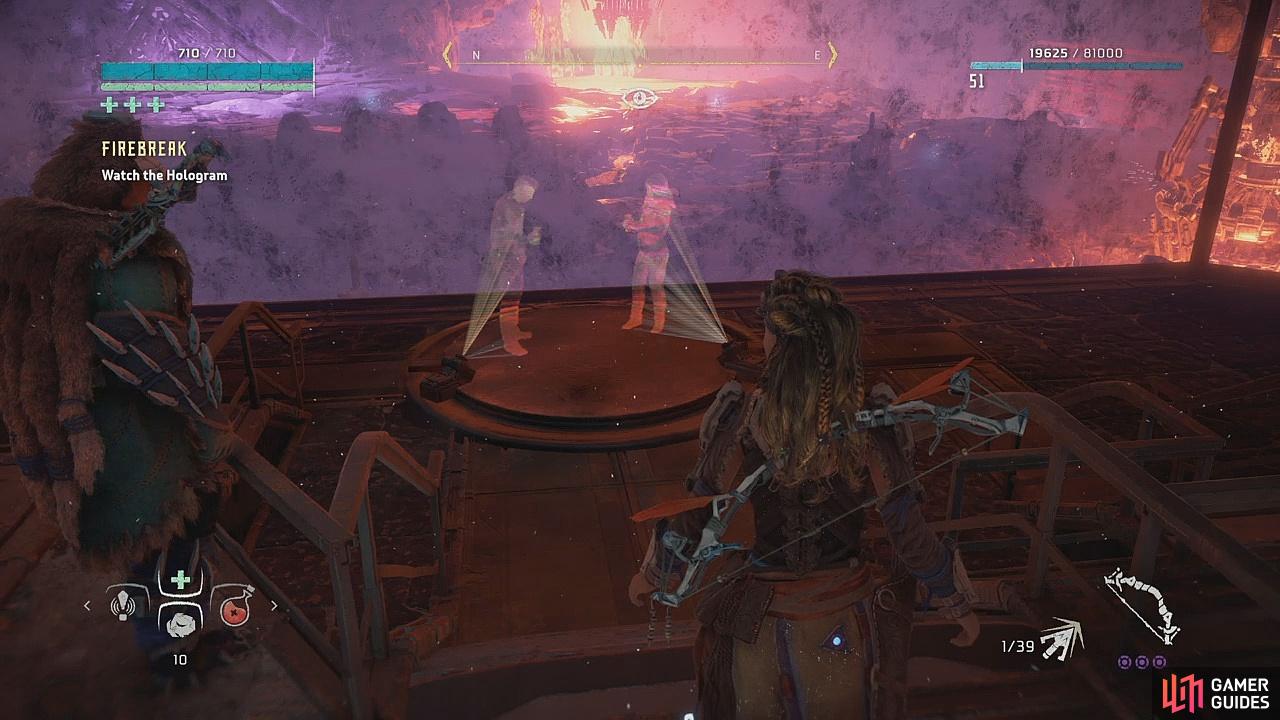
Turn around and go through the door on the left to Activate the Console and watch an old hologram recording. On the large table to the left you can pick up Text Datapoint – Holo Redux.
(1 of 2) Activate the control panel
Activate the control panel (left), After watching the hologram, leave the room to the right (right)
Kill Machines around the Cauldron Door
Head down the steps and go right into the corridor – when you come out at the large window, there’ll be another Audio Datapoint – The Conversation to your left. Then continue right along what looked to have once been a corridor now destroyed. Use the zipline to reach the level below where you’ll have to face off against a bunch of Daemonic machines. There are two Watchers, two Scrappers, and a Scorcher.
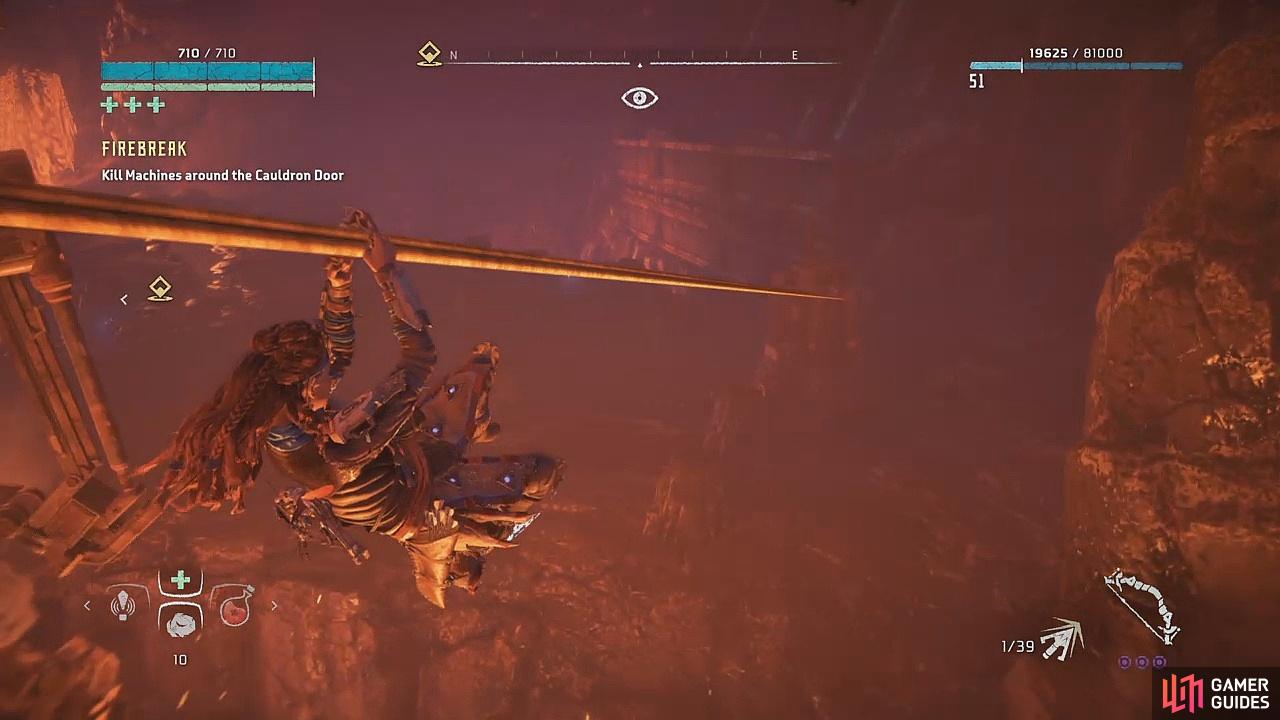
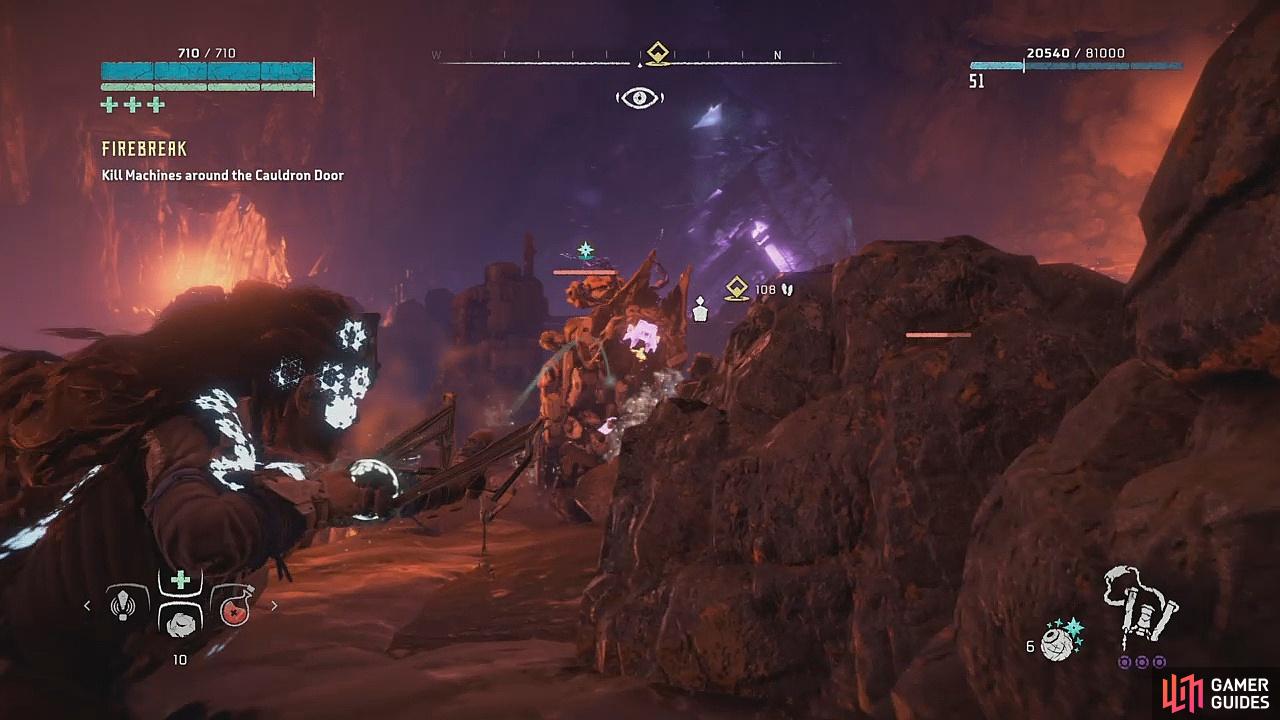
(1 of 2) Take the zipline down to the cauldron door
Take the zipline down to the cauldron door (left), and take out the machines (right)
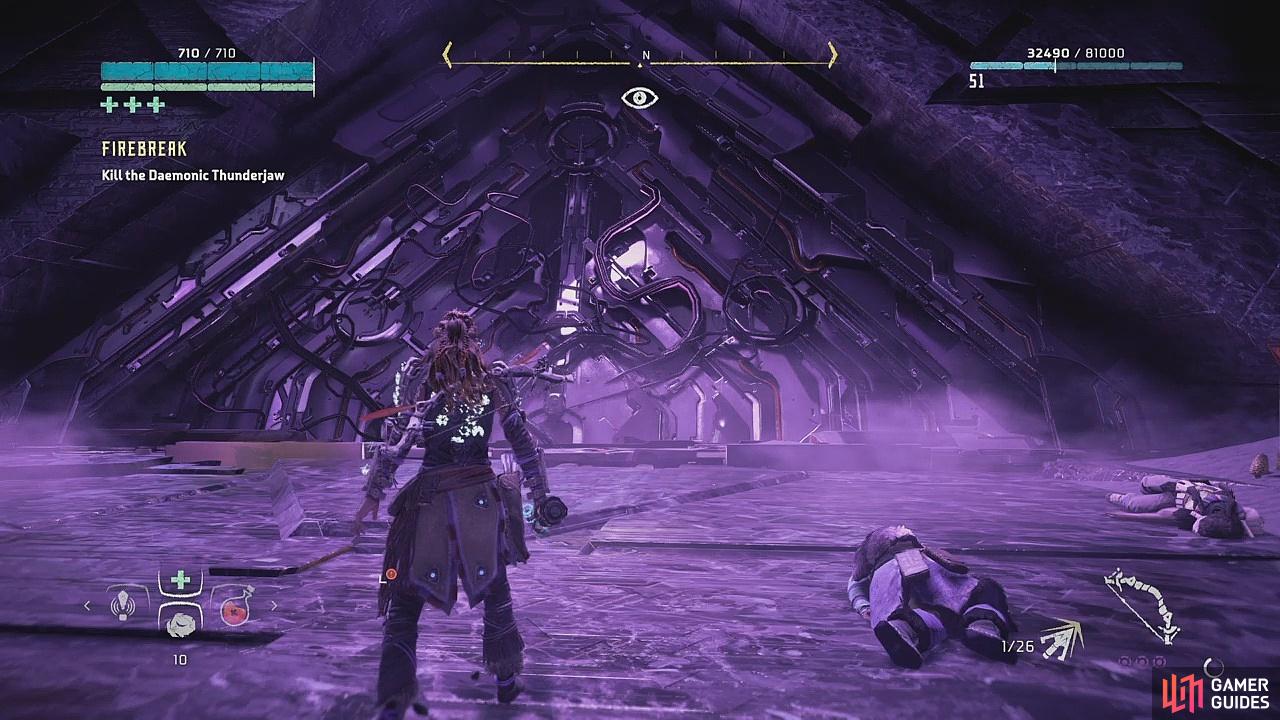
Override the Cauldron Door
Go to the large purple door on the other side of the room – on the left is a supply crate, so pick this up if you need to and then have Aloy override the door. Although, you might want to turn around …
Kill the Daemonic Thunderjaw
Surprise! The hulking Thunderjaw comes out behind you rather than through the cauldron door like you might have suspected. As with any other Thunderjaw, tie it down as much as possible and aim to knock off any and all of its canons. Ourea and Aratak have your back, firing their own weapons into the machine to distract it and give you time to cause some real damage. As ever, it’ll come at you with its charge attack, and the room isn’t really as big as you first thought once this dino-bot shows up. Once it’s down though, scavenge the machine for some sweet modifications and return to Override the Cauldron Door.
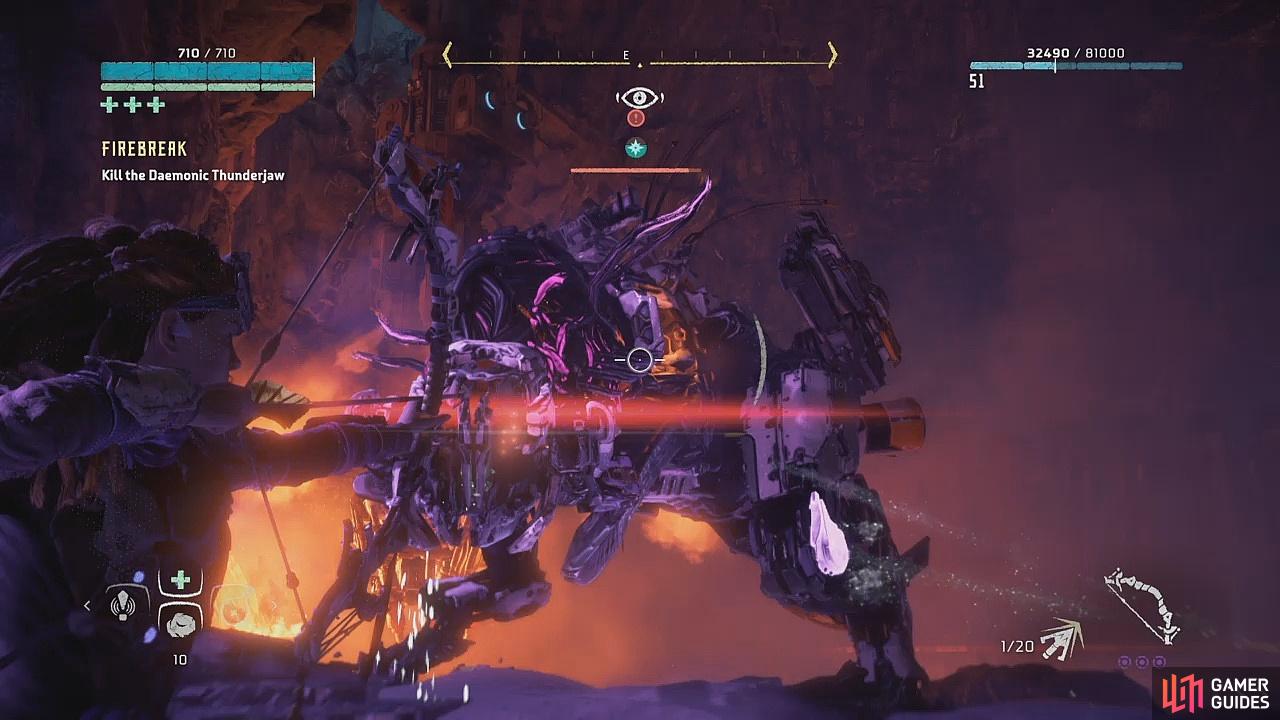
(1 of 2) Override the cauldron door
Override the cauldron door (left), Battle the Daemonic Thunderjaw to gain passage (right)

 Sign up
No Comments