

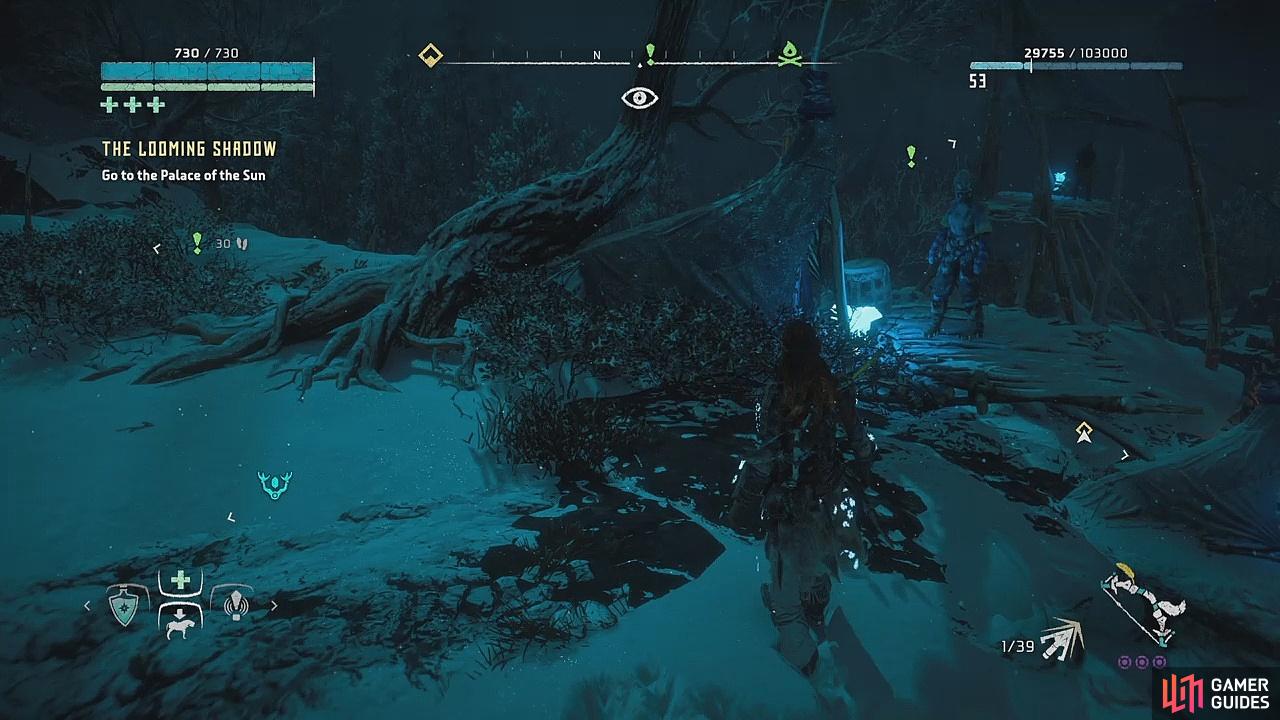
In Song’s Edge, find Laulai pacing a little above the campfire, talking to herself. When you speak to her, she’ll tell you about something called Deep Din – both a place, and something she uses as a musical instrument. But a flood has risen and taken this joy away from her, and she can’t understand where it came from. It’s now your job to find out.
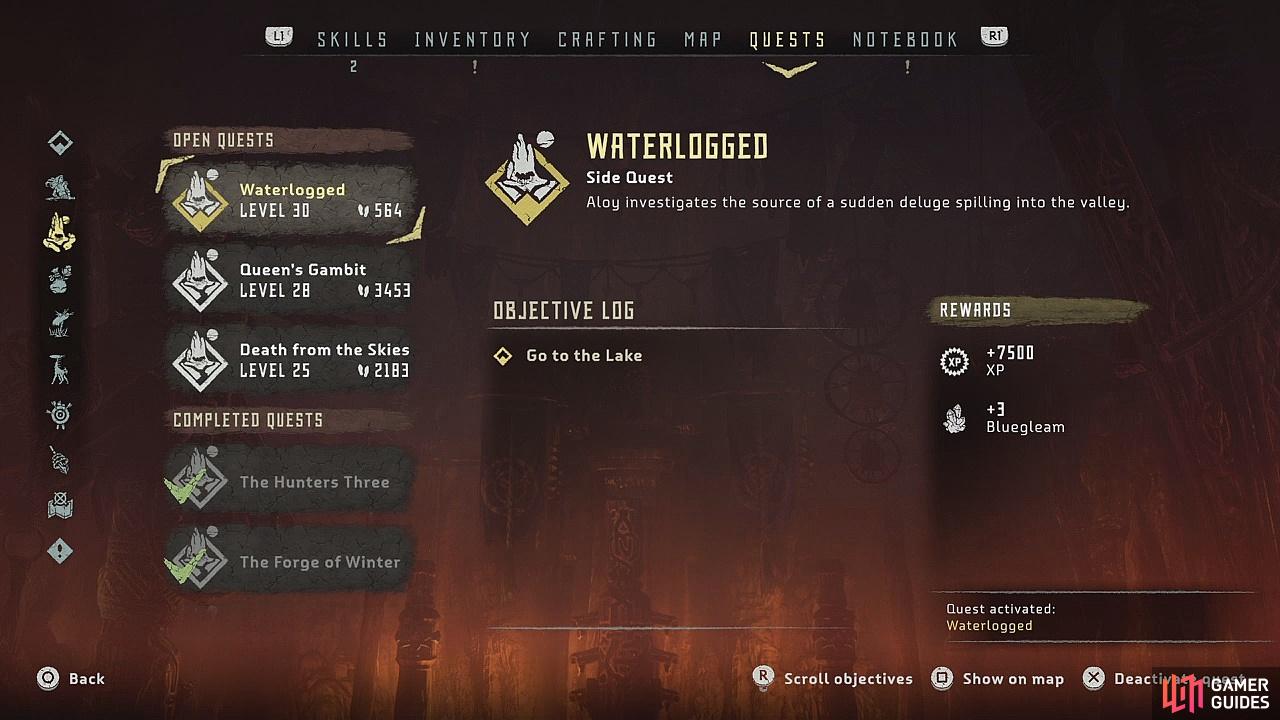
(1 of 2) Speak to Laulai in Song’s Edge
Speak to Laulai in Song’s Edge (left), Activate the Waterlogged side quest (right)
Activate the quest in the quest menu to mark the waypoint to the river. It’s not far to go on foot, but there is a campfire just above it if you activated it earlier on as a fast travel location. When you arrive, cross the walkway over the water and follow the waypoint down the river. You’ll see that the dam has been flooded, submerging the Deep Din in the middle, and the water has been overtaken by Snapmaws. You’ll be prompted to kill the machines before you can continue, so do that first. You won’t necessarily have to destroy them all right now, but you’ll be coming back here later, so you may as well get them out of the way.
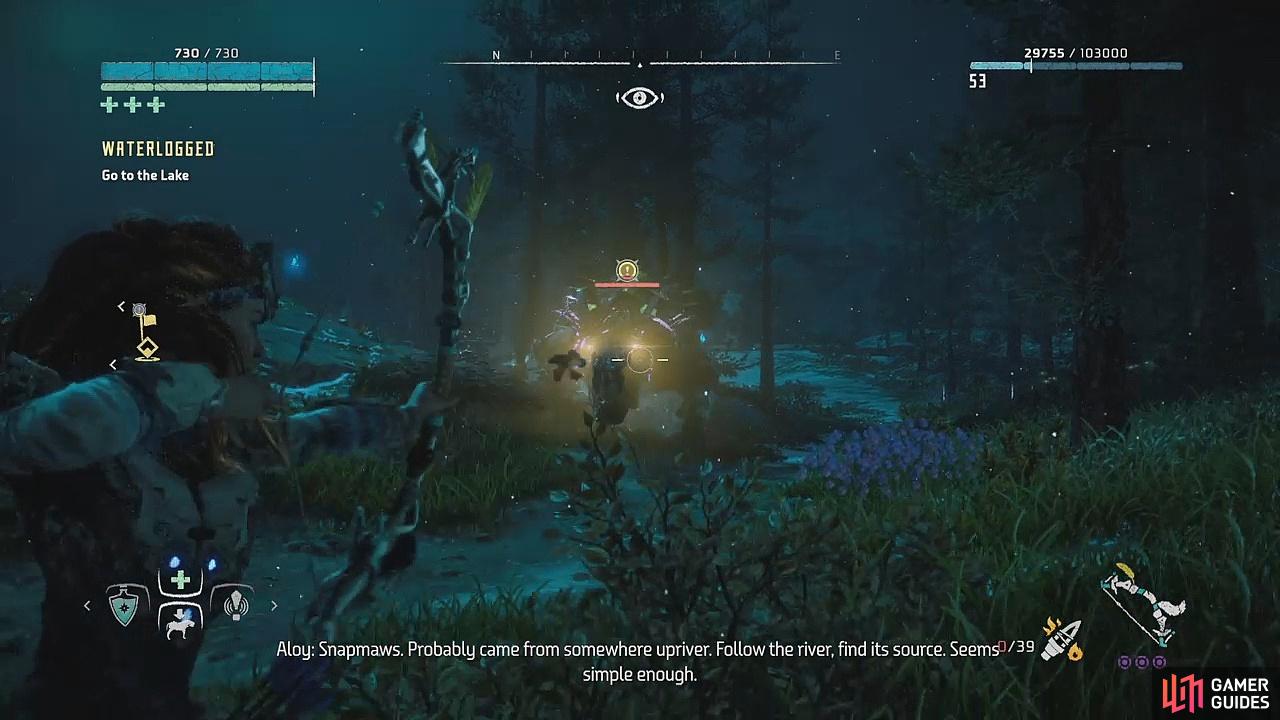
(1 of 2) Kill the Snapmaws around Deep Din
Kill the Snapmaws around Deep Din (left), Go upstream of the river towards Greycatch (right)
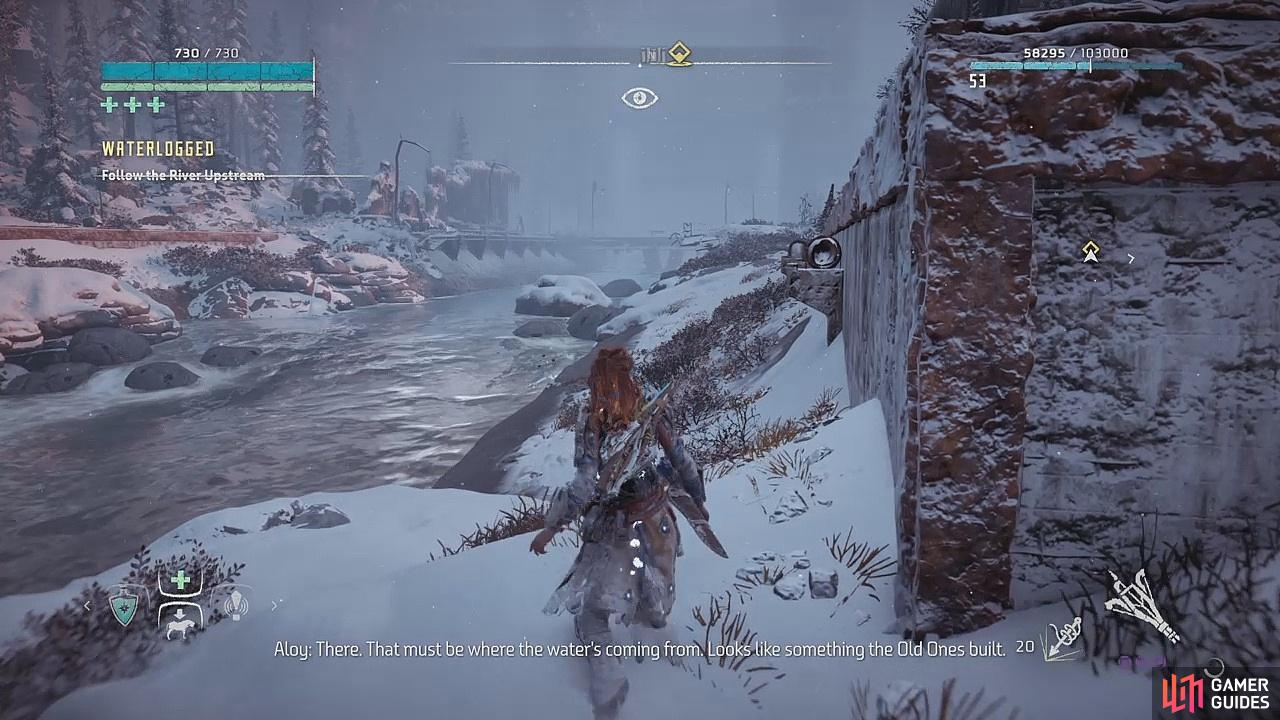
Once you’ve done this, you need to follow the river upstream. Return back to the walkway, then follow the river North – you’re essentially going the opposite way to the flow of water. You’ll eventually come to a ruin on the right side, and Aloy will mention something about the Old Ones having built it. On the ledge of the last broken window will be Animal Figurine 2 for you to pick up!
Animal Figurine 2
Continue toward the quest marker to discover a campfire on the left side of the river, as well as some ancient ruins called Greycatch marked by the waypoint ahead. Activate the campfire to save your progress and to create a fast travel point, then check the building next to it to find Text Datapoint – Emissions Joyride sitting in a window.
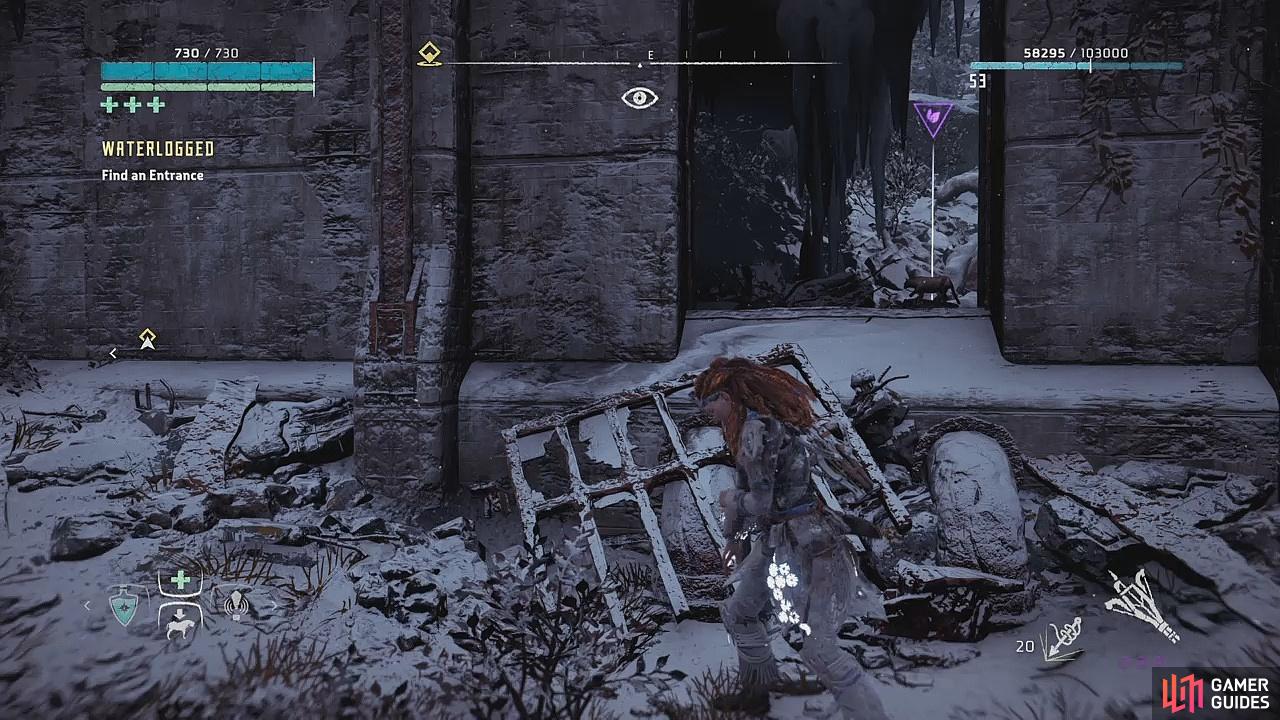
Approach Greycatch to see that an entrance has been blown into the wall; there’s a burning fire and what appears to be supplies to show that someone has been camping here. Enter the Greycatch through the hole in the wall, and then make your way up the hatch using the ladders and handholds available to you. Once you’re at the top, you’ll come to a control room.
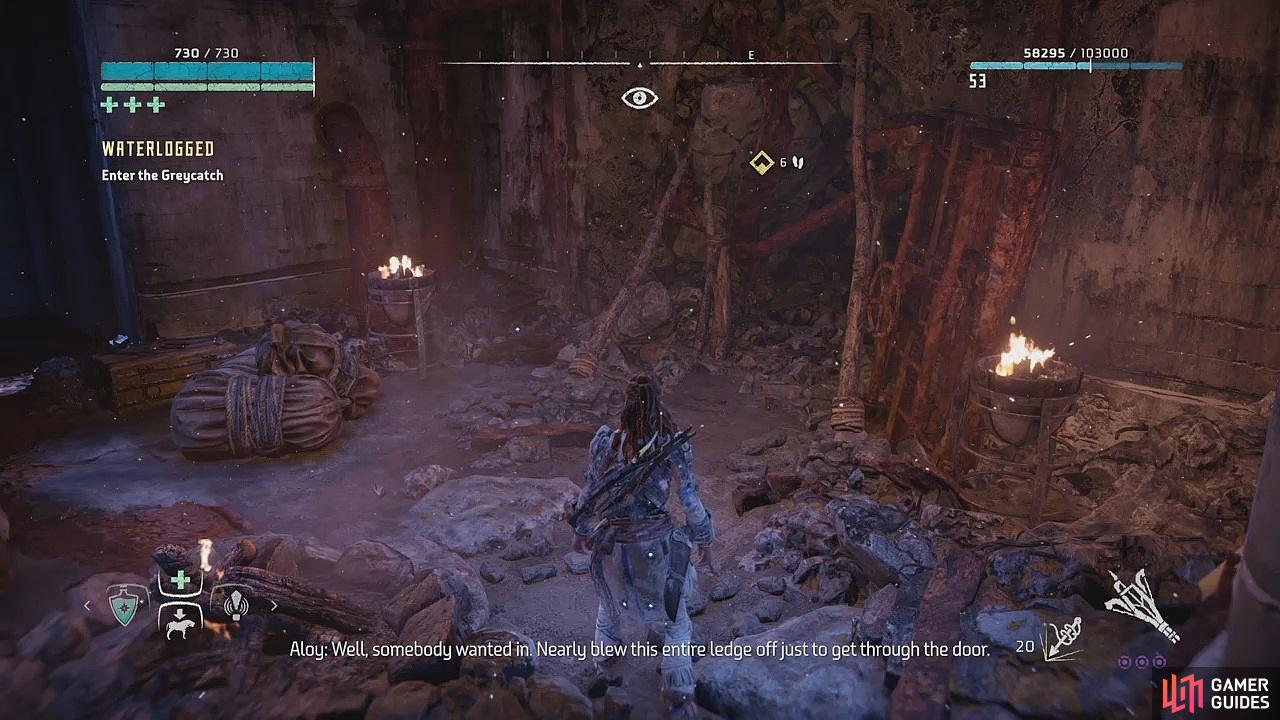
(1 of 2) Locate the entrance to the Greycatch
Locate the entrance to the Greycatch (left), Make your way up to the control room (right)
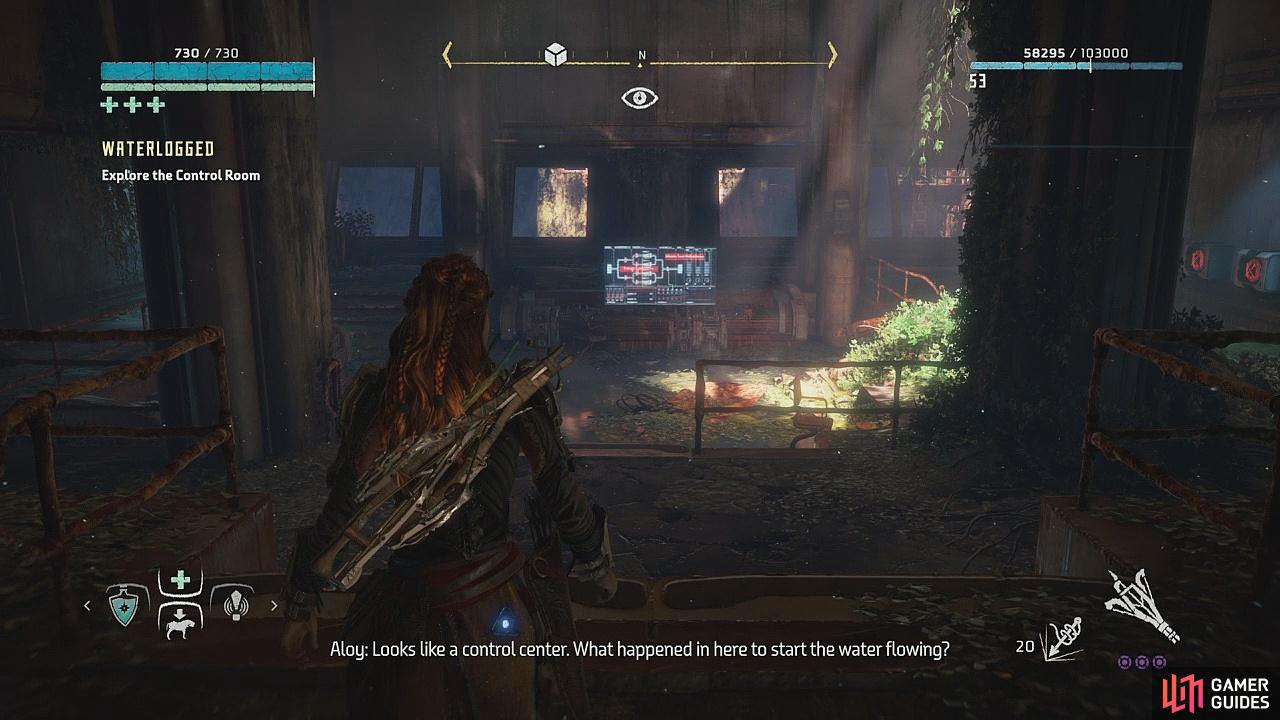
First, go into the centre of the room to find Audio Datapoint – Secret Show sitting on a chair to the left. Then use your Focus to access the control panel in front of you to try to discover the source of the flood – you’ll also need to examine the blinking red schematics on the screen to prompt your next objective.
On the right side of the room is a locked door and a broken holographic interface, much like the ones you may be familiar with from previous quests. One of the rings is missing, and if you haven’t guessed it already, this storage room is where you need to get to. Through the window you’ll be able to spy a datapoint sitting on a desk – you can obtain this later, so don’t worry about that for now.

(1 of 2) Broken holographic interface on the right side of the room
Broken holographic interface on the right side of the room (left), Pry open the doors on the left side (right)
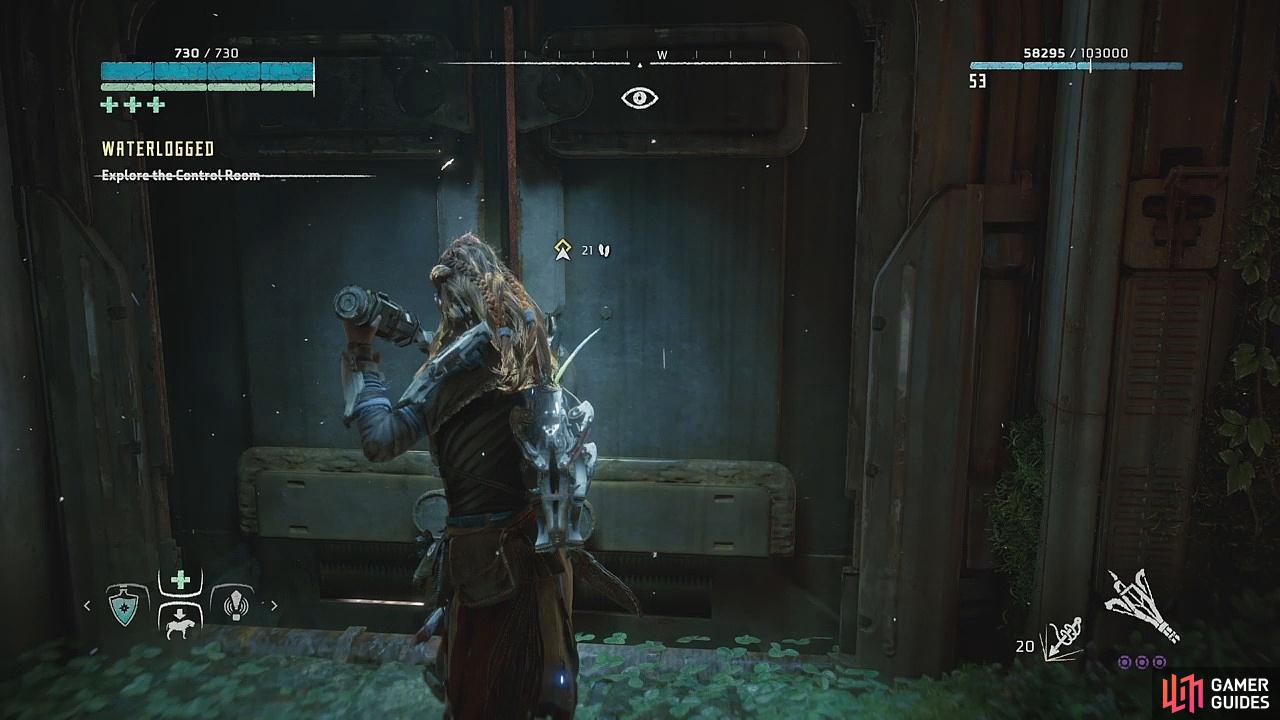
Go to the left side of the room where you’ll see a metal door pried slightly open. Pry it open all the way to hear a voice shouting somewhere down below. Make your way to the next door and open it to be met by a very enthusiastic and fast-talking Oseram named Gildun. After a lengthy conversation with him you’ll quickly discover that he is the cause of the flood, so now you must work with him to correct his mistakes.
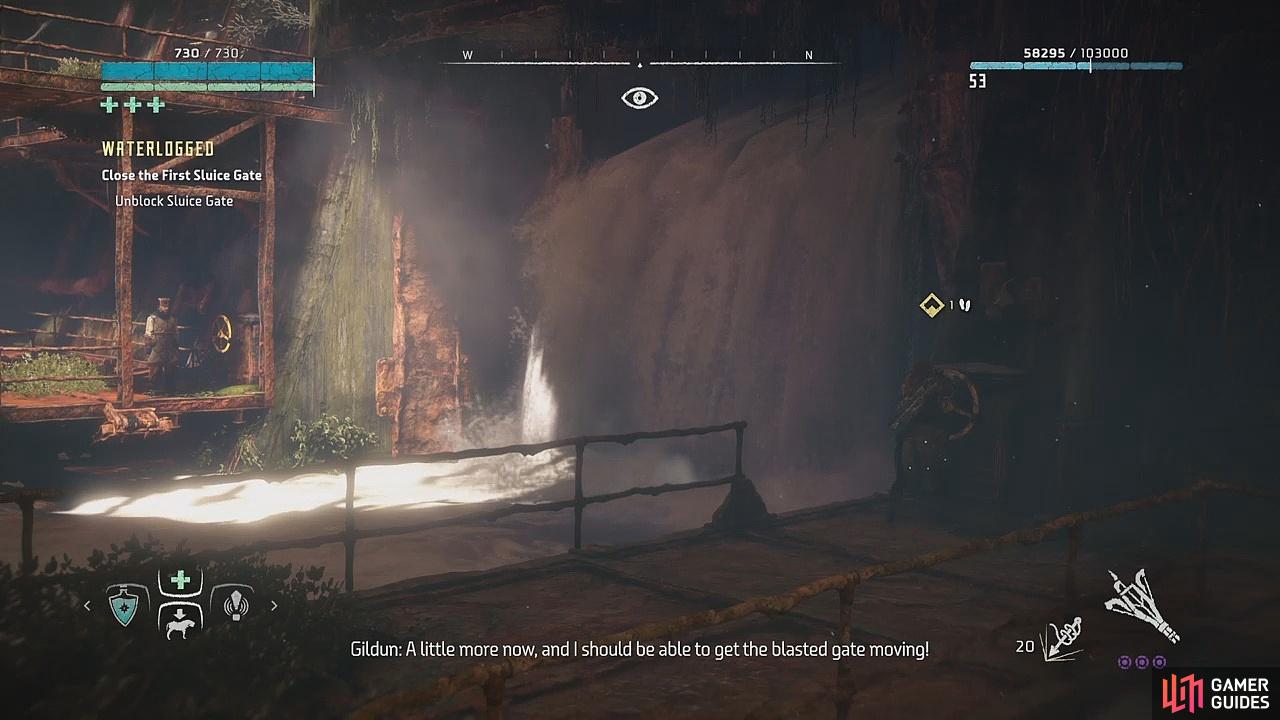
First you need to empty the room of water, so while Gildun has control of the first valve that will open the large gate, you need to make your way to the other side to control the valve that will lock the gate in place. Head up the ladder and go left to get inside the access tunnel in the wall. There’s another ladder in here, so climb up and follow the corridor to the end with another ladder leading down. Leave the tunnel to the right and you’ll come to the valve. Spin the valve to allow Gildun to lower the gate, then spin it again to lock it into place.
(1 of 2) Climb the ladder to reach the access tunnel to the left
Climb the ladder to reach the access tunnel to the left (left), Follow the route around until you reach the second valve (right)
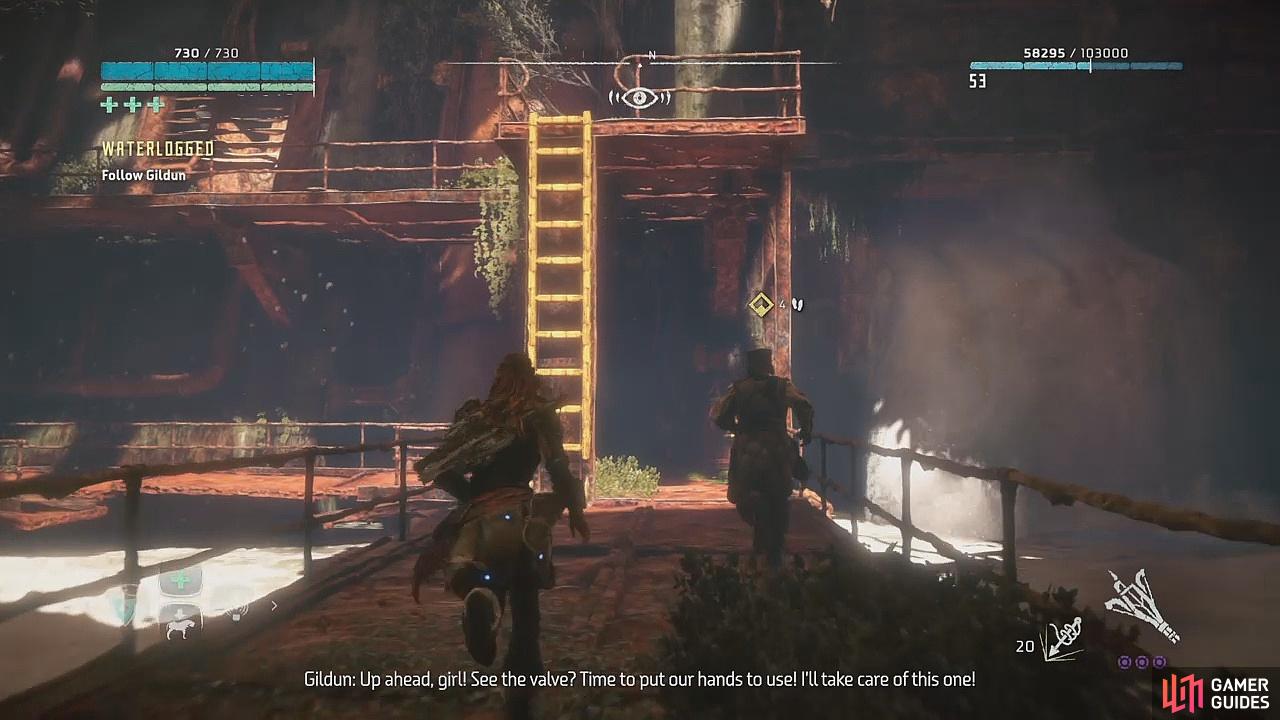
Now you need to do the same with the second gate. Follow Gildun down the ladder and around the walkway – there’s a large hanging platform that you need to jump on to reach the other side.
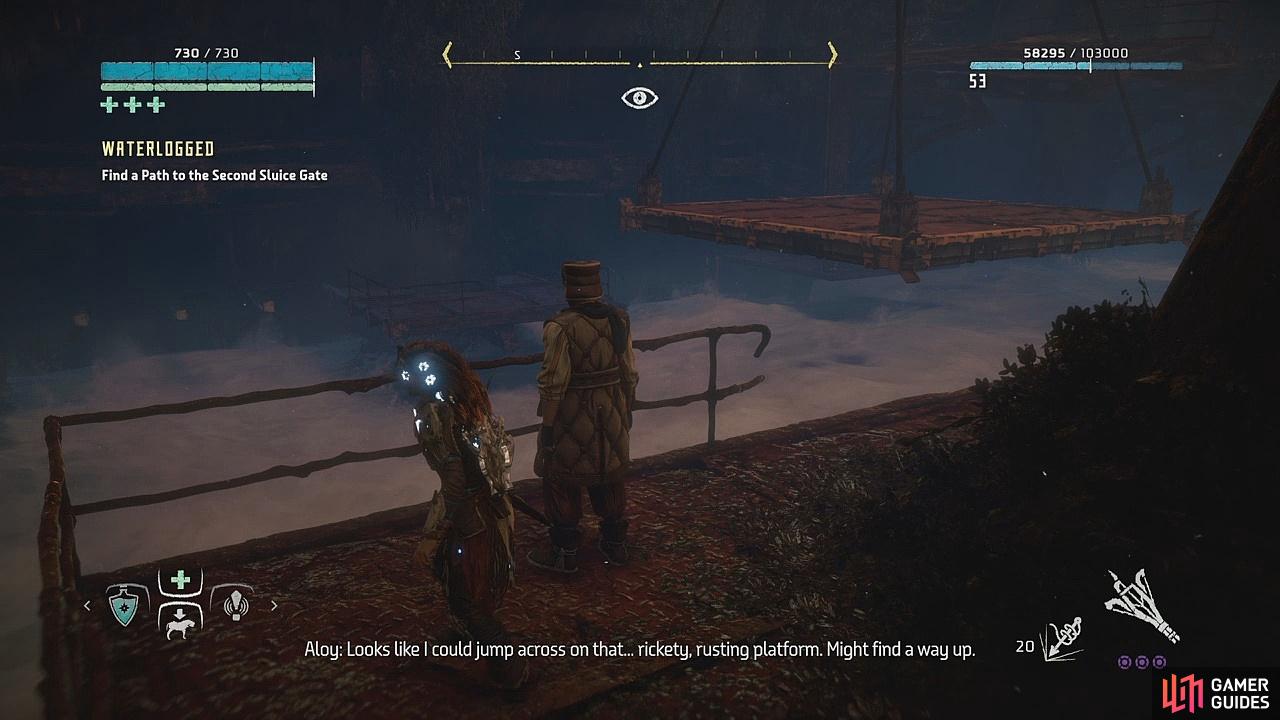
(1 of 2) Jump across the hanging platform
Jump across the hanging platform (left), Audio Datapoint - Dam Family (right)
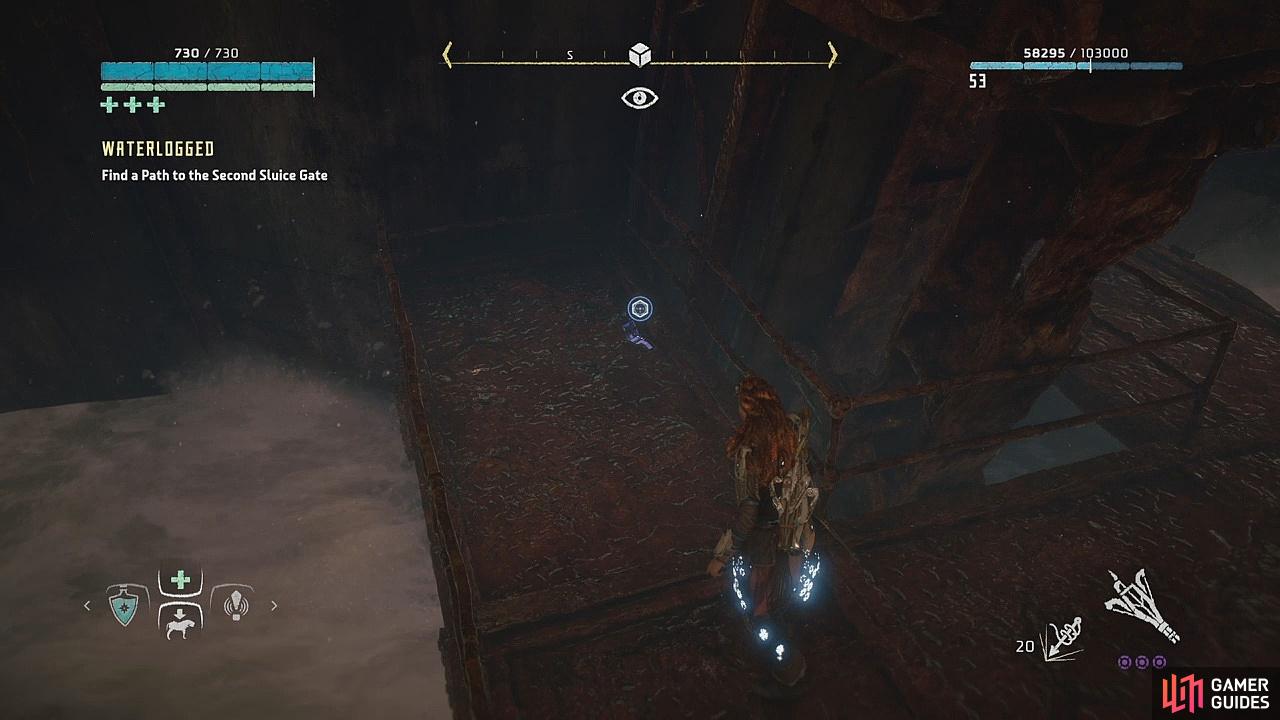
Keep following the walkway, jumping across the beams that jut out from the wall, to find Audio Datapoint – Dam Family next to the railings, then climb the ladder and jump across the broken walkway. There’s a lever to pull that will release another ladder for Gildun below. The valve on this platform is for him, so you need to climb up the next ladder to do the same as before and find a way to the second valve.
Once you’re on the platform above, head left to find the access tunnel and make your way through. Climb the ladder into the corridor – this time, it’s a dead-end. To your left is an opening for you to crawl into, so take this route instead. Once on the other side, ignore the corridor and take the ladder down. Leave the tunnel and head down the stairs to find the valve. Gildun’s valve is stuck, so you need to look for the counterweight – if you look up, you’ll see that it’s a huge concrete block hanging from the ceiling in the middle of the room.
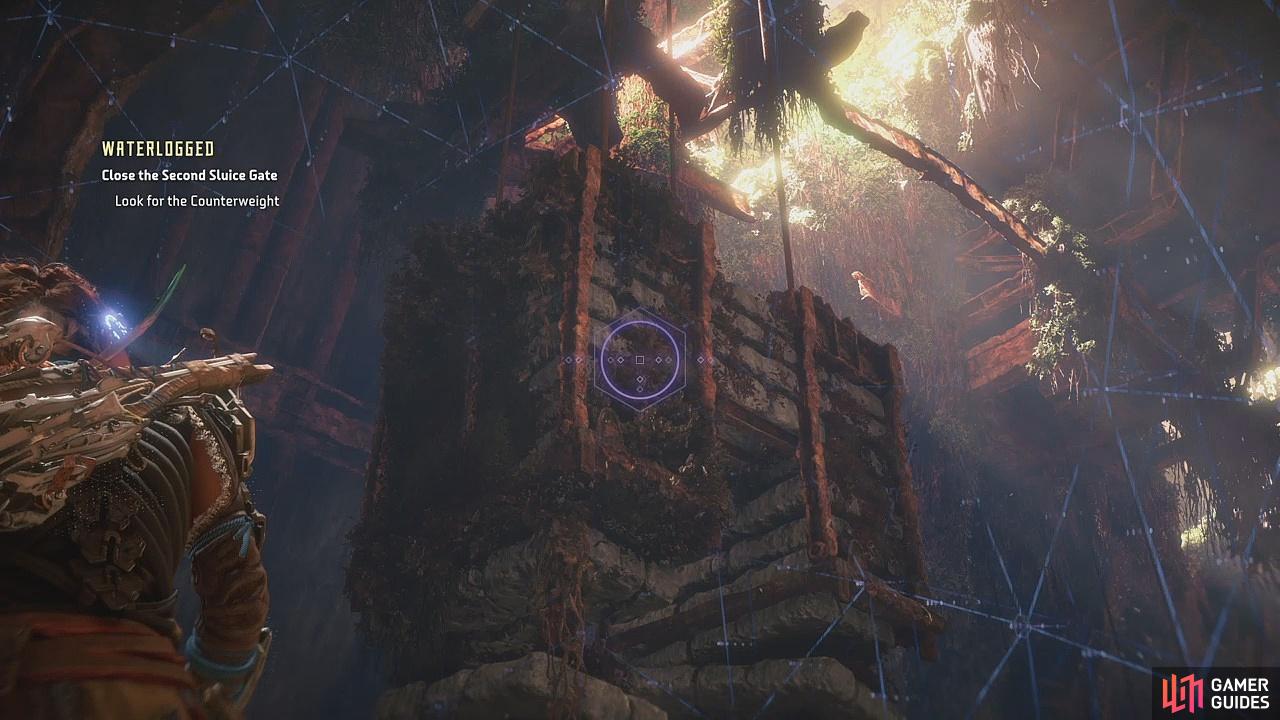
(1 of 2) The counterweight
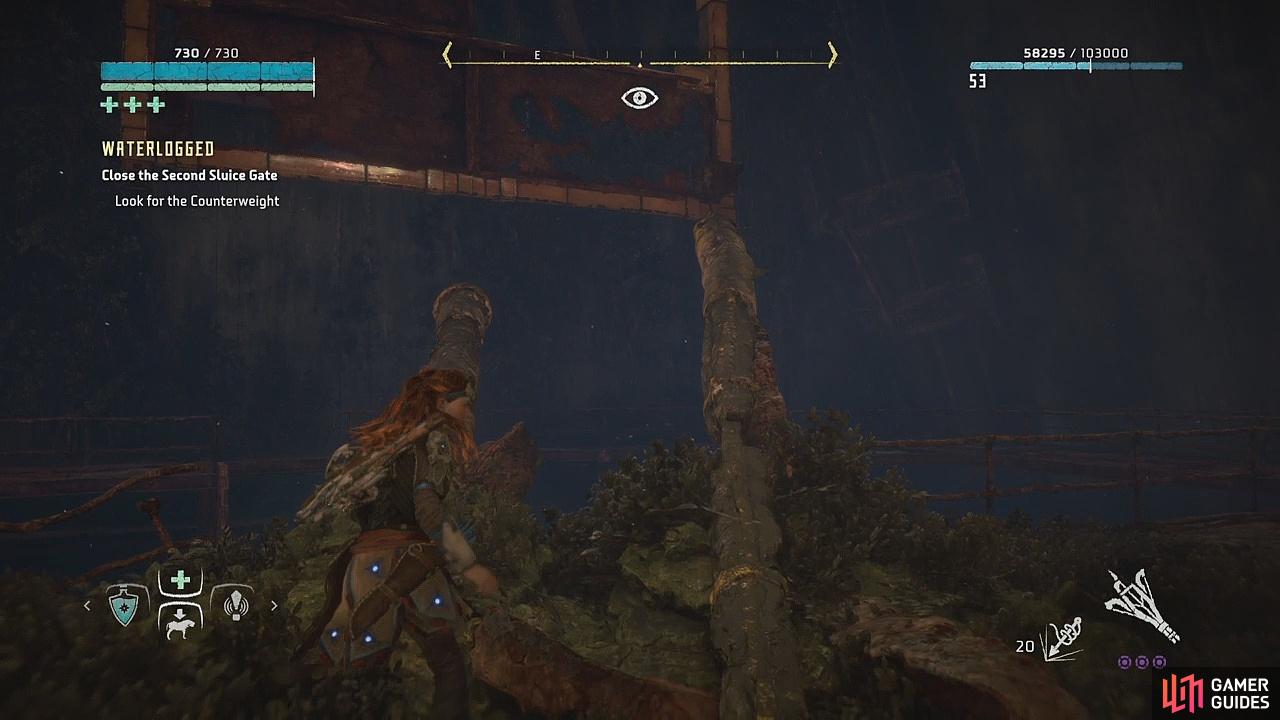
The counterweight (left), Use the pipes to climb the debris (right)
Opposite your valve are two pipes, slightly yellowed to indicate that you can perch on them, that leads to a hanging platform on your left. Take the pipe on the right to jump to the handholds and keep making your way upward. At the top, shimmy your way around until you can perch on the beam, and then cross over to the handholds that lead to another upper platform. From here, look down to see the counterweight – there’s a prompt to rappel down on to it, and this will force the counterweight to lower. Gildun will spin the valve to lower the gate, so all you have to do is jump back to your valve on the right and lock it in place.
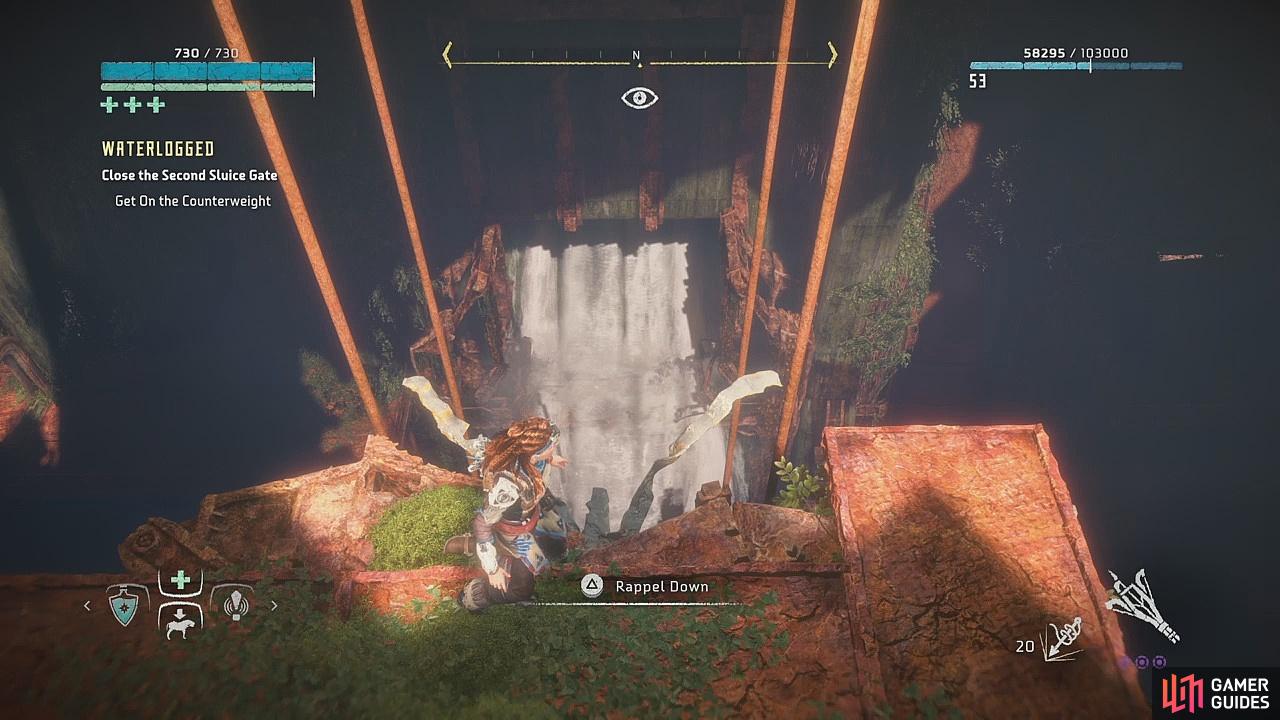
(1 of 2) At the top, rappel down on to the concrete block
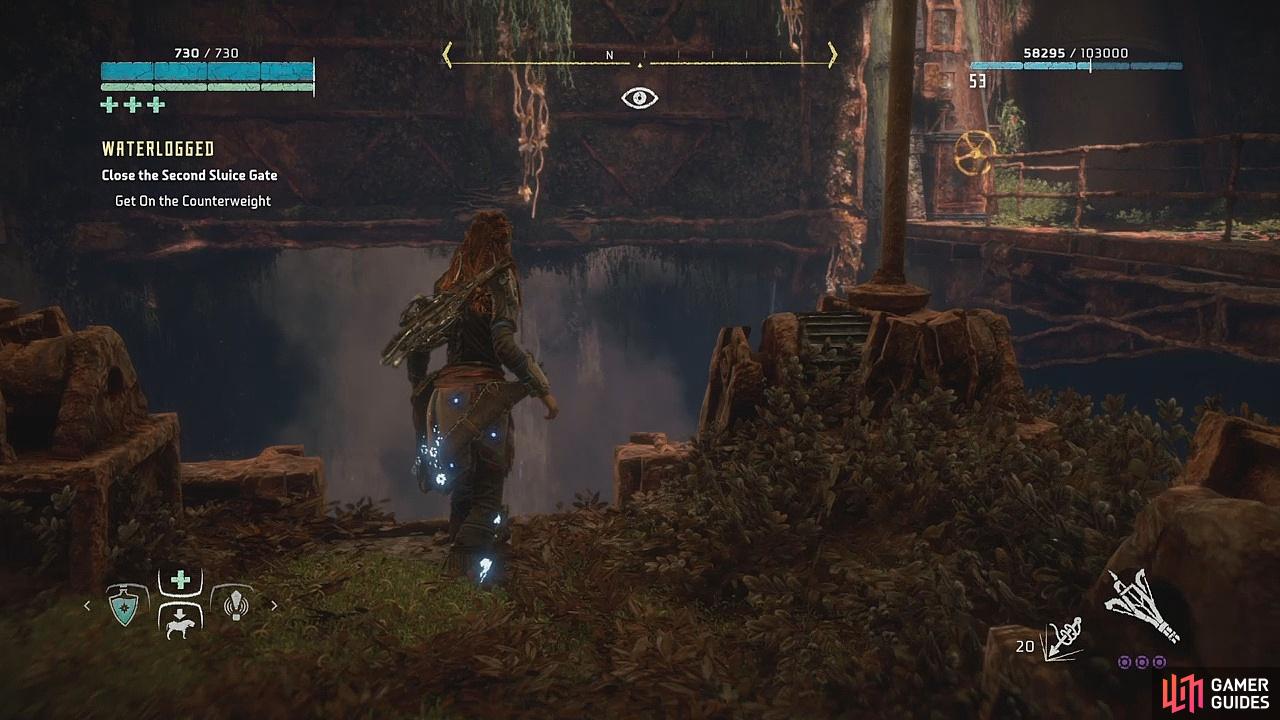
At the top, rappel down on to the concrete block (left), Then jump back to the valve on the right (right)
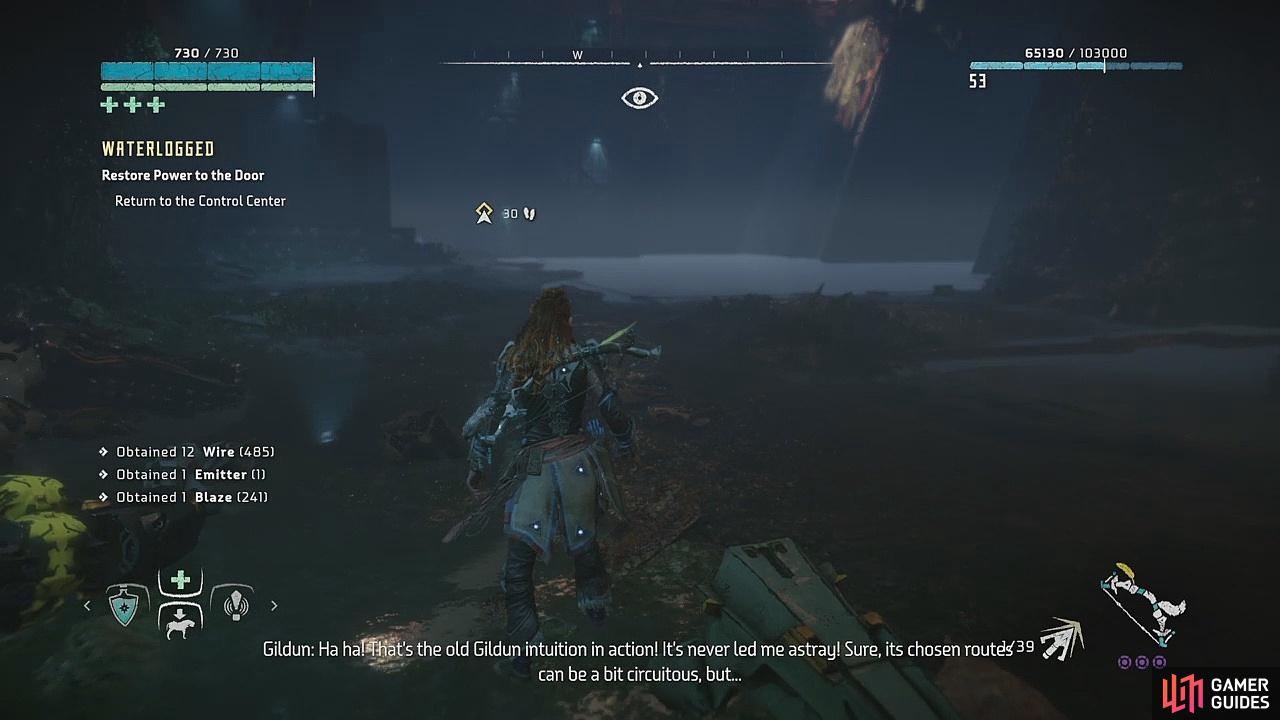
Once the water has been drained from the room, a Snapmaw will appear on the ground below – take it out. When you’ve disposed of the machine, make your way down to loot the body for the Emitter you need for the door. From where you dropped down from the ladder the waypoint (and Gildun) will be on the other side of the room, and as you make your way over there you should be able to spot the Audio Datapoint – Limited-Edition Merch on your left.
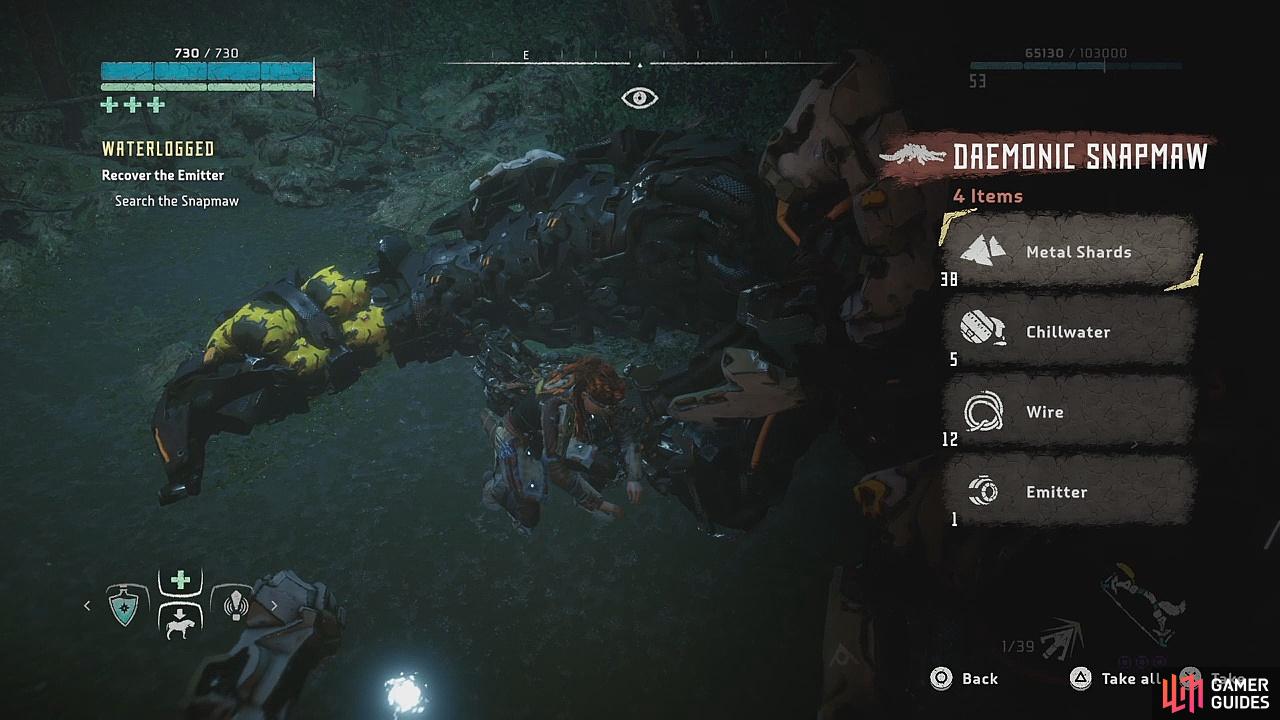
(1 of 2) Loot the Snapmaw for the Emitter
Loot the Snapmaw for the Emitter (left), Head to the door at the back of the room (right)
Now head for the door where the waypoint is and open it. You’ll enter a room with several valves fixed into the floor below, so take the stairs down. When you reach the bottom, pick up Text Datapoint – Valves 101 sitting on a pile of rubble. Then, using your Focus, scan the valves to discover a set of pipes underneath the floor. It’s a puzzle for you to solve that, upon completion, will redirect the water flow and empty the entire dam. You’ll see that there are some red pipes, an indication that they are broken, so avoid these ones.
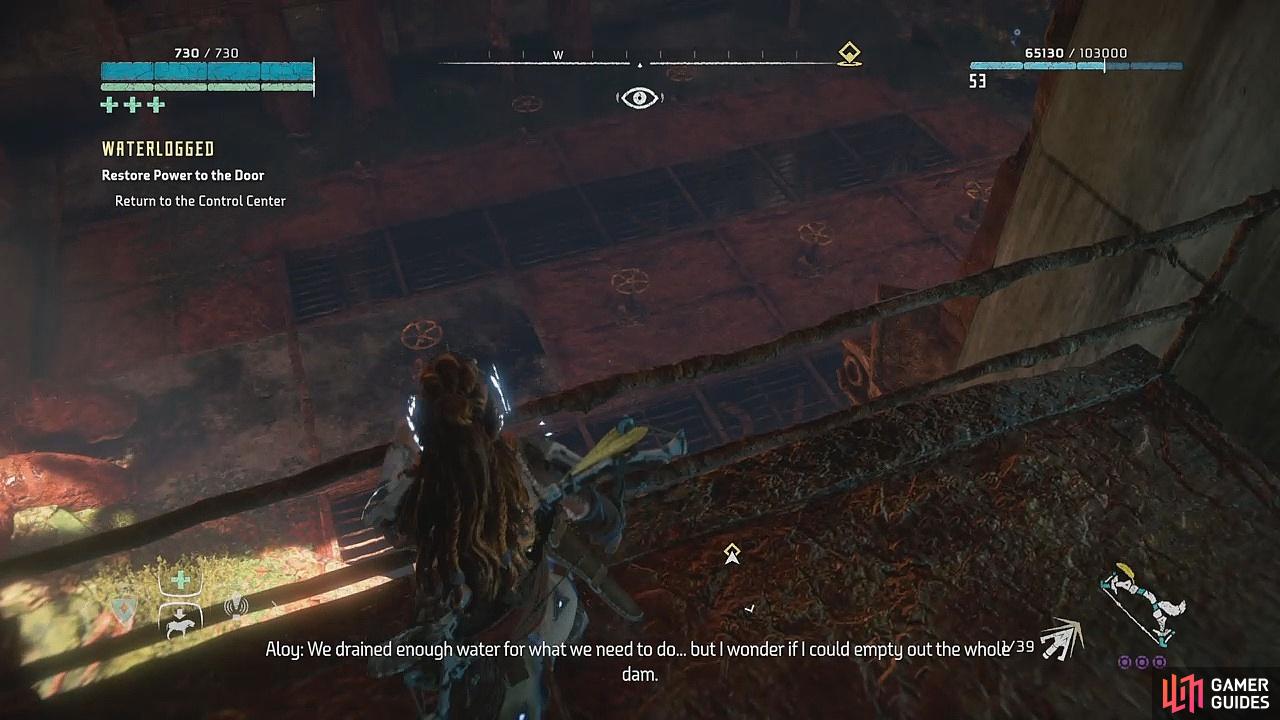
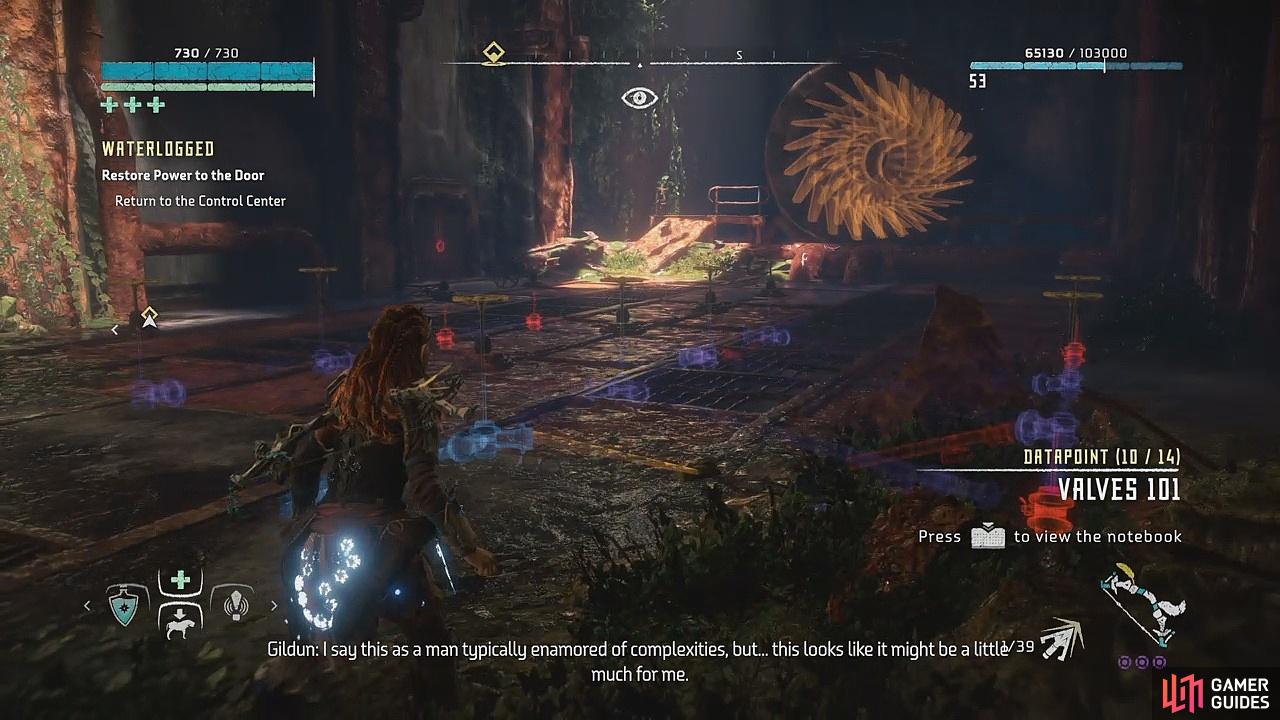
(1 of 2) The pipe room
The pipe room (left), Complete the puzzle to reroute the water flow (right)
When the puzzle is complete, leave the room the way you came in, and head left up the staircase. Follow the walkway back around and head back into the control room from the start.
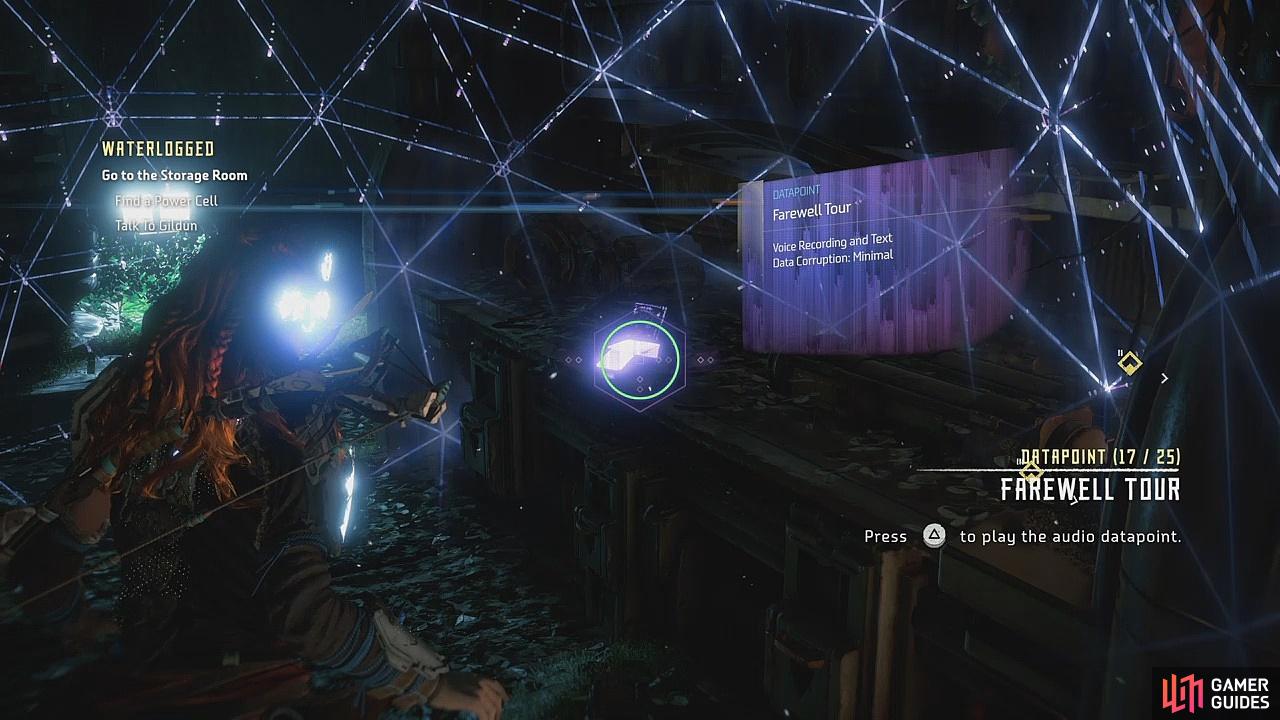
Place the Emitter back in the empty slot and use your Focus to find the lock combination – when the rings are all in the right order, the storage room will unlock. Now, you can grab the Audio Datapoint – Farewell Tour on the workbench. There’s a few supply crates in here, too, so loot those if you need to.
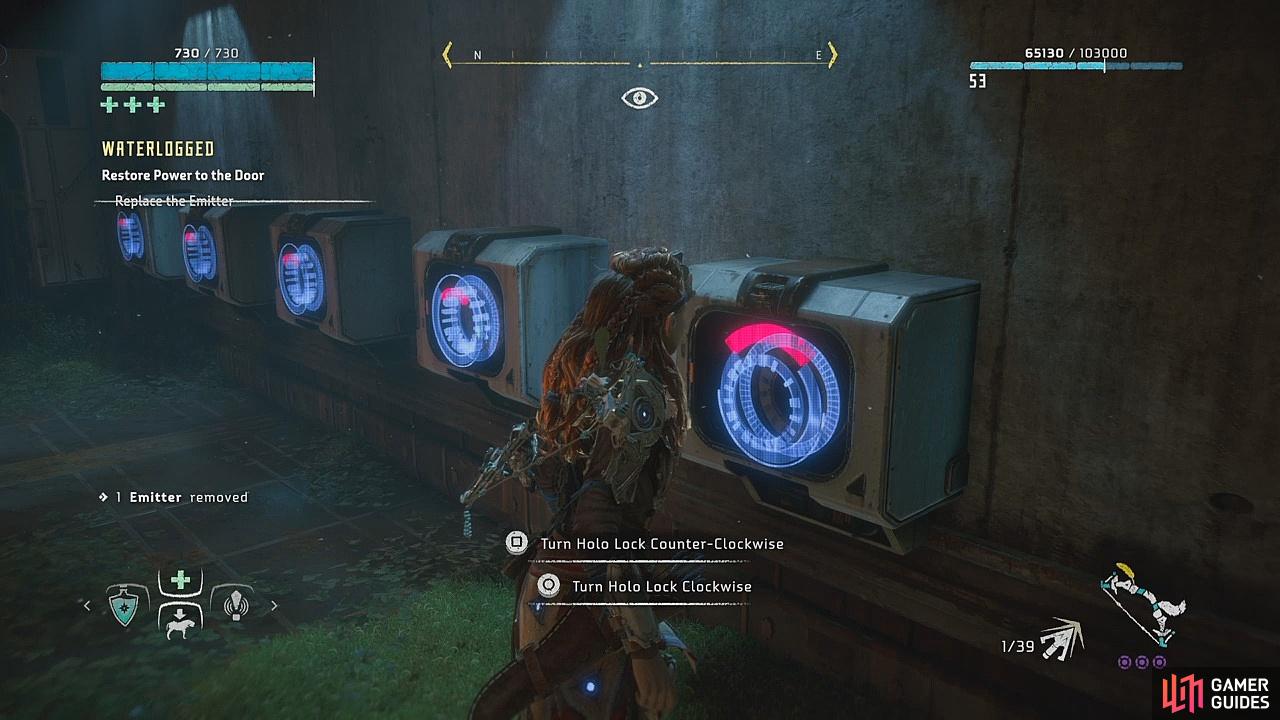
(1 of 2) Replace the emitter to the holo-lock to unlock the door
Replace the emitter to the holo-lock to unlock the door (left), Grab the datapoint inside the storage room (right)
When you speak to Gildun, a short cutscene will occur. He’s upset that what he came here for is not here at all.
Return to the control room to replace the power cell on the schematics board. Aloy will let Gildun do the honours of rebooting the system (probably to make him feel better) and then you can leave the Greycatch and head back to the Deep Din where Laulai will be waiting.
Go to the overflow basin where the loud metallic sounds can be heard and make your way down the ladders. When you enter the room at the bottom, look to your left to find Text Datapoint – Last Girls on Earth sitting next to a blue glowing crystal. Now speak to Laulai to end the quest.
On your way out, just before you go back up the ladder, there will be a datapoint sitting underneath the large grate. Swim over to pick up Audio Datapoint – Final Performance.

 Sign up
No Comments