

Not long after passing through the Main Embrace Gate, you will likely run into this hunting grounds, which is located on top of a hill just northeast of the gate. Two of the three trials don’t require any special tools, but the final one does require the Carja Tripcaster, so make sure you purchase that (there’s a merchant right next to the hunter NPC). This will likely be your first foray into the trials, so you’re not sure what to expect. The first one, Parts Alone, is fairly simple and straightforward, but the other two might take a few tries in order to get the Blazing Sun mark. All trials start as soon as you take the zipline down to the area below.
Parts Alone Trial
| Blazing Sun | Full Sun | Half Sun |
|---|---|---|
| 1:30 | 2:00 | 20:00 |
You have one minute and thirty seconds in order to shoot off 10 canisters from the Grazers. Each Grazer will have four canisters on their backs and there’s quite a few of them, so there’s no shortage, but there will also be three Watchers in the same area. Since you need to move fast, you can’t play with the Watchers too much and need to start aiming right after the canisters on the Grazers’ backs. Concentration is a great skill for this challenge, since the slow-mo effect lets you aim a lot better, especially since the Grazers will run when spooked enough and don’t tend to run in a straight line.
If you happen to get them in a narrow chokepoint, you should have ample opportunities in breaking off canisters. Each Grazer should be able to take three direct shots to the canisters before they will go down for the count, so you’ll only get a maximum of three canisters before they die. Note that the Grazers need to be alive in order for the canisters to count, so use your basic bow to minimize the damage done.
Logpile Trial
| Blazing Sun | Full Sun | Half Sun |
|---|---|---|
| 2:00 | 5:00 | 20:00 |
In order to get the Blazing Sun mark for this trial, you need to kill three enemies with log traps that are scattered around the area. Before you officially try for this trial, start it and take a note of the locations of the log traps, so you know where exactly they are. It’s important to note that shooting the traps from the front will cause the logs to be released. The hard part about this trial is that you don’t know exactly where the Grazers will run and since time is a bit tight, you have to improvise.
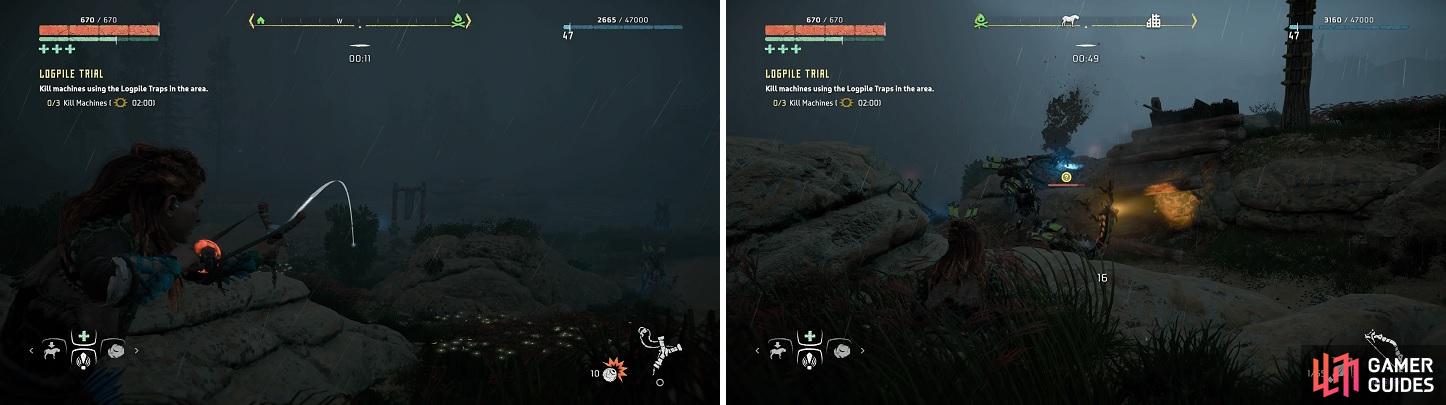
Use the Blast Sling to send the Grazers down a specific path (left). When they have stopped moving, shoot one of the log piles (right).
One of the better tactic you can employ is to spook the Grazers from where you land to hopefully set them going on the northernmost path. This path is fairly narrow and has two log traps situated above it, on the northern side. Once they start running, quickly make your way to the path and the Grazers will most likely have stopped, either on the hill overlooking the path or on the path itself. From there, simply shoot the trap and hope you get enough kills to finish the trial.
Blast Wire Trial
| Blazing Sun | Full Sun | Half Sun |
|---|---|---|
| 3:00 | 6:00 | 20:00 |
In order to start this trial, you will need the Carja Tripcaster, which allows you to make a new type of ammo, traps that detonate when the tripwire is broken. You will need to kill six Grazers using the Blast Wires, and the game suggests that you have the Blast Sling to help out with it, although it’s not necessary but it is a huge help. When you begin, you want to avoid alerting any of the enemies yet, since you want to set-up your Blast Wires. It’s helpful to have a total of six ammo for this, since you don’t always get multiple kills with each one.
From where you land, there are two paths to your north, with the first one being a lot wider. If you’re using the Blast Sling, you want to set up your trapwires in the wider one. It doesn’t seem to matter if the trapwires are right next to each other, since they don’t appear to blow up one another, but it might be a little bit helpful to place them a little bit apart. Once you place at least six wires down, it’s time to test out where to fire a Blast Sling (provided you use one for this) to make the Grazers run down the area where you placed the wires.
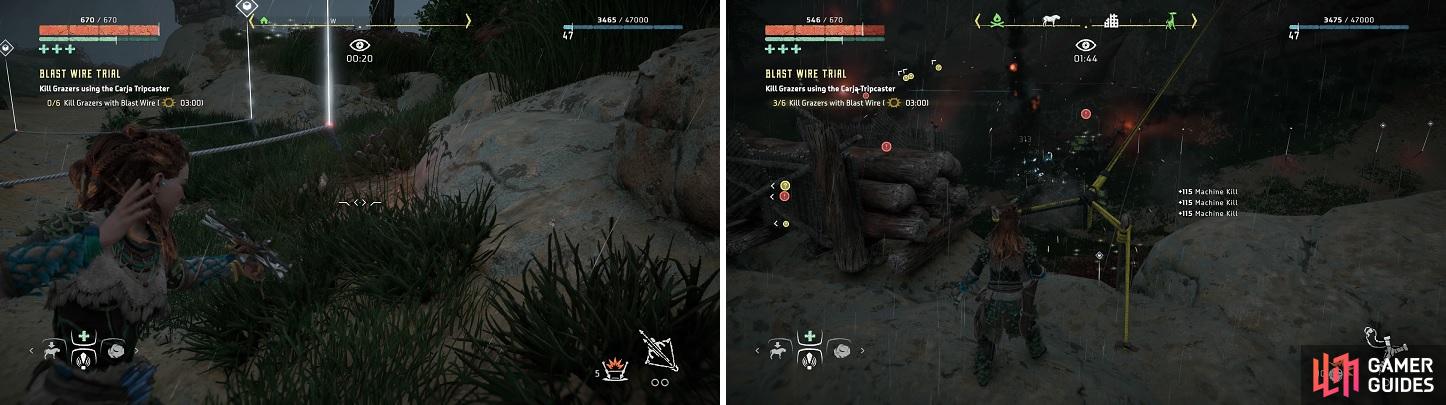
You need to place your Blast Wires down first (left) before you try and lure the Grazers over to them (right).
If you opt to not use the Blast Sling, then you need to test out where the Grazers run should you spook them with regular arrows or Aloy herself. Since you need time to set up and want to kill six Grazers with the initial scare, then you might need the full three minutes. It might take a few tries to get a good strategy down for this trial, especially if you don’t want to use the one above.

 Sign up
No Comments