

Fighting Fire With Fire
There’s a lot to see and do in north-center of the map, and a few places of interest along the way. As usual, this time will be used to explore those areas enroute to Pitchcliffs. To start things off, fast travel to the Campfire north of Rockwreath, if you remember where that is. If not, it’s to the east, northeast of the Dimmed Bones ruins (where you and Erend went searching for Ersa in “The Field of the Fallen”, north of the Campfire north of Cut-Cliffs.
Near this Campfire you’ll find a fork, and this time, take the northeastern path. Ignore another road to the southeast and continue north, northeast into a canyon until you reach a second fork, at which point head uphill to the north to find Sun Furrows Hunting Grounds.
Every Hunting Grounds has a theme, and this one happens to be “using machines and their weapons against each other”. This is arguably the most dangerous of the Hunting Grounds in the game (although, frankly, the Greatrun Hunting Grounds may have had more annoying challenges). As such, you’ll need a few things to have a good shot at completing these trials: The RHO Override codes from Cauldron RHO are absolutely mandatory. Other things will help your chances, like the skills Combat Override and Combat Override +, a Shadow War Bow with three corruption mods, and up to three suits of modified armor: Nora Silent Hunter Heavy armor with two stealth mods, Nora Protector Heavy armor with two resist melee mods and Oseram Arrow Breaker Heavy armor with resist ranged mods. With these in place, consider attempting the trials at this site.
There are three types of machines in the quarry to the west, Watchers, Ravagers and a Thunderjaw. The Tyrannosaurus Rex of the machine world, if Tyrannosaurus Rexes were made of metal, could shoot several lasers in a wedge, had rapid fire pulse cannons on the side of its head, and could call down air strikes. Oh, it also has a Radar to detect prey. Fun! Full details of how to defeat this machine will occur somewhat later in the guide - right now, you’ll have help, but general pointers will be included for the “Ravager Control Trial”.
| Ravager vs. Machines Trial Time | Reward |
|---|---|
| 20:00 | Half Sun Box |
| 2:00 | Full Sun Box |
| 1:10 | Blazing Sun Box |
| Thunderjaw vs. Ravager Trial Time | Reward |
|---|---|
| 20:00 | Half Sun Box |
| 2:30 | Full Sun Box |
| 2:00 | Blazing Sun Box |
| Ravager Cannon Trial Time | Reward |
|---|---|
| 20:00 | Half Sun Box |
| 4:00 | Full Sun Box |
| 2:40 | Blazing Sun Box |
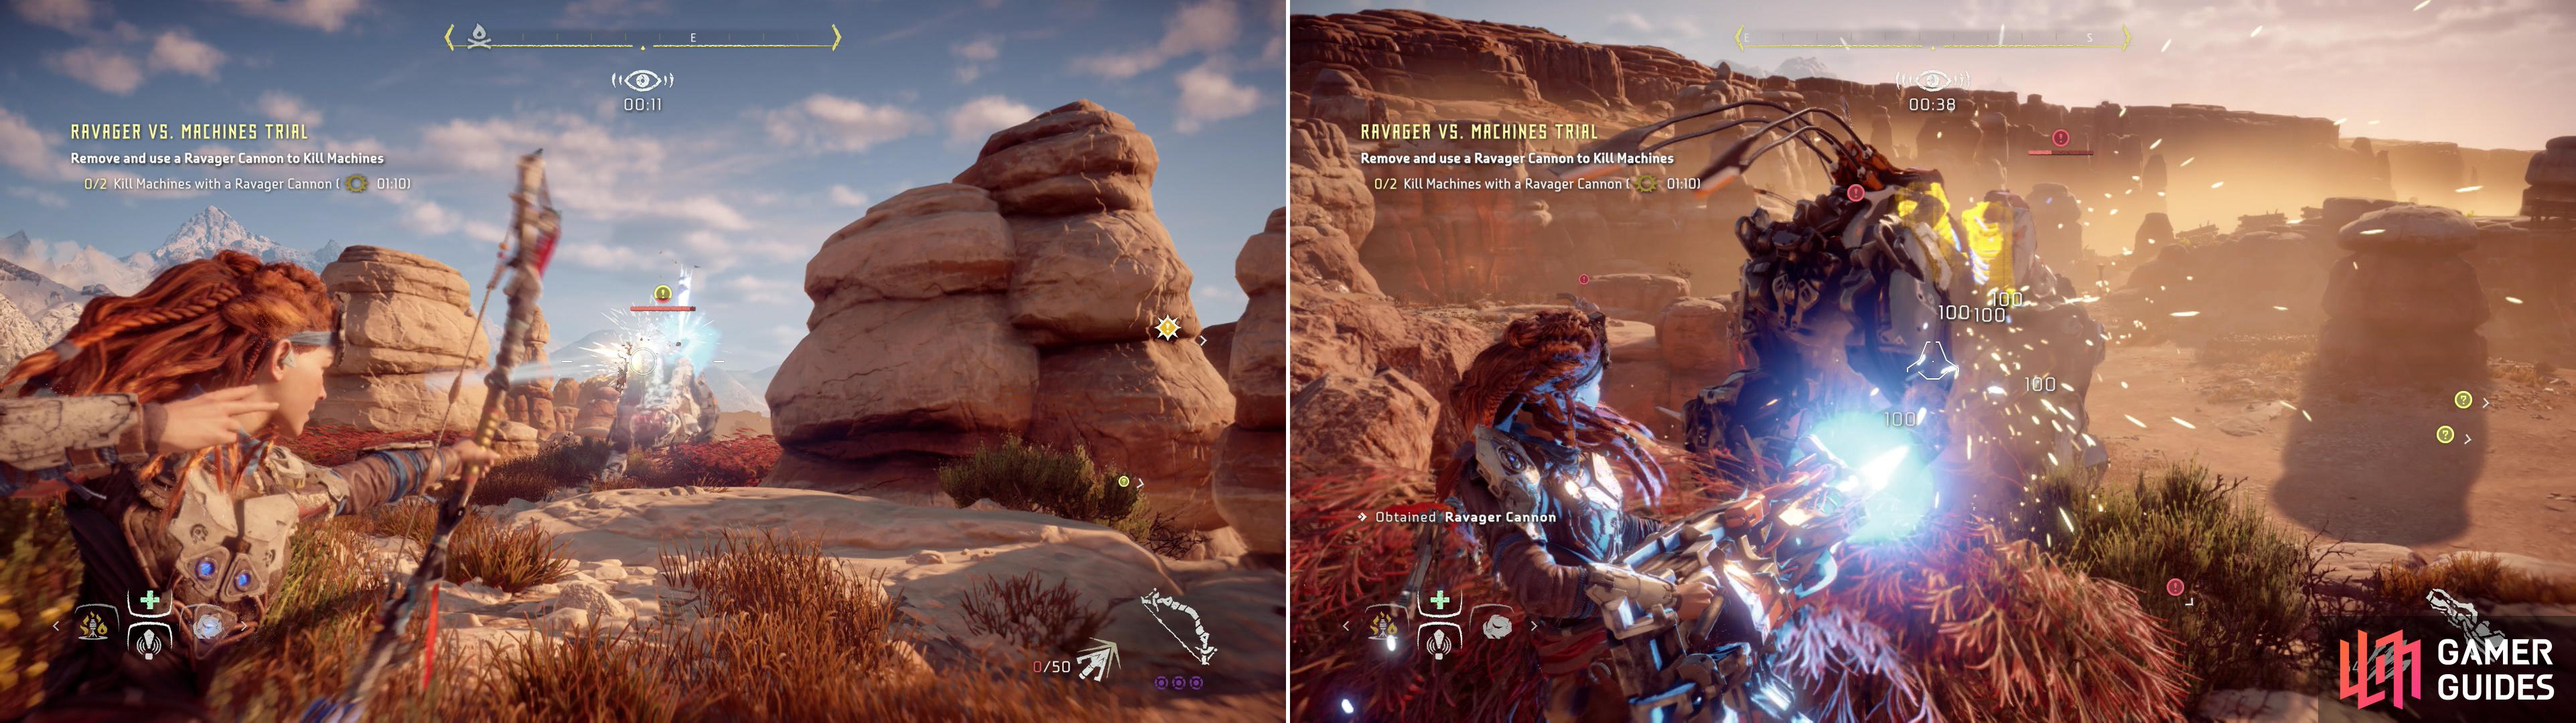
Shoot off a Ravager’s cannon (left) then use that captured weapon to disable two machines (right).
Ravager vs. Machines Trial
The easiest of the trials here, take the center of the three ziplines and ride it to the high-ground around the quarry, where you’ll find a Ravager prowling about. Use a Shadow Hunter Bow or a Shadow Sharpshot Bow boosted with Tear modifications to dislodge the Ravager Cannon, then pop the Ravager any any nearby Watchers with the ludicrously over-powered weapon. Kill two machines total and you’re good to go.
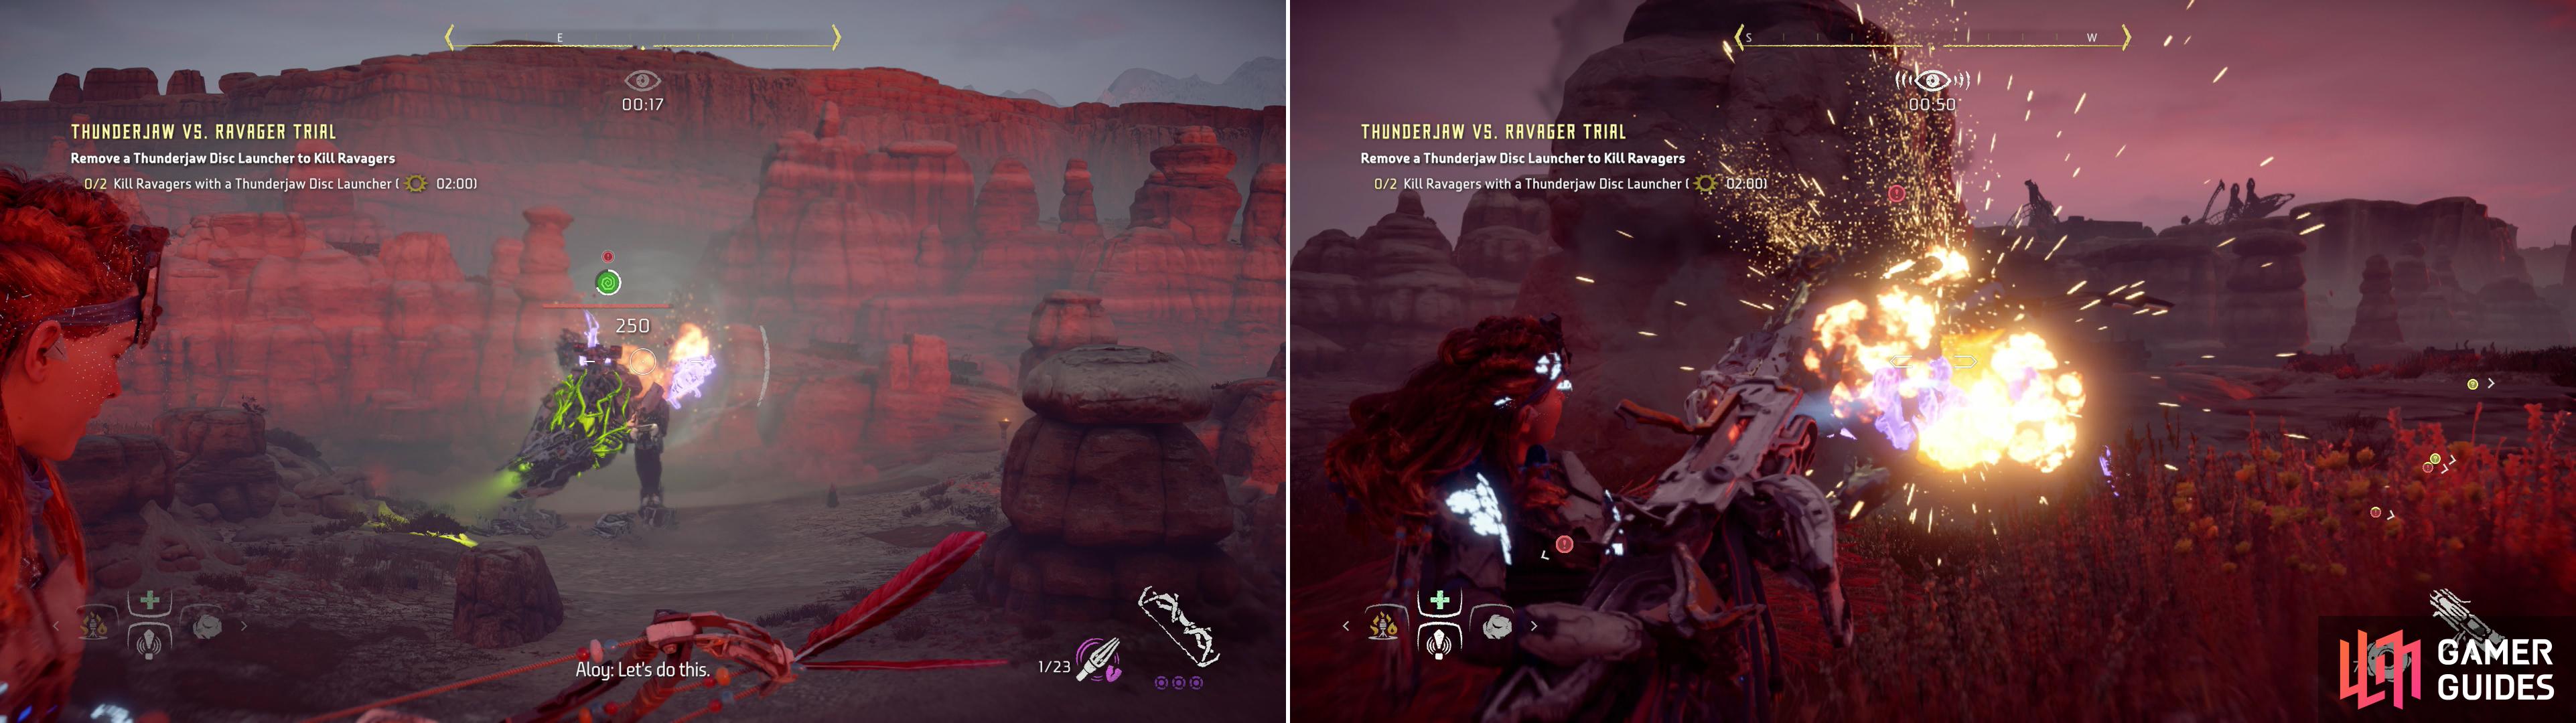
Tearblast Arrows will quickly dislodge a Thunderjaw’s Disc Launcher (left), which you’ll need to commandeer and use against the two nearby Ravagers (right).
Thunderjaw vs. Ravager Trial
This trial, on the other hand, is arguably the most difficult. Dislodging a Disc Launcher isn’t difficult - there’s two of them on the Thunderjaw, they’re large targets, and one Tearblast Arrow should detach a Disc Launcher. On the other hand, both have just enough power to kill two Ravagers, but you have to make your shots count and do it quick. Oh, and you have to accomplish this task while a Thunderjaw and two Ravagers are trying to eat your face, a task made easier for the machines since you have to run up to the Thunderjaw to pick up its Disc Launchers.
There are a few tricks you can employ to help make this task easier, but it’s arguable how effective they are. You can shoot Corruption Arrows at the Thunderjaw to turn it against the Ravagers, but even so, it’s not a terribly efficient killing machine, nor are the Ravagers completely faithful when it comes to attacking them. There’s a lot of luck to this approach, and you have to remain hidden, as the machines prefer to target Aloy, if that’s an option. You can, under ideal circumstances, use Fire Arrows to soften up the Ravagers as they fight the Thunderjaws, but doing so risks drawing their attention. You can also attempt to use Freeze Arrows on the Ravagers, too, as frozen machines will take much more damage, making it easier to put them down with the Disc Launcher.

Stunning a Ravager with Shock Arrows (left) will make overriding the Ravager much easier (right).
Ravager Control Trial
The only tricky bit about this quest is overriding the Ravagers, which is where your Nora Silent Hunter Heavy armor will prove its worth. If you have the Combat Override + ability, you don’t need to worry about the override wearing out. There’s one Ravager on the cliffs north of the quarry the Thunderjaw stalks in, and another to the south. Be quick, be quiet, and override them both, and when they’ve engaged the Thunderjaw use Freeze Arrows on the robo-dino to triple damage dealt, then go about shooting the Thunderjaw in the sides with an impact-damage boosted Shadow Hunter Bow or Shadow Sharpshot Bow. Ideally you can knock off a side panel and expose the Heart, which will deal massive damage. With two tamed Ravagers, the ability to apply freeze damage quickly, and a powerful, well-modded weapon you shouldn’t have any trouble taking down the Thunderjaw.
| Objective | Rewards |
|---|---|
| For earning a Blazing Sun Rank in all three trials | 52,500+ XP / +1 Skill Point |

 Sign up
No Comments